Tiny Wood Stove

Tiny Wood Stove Flue Install

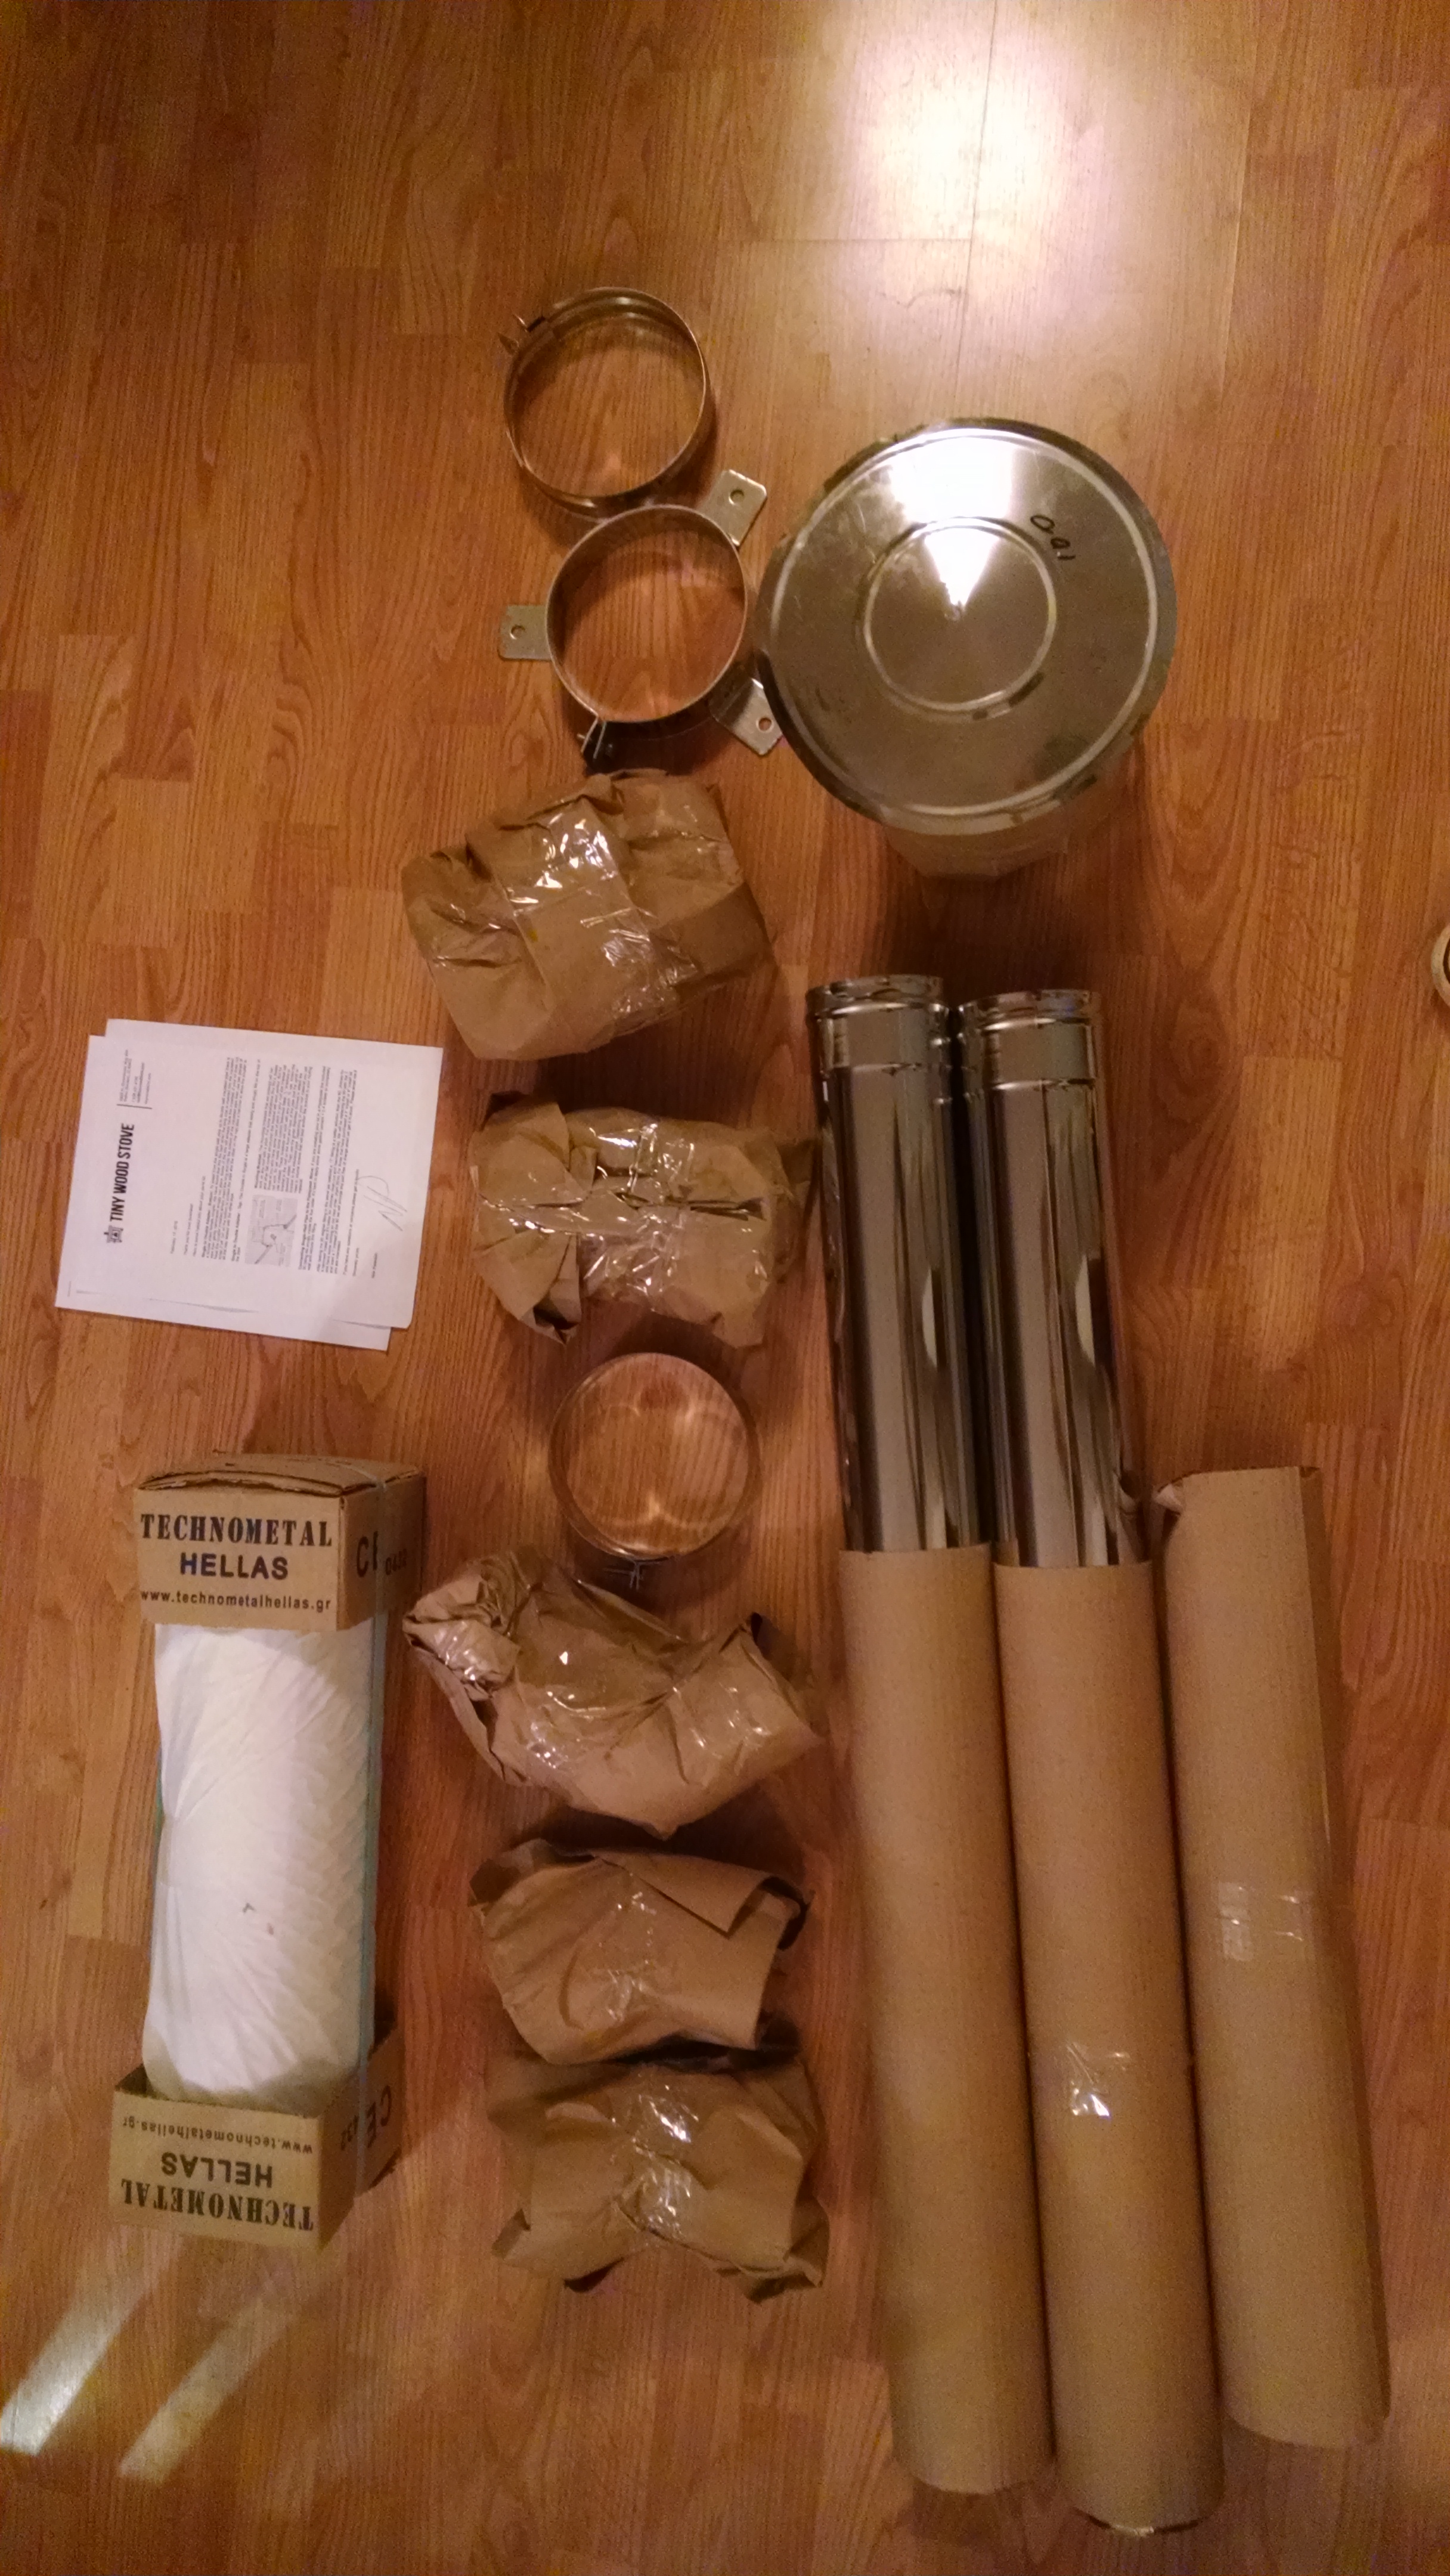
This post contains affiliate links.  If need to purchase something from this article, it would be nice if you used the direct link from this page so I could earn a small commission for referring you.  The current flue kits from tiny wood stove are a little different from the one pictured in this post.  You can find the current version of the 4" RV Flue Kit here.

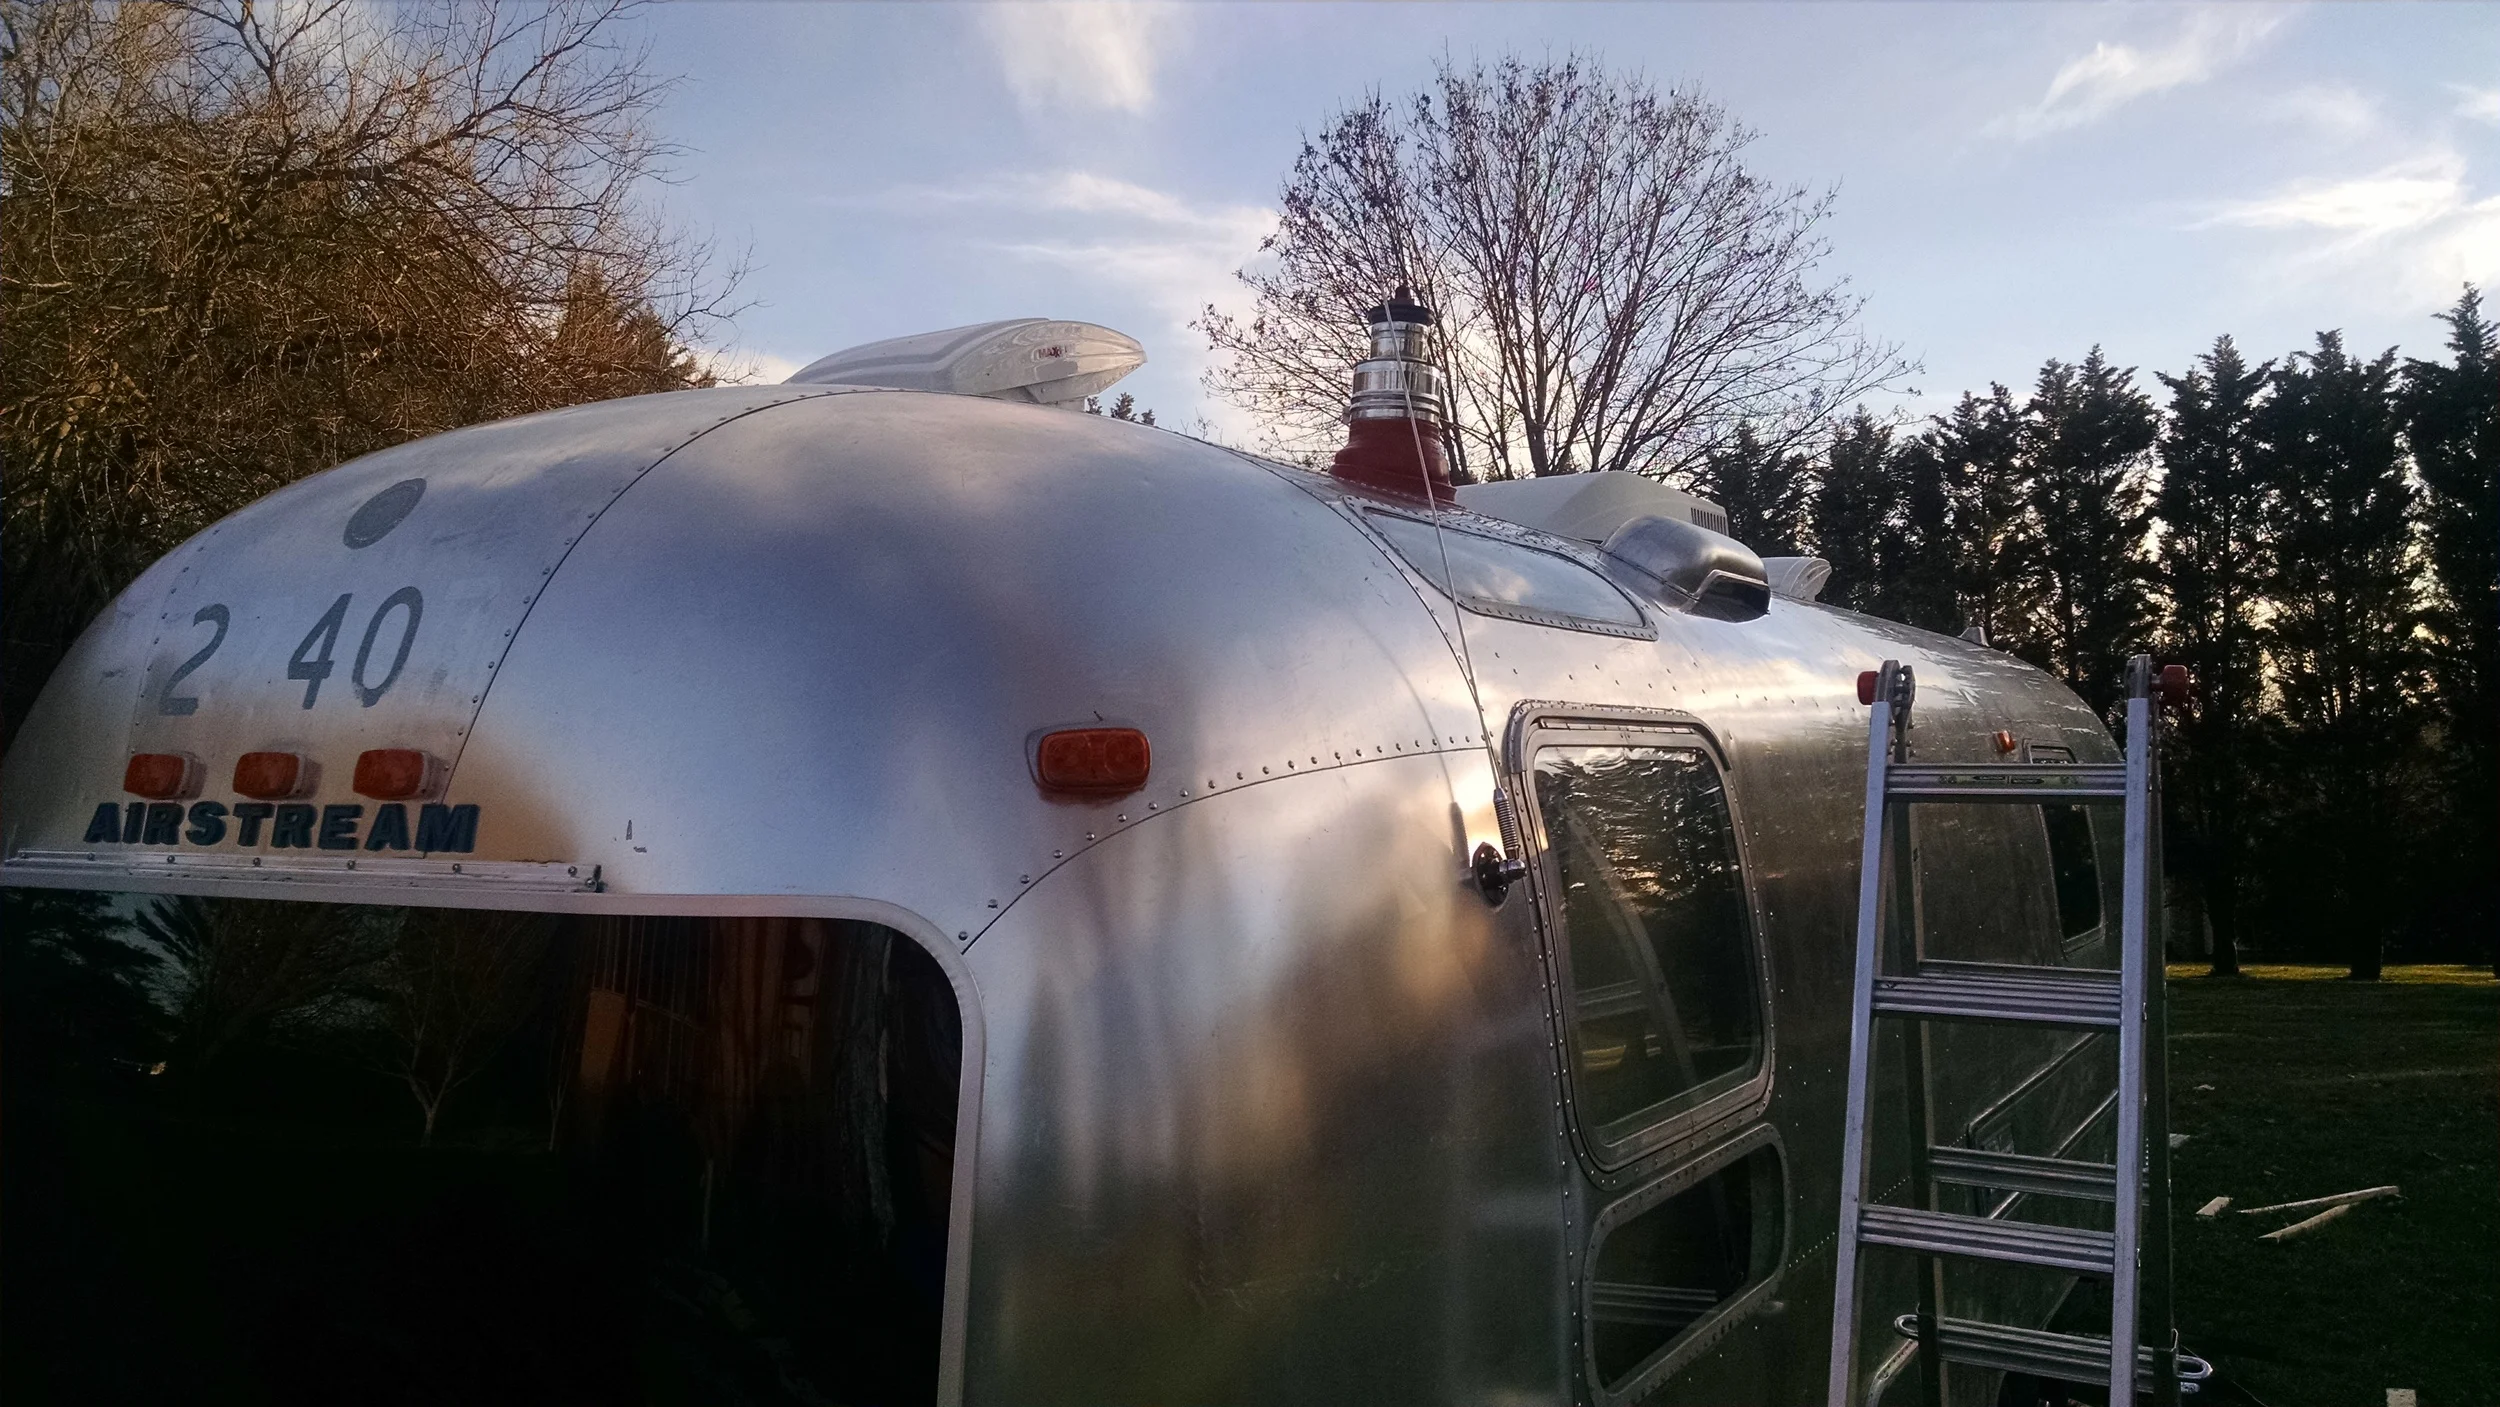
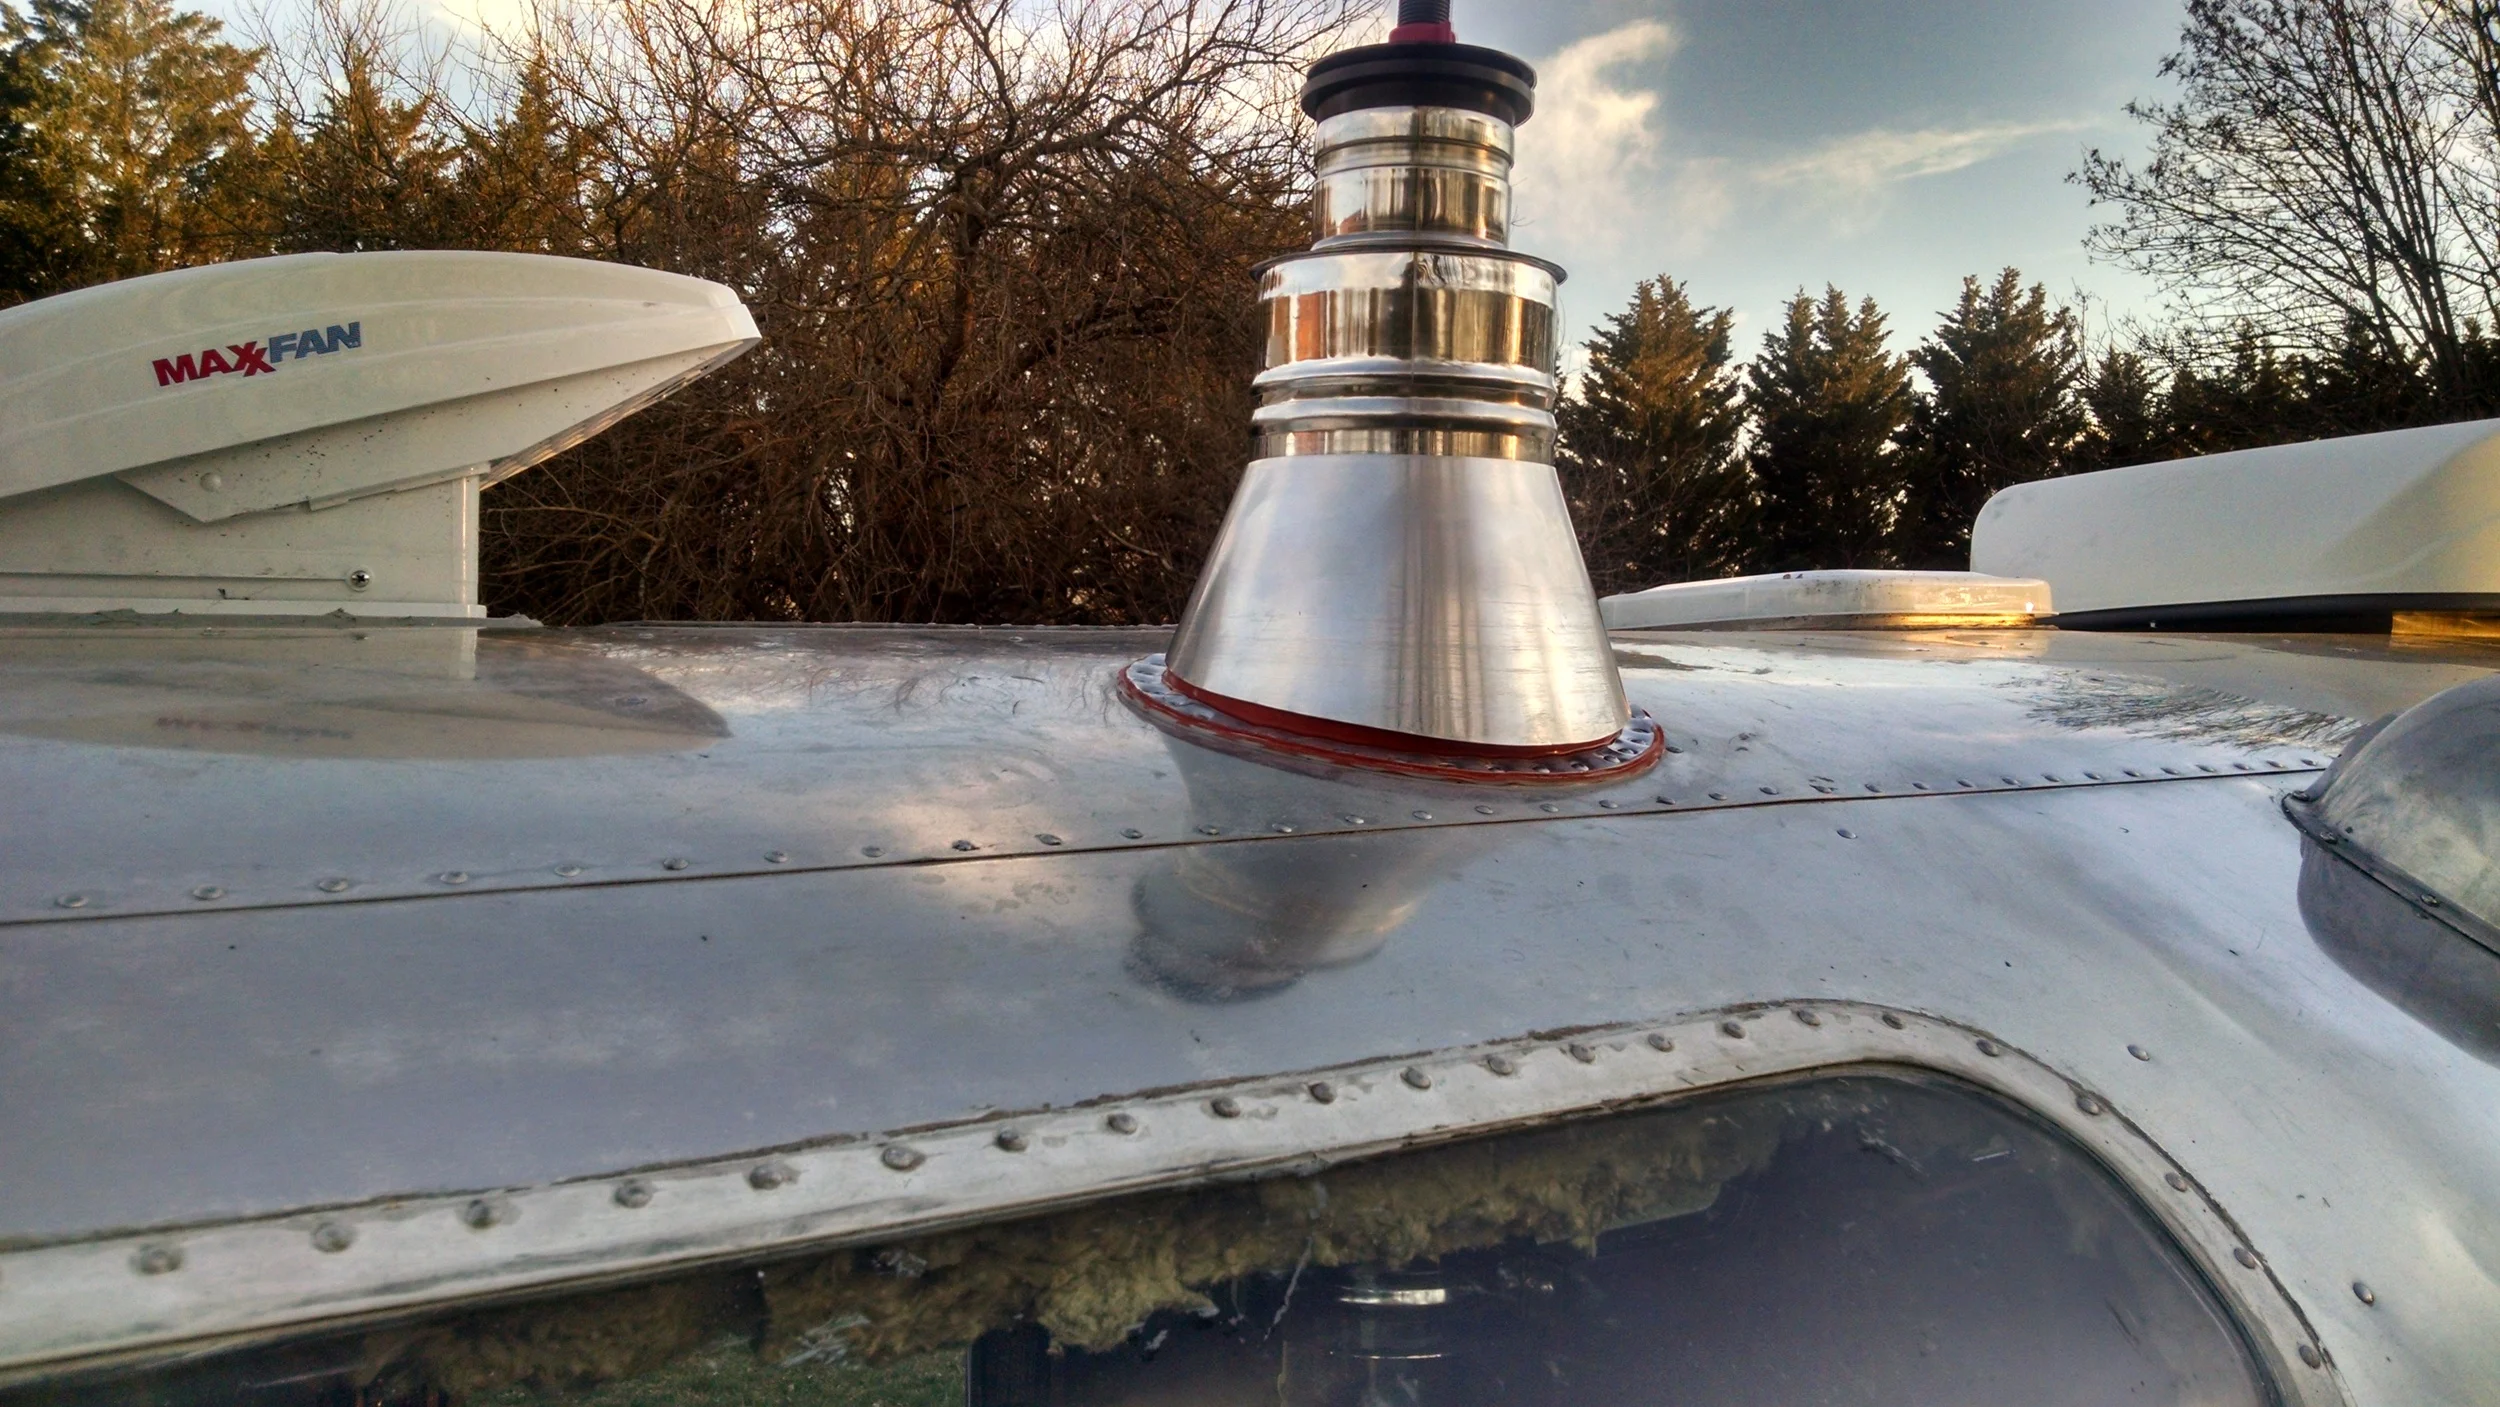
As you may recall, I've been waiting on a rear exit tee to come in.  Nick had a few hiccups on his first order, which is something I expected when I pre-ordered parts while his company was still brand new.  He's been responsive throughout the process.  The tee won't make it here in time for the honeymoon, so I went ahead and installed the flue as-is, and I'll swap it around when my parts come in.

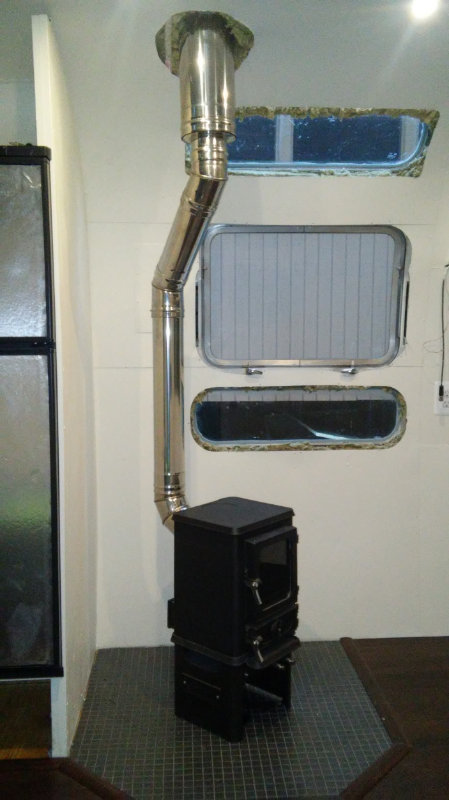
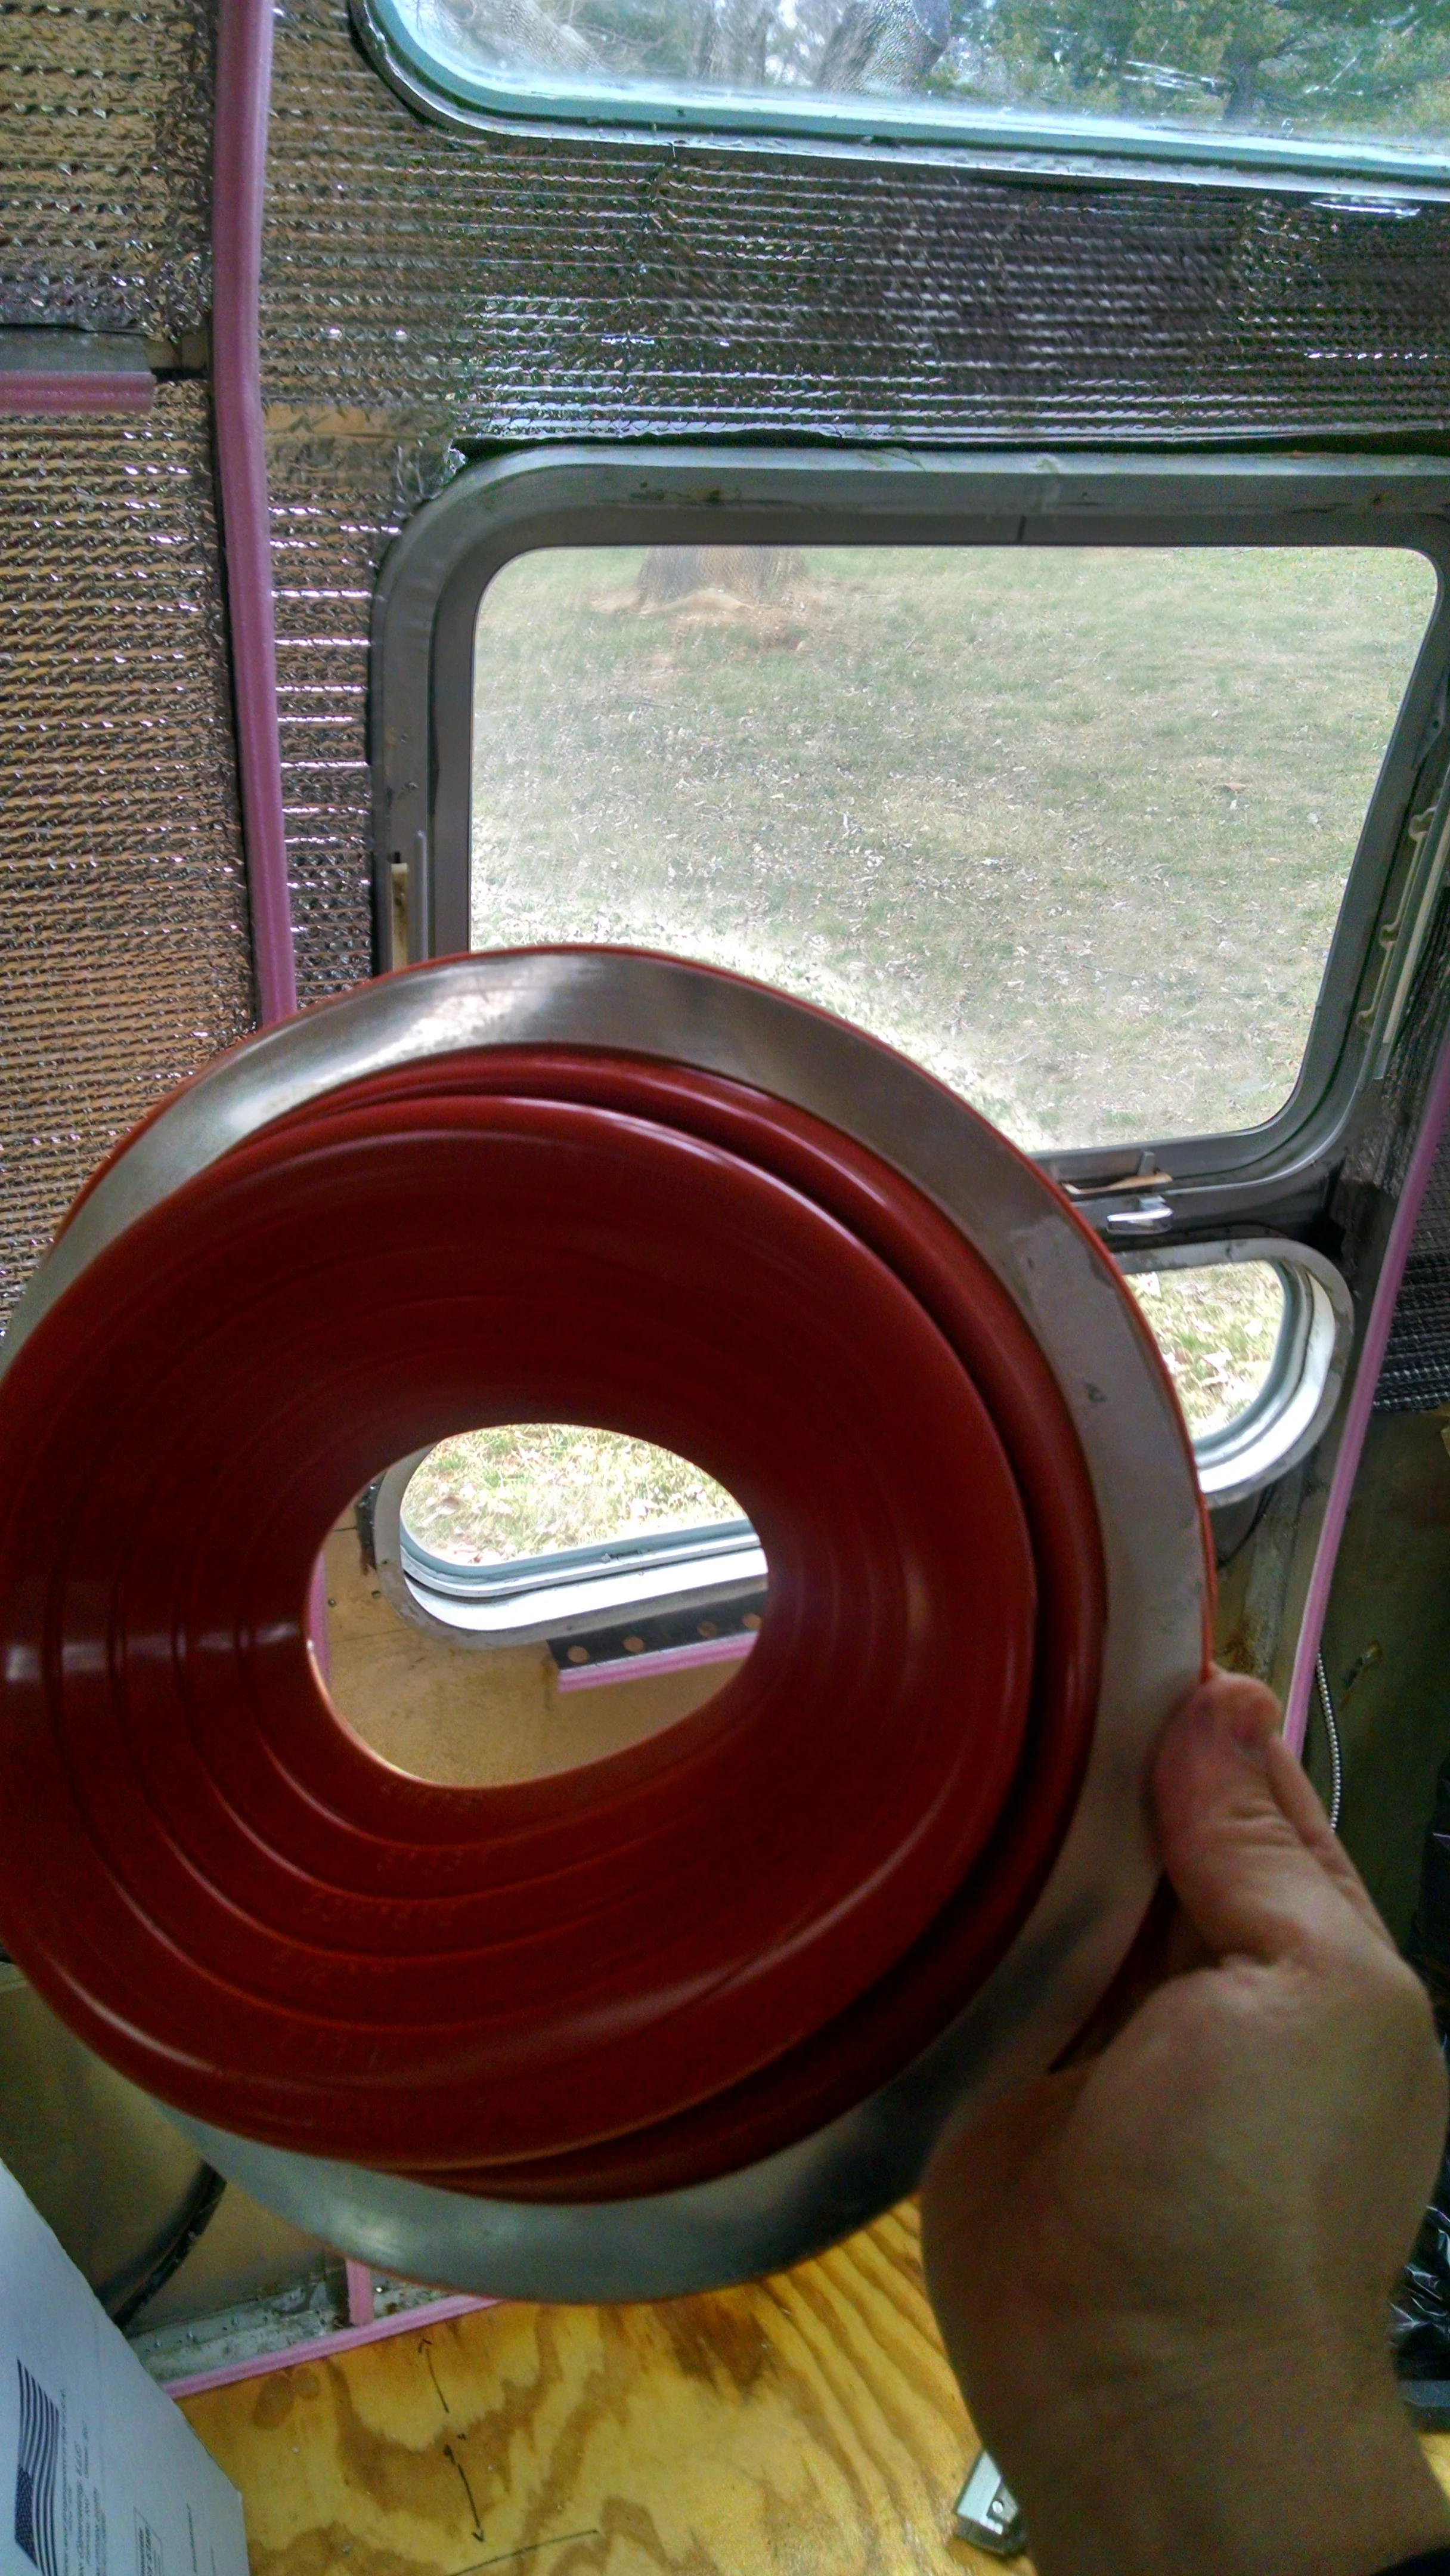
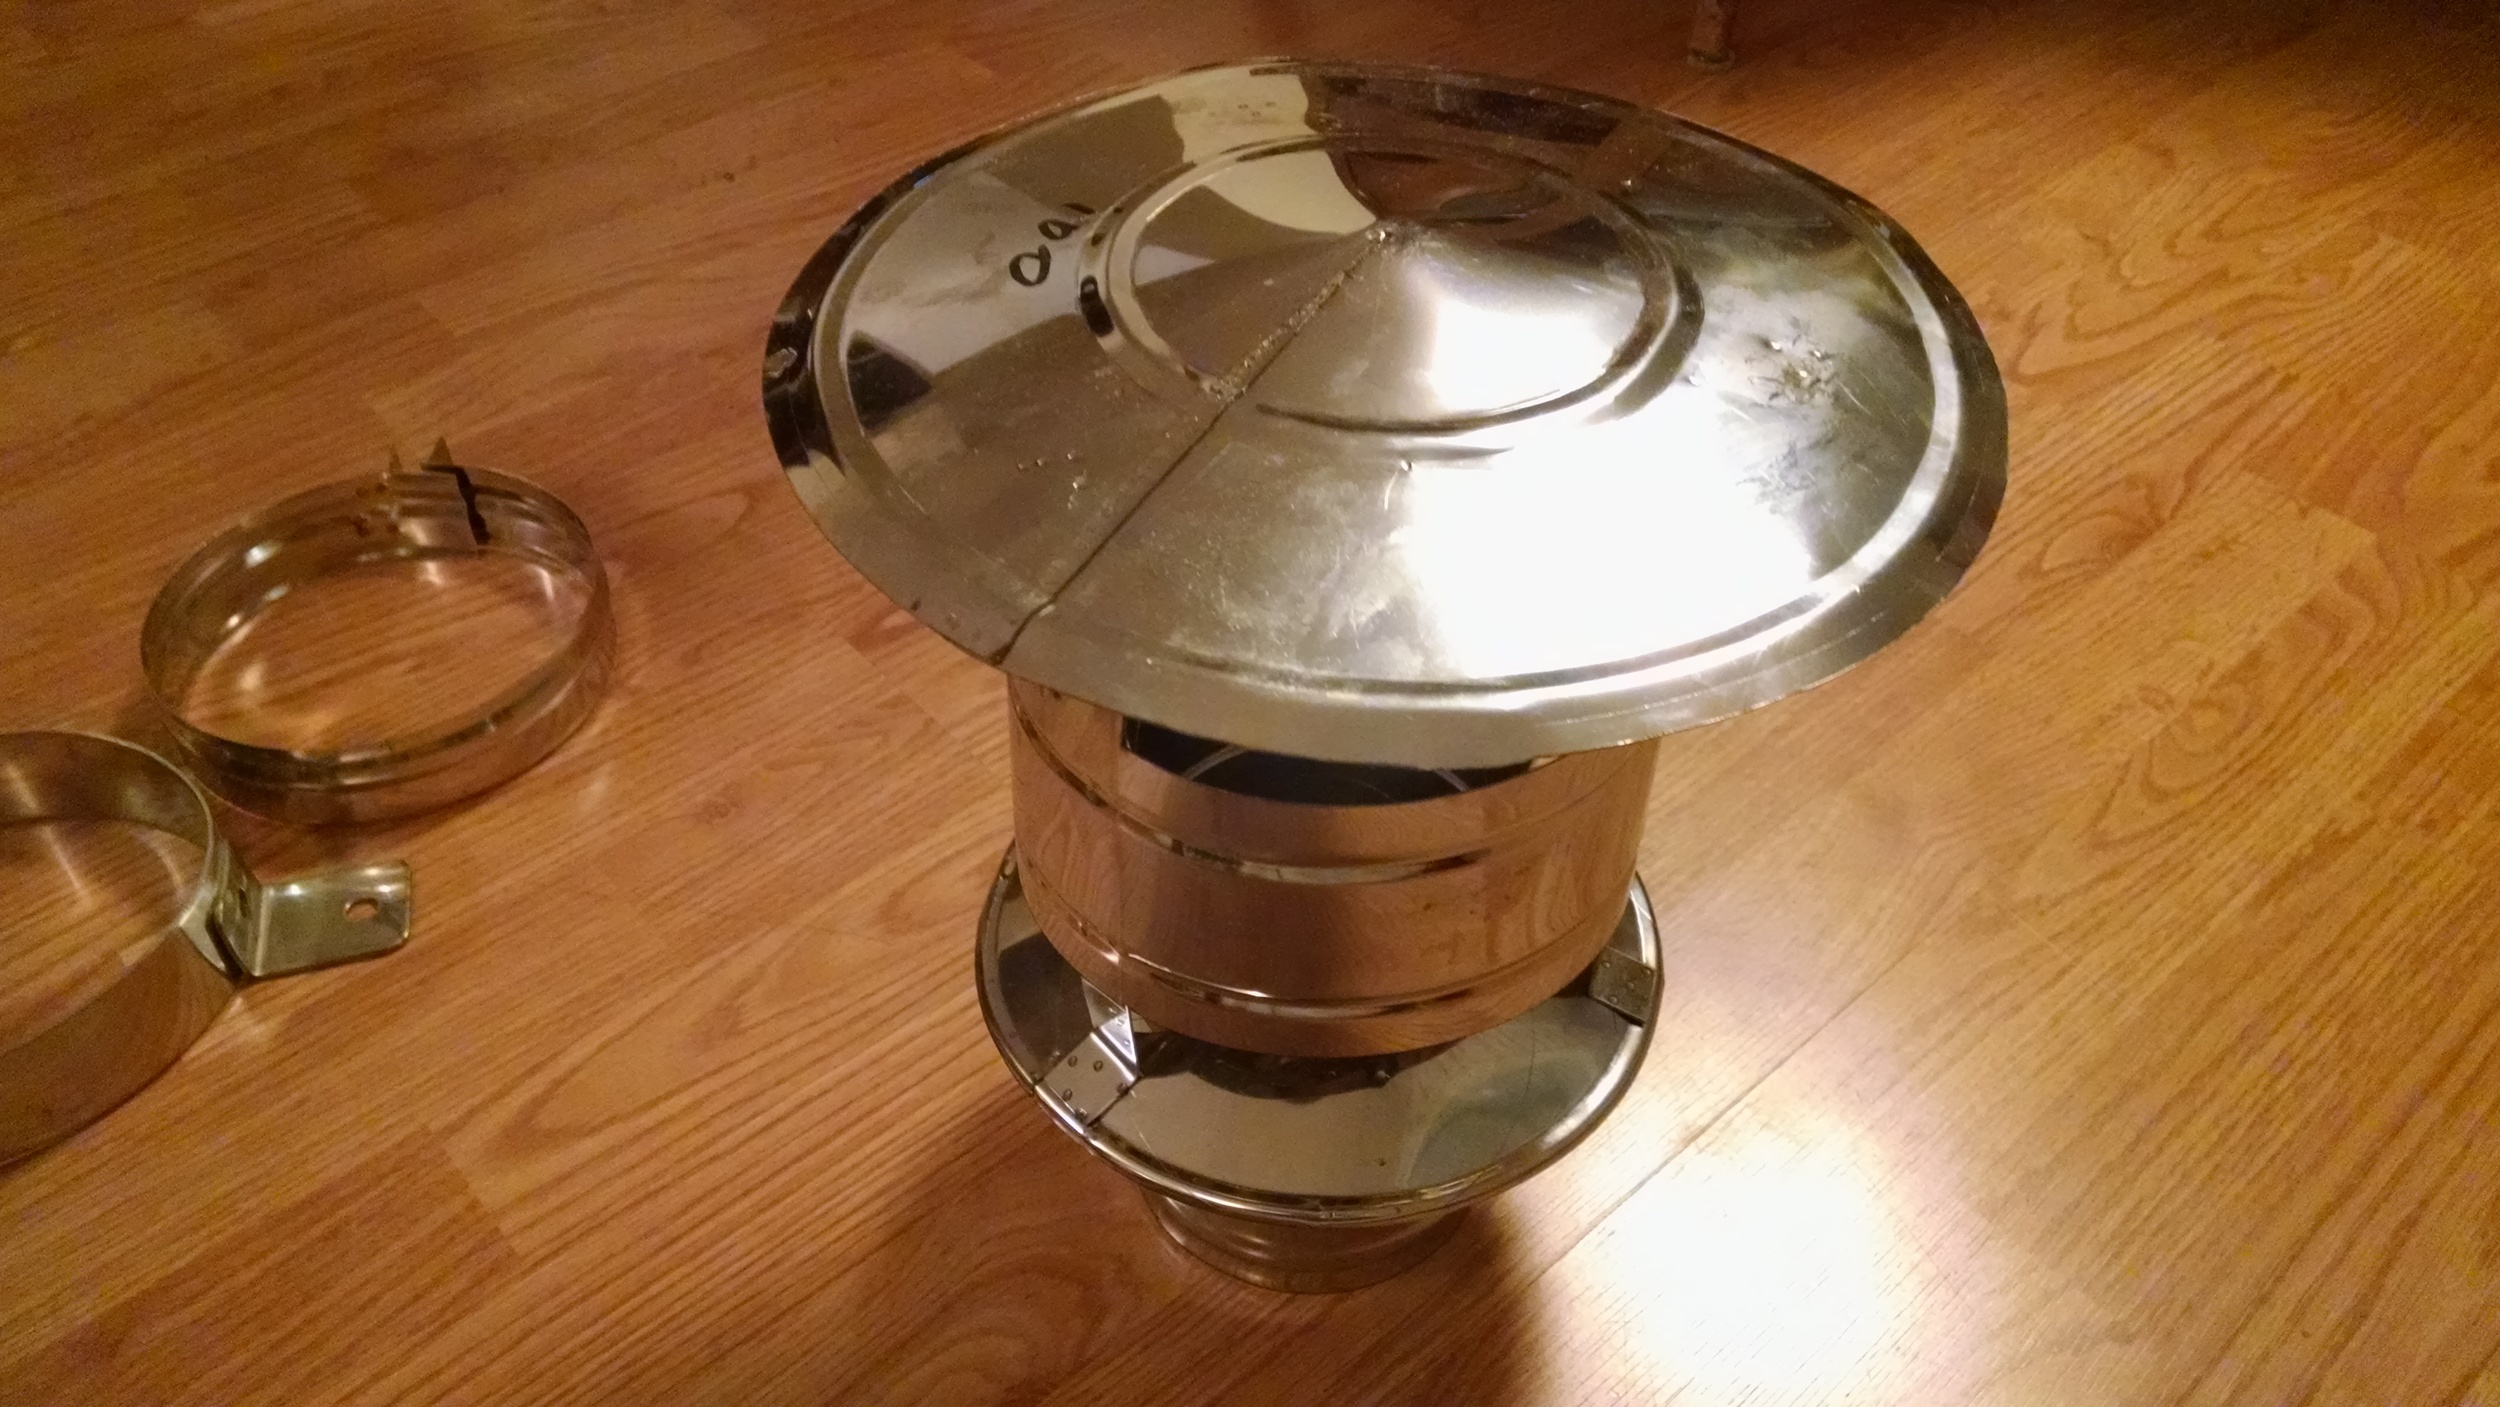
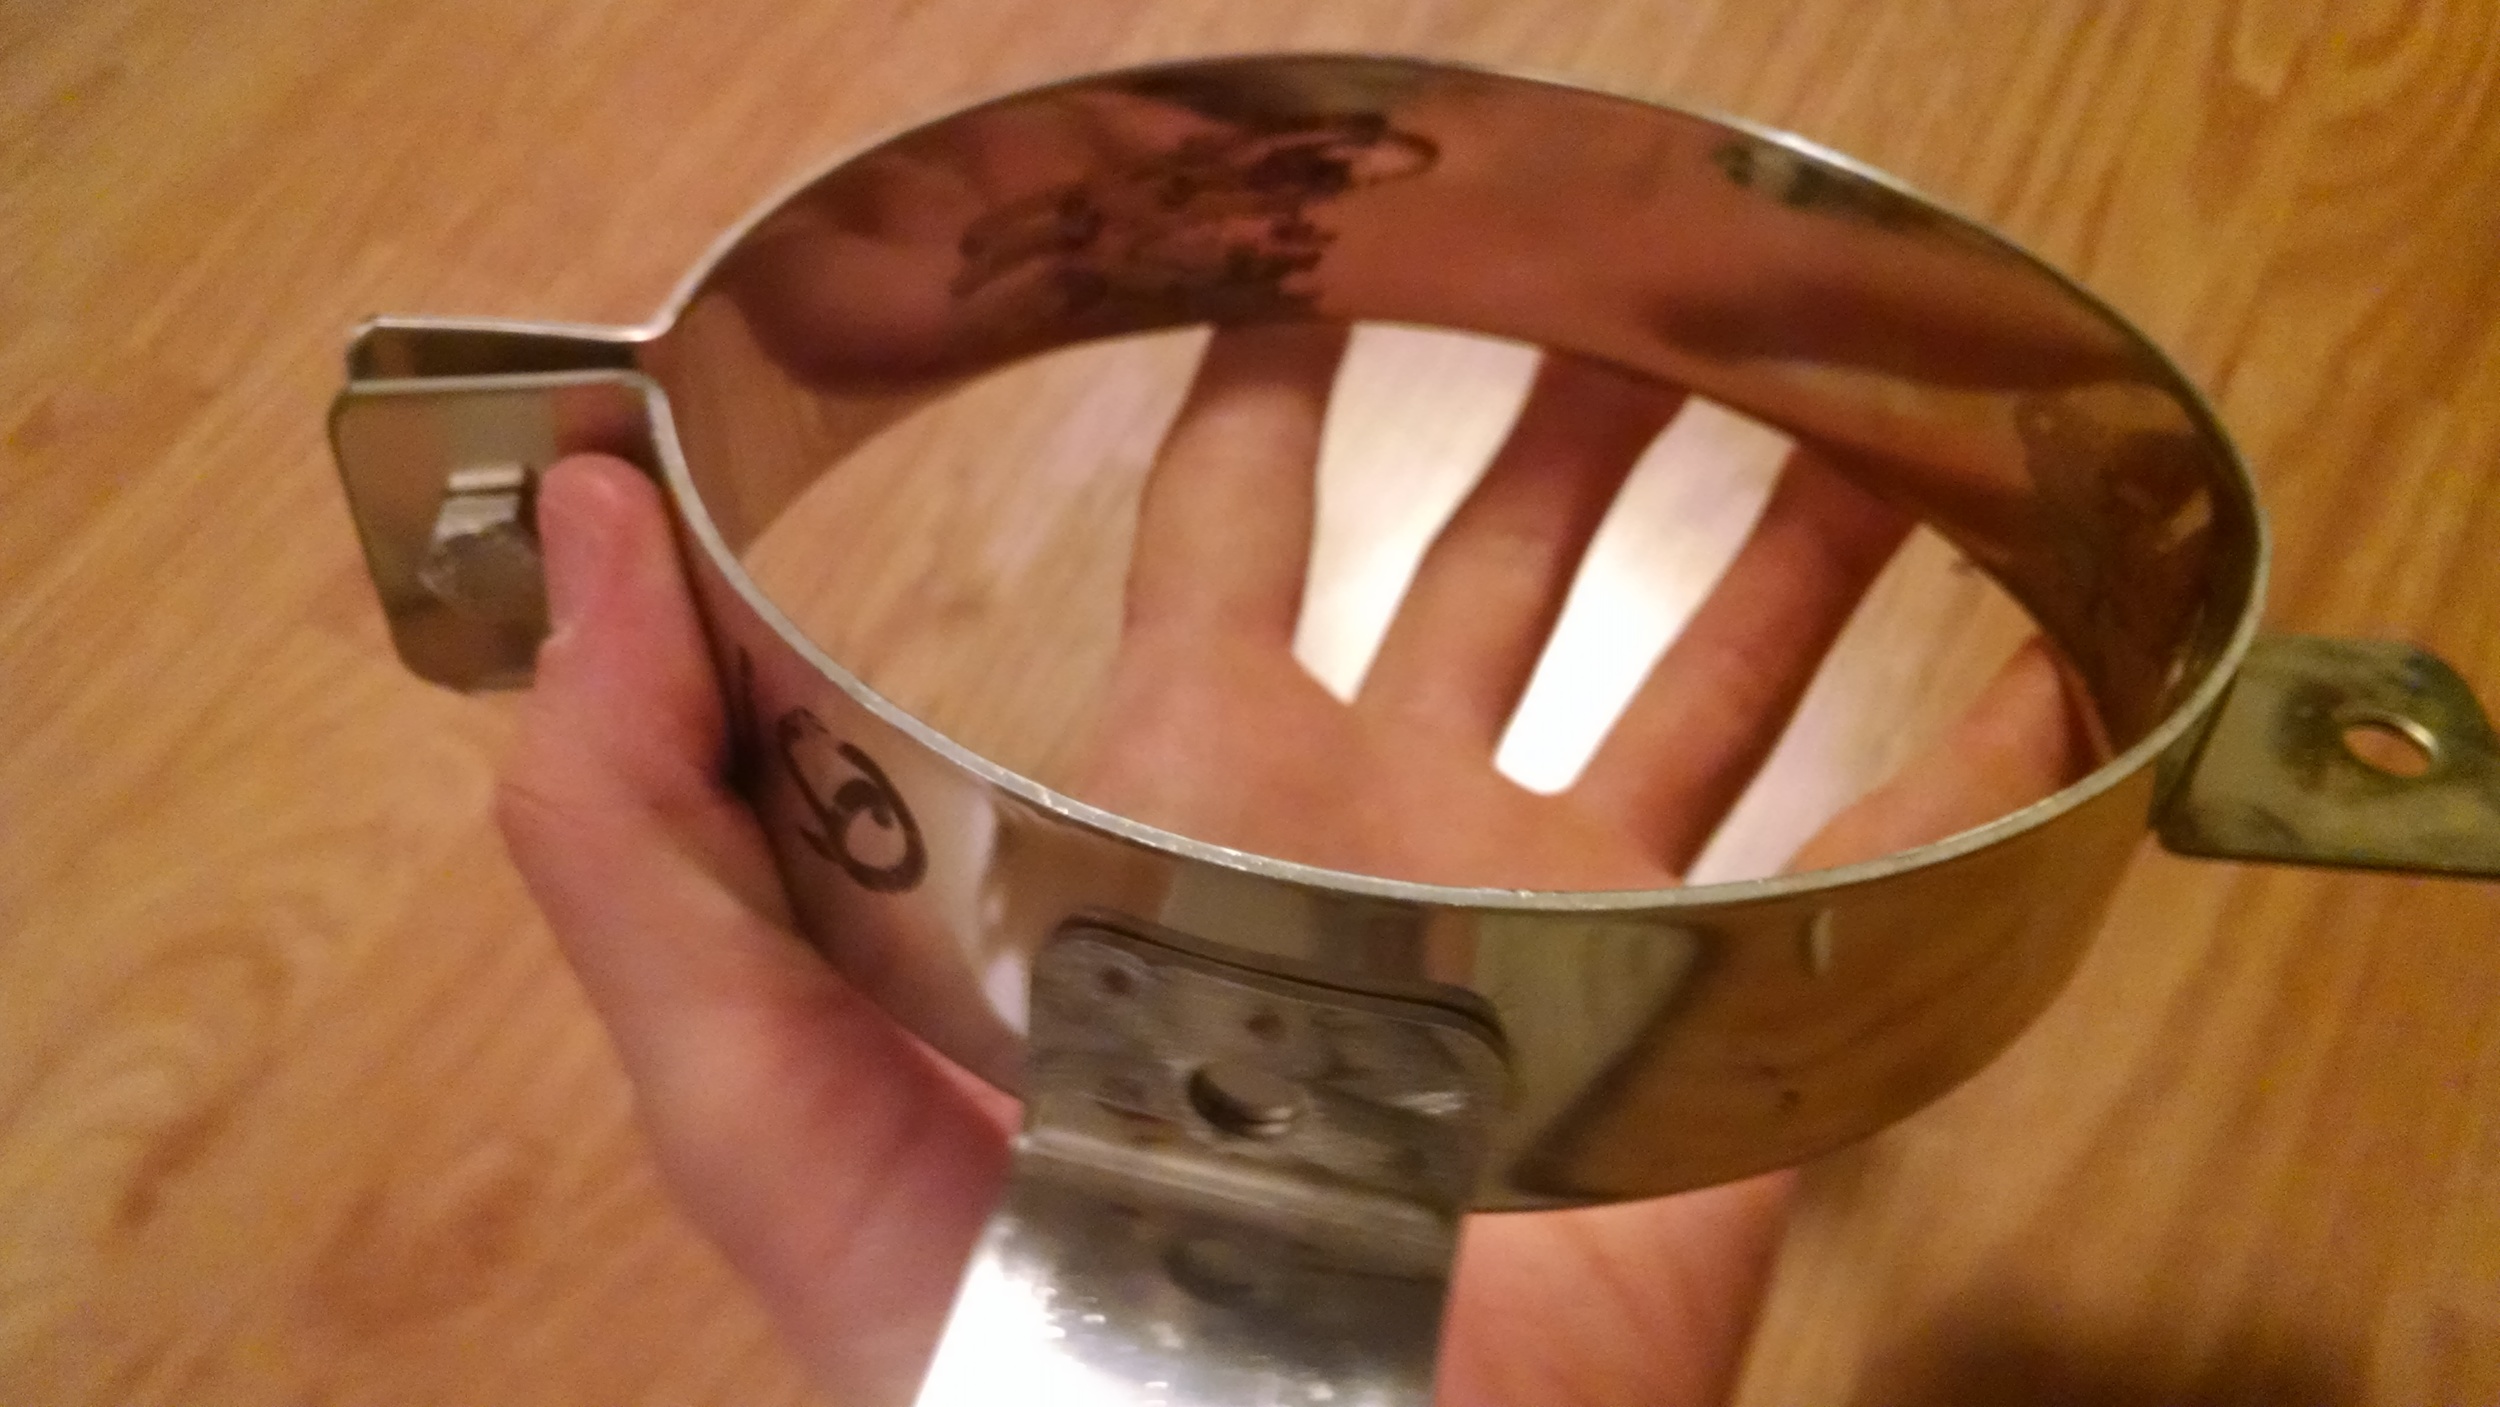
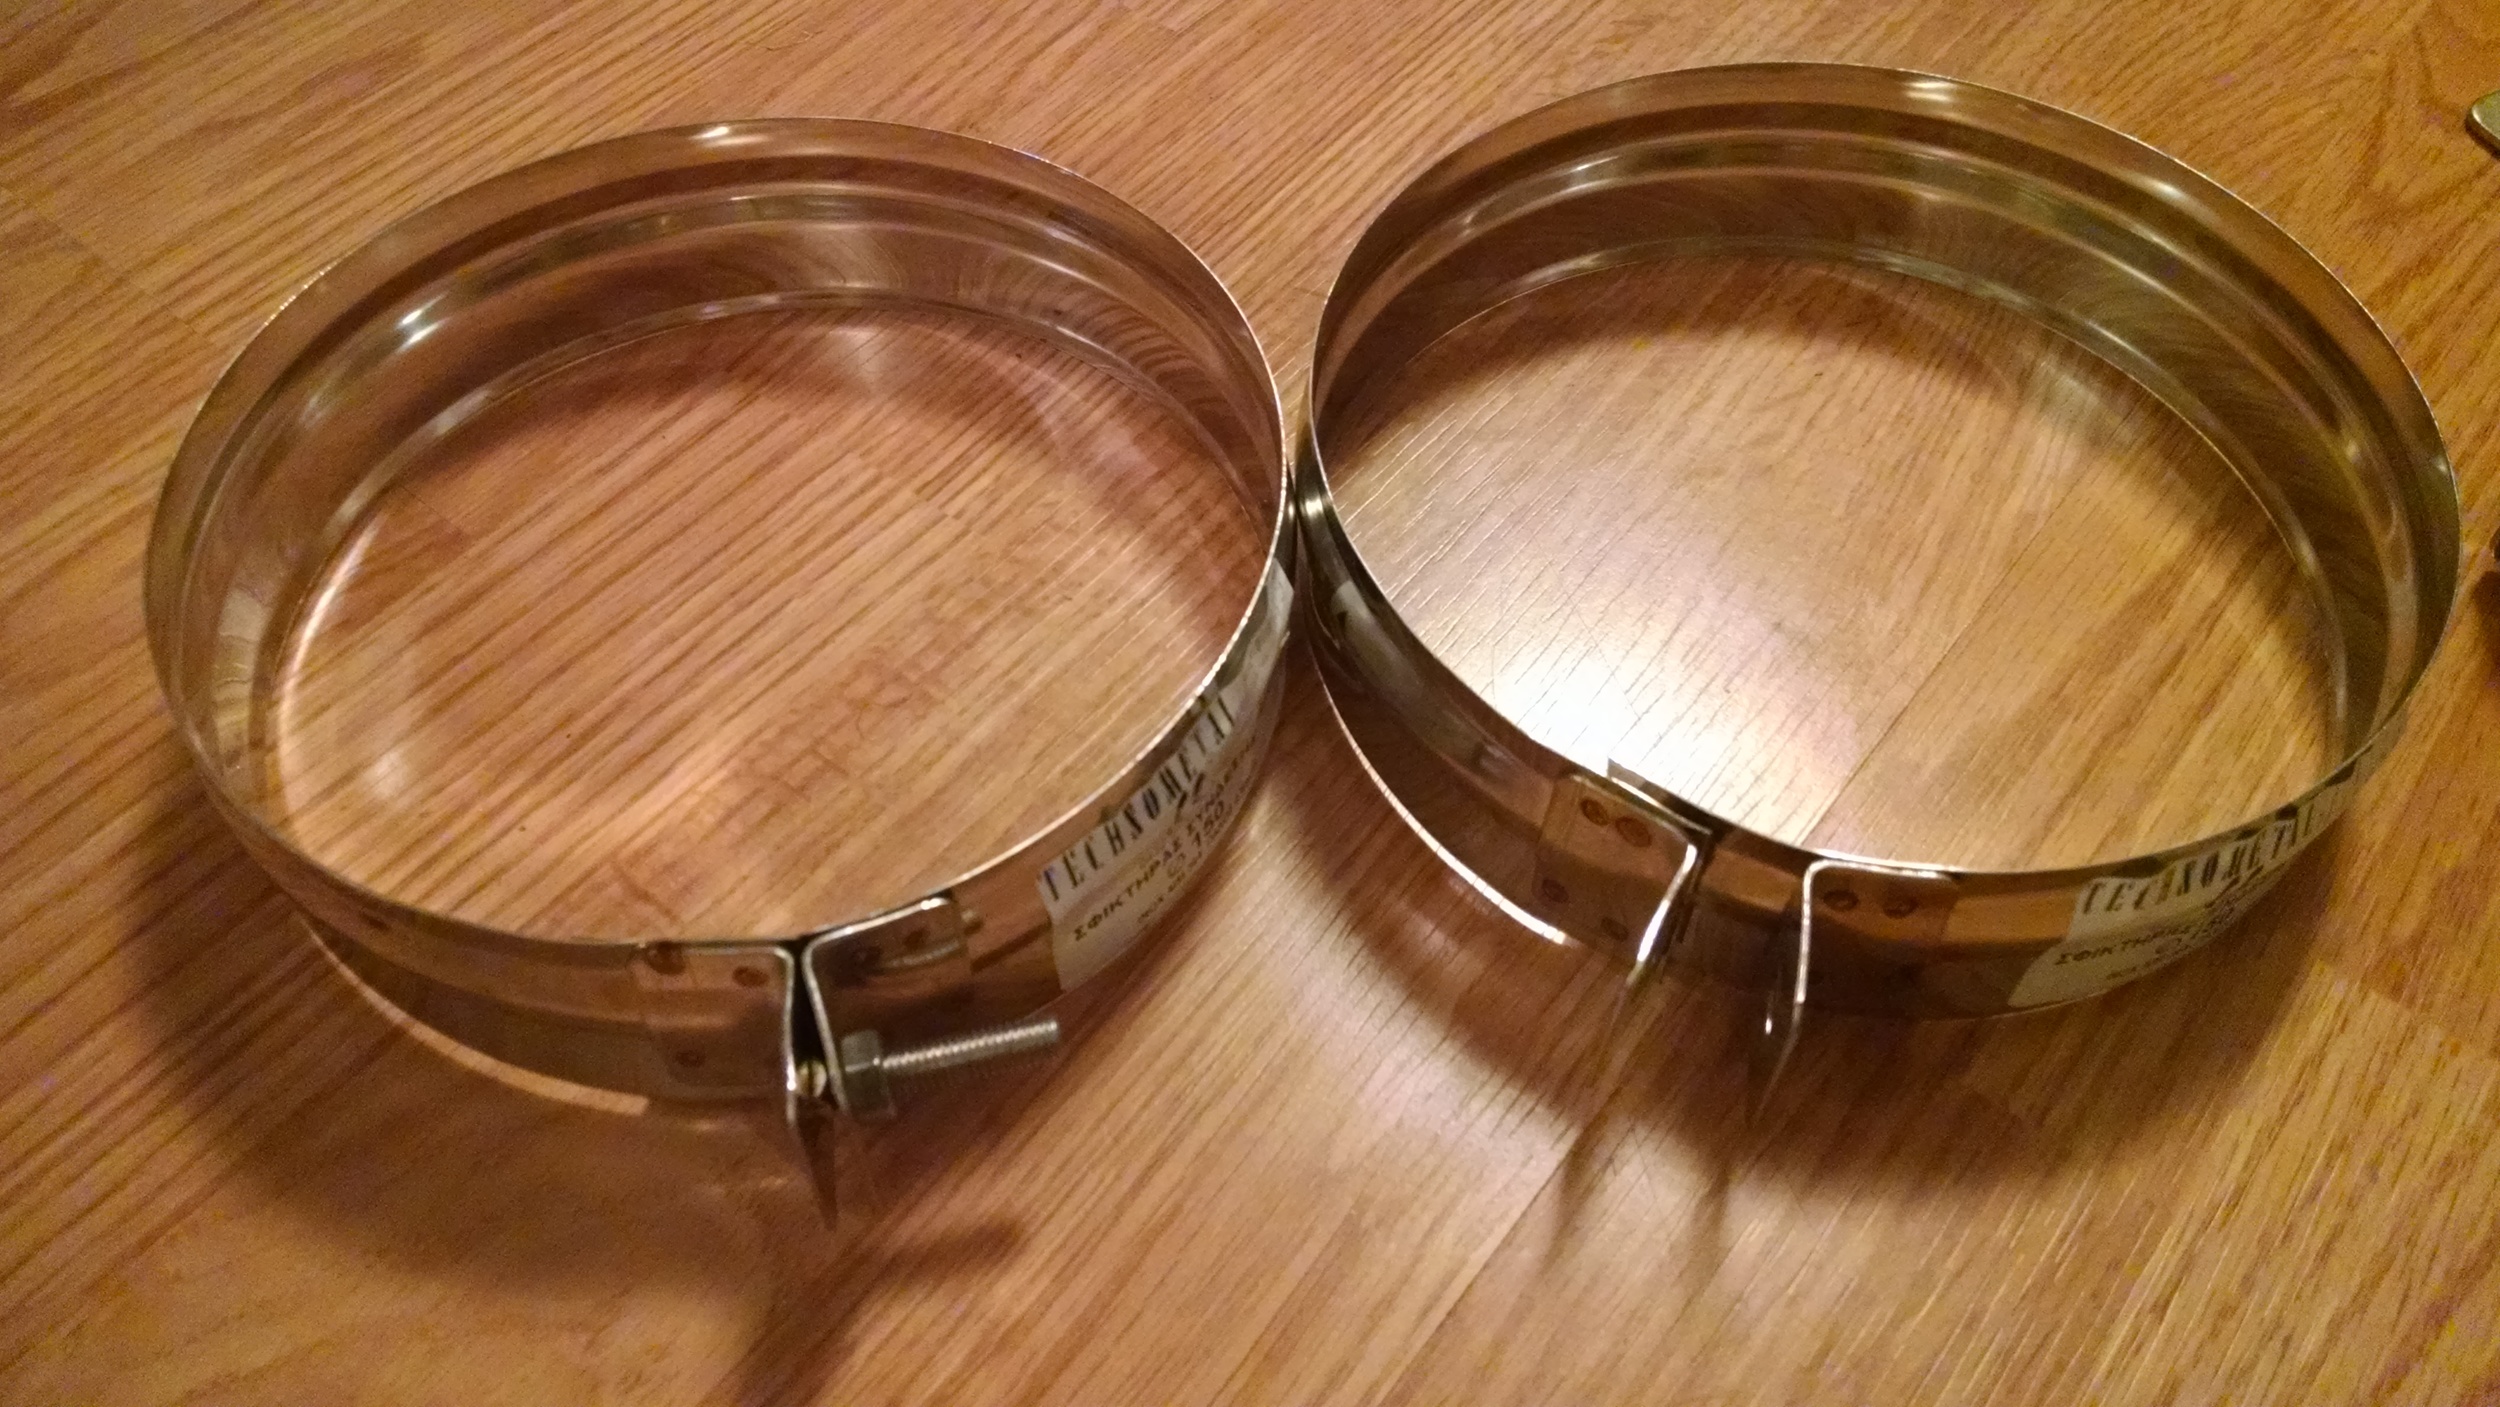
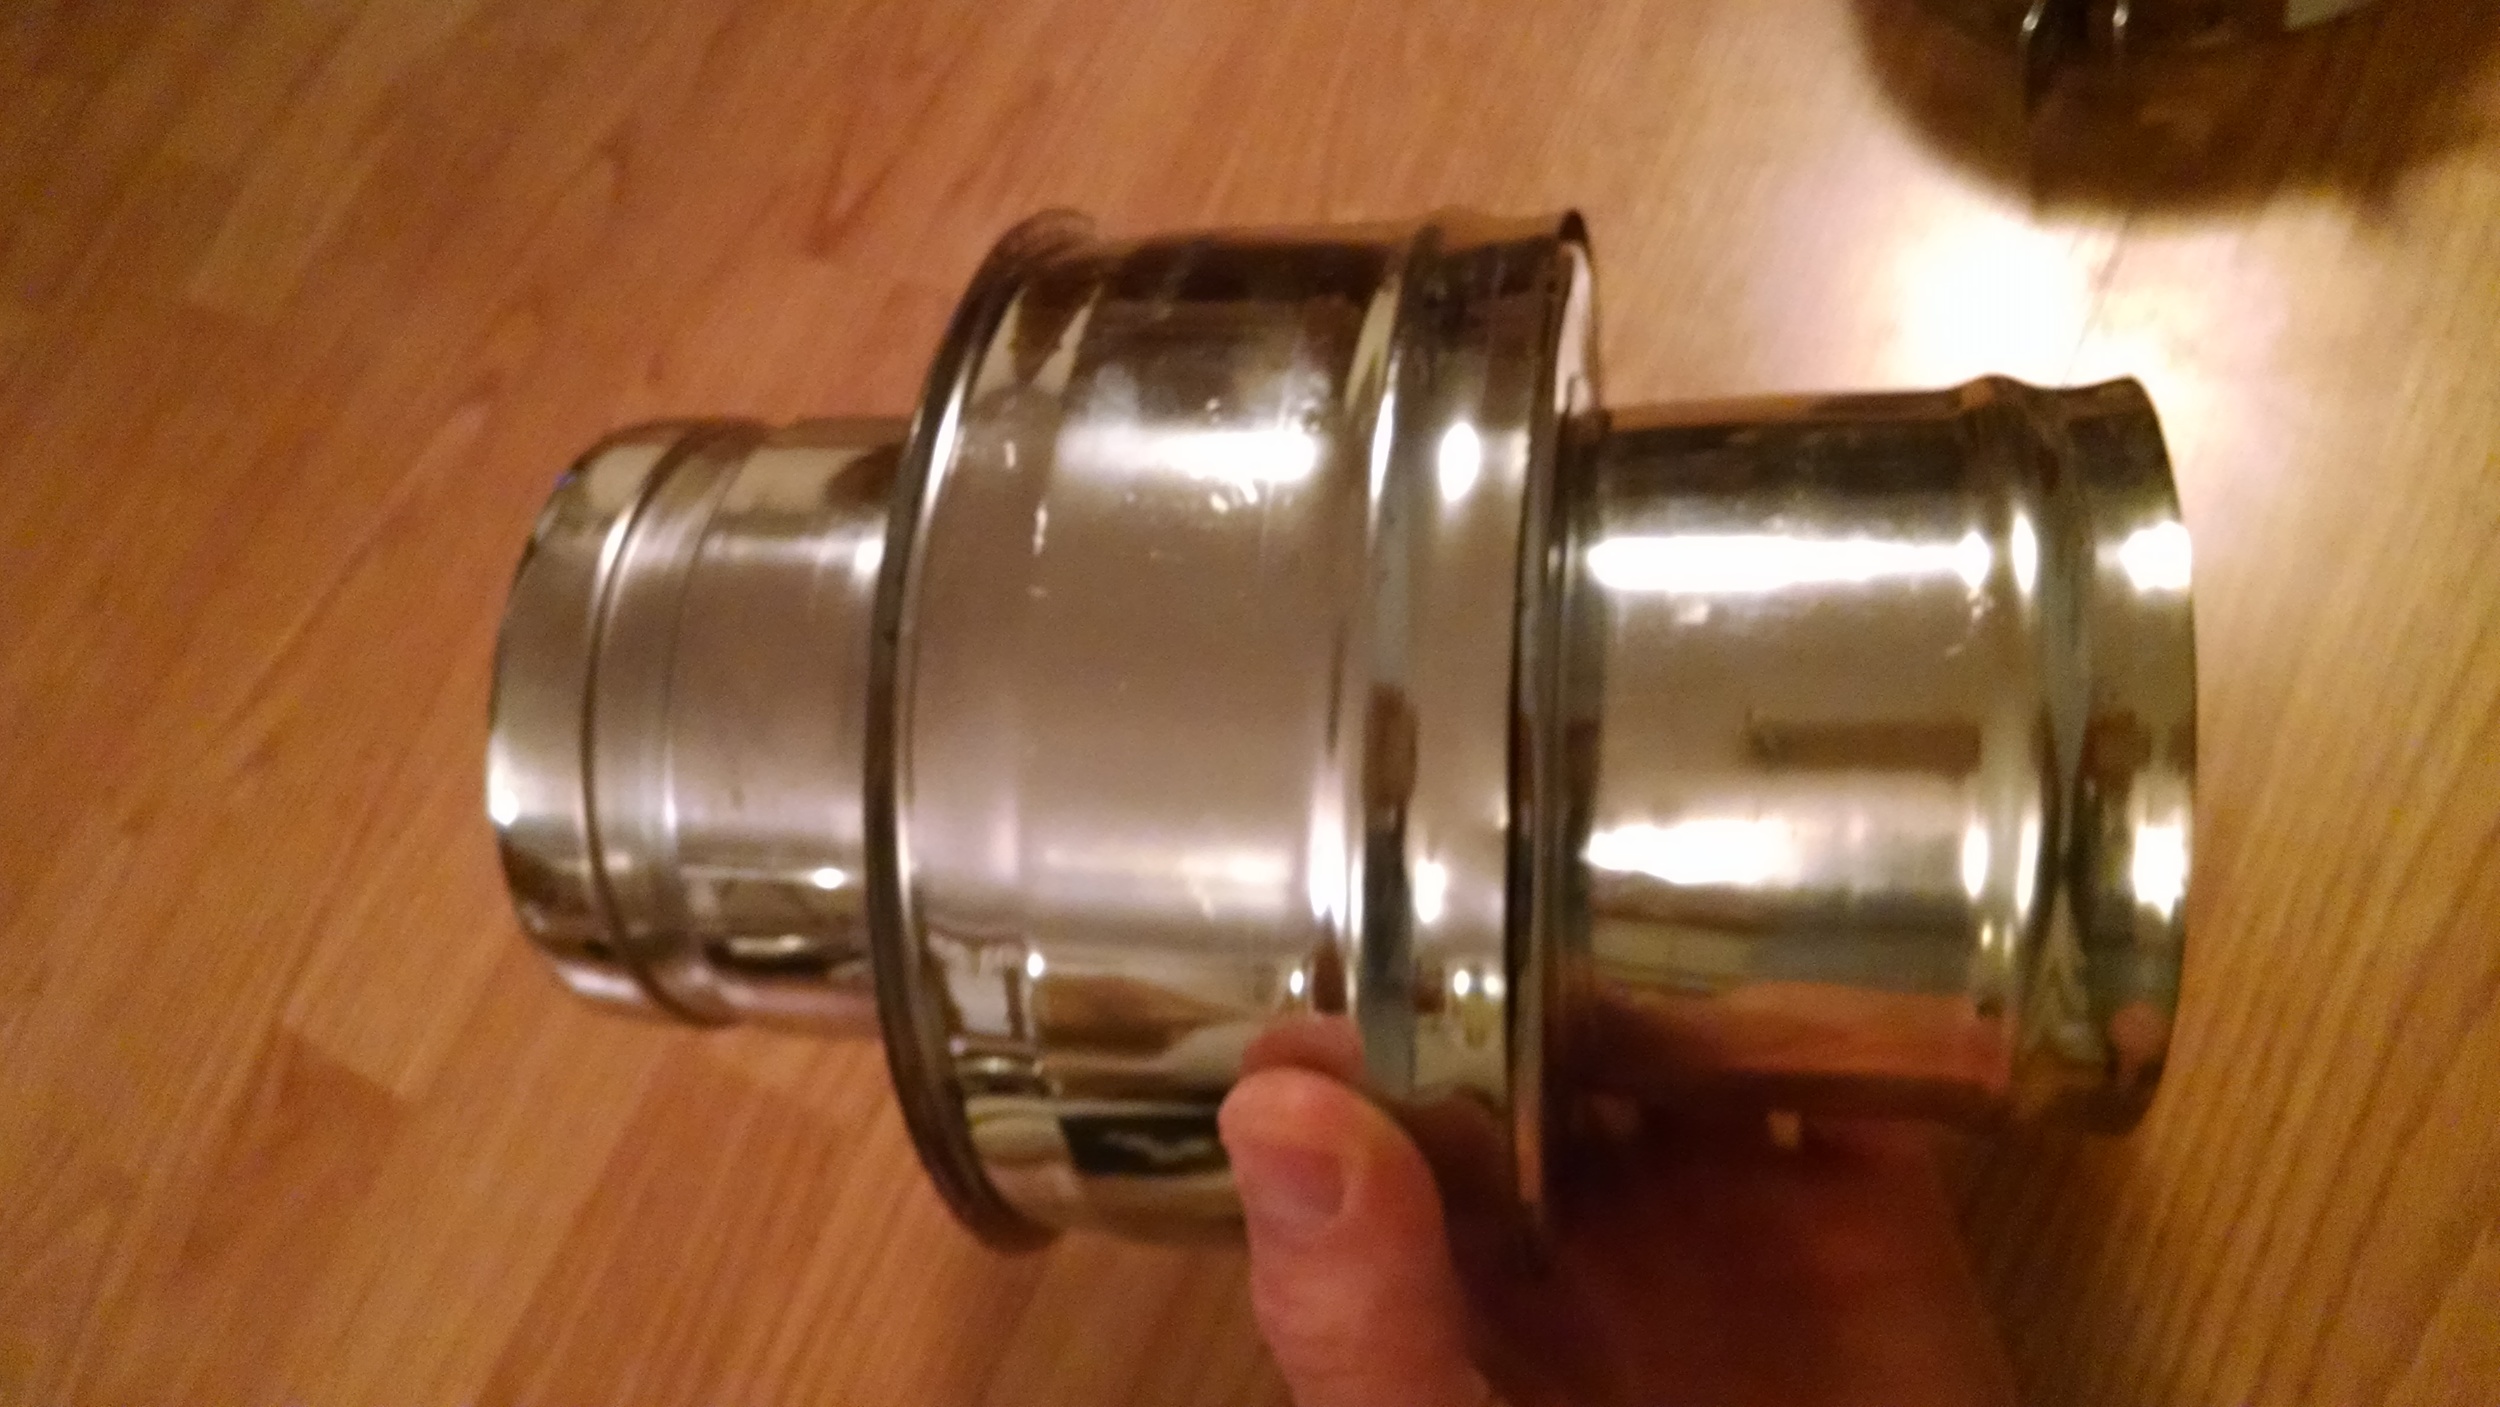
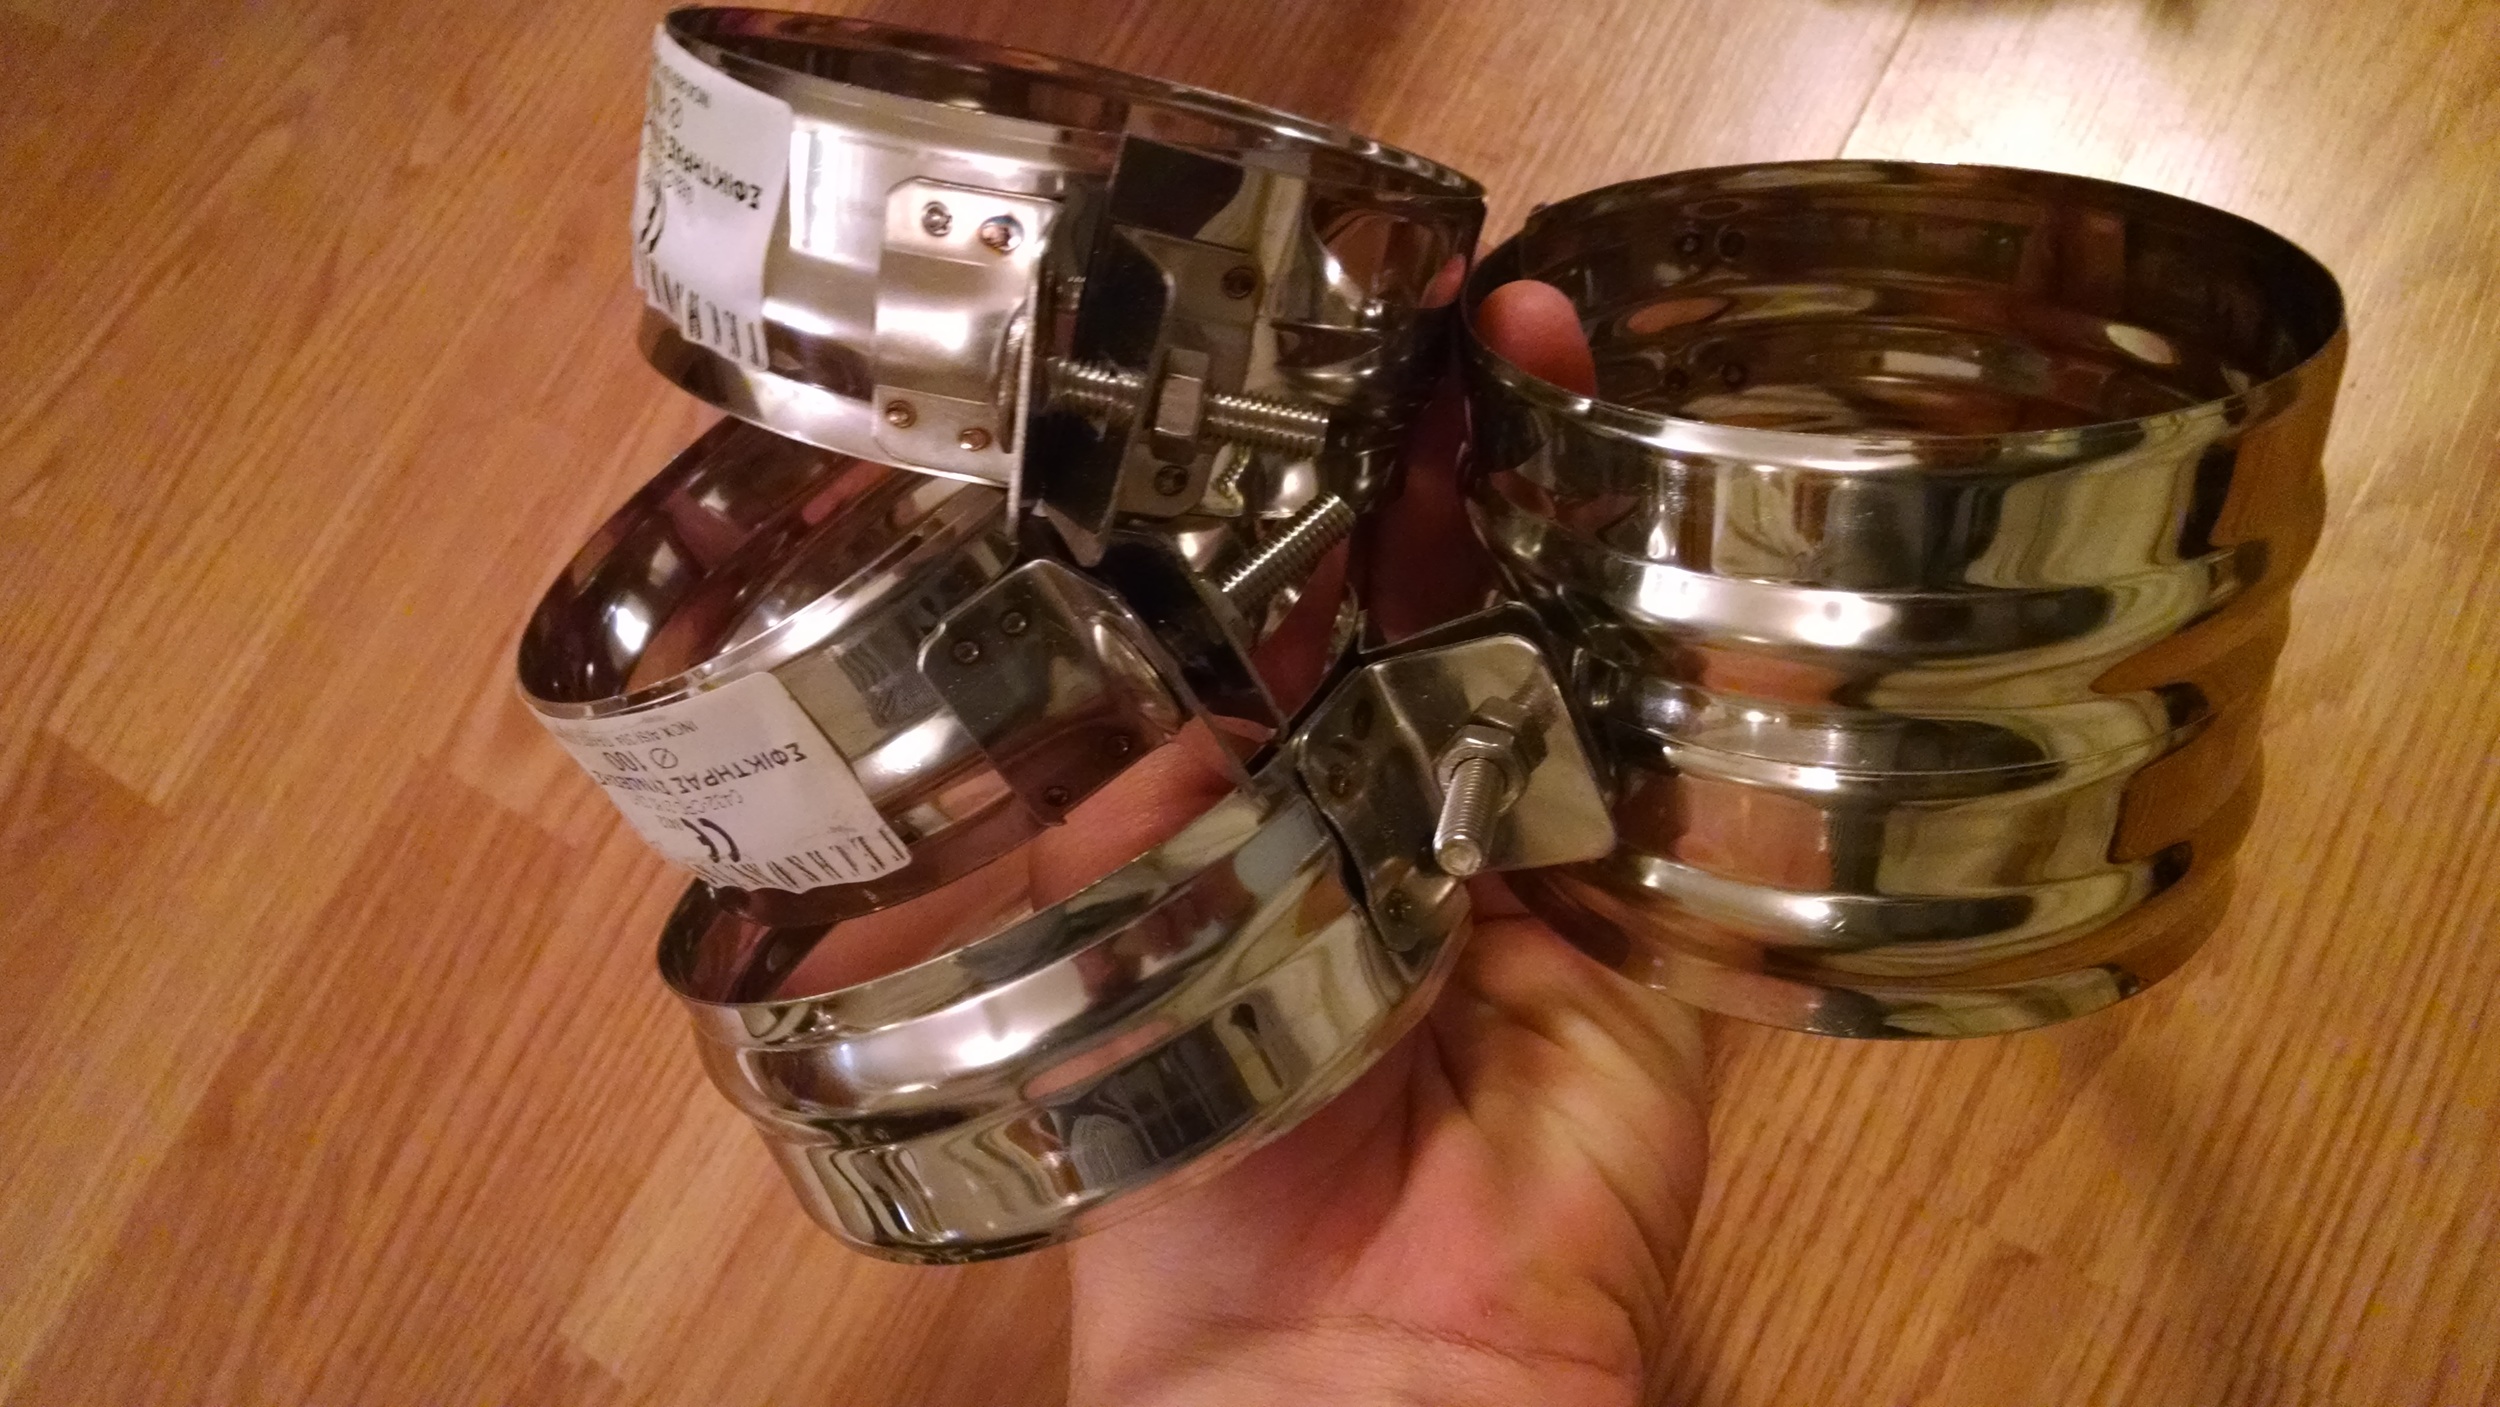
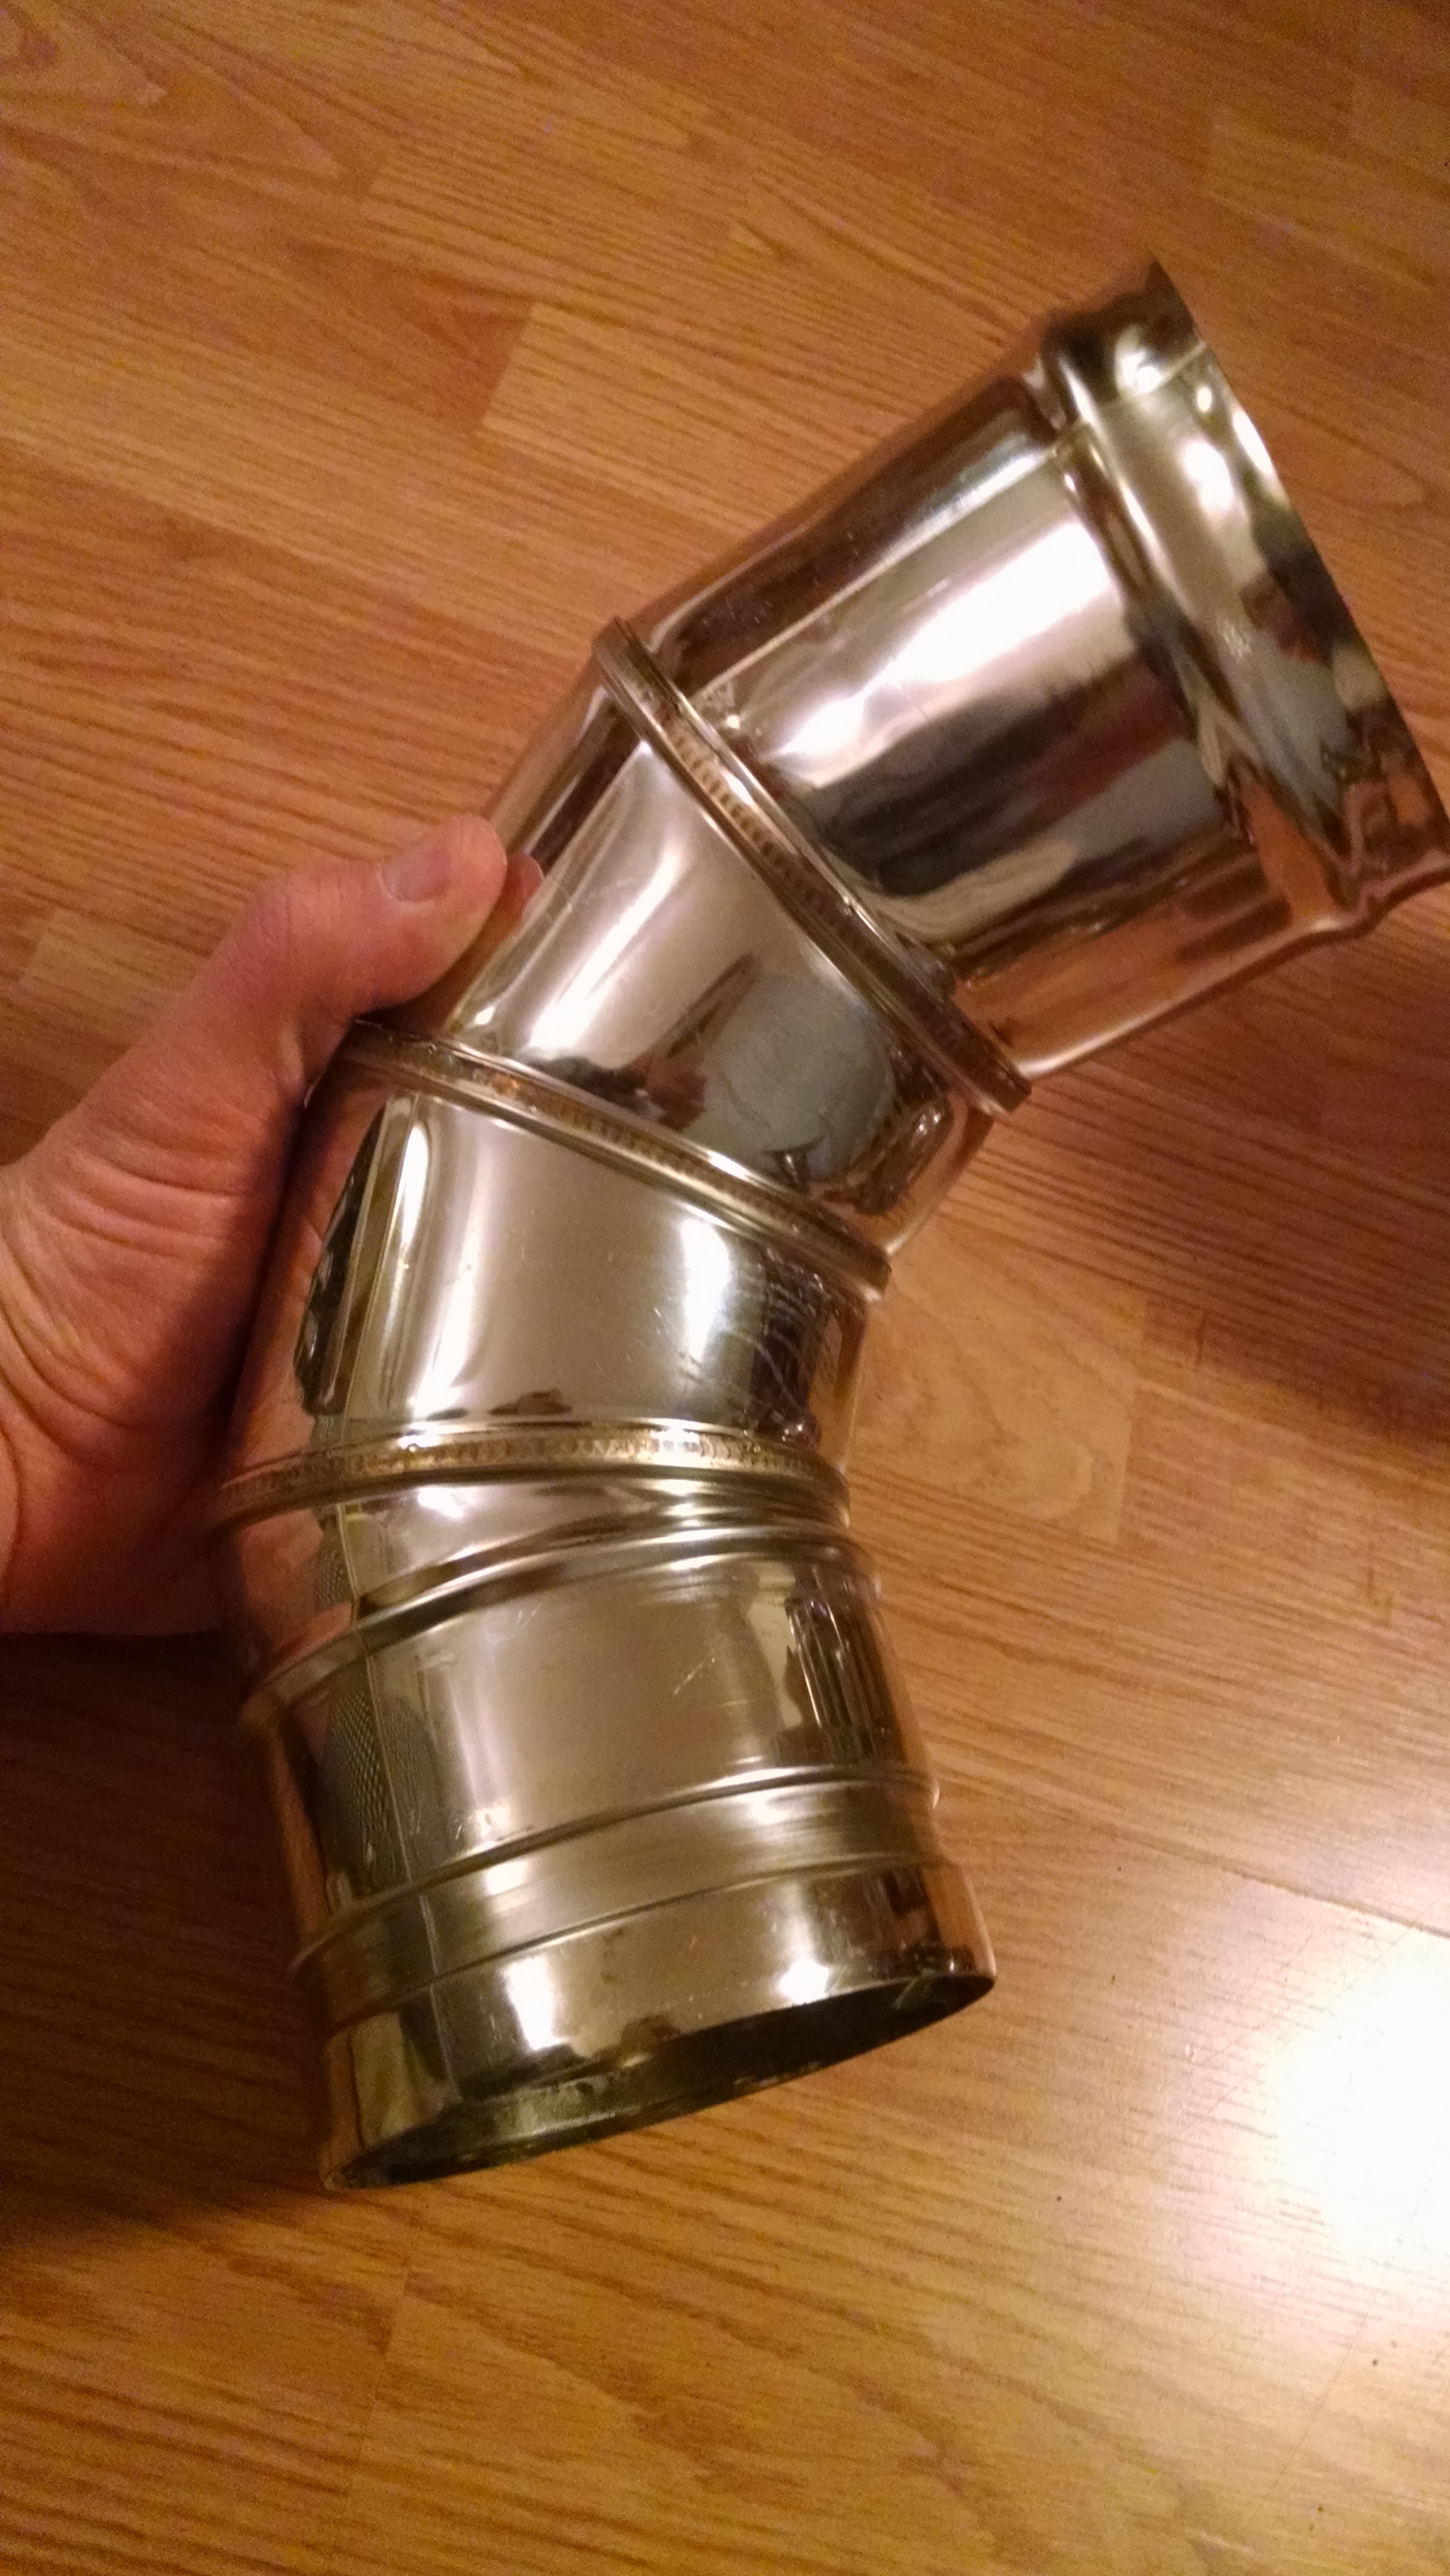
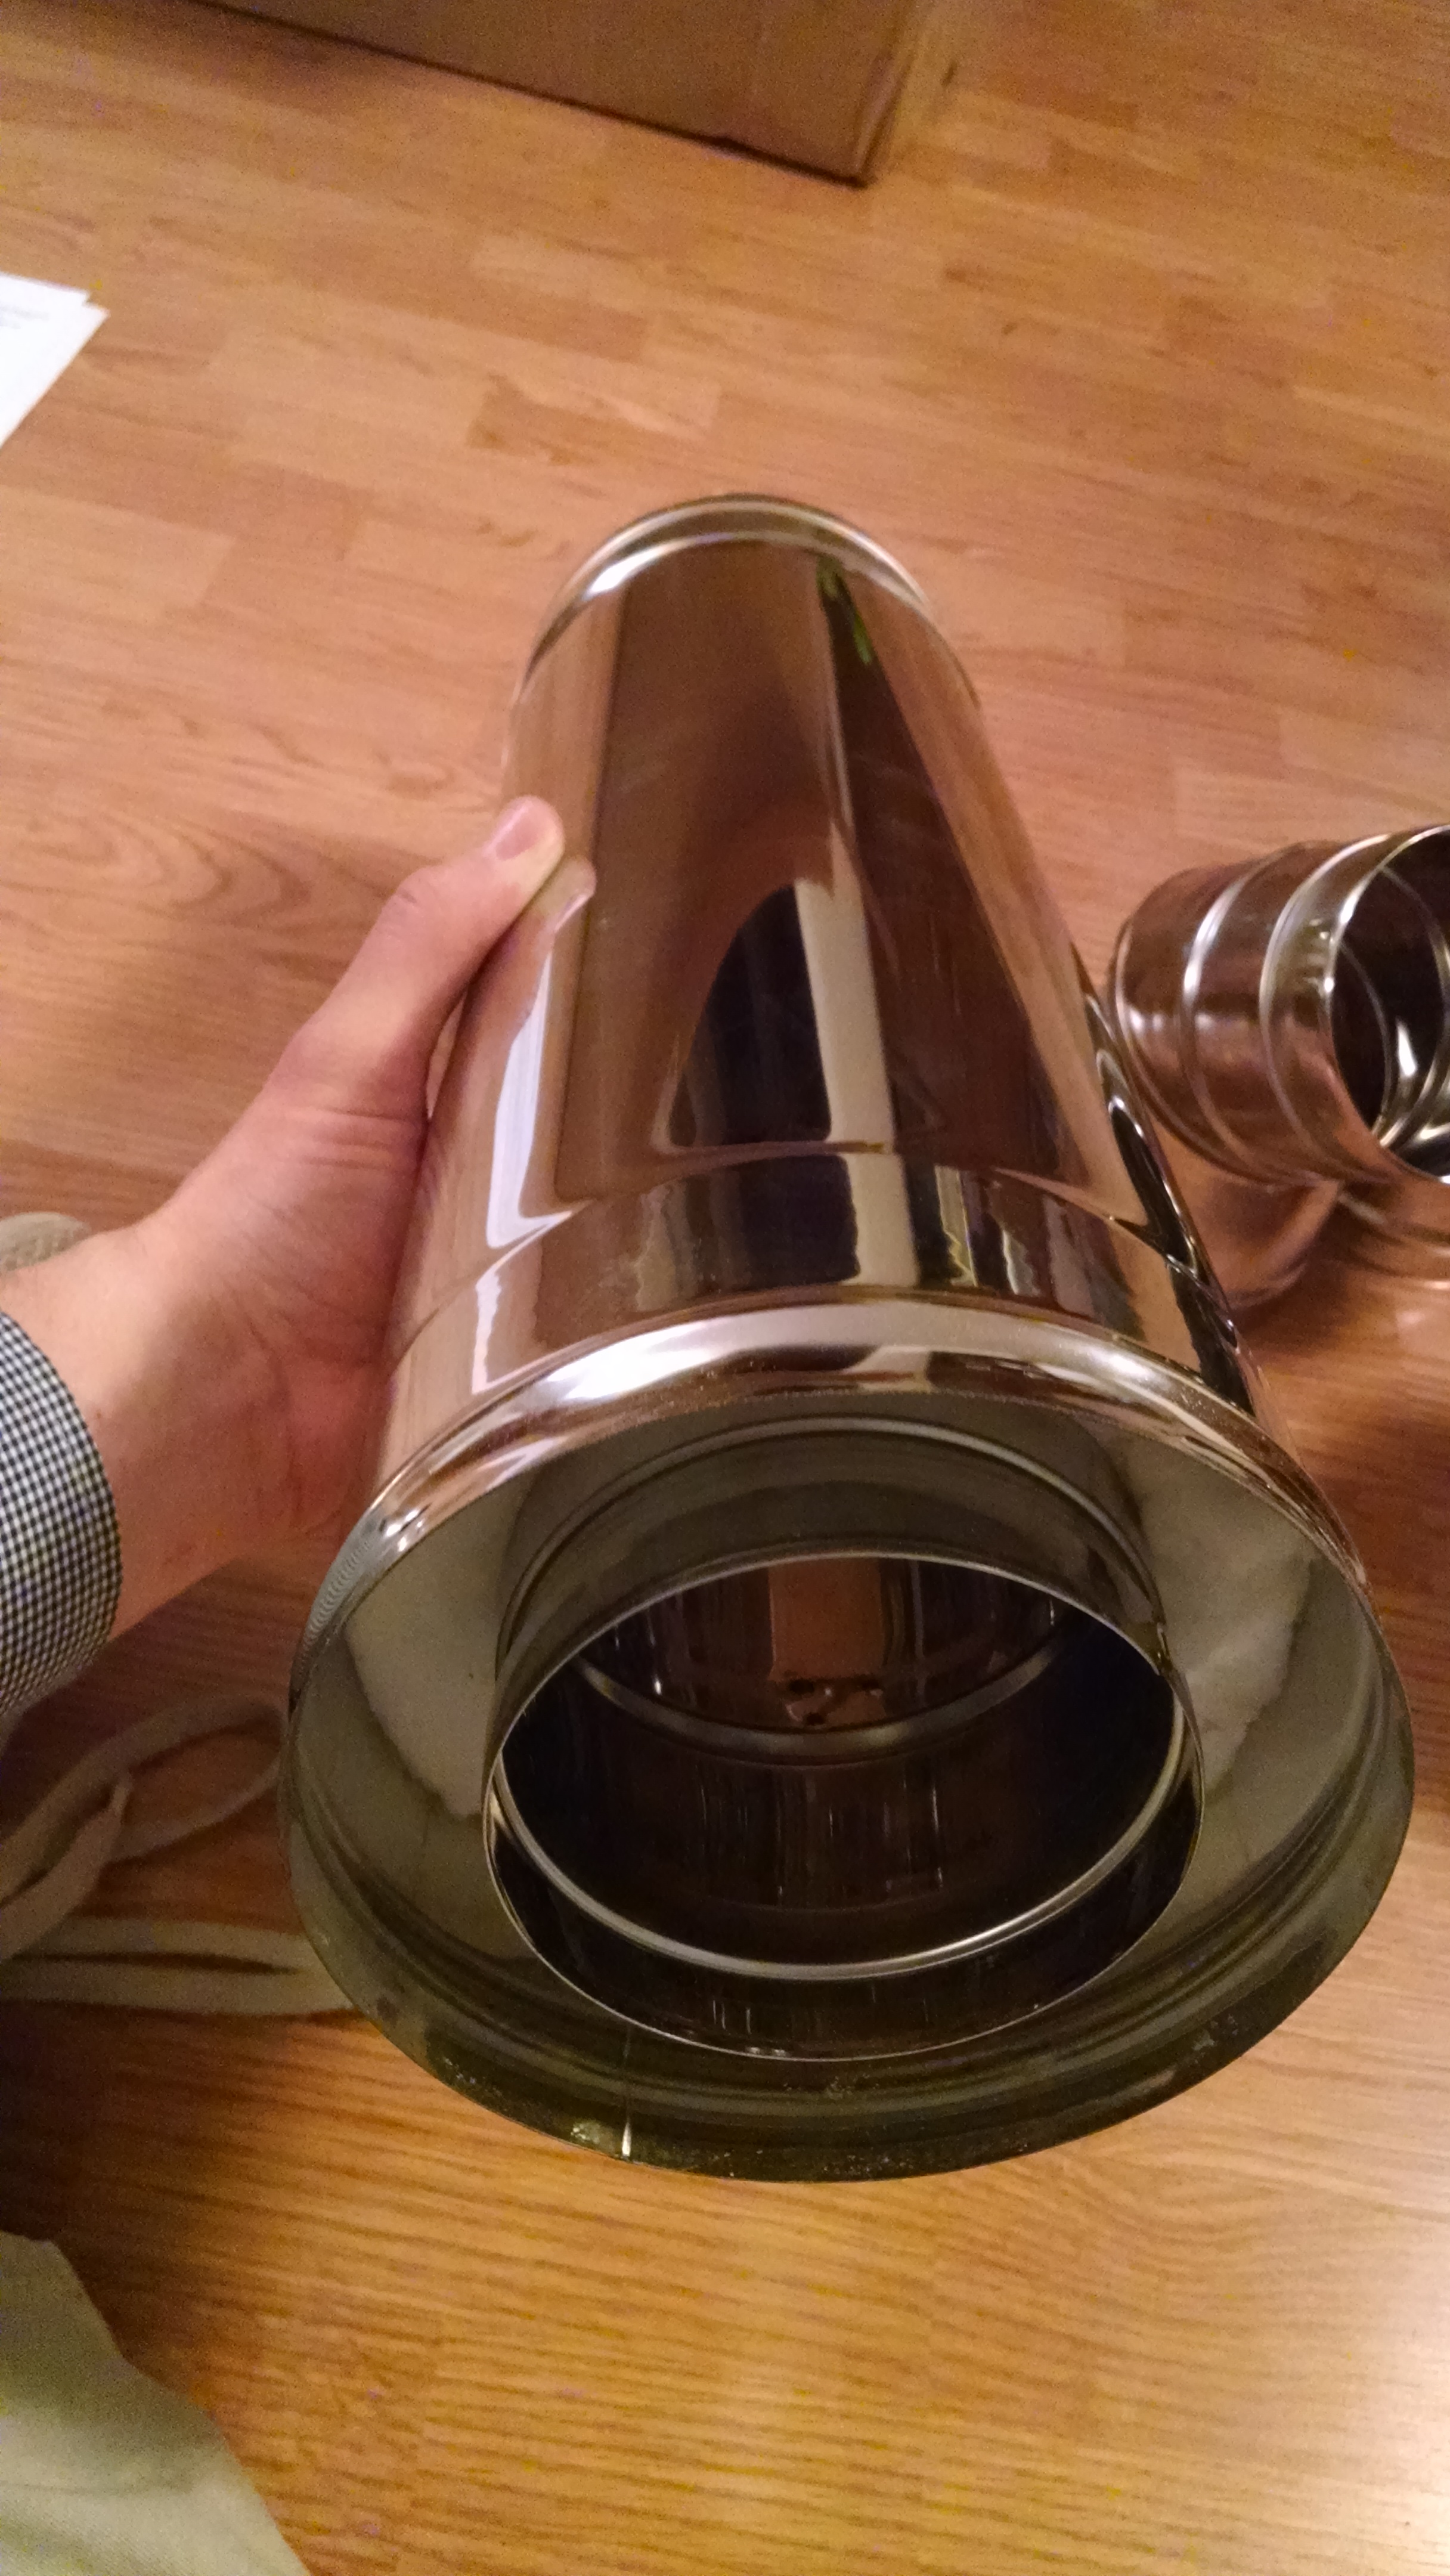
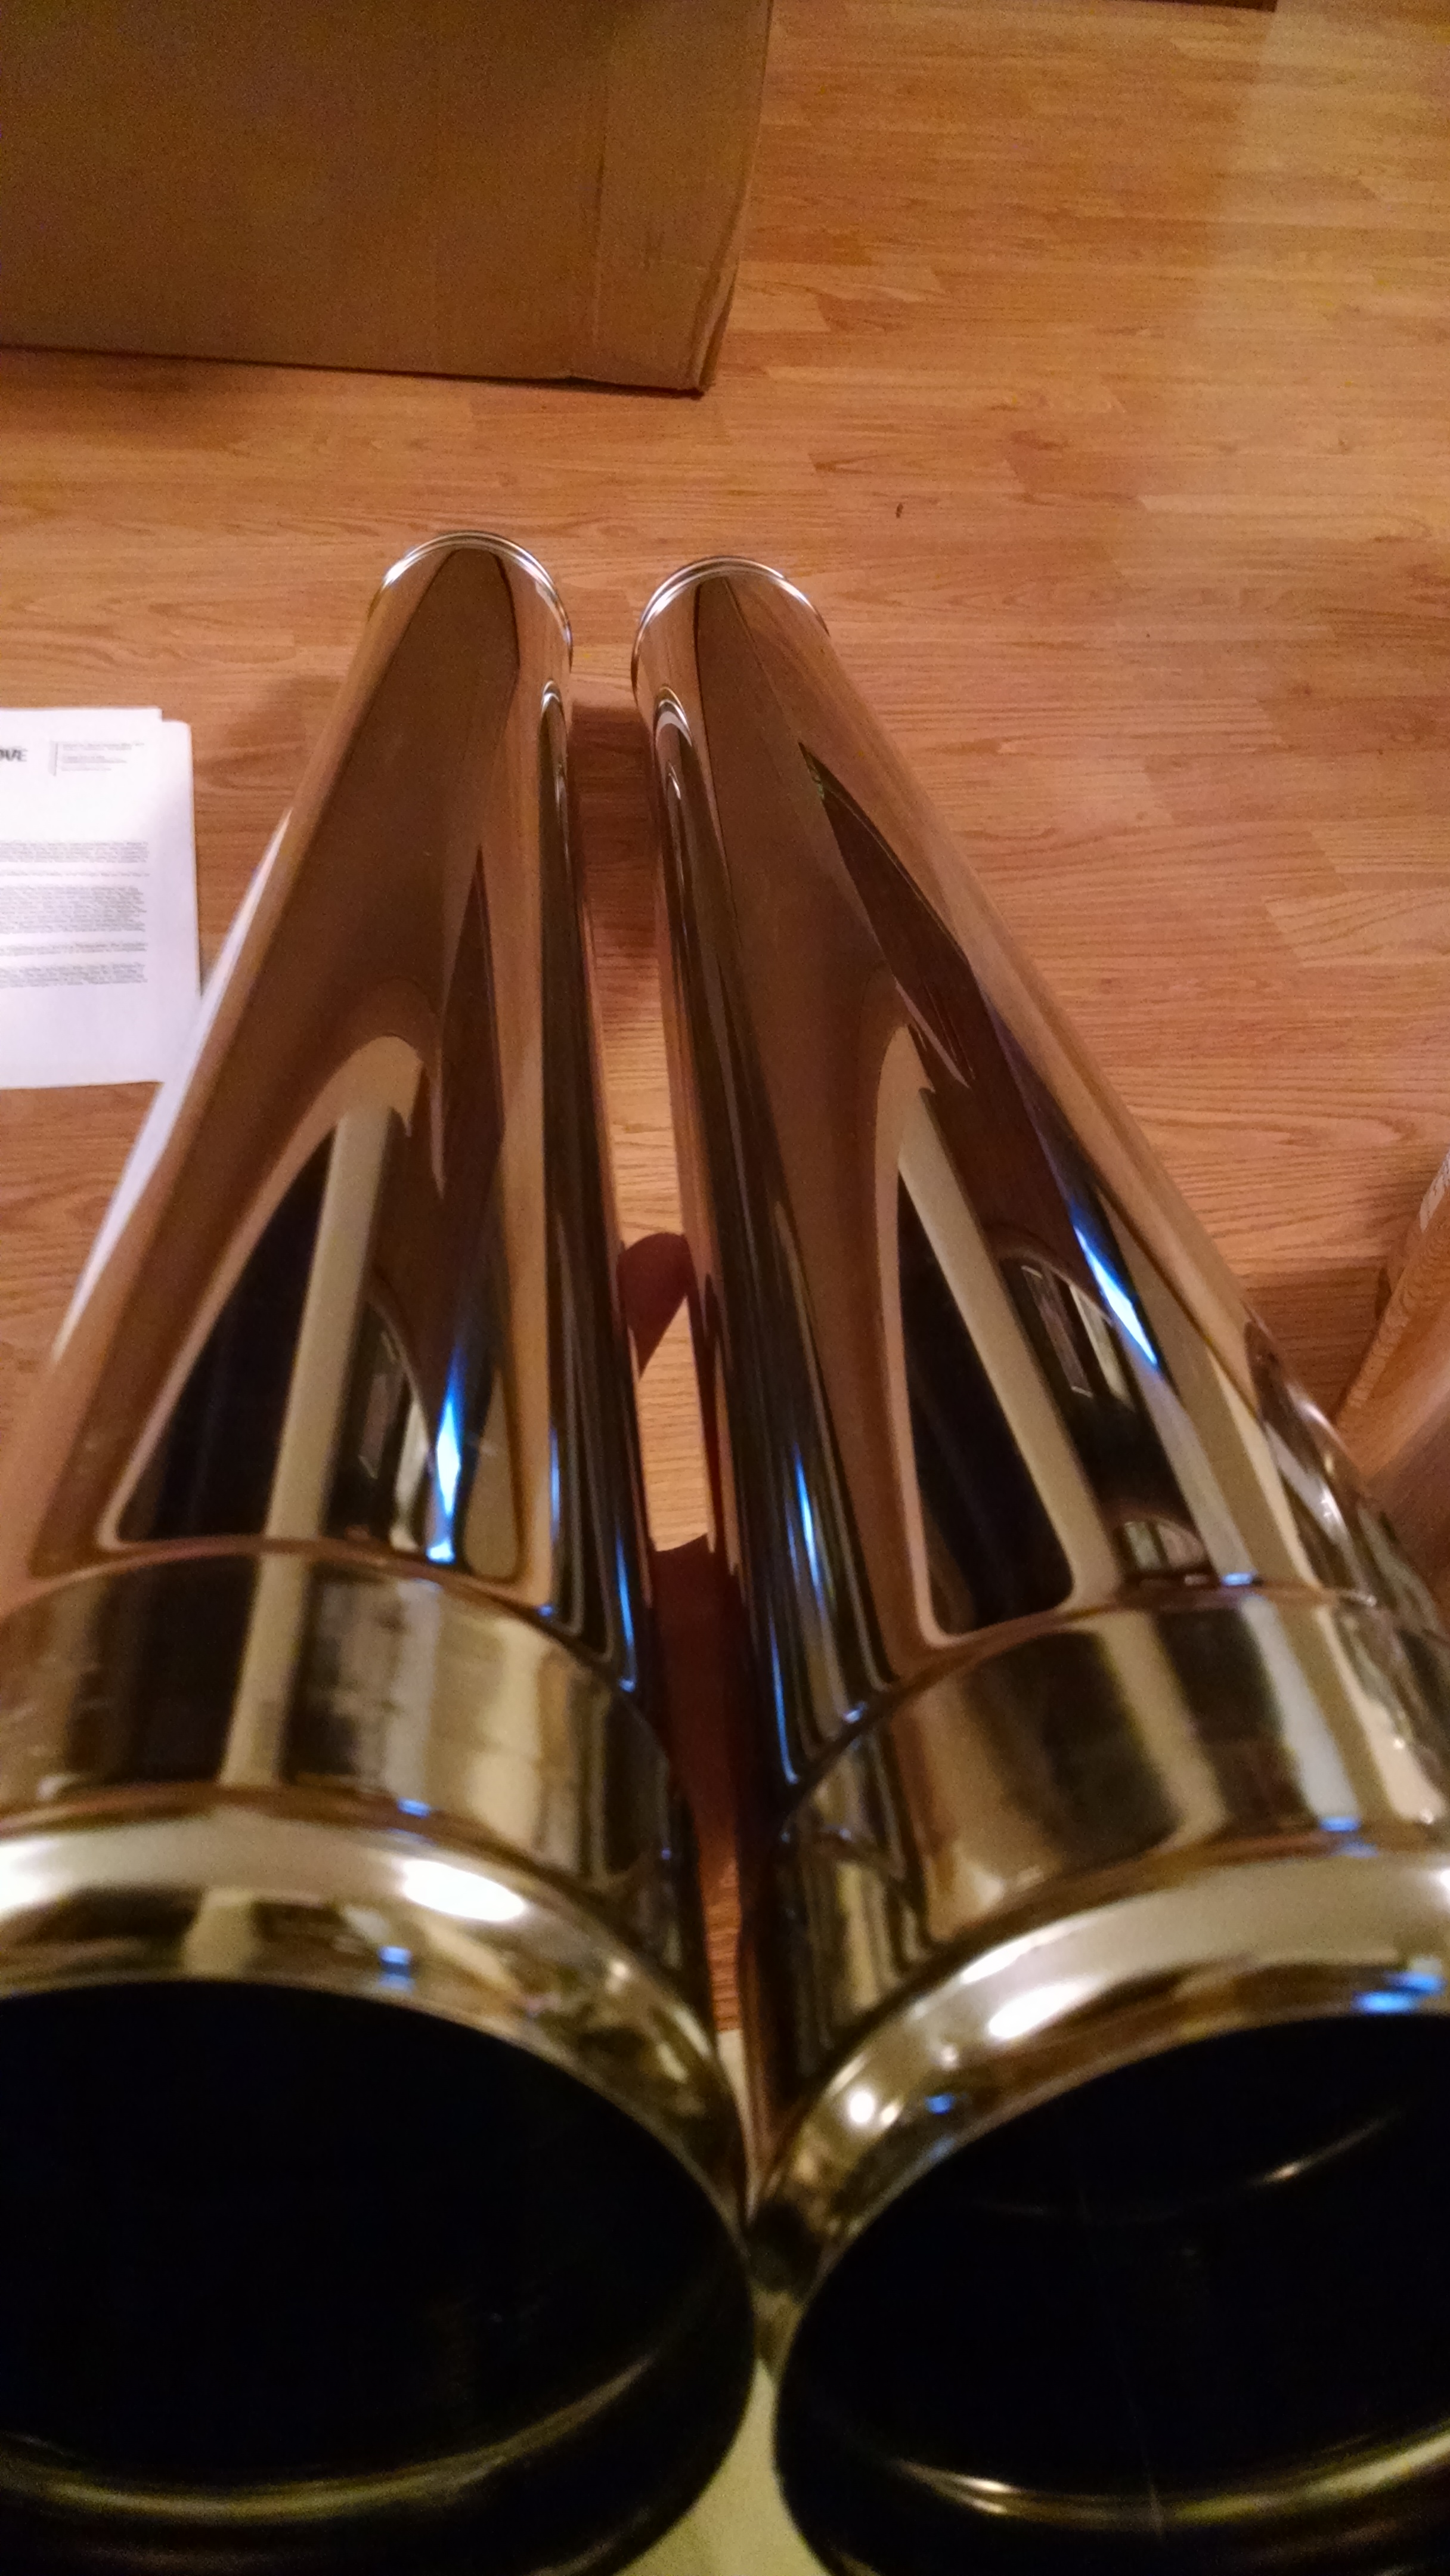
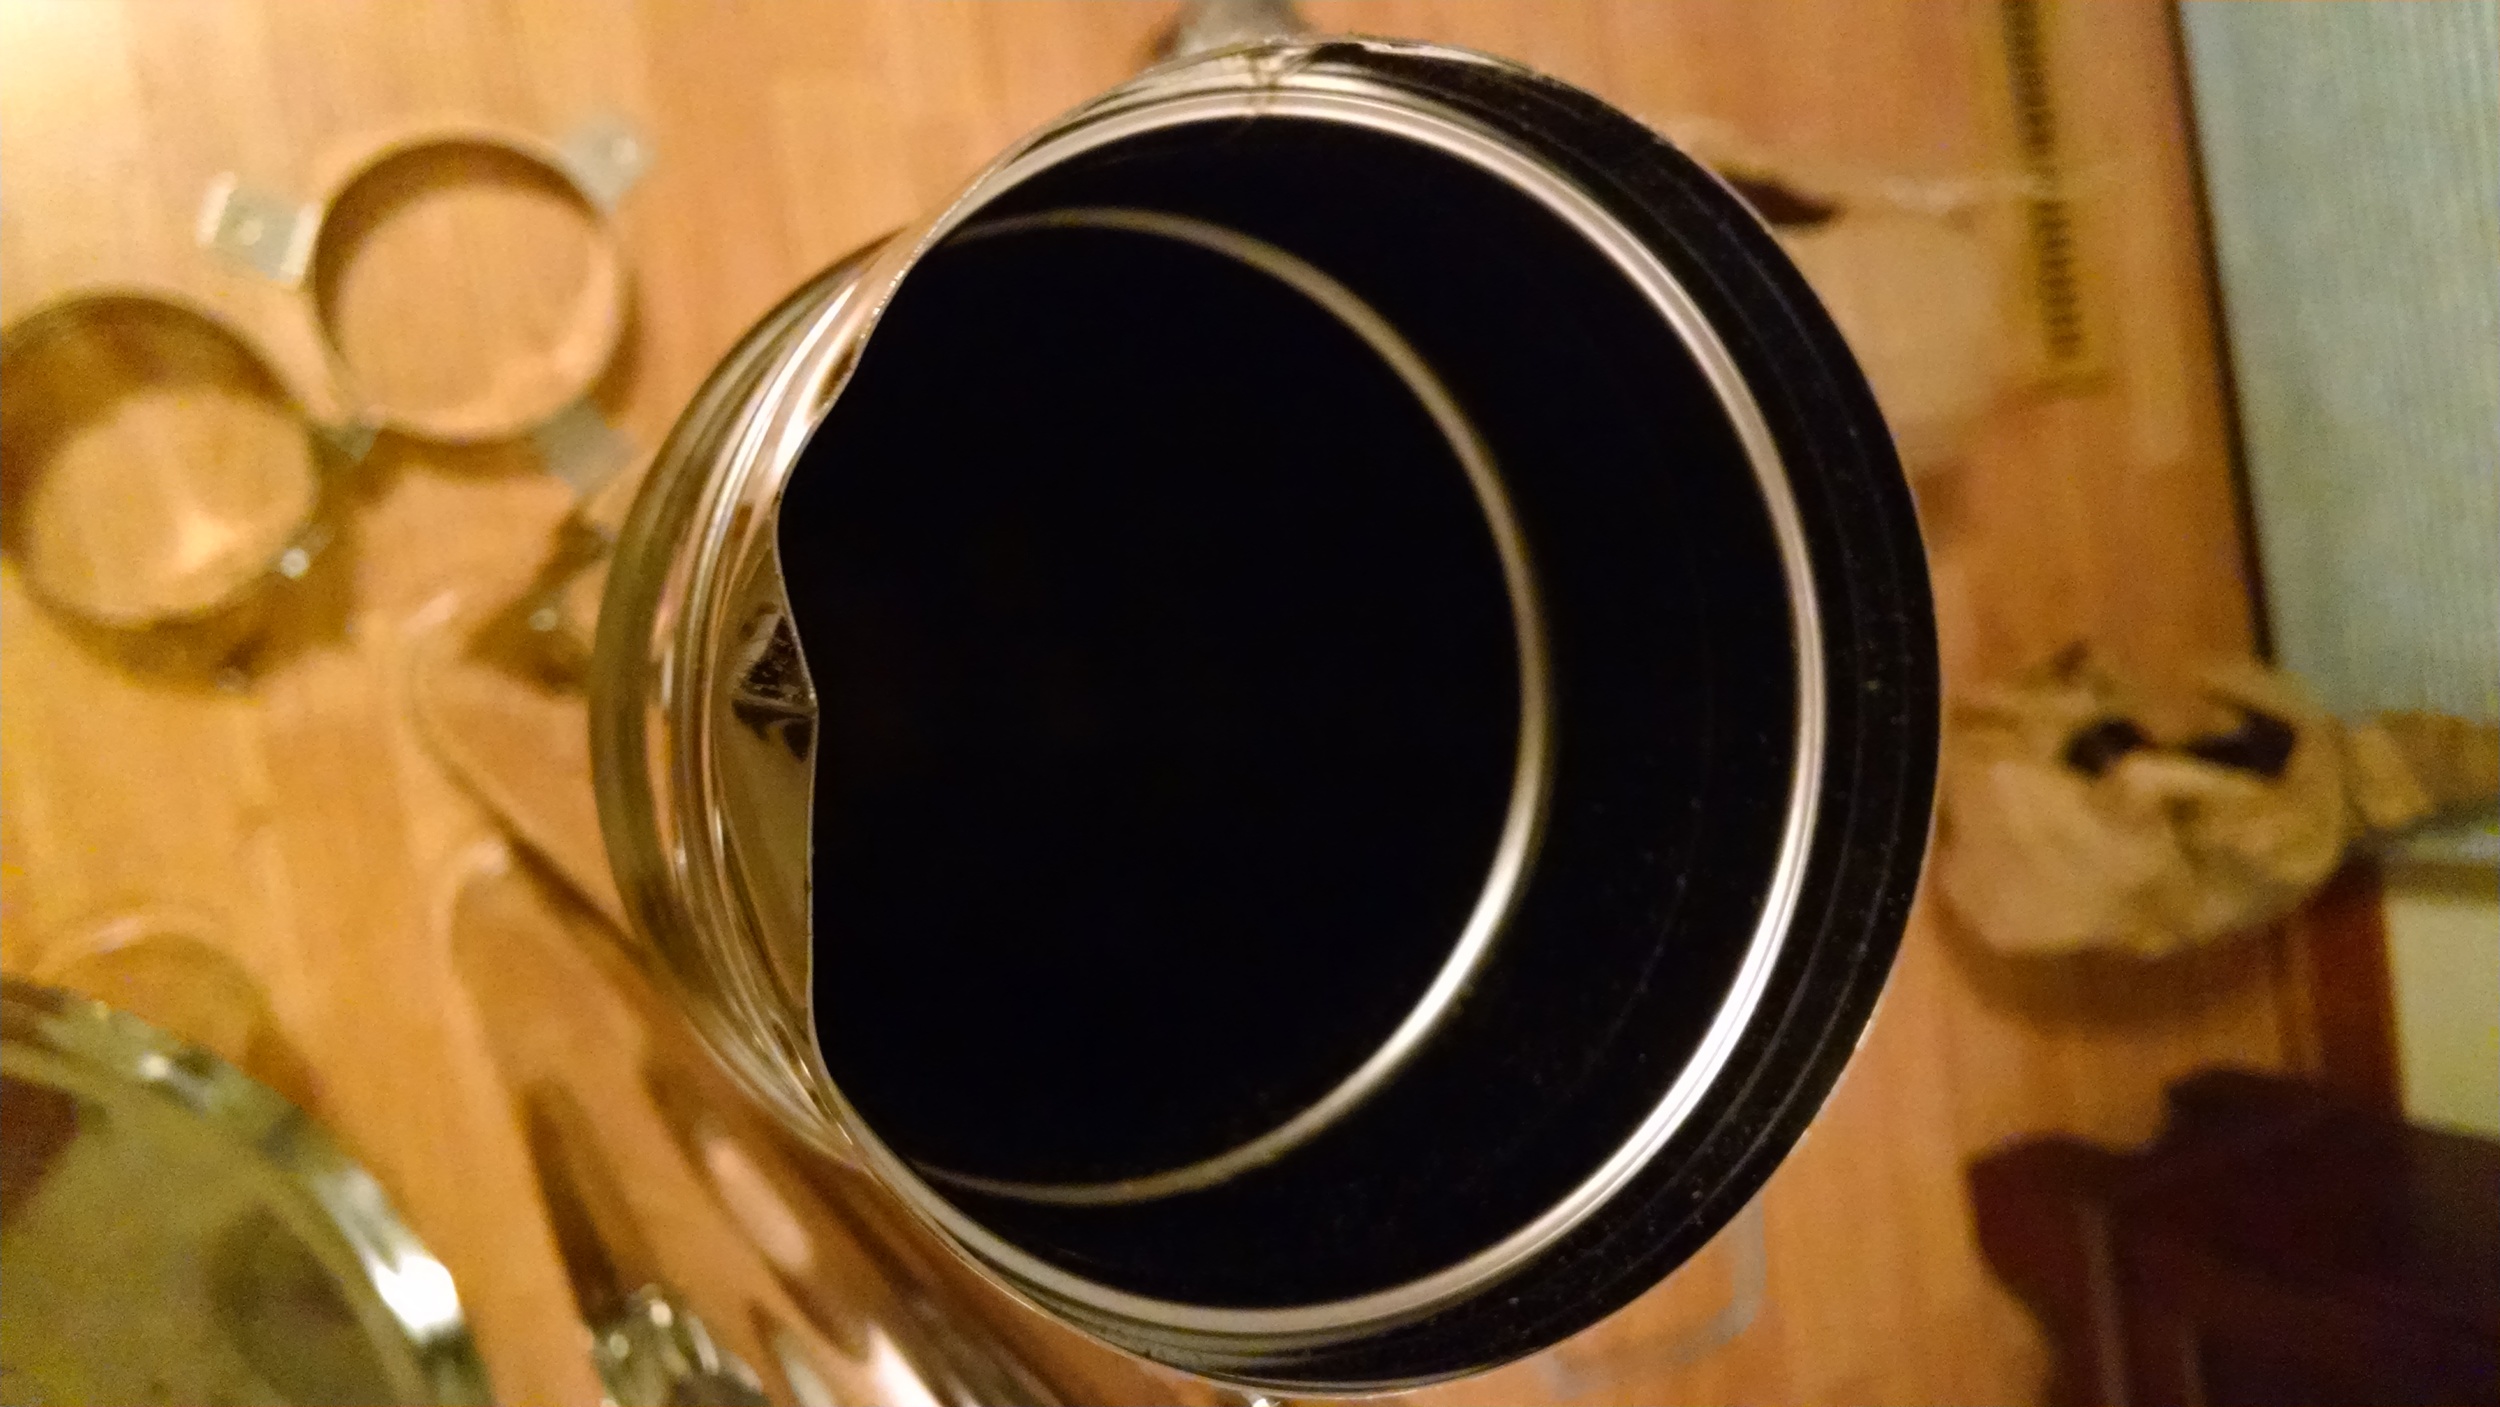
I trimmed a bit off the female end of the 90, since the flared end was a little large to fit into the stove.  I used one of the clamps as a guide when marking my marks with a sharpie, and I used an angle grinder with a thin blade to cut the pipe.  The cut end will fit into a factory female end, but a factory male end will not fit inside a cut end.  The hardest part was fitting the last piece of the assembly together.  Since the stove is bolted to the floor and the top of the flue is screwed into the ceiling, there was very little play to lift one piece over the other.  I ended up assembling everything up to the top and spinning the last 45 into place.  If you're doing one of these yourself, you might want to use a telescoping piece, or think about how you're going to accomplish the assembly of the parts before you bolt both the stove and the double-wall pipe into place.

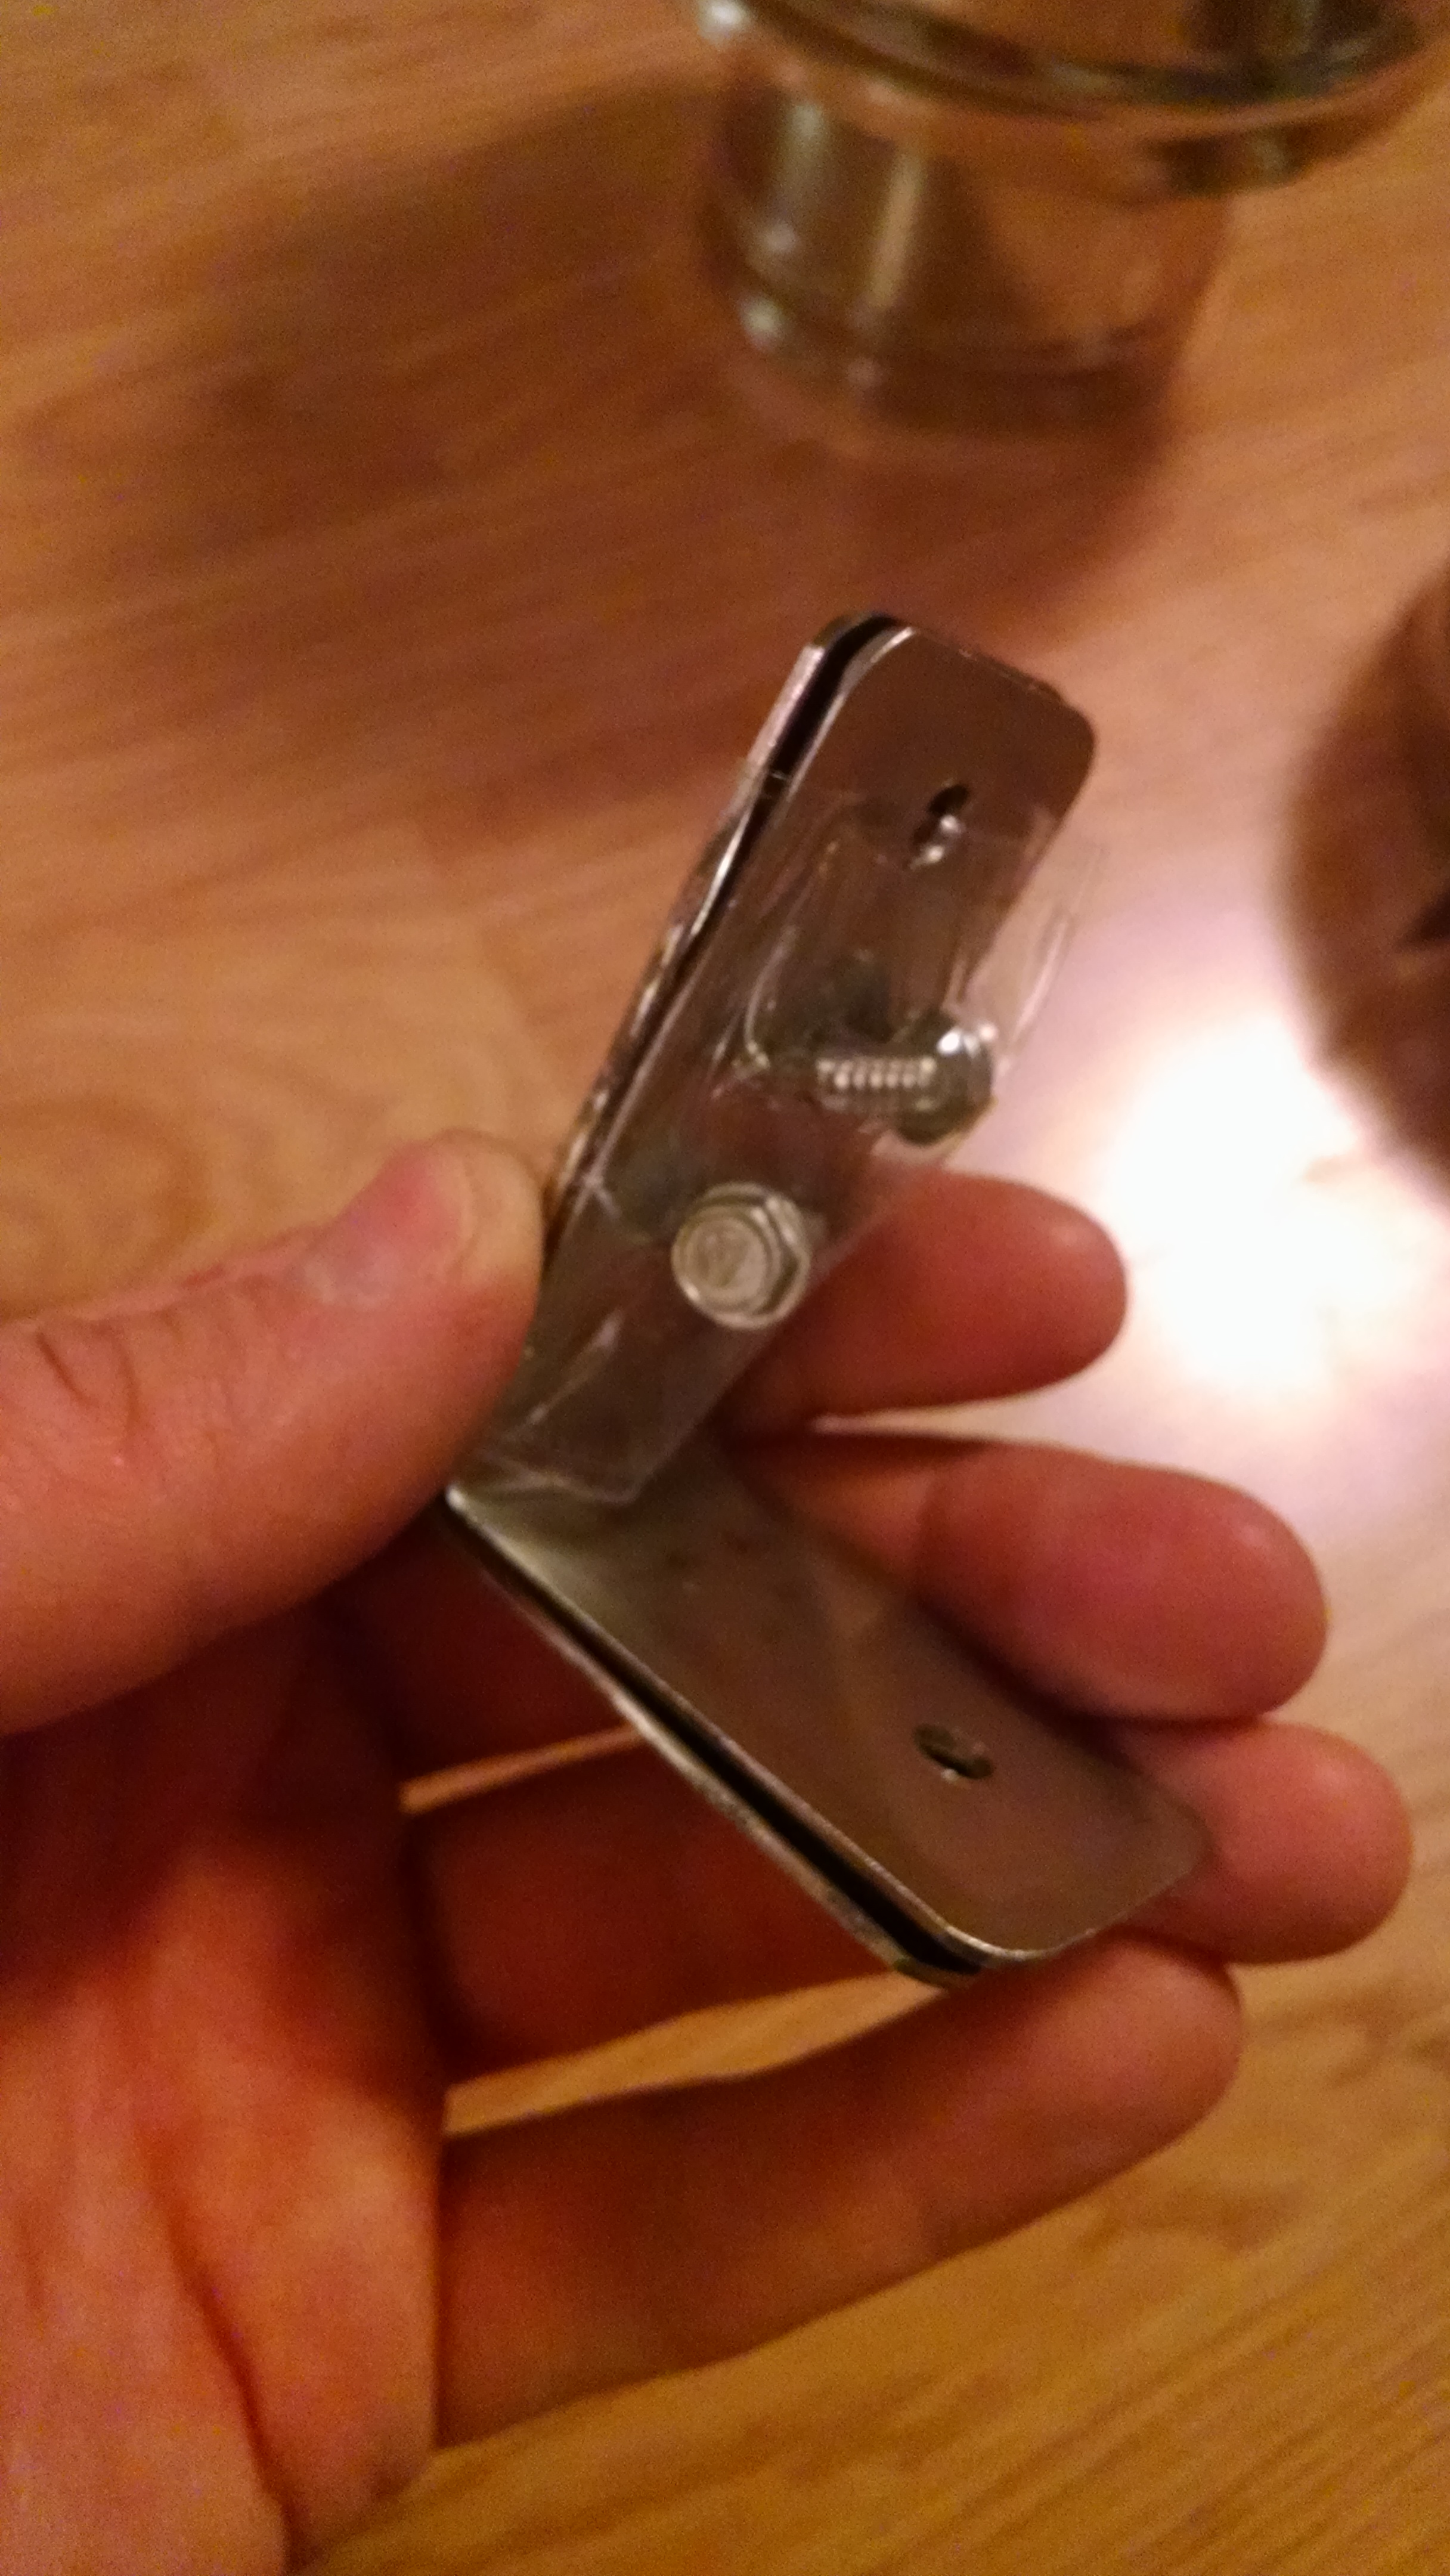
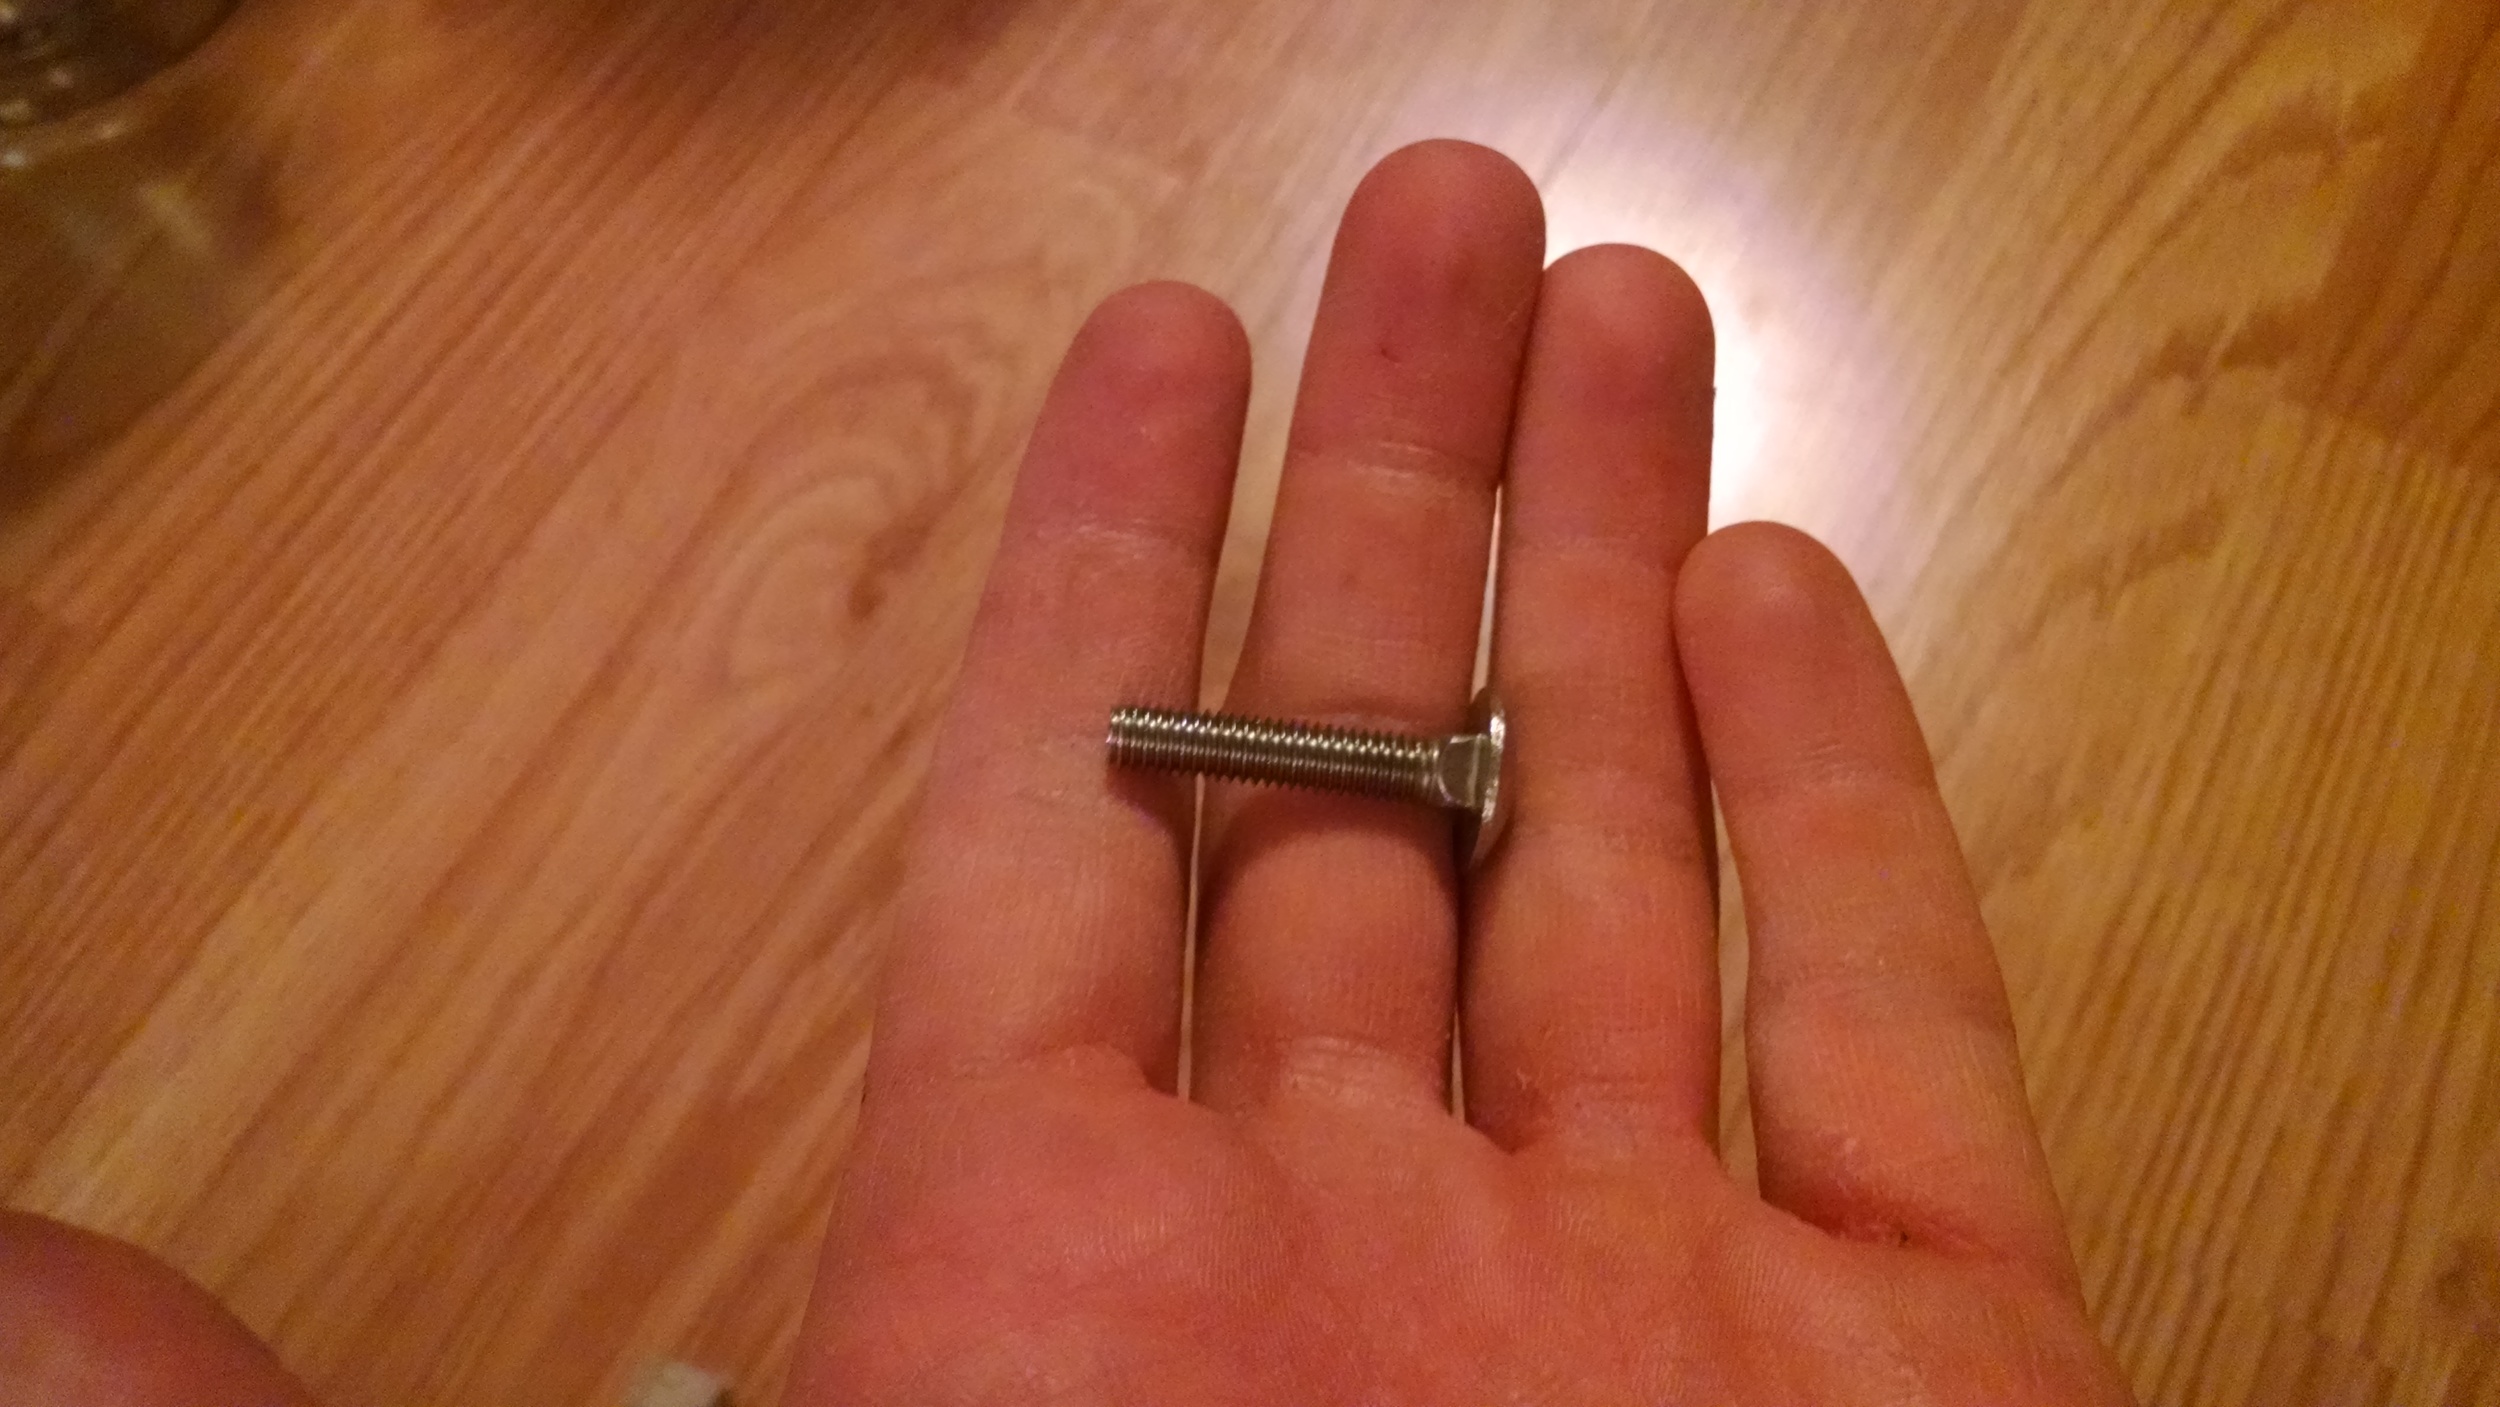
I used four SS screws to secure the 90 in the back of the stove along with stove cement I picked up at the orange box.  I don't know if you're supposed to use screws in addition to cement, but I wanted a little extra assurance that things would stay put.

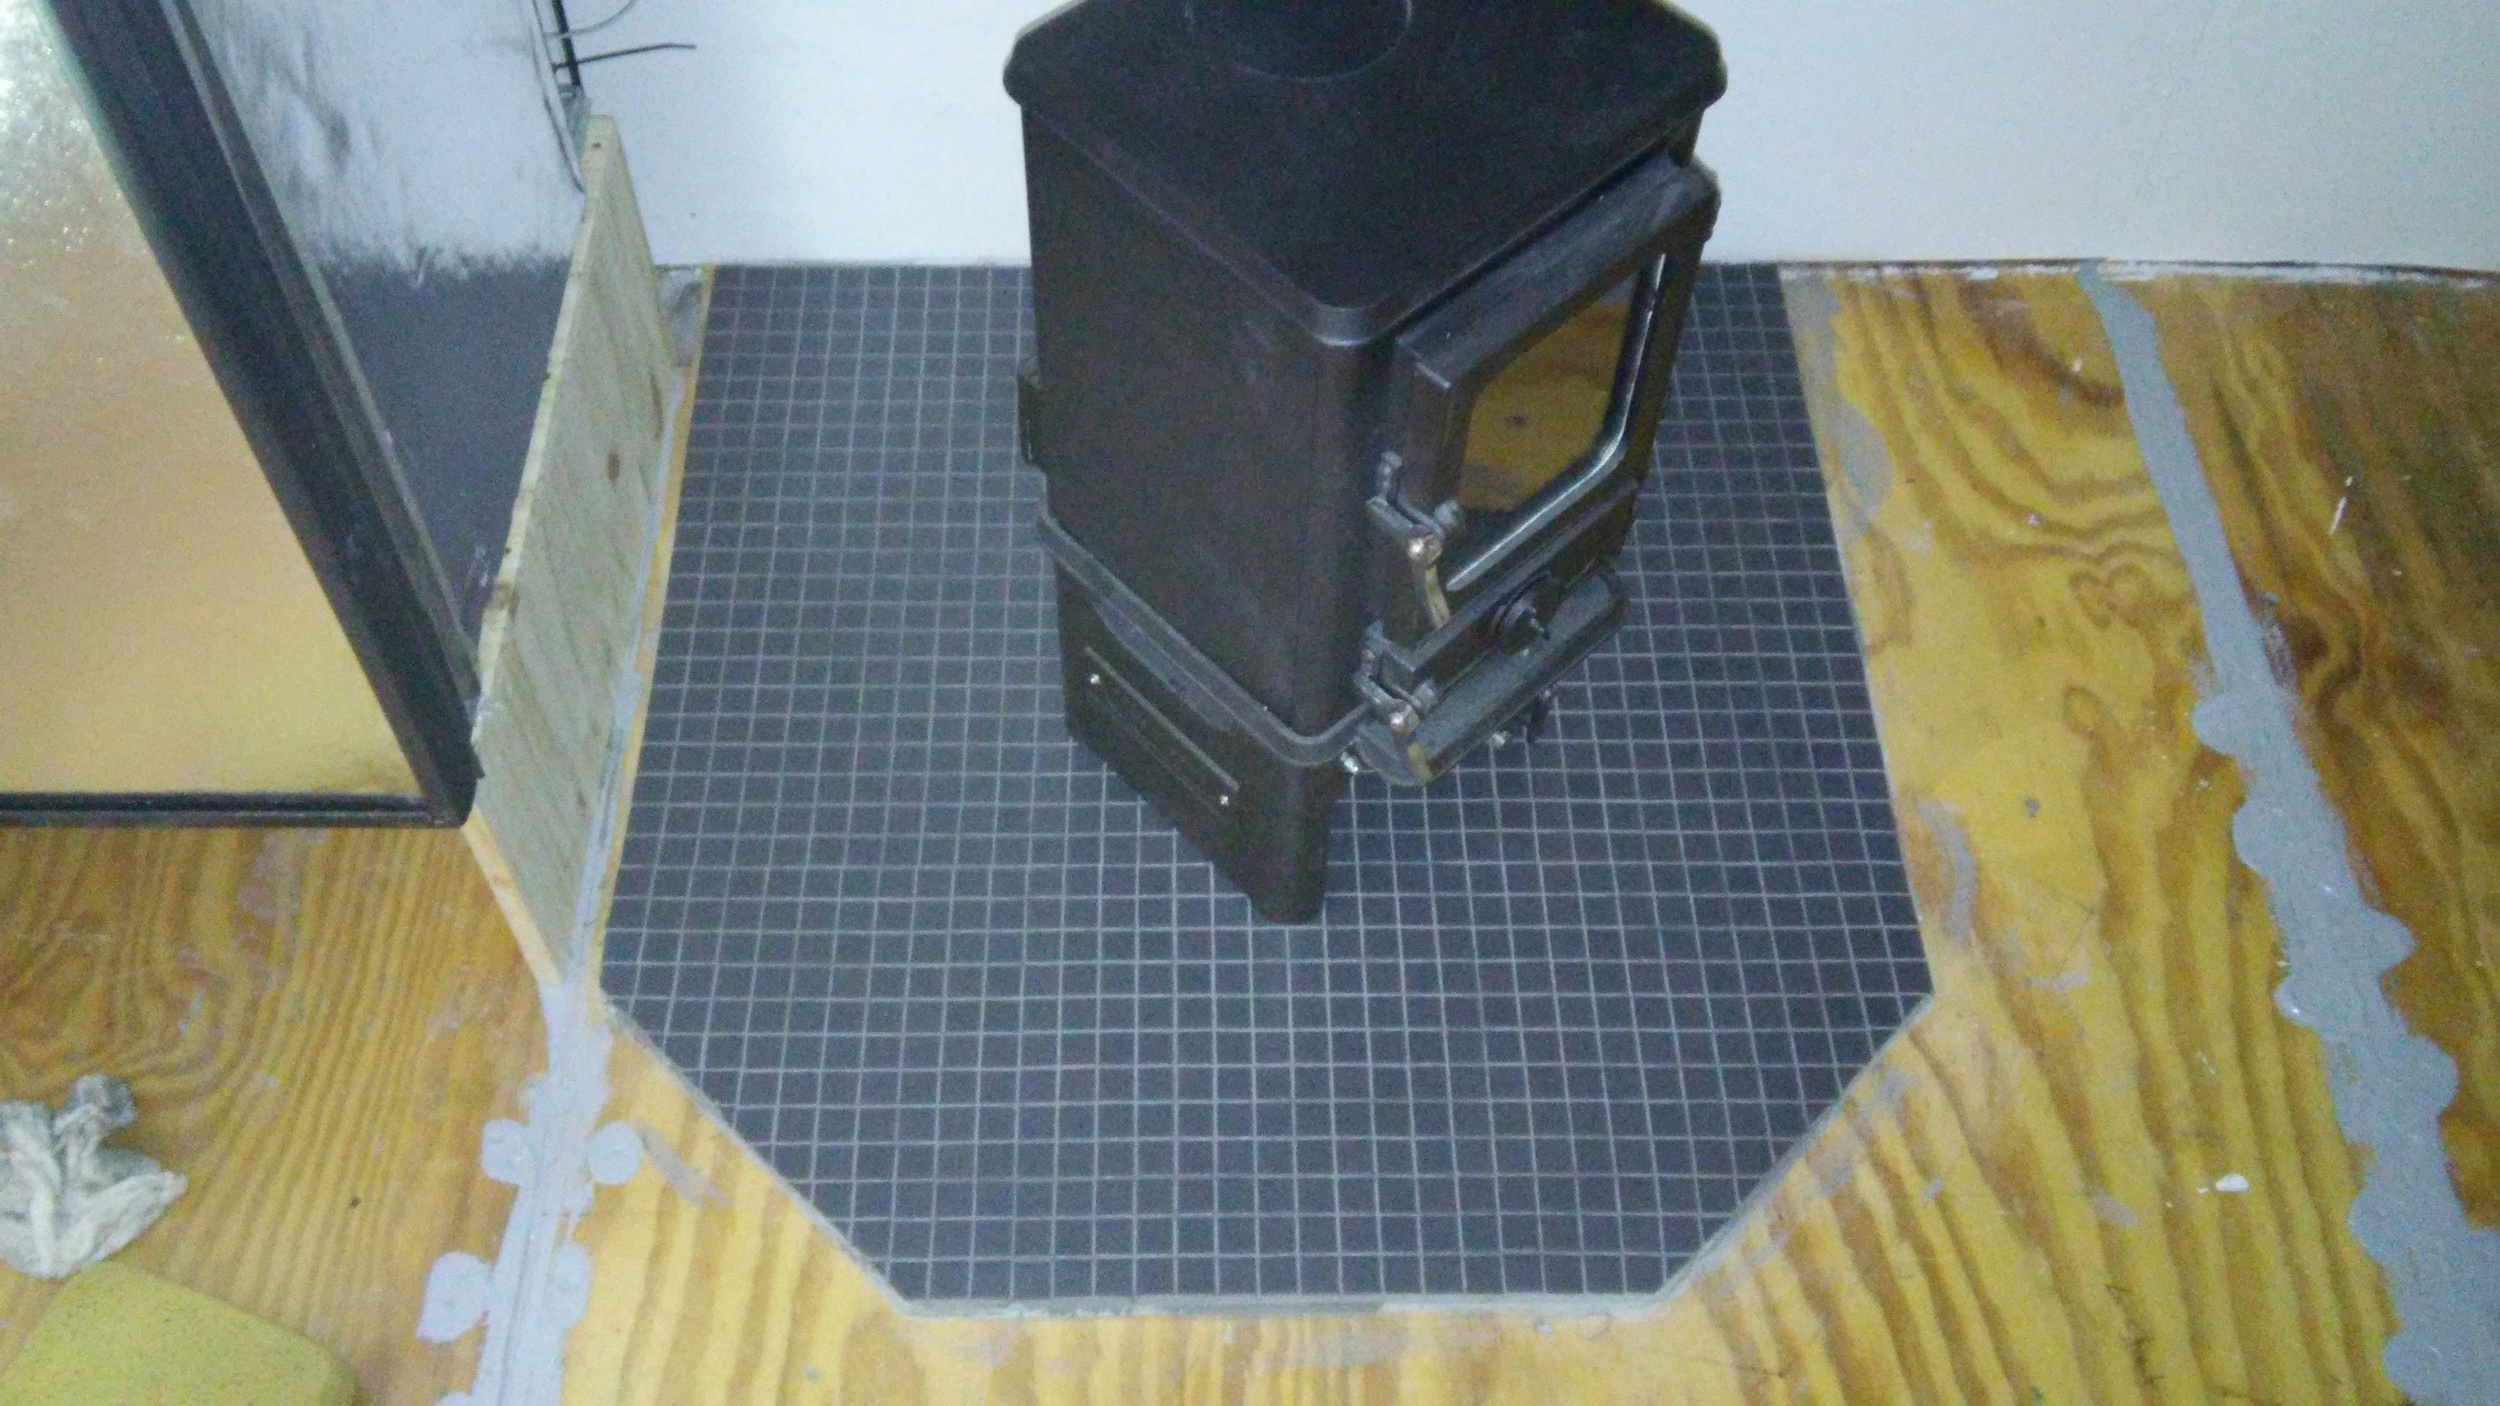
Now, before the stove police comes and tells me that you should never, never, EVER use a 90 on a rear exit to a stove because it doesn't allow access for cleaning, let me say this: "Nuh-uh."  The firebox in the stove comes out and allows access directly into the 90, so you can clean and inspect it just fine without disassembling the flue.  The access from the top should allow me to get down to the 90, and the access through the stove should allow me to get the 90 itself.  It's not an ideal configuration, but it'll be fine until my tee comes in.

Time for the first fire.  

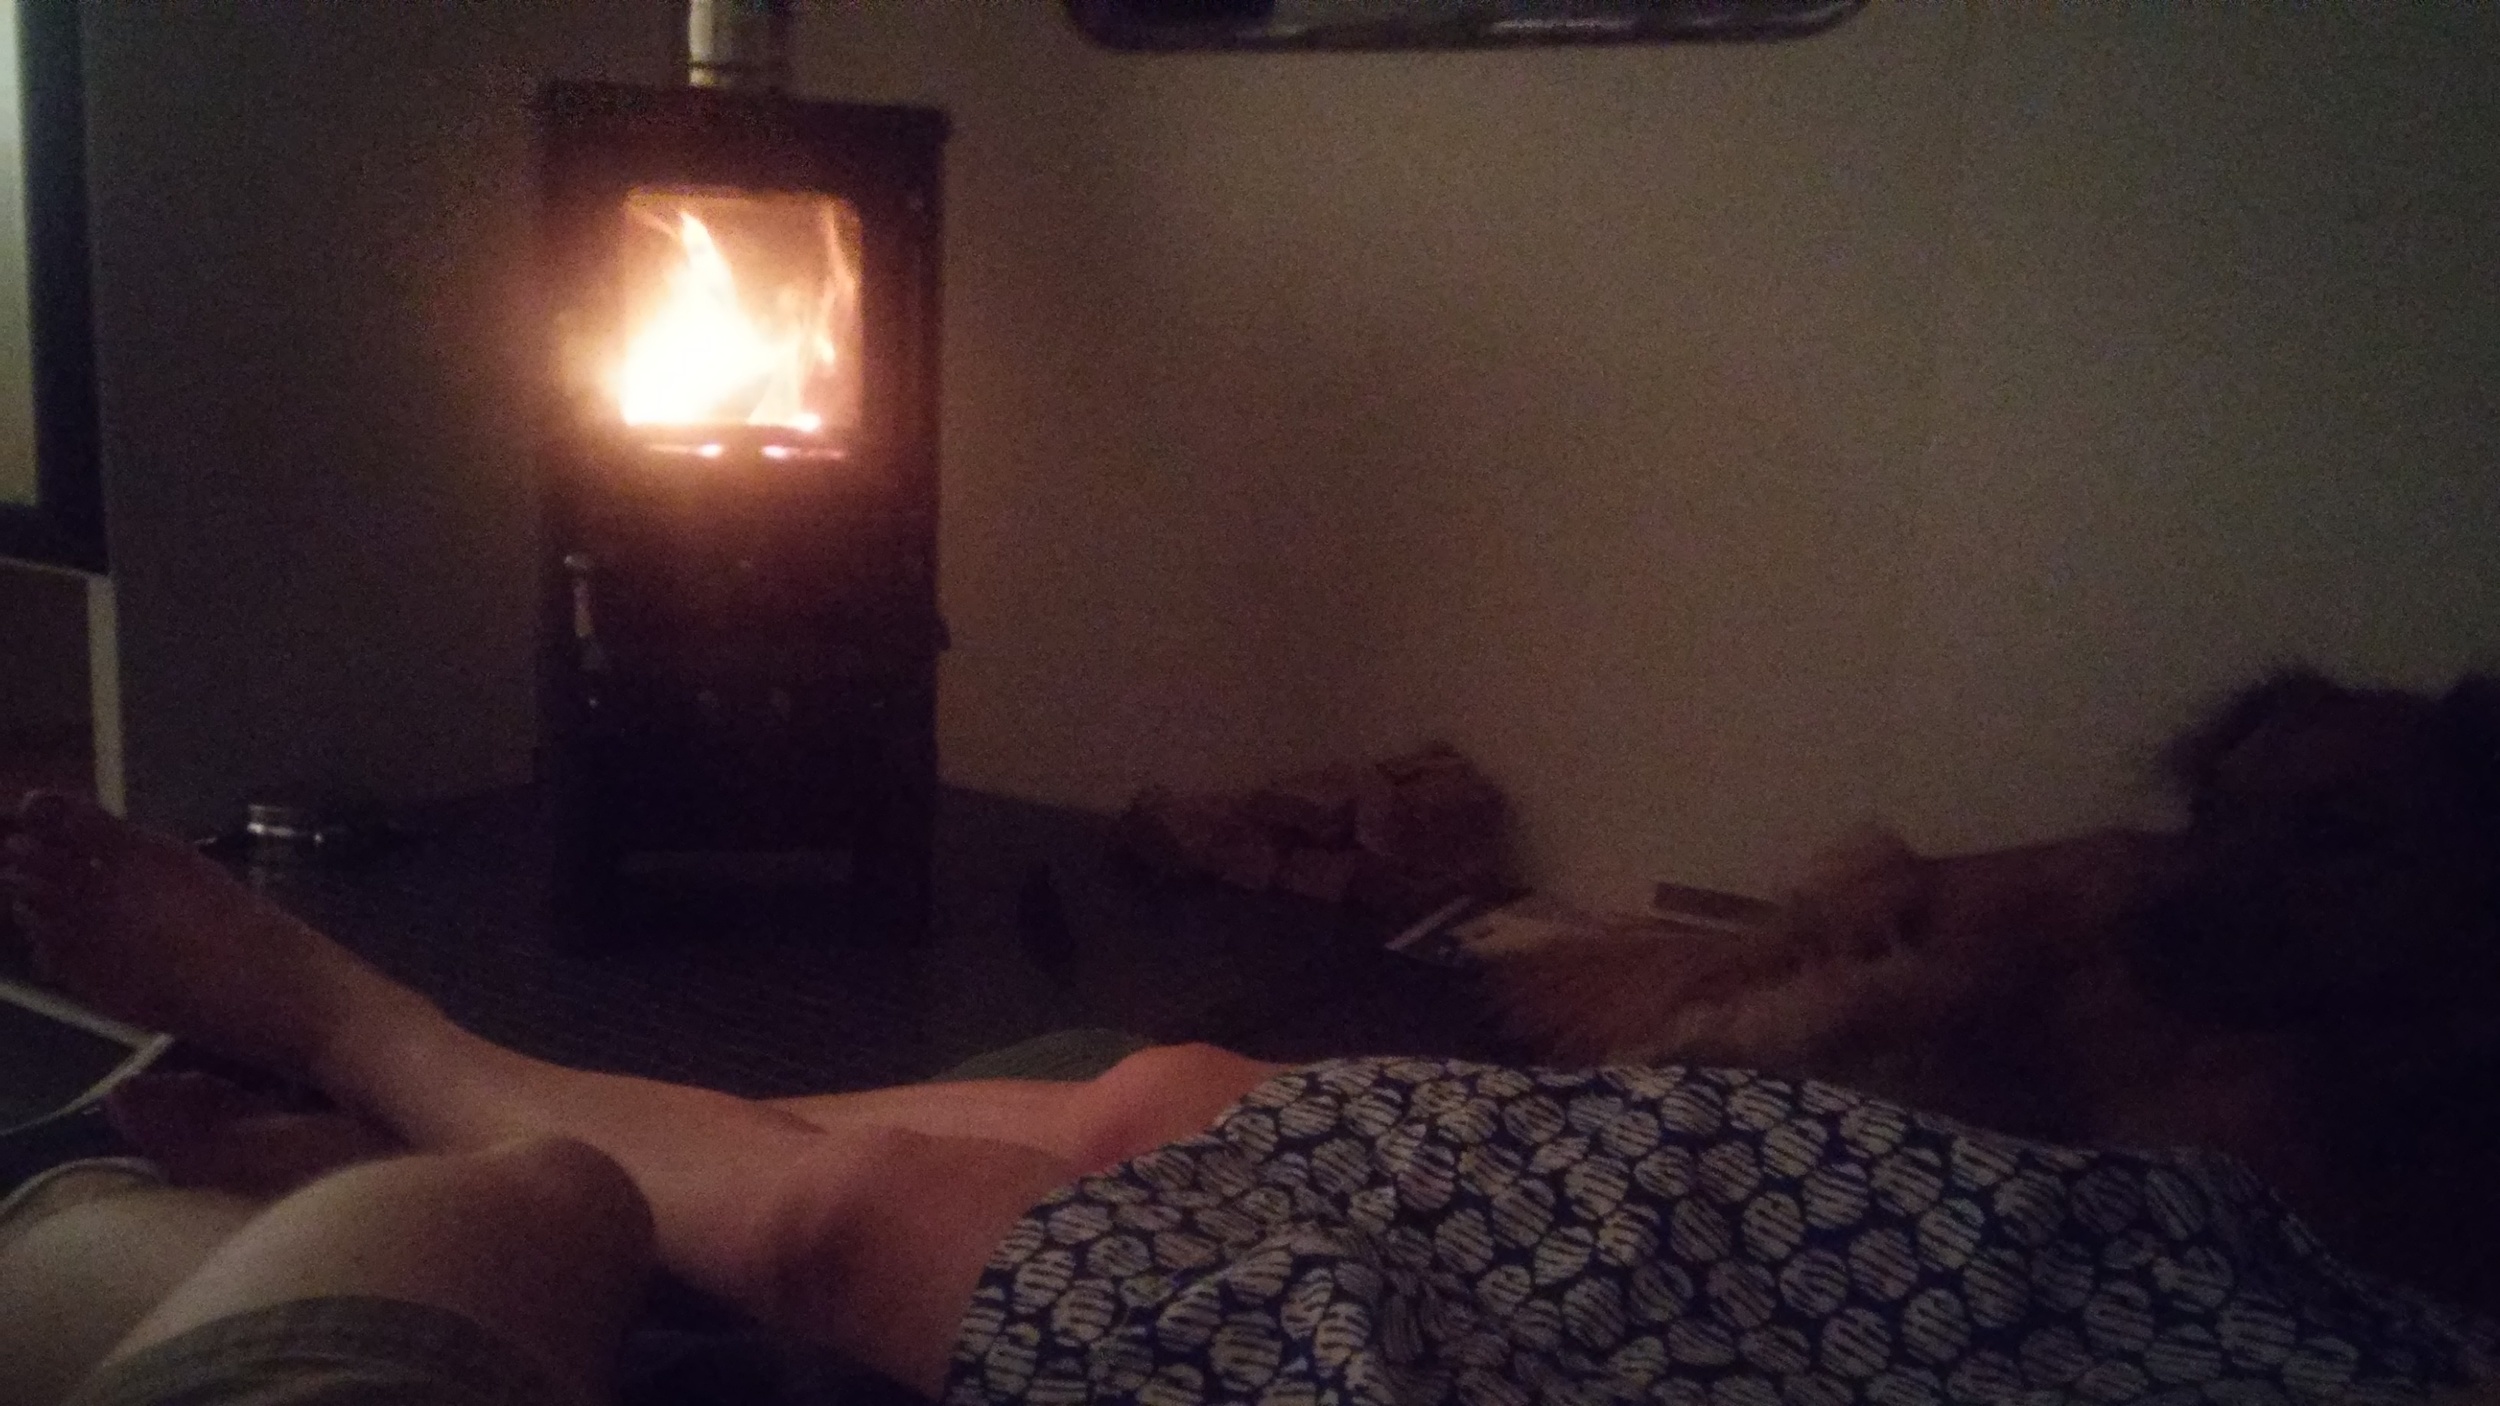
The Hobbit stove and the Tiny Wood Stove flue kit work great.  It was a bit surreal to be lighting a fire inside the Airstream, but with my clearances and the large hearth, it felt totally safe.  The heat shielding isn't up yet, so I need to be extra careful when using the stoveI have a minimum of 9" clearance, which will be proper once I have a reflective heat shield in place.  The hottest part of the wall behind the stove only got barely warm, so I'm pretty comfortable with this arrangement for the honeymoon.  I'm just hoping for some cooler nights.

Hearth Install

The hearth for the stove needs to meet some minimum requirements for thickness and clearance dimensions listed here.  We used 1/4" thick HardieBacker for the backer board and 1/4" thick glass tile for the finish.  The hearth doesn't bridge any joints in the plywood subfloor, so I'm pretty comfortable that the 1" square tile should be OK, even with a moving coach.  Heck, Hoffman Architecture regularly constructs entire bathrooms in tile.

Once I had the outline of the board ready, I sanded the subfloor with some rough sandpaper to give the thinset something to bite on to.  Remember, the subfloor is covered in waterproof epoxy, so it's not exactly a porous surface anymore.

Mix up a few pounds of thinset and apply with a 1/4" square trowel.  All the lines need to be parallel -- no swirls!  This is important.  Note that I avoided the elevator bolts.  I want them to be able to wiggle without affecting the hearth, so I don't actually want to cover them in thinset.

Now that I've got my mortar bed, the backer board goes in place and gets wiggled perpendicular to the lines in the thinset to collapse the grooves and get good coverage.  Then, backer board screws attach the board to the floor.  Directions say a screw every 8", keep screws 2" from the corners, and between 3/8" - 3/4" from the board edges.  Good idea to mark where the frame is so you don't put a screw into the steel frame.  

Next, plan the layout and mark my cuts.

Now, with the cuts complete I'll lay out the tiles again.  Like how I skipped the hard part?  There was too much blood, and this is a family show.

Once I got everything where I wanted it, I put painters tape over the loose tiles so that I don't have to arrange them individually into the thinset.

With everything in order and a fresh batch of thinset, it's time to start tiling.  Now, this is the do-as-I-say-not-as-I-do moment.  I back-buttered all my tile sheets thinking, "better safe than sorry."  Well, I'm sorry.  I'm really, really sorry.

Tile goes down like normal, wiggling perpendicular to the lines I made in the thinset with my 3/16" v-notch trowel.  Then I spend a long time digging the thinset out of the grout joints of every single tile and making adjustments.  I would bet that I did more damage to my adhesion wiggling the tiles around to get the grout joints clear than I gained by back-buttering in the first place.

Here's the finished product after the grout.  Once the rest of the flooring is in, I'll use caulk color-matched to the grout to make a seamless transition around the hearth.

Storm Collar

2018 update: The kits TinyWoodStove.com is currently selling are from a different manufacturer than the parts shown in this post.  The new kits include a gray pipe boot and a storm collar.  You can find the current 4" RV Stovepipe Kit here.  That's an affiliate link, so if you purchase through it, I might earn a small commission for referring you.

I want to add a storm collar to the flue so that it's a little less conspicuous.  Most storm collars are not very deep because they're designed to shed water from where the top of a flashing meets a pipe.  My dektite gasket doesn't need any help shedding water -- I just want something to conceal the majority of the orange silicone.  To that end, I've purchased a storm collar that's pretty deep, and one size too big, and trimmed it to size with my aviation snips, then sanded the corners to remove sharp edges.

Some of these links are "affiliate links."  If you decide to buy something based on our recommendation, it would be nice if you used the direct link from this page so that we can make a small commission for referring you (which doesn't cost you anything extra).

Here's the link to the one I bought.

Some assembly required.  Stainless pop rivets, stainless worm drive clamps.

And here's the finished product.  Hard to tell from the picture, but the bottom is beveled to match the curve of the roof.   

Here's how the Airstream looks without the storm collar.  The plug in the top of the flue is a plumber's test plug, which I'm using to keep the rain out when the flue is not deployed until I find something better. 

With the collar.

Here it is with the flue deployed.

Flue Installation, Part 1

2018 update: The kits TinyWoodStove.com is currently selling are from a different manufacturer than the parts shown in this post, so the parts your receive will look a little different if you order them today.  The single-wall pipe is black, roof mounting bracket is more substantial, and a gray silicone pipe boot is included in the kit instead of the bright orange one I used.  You can find the equivalent 4" RV Stovepipe Kit here.  That's an affiliate link, so if you purchase through it, I might earn a small commission for referring you.

We're installing the chimney pipe today.  First, we need to get the hi-temp silicone Dektite gasket on to the insulated double-wall chimney pipe.  I've got 5-3/4" diameter, so I've got a choice where to cut. I went with the smaller one. 

Fits nice and tight.  Dektite says these things are warrantied for 20 years.

No directions for which way the mounting brackets go.  Or maybe there were and I didn't read them.  Looks like two screws on each side into the chimney and one screw into the Airstream.  The other way would extend past the gasket and cause a leak, and would allow the chimney to tip over.  Only two screws included in the kit, so it looks like I need to use my own.

Time to drill a giant hole in my roof.  I get a kick out of all the "route the cable through your refrigerator vent to avoid drilling into your roof" instructions I come across in RV equipment.  6" hole saw, plus some Aviation snips to expand the hole to just the right size.  Had a little more insulation to remove after this picture to ensure 2" clearance from the chimney.

Boy is it ever hard to screw into a stainless steel flue.  My advice is to skip the self tapping screws and just drill a 1/8" pilot hole, being careful not to go through the inner wall.

P.S. My flue thinks it's Marilyn  Monroe.

Cleco'd and trempro'd.

All riveted in with the help of my lovely assistant Leanne (not pictured).

While we're drilling giant holes in the Airstream, let's install the city water fill.  This connects to the cold water plumbing after the water pump, so that we can run directly off city water when we have hookups.  I'm not thrilled about the fact that this fitting is made of plastic, but it's the only model I could find that's recessed into the wall, it seems to be very popular as standard equipment, and it's manufactured by Pentair, which is a well known company.  I've installed it with screws so it can be replaced without too much fuss when it fails.

More insulation.  I still have a little more work to do permanently securing the bolts in the c-channel at the bottom of the walls, so I'm holding off on the very bottom for now.

I've been hemming and hawing about what to do with the bottom rear section for months, but I need to address it now so I can close up the walls.  There's a lot of corrosion and some holes in the skin under the belt line.  The rivets in this area have failed, which means that although the c-channel is securely attached to the frame, the skin is not attached to the c-channel.  Remember when I first reinstalled the shell and I had to jack up the ends of the frame to meet the skin?  Well, I need this area to be solid in order to hold everything together.

I considered removing the rear access door and replacing the damaged panel entirely from the midpoint of the door and below, but getting it cleaned up and riveted back together appears to be a lot more trouble than you might think.  I decided just to add an allclad sheet between the damaged section and the c-channel, remove all the rivets around the rear lower curve, jack the rear up to meet the shell, and re-rivet the entire line.  All the damage will be under the belt line, so nobody will see it anyway.  Unless, of course, someone were to post pictures of this on the internet.

This nearly completes my anti-floor-rotting modifications.  Originally, the bumper compartment lid would have mounted on a sheet of aluminum that slid under the rear plywood panel and directed water straight into the bottom of the floor.  By installing a panel at 90 degrees to the original one, I've created a dam instead of a ramp.  In conjunction with the epoxy coating and the Protecto Wrap around the edge of the plywood, I'm hoping this redesign will prevent future floor rot.  I intend to secure the bumper lid to a piece of aluminum angle.

Tiny Wood Stove Flue Kit Unboxing


2/1/18 Update: I ended up doing some remote work for Nick and tinywoodstove.com starting around September 2017.  A lot has changed since I wrote this post, but I think leaving it and the subsequent posts untouched is the right thing to do.  The kits offered by tinywoodstove.com are now from a different manufacturer, so what you get will not look exactly like what's in this post.  As of today's writing, the kits include a gray silicone pipe boot, something I would have loved to have when I was doing this project.  And Nick started selling his own line of stoves, the Dwarf, which is pretty exciting for the tiny living community.  Looking back on my experience just two years ago vs. today, there are so many more great options for tiny wood stoves and accessories than there used to be -- and it's only been two years!

This post contains affiliate links.  If you need to purchase something I linked to in this article, it would be nice if you could use the direct link from this page so I could earn a small commission for referring you.

I purchased this flue kit (see the current version of the product here) from Nick at tinywoodstove.com.  He and his family of four live in a renovated 1966 Airstream Overlander, and blog at livinlightly.com.  Nick has been a huge source of ideas and encouragement for us as we take on our own renovation project.  When I saw that Nick was setting up a wood stoves for small spaces business, I jumped at the chance to be one of the first customers.  

Nick is on the bleeding edge of this business, so I don't expect everything to be perfect out of the gate.  Sure, there are a few folks out there who have put wood stoves in travel trailers, and there's a precedent for installing wood stoves in canal boats, but I haven't found anybody who is running with it like Nick.

After a few months of waiting, we received a nice big box on Monday.  Here's a slideshow:

The packing materials weren't as tight as I was expecting, but the flue parts held up surprisingly well during shipping.  There were only a couple of bends in a couple of parts, but those were easily bent back into shape.  I thought one of the clamps was missing a screw and a bolt, but it had just fallen off during shipping and I found it loose in the box.

The Good:

1. This pipe is beautiful.  It's incredibly well made.  Perfect welds, nicely polished, and stamped male and female ends that fit securely together.  Included grooved clamps wrap around the entire perimeter of the joints and will hold very securely.  I am 100% confident that this product will hold up well in the moving Airstream.

2. This is a pretty comprehensive matching kit.  I have almost everything I need to complete my installation, and all the parts fit together the way they're supposed to.  While working on the Airstream, I've gotten used to having to improvise and modify parts that don't quite fit perfectly, so it's a pleasure to have some parts that fit exactly as they should.

3. Nick was very responsive.  He was able to add 45 degree elbows for me, and has agreed to source a tee with a cap for my rear exit, as well as provide me with a 90 temporarily so that I can get everything lined up while I wait for his next shipment.  As someone who deals with vendors for a living, I can appreciate working with someone who is willing to go out of his way to accommodate my needs.

4. Nick anticipated that many people would not be installing this kit in a flat roof, so he included alternate brackets that would work with a slope.  I'm a little disappointed that I can't use the nice, hefty three-screw wrap-around bracket, but I'm grateful that there is an alternative included.  

The Gripes:

1. The shipping took forever.  I'm not talking about the time between ordering and shipping -- I expected long delays since I pre-ordered.  I'm talking about the USPS "it'll get there eventually and I don't care if it's late" shipping option that arrived a full week after the stated ETA with no tracking updates in the interim.  I get why Nick chose this option -- it allowed him to offer free shipping on a large box.  I would have preferred to have the option between free shipping and paying extra for faster shipping and better tracking.  I probably would still have chosen the free option, but at least I would be able to monetize my impatience.

2. You know how you spend a bunch of money on a shiny new product, then you bring it home, and when you peel off the bar code sticker, it leaves a ton of adhesive that requires industrial strength goo remover to clean off?   This is one of those.  When I am supreme overlord of the universe, I'm going to ban the use of certain adhesives for this reason.  Fortunately, this pipe is made of stainless steel, so I should be able to safely use whatever I want to remove the goo, short of my angle grinder.

3. I wish there were a few more instructions.  First, instructions on how to cut the pipe.  The ends of the pipe have formed male and female ends that I won't be able to replicate, so I assume I need to cut the female end and (hopefully) the clamp will compress the pipe enough for a good seal.  Nick has been very responsive, so I'm sure he'll have advice to offer when I ask him, but it would be nice to include that.  I can't imagine there are too many of these installations that don't require cutting at least one pipe to size.  Second, more detailed instructions on how to attach the flue to the back of my stove.  I'm a little nervous about drilling holes through the cast iron outlet of the stove, and I'll need to do some research on how to properly apply the cement to get a good seal.

source: tinywoodstove.com

source: tinywoodstove.com

4. The flue cap is not as pictured on the website.  I don't know if the model I got is any better or worse, but it's different from the one pictured when I ordered.  Not a huge surprise that an item is slightly different than pictured when I'm pre-ordering from the first shipment.  My only concern is that this cap might not block out driving rain as well as the one I thought I was getting.  I'm not planning on deploying the flue in a hurricane or while driving, so I don't expect it'll be an issue. 

5. I can't (yet) get everything I need from the same place.  I had to order the Dektite gasket off Amazon, and I'm going to need to find some cement to seal around the joint between the stove and the flue pipe.  I also need to find somewhere to get the materials for the outside air inlet.  And maybe a storm collar.  It would be far more convenient if I could get all the proper materials at the same time.  For that matter, I'm looking for somewhere to buy stainless steel sheet for the heat shielding.  Hear that, Nick?  Sell me more stuff!

Overall Impression:

I'm very pleased with the product I received and the customer service Nick has provided.  As Nick irons out some of the wrinkles in his process, I think tinywoodstove.com is going to be a very successful vendor.