Kitchen Cabinets

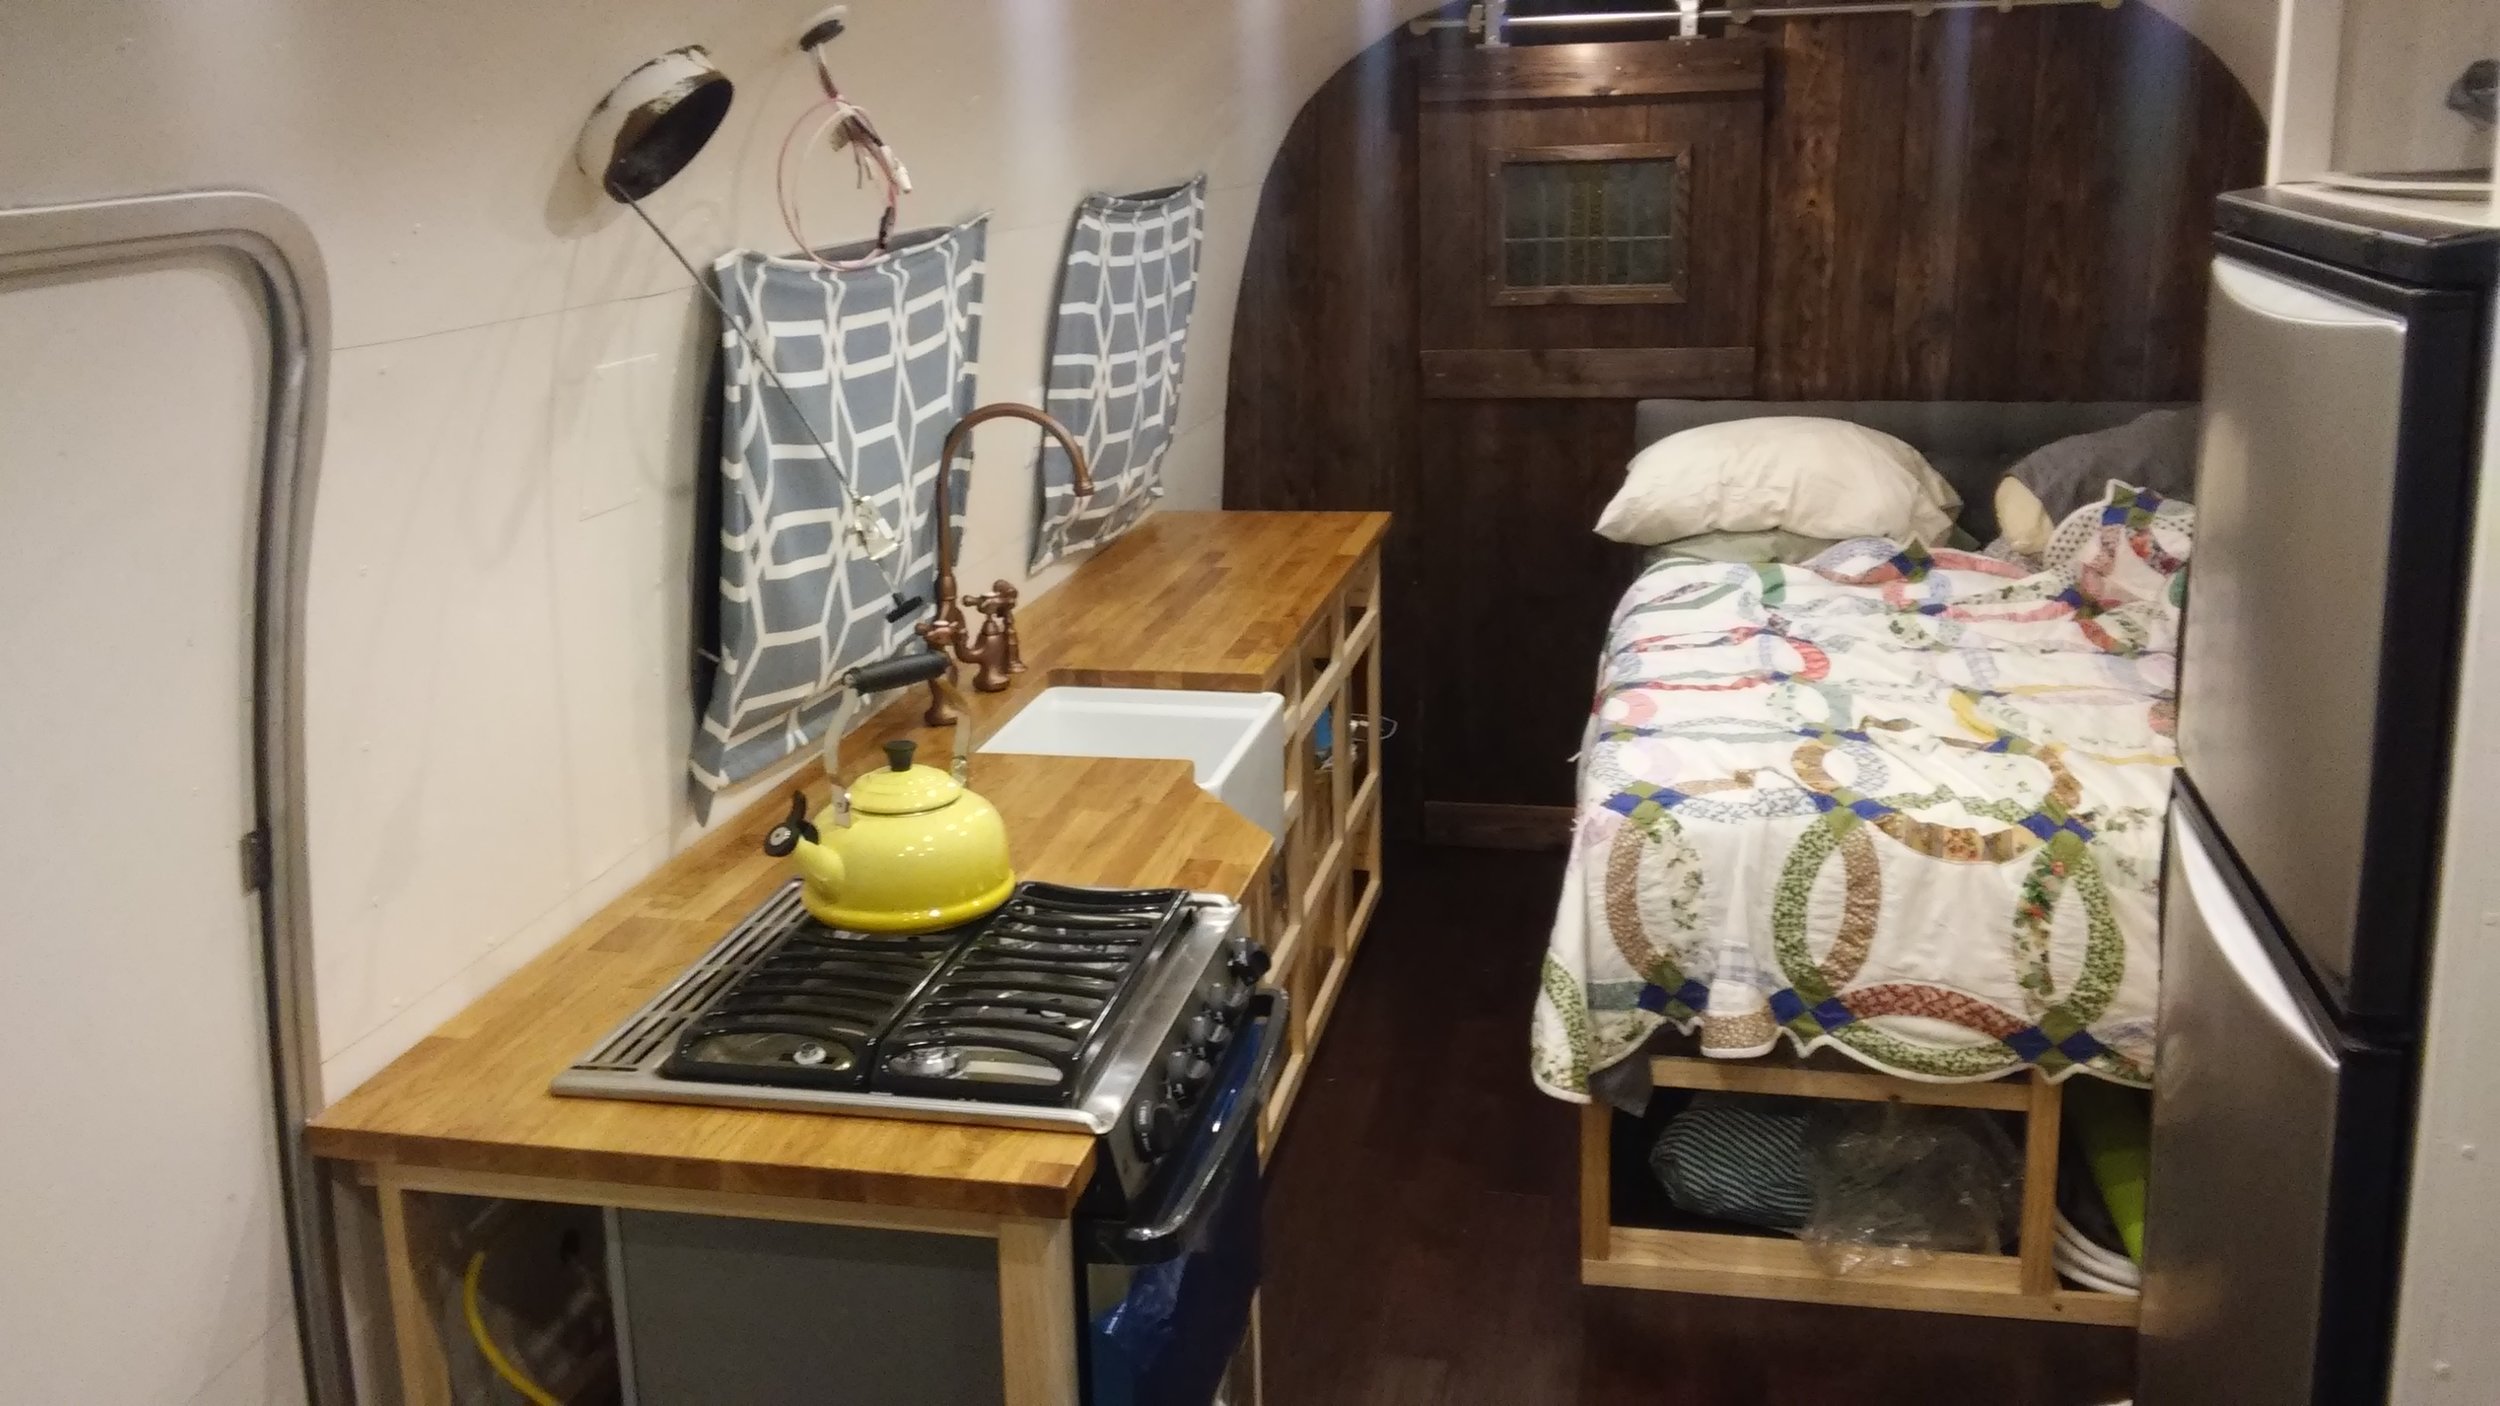
Last kitchen post, we had finished the counter top and set the appliances in place.

Some of these links are "affiliate links."  If you decide to buy something based on our recommendation, it would be nice if you used the direct link from this page so that we can make a small commission for referring you (which doesn't cost you anything extra).

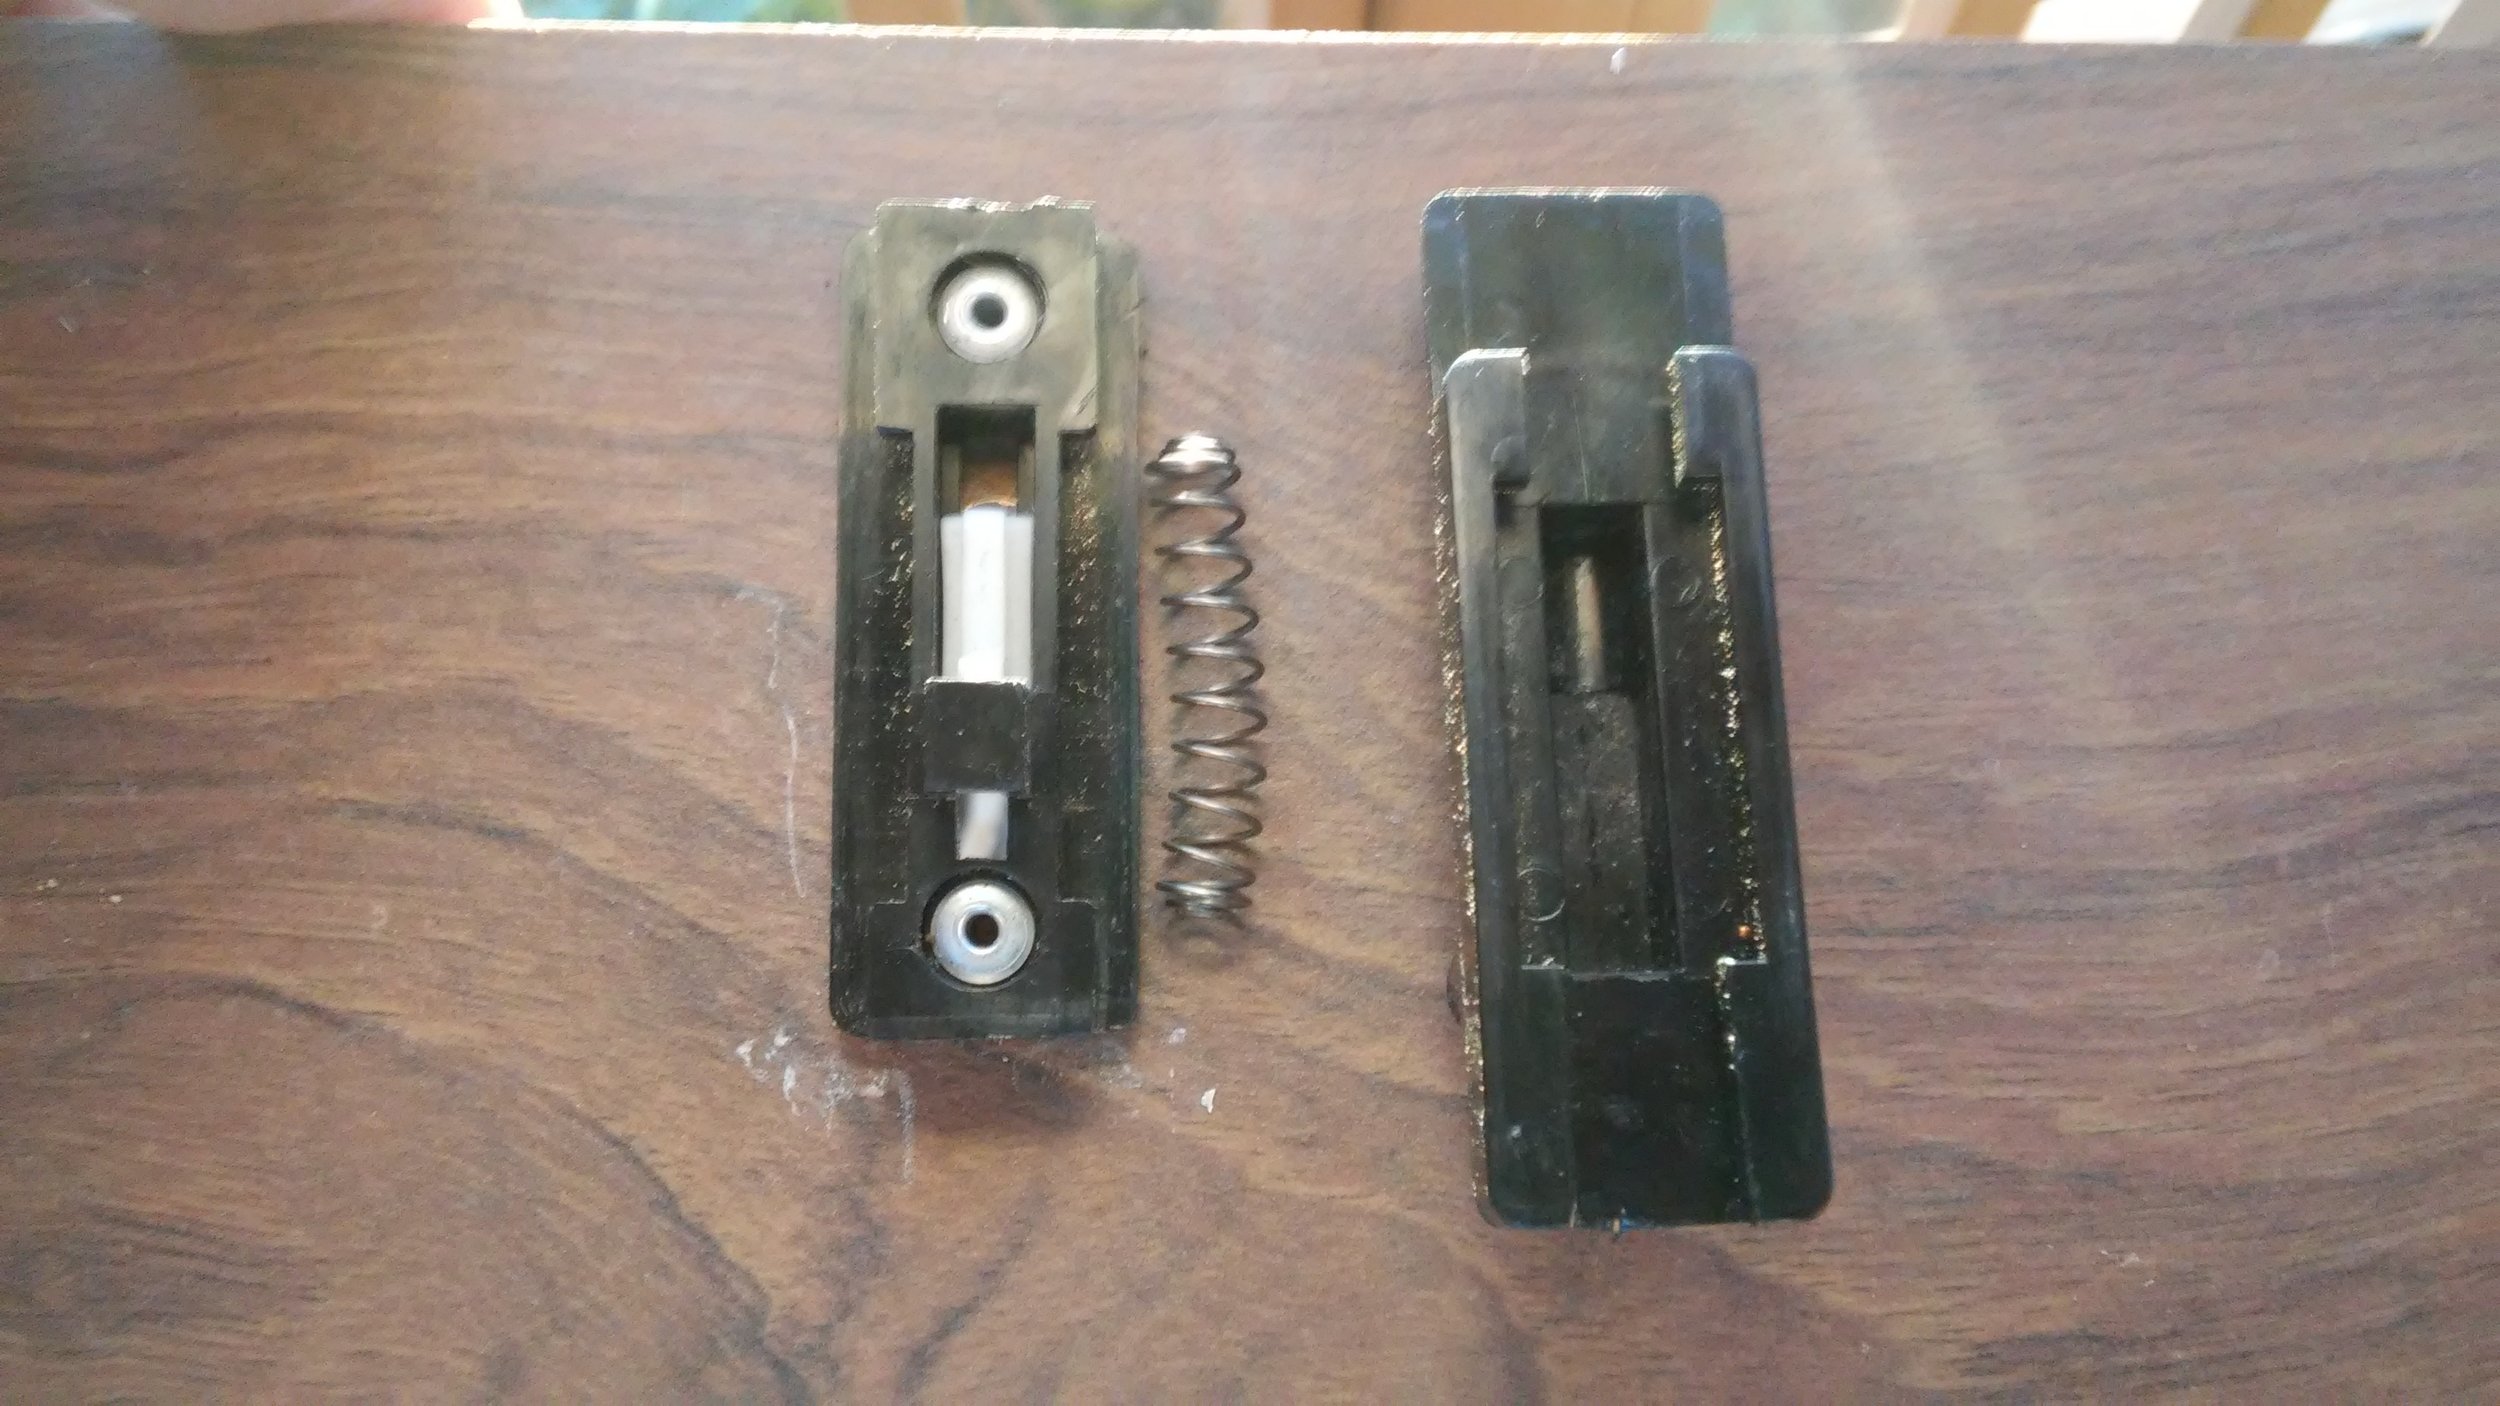
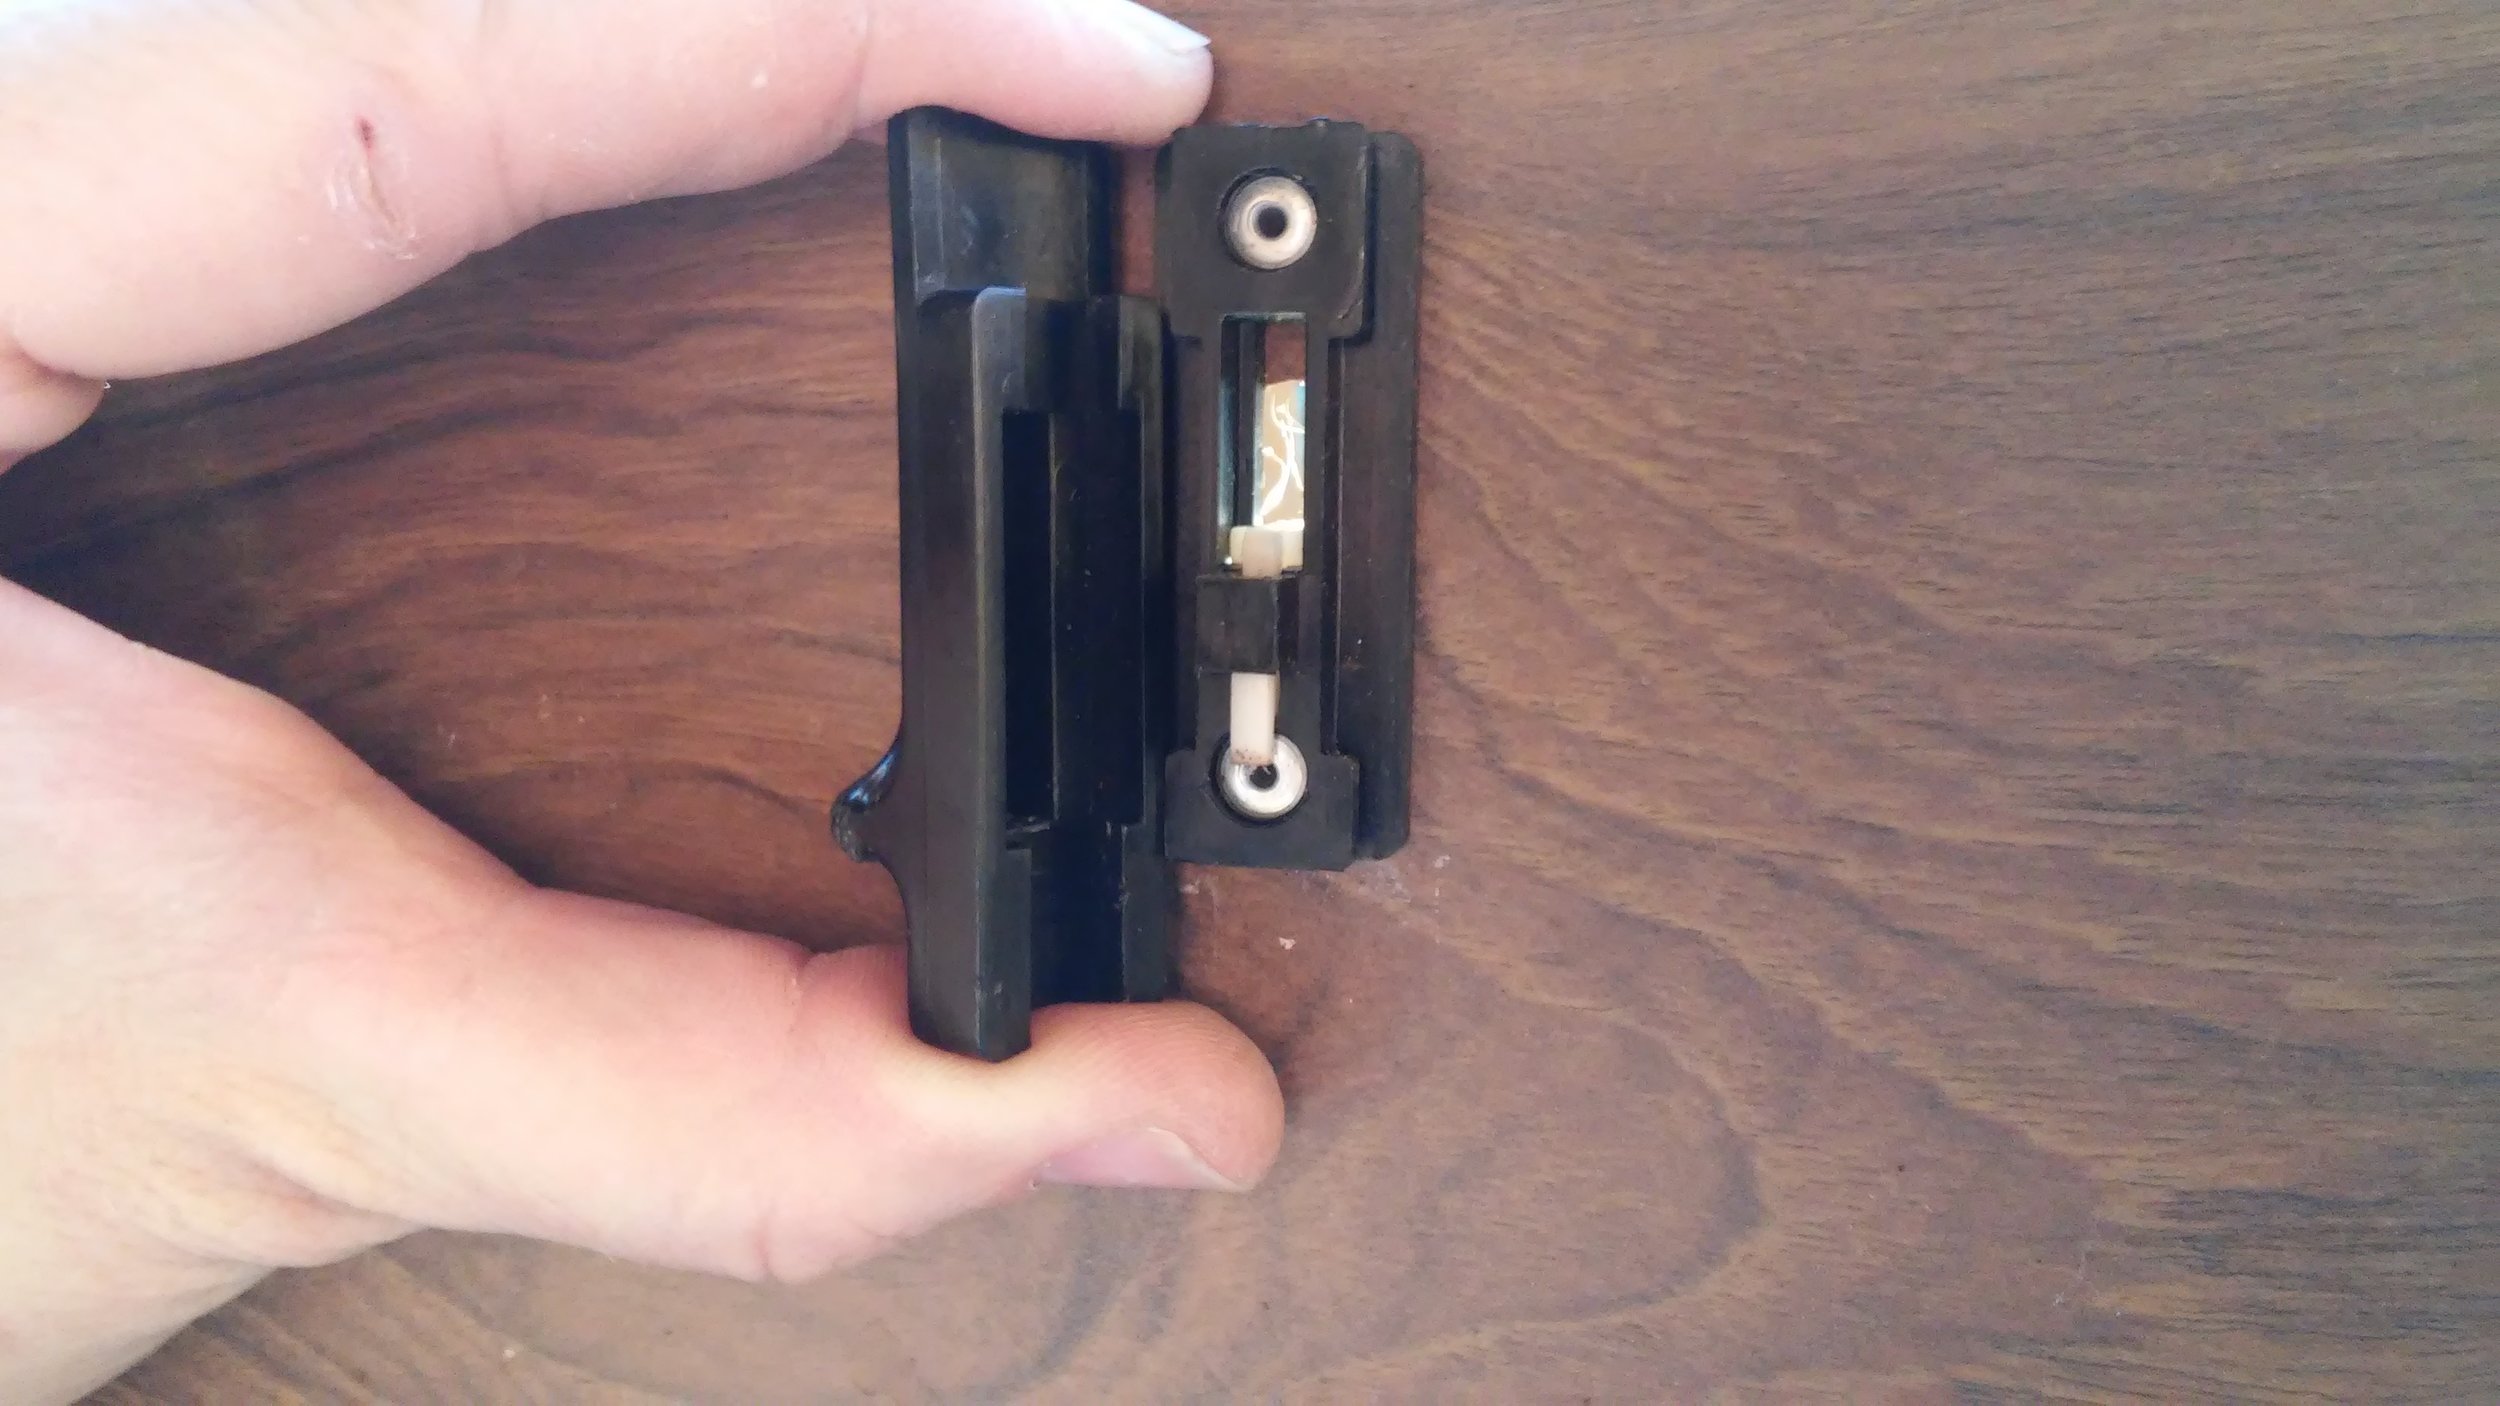
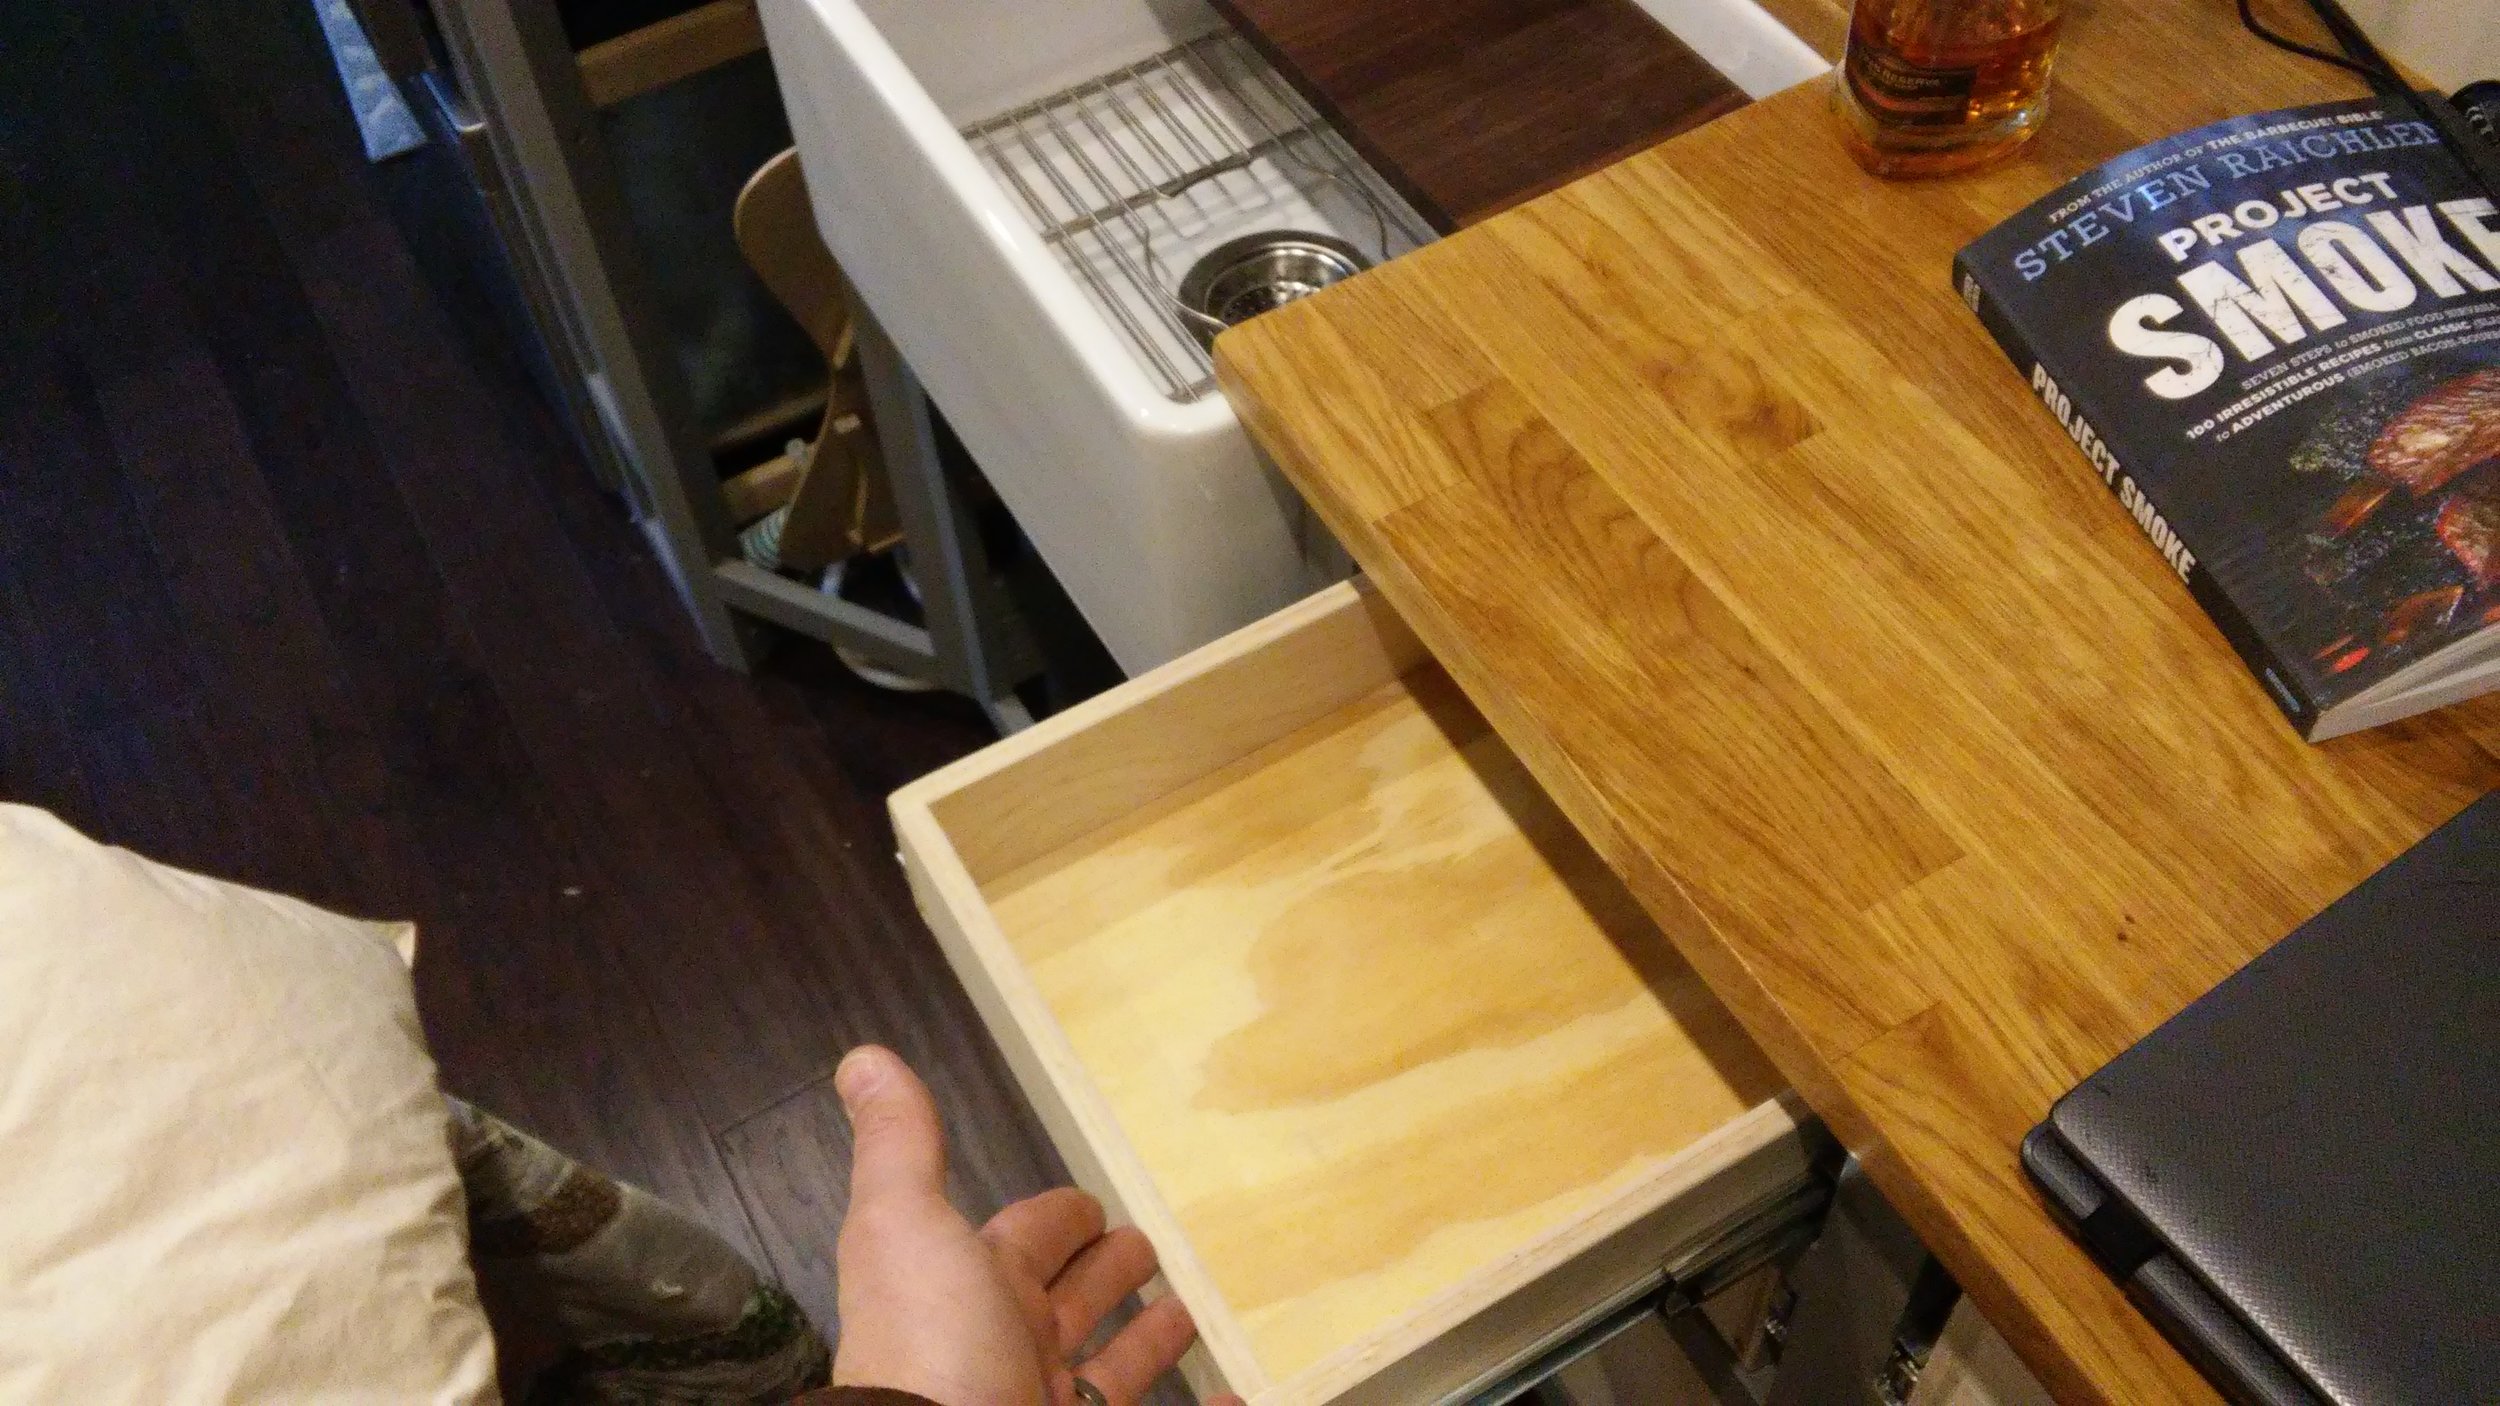
I've since painted the cabinet face frames and built some drawers.  The drawers are 1/2" plywood sides with a 1/4" plywood bottom.  Drawer slides are soft close ball bearing models from the Orange Box.  They're on the heavy side, but they provide enough resistance to opening that the drawers should stay shut while we're moving.  And that soft close feature is so nice.  It's important to build your drawer just a bit smaller than the space between the drawer slides, because if it's not loose, the drawer slide will bind (hence the negative reviews on the vendor's website).

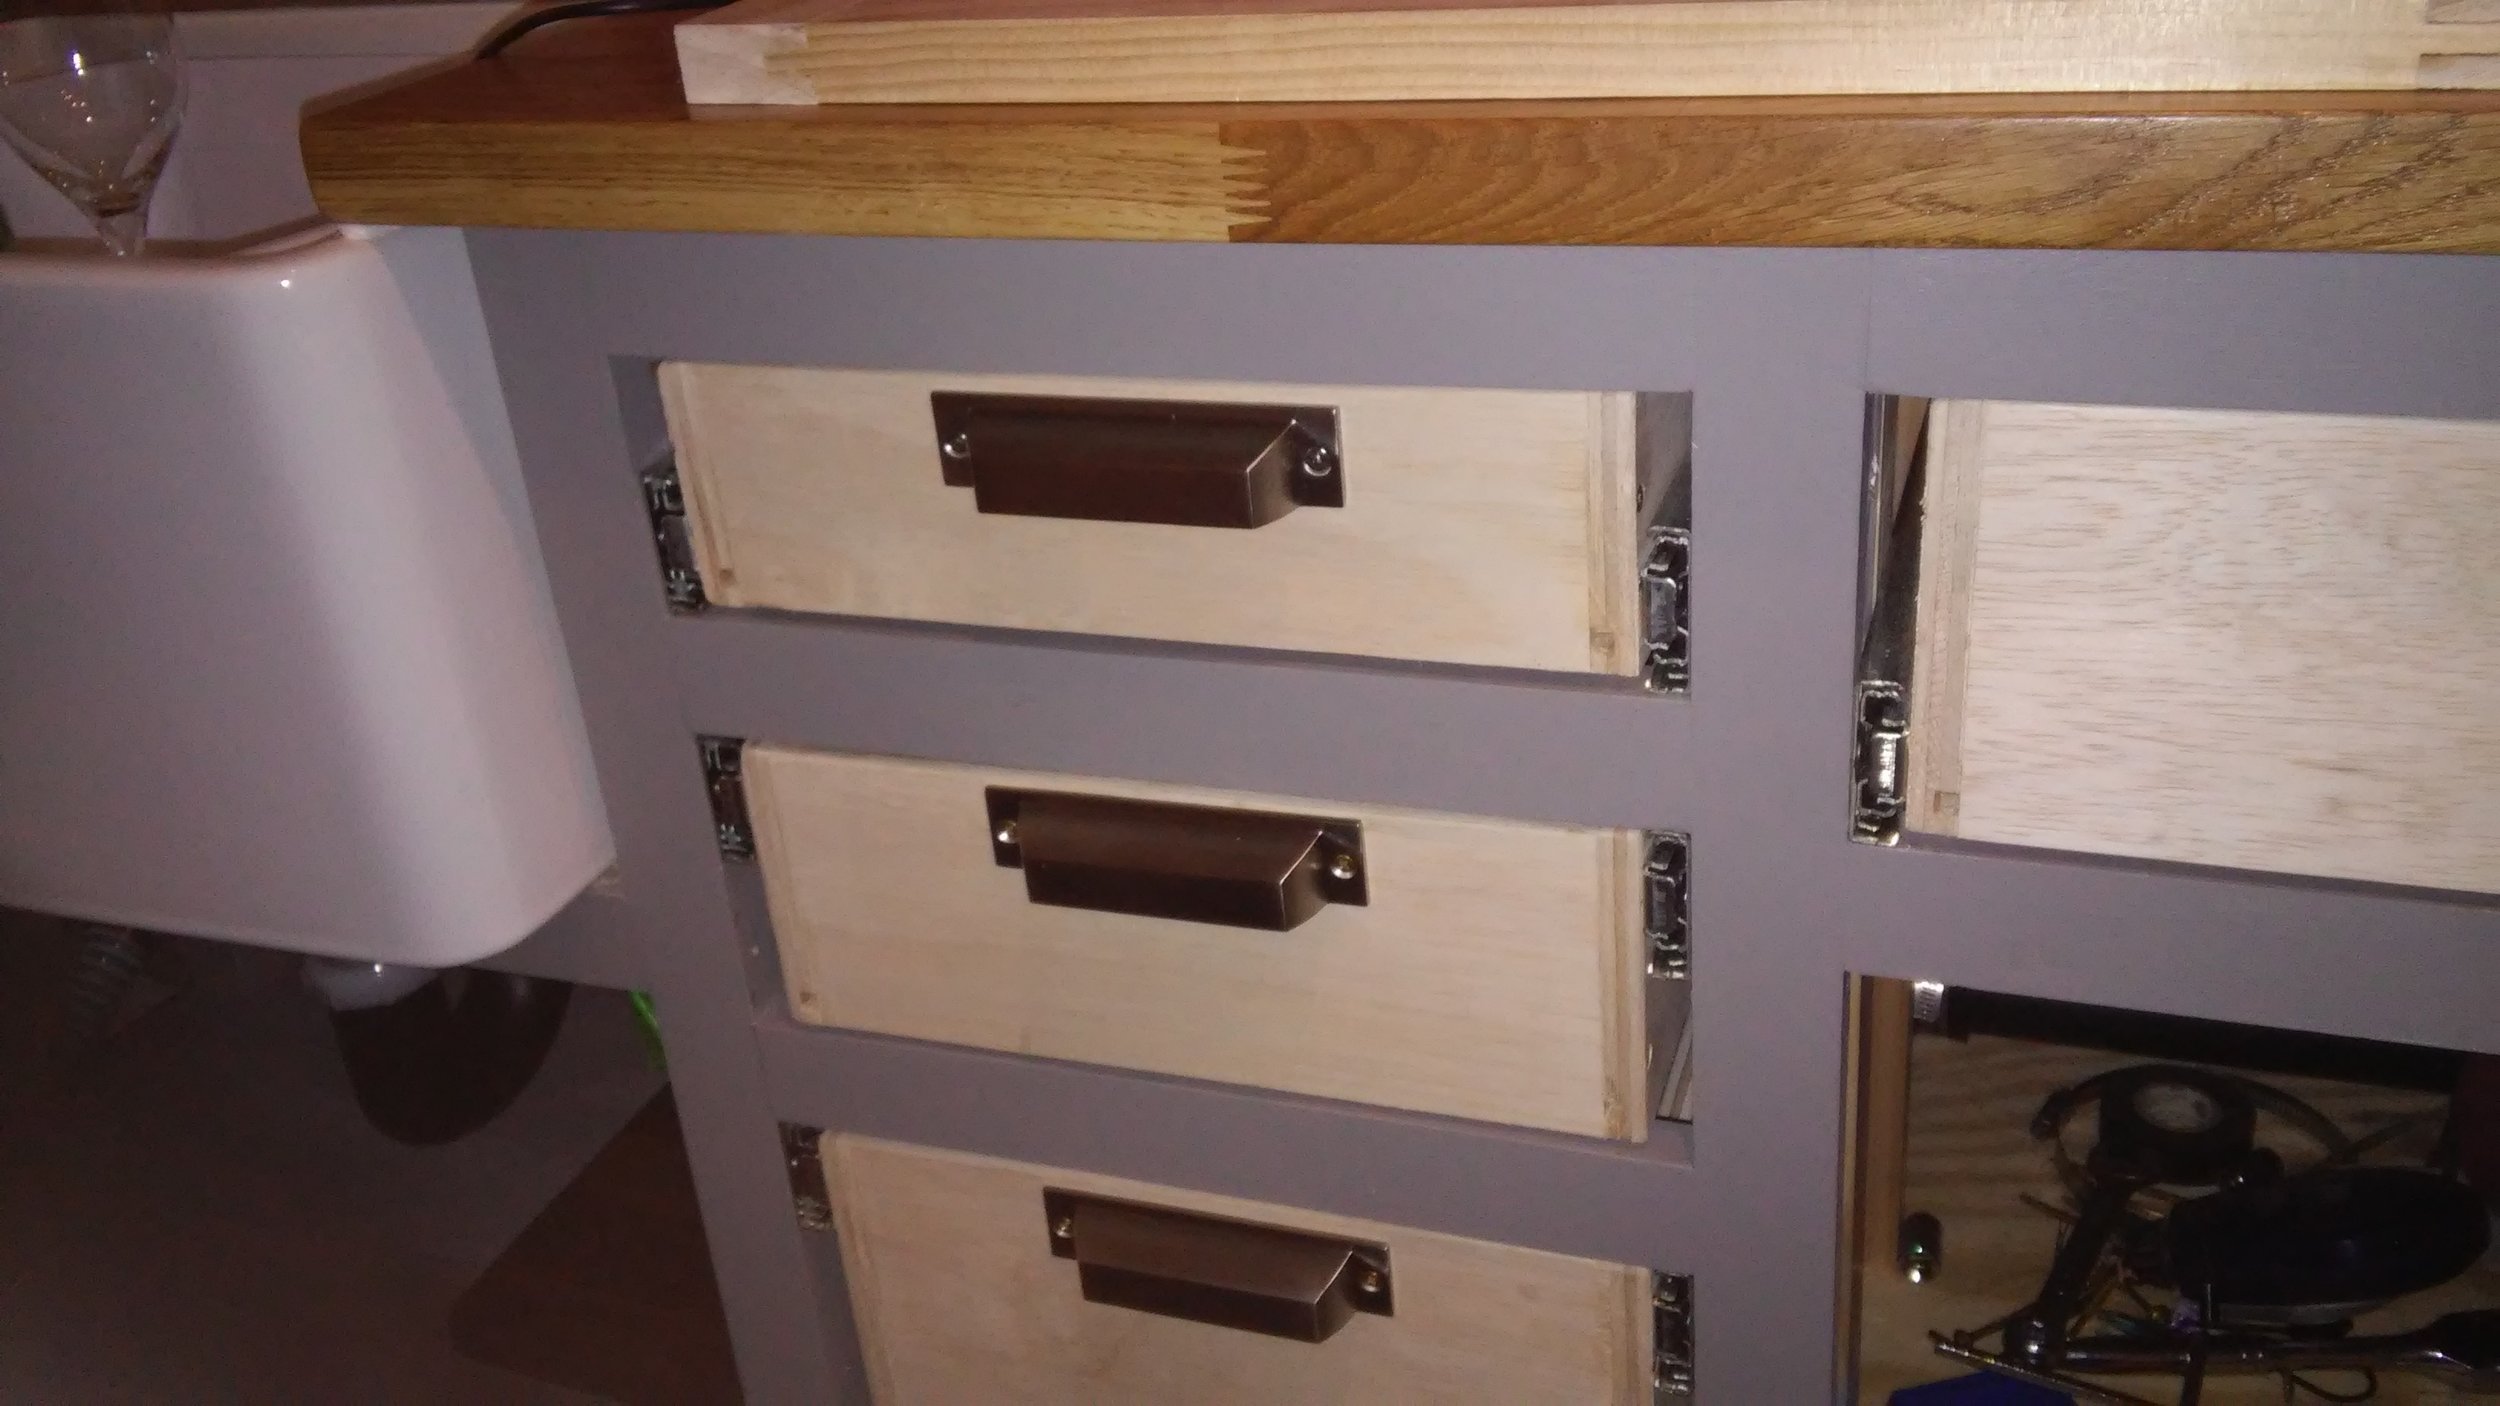
Drawer fronts are shaker style.  Just pine 1x2 frames with luan in the center.  Use painter's caulk on the inside of the frame to make the lines look clean.

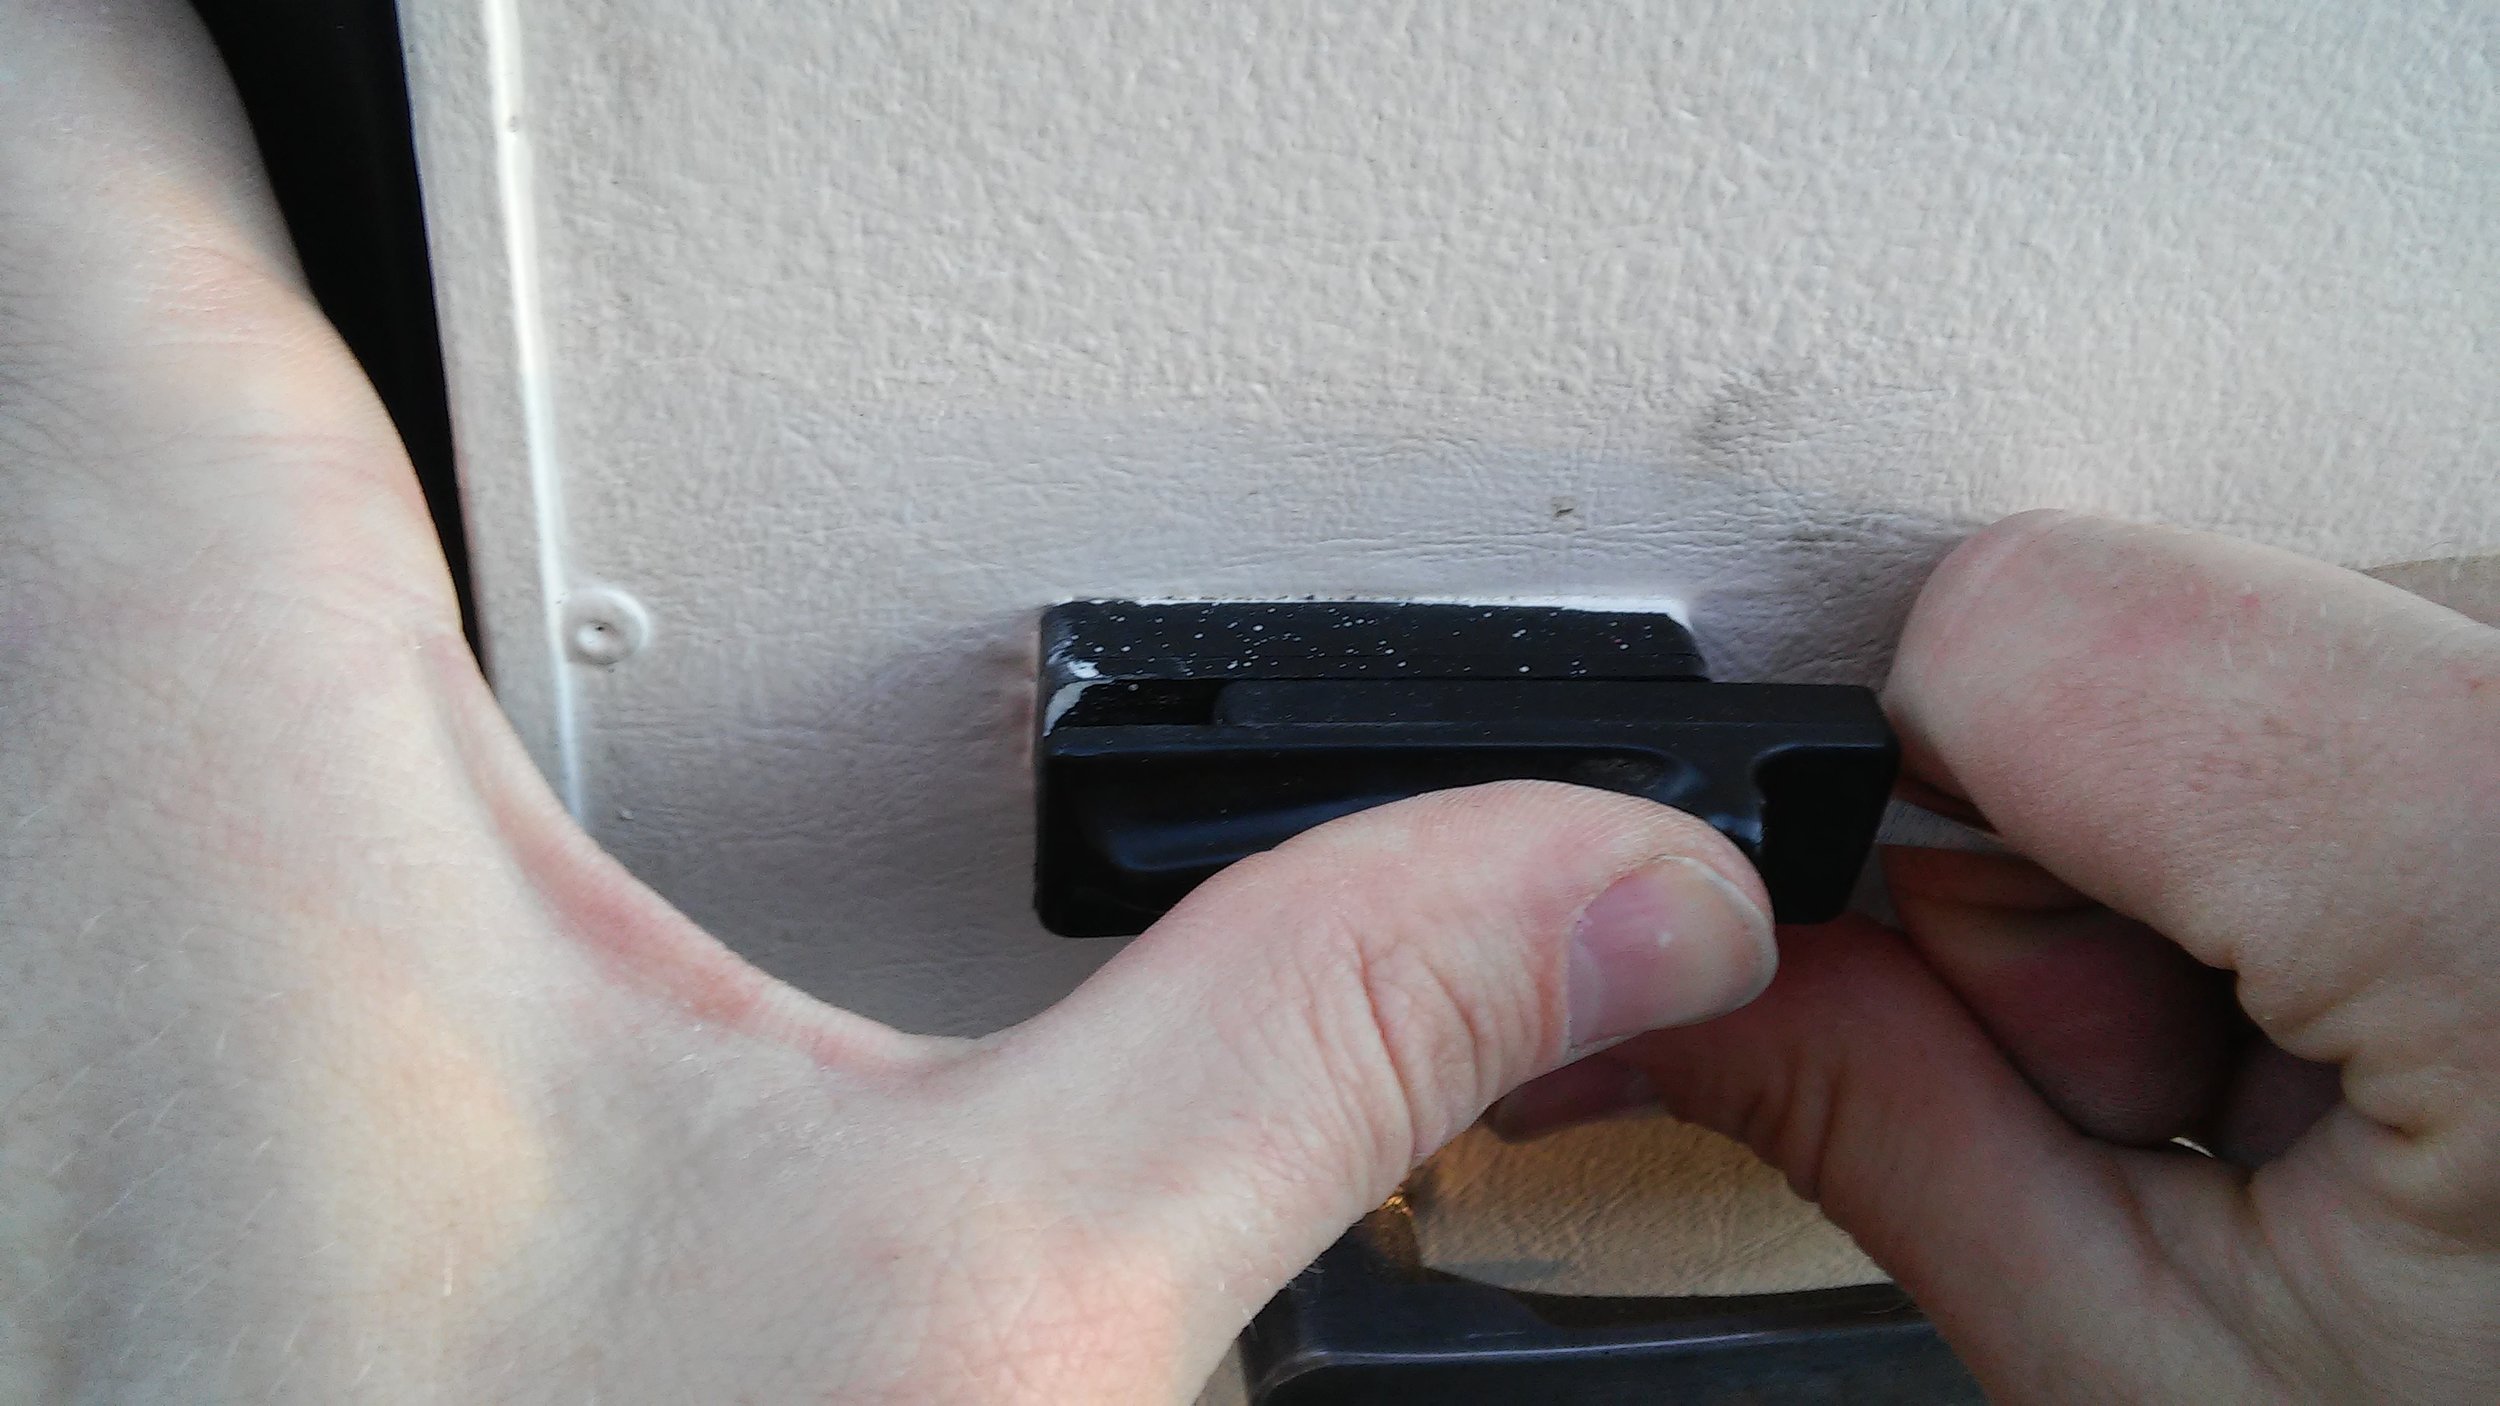
For the drawer pulls, we're using these cup pulls from Amazon.  The reviews are right, the pulls are nice but the screws are garbage.  We originally installed with stainless steel screws, which looked good, but switched to brass because we like the look better.  For the cabinet hardware, we're using these.

IKEA Butcher Block Countertops

We were originally hoping to do PaperStone countertops, and had gone as far as ordering samples and picking out a color.  But the nearest distributor is in North Carolina, and we aren't up for making that trip at the moment.  So, we went with our second choice, IKEA butcher block.

After a predictably frustrating trip to IKEA (these folks have very different ideas about what makes a good retail customer experience than I do), we came home with our two pieces of oak butcher block.  I need to butt two pieces together since the longest piece is 96", and our countertop is nearly 12' long.

0924161548.jpg

First, I want to get these sealed on both sides to prevent warping.  If I were to install before sealing, it would be very difficult to seal the underside, which would cause my counters to warp as moisture moved in/out of the wood unevenly.  After everything is cut to size, I'll re-seal the finished counter.

Some of these links are "affiliate links."  If you decide to buy something based on our recommendation, it would be nice if you used the direct link from this page so that we can make a small commission for referring you (which doesn't cost you anything extra).

I'm using Formby's Low Gloss Tung Oil Finish.  As previously noted, this is wiping varnish, similar to the Waterlox product that I could not find locally.  It's not Tung oil, despite what the marketers want you to believe.

Now, I need to cut the hole for our farmhouse sink.  It didn't come with a pattern, ostensibly due to the inherent variation in the dimensions of their fireclay sinks.  So, I taped a piece of paper to the top of the sink and traced the inside rim of the sink with a crayon.

I made the cut along the length of the countertop with a router and a piece of wood screwed to the underside of the countertop as a guide.  I was hoping it would make a cleaner cut than my scroll saw, but it ended up pretty rough.  I cleaned up the cut with my block plane and a bunch of sandpaper, then used the scroll saw to cut out for the sink.

After cutting fresh ends on both pieces of butcher block and a quick test fit, I'm ready to glue my two pieces of butcher block together.  The butt joint is going to be at the stove cutout, so I only need to glue the back 8" or so.  I made a small relief cut in the remainder of the joint so that I can clamp the 8" I need to glue as tightly as possible.  I used gorilla glue and three Tite-Joint Fasteners to secure the butt joint.

Once my glue was dry, I made the stove cutout with my scroll saw, sanded, and resealed all of the exposed wood.  The picture to the left is upside-down, so you can see the three tite-joint fasteners.  The picture to the right is right side up, ready for final sealing. 

Here's the finished countertop with the appliances temporarily set in place. 

1101161838.jpg
1101161839.jpg

With all the worrying I did that the 1-1/4" thick butcher block would be so much heavier than the 3/4" paperstone, I have to say, this piece of countertop isn't all that heavy.  With the cutouts for the sink and the stove, and the thinner depth over most of its length, there just isn't all that much weight.

How to Disassemble Plastic Airstream Latches

I'm talking about these babies.

Our '74 Overlander used these latches for cabinet doors and the screen door hold-back.  They're riveted on from inside the mechanism, and there's no apparent way to disassemble them without breaking the plastic.  So, how do you get these things apart?

First, it helps to understand the mechanism a little.  There is a top sliding latch and bottom plastic base with a spring in the middle.

1106161624.jpg

What's important to note is that when the latch is in the retracted position (spring compressed), there is very little engagement between the grooves.  That means the ideal position to separate these pieces will be in the compressed position.

So here's how to get them apart.  Press the latch open with your thumb as far as you can.  Remember, the further you can open it, the less force it'll take to remove.  With a flat screwdriver in the other hand, lift the back of the latch straight toward you.  It'll take some force.

Pop! and you're free.  Don't lose the spring -- it's going to want to fly out when you do this.

It's important to pull straight toward yourself with the screwdriver.  You don't want to wedge the screwdriver in sideways and twist to spread the grooves apart or you'll probably break that 40 year old plastic.  No twisting, just lever it toward you like the latch is a beer bottle cap and you don't have a proper opener.

Now, to reassemble.  One end of the spring goes in the latch, the other end wedges against the tab on the base.

1106161635a.jpg

Compress the spring and press the front grooves into the center of the base first.

Now press the rear of the latch into the base and guide it forward to the closed position.

That's it!  Success!

And the Kitchen Sink

We do a lot of cooking, so the functional bits of the kitchen are very important to us.  We both learned in our previous house remodels that spending a little extra to get exactly what you want on a few pieces can make a huge difference in the functionality and overall feel of your home.

We have a few needs for the sink.  

  1. It needs to be large and deep enough to wash anything we might need to wash.
  2. It needs to be small enough to fit the counter top with space behind it for the faucet.  The counter where the sink will be installed is only about 19" deep, since it sits opposite the bed.
  3. The bottom needs to have a good slope so that the sink won't have trouble draining if the Airstream is slightly off-level.

Some of these links are "affiliate links."  If you decide to buy something based on our recommendation, it would be nice if you used the direct link from this page so that we can make a small commission for referring you (which doesn't cost you anything extra).

And, of course, a few wants.

  1. We'd love if we could have a farmhouse sink.
  2. It would be nice if it was designed to fit accessories like a cutting board, a colander, or a dish drying rack.  I was enamored by the Kohler Prolific sink for a few months, but it was just too big for our space (and wow that price!).
  3. Relatively lightweight would be nice.  We do need a bit of weight on the street side to balance the weight of the wood stove, larger fridge, and pantry, but something like a cast iron sink would probably be excessive.

We chose this farmhouse sink.  It's small enough to fit our counter but big enough for our purposes.  It has a ledge for accessories and comes with a cutting board, but the accessories available from Julien are overpriced and not our style, so we'll probably look for others that fit.  It's made of fireclay, which is a little on the heavy side but not too bad since the sink is pretty small.  We got the matching sink grid to protect the bottom and give us a flat surface, since there's a pretty aggressive slope toward the drain.   If you want this sink or something from this website, try using coupon code DG 20003 for $10 off $75 or $20 off $150.  No idea how many times that code will work, but it's worth a shot.  There's nowhere in checkout specifically for a coupon code, you just have to enter it in the order comments.

Bridge faucets seem to look best with farmhouse sinks, so we chose this bridge faucet in antique copper.

Little details make a big difference.  Standard sink strainers are $17 and total garbage.  Kohler makes a really nice one.  At the time of this writing, the Kohler Duostrainer is inexplicably expensive on Amazon.  $85?  Seriously?  Fortunately, the orange box has it for $35.  Twice as much as the junky one, sure.  But only $17 more for something that actually works well, and we're going to be using all the time.

Oh, and countertops.  I'm not driving to North Carolina to get paperstone, so it's Ikea oak butcher block for us.  I installed some at Leanne's house with just oil for sealant, and it was a really pleasant surface when new, but didn't hold up very well over time.  I installed some at my house with several coats of polyurethane, and it held up wonderfully but felt like plastic.  So, we're using wiping varnish for this one.  I tried to find the Waterlox product that everyone seems to love, but after stopping at three separate hardware stores that were either closed or out of business, I headed over to the orange box to see what they had.  I settled on Formby's low gloss tung oil finish.  Don't let the name fool you (they're trying hard though), this stuff isn't tung oil.  It doesn't contain tung oil.  They might use tung oil to make it, but it's not oil.  It's varnish.

Wiping varnish makes a really nice finish.  The thin texture lets you build it up slowly so you can get the right amount of protection without losing the texture of the wood.  A few coats on each side to get started, and we'll be ready to cut everything to size and shape.

Solar Panel Installation

We want our home to be fairly energy independent, so a good solar system is a must.  I started by pre-wiring our Airstream for solar back in January before I installed the skins, which made today's installation much easier, and will make future expansion just as easy.

I decided to go with traditional flat panels instead of flexible ones for a few reasons.  First, black panels get hot in the sun, and hotter panels produce less power.  Having a little airflow under the panels should keep them running cooler.  Second, black panels get hot in the sun, and I don't want that heat to conduct into the Airstream if I can avoid it.  I'd rather have a little square of shade than a little square of hot.  Third, you can tilt flat panels, but curved panels are stuck where they are.  Finally, warranties are easier to claim when your panel is not glued directly to your roof.

Some of these links are "affiliate links."  If you decide to buy something based on our recommendation, it would be nice if you used the direct link from this page so that we can make a small commission for referring you (which doesn't cost you anything extra).

A couple months ago, I bought two of the SP100 panels with accessories from AM solar, as well as a Blue Sky 3024iL solar charge controller.  I intend to add another two or three panels in the future, but it doesn't make a lot of sense to do that now since I only have a 100AH battery for storage at the moment.

The SP100 is a small, efficient panel, which is ideal for the limited roof space on the Airstream.  I could probably have fit the less expensive SF100 panels on the roof, but the smaller the panel, the further away I can mount them from potential shadows.

This panel is very similar to the Renogy Eclipse 100 panel.  In fact, AM Solar tech support suggested I look the Renogy panel if I was in a hurry when they were out of stock of the SP100.

The SP100 kit I ordered includes all the wire and connections needed to connect to my combiner box, as well as AM Solar's custom rocker foot mounts, which are perfect for mounting to the curved roof of the Airstream.  I can also get tilt bars in the future if I ever want to tilt my panels.

How's AM Solar's customer service?  Well, when they were out of the product I wanted, they suggested looking at a similar product from a competitor if I was in a hurry.  The tech was more concerned about me getting my project complete on schedule than he was about getting a sale.

What's in the box:

Installation of the mounts on the panels went pretty quick.  Just snap the bracket in place and install one bolt.  Then screw the rocker foot in place.

Next I planned the layout.  I raised my vents and measured blue painters tape to the same height as the vents and AC unit, and stuck it down to mark where a shadow would be cast by the sun at 45 degrees.  The boxes included a piece of cardboard cut to the exact same dimensions as the panel, so I used that to plan my layout.

Once I was happy with the position of my panels, I set them in place and cleaned below the rocker feet with carburetor cleaner.  Acetone would have worked fine, too, but don't use anything alcohol-based for this.  Alcohol (methylated spirits, windex...) prevents polyurethane sealants from curing properly.

Checking on dinner.  Yes, you can smoke half a brisket on an 18" Weber grill.  Six coals at a time seems to be the right number.

Incidentally, if you are trying to start 6 briquettes in a full sized chimney starter, piling them on top of each other and hitting them with a blow torch from below seems to be the easiest way.  When your blow torch runs out of gas, the 220,000 BTU propane burner from your homebrew kit works pretty well, too.

Once I was sure I had the panels where I wanted them, I uncovered the sticky side of the tape and pressed the feet into the roof.

Finally, bury the bottom of the rocker foot in polyurethane to protect the VHB tape.  I used gray Sikaflex-221, but you could use Dicor, TremPro, or whatever polyurethane sealant you like to use on your roof.  No screws into the roof necessary.  If I ever need to remove a panel in the future, I should be able to do it without any damage to the roof.

Yes, you can see the panels from the ground.  And yes, I'm comfortable with that.

Heading back inside, we have some wiring to do to connect the solar controller to the solar panel pre-wiring, and to the battery.

I wired the solar controller through a double pole single throw disconnect.  That's a single dial that controls two separate switches simultaneously -- one to disconnect the solar panels from the controller, and one to disconnect the controller from the battery.  Apparently you can damage a solar controller if you disconnect it from the battery and leave it connected to the panels, so using a switch like this makes it more difficult to do that accidentally.

There's a 50A fuse using an ANL fuse block on the battery wire to the controller.  The battery is actually already fused elsewhere, but with a 400A fuse, which is more juice than the solar controller can take.  I realize that if this fuse were to blow (or the 400A battery fuse), my controller could potentially be damaged by being disconnected from the batteries while the solar panels are still connected.  But a fried solar controller is better than an electrical fire, so we are fused to the gills.

Back to the roof.  The 10 gauge wire for the solar panels is some pretty thick stuff, and has some nylon cables inside in addition to the actual wires.

Here it is with the end prepped for connection to the solar panel.  4" of white, 2 1/4" of black, with 3/8" stripped off both.

Ends crimped into the provided heat shrink fittings.

Outer heat shrink tube goes on to cover the yellow crimps, and the wire gets zip-tied to a mount on the back of the panel.  The kit included several more of those mounts to use for securing the cables to the roof, which I'll do once I get to the store to buy more carburetor cleaner.

Wired up to the combiner box that I installed back when I had access to the inside of the walls.  Note that the solar wiring is using the correct color convention (black + and white -), and I'm using the wrong colors (red + and black -) because that's what Amazon.com had for welding cable.

I wired my panels in parallel configuration.  Wiring in series would give me a 24V system and cut my line losses in half.  My charge controller can handle 24V panels, so I could easily wire in series.  But both panels in series would suffer from huge losses if one of the panels is shaded even a tiny bit, which is likely to happen frequently in an RV.  So instead I have two 12V panels in parallel.  If one is shaded, the other can still perform optimally.  I'm using pretty big 4 AWG wire run a fairly short distance to my charge controller, so line losses shouldn't be huge anyway.

There isn't any kind of gasket or o-ring on the liquid-tight fittings included with the kit, so I added a little Sikaflex to the threads where the fitting goes into the combiner box to help seal things up.

The two screws in the middle let water into the box, so they get some sealant.  Instructions say seal all of them, but I don't see how the ones on the corners could let water in, so I'm leaving them alone to make it easier to access the box in the future.

How does it work?  Well, the sun is down, so I can safely report ... it does not work very well at night.