
The wing windows curve around the front sides of the Airstream, and like everything else, ours need some work. The windows are made of two panes of tempered glass with butyl tape in between. When the butyl tape fails, moisture can enter the space between the windows and condense, which looks pretty bad. Today, the moisture has frozen, so now I have frost between the two panes of glass instead of the usual droplets.
I haven't been able to find where anyone has disassembled these windows to repair them. New ones cost $300 a piece. The only advice I've found is to very carefully break and remove an interior pane, and then finish the window as a single pane. Insulation is pretty important to me, so I'm going to try to fix it. Step one, remove the vertical aluminum strips with a wood block and a hammer.
Quick note: I removed the aluminum strips by pushing them downward. I later found someone who told me it was far easier to remove them by pushing them up instead. I haven't tried it that way, but it's worth a shot.


Next, I drilled out all the rivets and pried the Vulkem off the backs to release the window from the coach. Both of my wing windows were installed with Olympic rivets. Those are the "blind" rivets you use when you can't access the back of the surface. But then, they were sealed from behind with about a gallon of Vulkem. Why didn't they just use regular rivets if they had access to the back of the window? I'll add that to the list of Airstream mysteries.

Now that I've got the window out, I need to remove the glass from the frame.
Four screws per window -- two each in the top and bottom of the vertical section. Then, pry the corners apart with a screwdriver. The straight vertical section came out without any trouble, but the curved bit needed a little coaxing. What seemed to work best is to wedge my screwdriver in the side, and hit the top of the screwdriver with a hammer while holding the window pane. Alternating sides a few times got the window out.


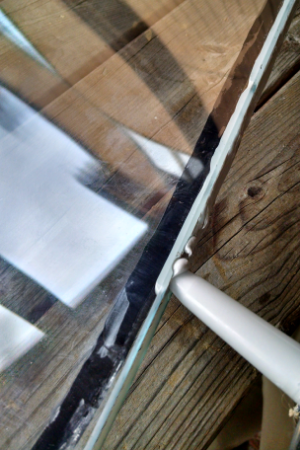
Next, I need to pry the rubber glazing strip off the window, being very careful not to damage it. Like many parts on a vintage Airstream, I can only assume the glazing strip is made of unobtanium. After loosening around the perimeter, the best place to pry the rubber off the glass was the curved corner. Once I freed a corner, the rest slid off easily.


Once I removed the foil tape around the perimeter, I ended up with two panes of glass held together by a mess of butyl tape.

Removed the butyl tape with a paint tool. This stuff is really stuck on there, I'm astonished it failed.

Better measure the gap before I get too far along. 3/16".

Once I freed the curved edge, I was able to separate the panes and remove the vertical section of butyl tape fairly easily.

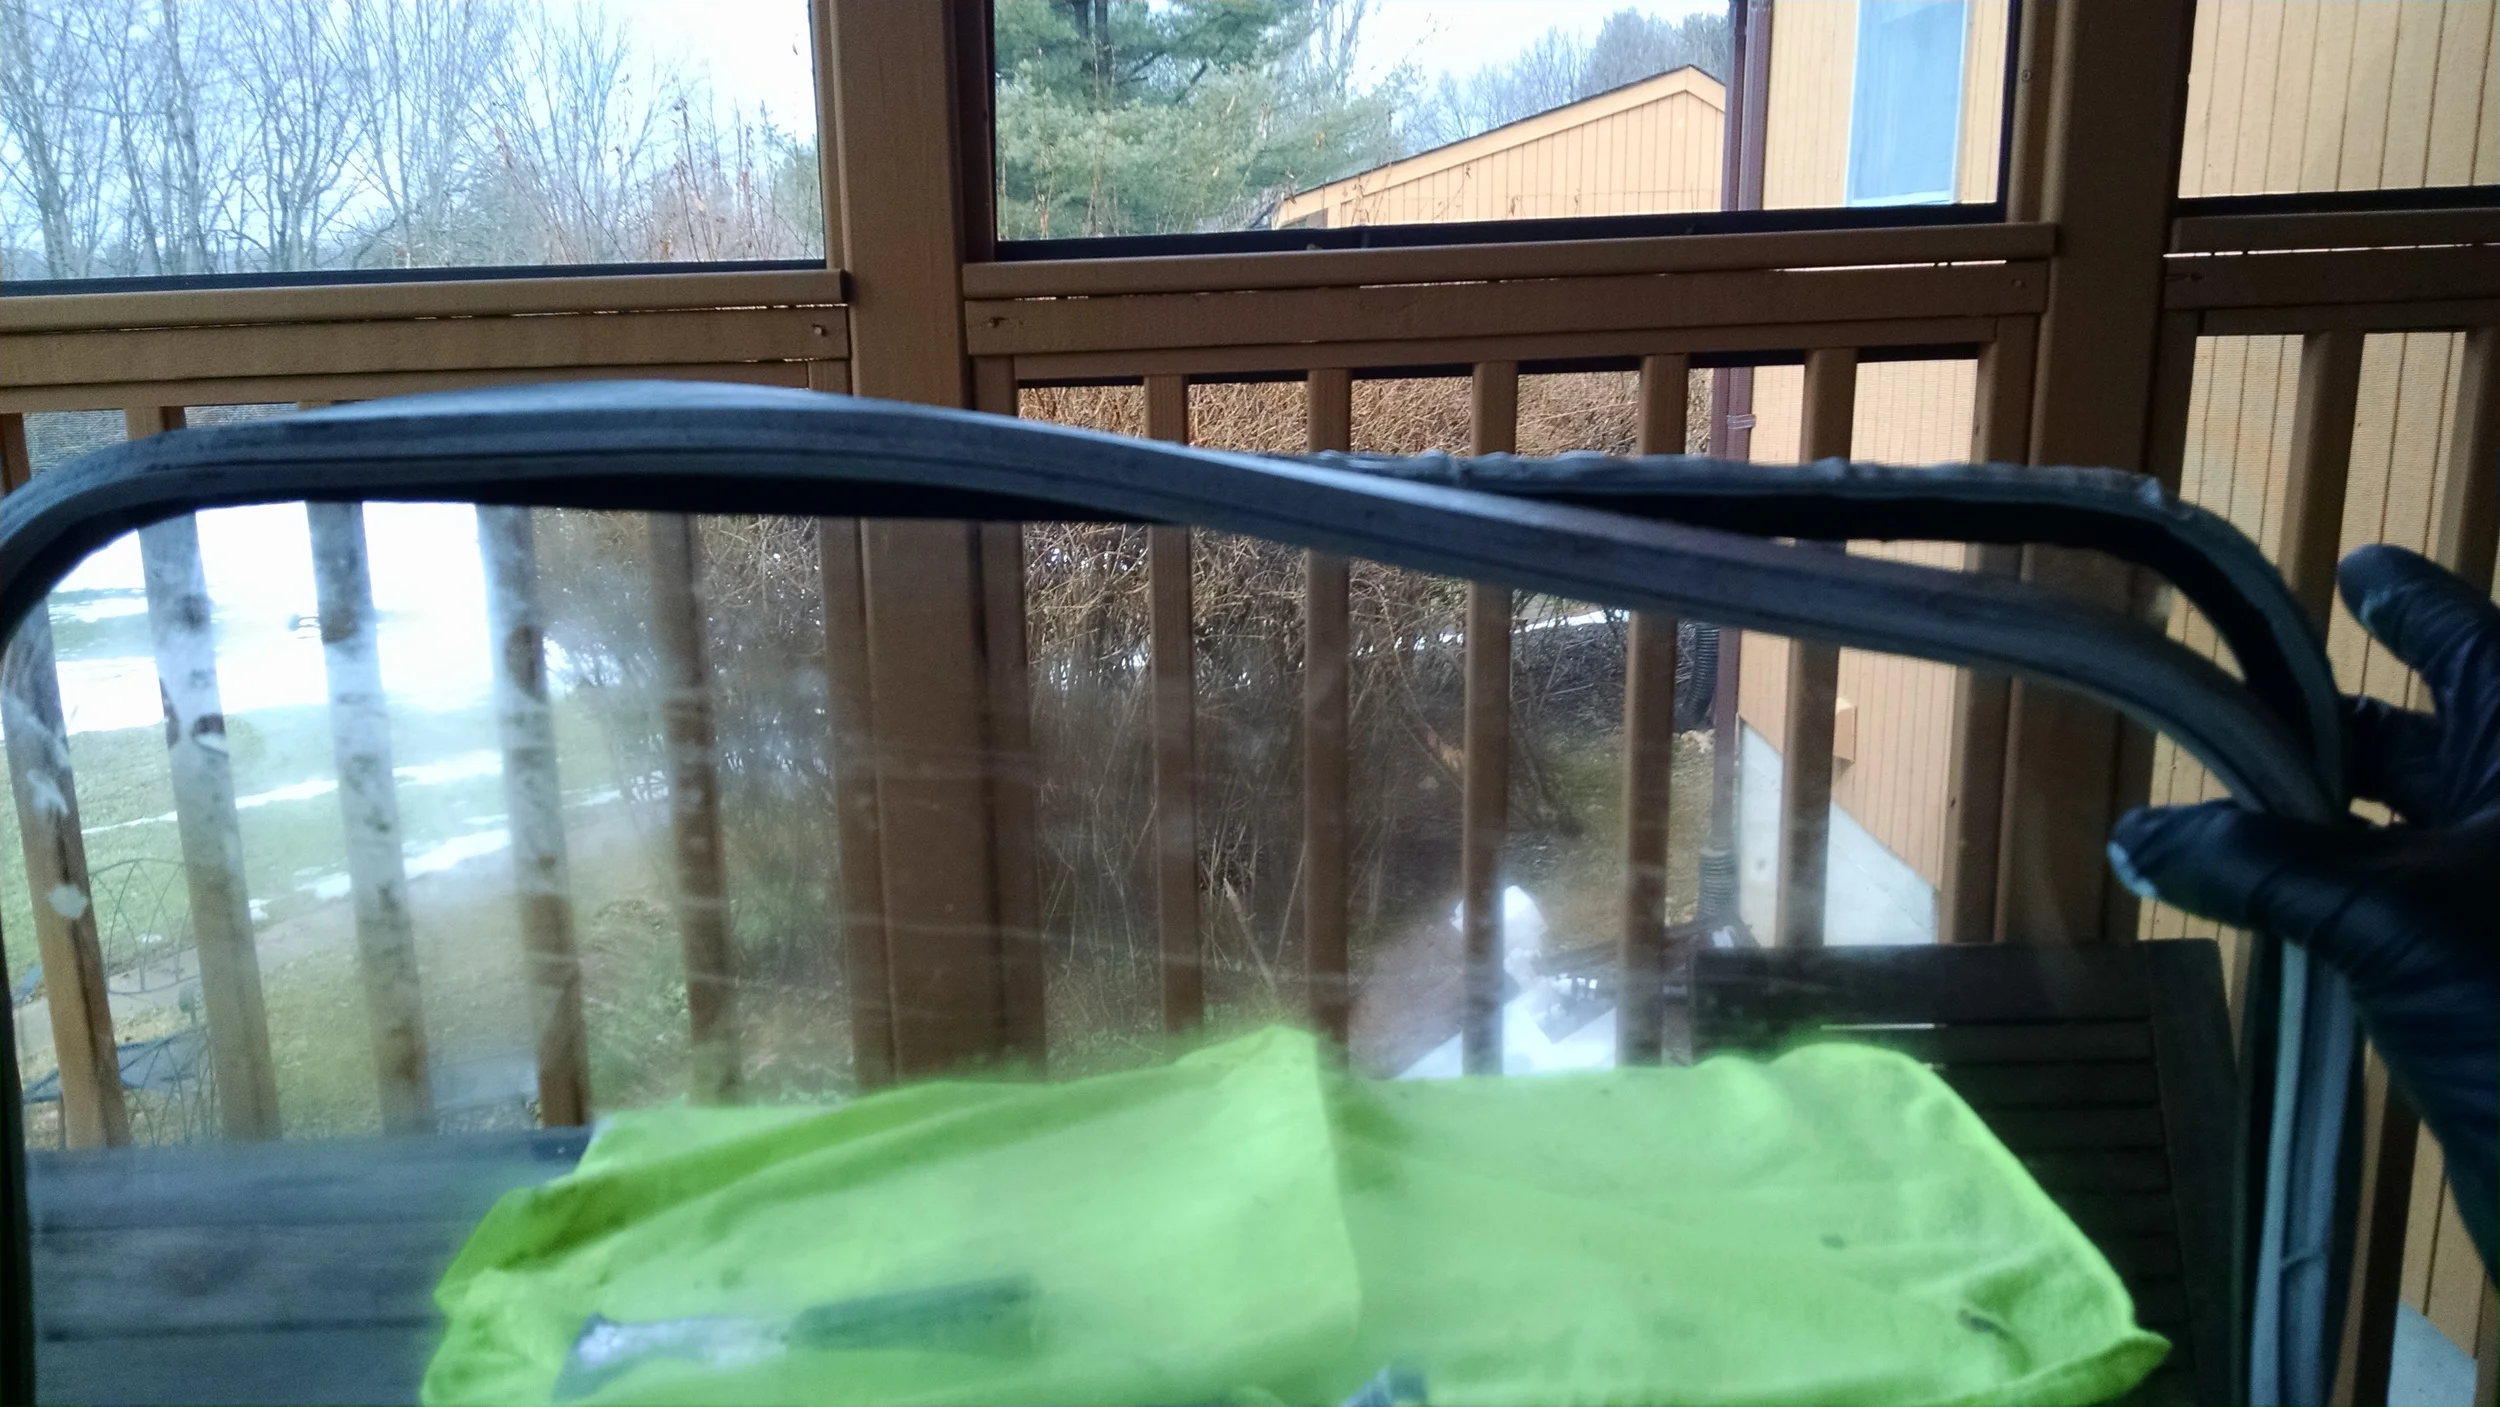
Glass panes clean up pretty easily with a fresh razor blade, some GooGone, Windex, and a microfiber towel. Have to make sure the inside panes are perfect before reassembly.

Here's the second window. I found the culprit! See that little gap at the top of the butyl tape, under the window? That's my point of failure. Butyl tape cannot be trusted.

A week later, and I've got my 3/16" polyshim butyl tape from Vintage Trailer Supply. I'm using this stuff to hold the panes of glass apart more than to seal anything. It's got a little rubber tube embedded in the tape to keep everything exactly 3/16" apart. I've laid this tape down with a little extra room on the edge.

Second pane goes on top, and I filled the perimeter gap with TremPro. That should keep it sealed for good.
Ready for the rubber glazing strip.

Rubber glazing strip installation is the reverse of removal. Everything goes on really easy except for the last curved corner, which is a giant pain.
Just have to pry the rubber glazing strip over the glass, being very careful not to break the glass or the glazing strips. This is not easy.

Kind of a mess, but I got it. Now I just need to clean up all the TremPro. Carb cleaner and a microfiber towel works pretty well while the TremPro is still wet. Don't use Windex to clean Polyurethane sealant -- it prevents the sealant from curing properly.

Need a little help getting everything assembled, so I used ratchet straps. Get the corners lined up, then screws back in.

Fresh new window. Just need to clean up the old sealant from both the window and the trailer, rivet it back on, and seal everything up.

Edit 3/19/16: You need to seal the interior side of the corners where the straight aluminum piece meets the curved piece, especially the bottom. That's one of the leak sources I found in this post. You probably don't need to seal the exterior side of the corner, but I'm guessing it wouldn't hurt. There's a drain hole in the bottom outside of the window -- that's what it's for.