The hearth for the stove needs to meet some minimum requirements for thickness and clearance dimensions listed here. We used 1/4" thick HardieBacker for the backer board and 1/4" thick glass tile for the finish. The hearth doesn't bridge any joints in the plywood subfloor, so I'm pretty comfortable that the 1" square tile should be OK, even with a moving coach. Heck, Hoffman Architecture regularly constructs entire bathrooms in tile.
Once I had the outline of the board ready, I sanded the subfloor with some rough sandpaper to give the thinset something to bite on to. Remember, the subfloor is covered in waterproof epoxy, so it's not exactly a porous surface anymore.


Mix up a few pounds of thinset and apply with a 1/4" square trowel. All the lines need to be parallel -- no swirls! This is important. Note that I avoided the elevator bolts. I want them to be able to wiggle without affecting the hearth, so I don't actually want to cover them in thinset.


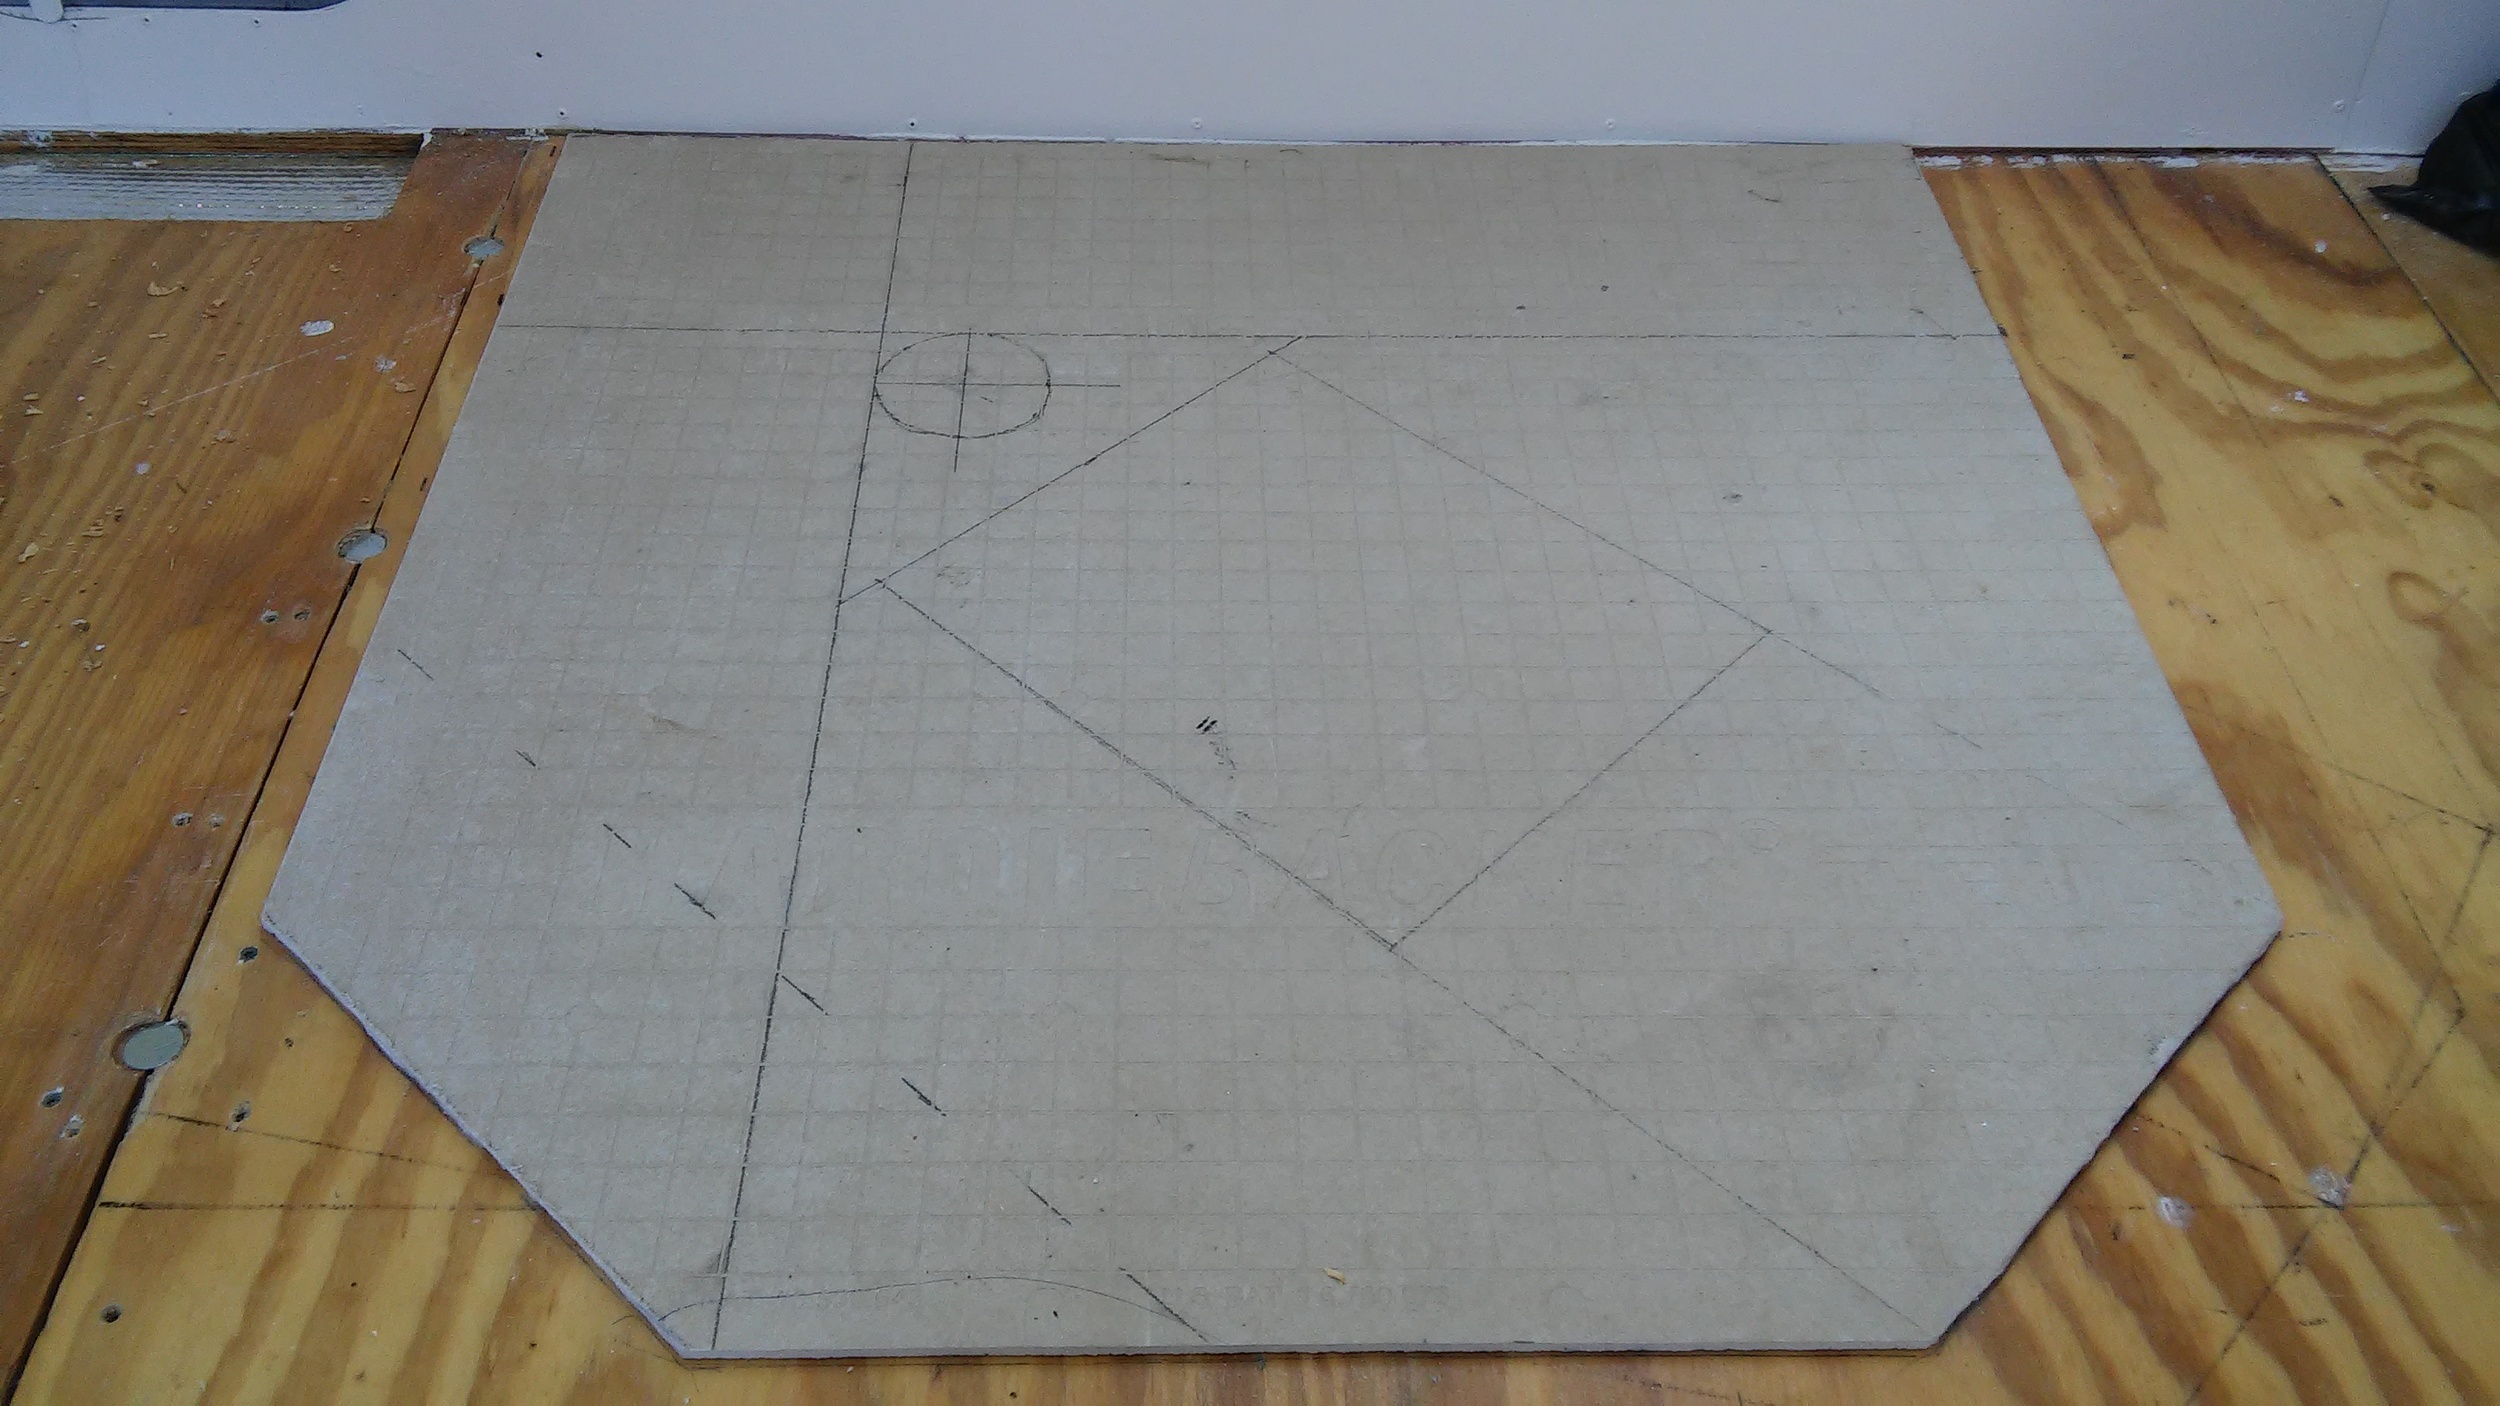
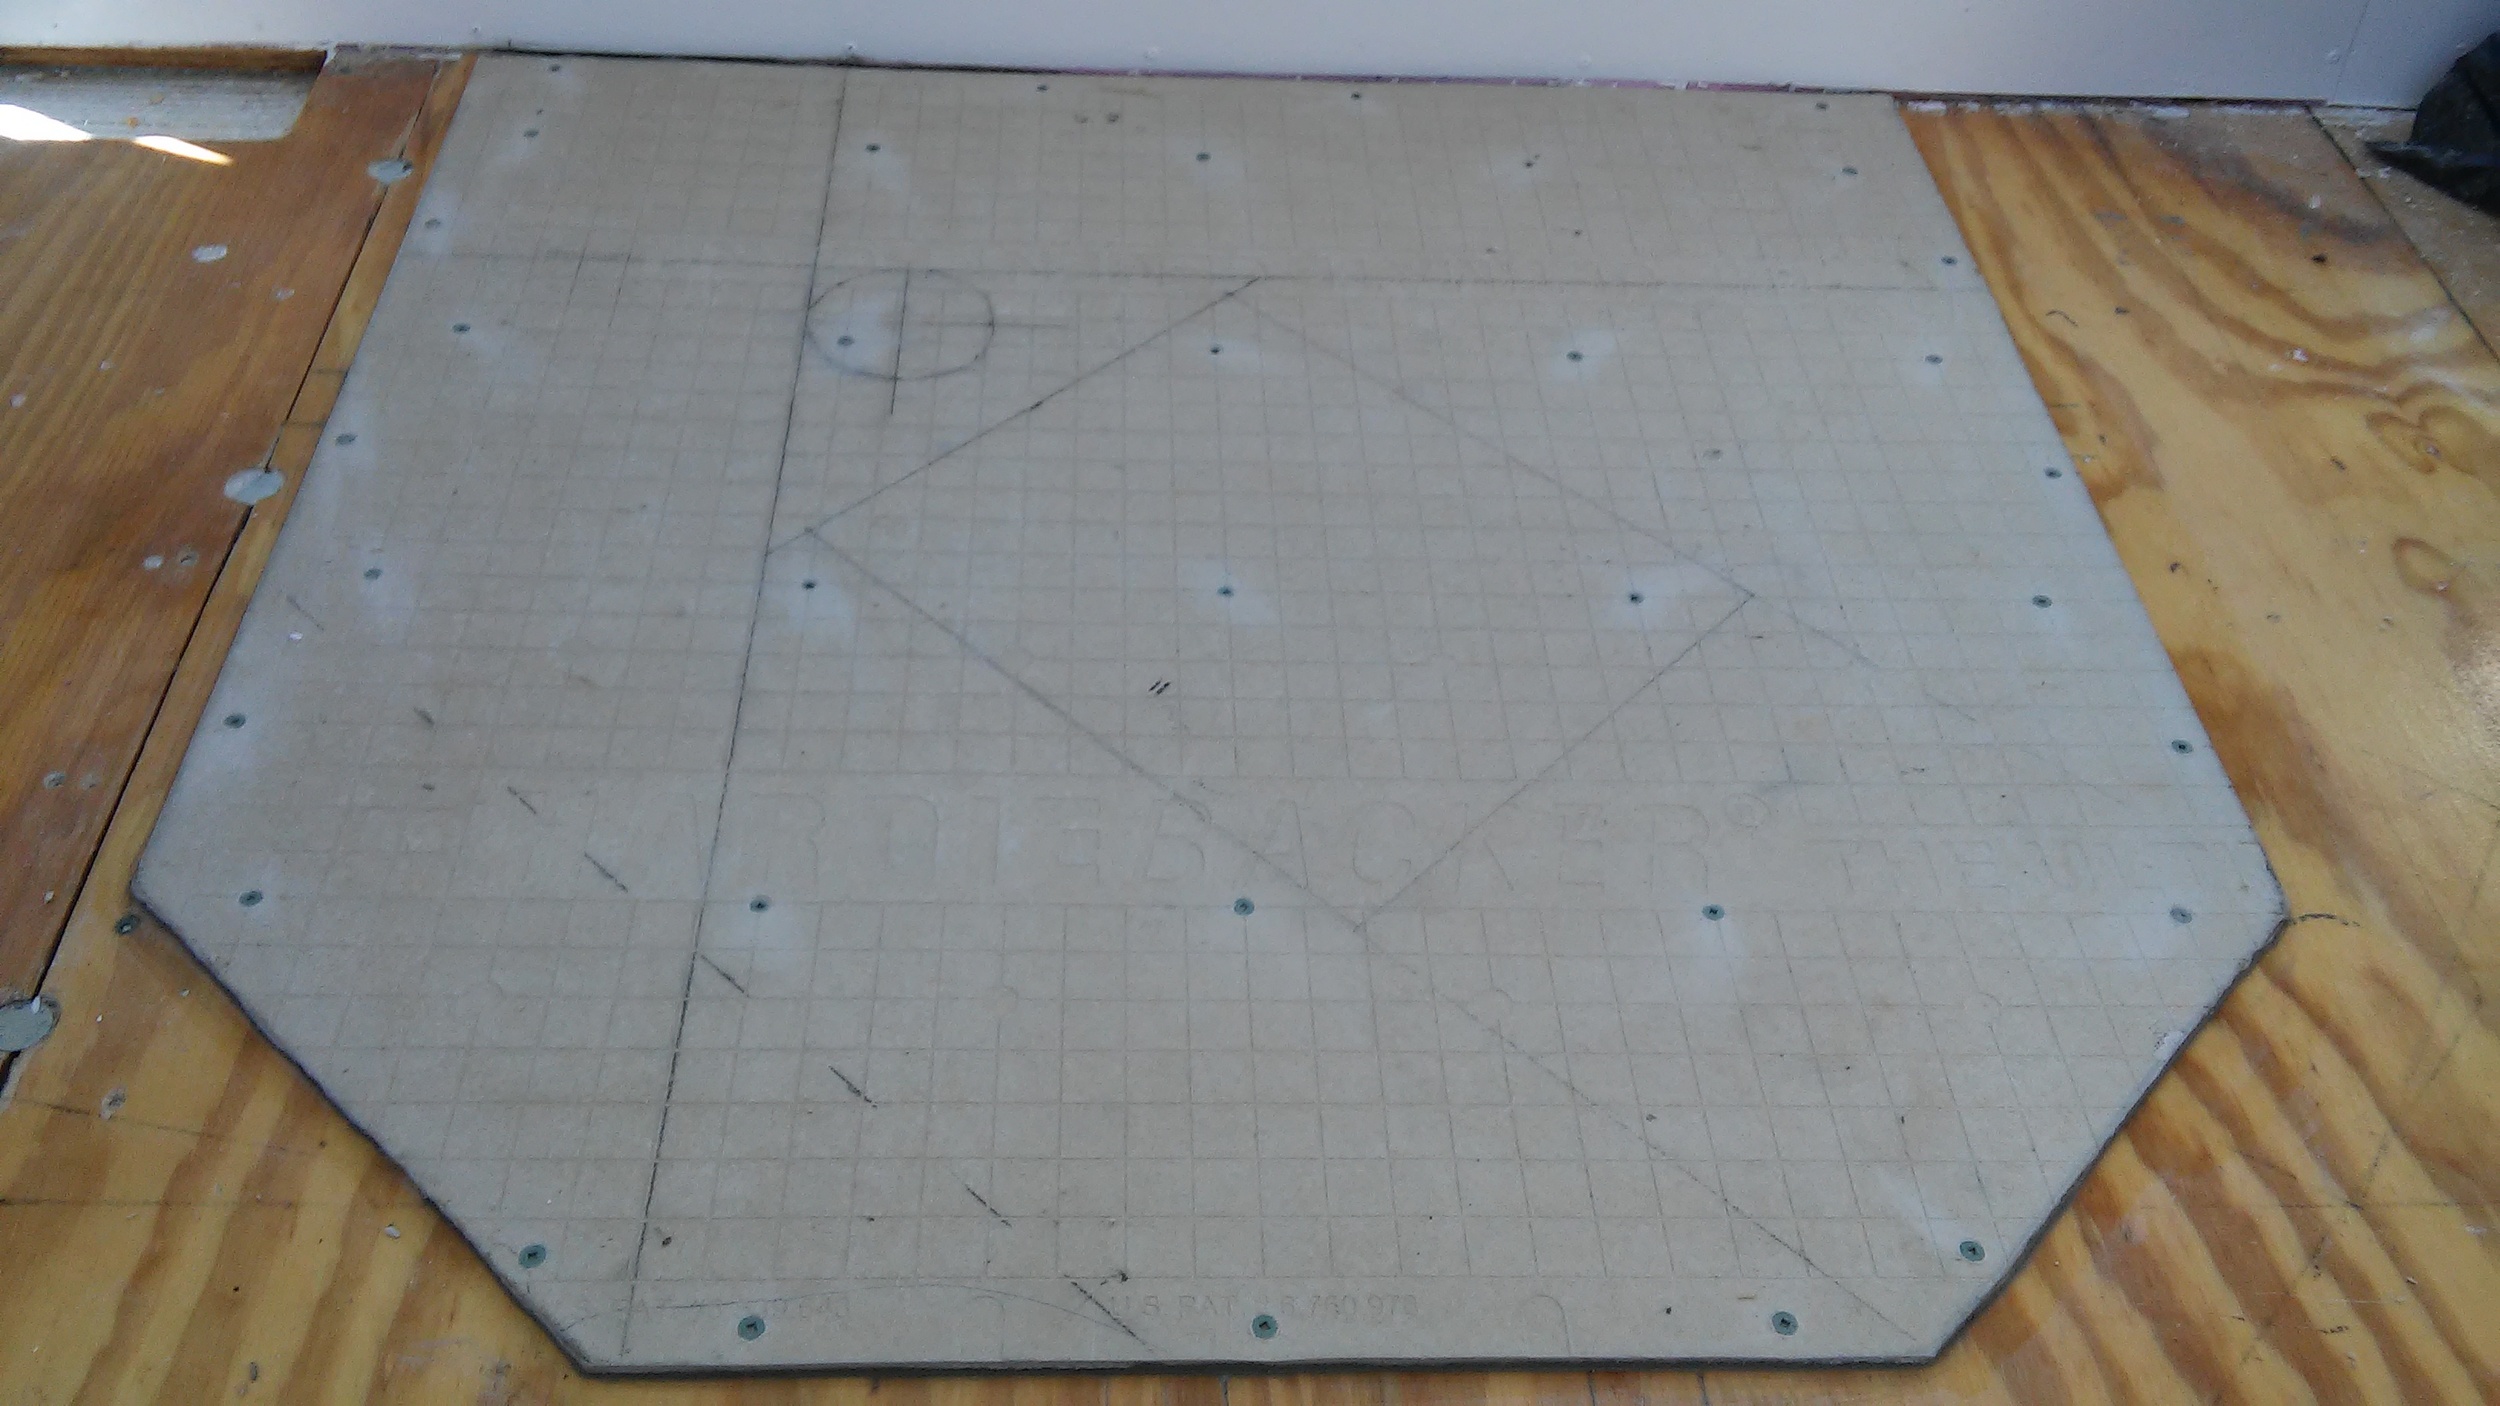
Now that I've got my mortar bed, the backer board goes in place and gets wiggled perpendicular to the lines in the thinset to collapse the grooves and get good coverage. Then, backer board screws attach the board to the floor. Directions say a screw every 8", keep screws 2" from the corners, and between 3/8" - 3/4" from the board edges. Good idea to mark where the frame is so you don't put a screw into the steel frame.


Next, plan the layout and mark my cuts.


Now, with the cuts complete I'll lay out the tiles again. Like how I skipped the hard part? There was too much blood, and this is a family show.
Once I got everything where I wanted it, I put painters tape over the loose tiles so that I don't have to arrange them individually into the thinset.
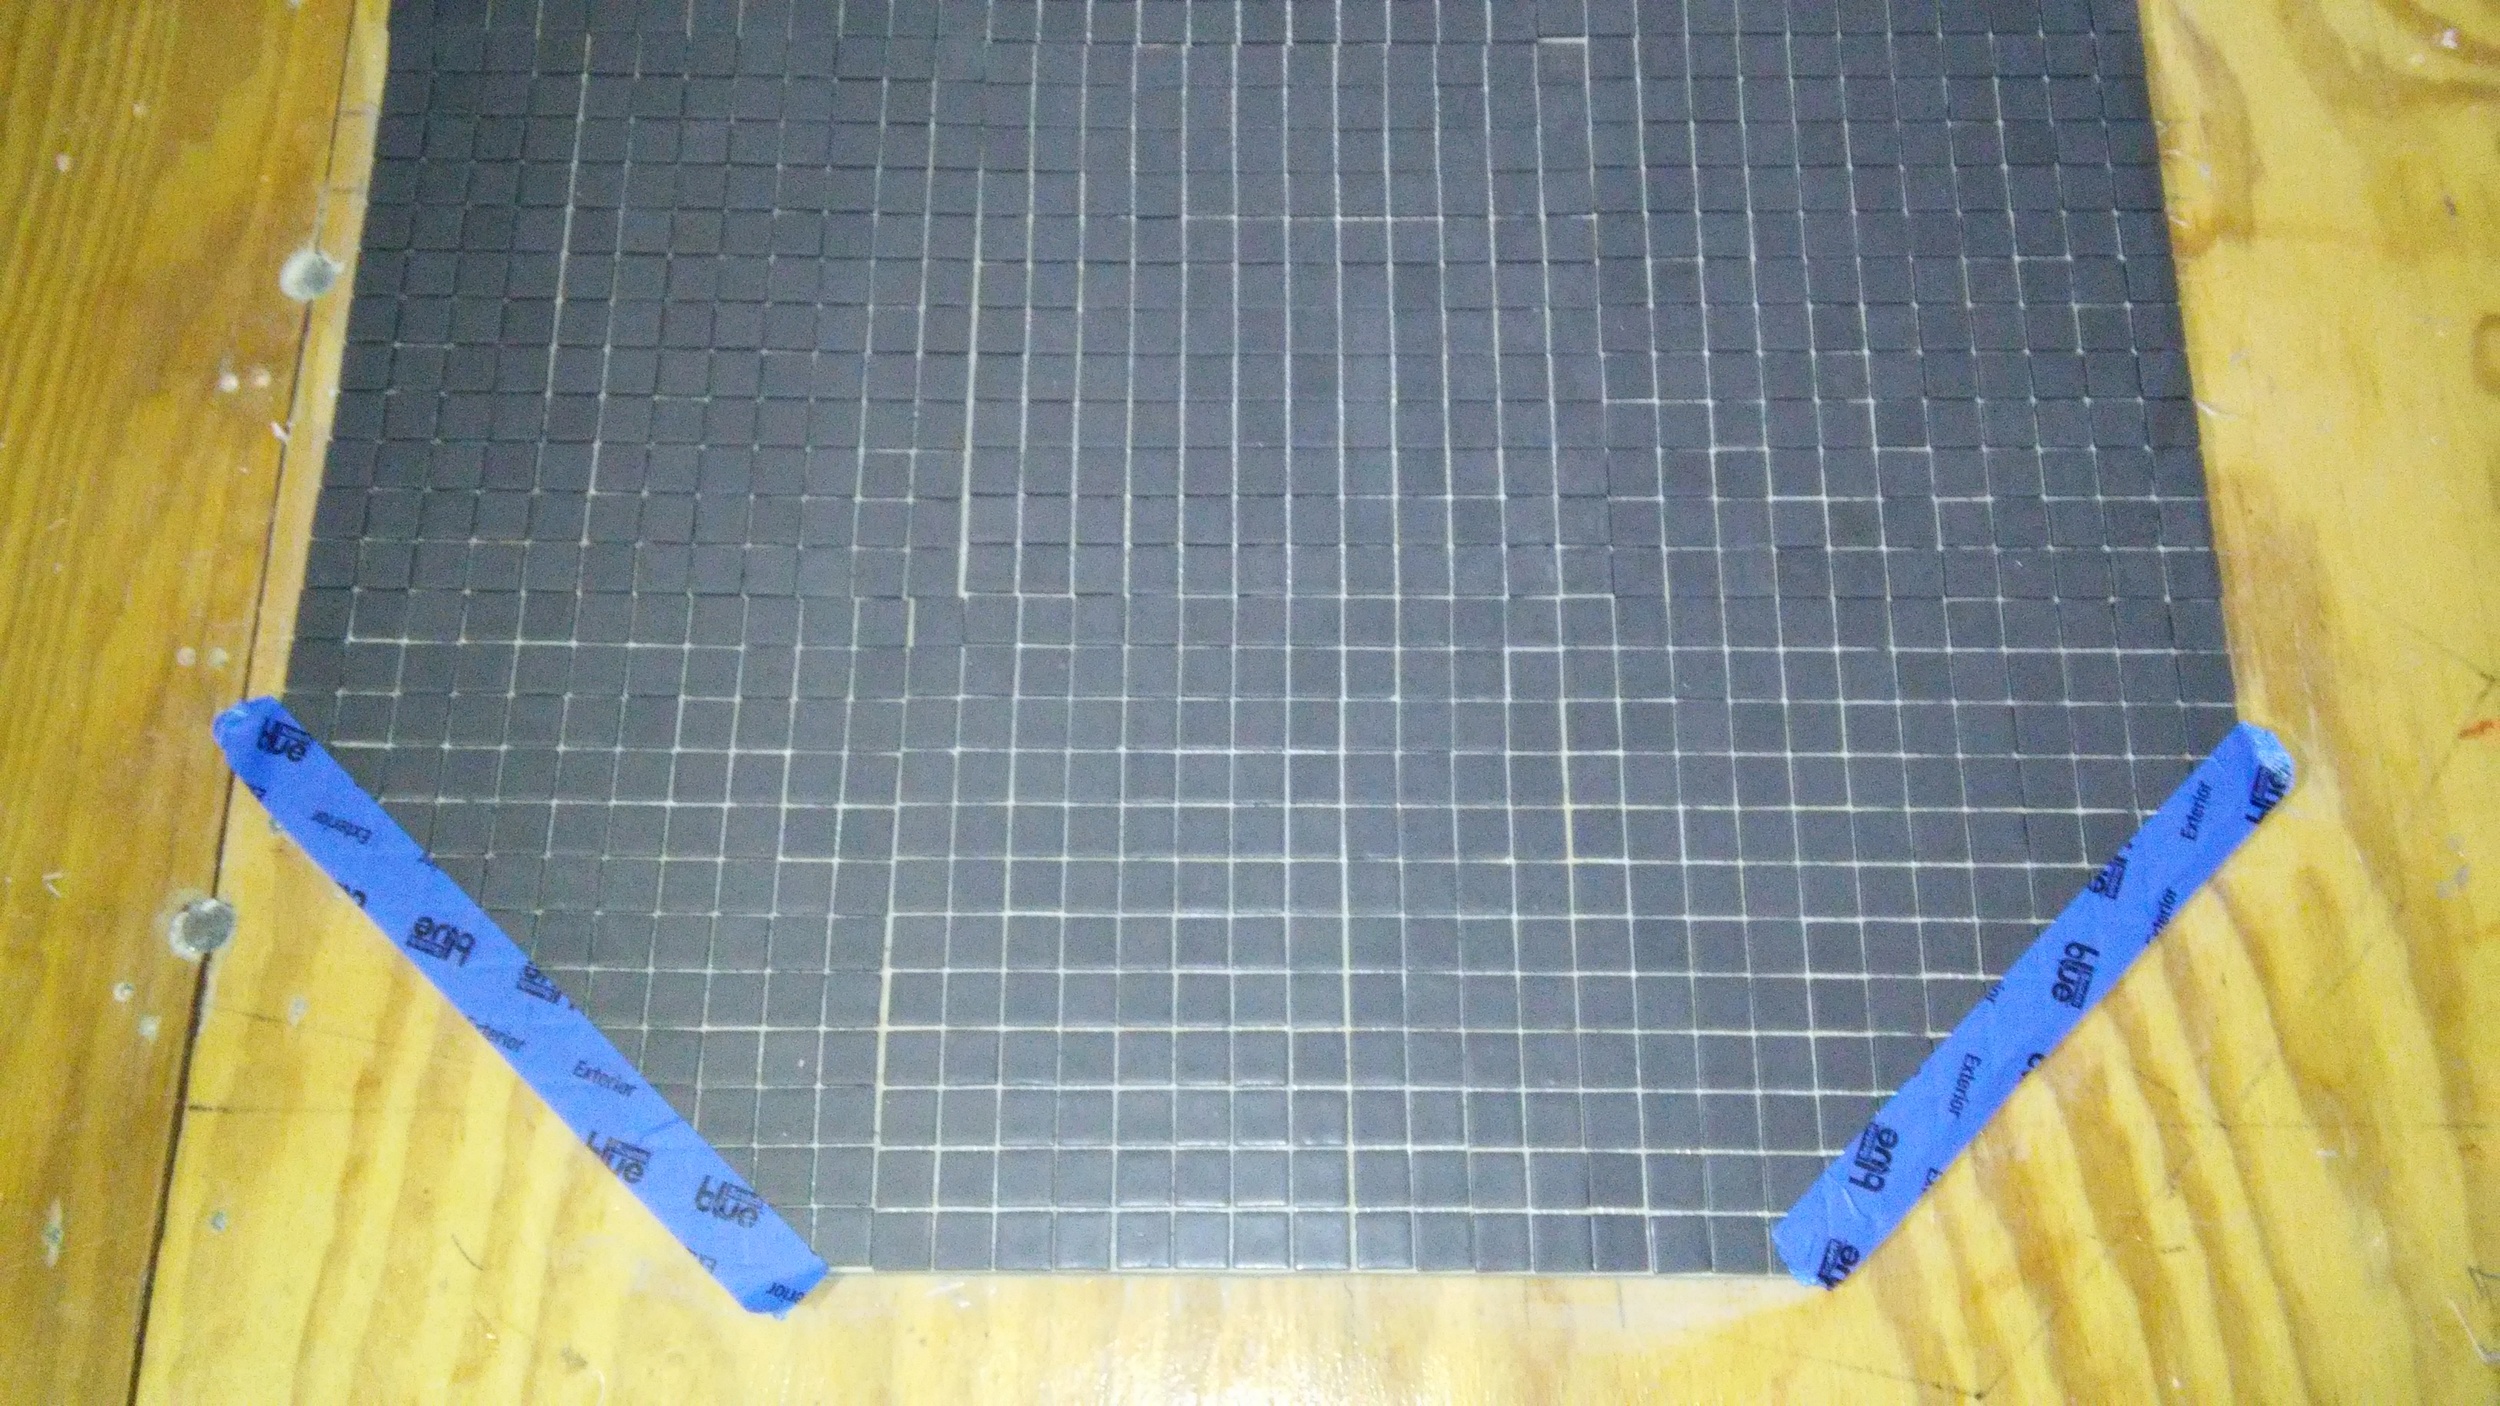

With everything in order and a fresh batch of thinset, it's time to start tiling. Now, this is the do-as-I-say-not-as-I-do moment. I back-buttered all my tile sheets thinking, "better safe than sorry." Well, I'm sorry. I'm really, really sorry.


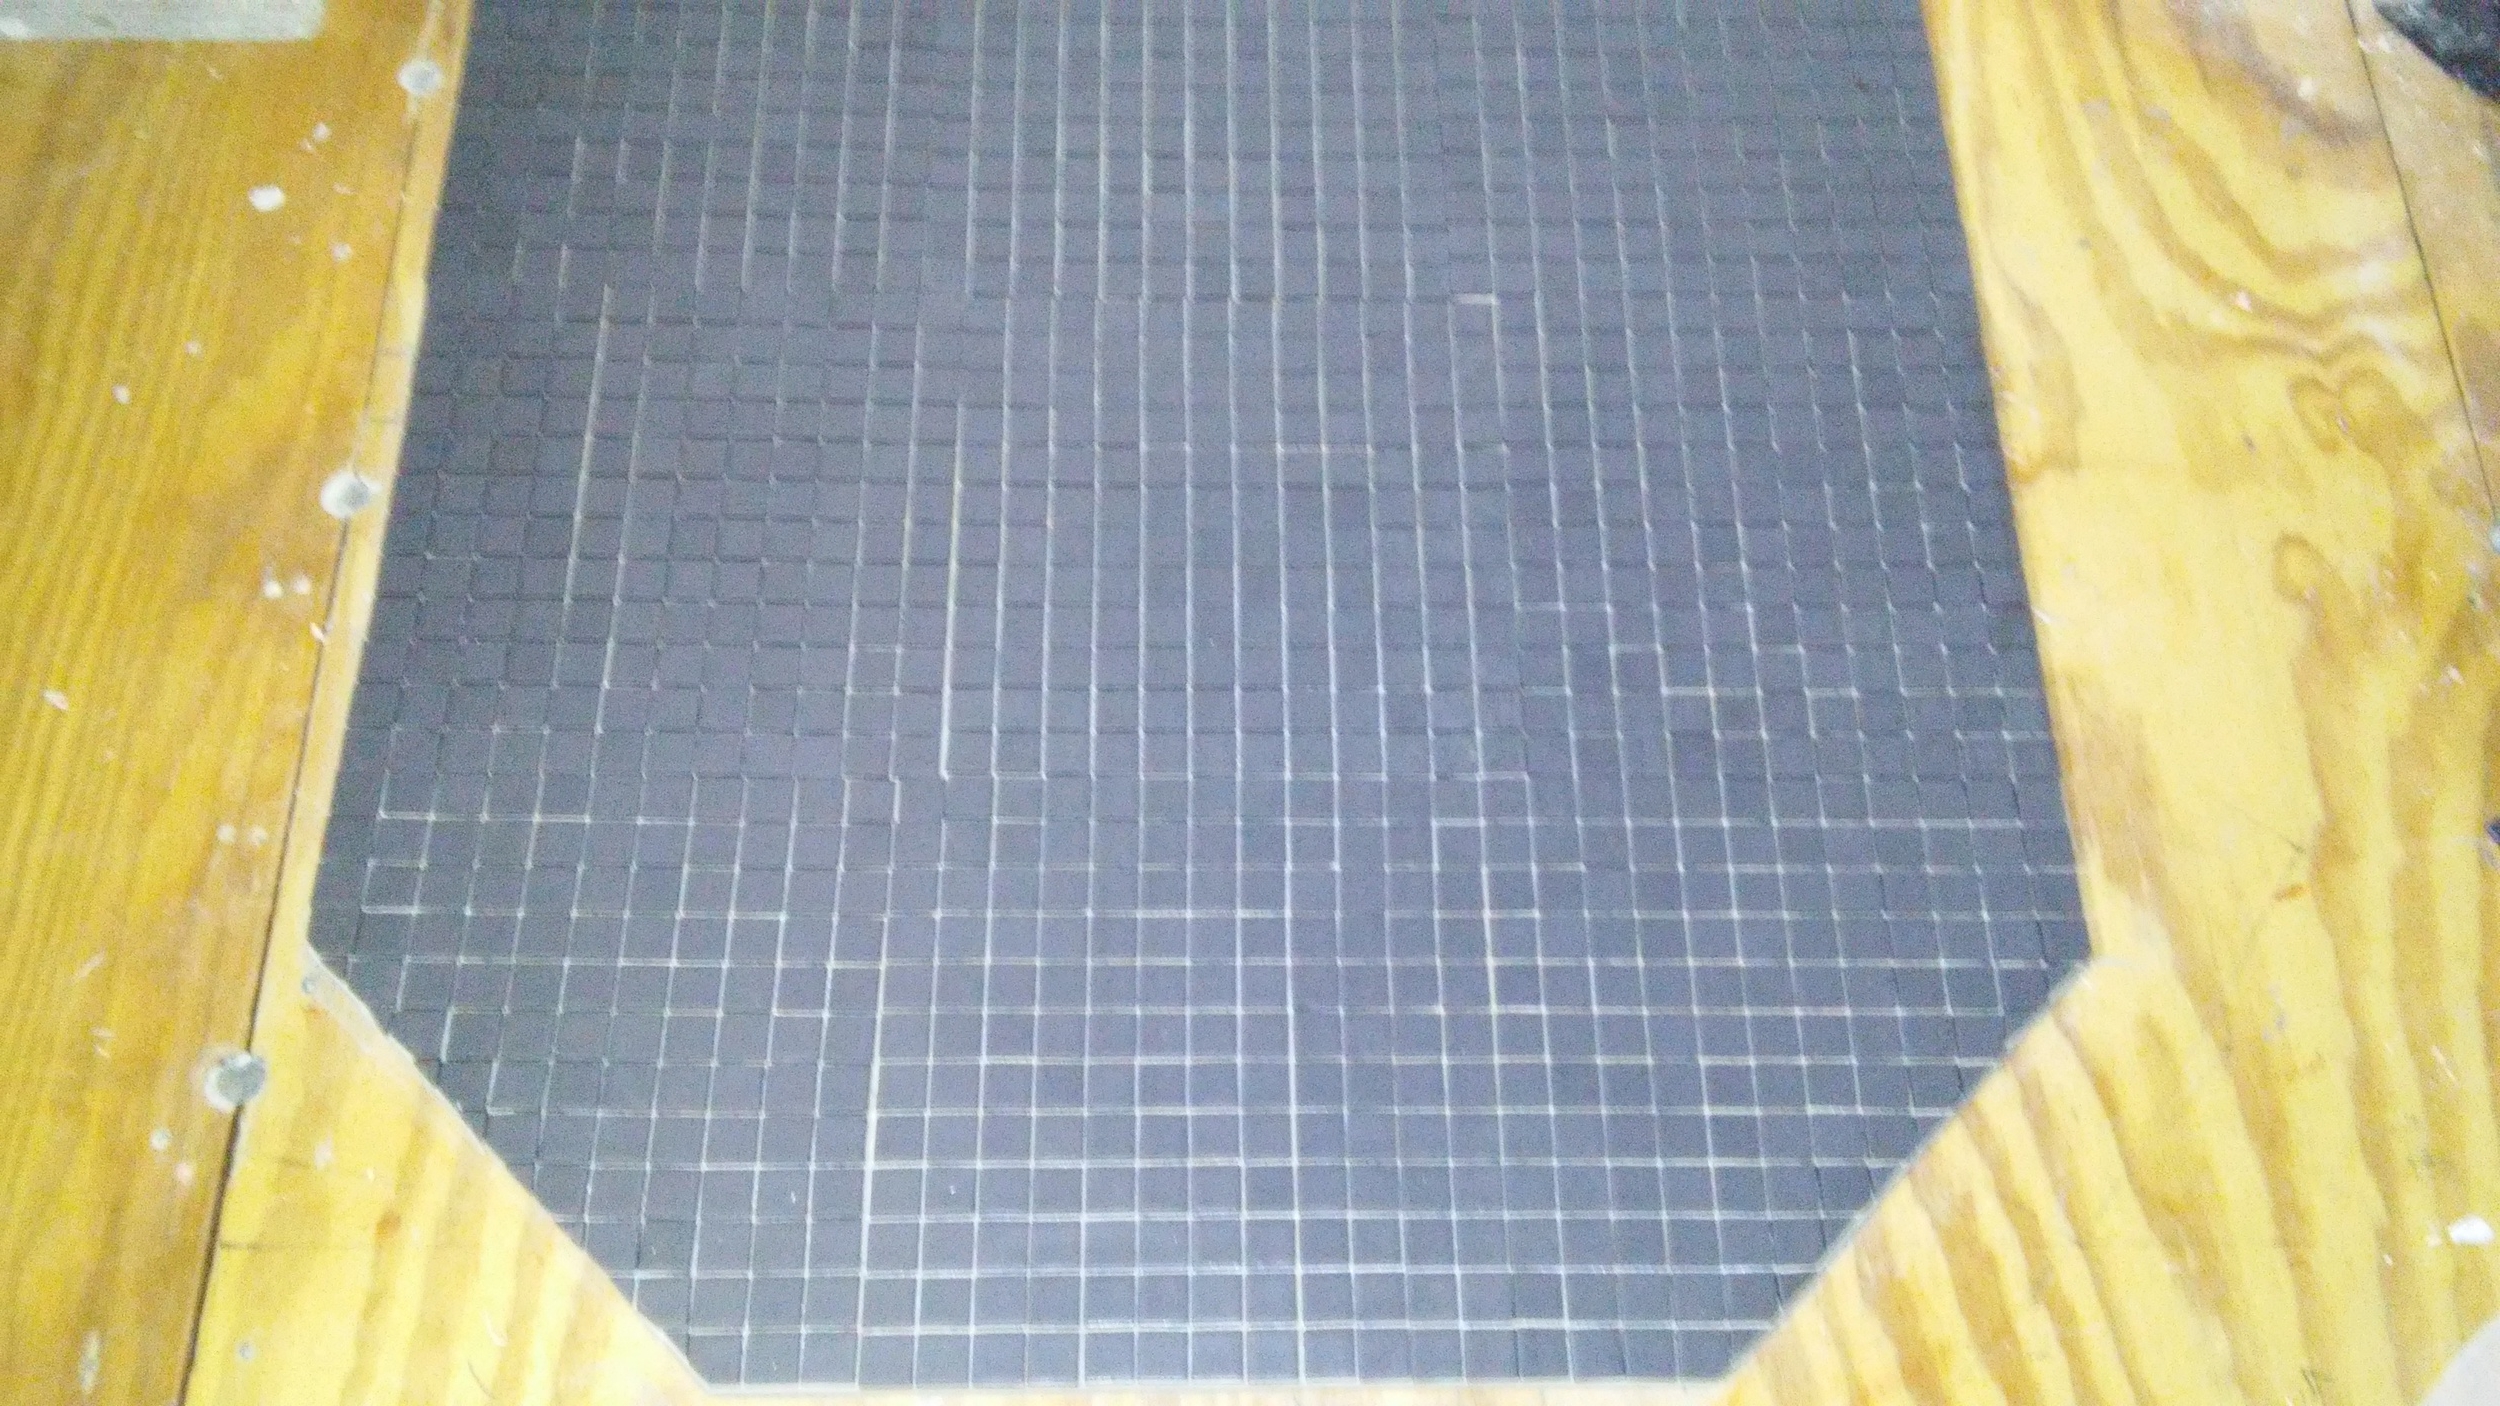
Tile goes down like normal, wiggling perpendicular to the lines I made in the thinset with my 3/16" v-notch trowel. Then I spend a long time digging the thinset out of the grout joints of every single tile and making adjustments. I would bet that I did more damage to my adhesion wiggling the tiles around to get the grout joints clear than I gained by back-buttering in the first place.


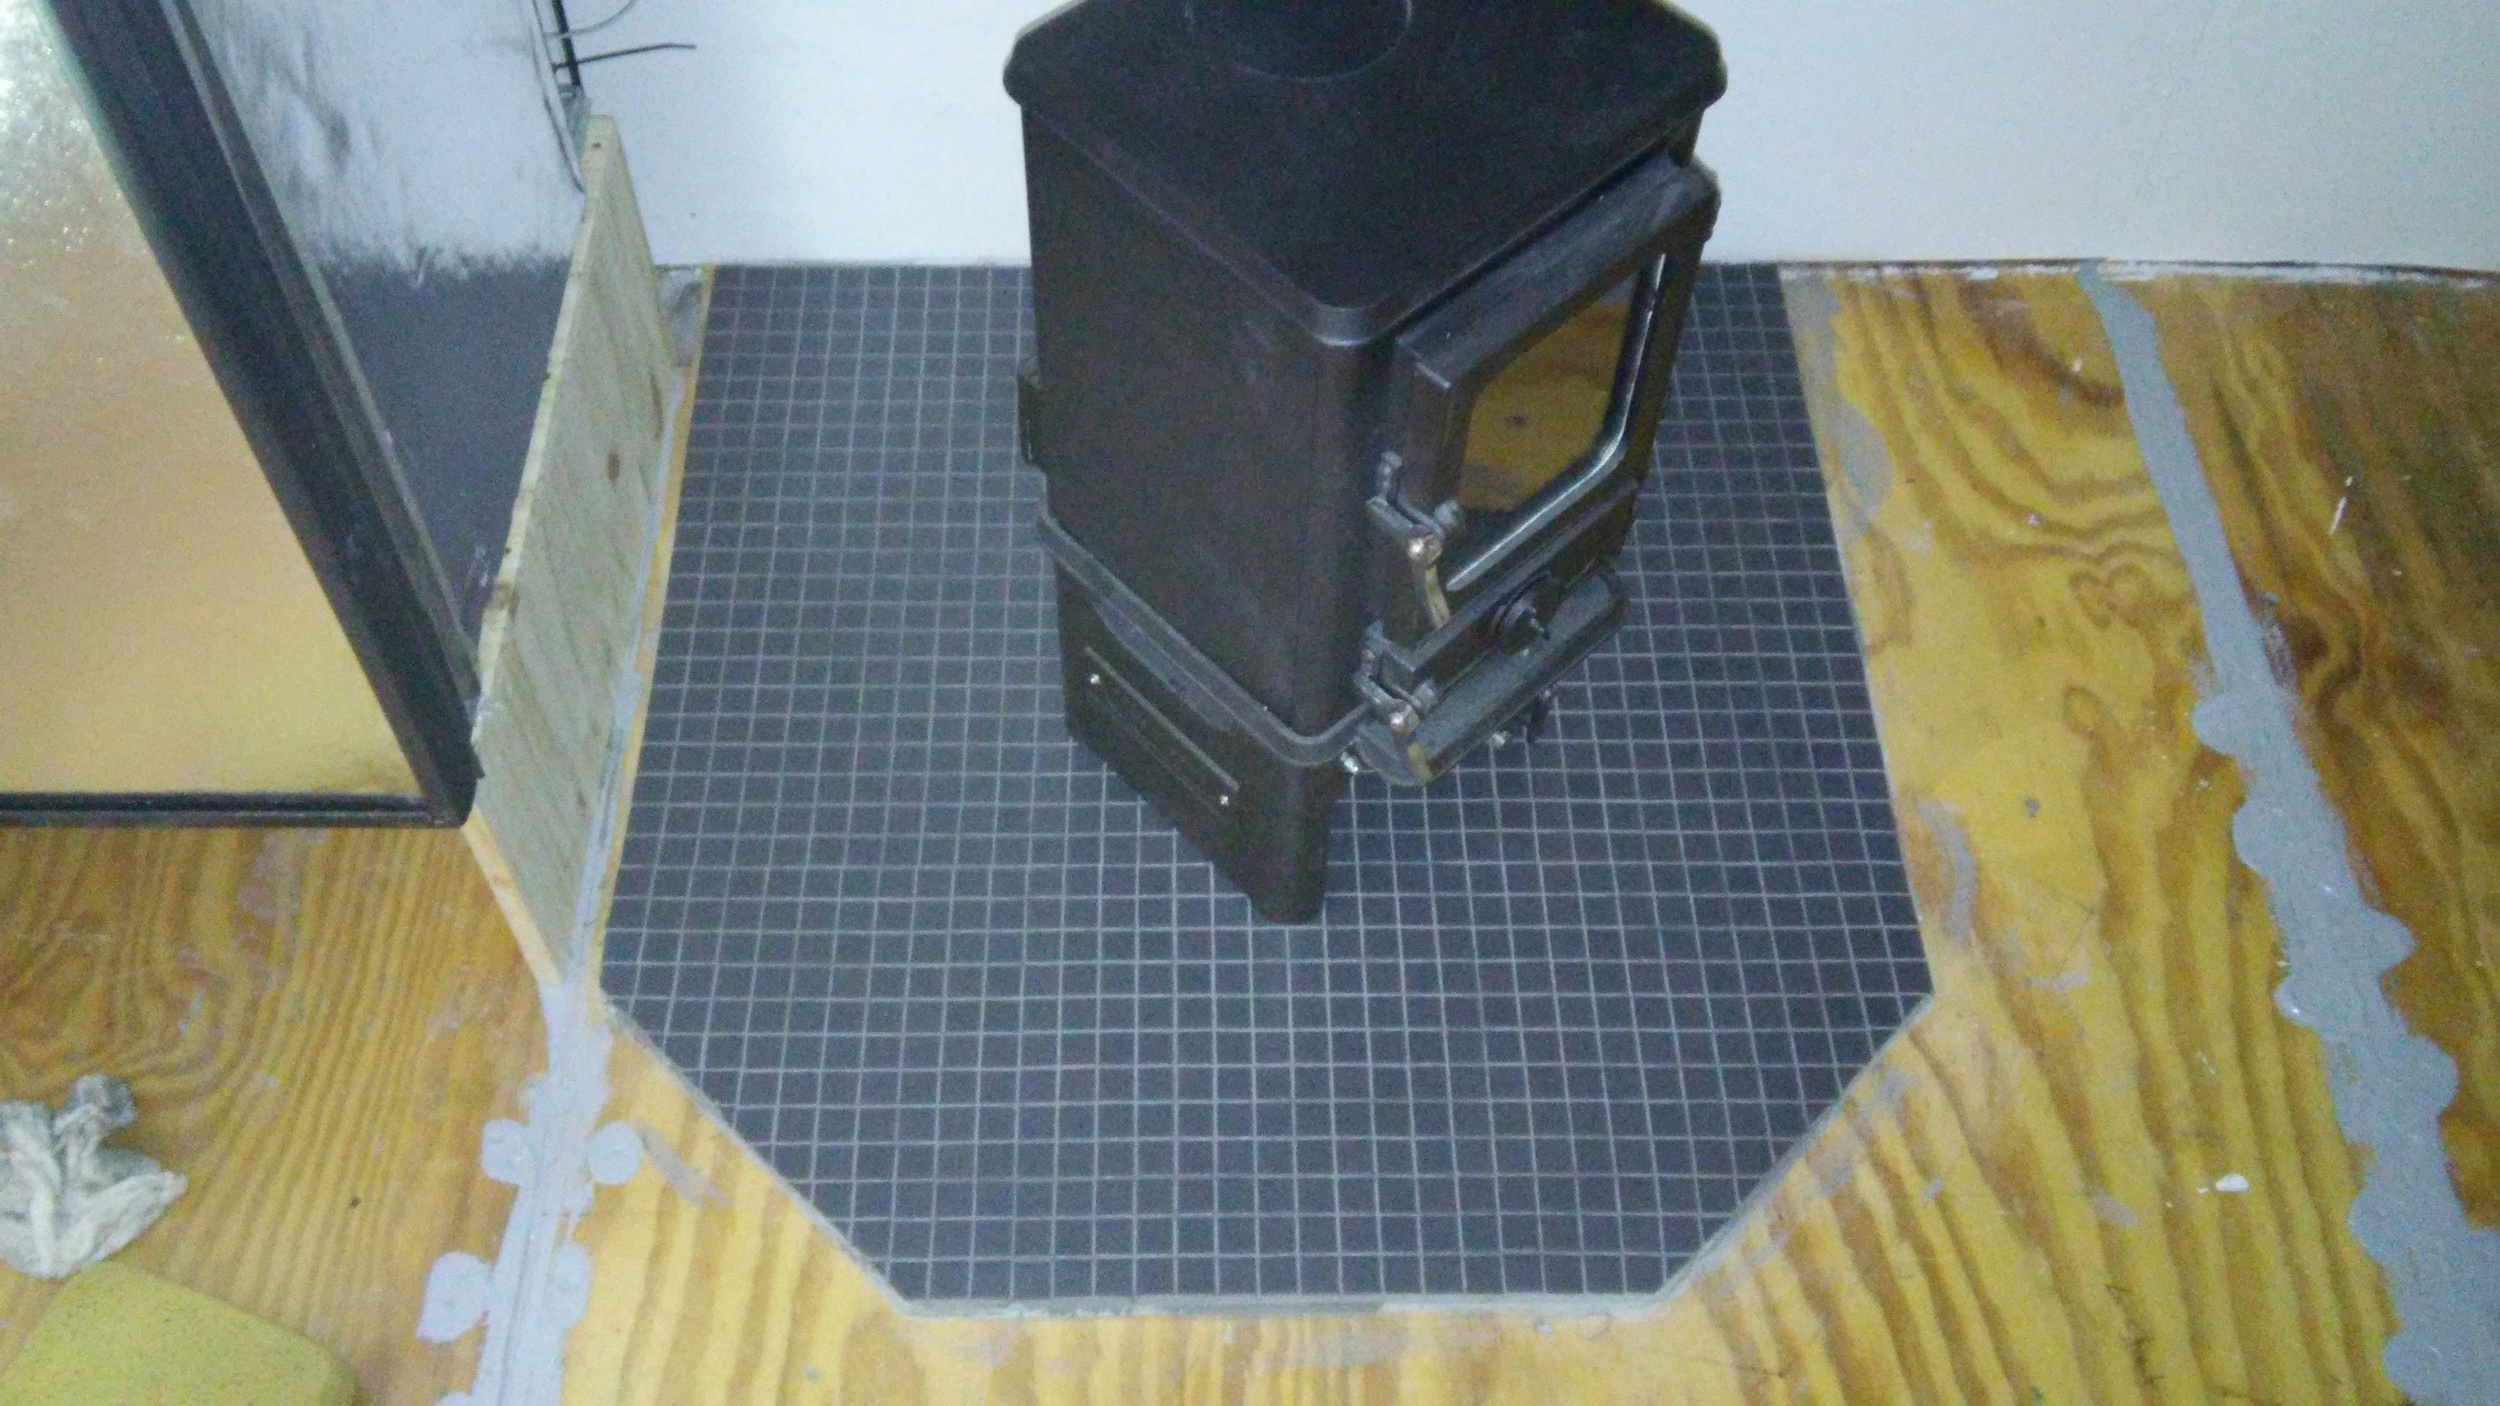
Here's the finished product after the grout. Once the rest of the flooring is in, I'll use caulk color-matched to the grout to make a seamless transition around the hearth.