
Electrical
Our updated electrical system helps us live and work safely and efficiently whether we have full hookups or are parked in the wilderness.
Some of these links are "affiliate links." If you decide to buy something based on our recommendation, it would be nice if you used the direct link from this page so that we can make a small commission for referring you (which doesn't cost you anything extra).
Helpful Tools and Supplies
You’re going to be cutting and splicing lots of wires, so it’s worthwhile to buy some quality tools up front. You’ll be using your crimping tool a lot, so I suggest investing in a high-quality ratcheting crimper instead of the cheap crimping tools available at the big box hardware store. A wire cutter/stripper tool makes cutting wire and removing insulation easy.
While lots of people do use regular Romex wire from the hardware store for trailer renovations, the best wire to use for your trailer electrical system, both AC and DC, is marine stranded wire. Marine stranded wire is made to stand up to the vibration and movement inherent in a mobile application, and is less prone to failure in the future.
For the most reliable electrical system, all of your splices should use crimp connectors — no wire nuts. Heat shrink crimp connectors are best. This is a good set to get you started, though you’ll likely need more butt connectors than anything else. When connecting two different wire gauges together, step-down butt splices are available.
If you’re using heat shrink crimp connectors, you’ll also need a heat gun. While a traditional heat gun is a little easier to use, if you’re going to be bringing your tools on the road, I suggest a small butane combination heat gun and soldering iron, which is a more compact and versatile tool.

Interior Lighting
All of our lighting is 12V, and most of it is soft white LED. The recessed ceiling lights are controlled by switches and divided into zones: living room, kitchen, bedroom, and bathroom.
The bedroom sconces are controlled by switches on the sconces themselves. They're incandescent, so they give off really nice, warm light. But that also means they're power hogs. One of the bedroom sconce seems to draw more power than all the ceiling lights combined.
The bathroom sconces are not yet installed, but will be placed on either side of the mirror for vanity lighting.
The switches we used throughout the coach have a nice household type appearance when paired with the matching switch plates. To fit them in the walls, you need to use right angle flag terminals because straight crimp terminals won't fit in the wall.
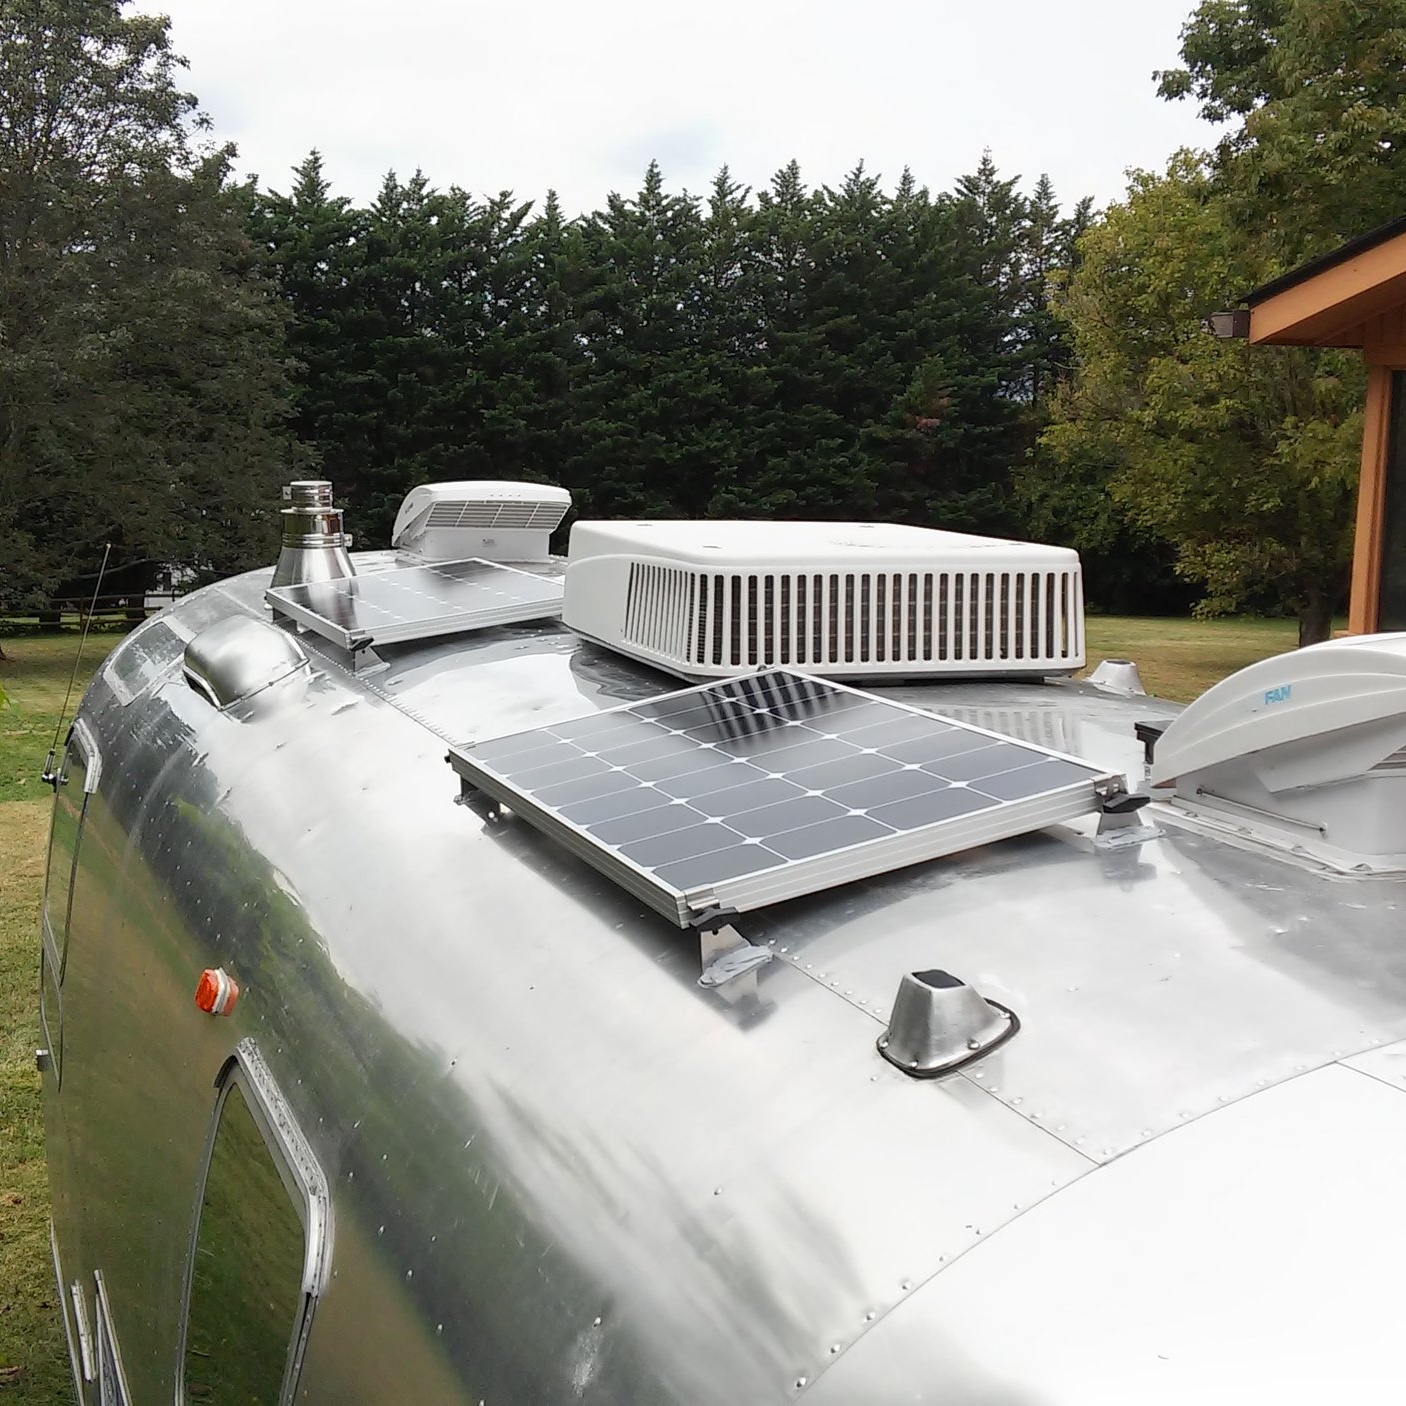
Solar Power
When we had the walls open, we prewired for solar using 4 AWG wire to a combiner box on the roof. I have two solar panels on order with plans for at least two more.
Obligatory reading for designing a solar electric system here and here.
Apparently solar charge controllers can be damaged if they are disconnected from the battery without first disconnecting them from the solar panels. To avoid any trouble, I'm installing a double pole single throw disconnect -- a switch that will disconnect both the solar panels and the battery from the charge controller simultaneously. That way, I can't accidentally forget to turn disconnect the solar panels before I disconnect the battery.
By the way, AM Solar has a nasty habit of updating their website URLs every five minutes. So, sorry if some of the links below stop working.

Power Protection
The Progressive Industries hardwired EMS is one of the important safety features of our electrical system. Because campground power has a tendency to be dodgy -- open grounds, open neutrals, reversed polarity, surges, high and low voltages, bad frequencies, or even wiring an RV outlet with 240 V like it's a dryer outlet -- power protection is critical to keep us and our equipment safe.
Our fuses protect the DC distribution system and appliances from overloads that could fry our equipment or cause fires. The old fuse box was in the univolt, which we removed.
Like the fuses on the DC side, the breaker box protects the wire and appliances from overloads. The breaker box we used has space for one 30A fuse for the shore power inlet, and two double breakers for a total of four AC circuits in the Airstream.
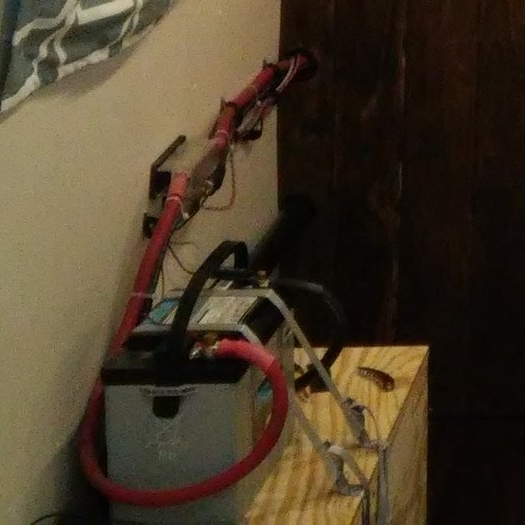
House Battery
We're currently using a 100 AH AGM battery to power the 12V side of the Airstream, but we've wired for a much larger battery bank. Long term, we're looking to install a lithium battery bank, at least 400 AH. Lithium is lighter, less likely to expel gasses in the coach, and can be drawn down almost completely without damage, where you can only safely draw about 50% from an AGM battery. So a 400 AH lithium battery would have about 8 times the capacity of our 100 AH AGM.
The issue is up-front cost. Depending on how you do your math, a lithium battery bank can be cheaper over the life of the batteries than AGM. But that up-front cost is a doozy. We're saving our nickels.
Inverter
Since we have the Airstream set up for 30A service, the MS2000 provides plenty of power to run anything in our house. If we had 50A service, it would make sense to get one of the hybrid inverters.
For us to use the full capacity of the MS2000, we need a minimum of 200 AH of battery capacity. We only have a 100AH battery for the time being, so we can't power any high draw appliances like the AC or dishwasher from the battery without potentially doing some damage. But we can still use the charging feature to maintain our batteries and power our 12V appliances, use the inverter remote and battery monitor to monitor our power consumption, and use the inverter to power lower draw appliances like computers or the vacuum battery charger.
The grounding section of the MS2000 manual is a lot to absorb. I don't claim to be an expert, but I'll tell you what we did. We bolted our chassis ground lug to the Airstream frame and connected it to a Blue Sea Systems single terminal connector with 4/0 wire. We wired the ground lug on the case of the MS2000 as well as our negative bus bar to our grounding post using 4/0 wire, which is the same size as the largest wire in our electrical system.
One of the connections you make when wiring the inverter to the AC system connects the AC ground (green wire) to the MS2000 case, so that in turn will be grounded to the Airstream frame through the same 4/0 ground wire. We did not connect the AC neutral (black wire) to the AC ground (green wire) at any point of our system, including inside the breaker box. There should only be one AC neutral to ground bond, and that is at the pedestal when on shore power, or inside the inverter when inverting. The MS2000 has a switch for that. In the event that we're using a generator without a neutral to ground bond, we'll need to use a specially prepared (read: hacked together) plug that will connect the AC neutral to the ground at the generator.

Shore Power
We used the popular Furrion shore power inlet instead of the shore power whip that came hardwired to our Airstream. The inlet allows us to disconnect the shore power cord from the Airstream entirely, rather than having to stow it in the bumper compartment with the sewer dump hose. The inlet is available in both plastic and high quality stainless steel.
The Furrion cordset makes locking water tight connections with the inlet, so you don't need to worry about your connections getting wet if it rains. And it has an LED "go/no go" indicator that tells you if there is power to the cord, and if there is reversed polarity or an open neutral.