
We want our home to be fairly energy independent, so a good solar system is a must. I started by pre-wiring our Airstream for solar back in January before I installed the skins, which made today's installation much easier, and will make future expansion just as easy.
I decided to go with traditional flat panels instead of flexible ones for a few reasons. First, black panels get hot in the sun, and hotter panels produce less power. Having a little airflow under the panels should keep them running cooler. Second, black panels get hot in the sun, and I don't want that heat to conduct into the Airstream if I can avoid it. I'd rather have a little square of shade than a little square of hot. Third, you can tilt flat panels, but curved panels are stuck where they are. Finally, warranties are easier to claim when your panel is not glued directly to your roof.
Some of these links are "affiliate links." If you decide to buy something based on our recommendation, it would be nice if you used the direct link from this page so that we can make a small commission for referring you (which doesn't cost you anything extra).
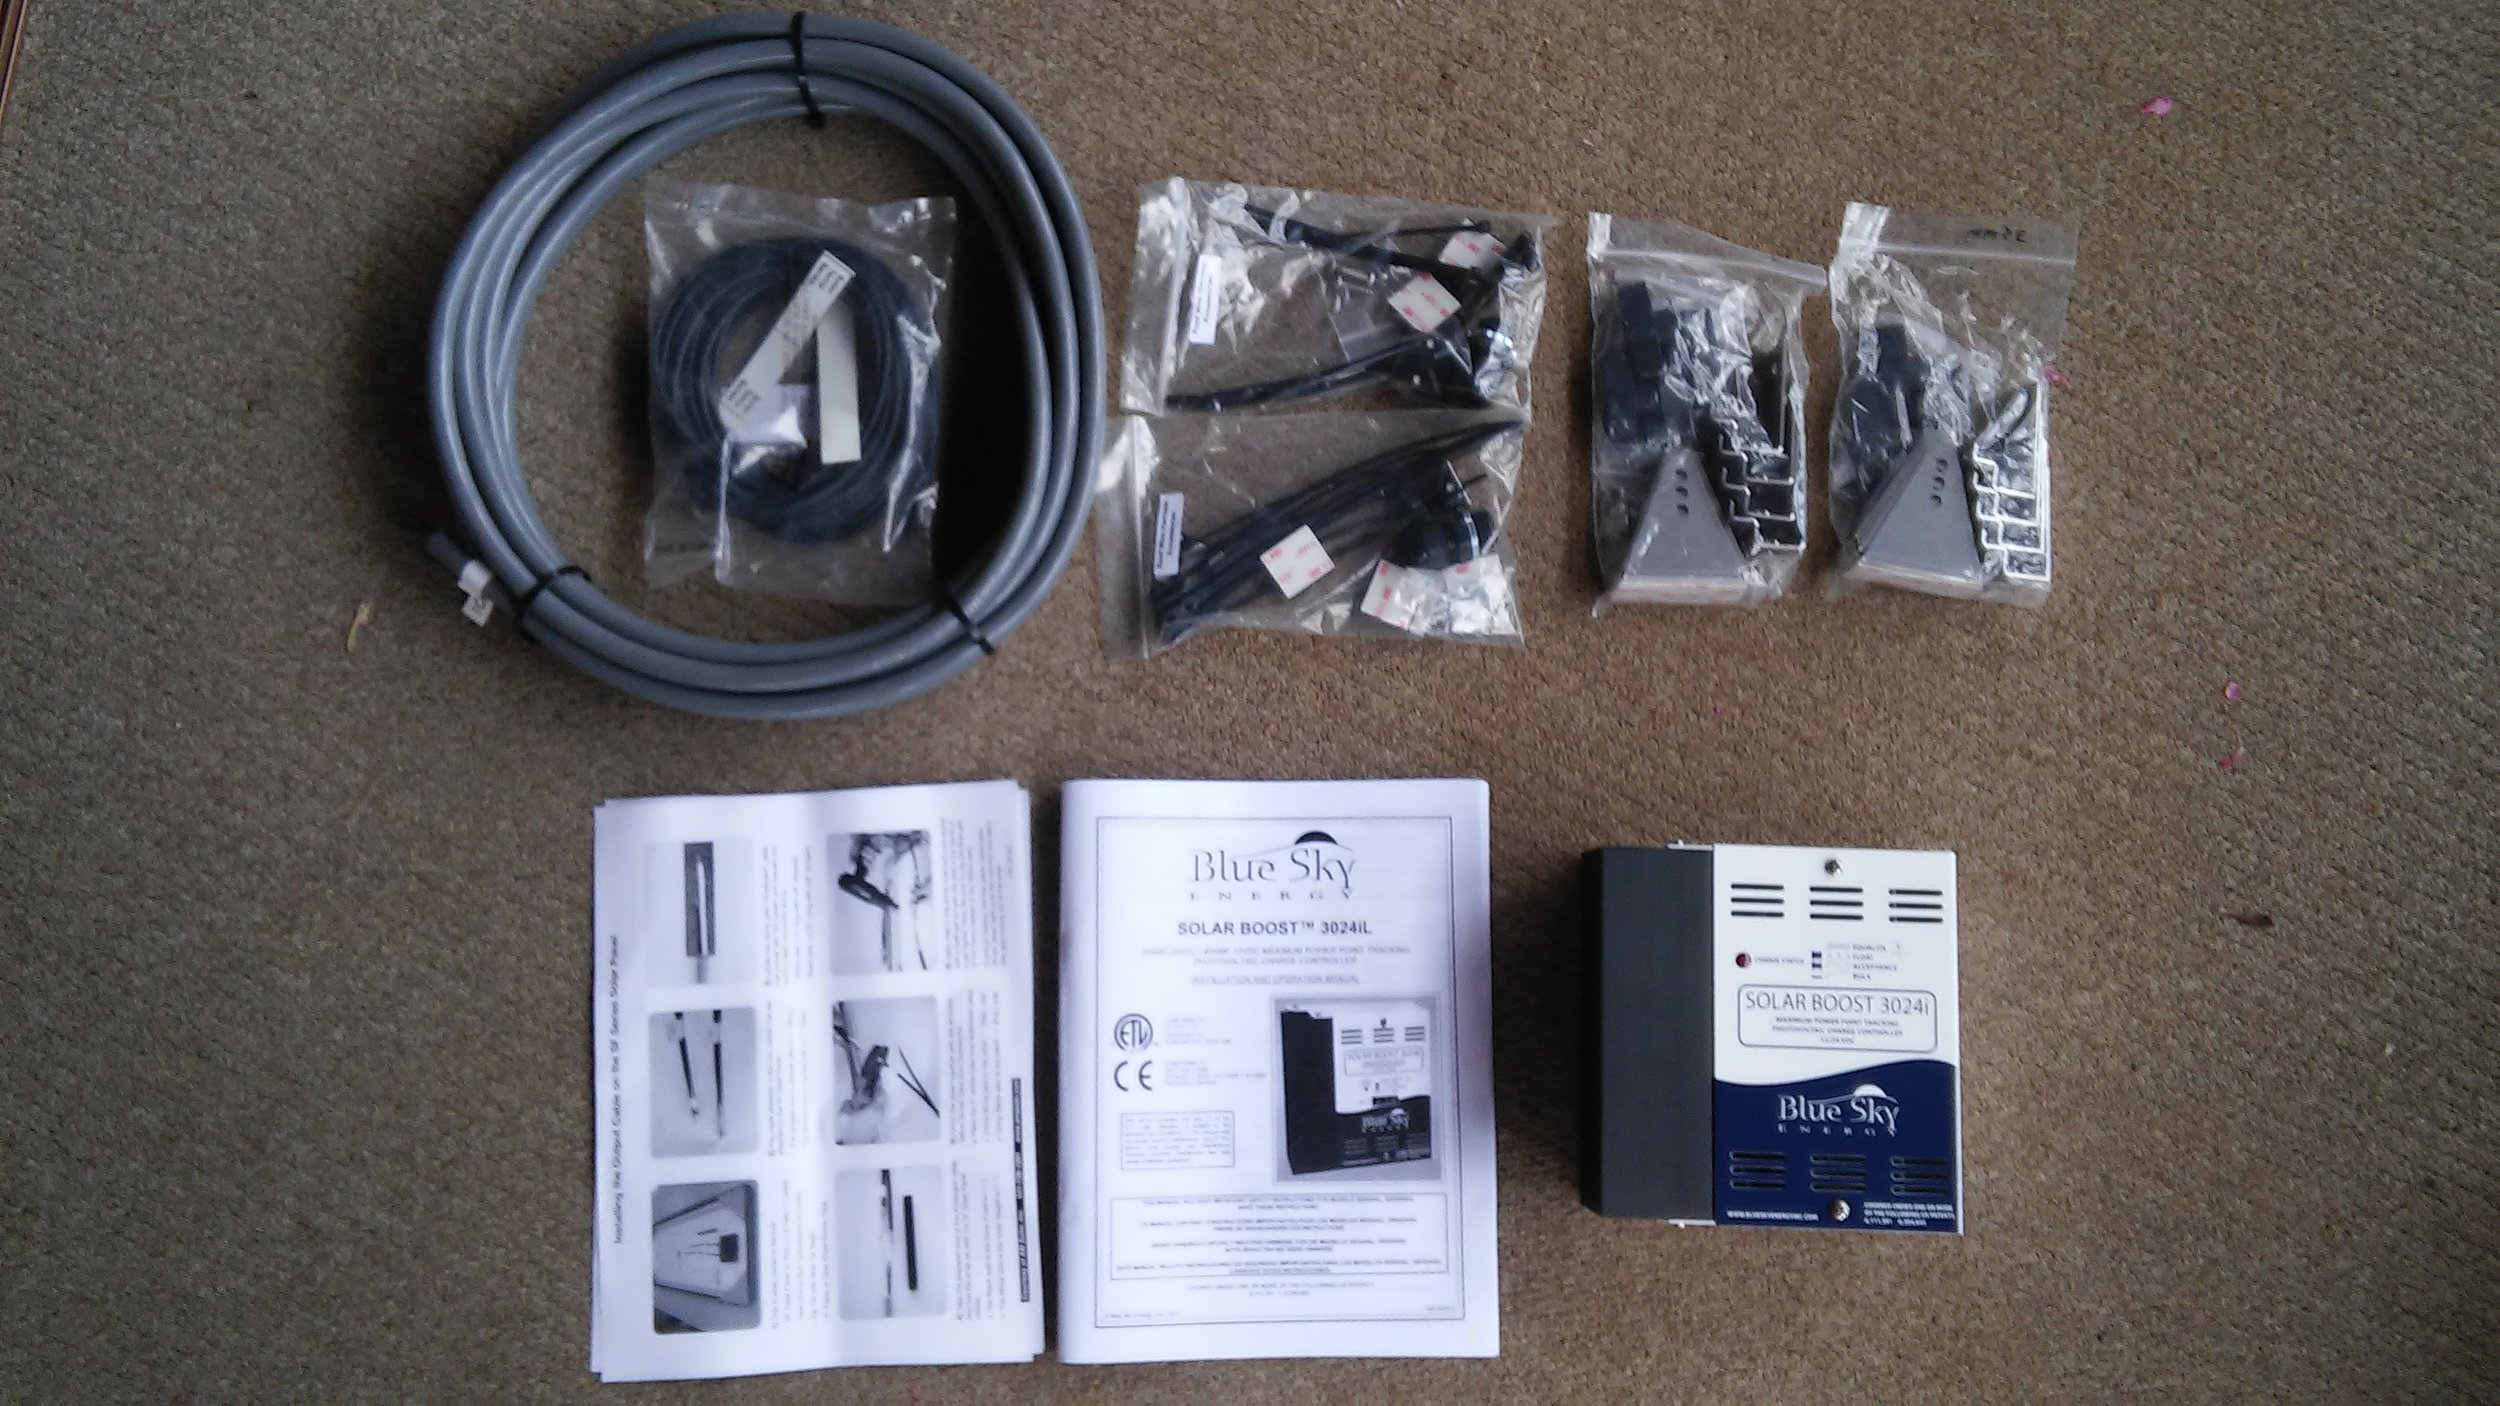
A couple months ago, I bought two of the SP100 panels with accessories from AM solar, as well as a Blue Sky 3024iL solar charge controller. I intend to add another two or three panels in the future, but it doesn't make a lot of sense to do that now since I only have a 100AH battery for storage at the moment.
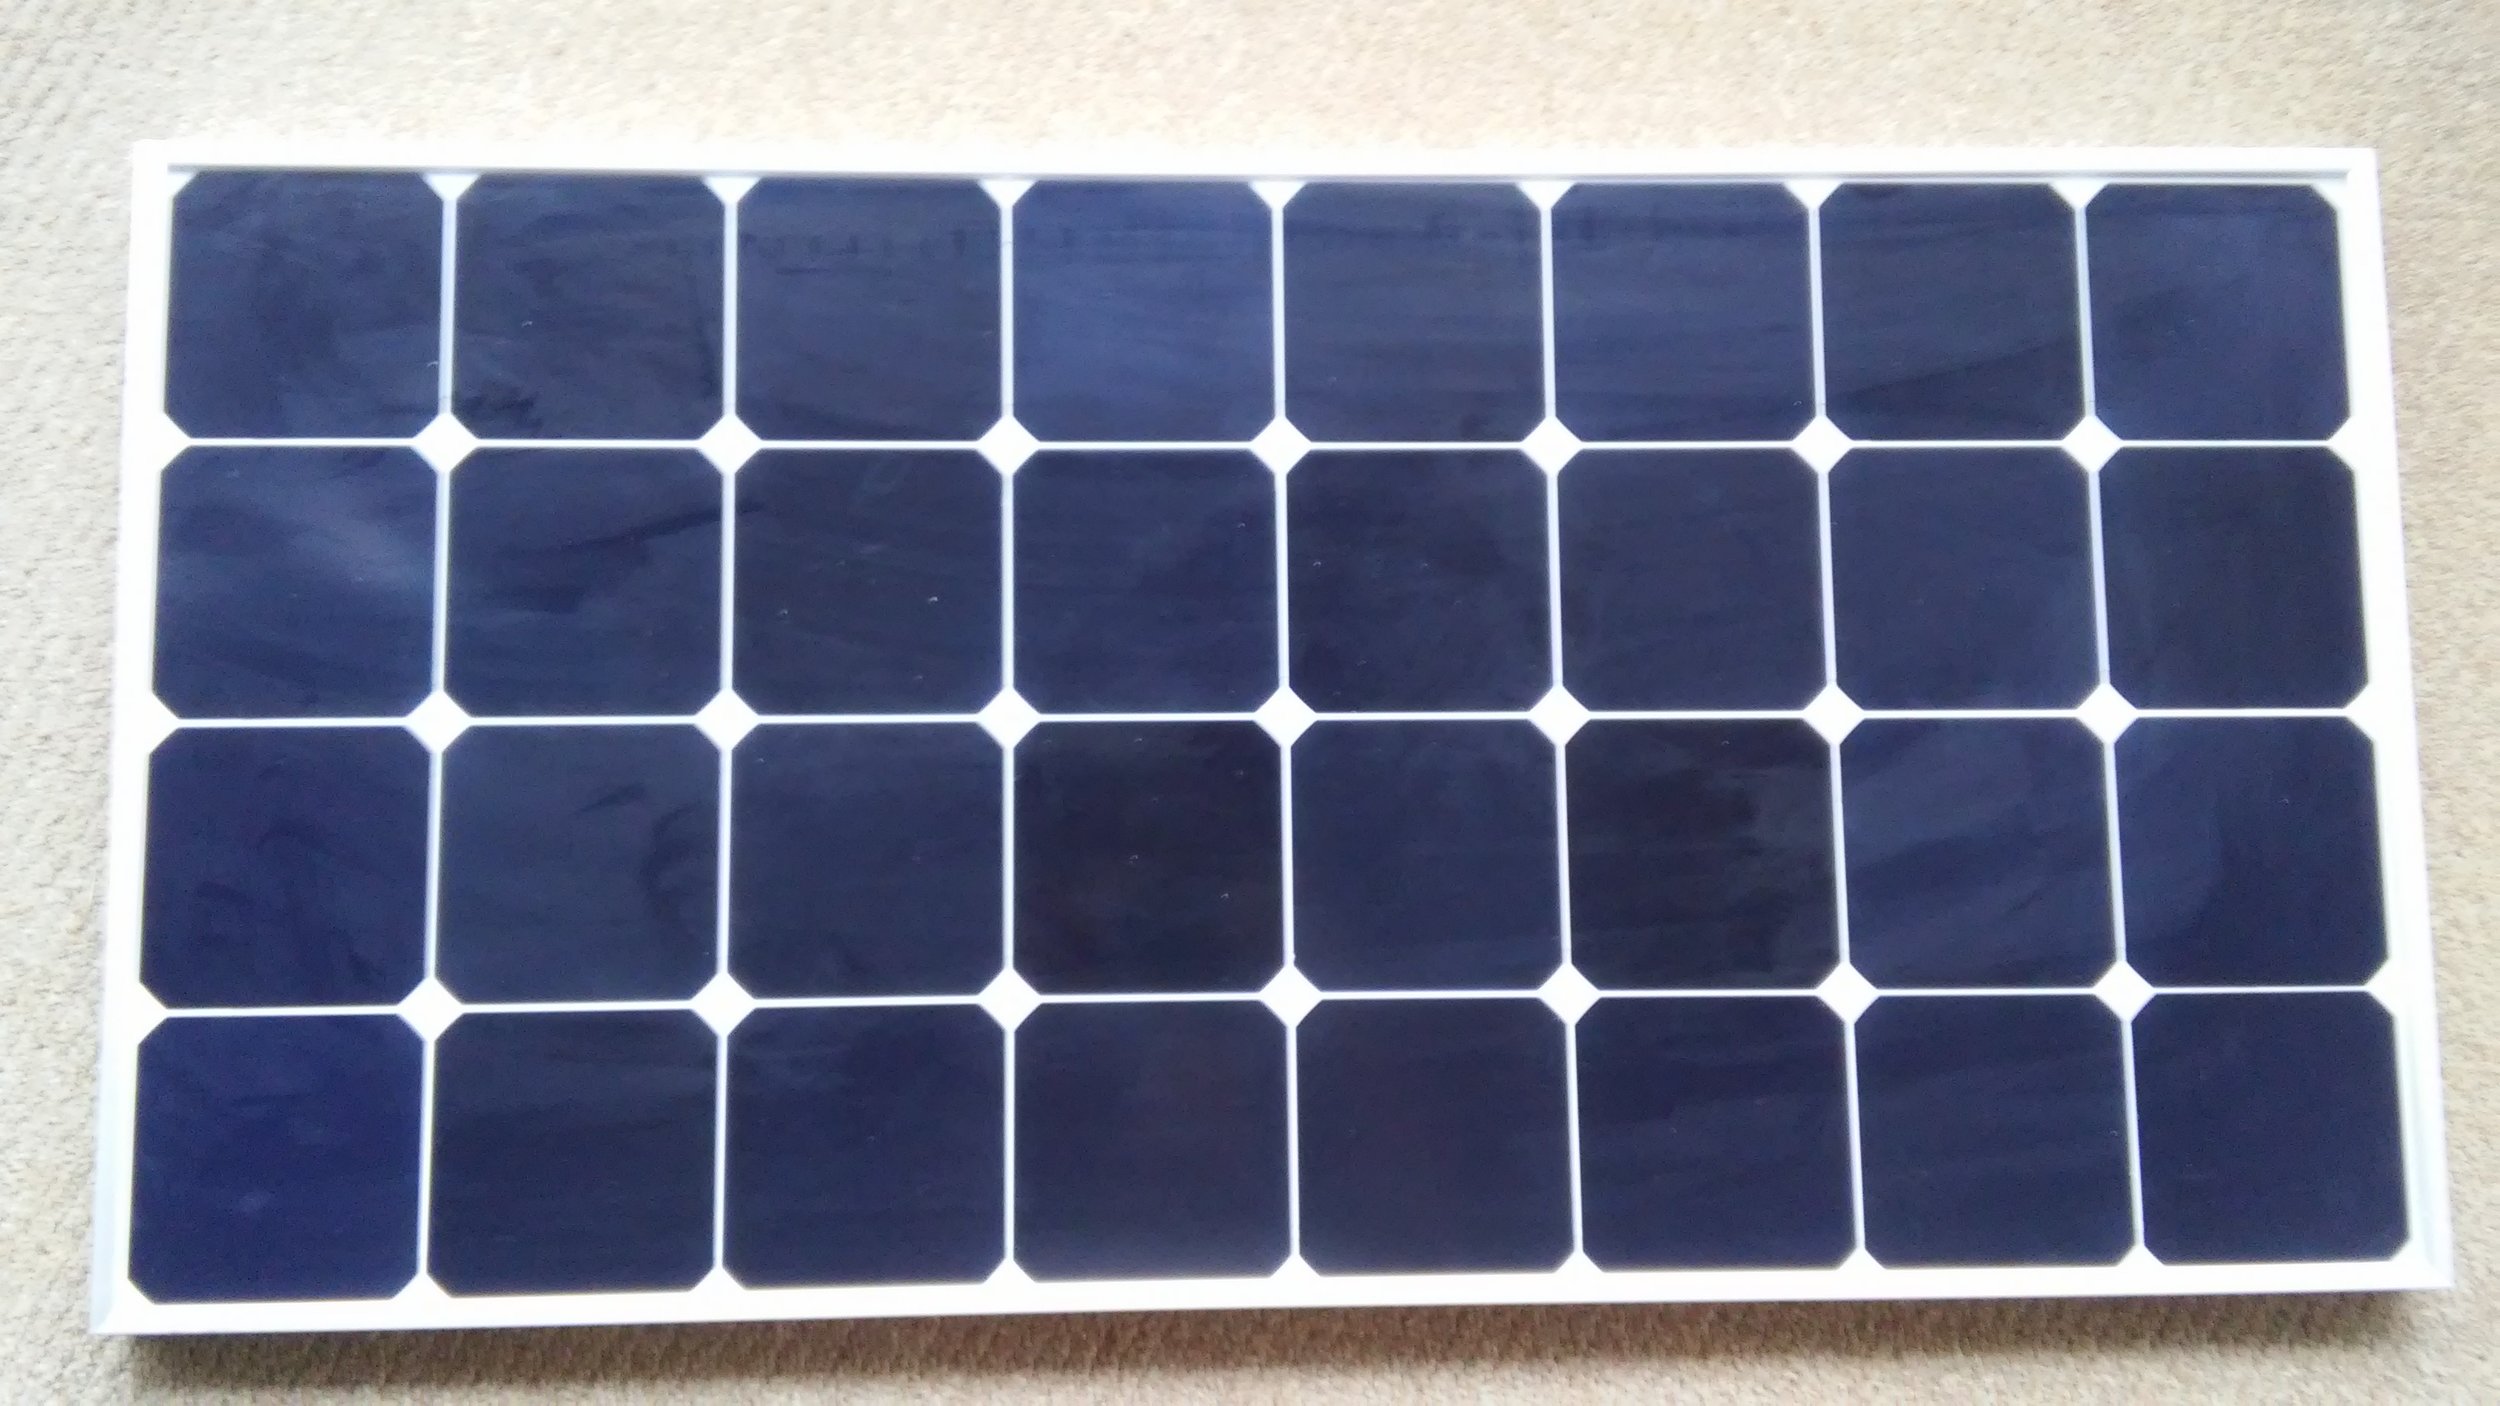
The SP100 is a small, efficient panel, which is ideal for the limited roof space on the Airstream. I could probably have fit the less expensive SF100 panels on the roof, but the smaller the panel, the further away I can mount them from potential shadows.
This panel is very similar to the Renogy Eclipse 100 panel. In fact, AM Solar tech support suggested I look the Renogy panel if I was in a hurry when they were out of stock of the SP100.
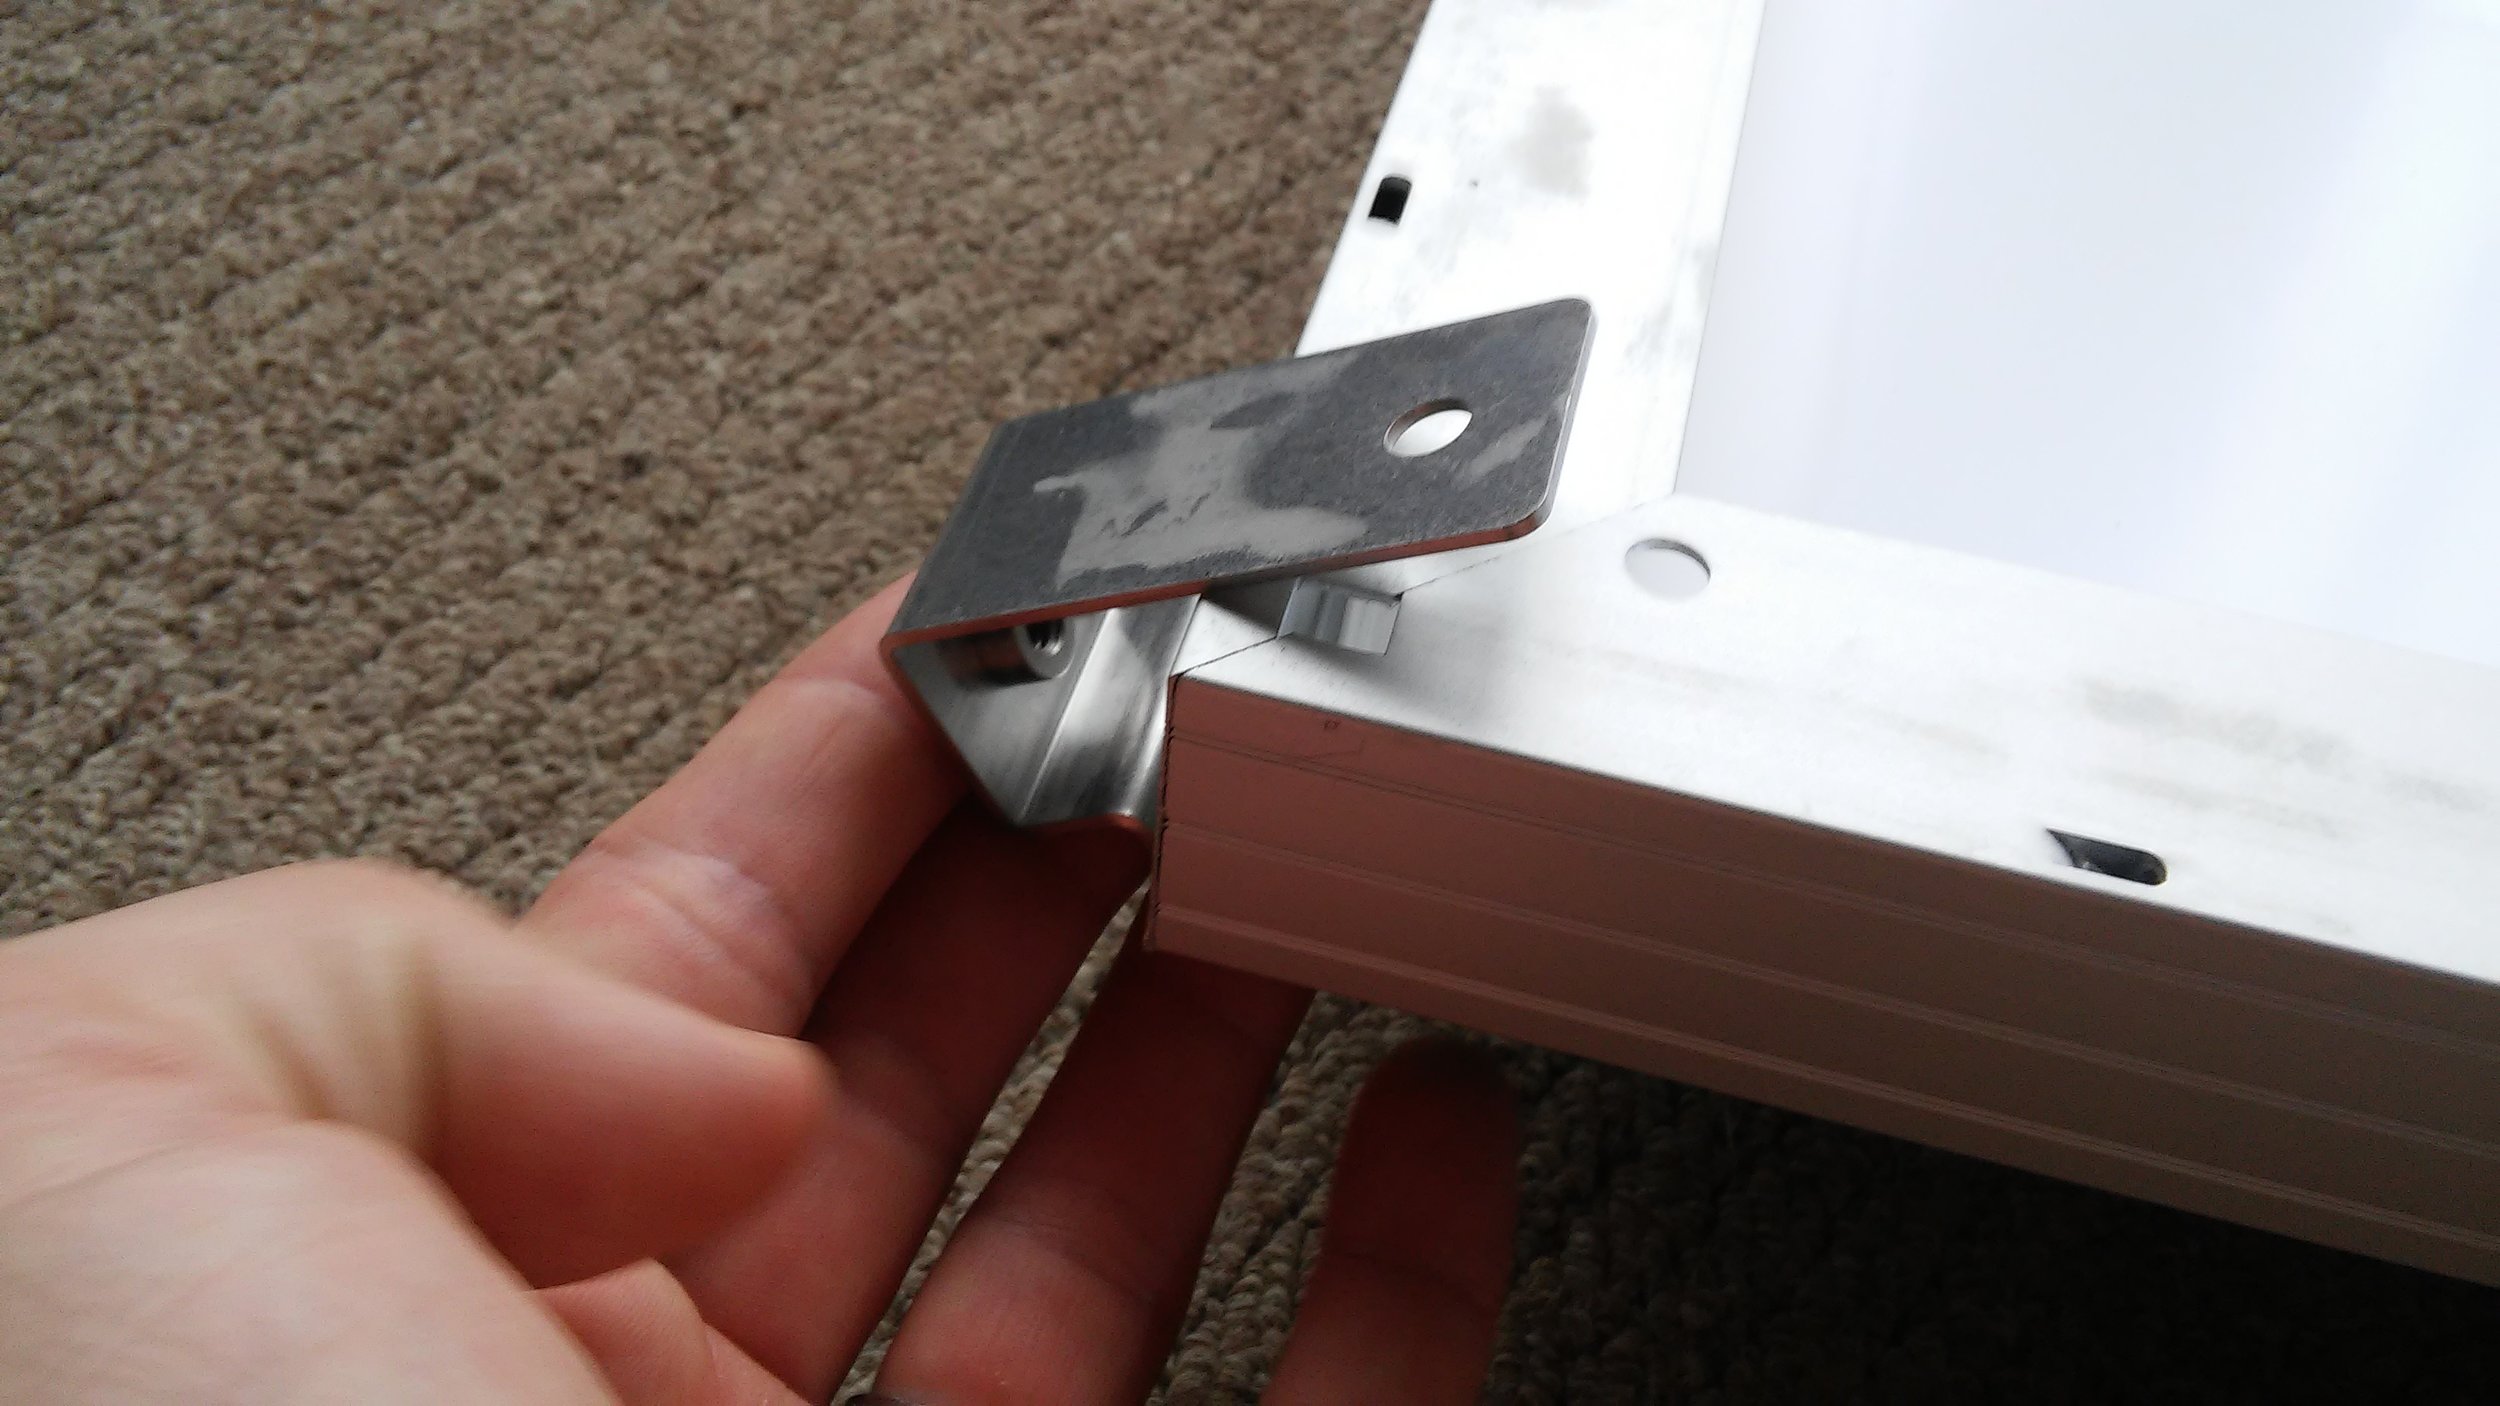
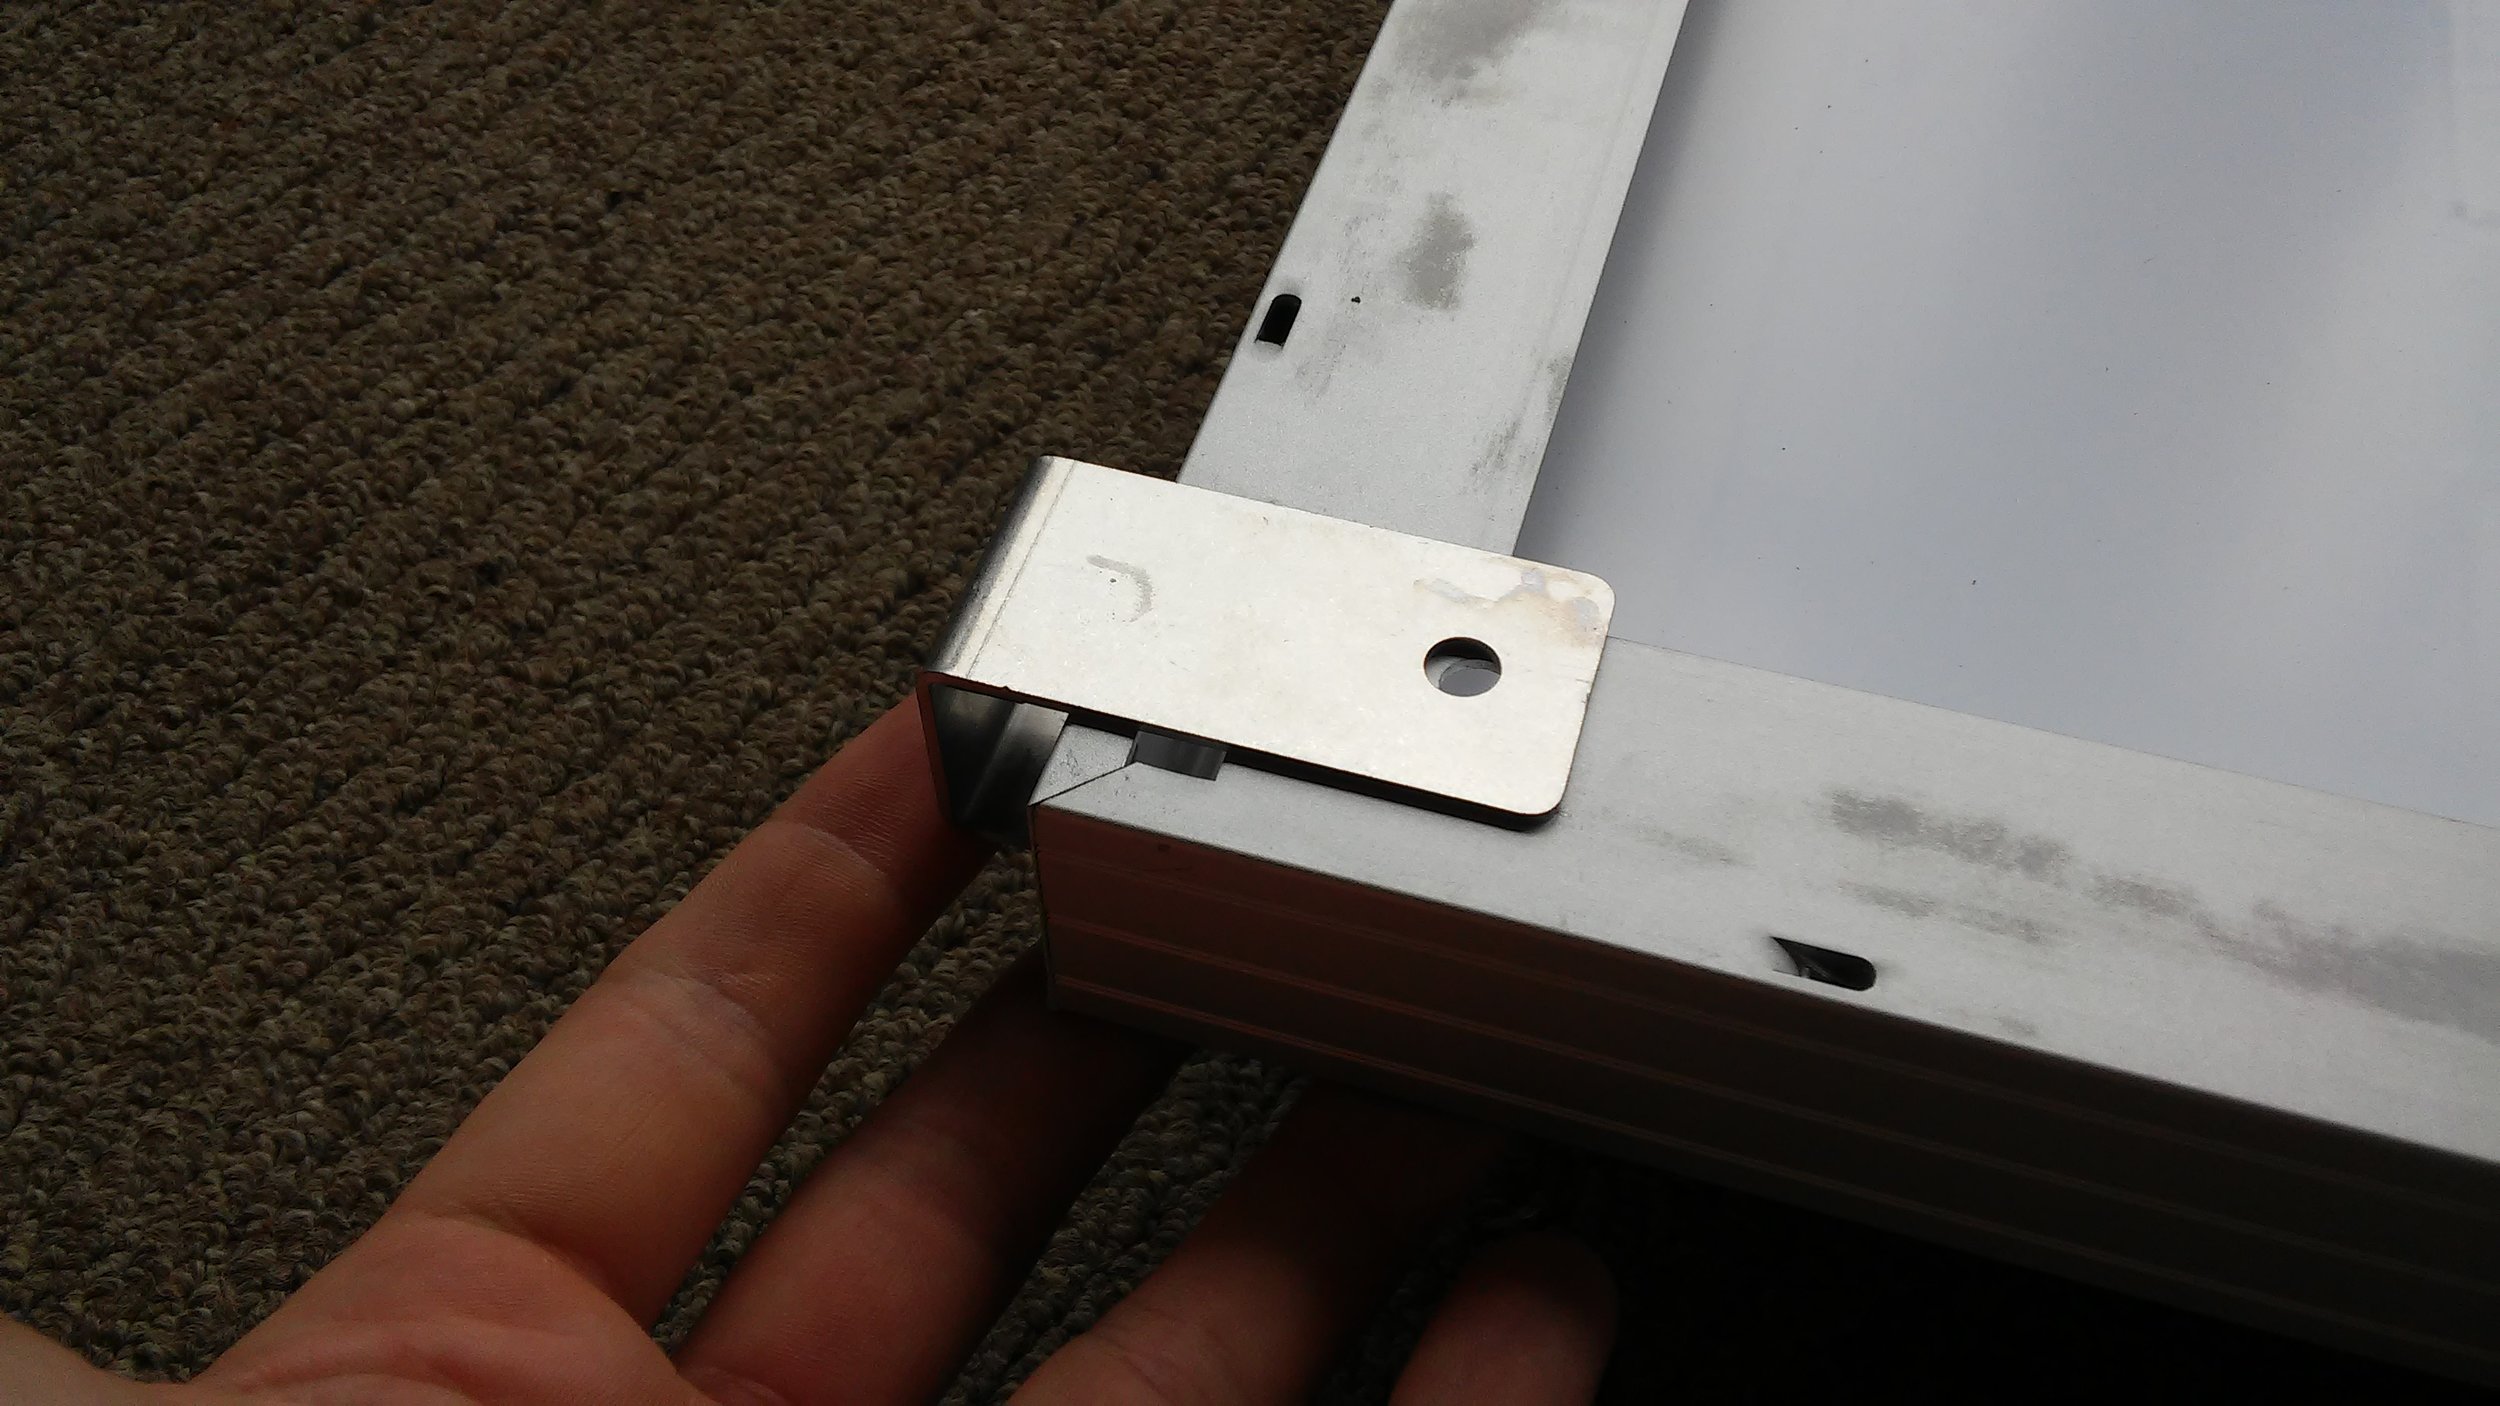
The SP100 kit I ordered includes all the wire and connections needed to connect to my combiner box, as well as AM Solar's custom rocker foot mounts, which are perfect for mounting to the curved roof of the Airstream. I can also get tilt bars in the future if I ever want to tilt my panels.
How's AM Solar's customer service? Well, when they were out of the product I wanted, they suggested looking at a similar product from a competitor if I was in a hurry. The tech was more concerned about me getting my project complete on schedule than he was about getting a sale.
What's in the box:
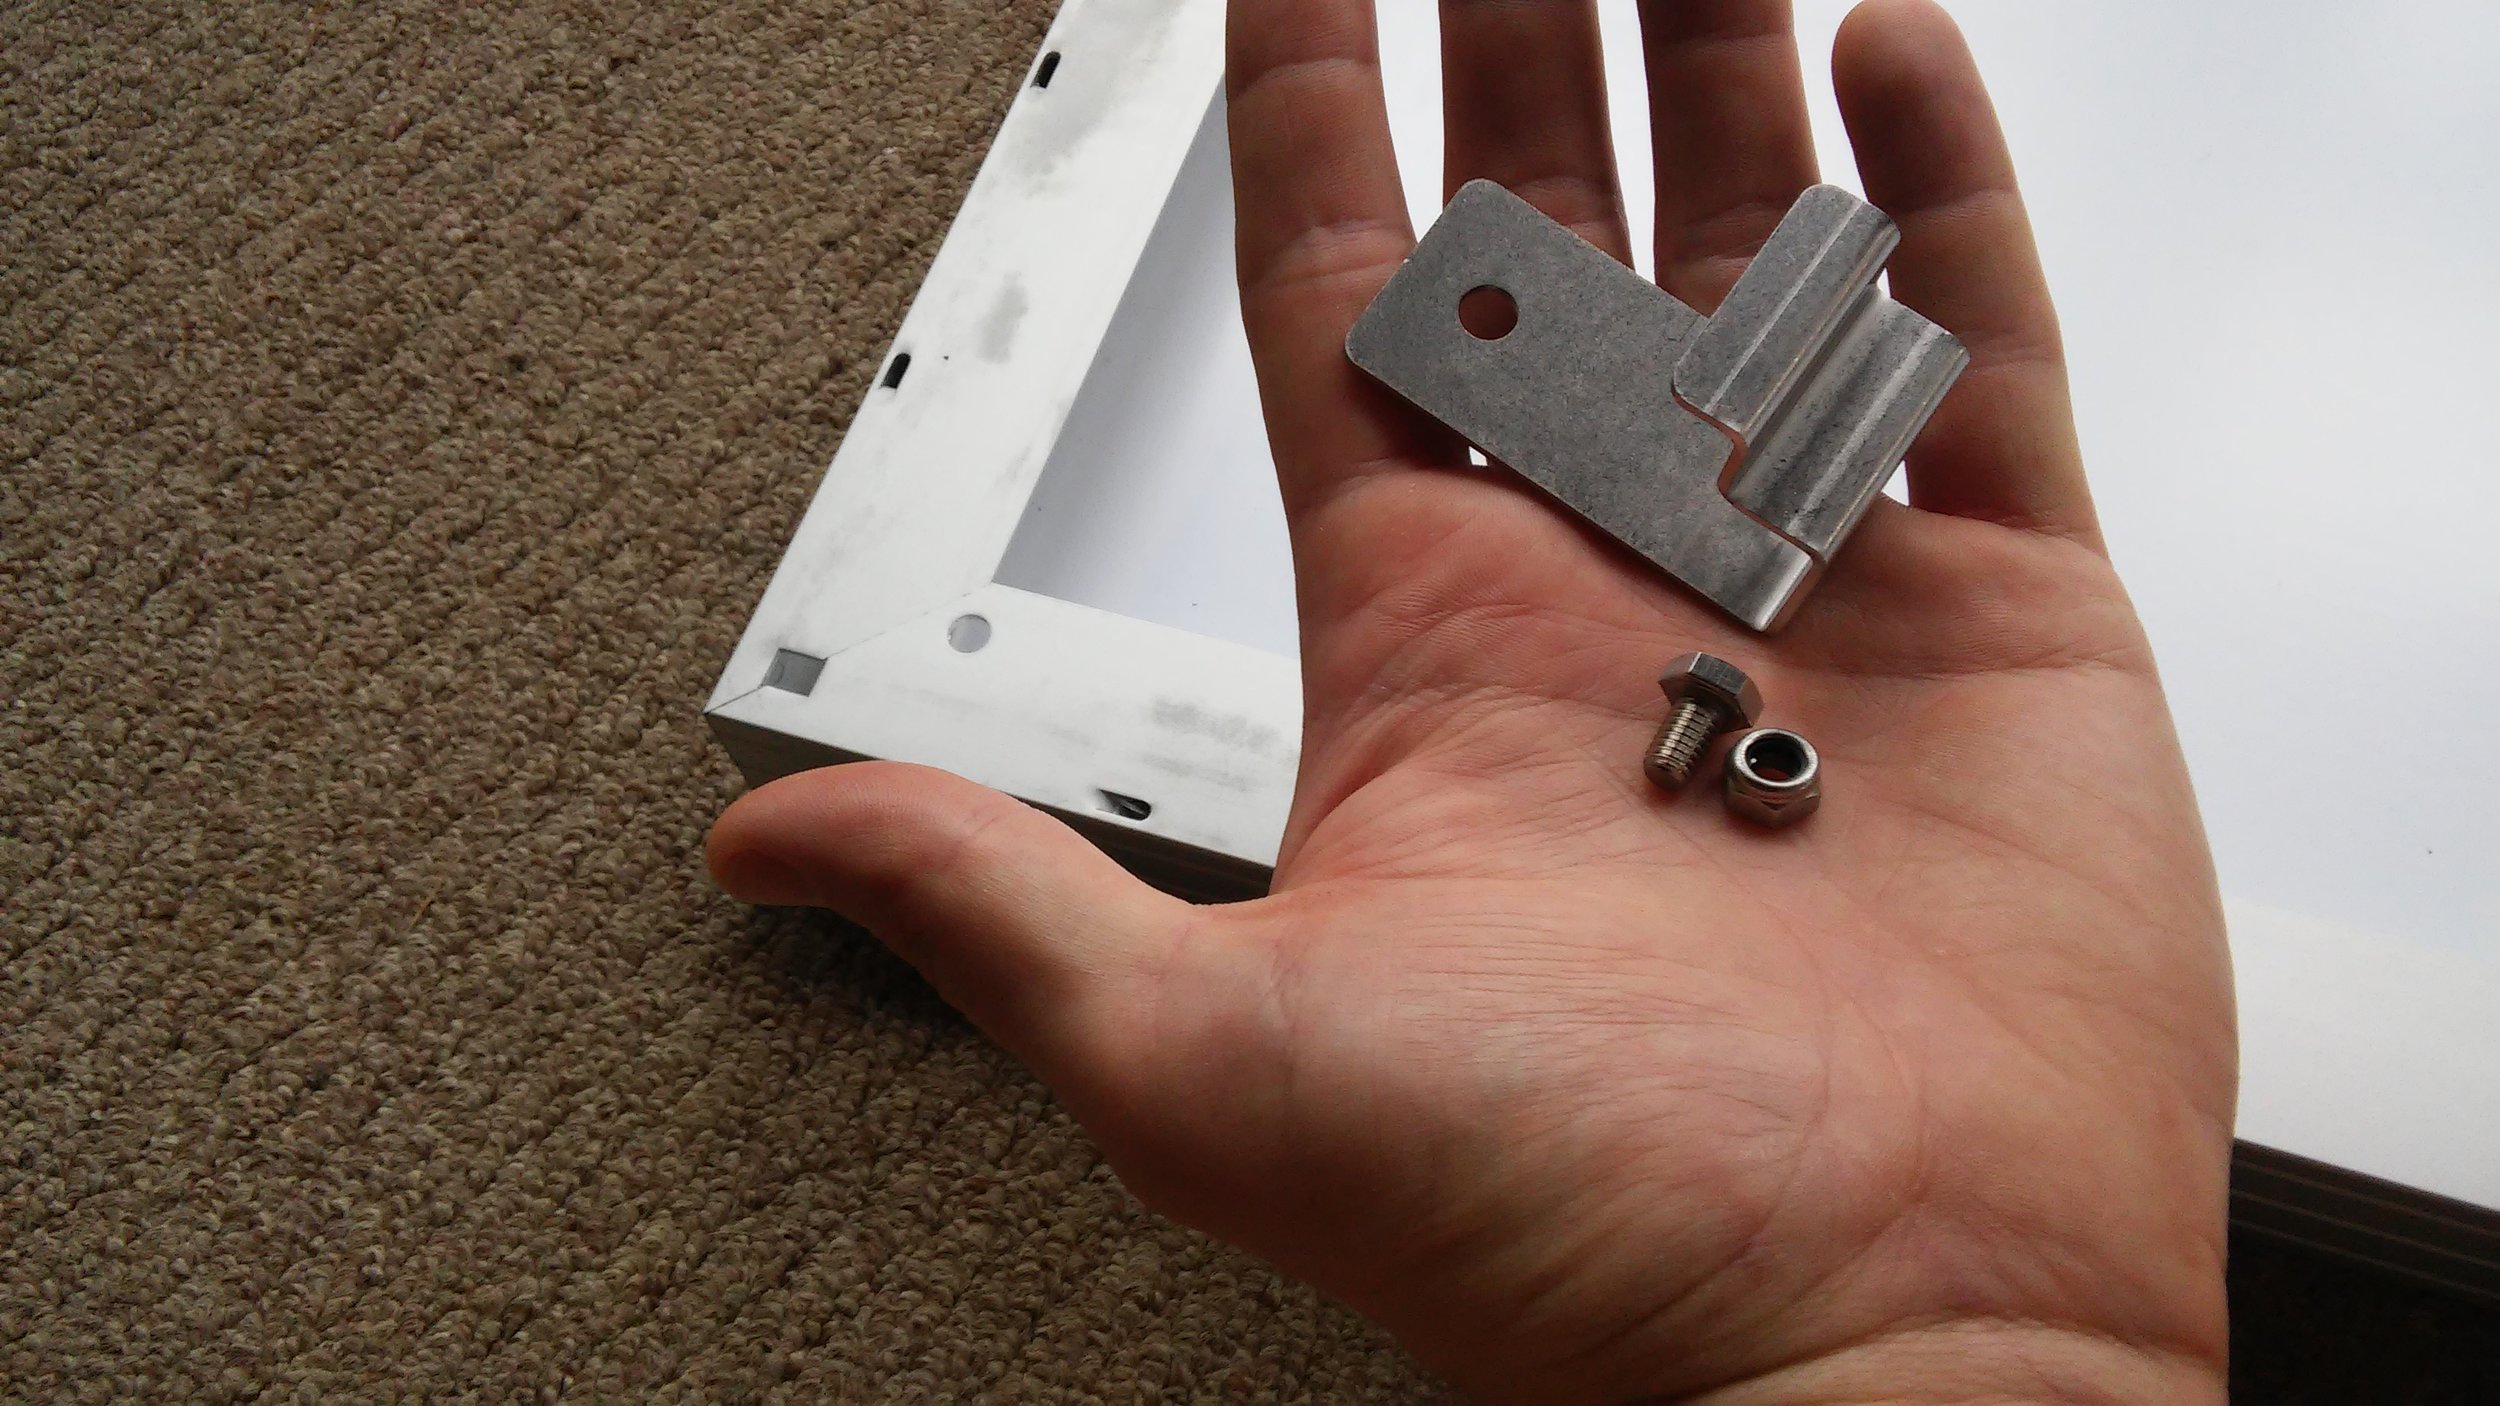
Installation of the mounts on the panels went pretty quick. Just snap the bracket in place and install one bolt. Then screw the rocker foot in place.


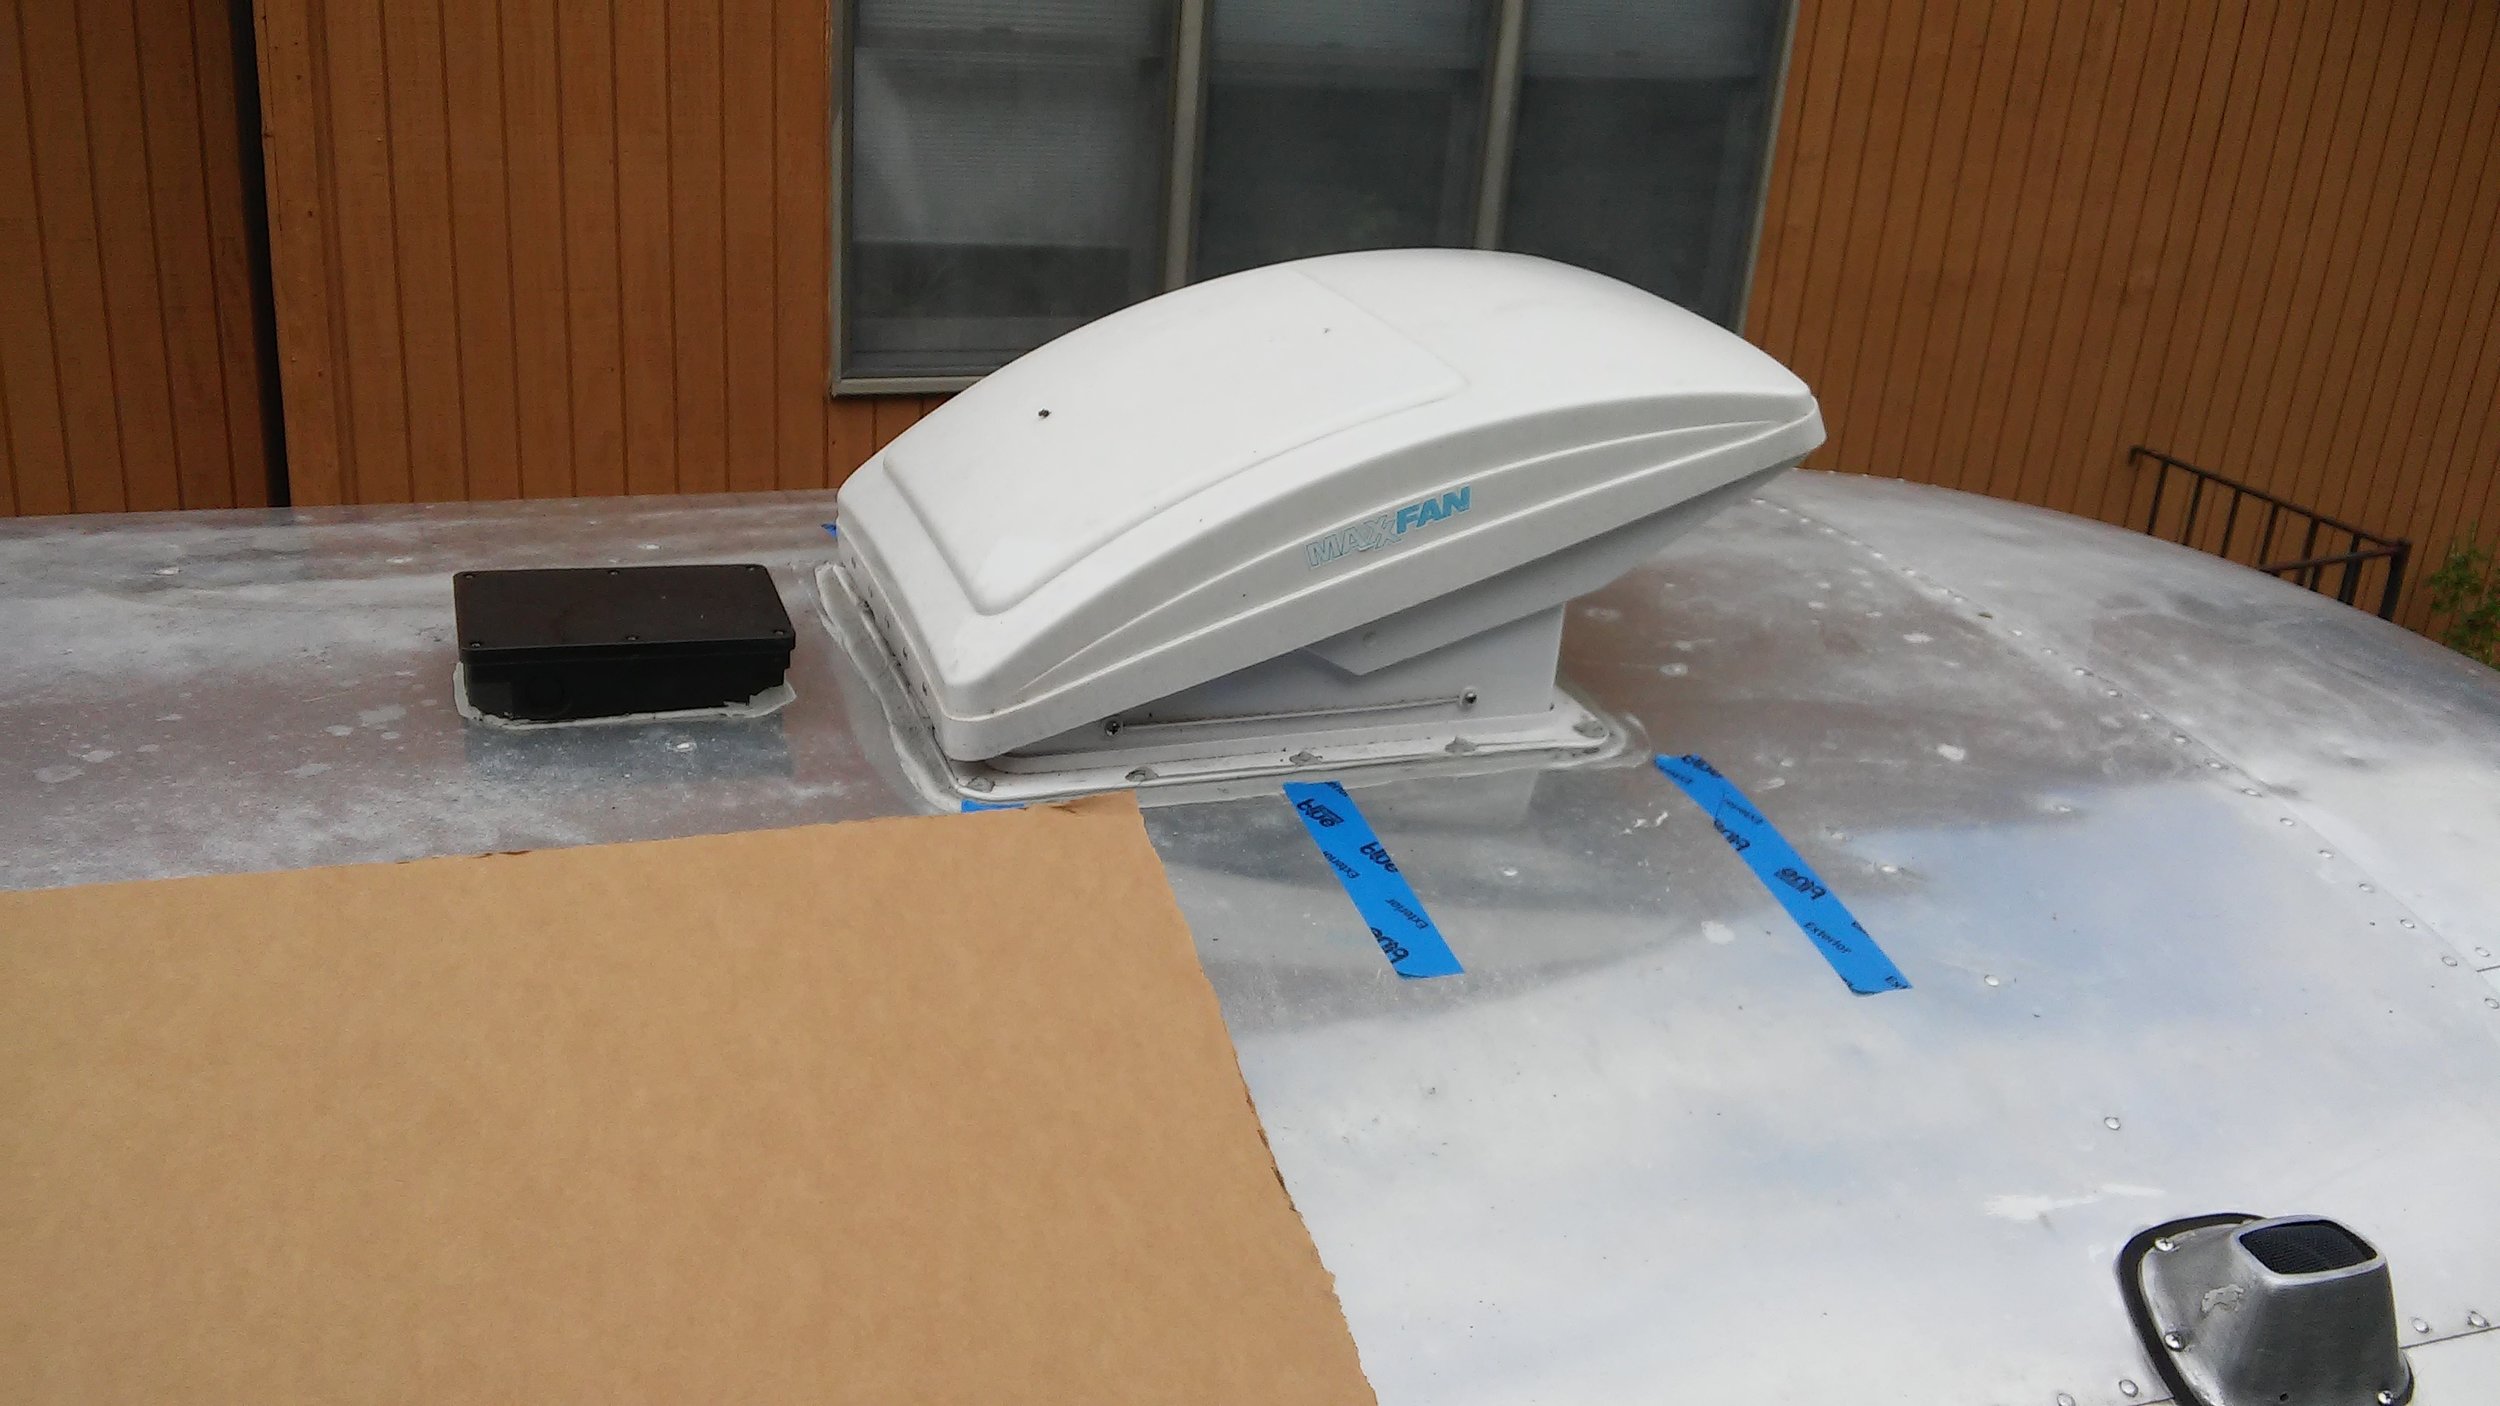
Next I planned the layout. I raised my vents and measured blue painters tape to the same height as the vents and AC unit, and stuck it down to mark where a shadow would be cast by the sun at 45 degrees. The boxes included a piece of cardboard cut to the exact same dimensions as the panel, so I used that to plan my layout.

Once I was happy with the position of my panels, I set them in place and cleaned below the rocker feet with carburetor cleaner. Acetone would have worked fine, too, but don't use anything alcohol-based for this. Alcohol (methylated spirits, windex...) prevents polyurethane sealants from curing properly.

Checking on dinner. Yes, you can smoke half a brisket on an 18" Weber grill. Six coals at a time seems to be the right number.
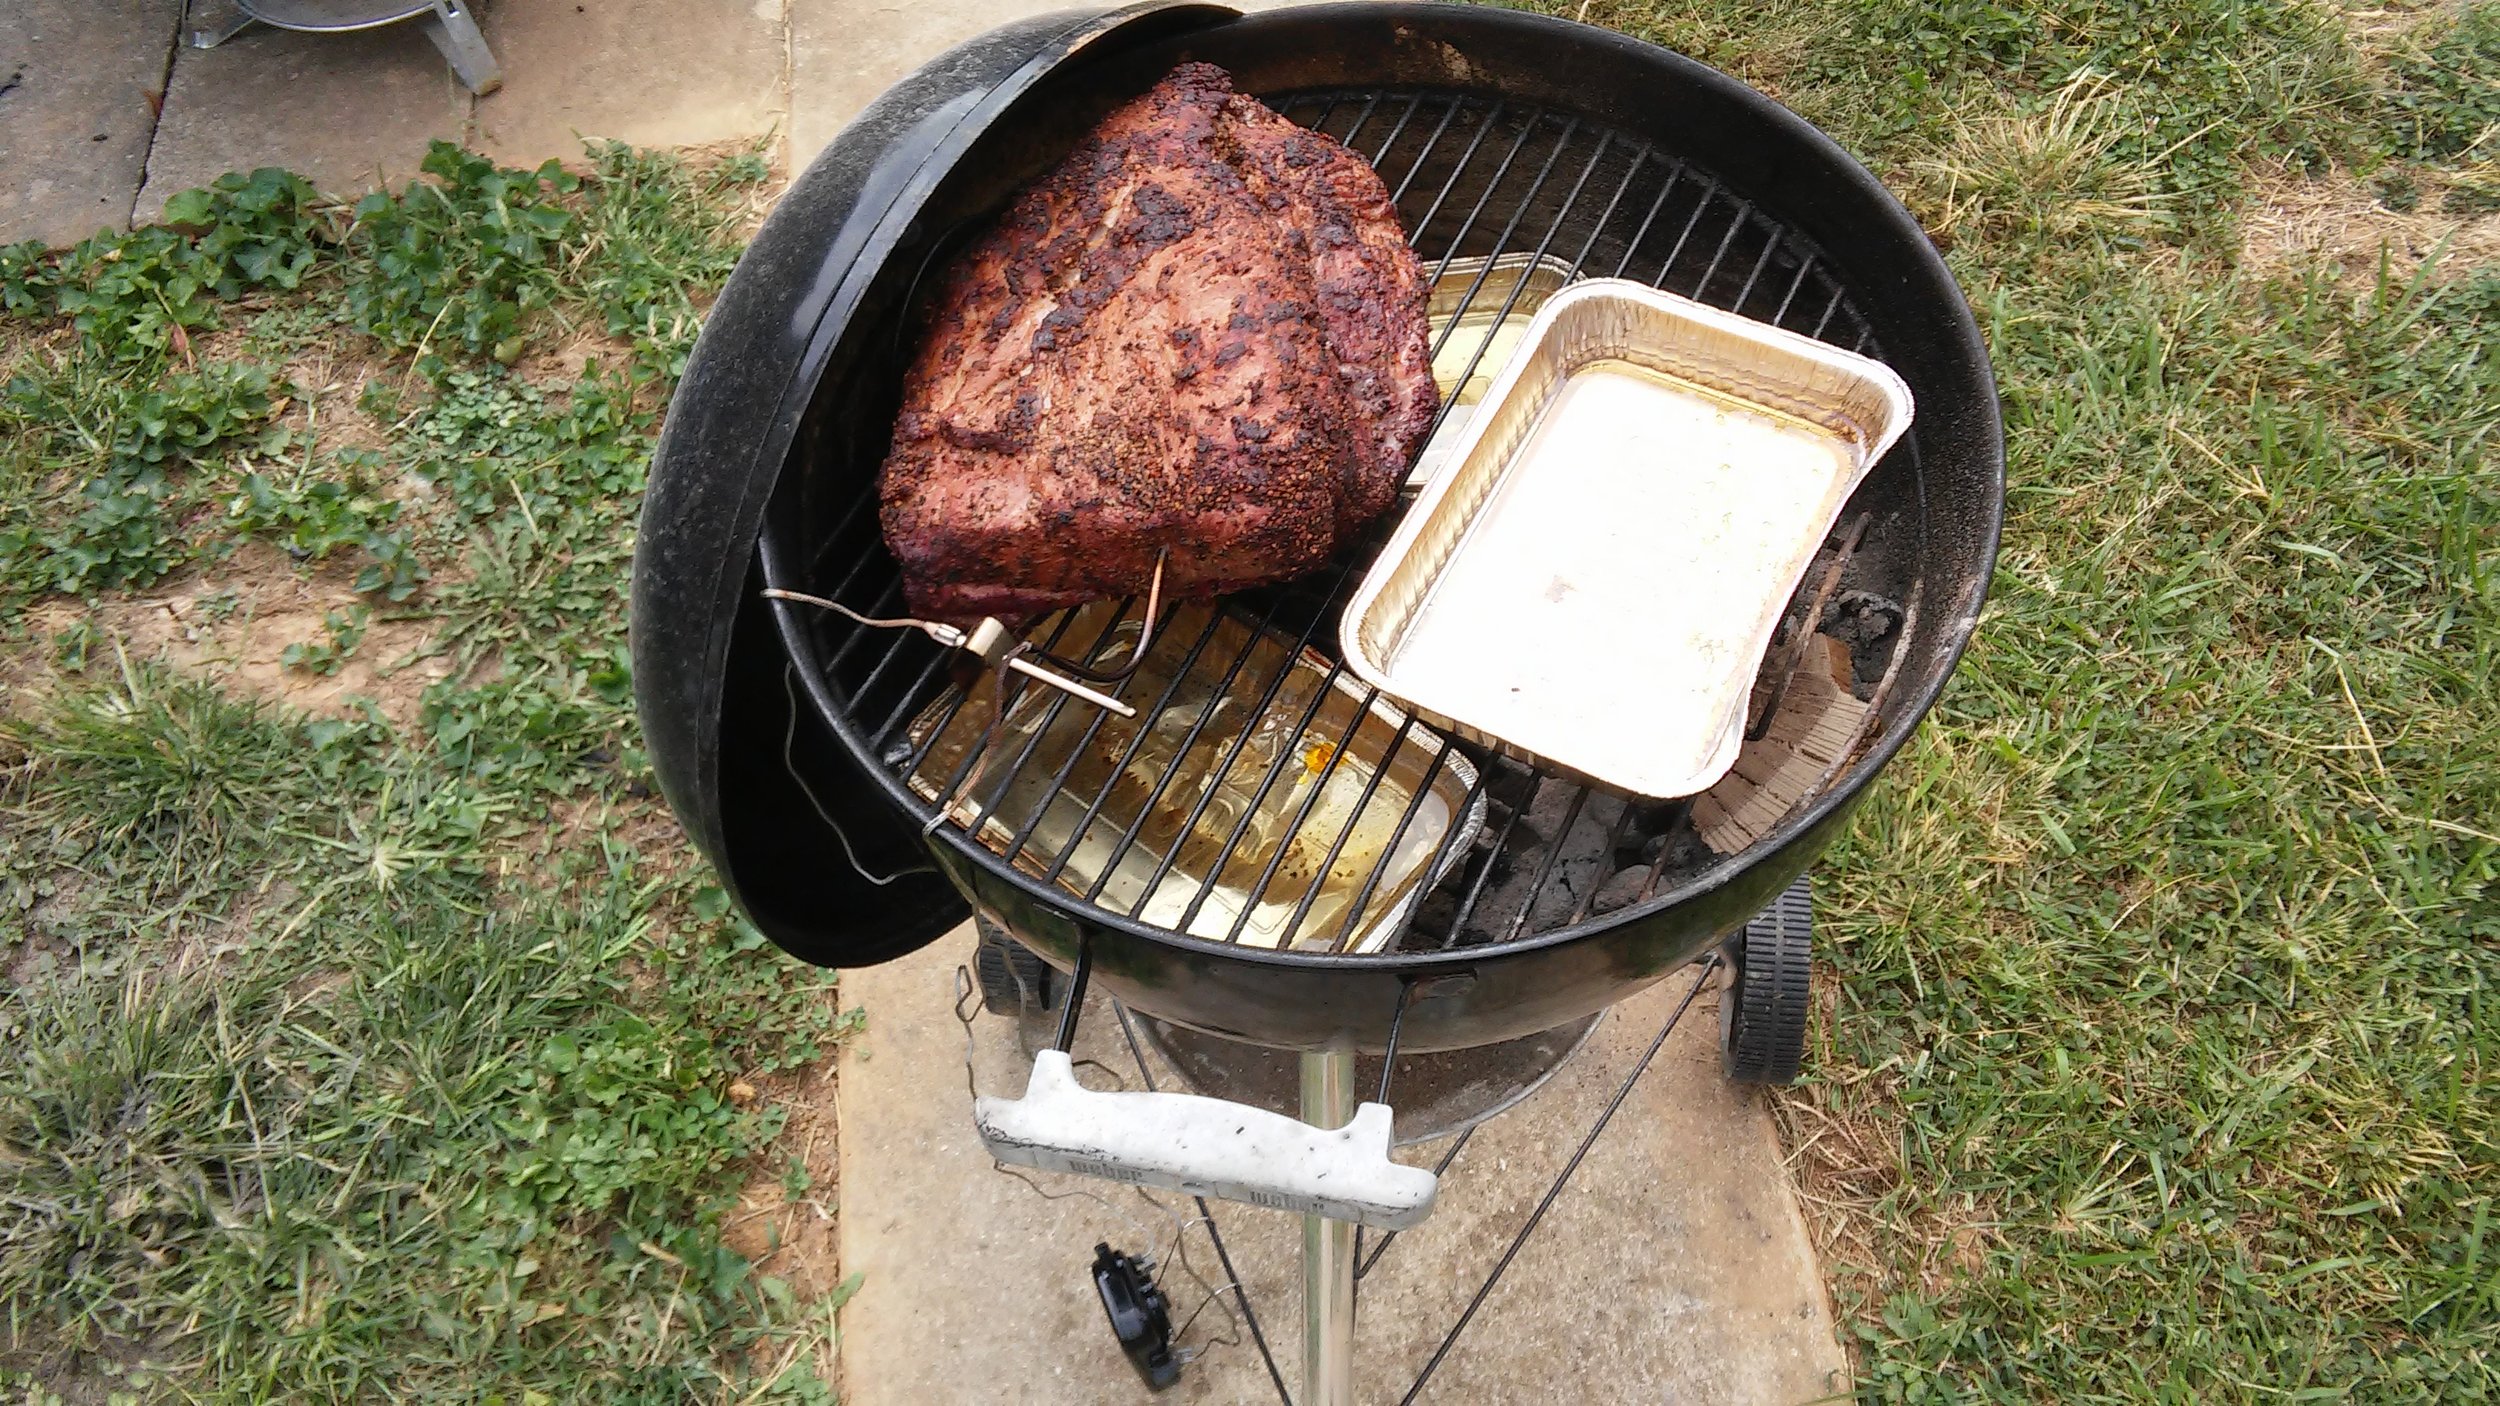
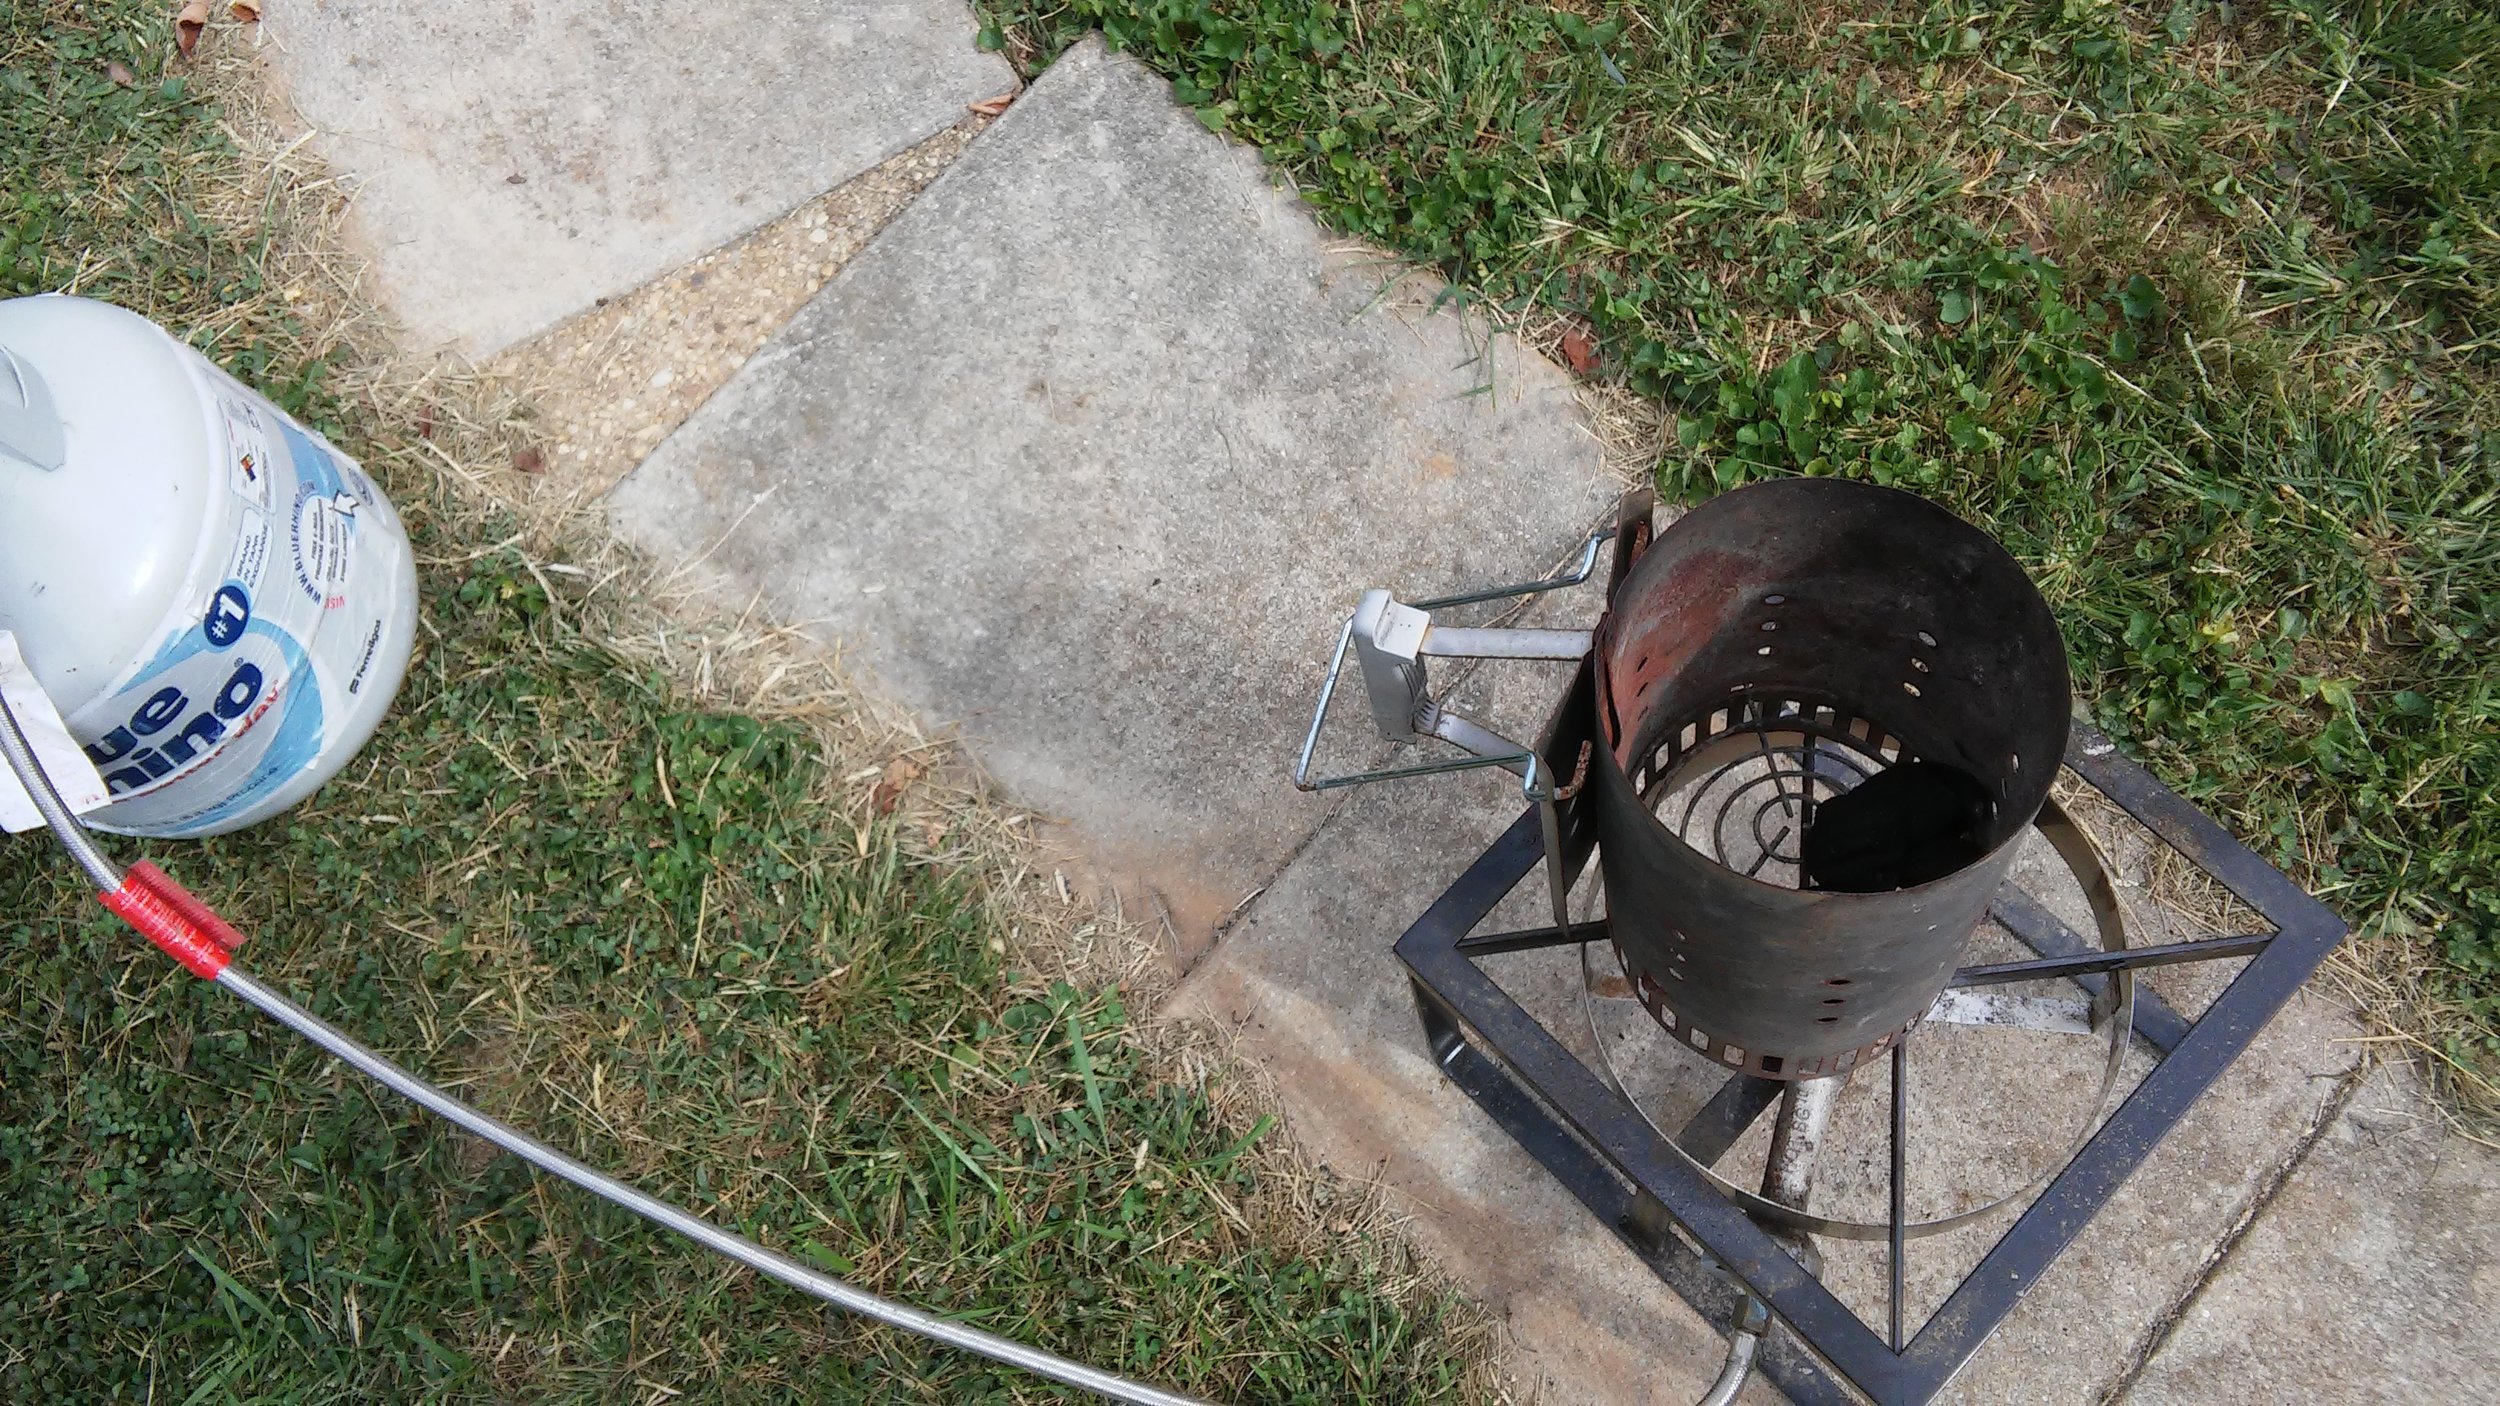
Incidentally, if you are trying to start 6 briquettes in a full sized chimney starter, piling them on top of each other and hitting them with a blow torch from below seems to be the easiest way. When your blow torch runs out of gas, the 220,000 BTU propane burner from your homebrew kit works pretty well, too.
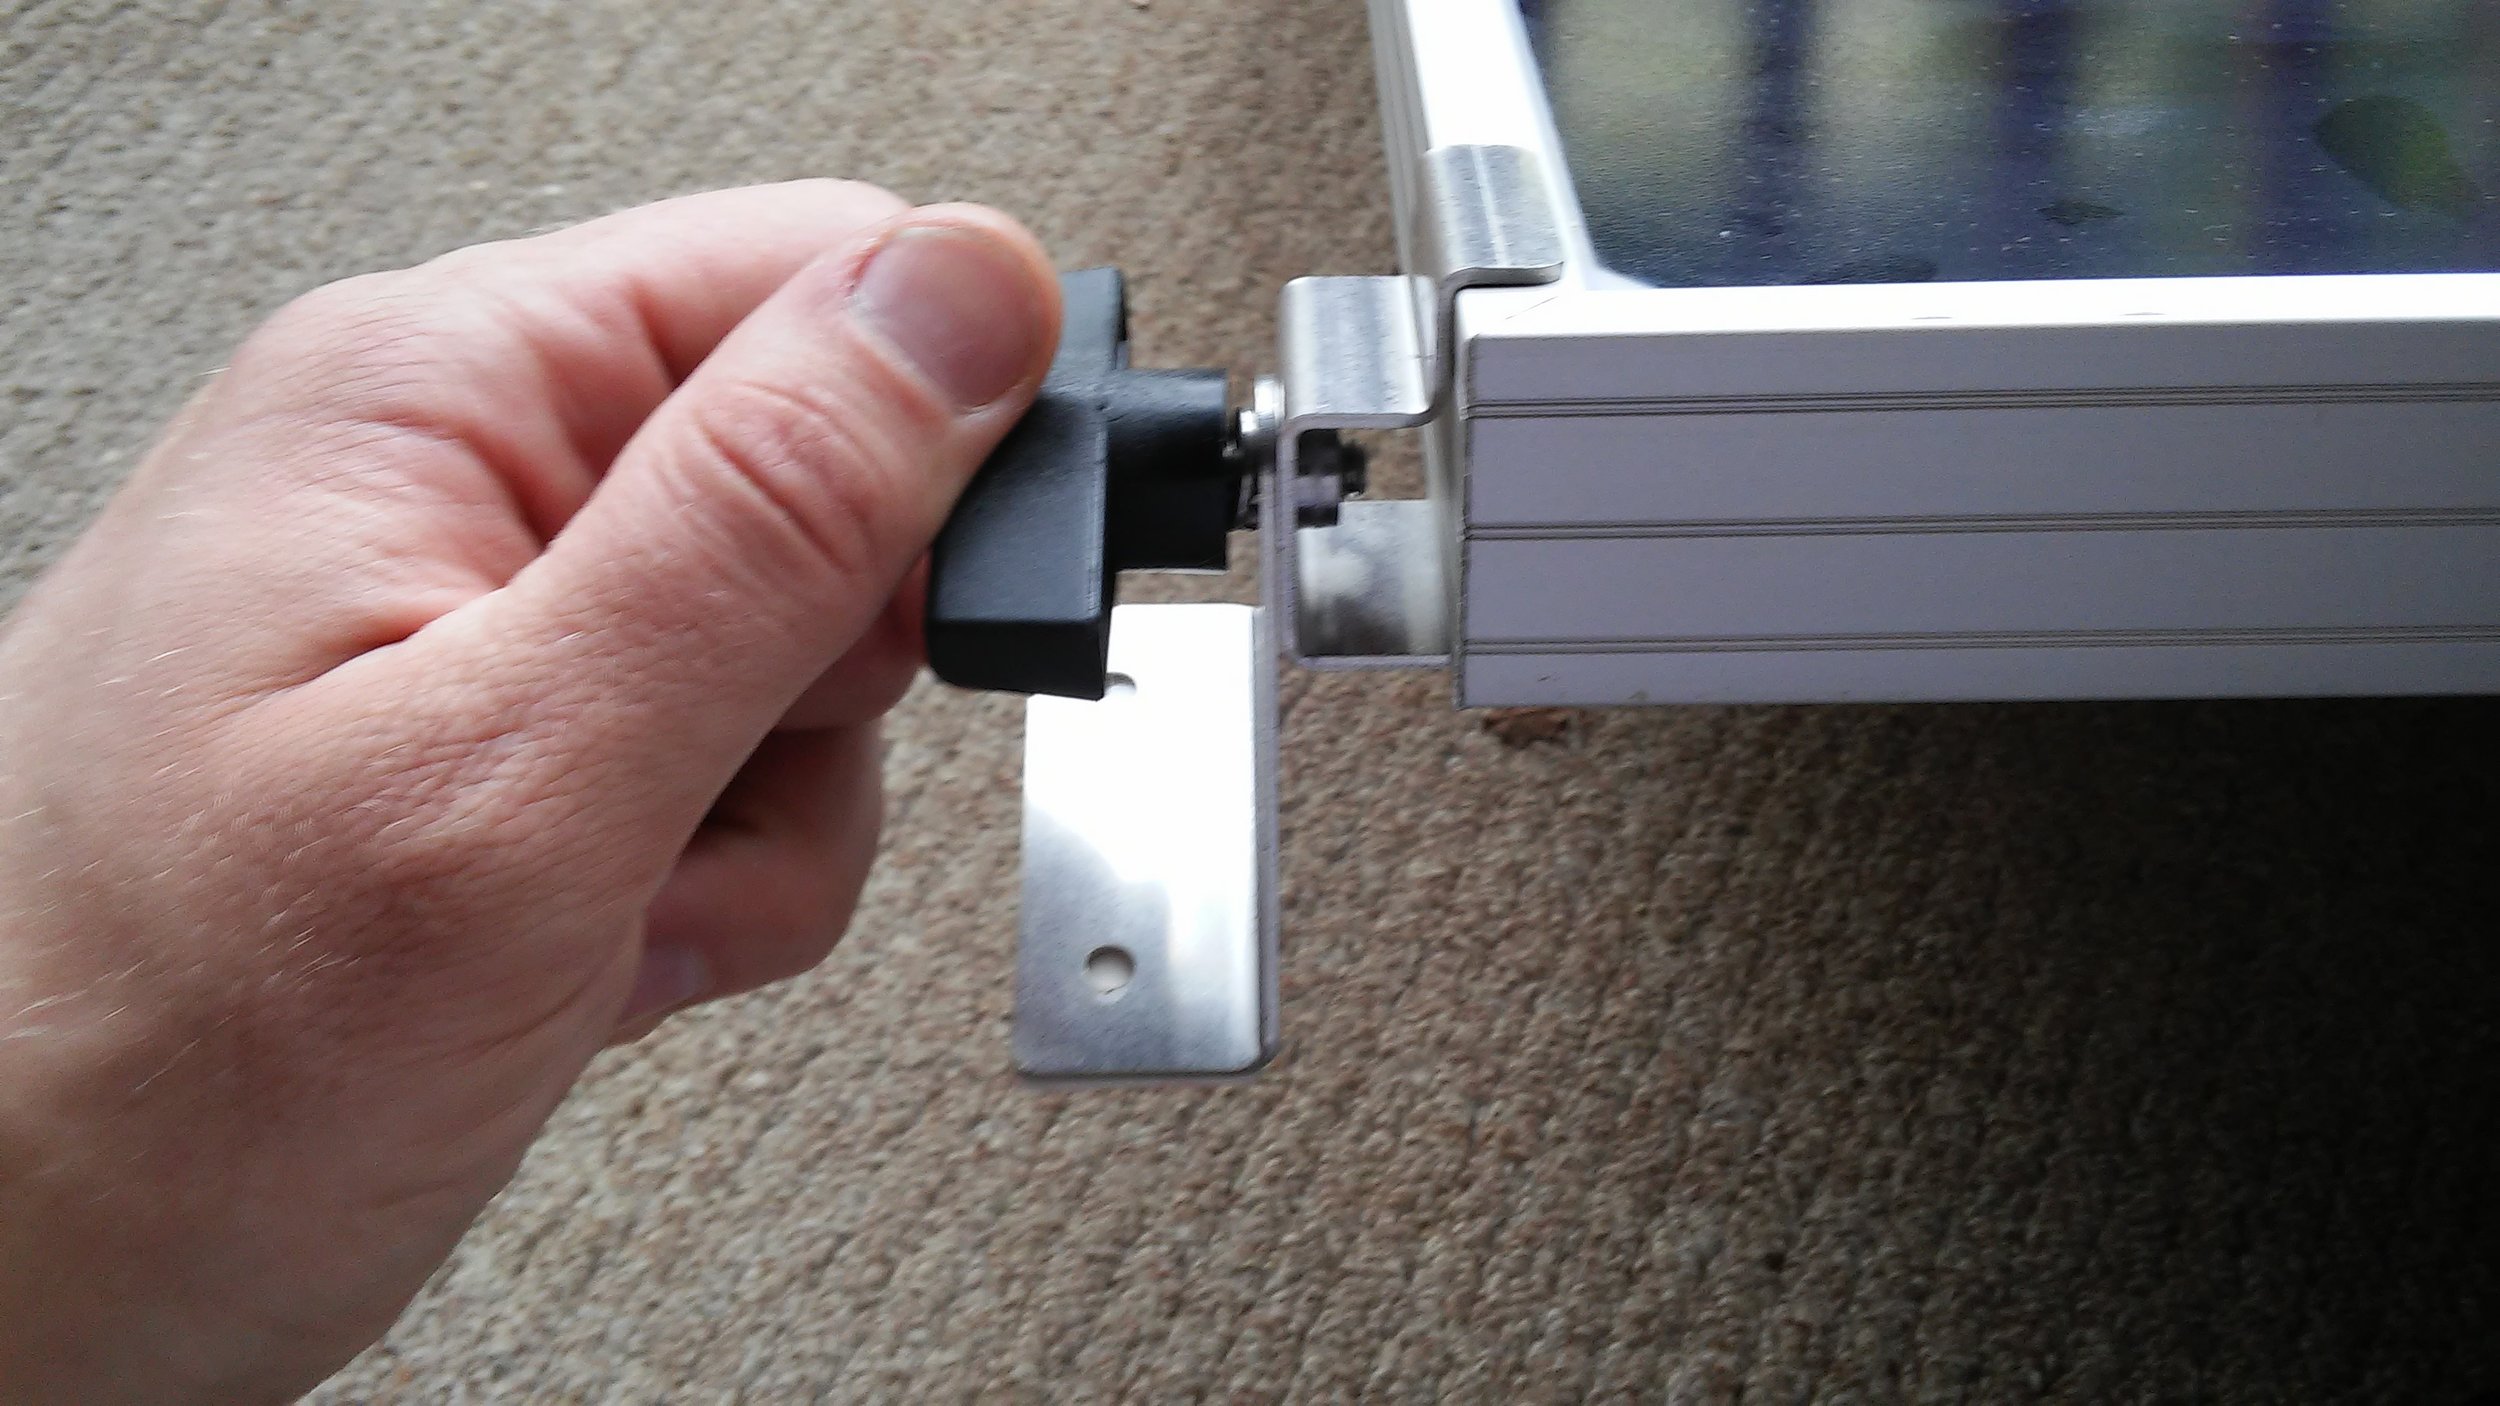
Once I was sure I had the panels where I wanted them, I uncovered the sticky side of the tape and pressed the feet into the roof.
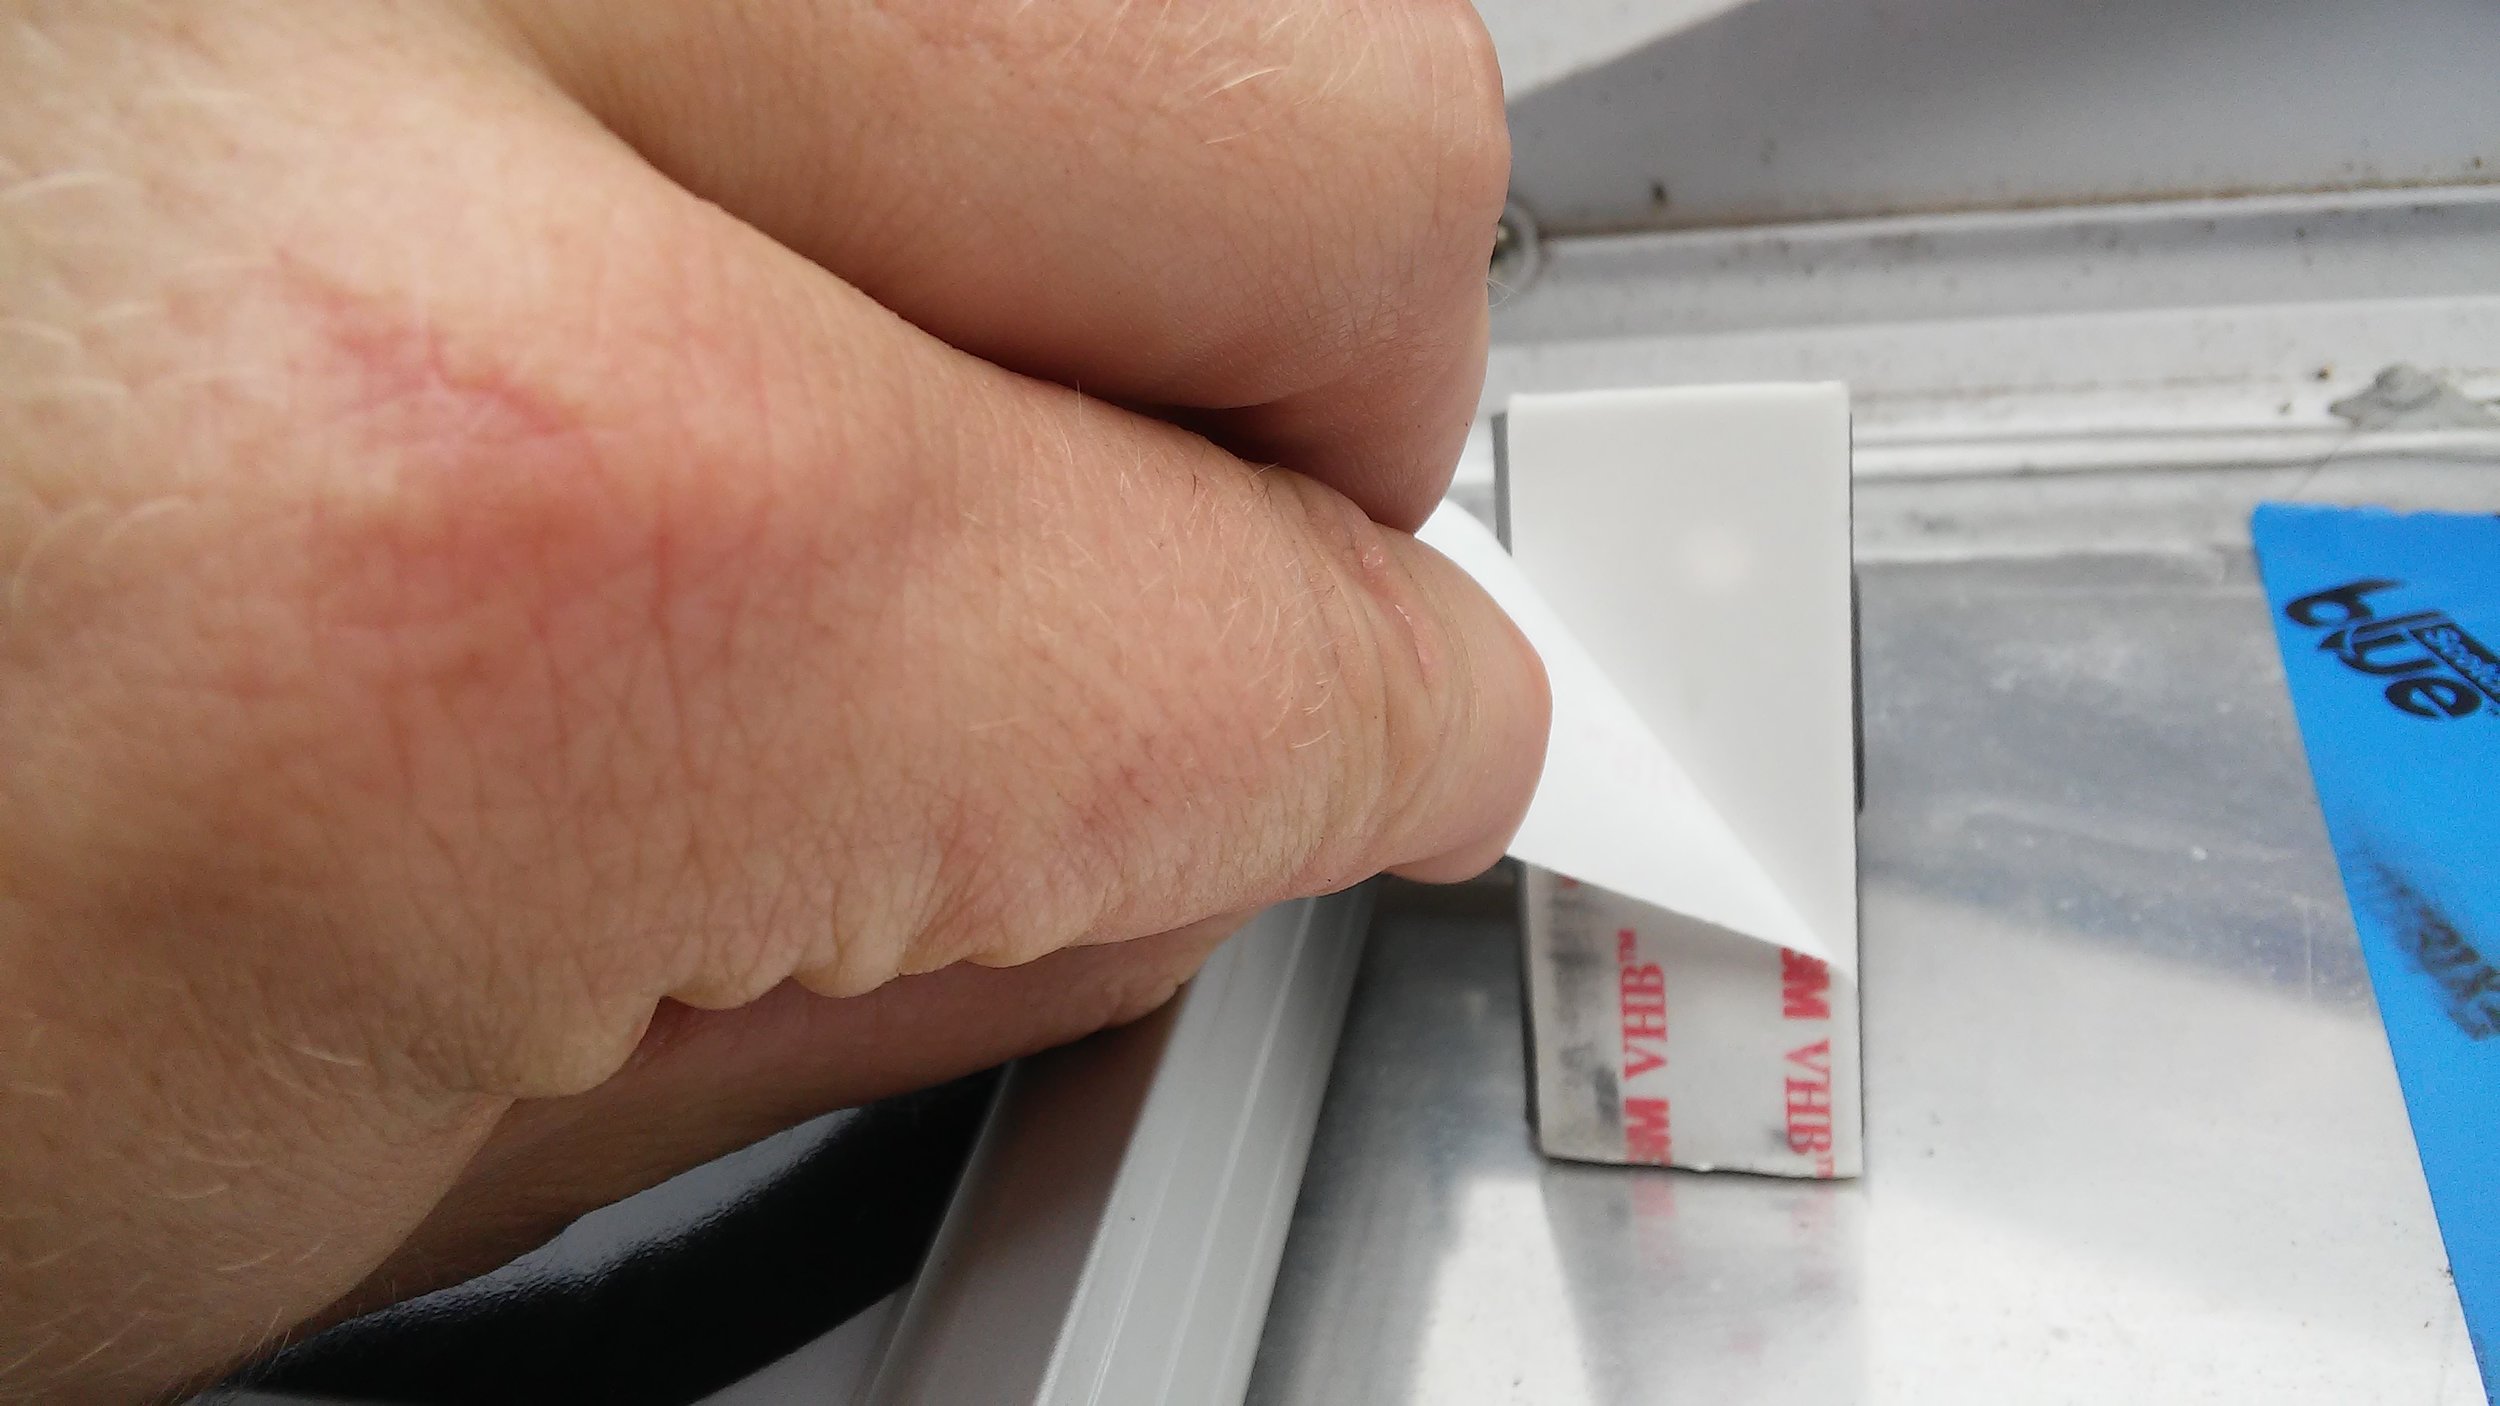
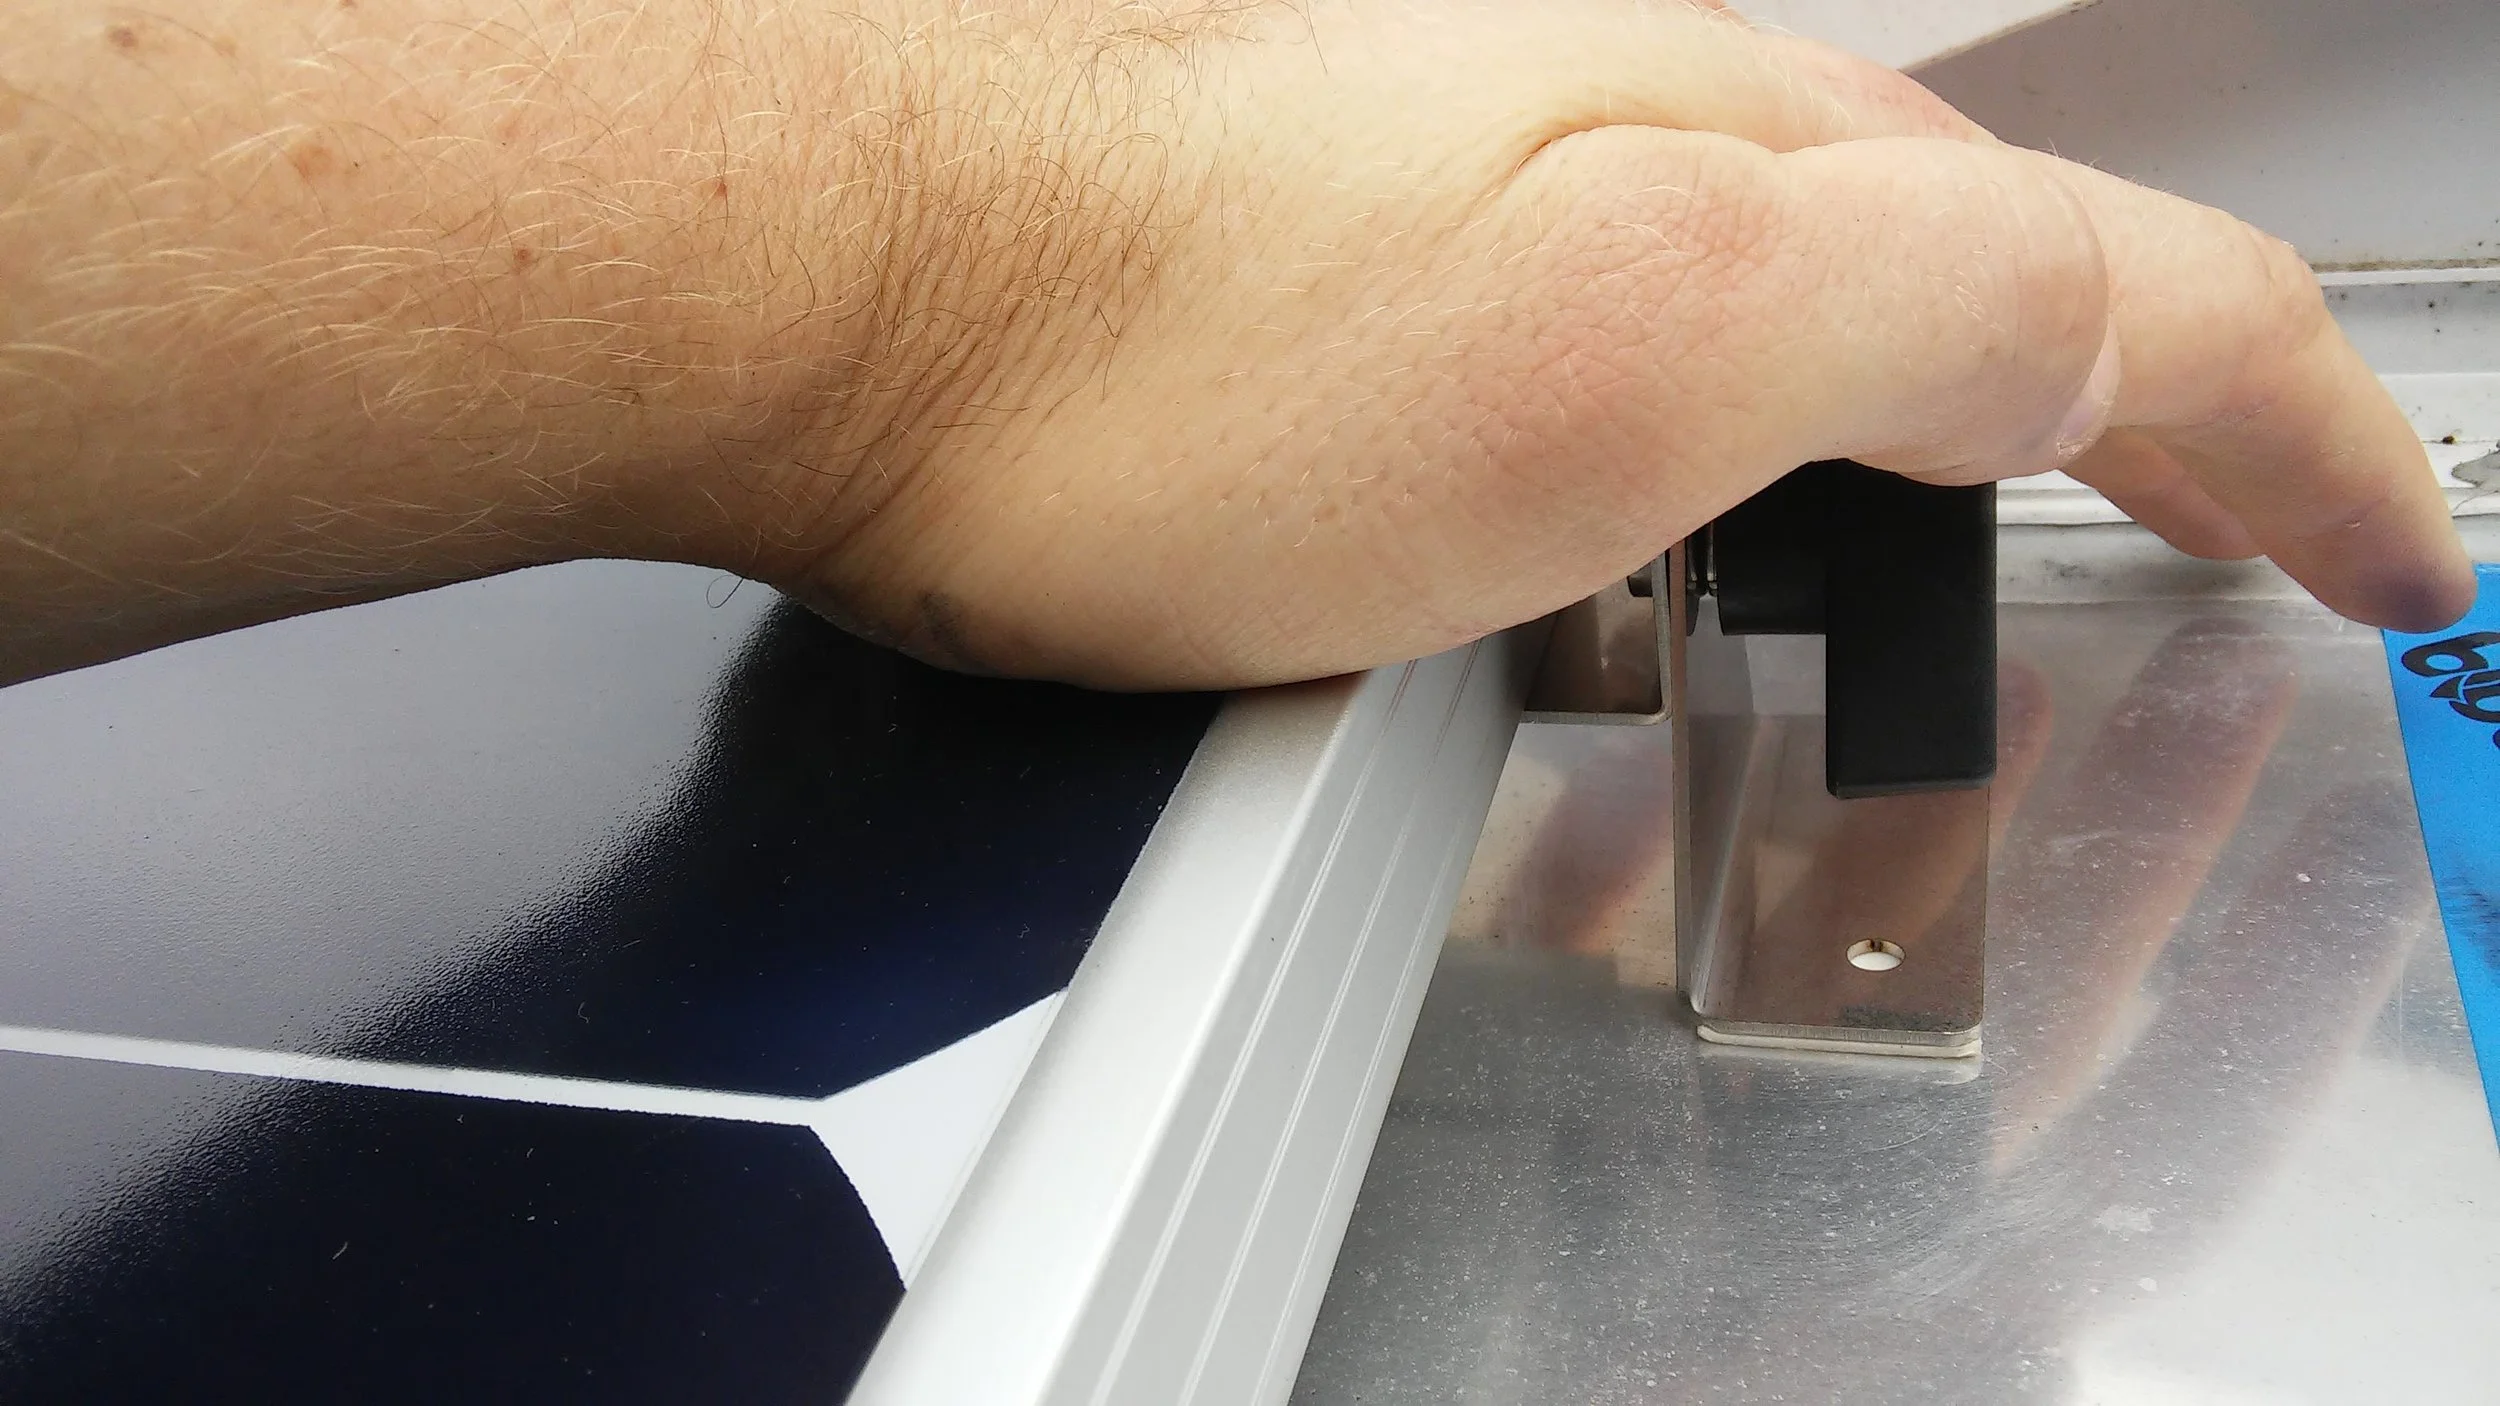
Finally, bury the bottom of the rocker foot in polyurethane to protect the VHB tape. I used gray Sikaflex-221, but you could use Dicor, TremPro, or whatever polyurethane sealant you like to use on your roof. No screws into the roof necessary. If I ever need to remove a panel in the future, I should be able to do it without any damage to the roof.

Yes, you can see the panels from the ground. And yes, I'm comfortable with that.

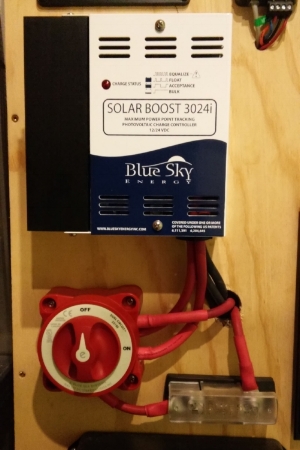
Heading back inside, we have some wiring to do to connect the solar controller to the solar panel pre-wiring, and to the battery.
I wired the solar controller through a double pole single throw disconnect. That's a single dial that controls two separate switches simultaneously -- one to disconnect the solar panels from the controller, and one to disconnect the controller from the battery. Apparently you can damage a solar controller if you disconnect it from the battery and leave it connected to the panels, so using a switch like this makes it more difficult to do that accidentally.
There's a 50A fuse using an ANL fuse block on the battery wire to the controller. The battery is actually already fused elsewhere, but with a 400A fuse, which is more juice than the solar controller can take. I realize that if this fuse were to blow (or the 400A battery fuse), my controller could potentially be damaged by being disconnected from the batteries while the solar panels are still connected. But a fried solar controller is better than an electrical fire, so we are fused to the gills.
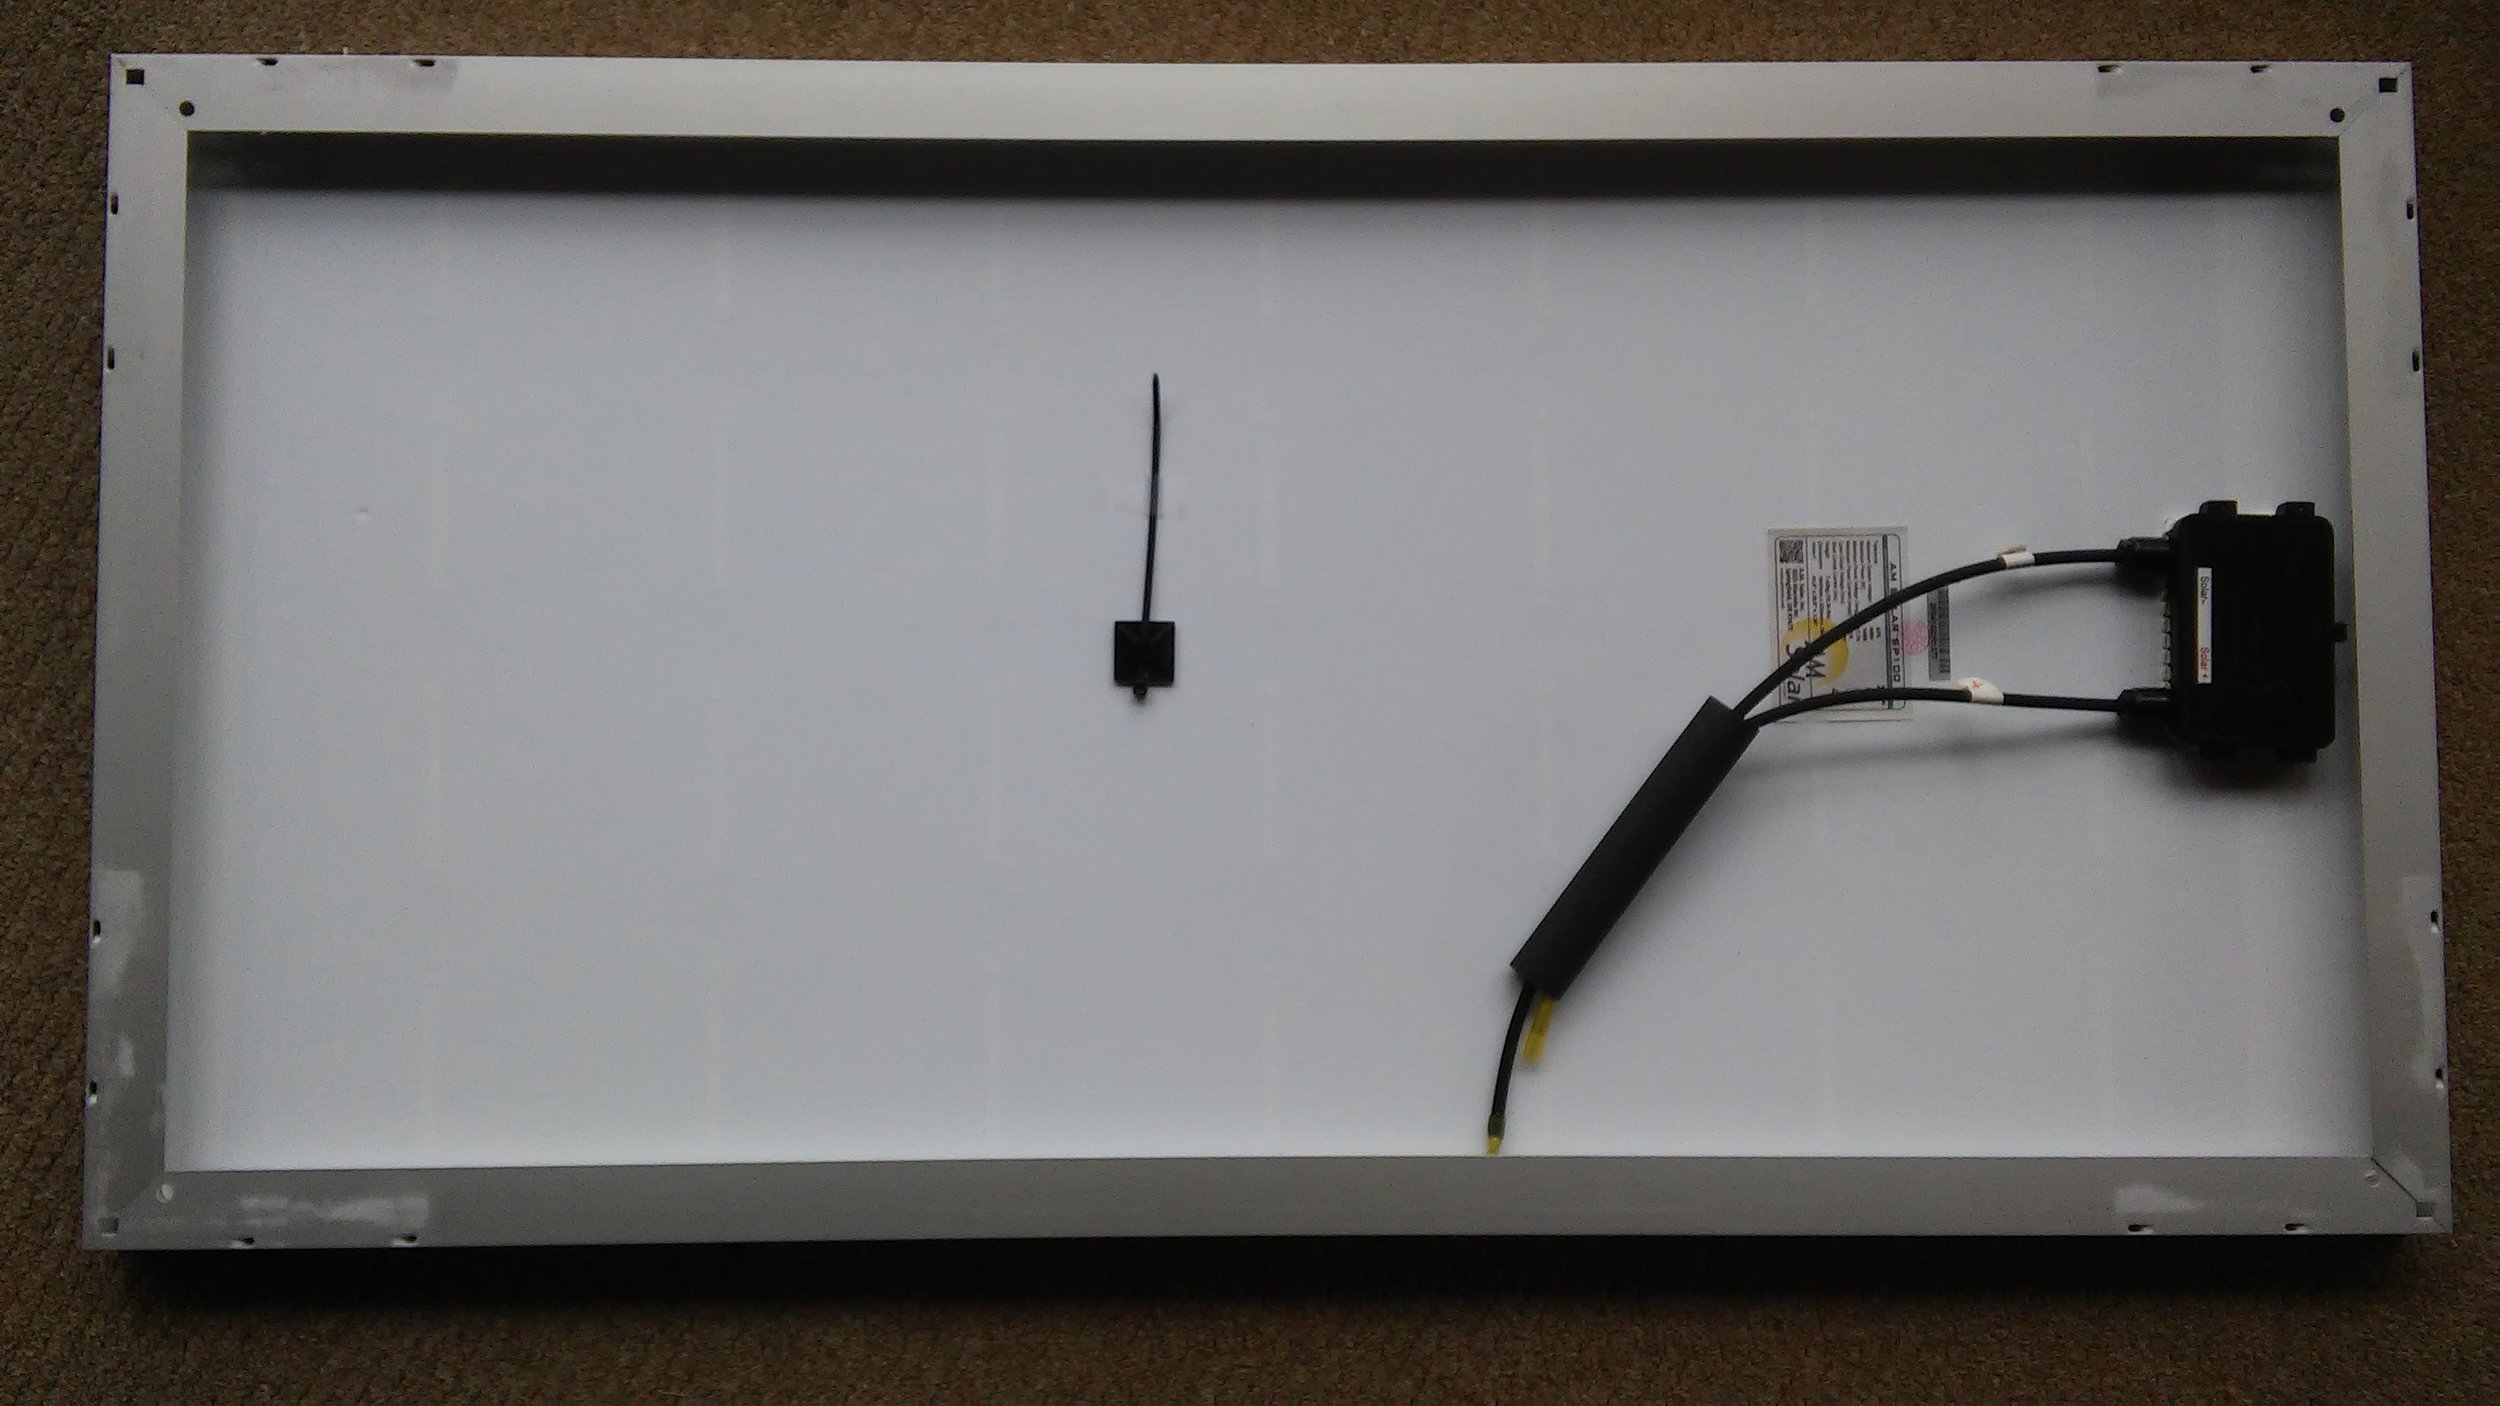
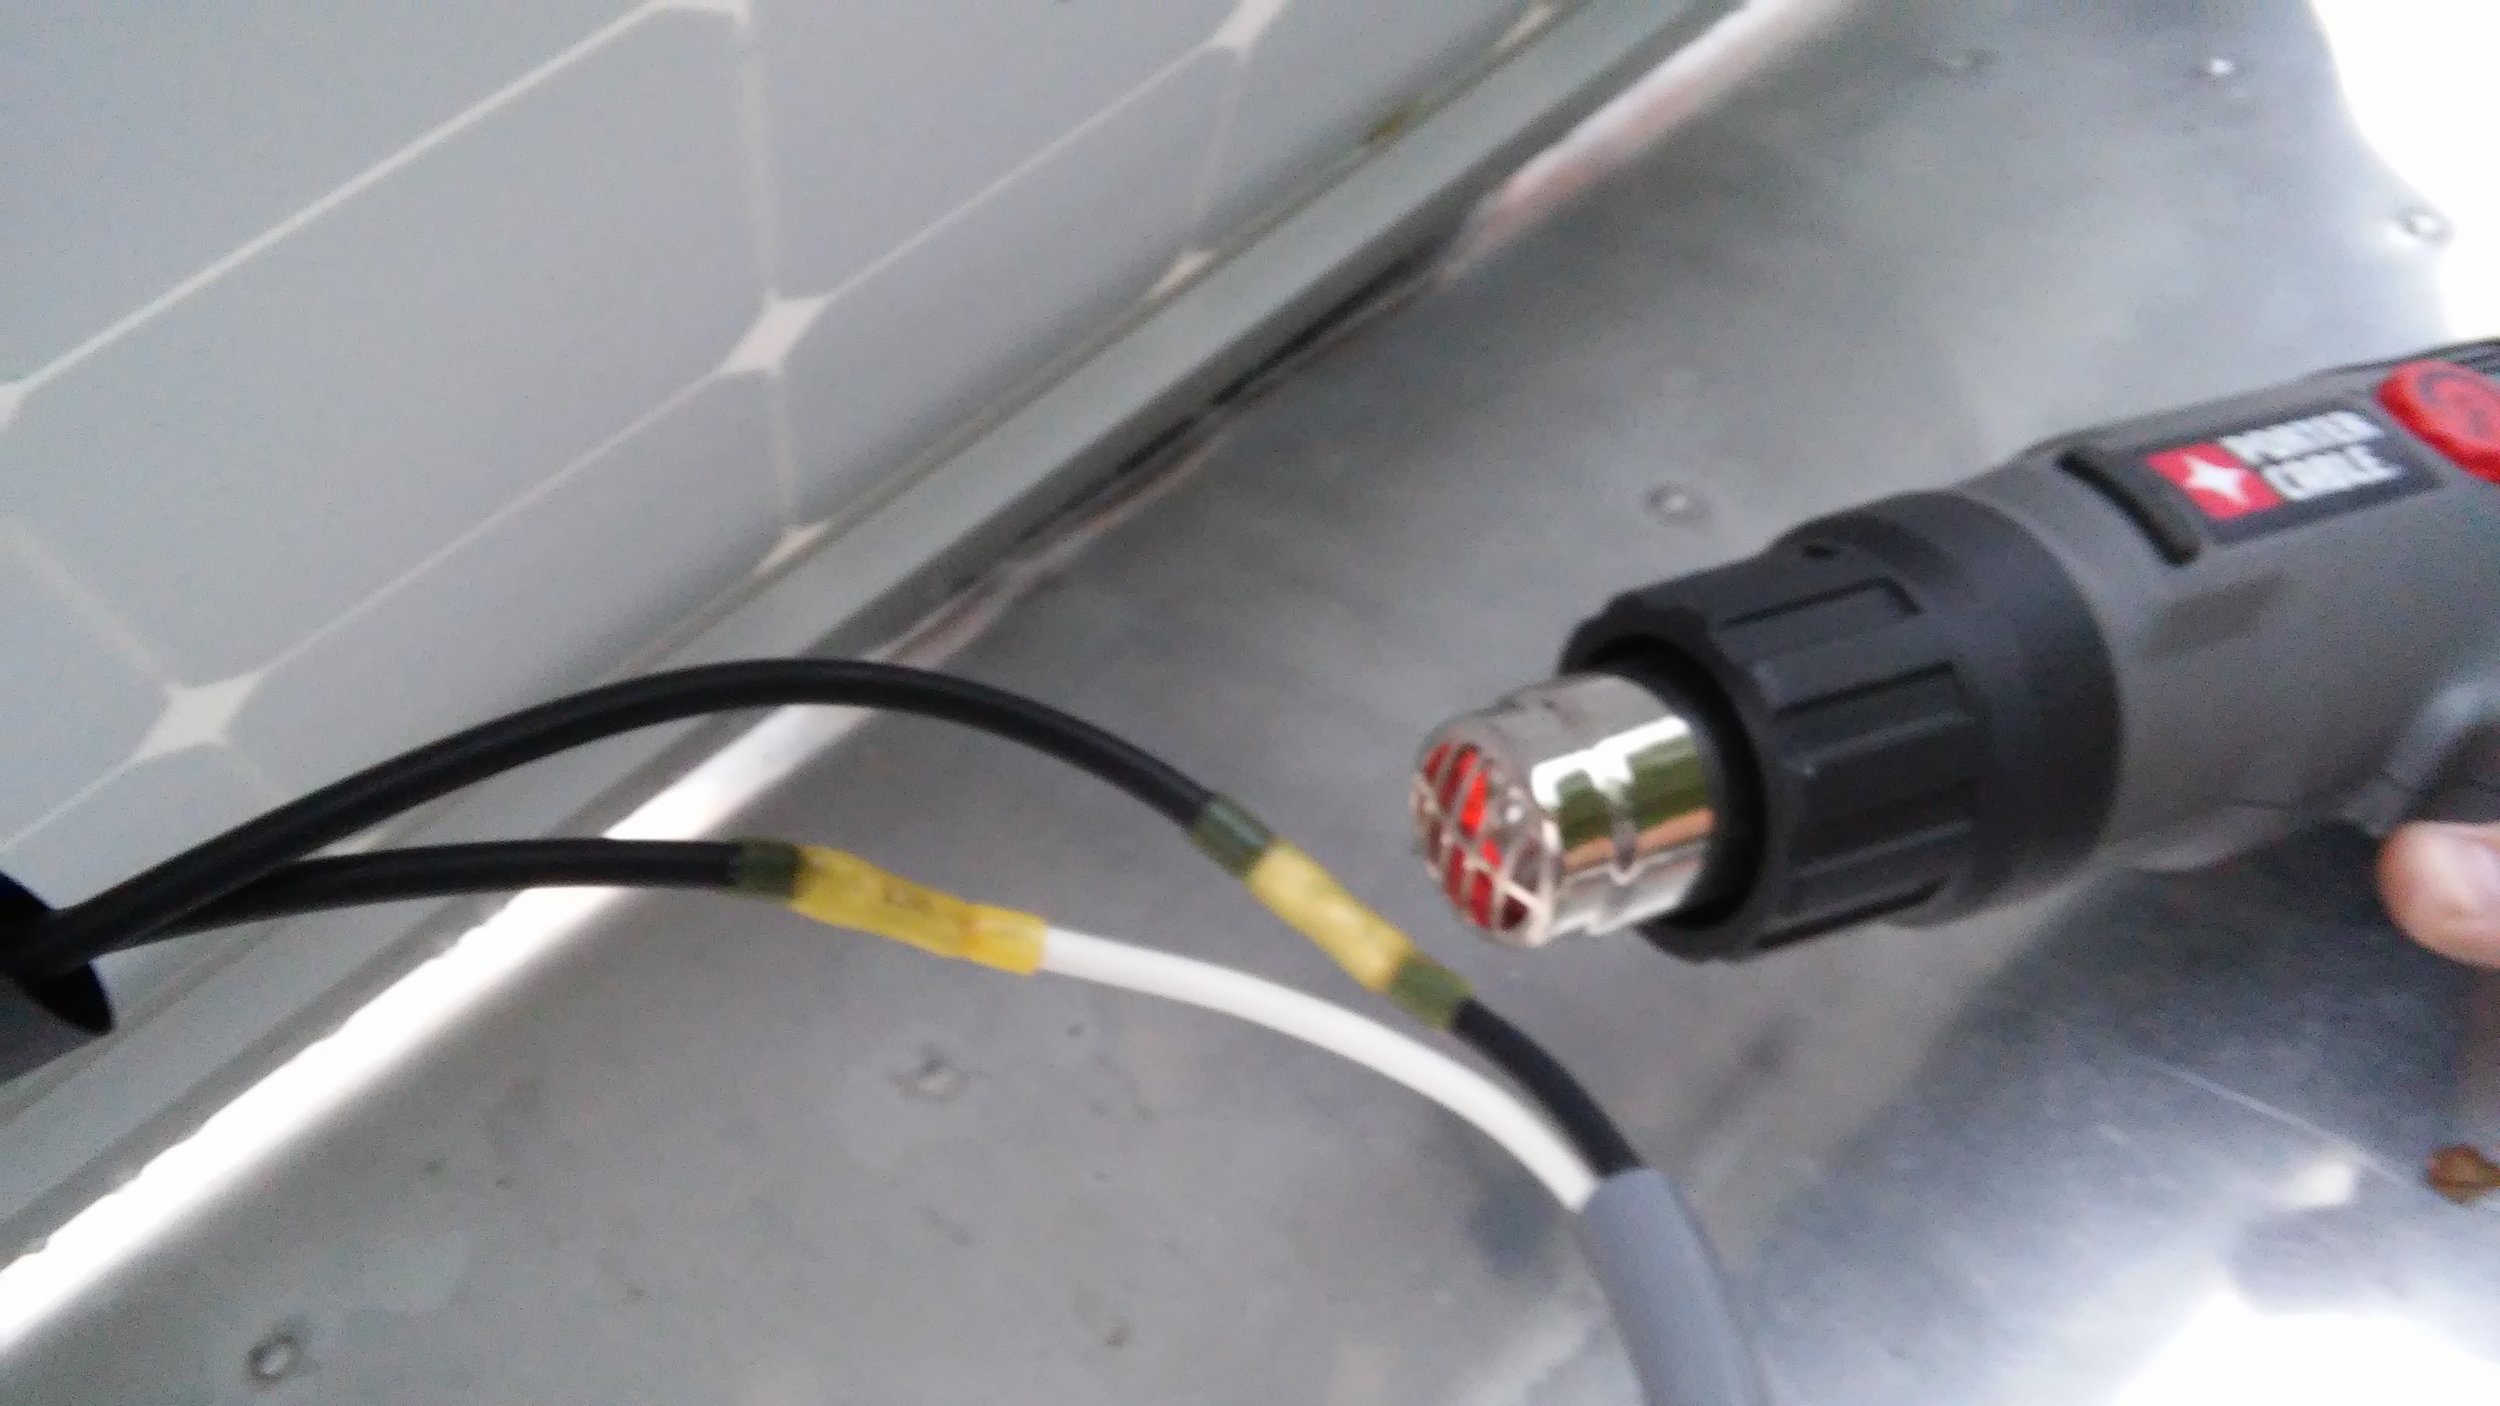
Back to the roof. The 10 gauge wire for the solar panels is some pretty thick stuff, and has some nylon cables inside in addition to the actual wires.

Here it is with the end prepped for connection to the solar panel. 4" of white, 2 1/4" of black, with 3/8" stripped off both.

Ends crimped into the provided heat shrink fittings.
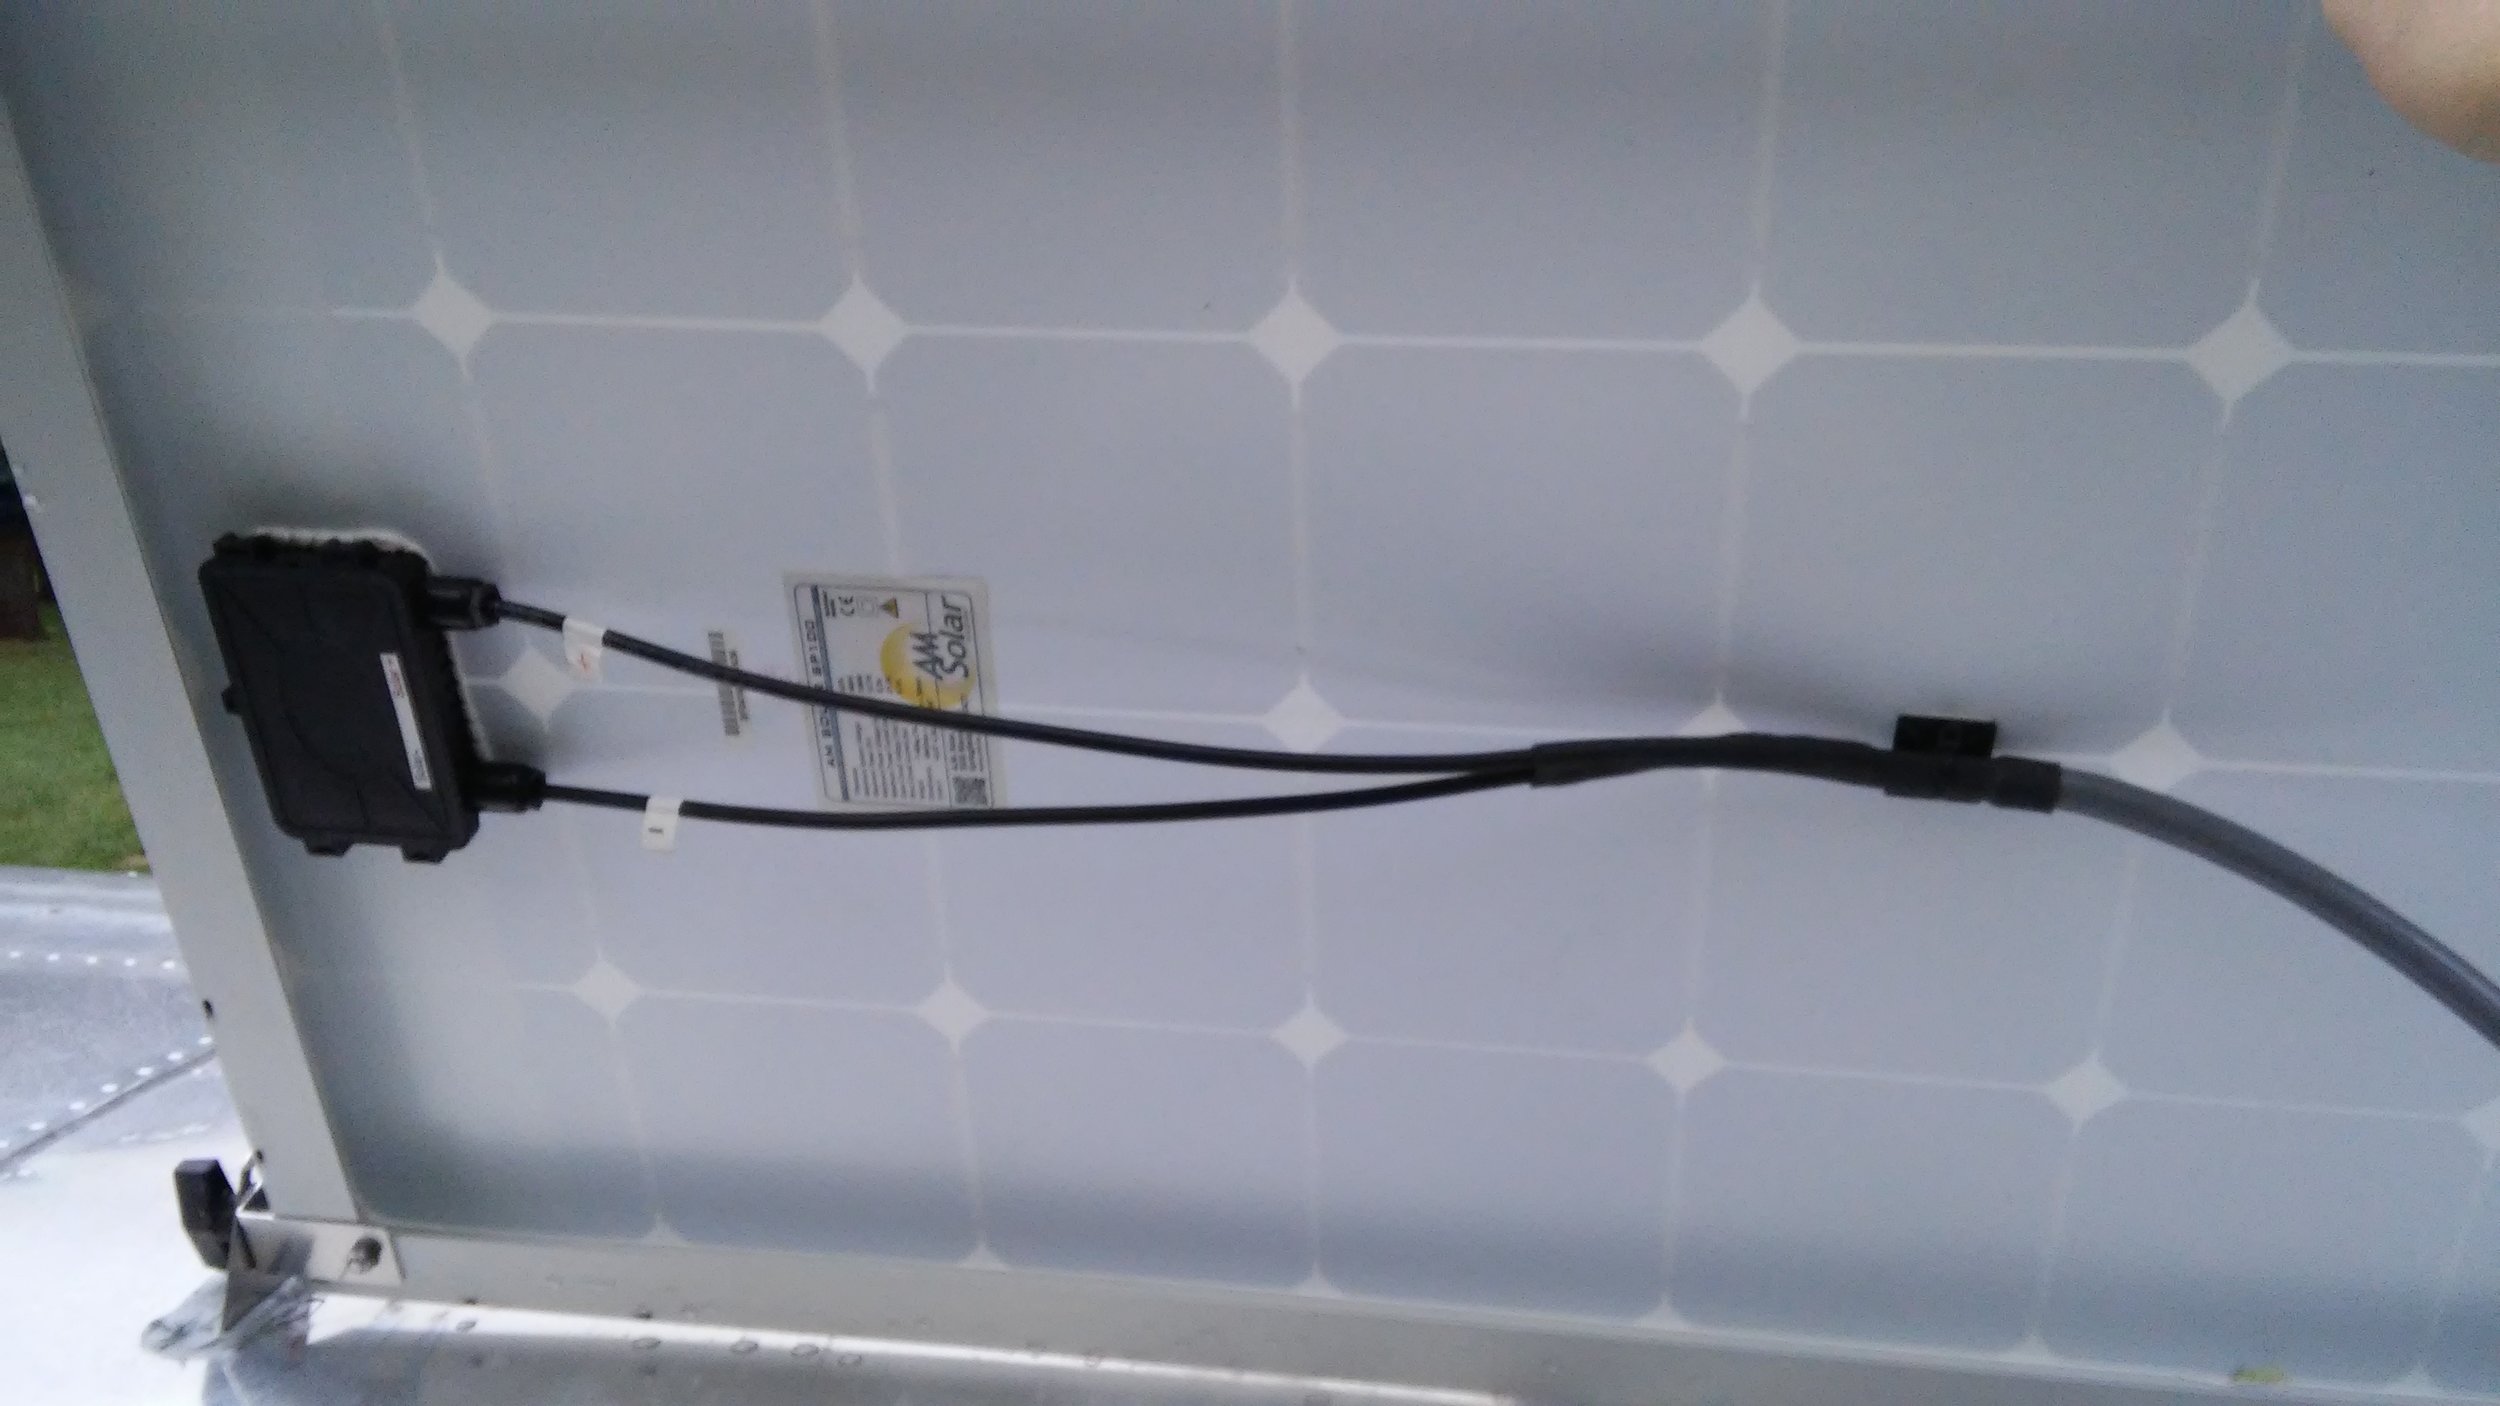
Outer heat shrink tube goes on to cover the yellow crimps, and the wire gets zip-tied to a mount on the back of the panel. The kit included several more of those mounts to use for securing the cables to the roof, which I'll do once I get to the store to buy more carburetor cleaner.
Wired up to the combiner box that I installed back when I had access to the inside of the walls. Note that the solar wiring is using the correct color convention (black + and white -), and I'm using the wrong colors (red + and black -) because that's what Amazon.com had for welding cable.
I wired my panels in parallel configuration. Wiring in series would give me a 24V system and cut my line losses in half. My charge controller can handle 24V panels, so I could easily wire in series. But both panels in series would suffer from huge losses if one of the panels is shaded even a tiny bit, which is likely to happen frequently in an RV. So instead I have two 12V panels in parallel. If one is shaded, the other can still perform optimally. I'm using pretty big 4 AWG wire run a fairly short distance to my charge controller, so line losses shouldn't be huge anyway.
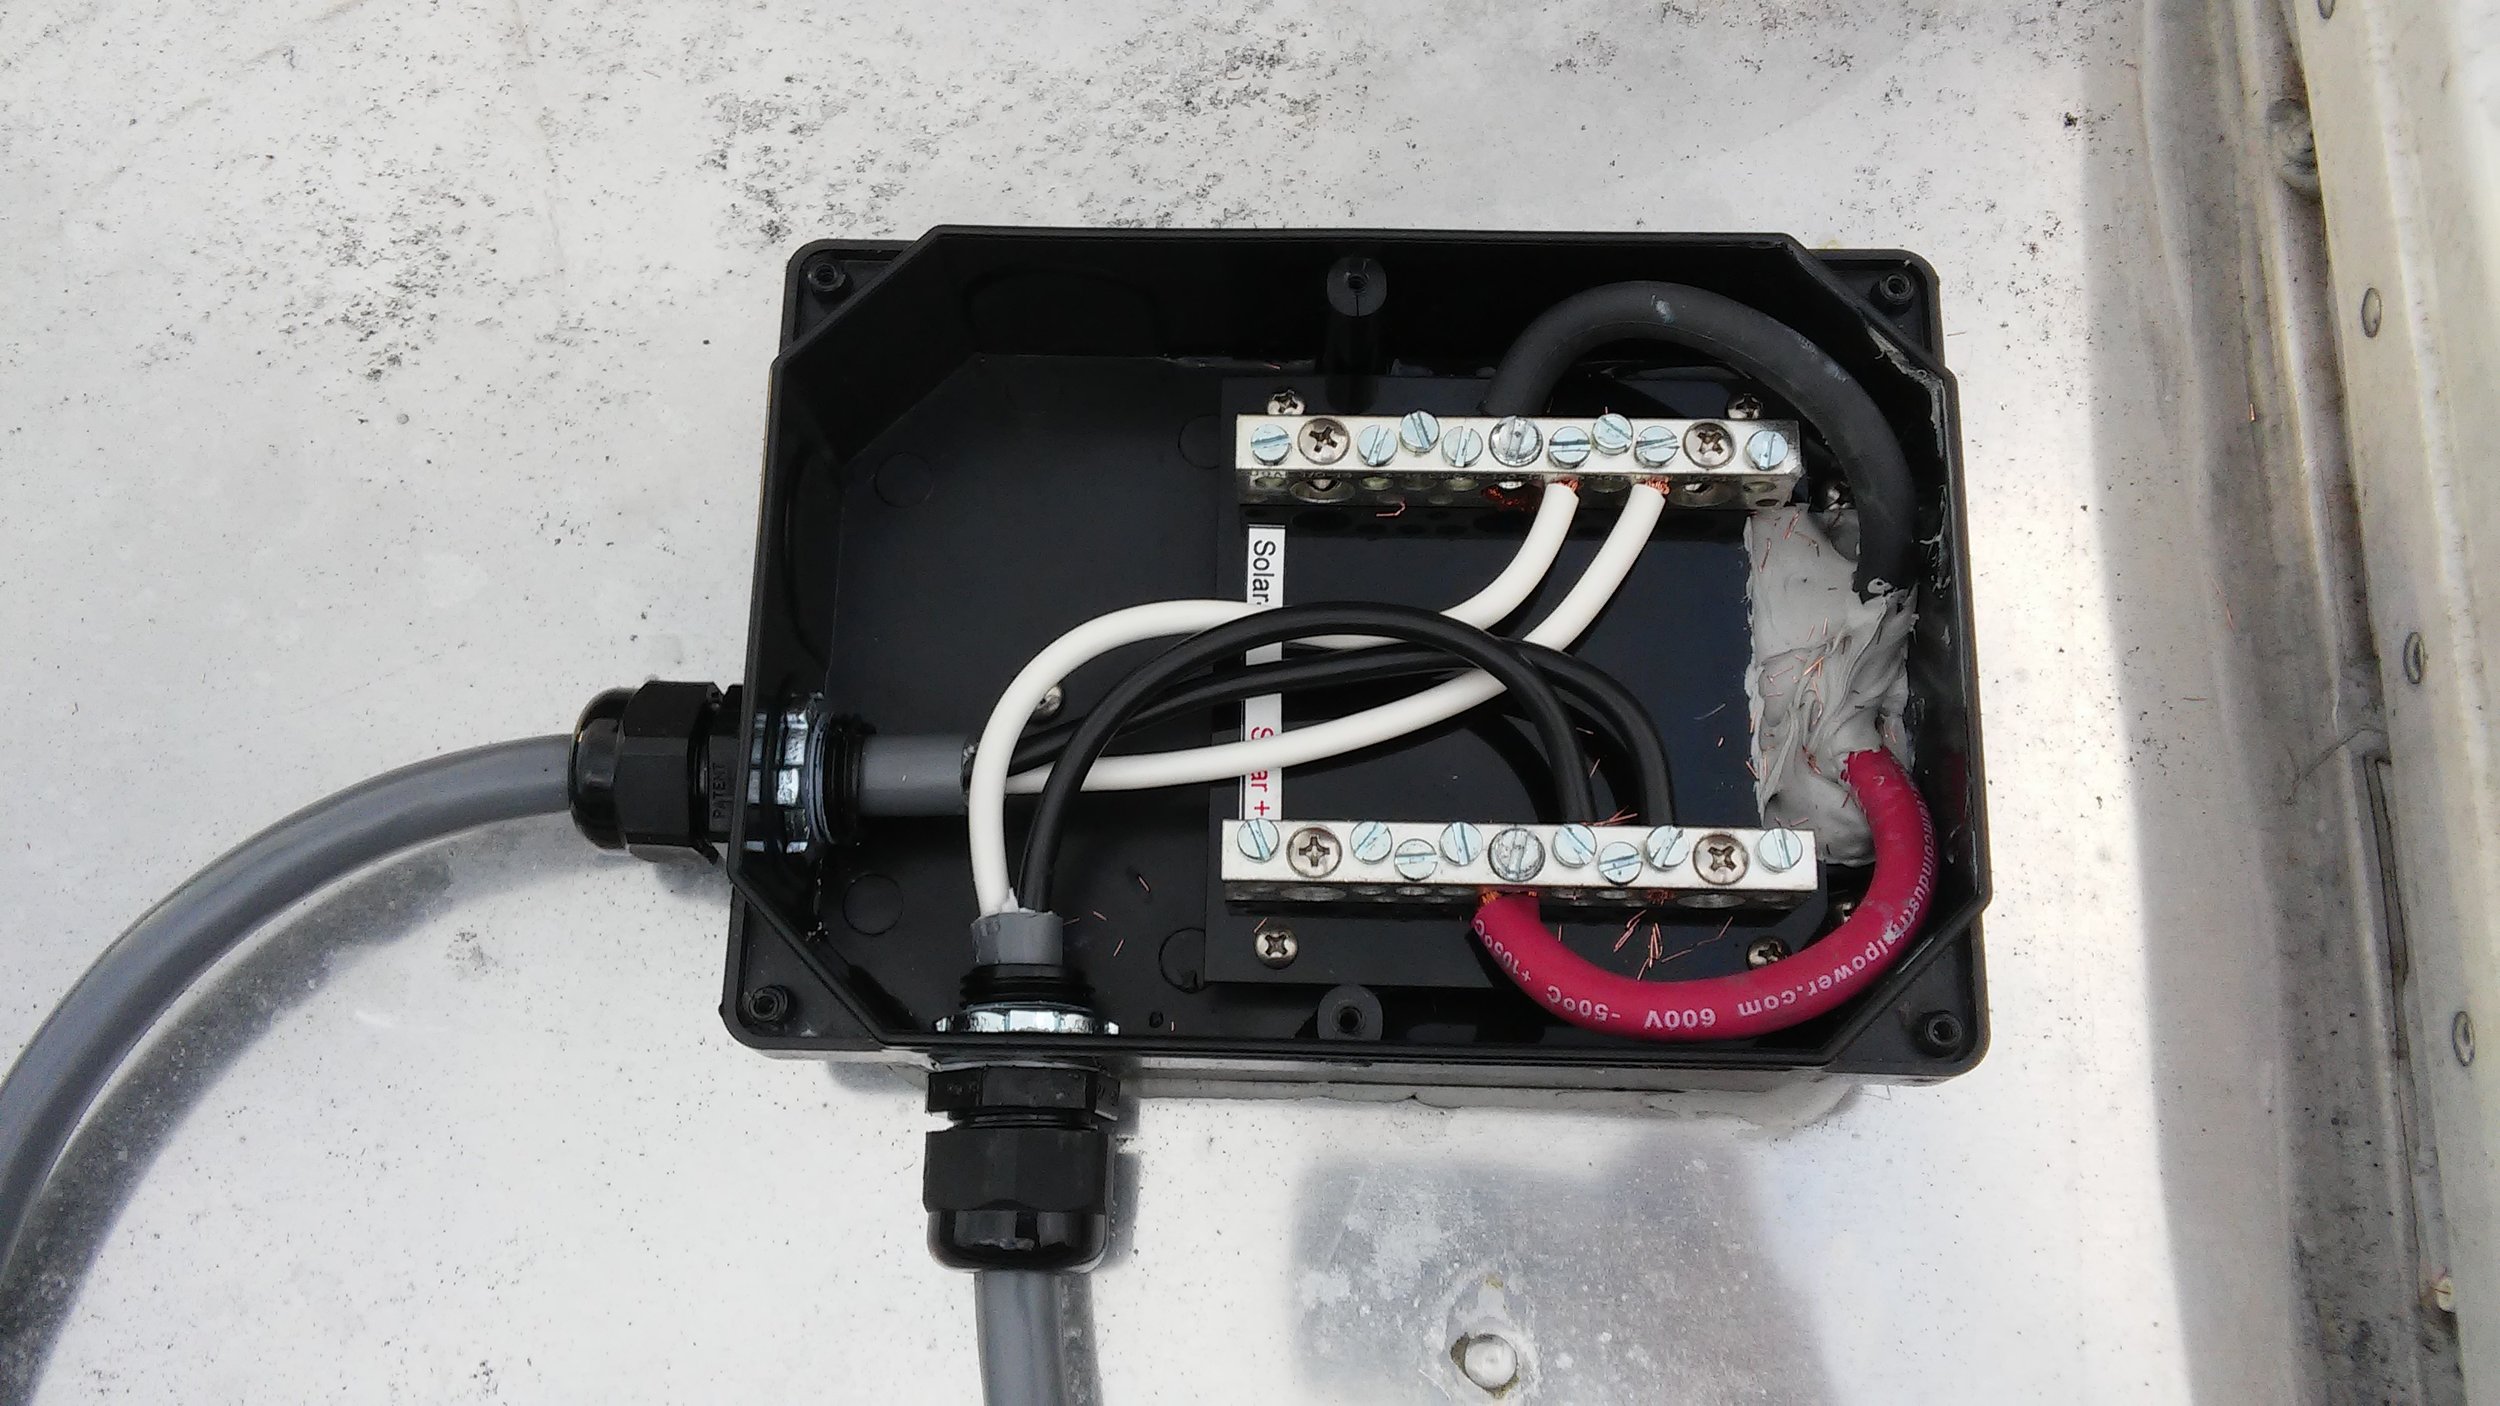
There isn't any kind of gasket or o-ring on the liquid-tight fittings included with the kit, so I added a little Sikaflex to the threads where the fitting goes into the combiner box to help seal things up.
The two screws in the middle let water into the box, so they get some sealant. Instructions say seal all of them, but I don't see how the ones on the corners could let water in, so I'm leaving them alone to make it easier to access the box in the future.

How does it work? Well, the sun is down, so I can safely report ... it does not work very well at night.