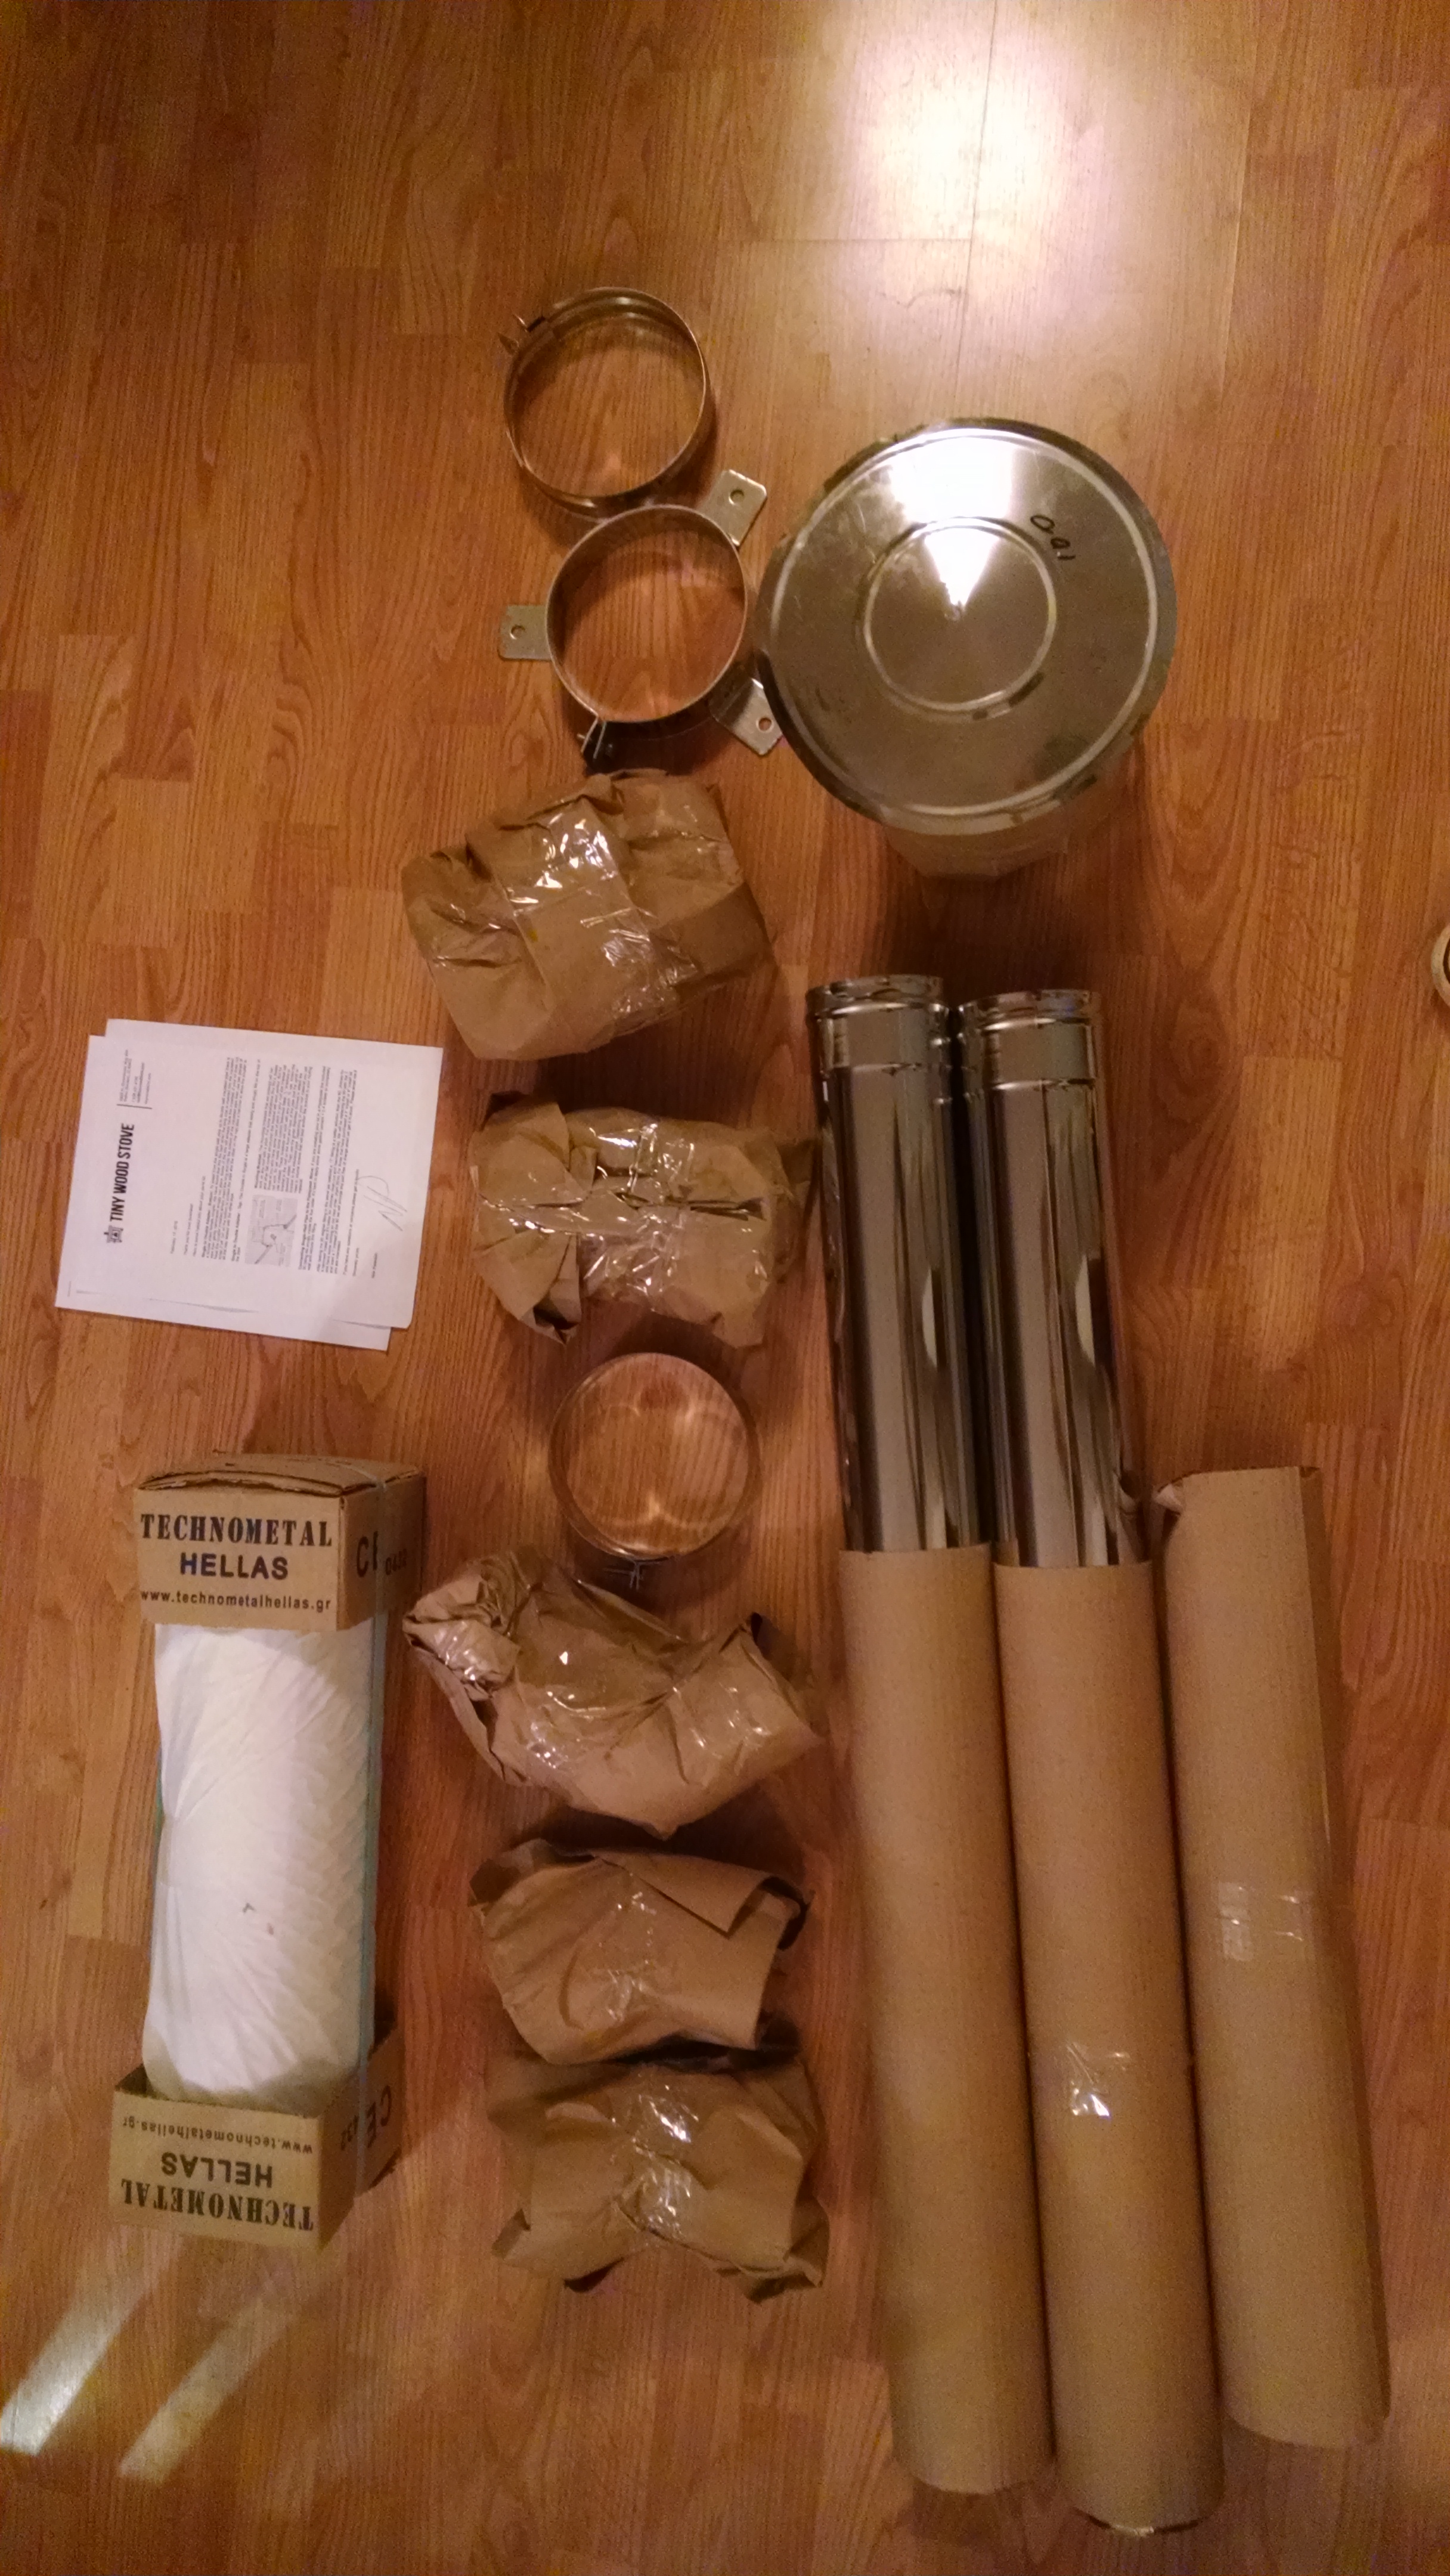
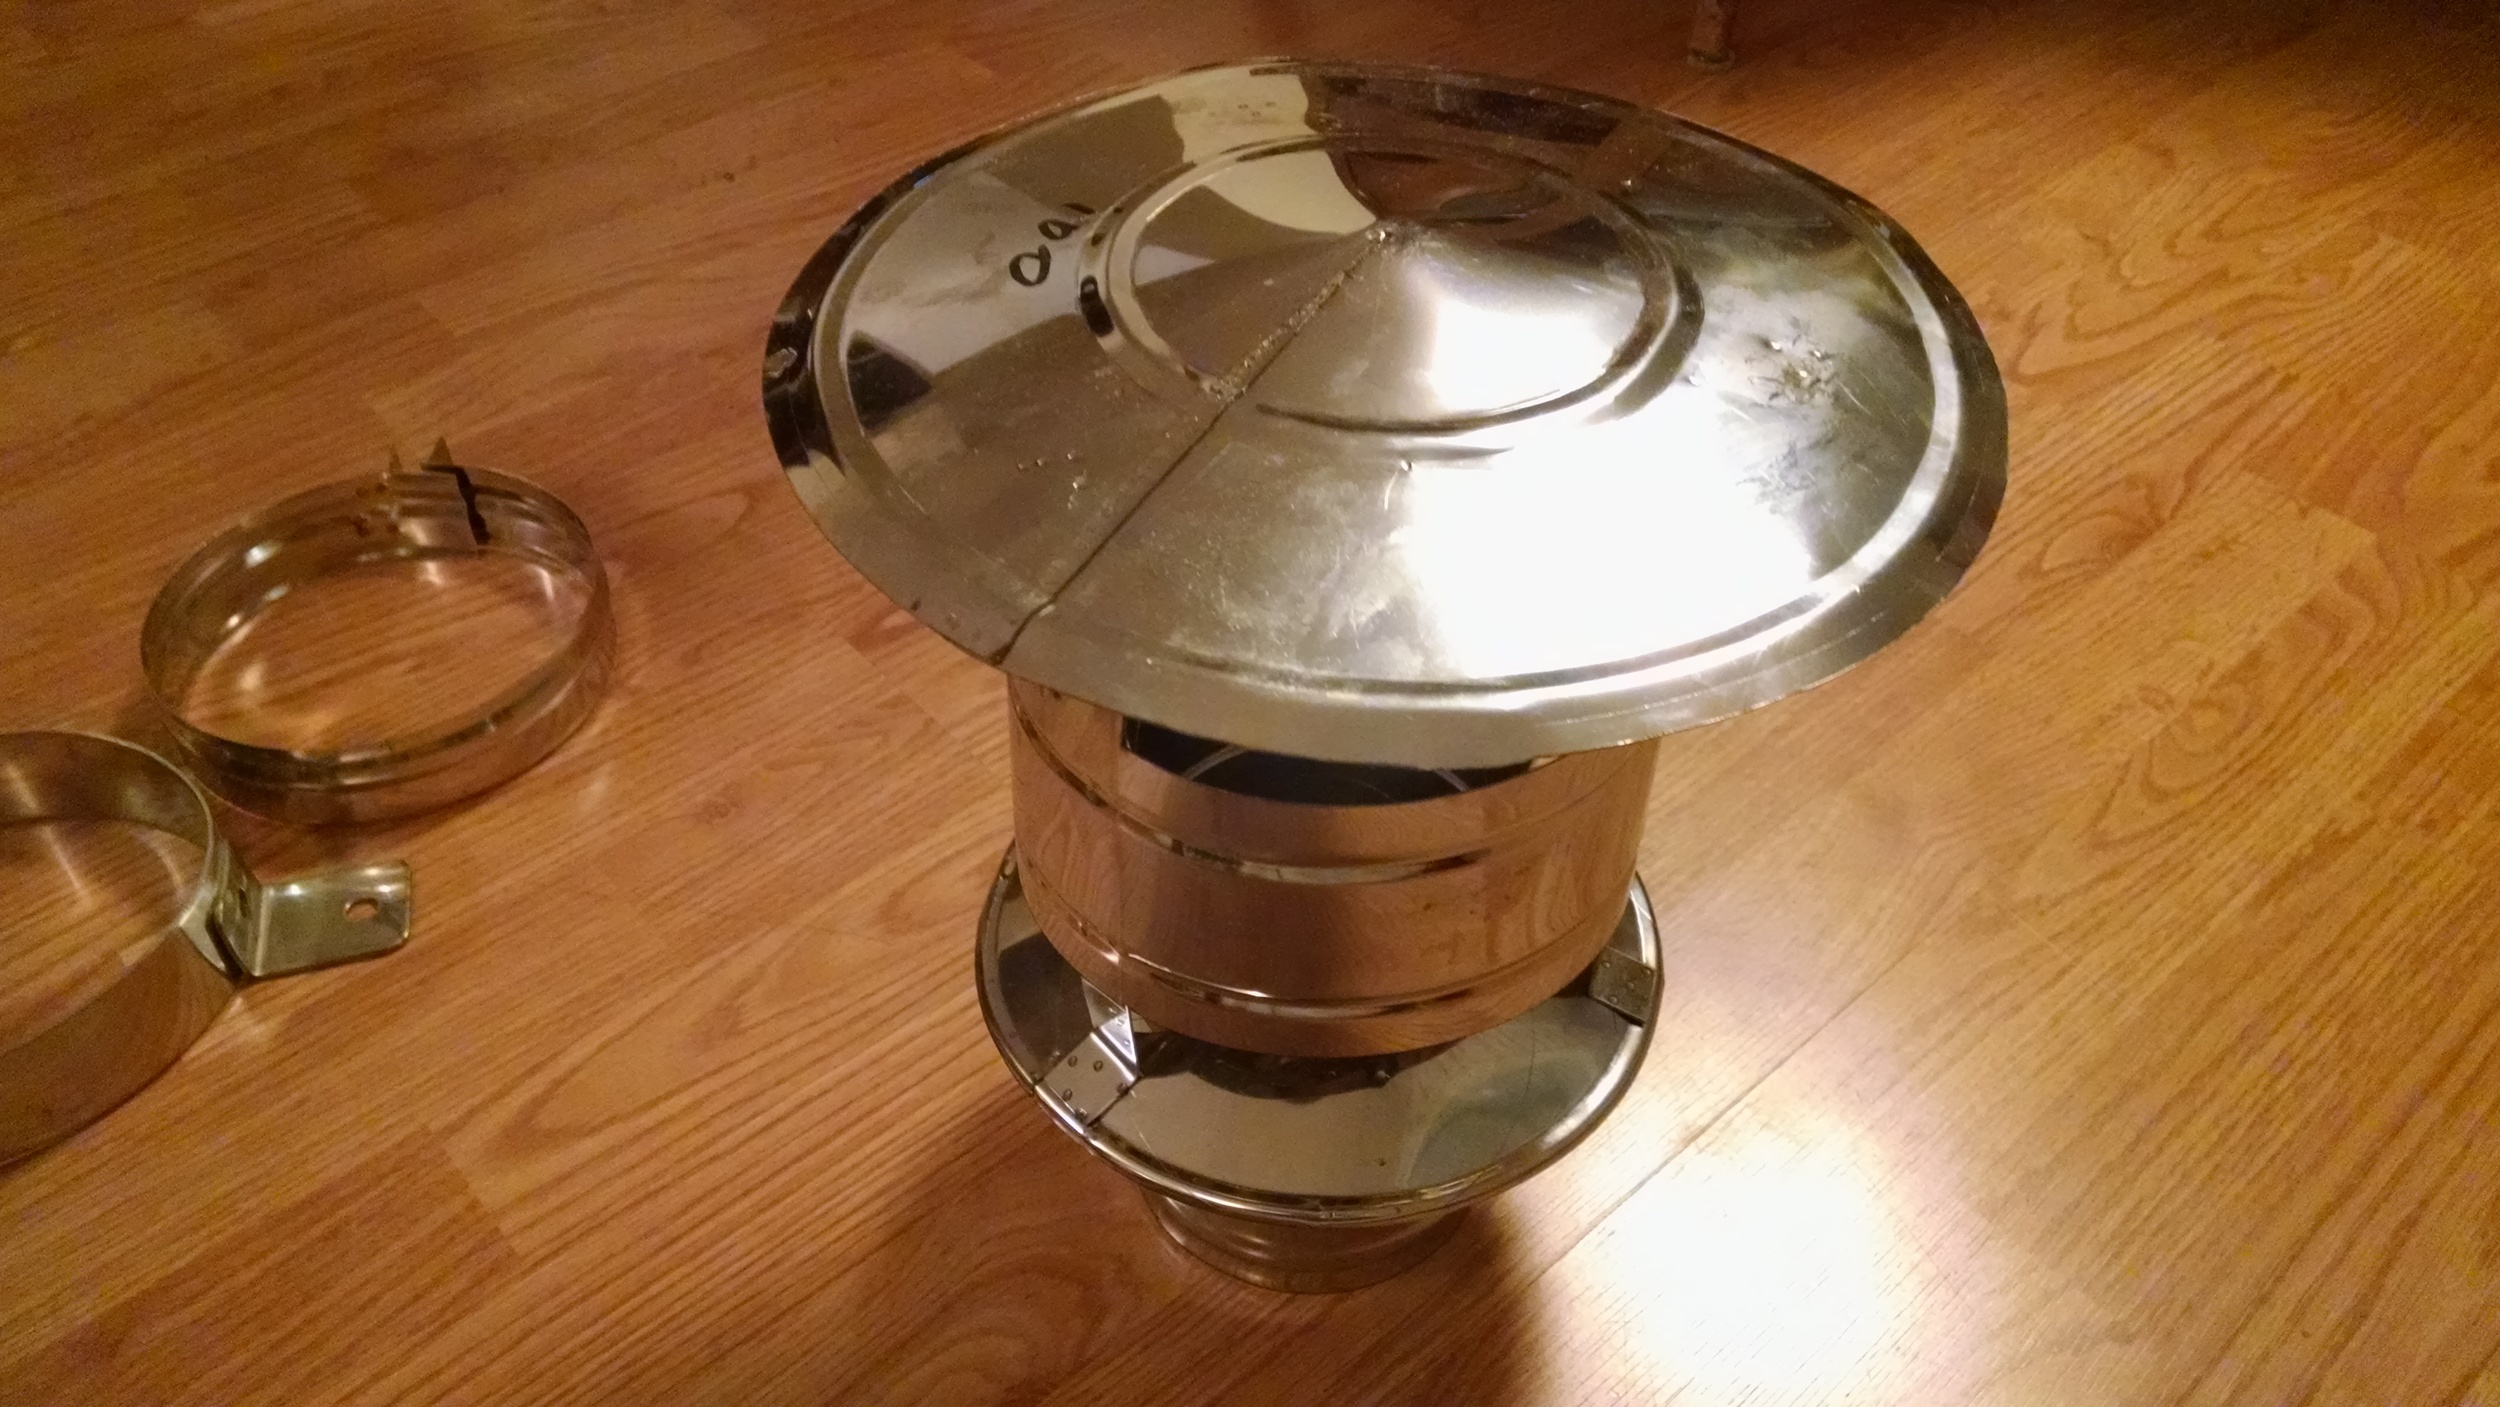
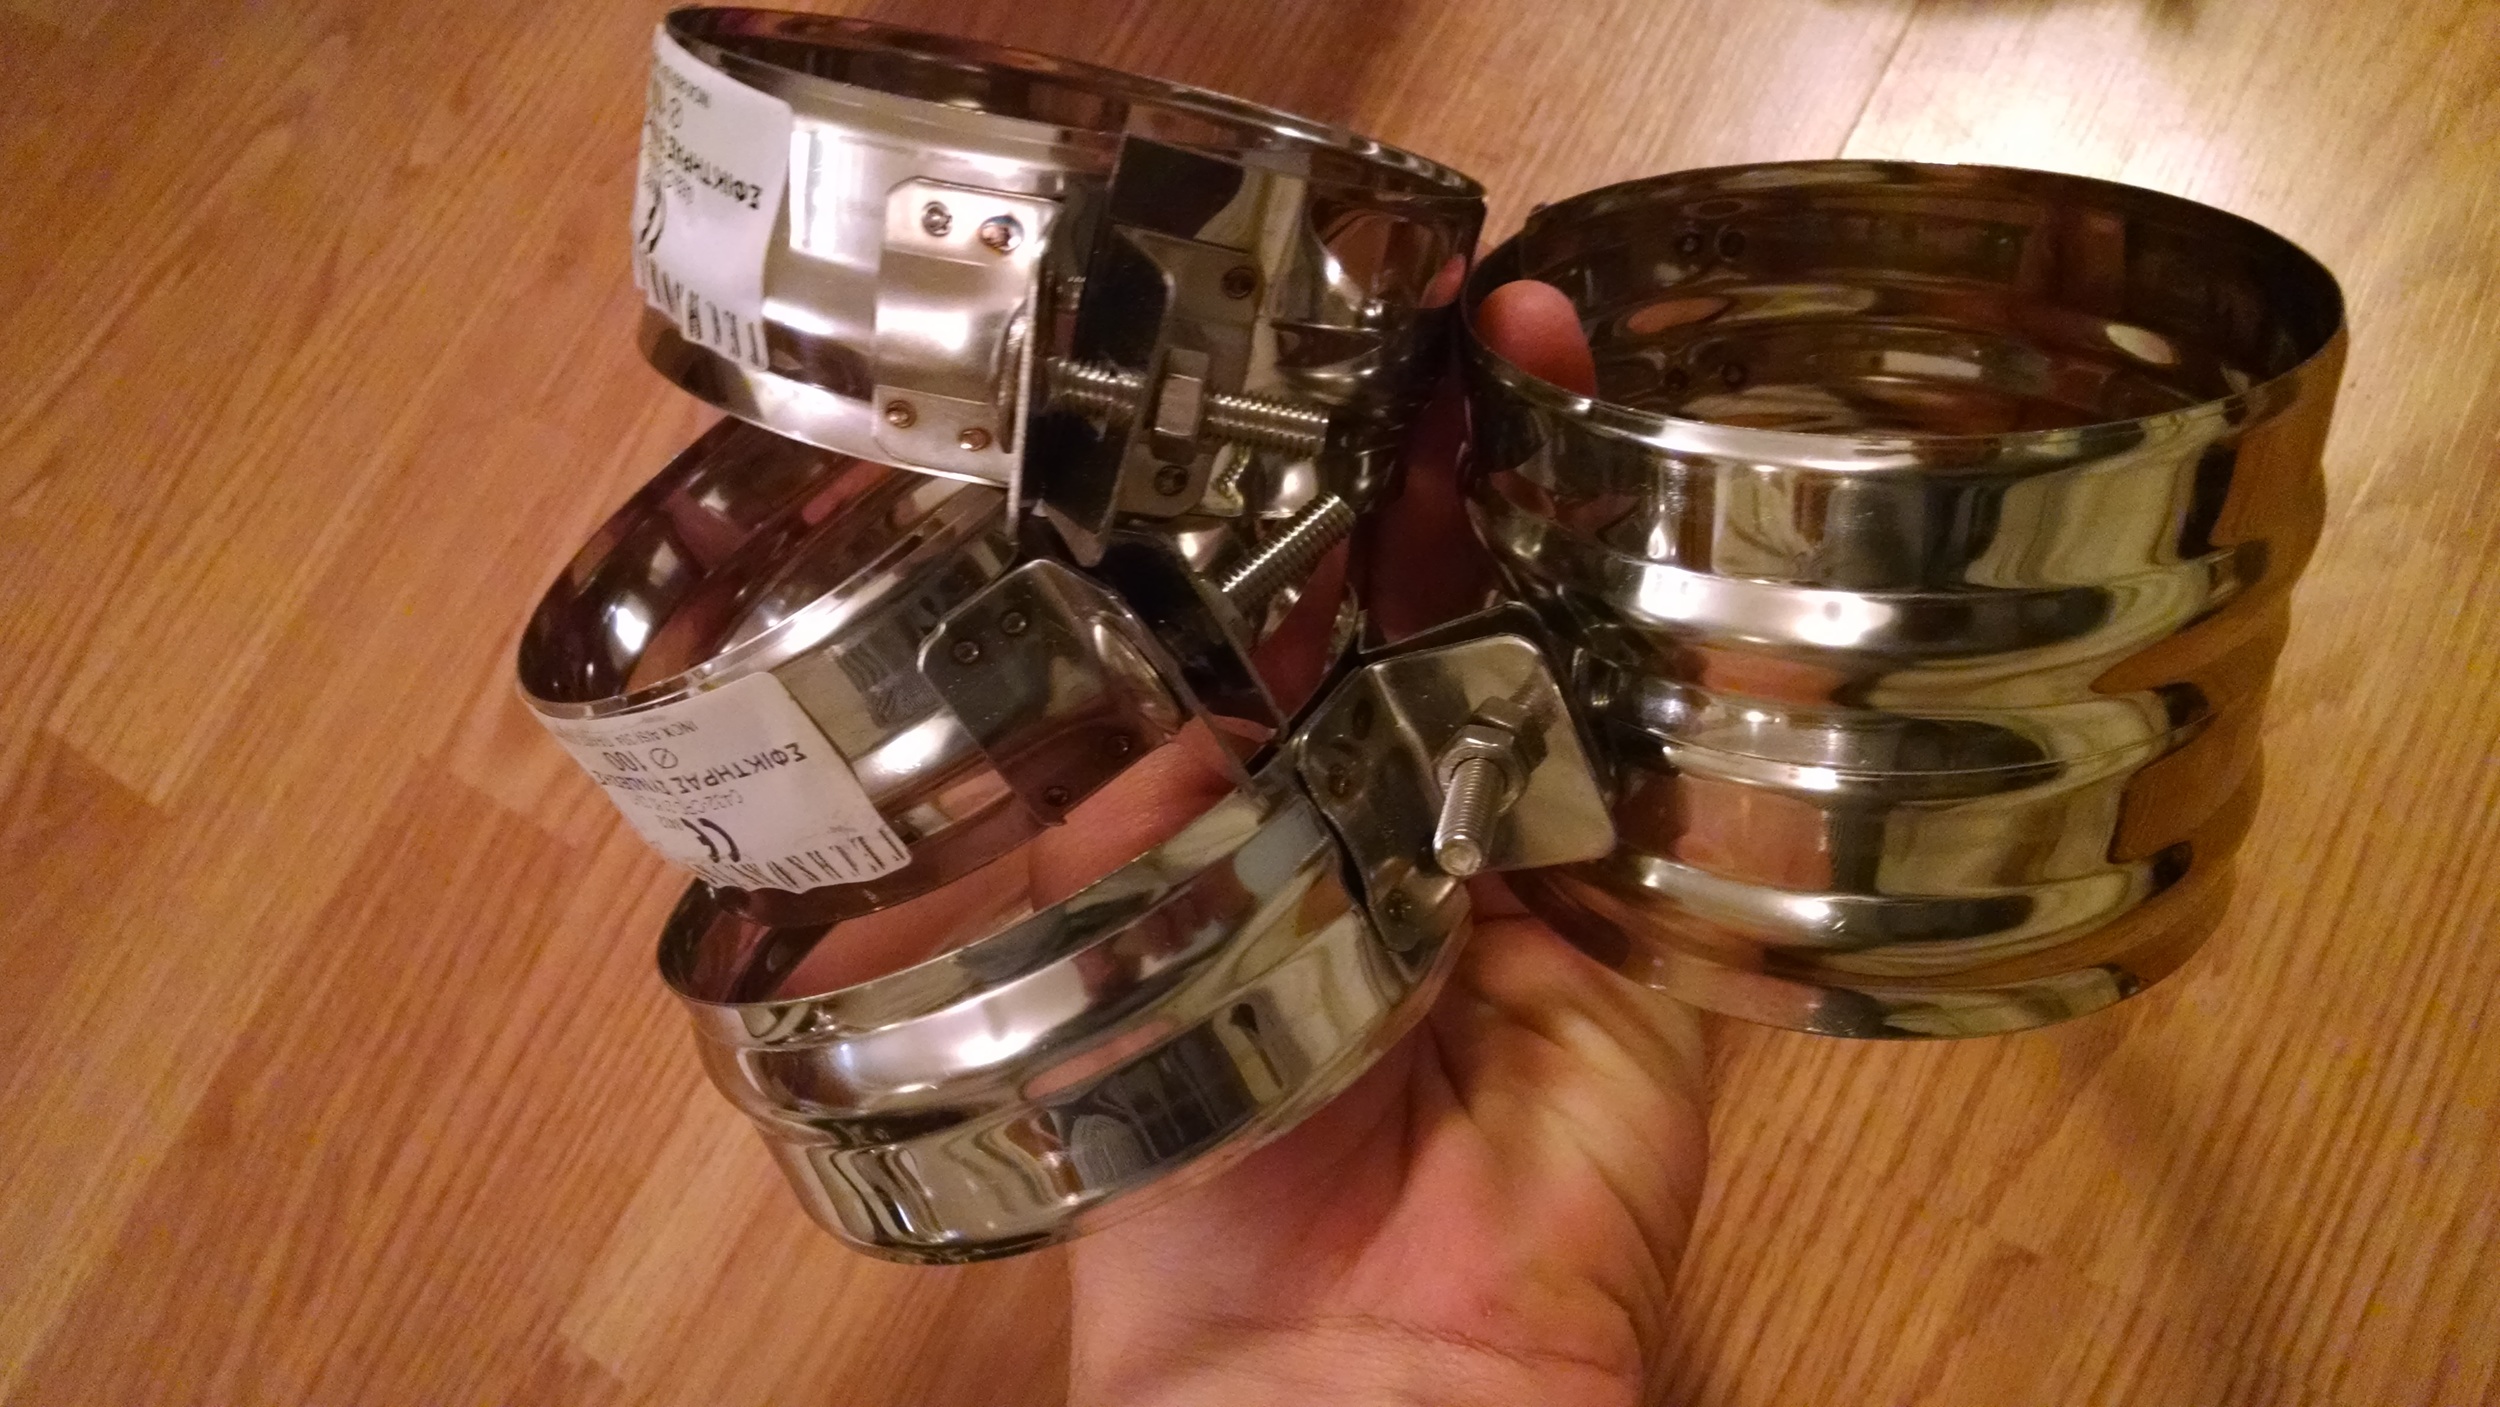
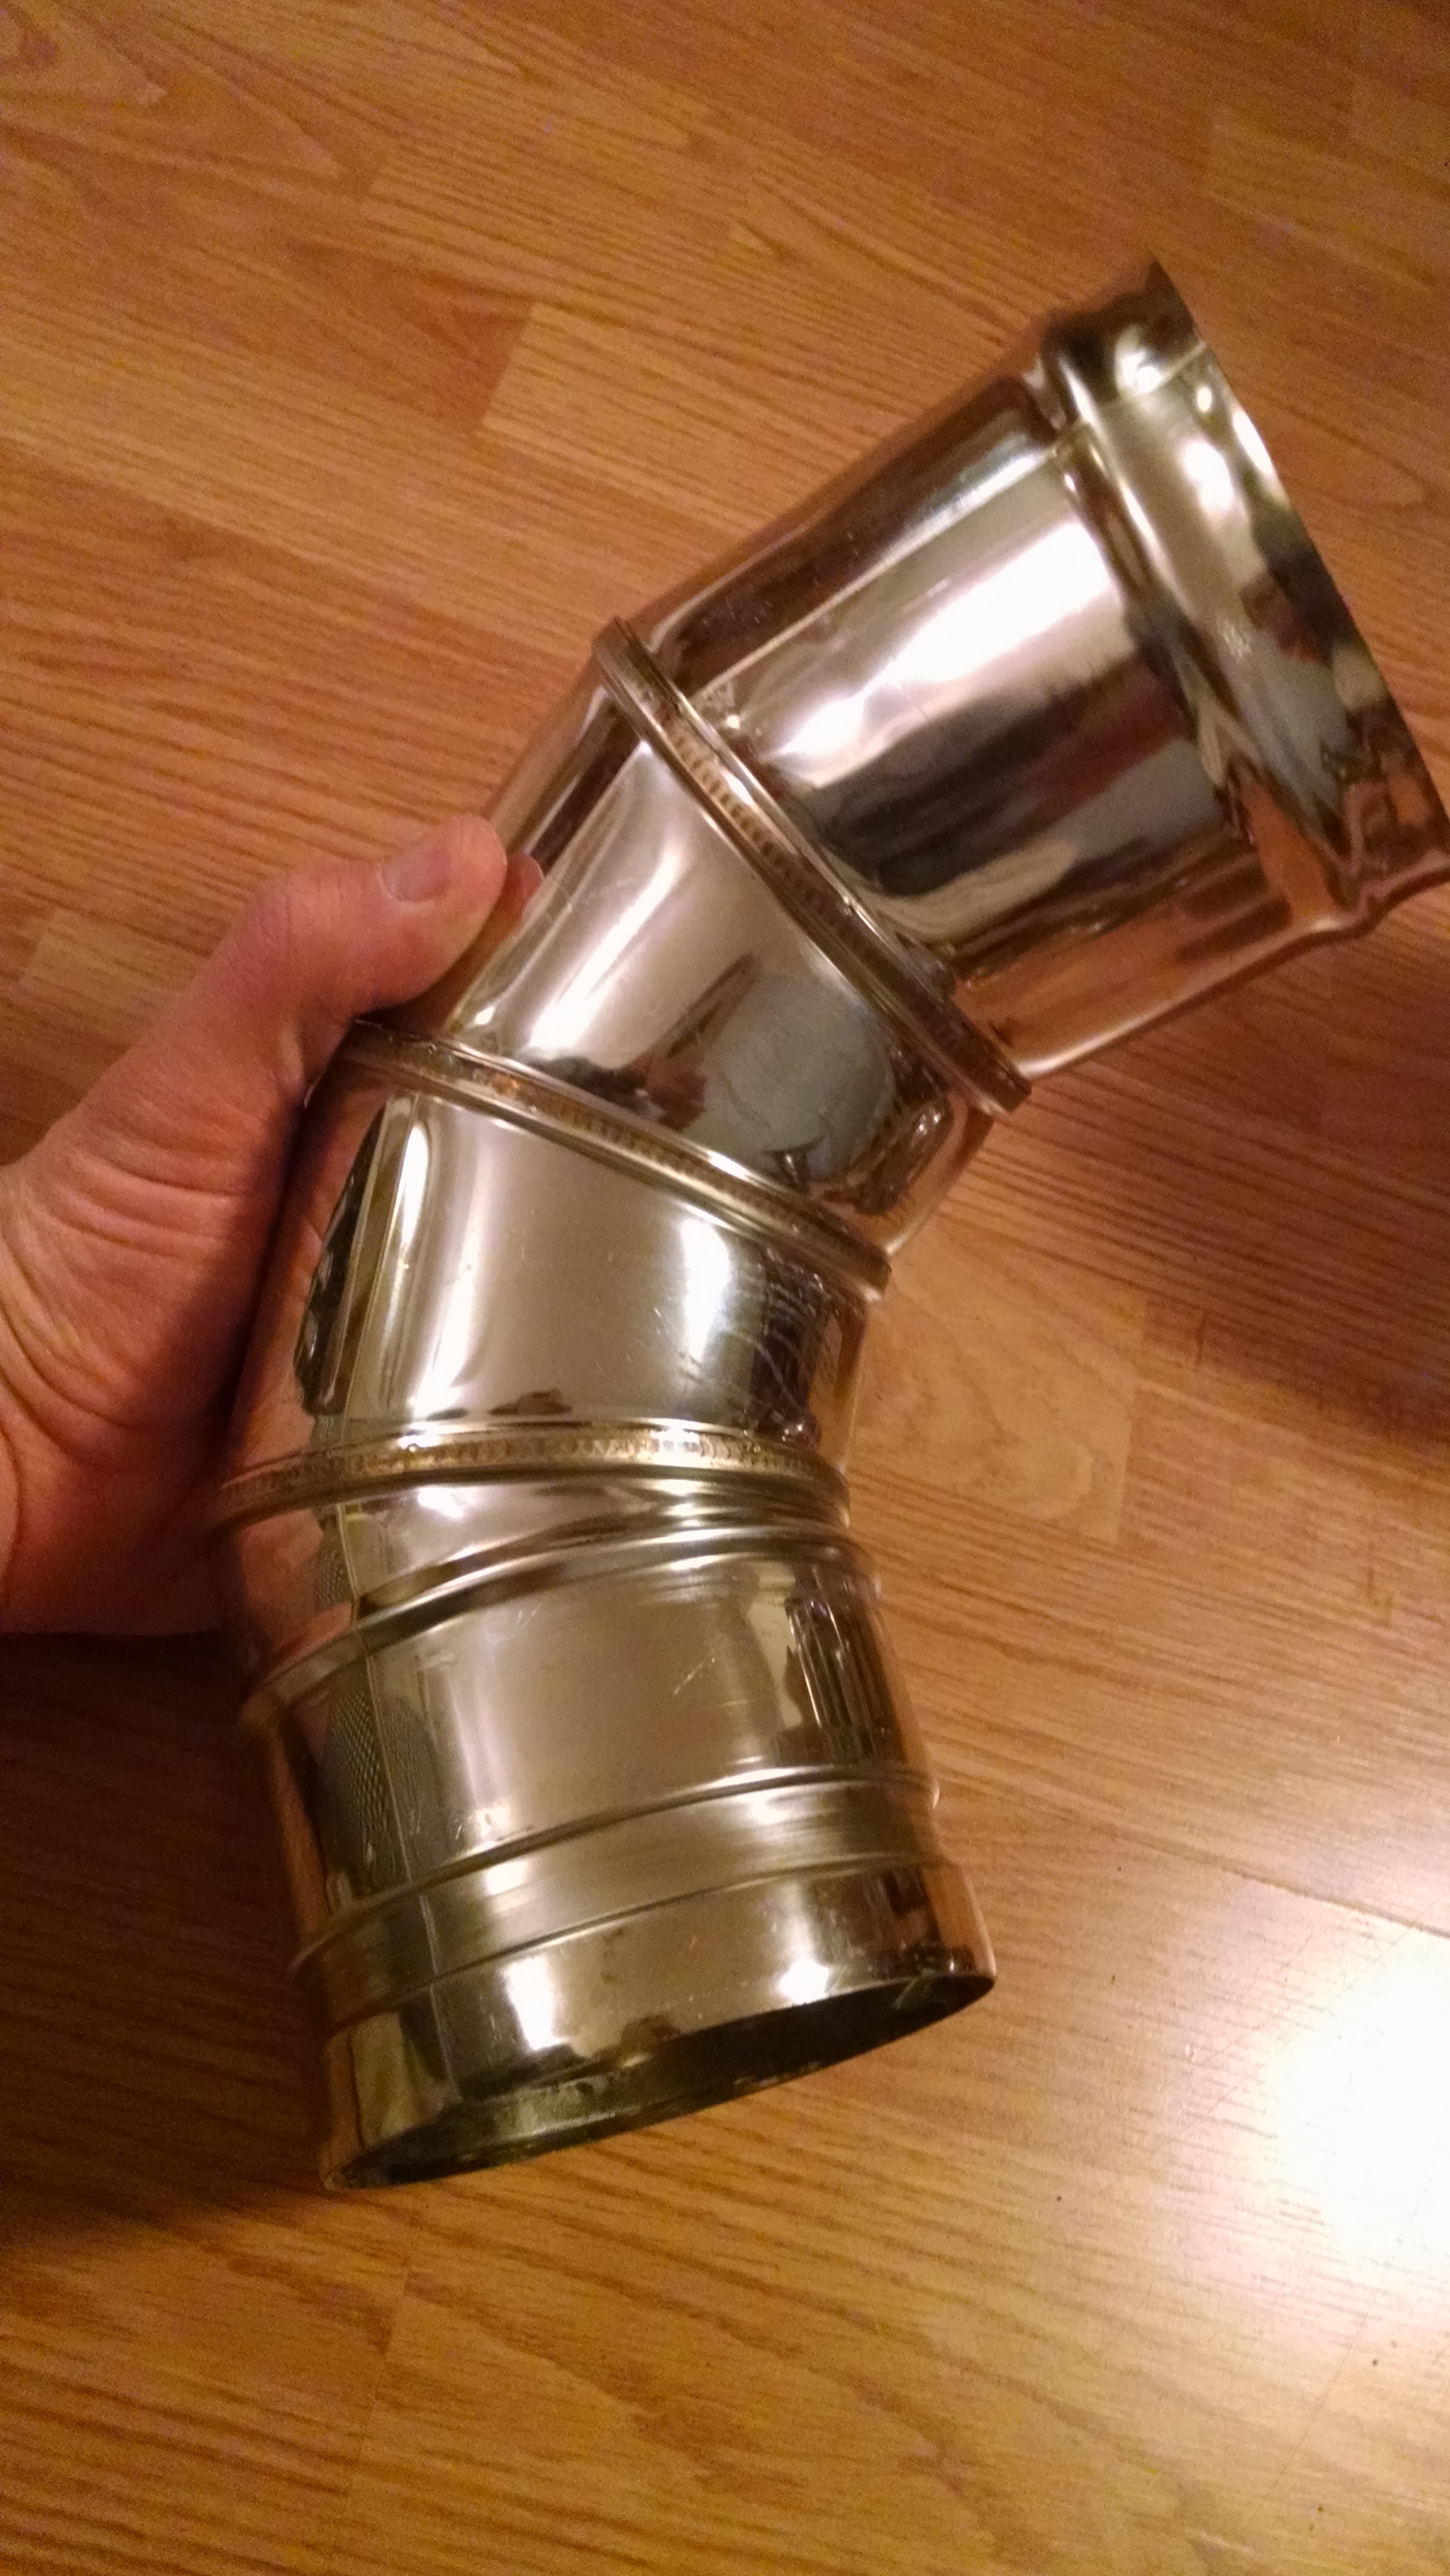
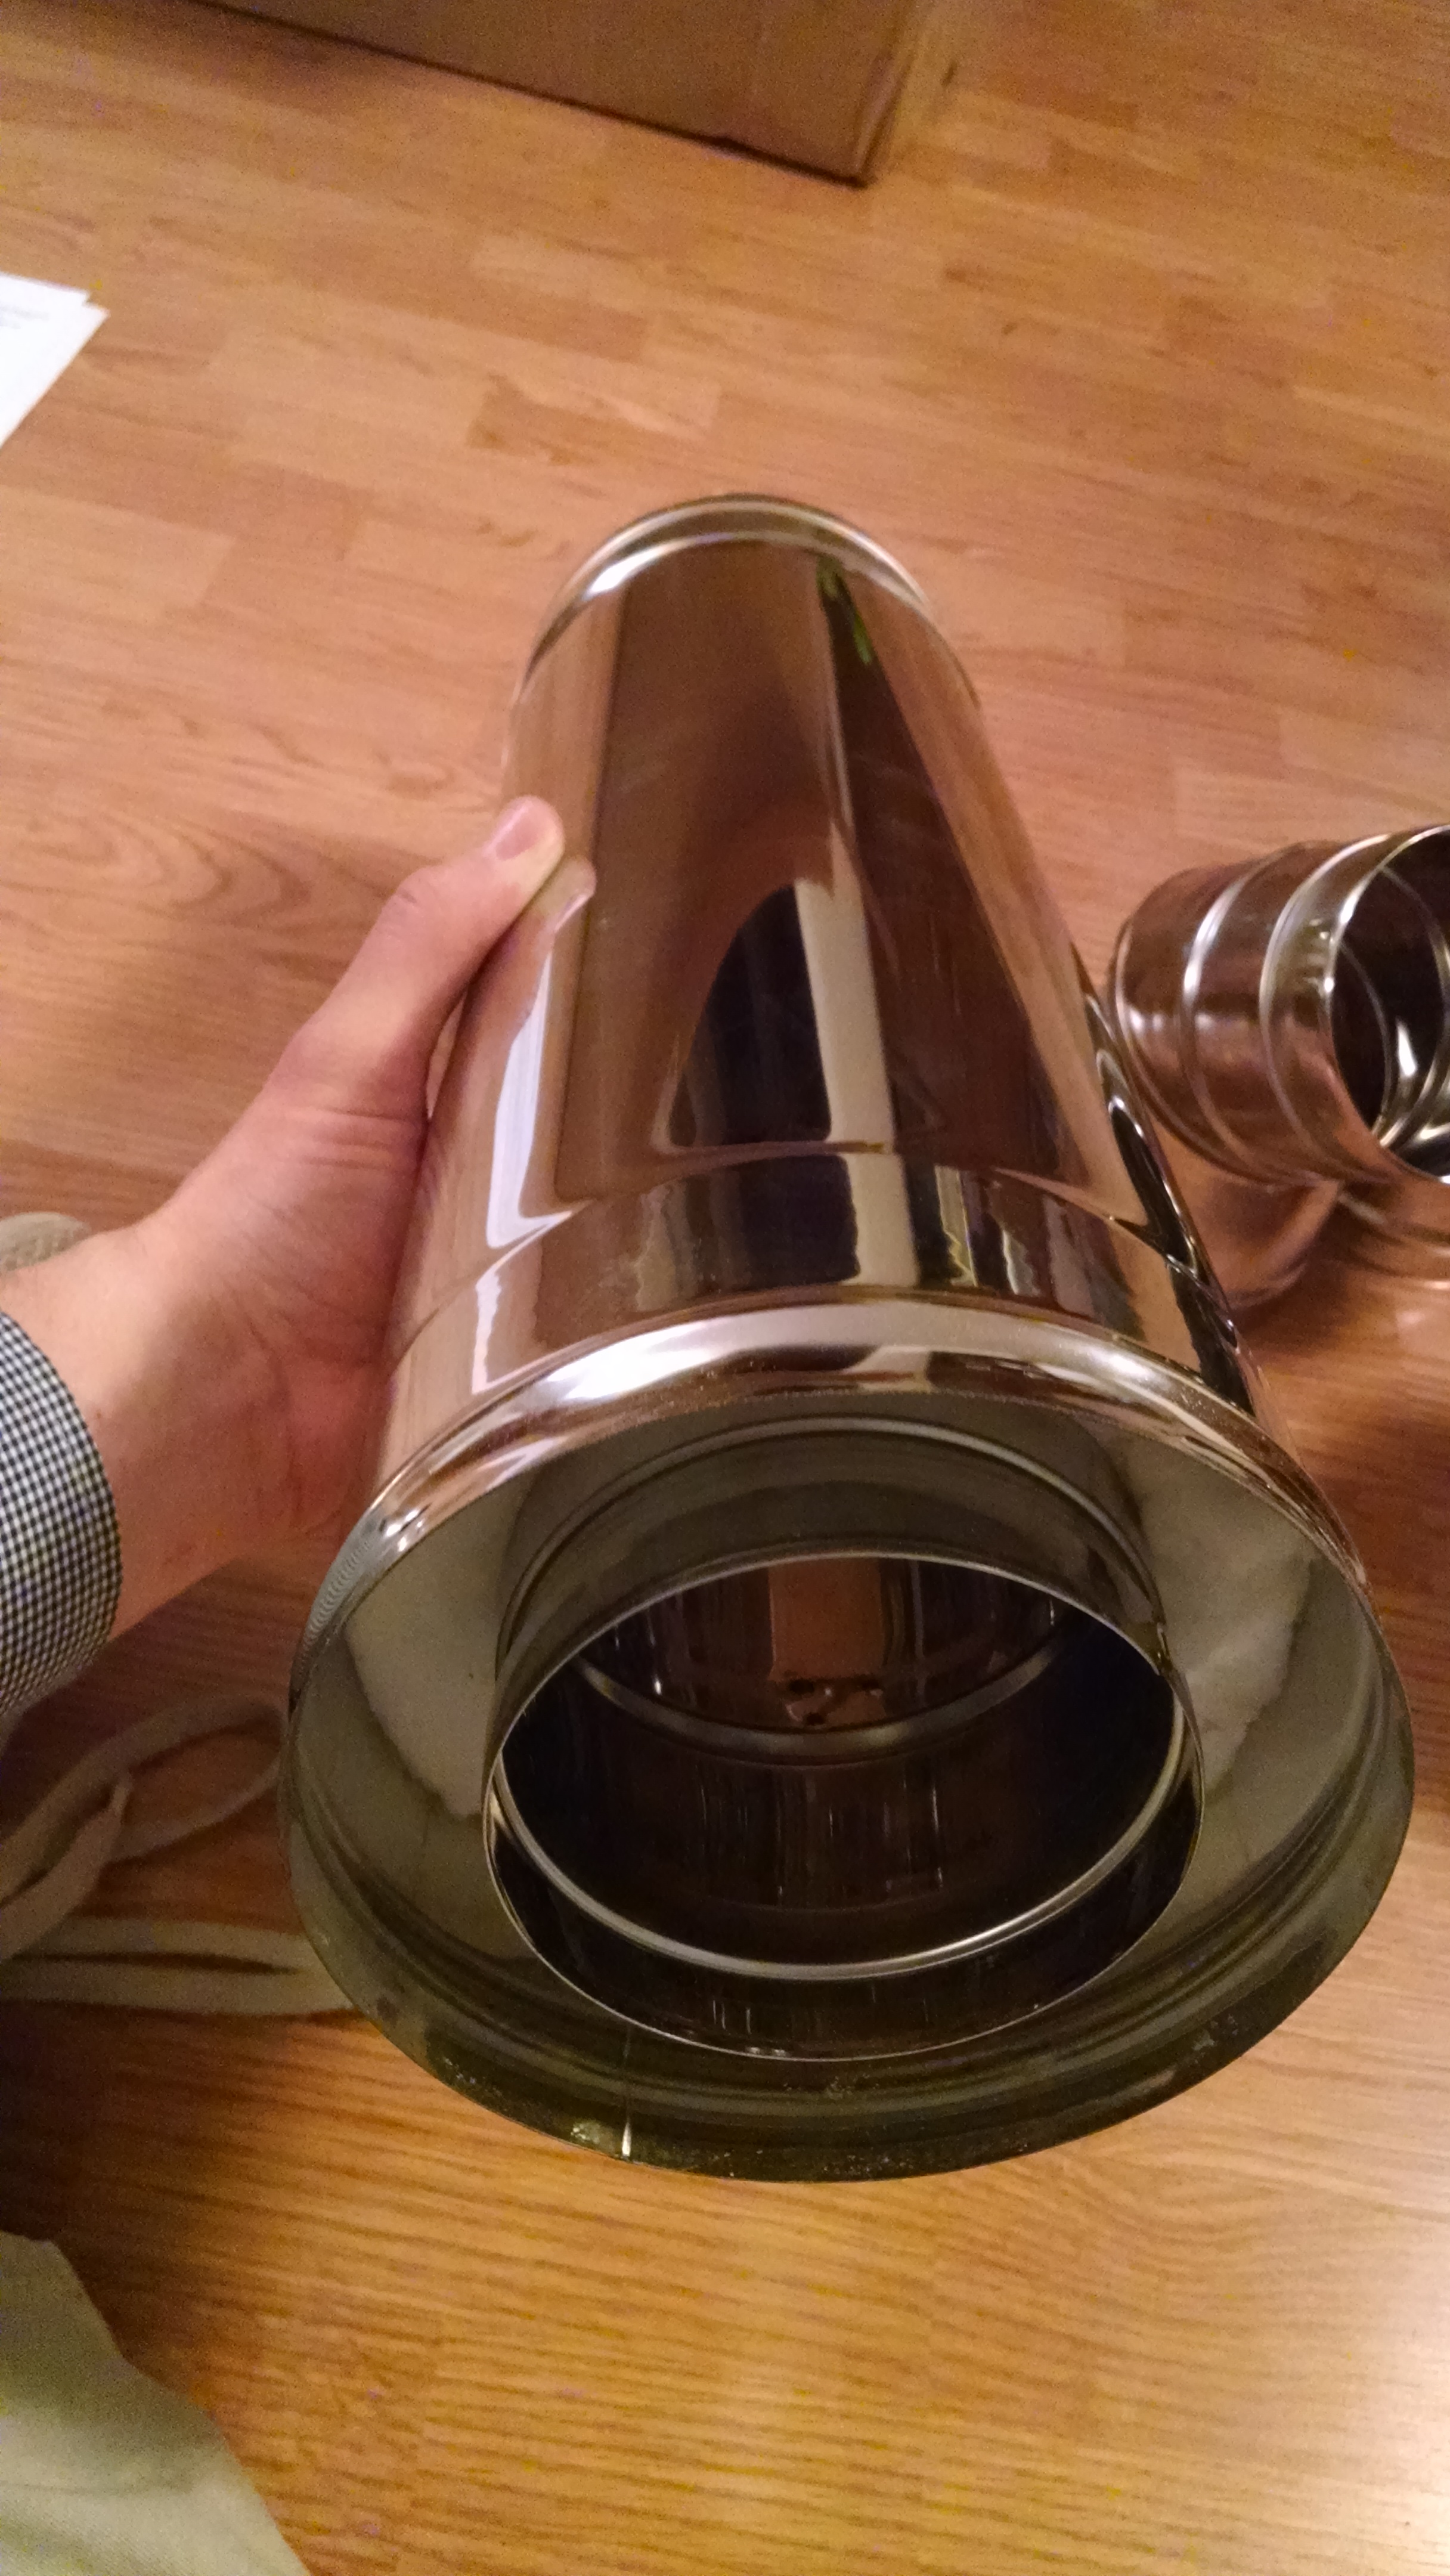
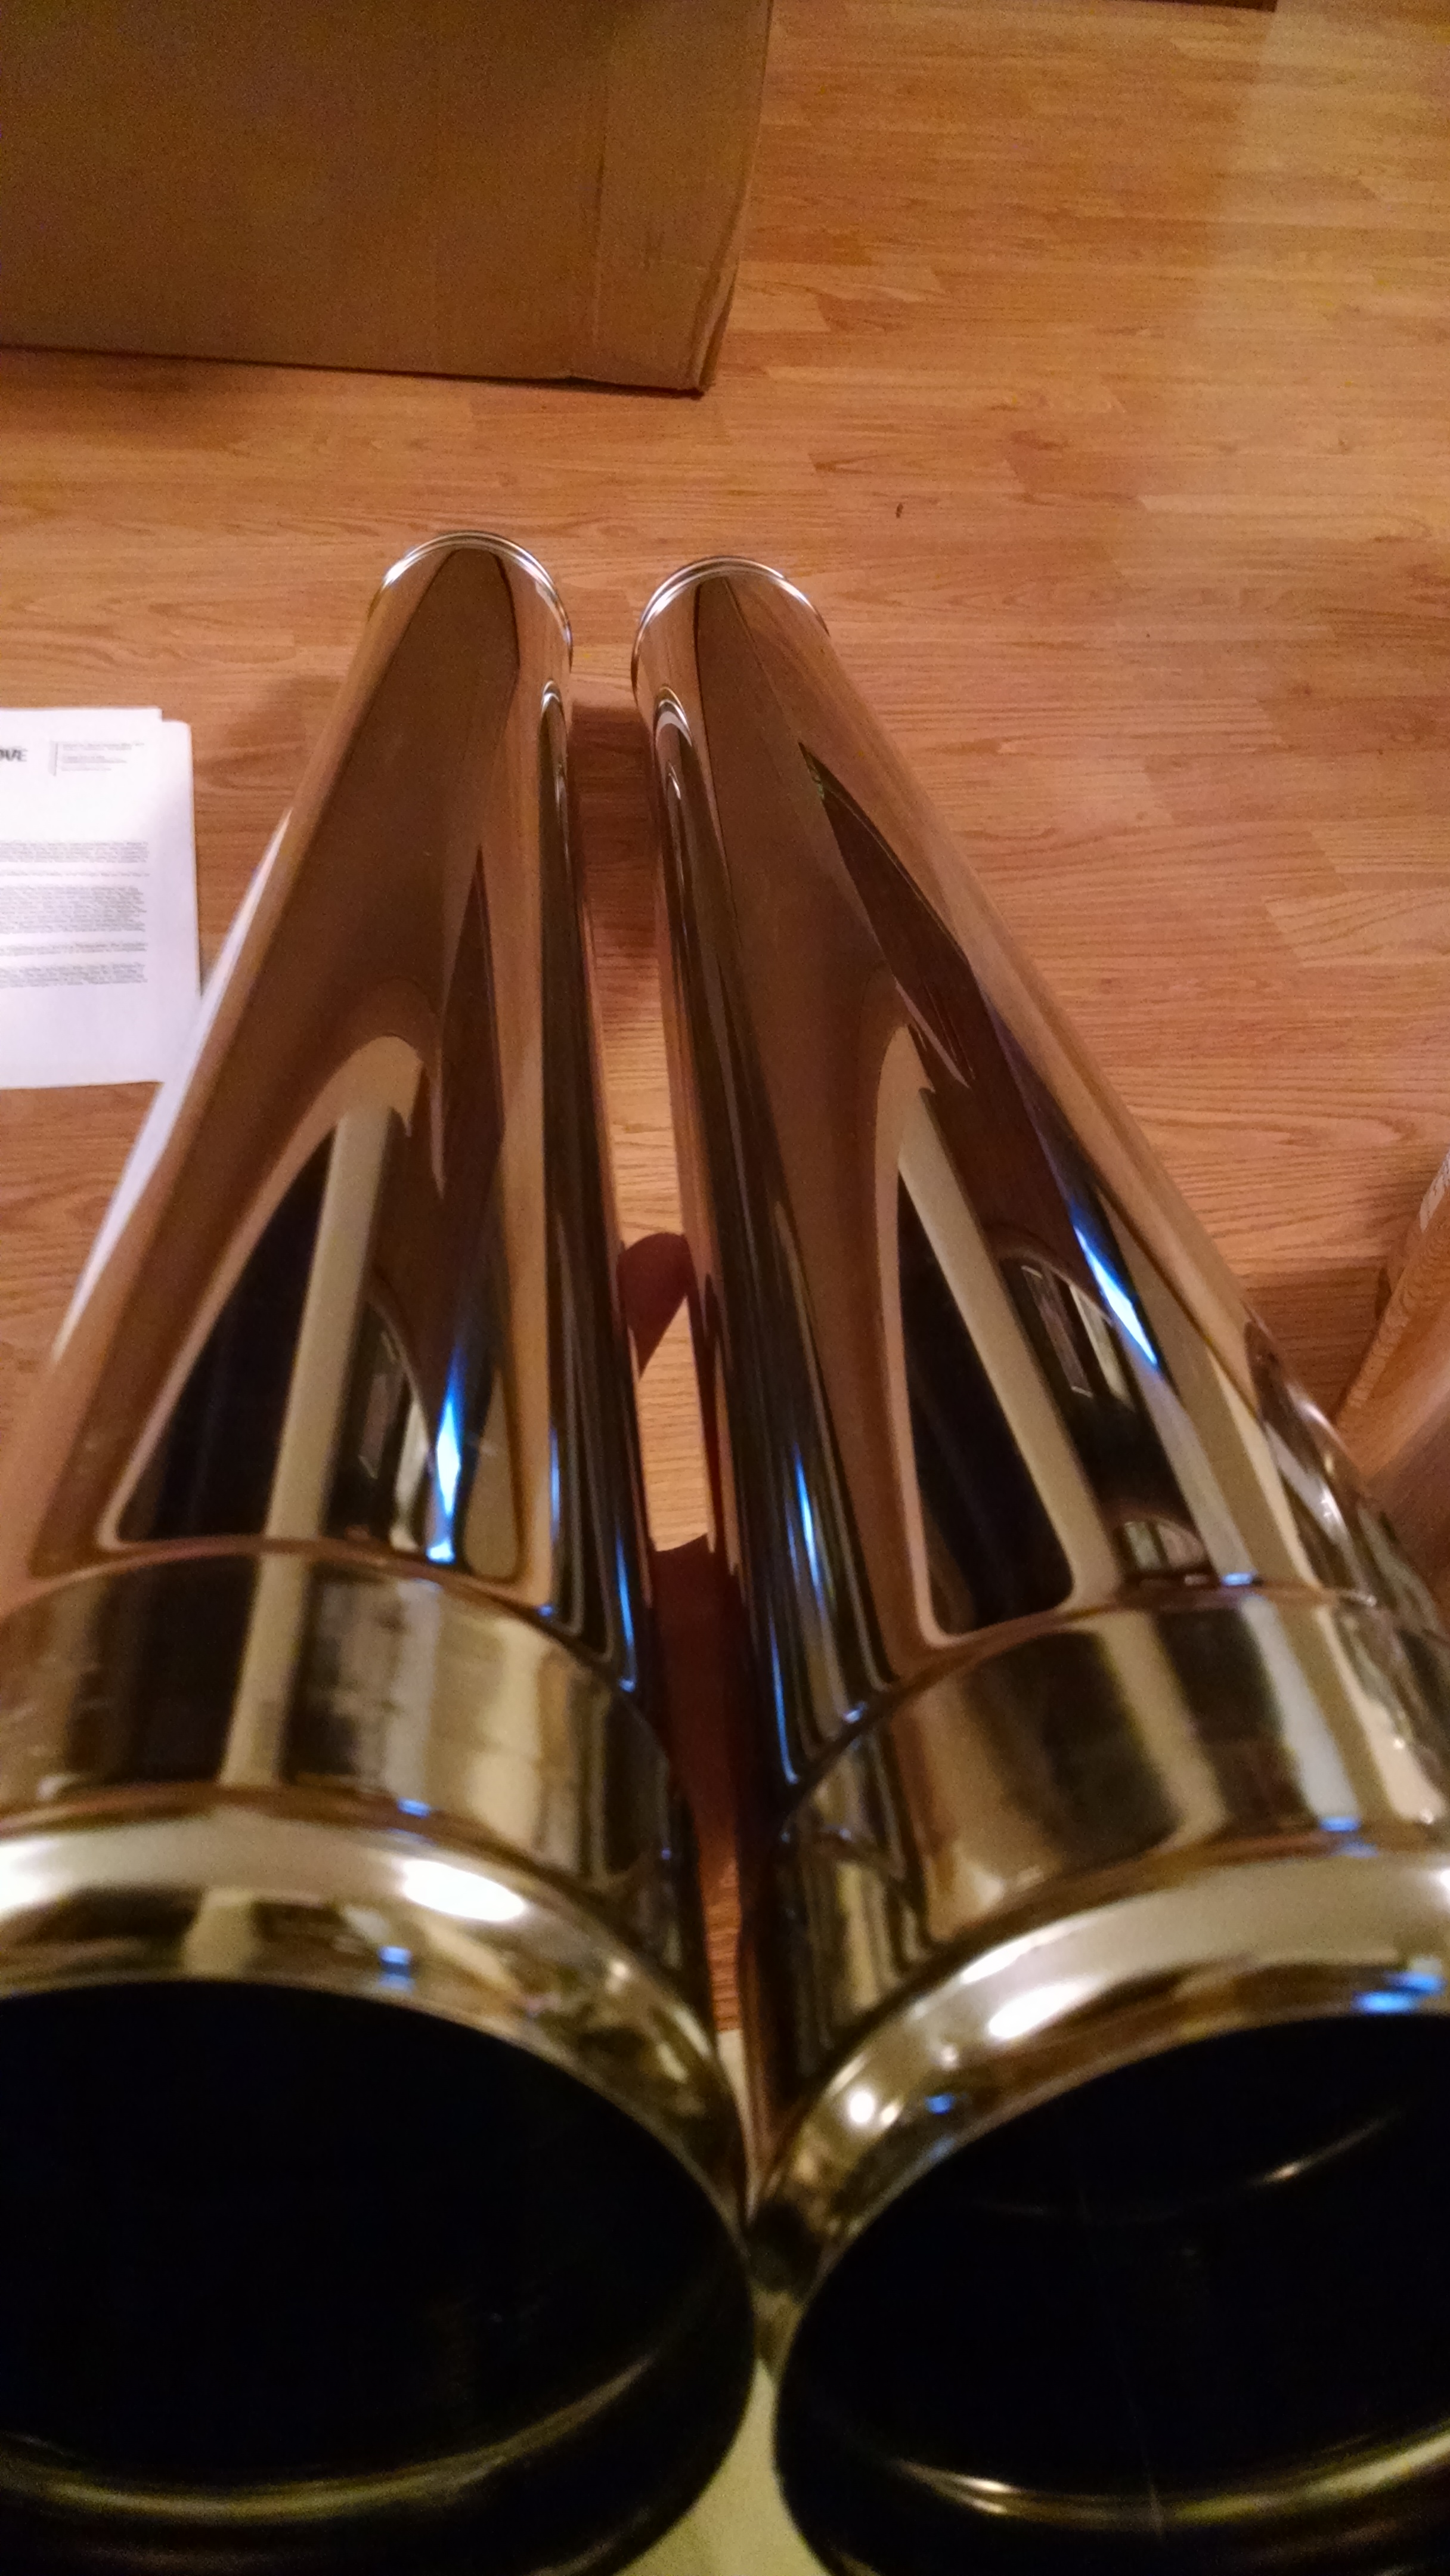
This post contains affiliate links. If need to purchase something from this article, it would be nice if you used the direct link from this page so I could earn a small commission for referring you. The current flue kits from tiny wood stove are a little different from the one pictured in this post. You can find the current version of the 4" RV Flue Kit here.
As you may recall, I've been waiting on a rear exit tee to come in. Nick had a few hiccups on his first order, which is something I expected when I pre-ordered parts while his company was still brand new. He's been responsive throughout the process. The tee won't make it here in time for the honeymoon, so I went ahead and installed the flue as-is, and I'll swap it around when my parts come in.
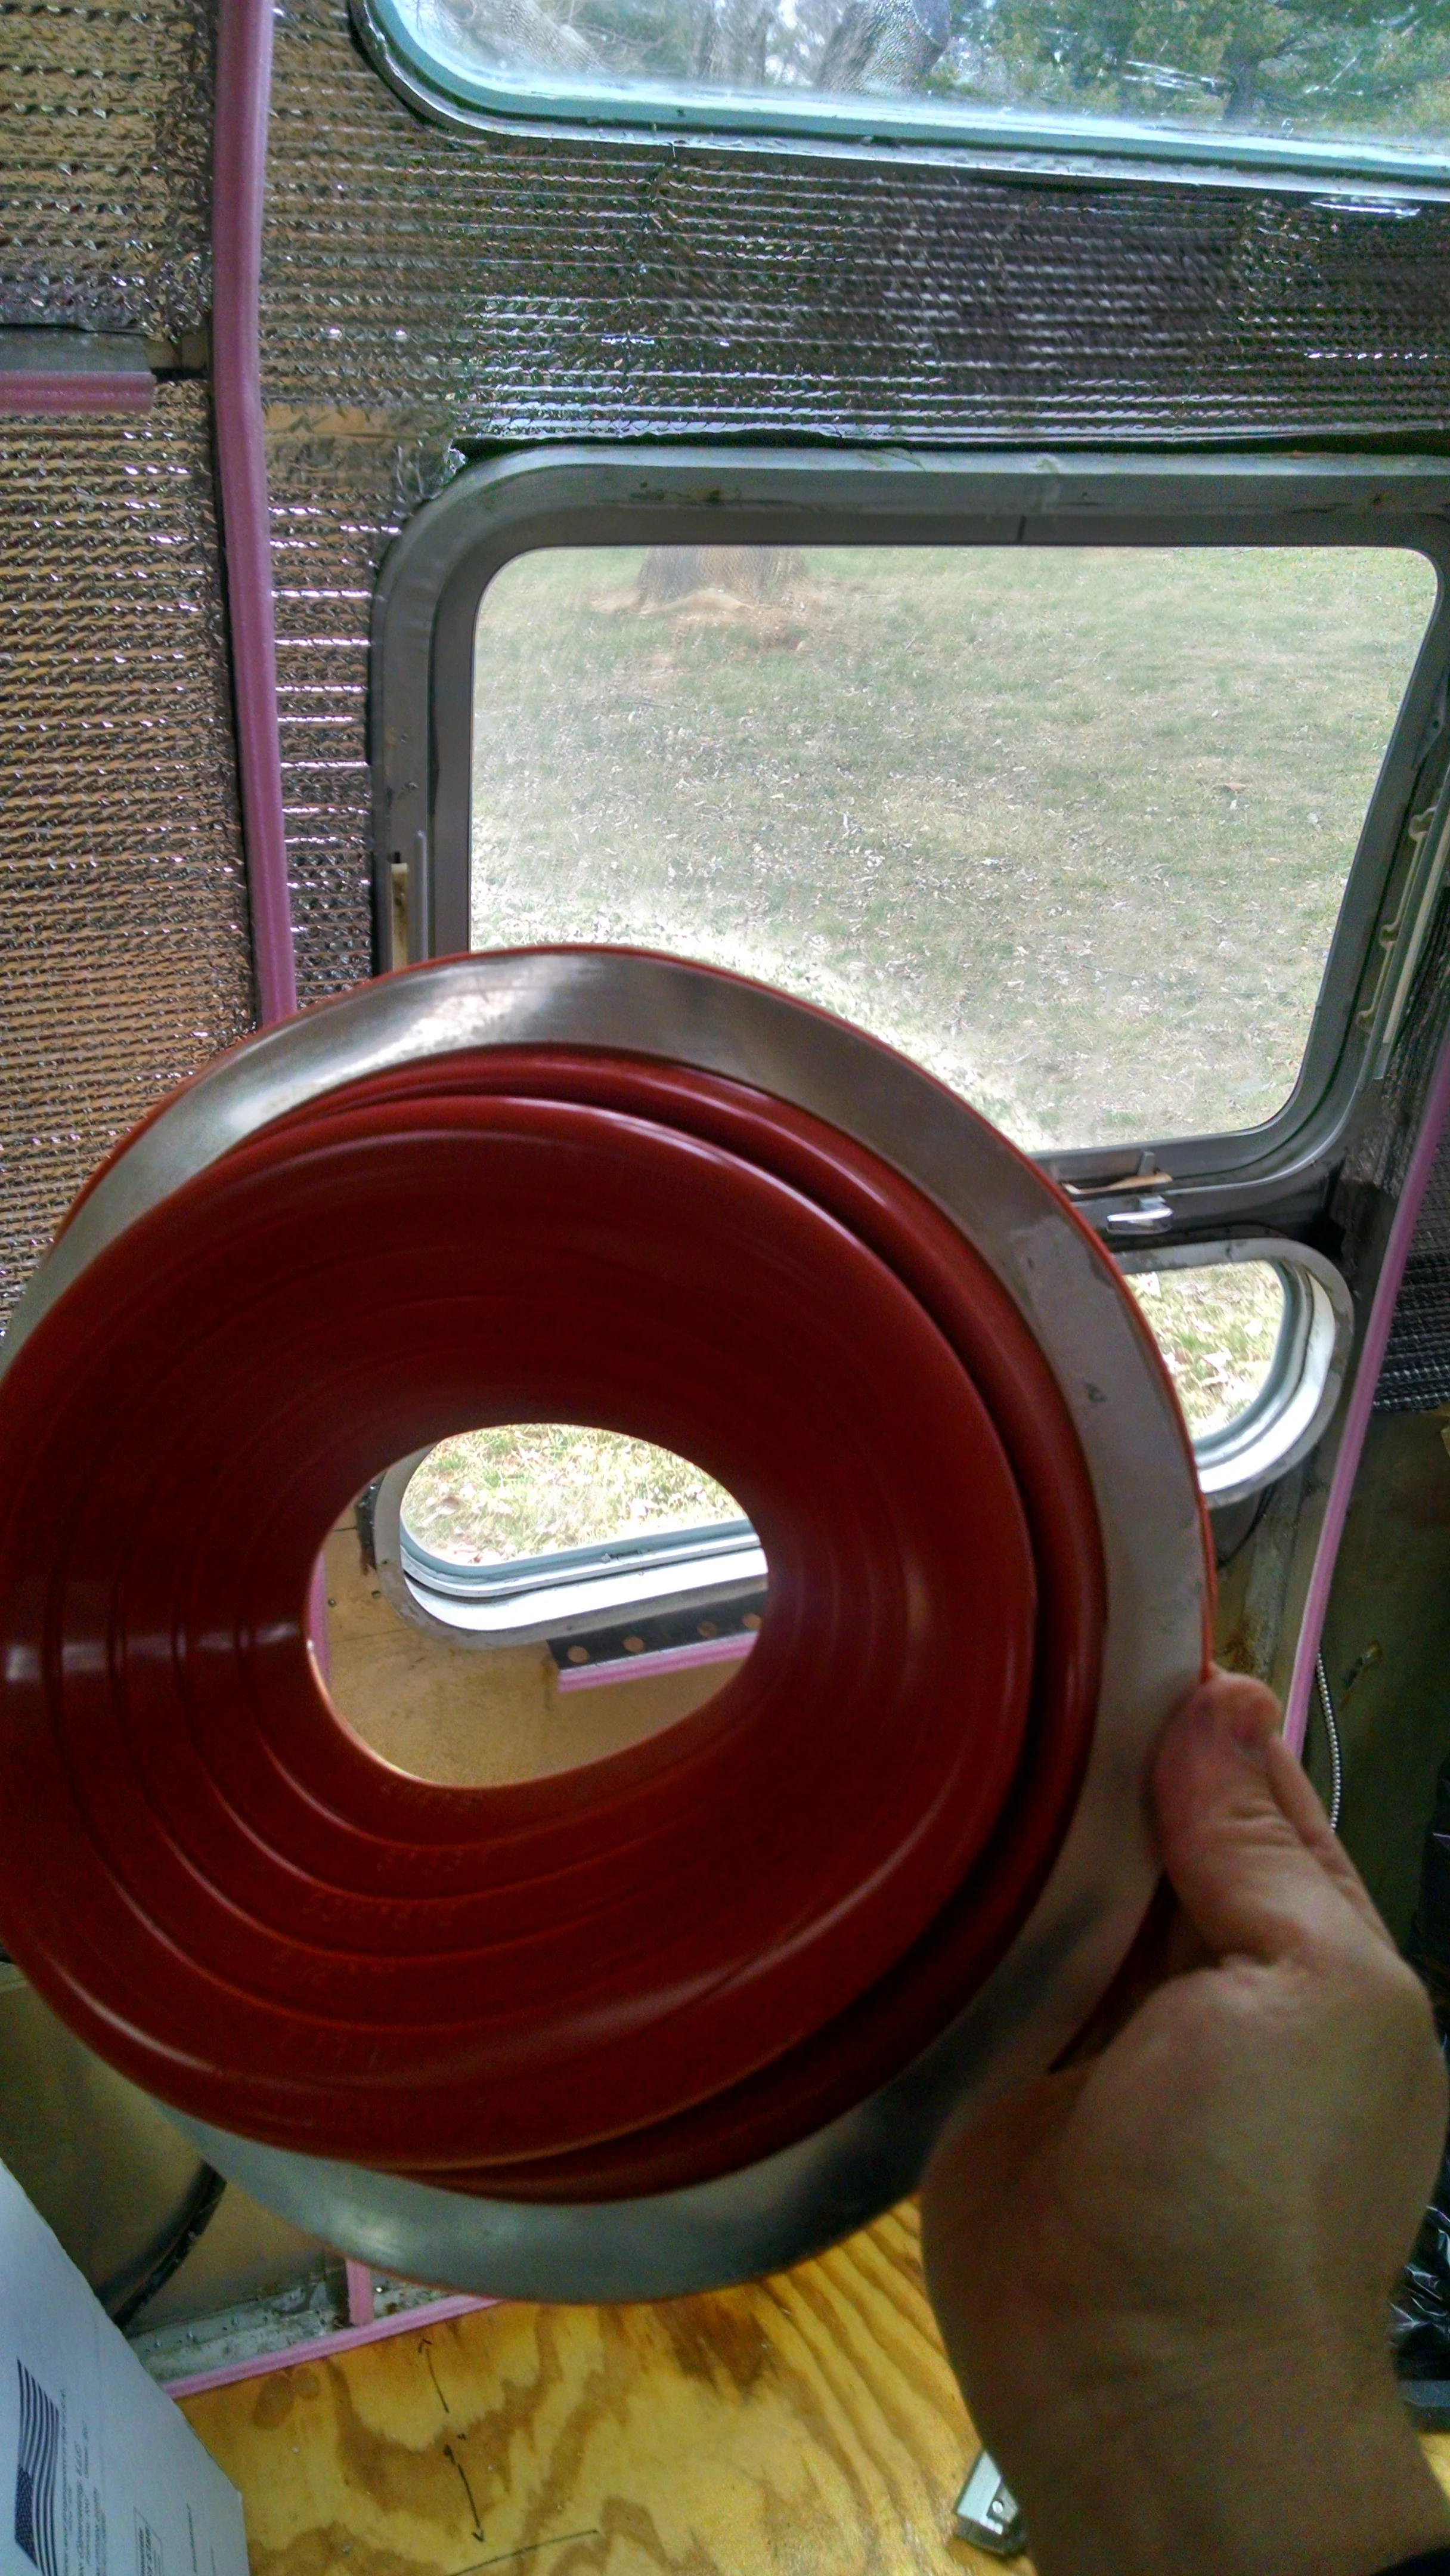
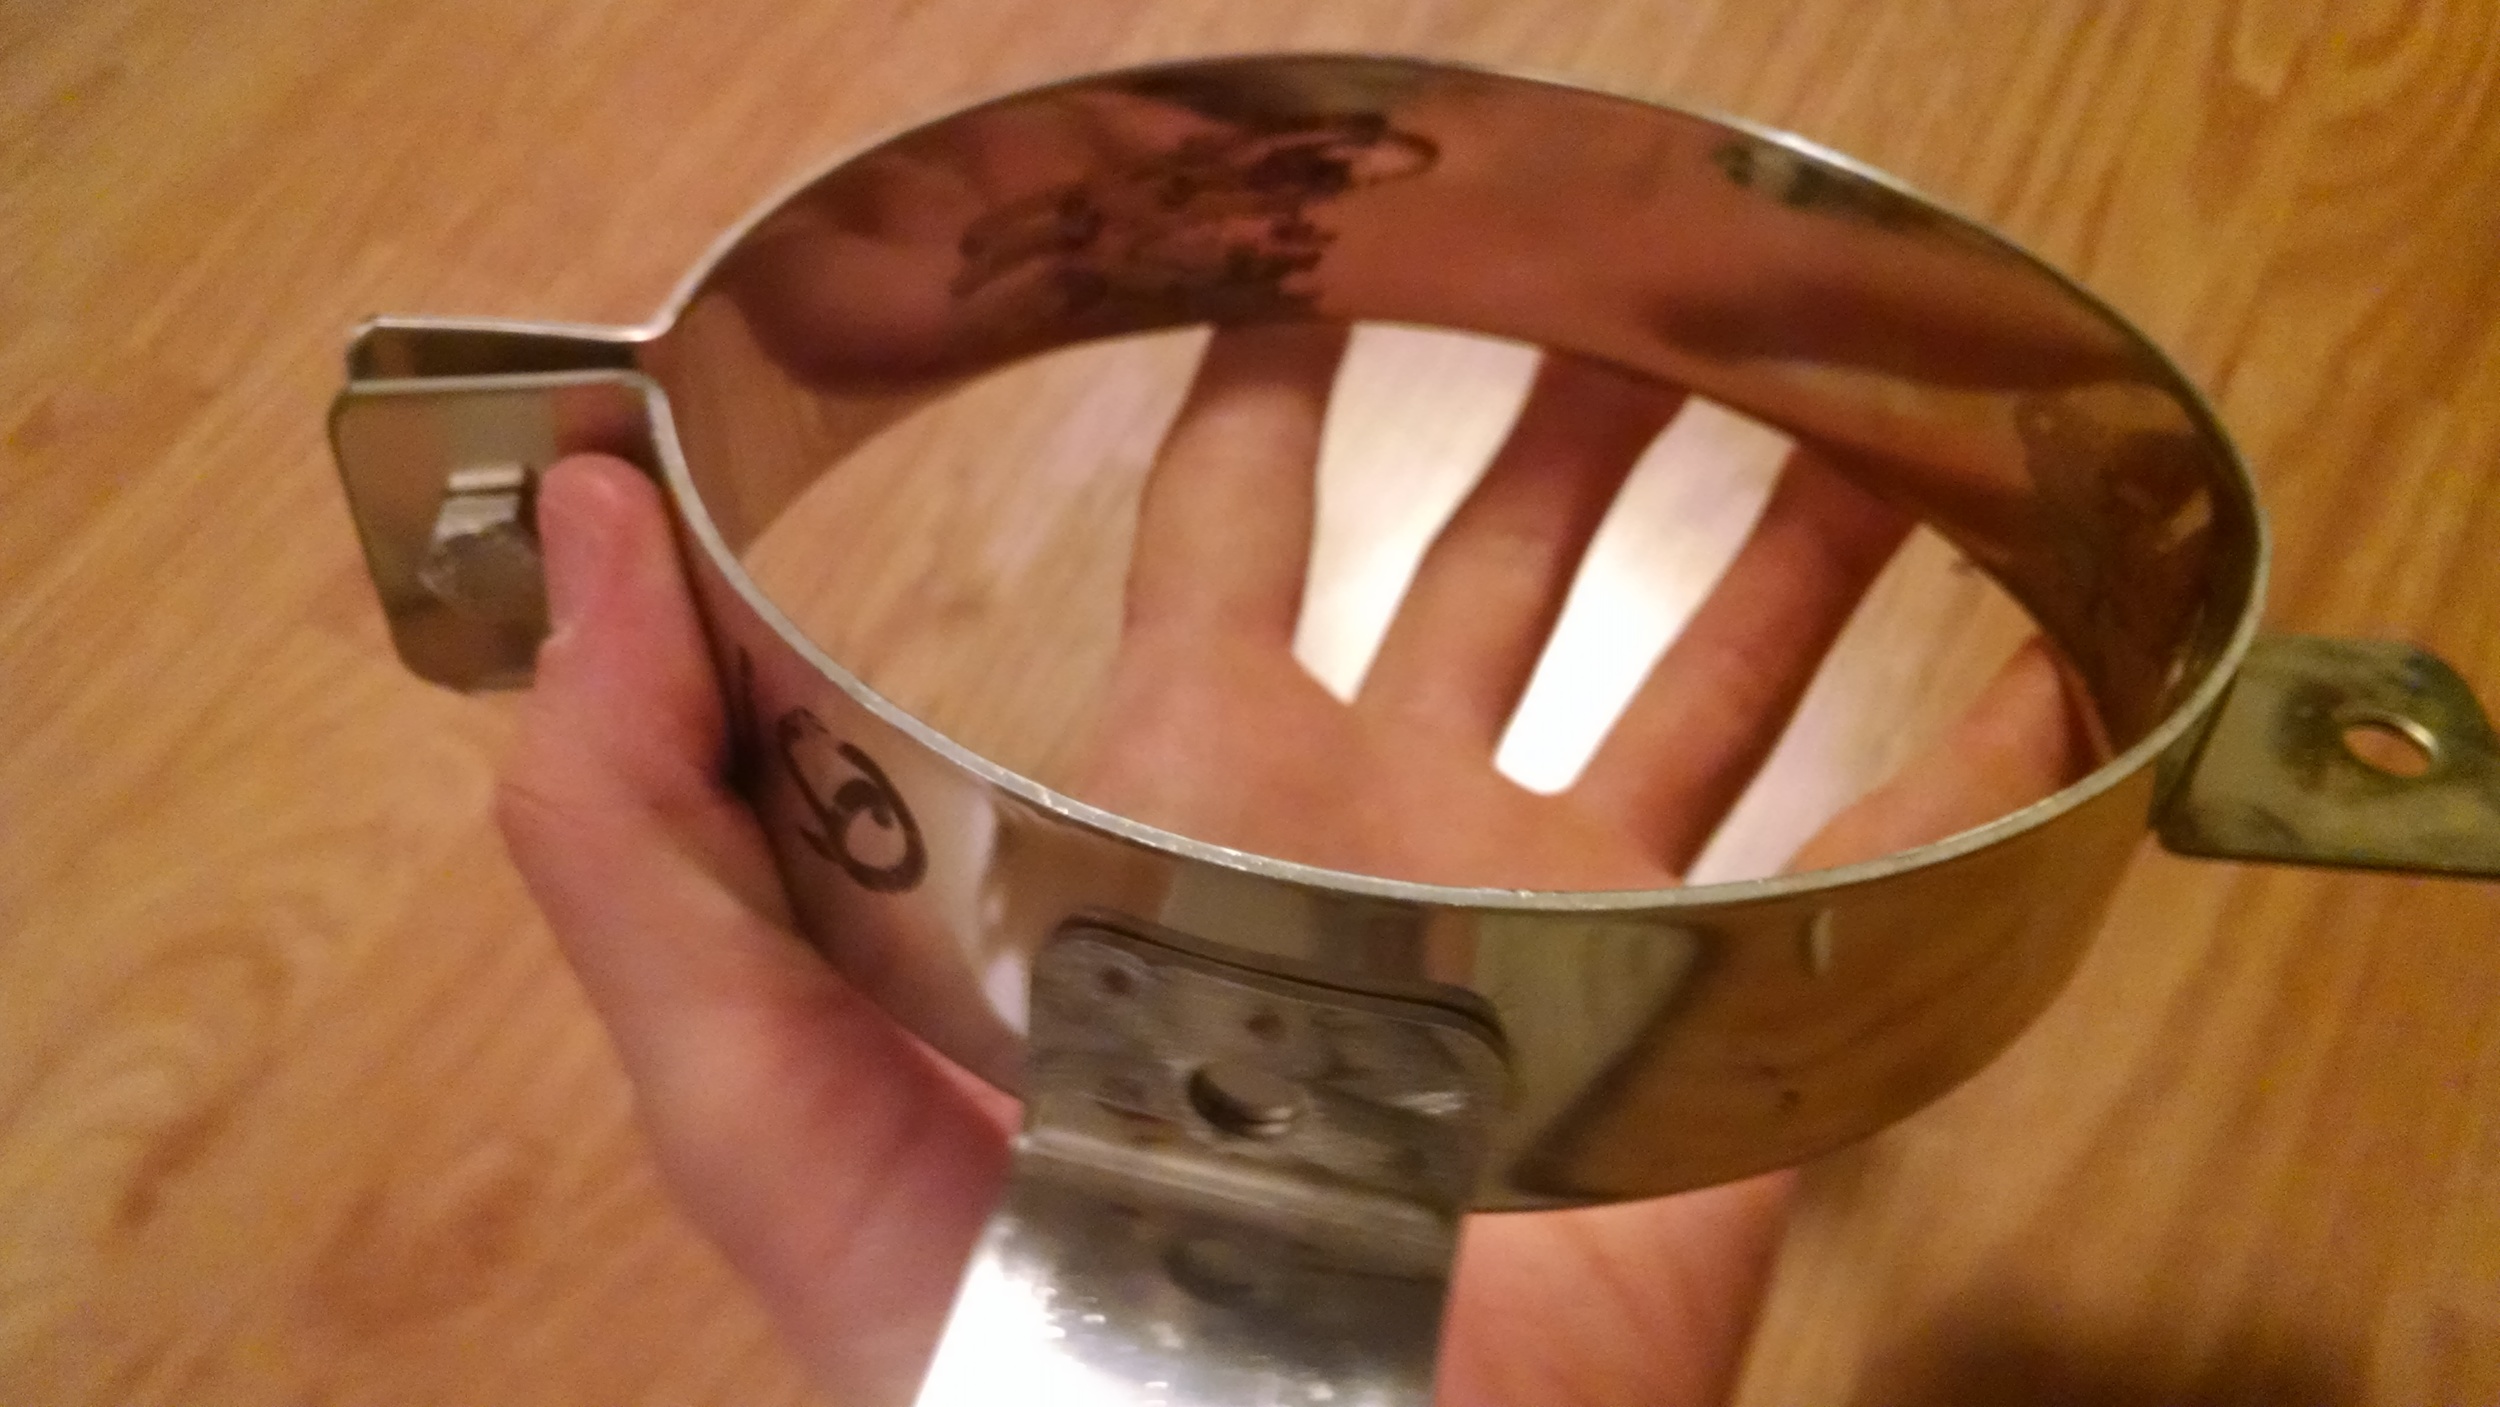
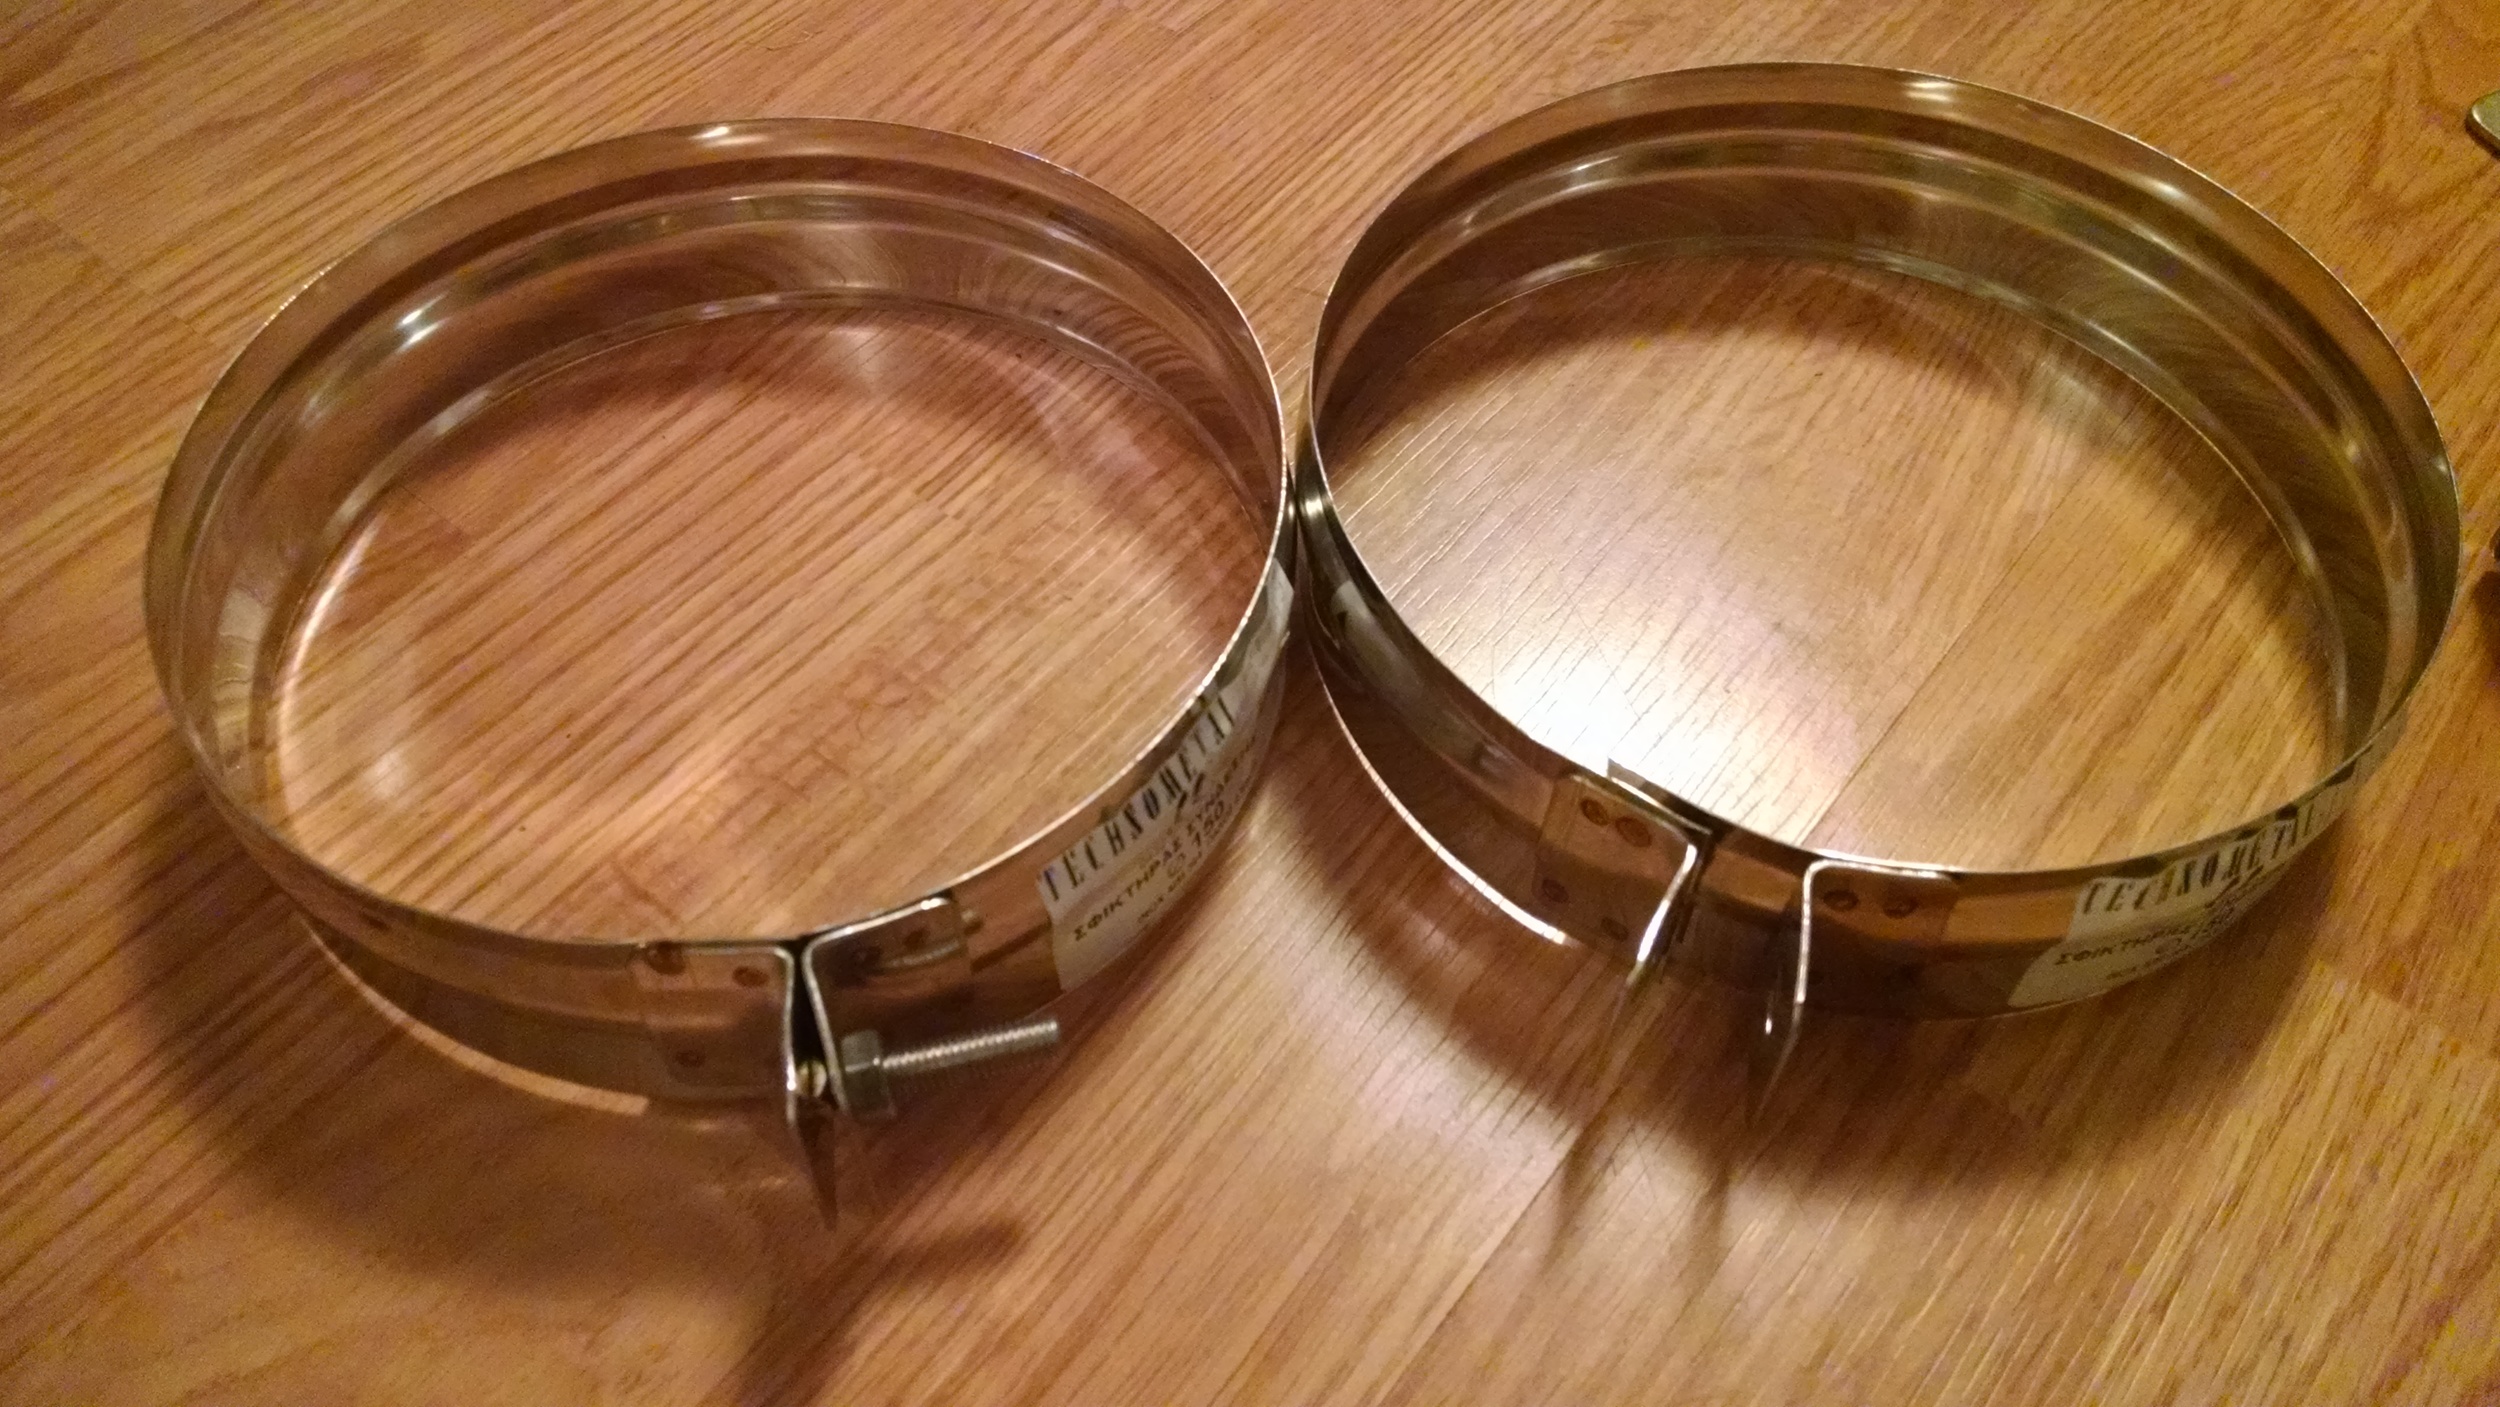
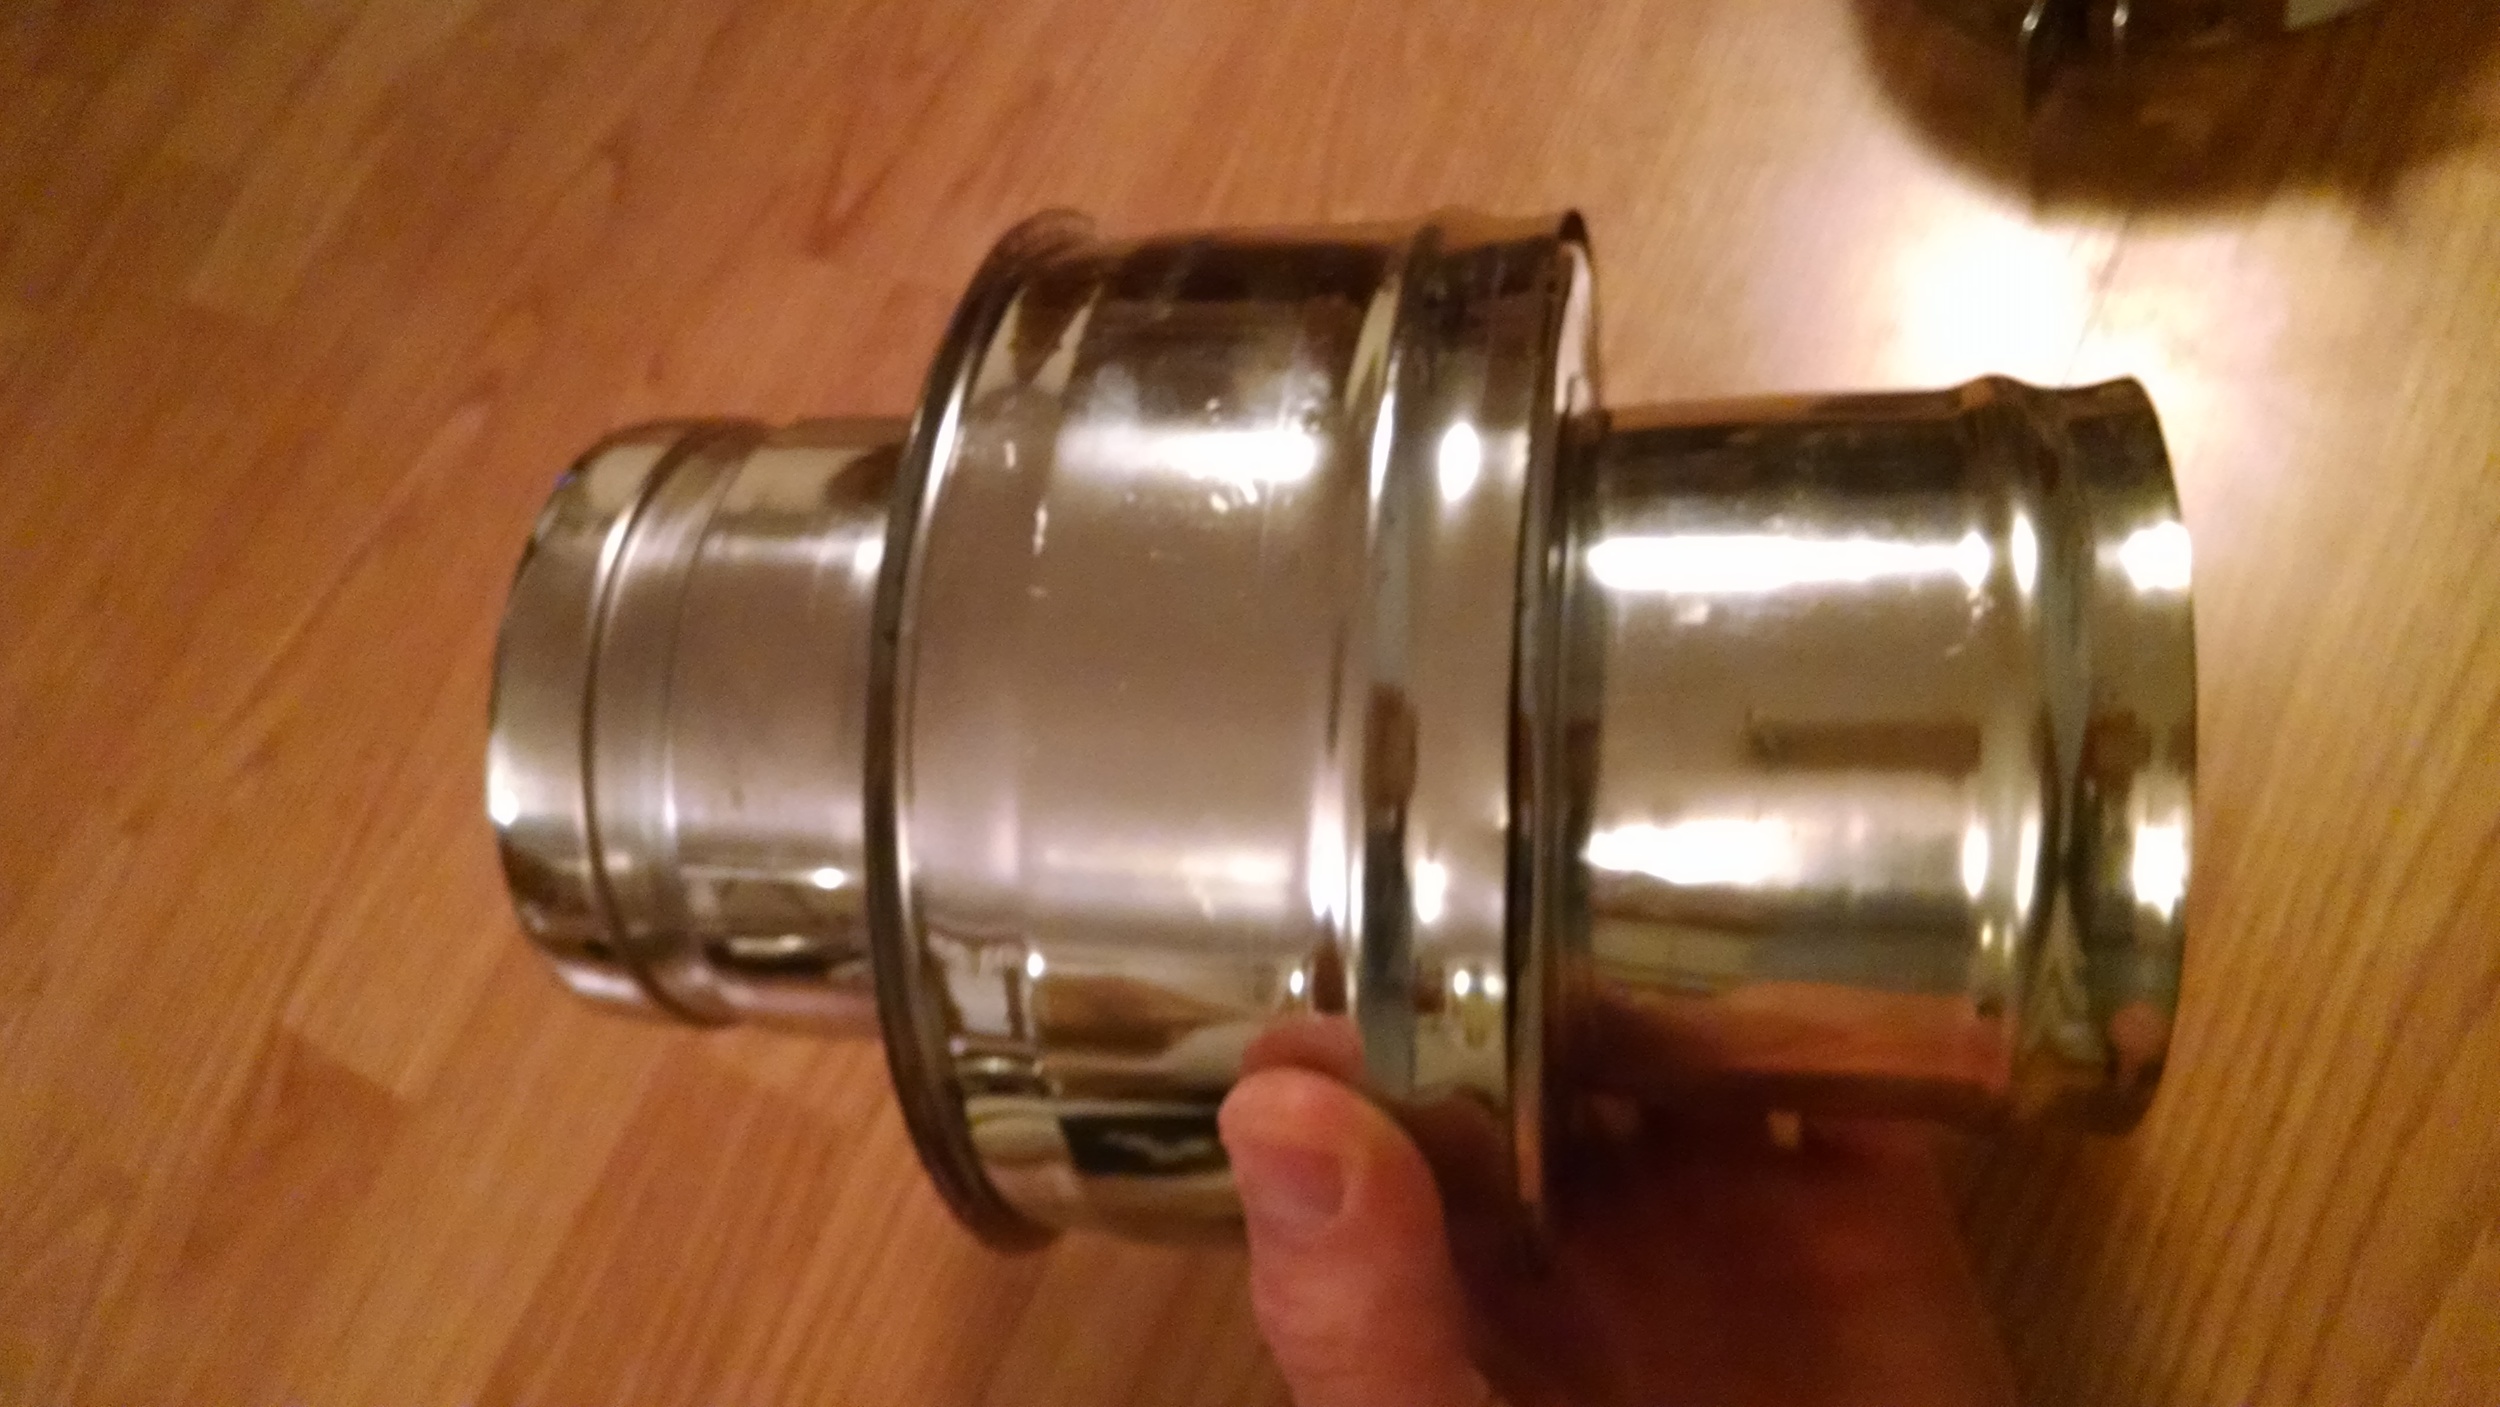
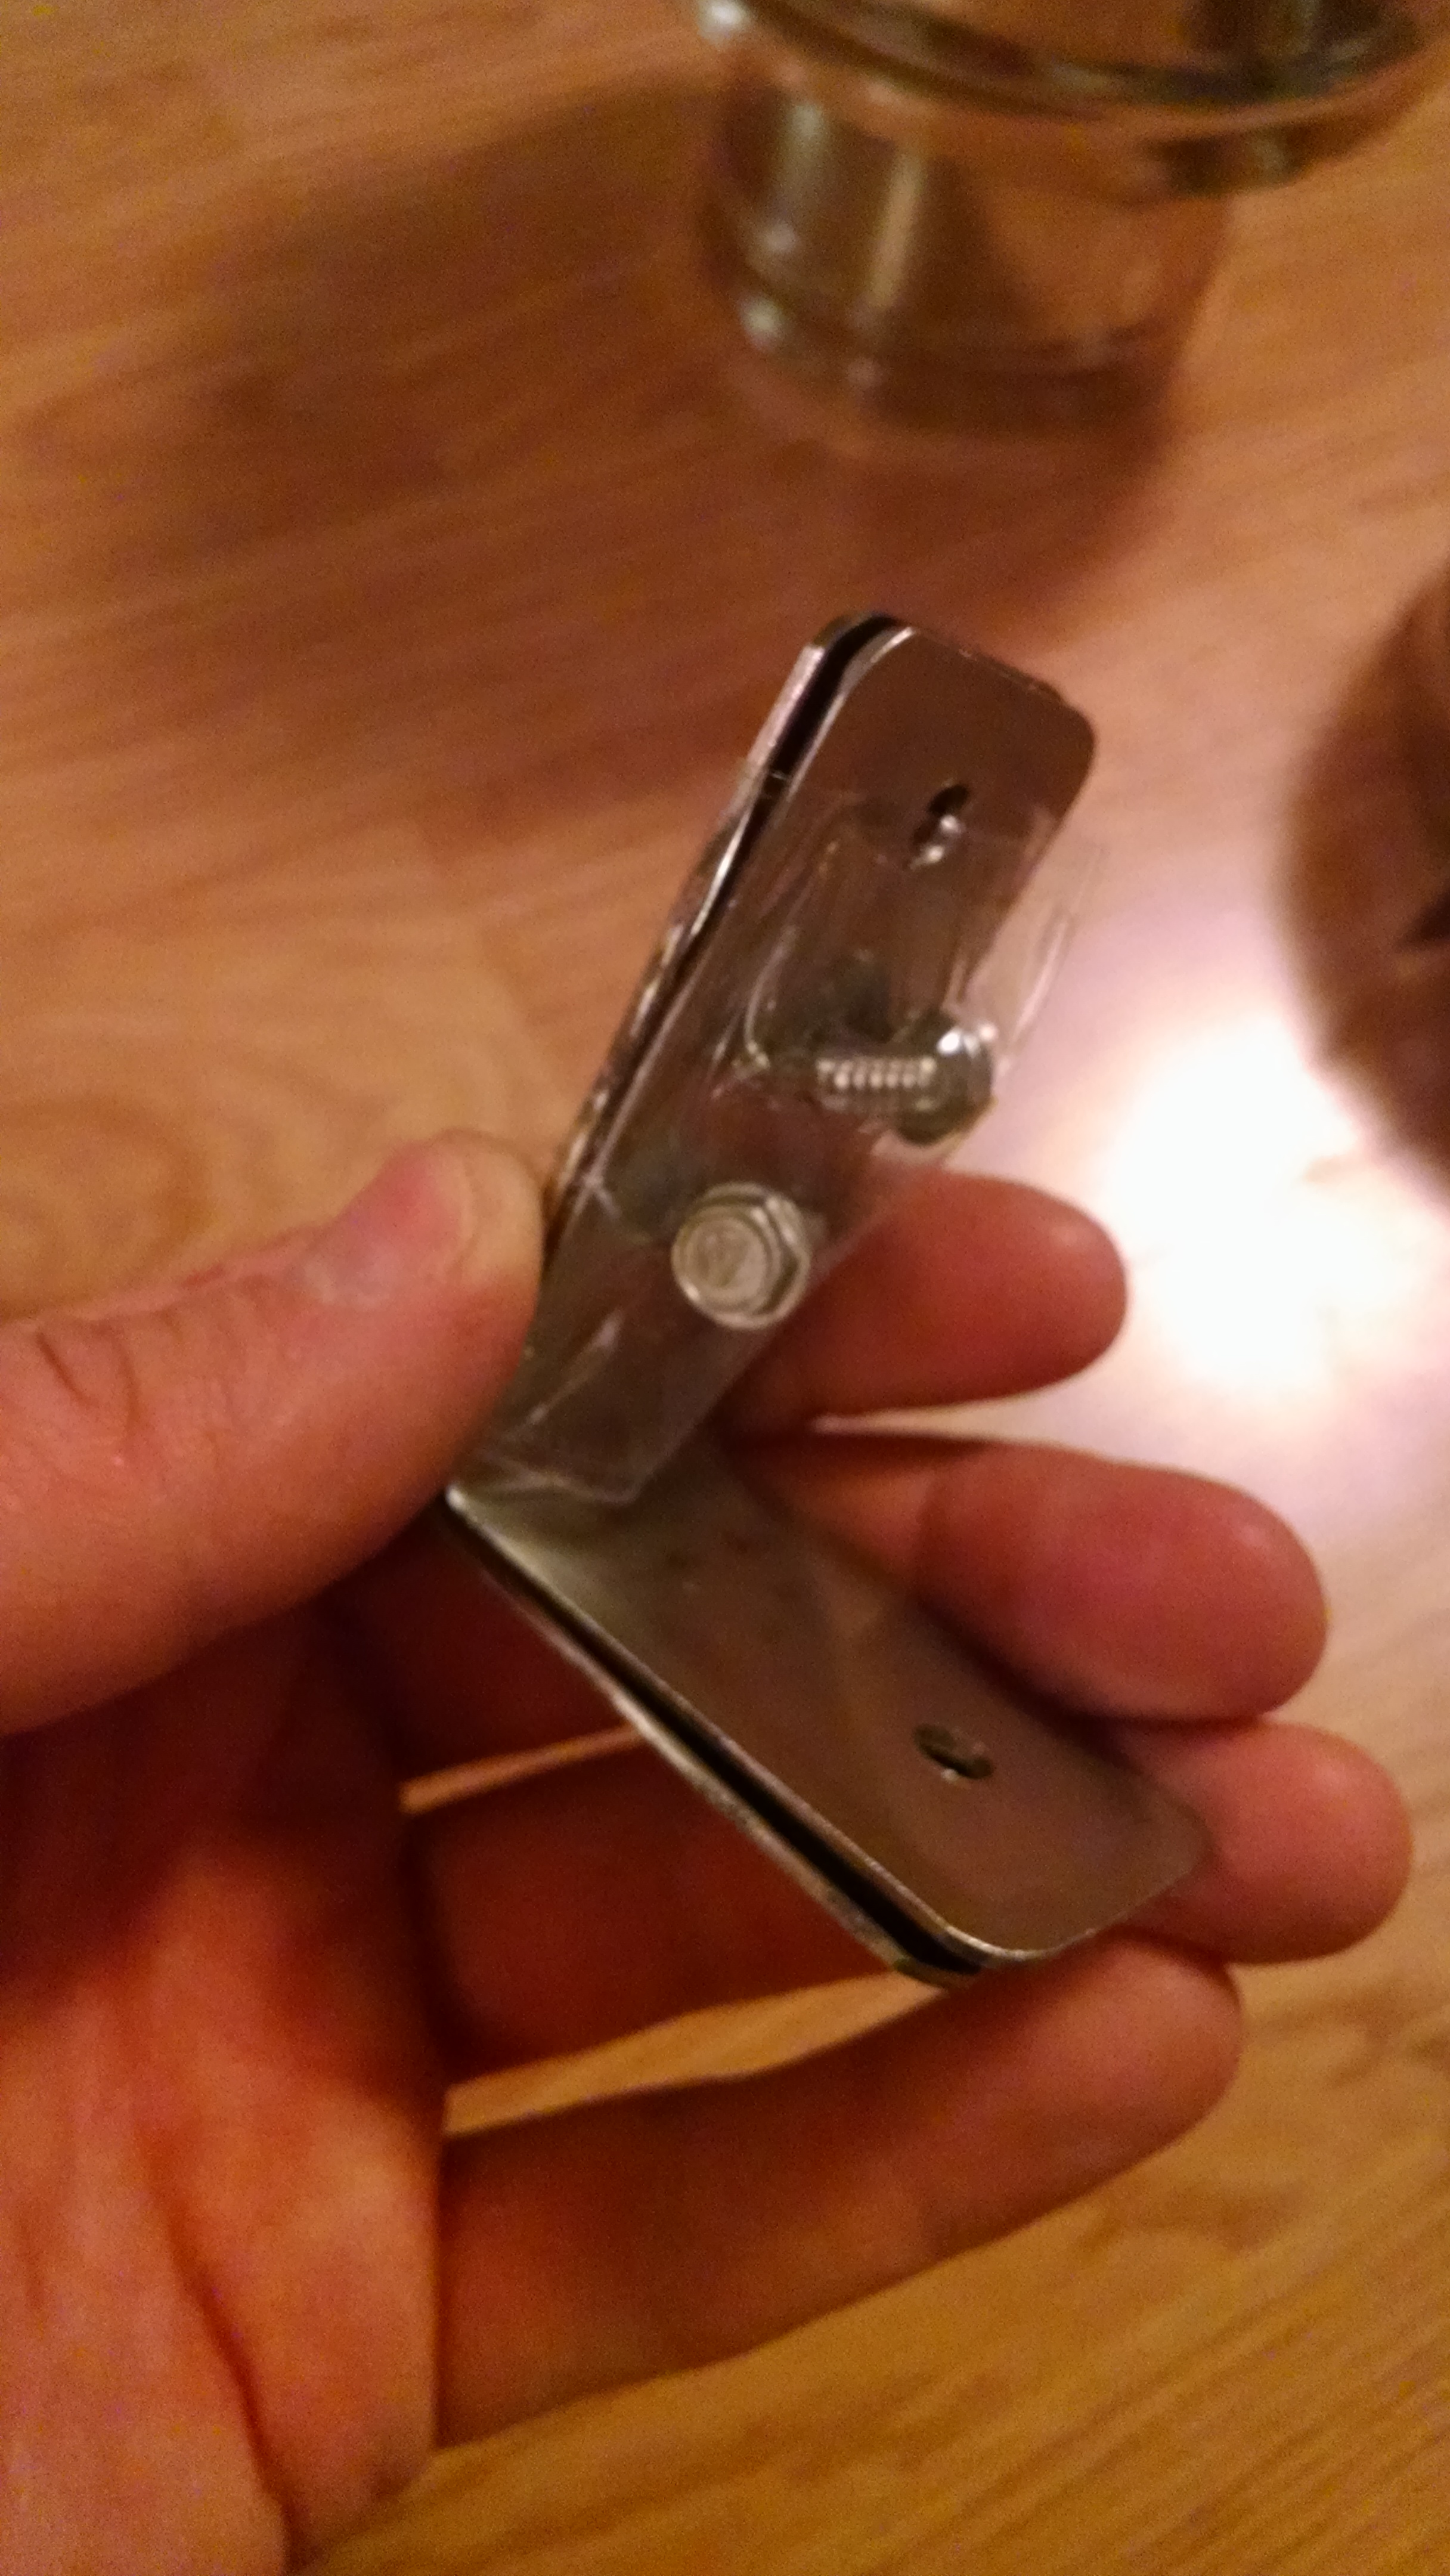
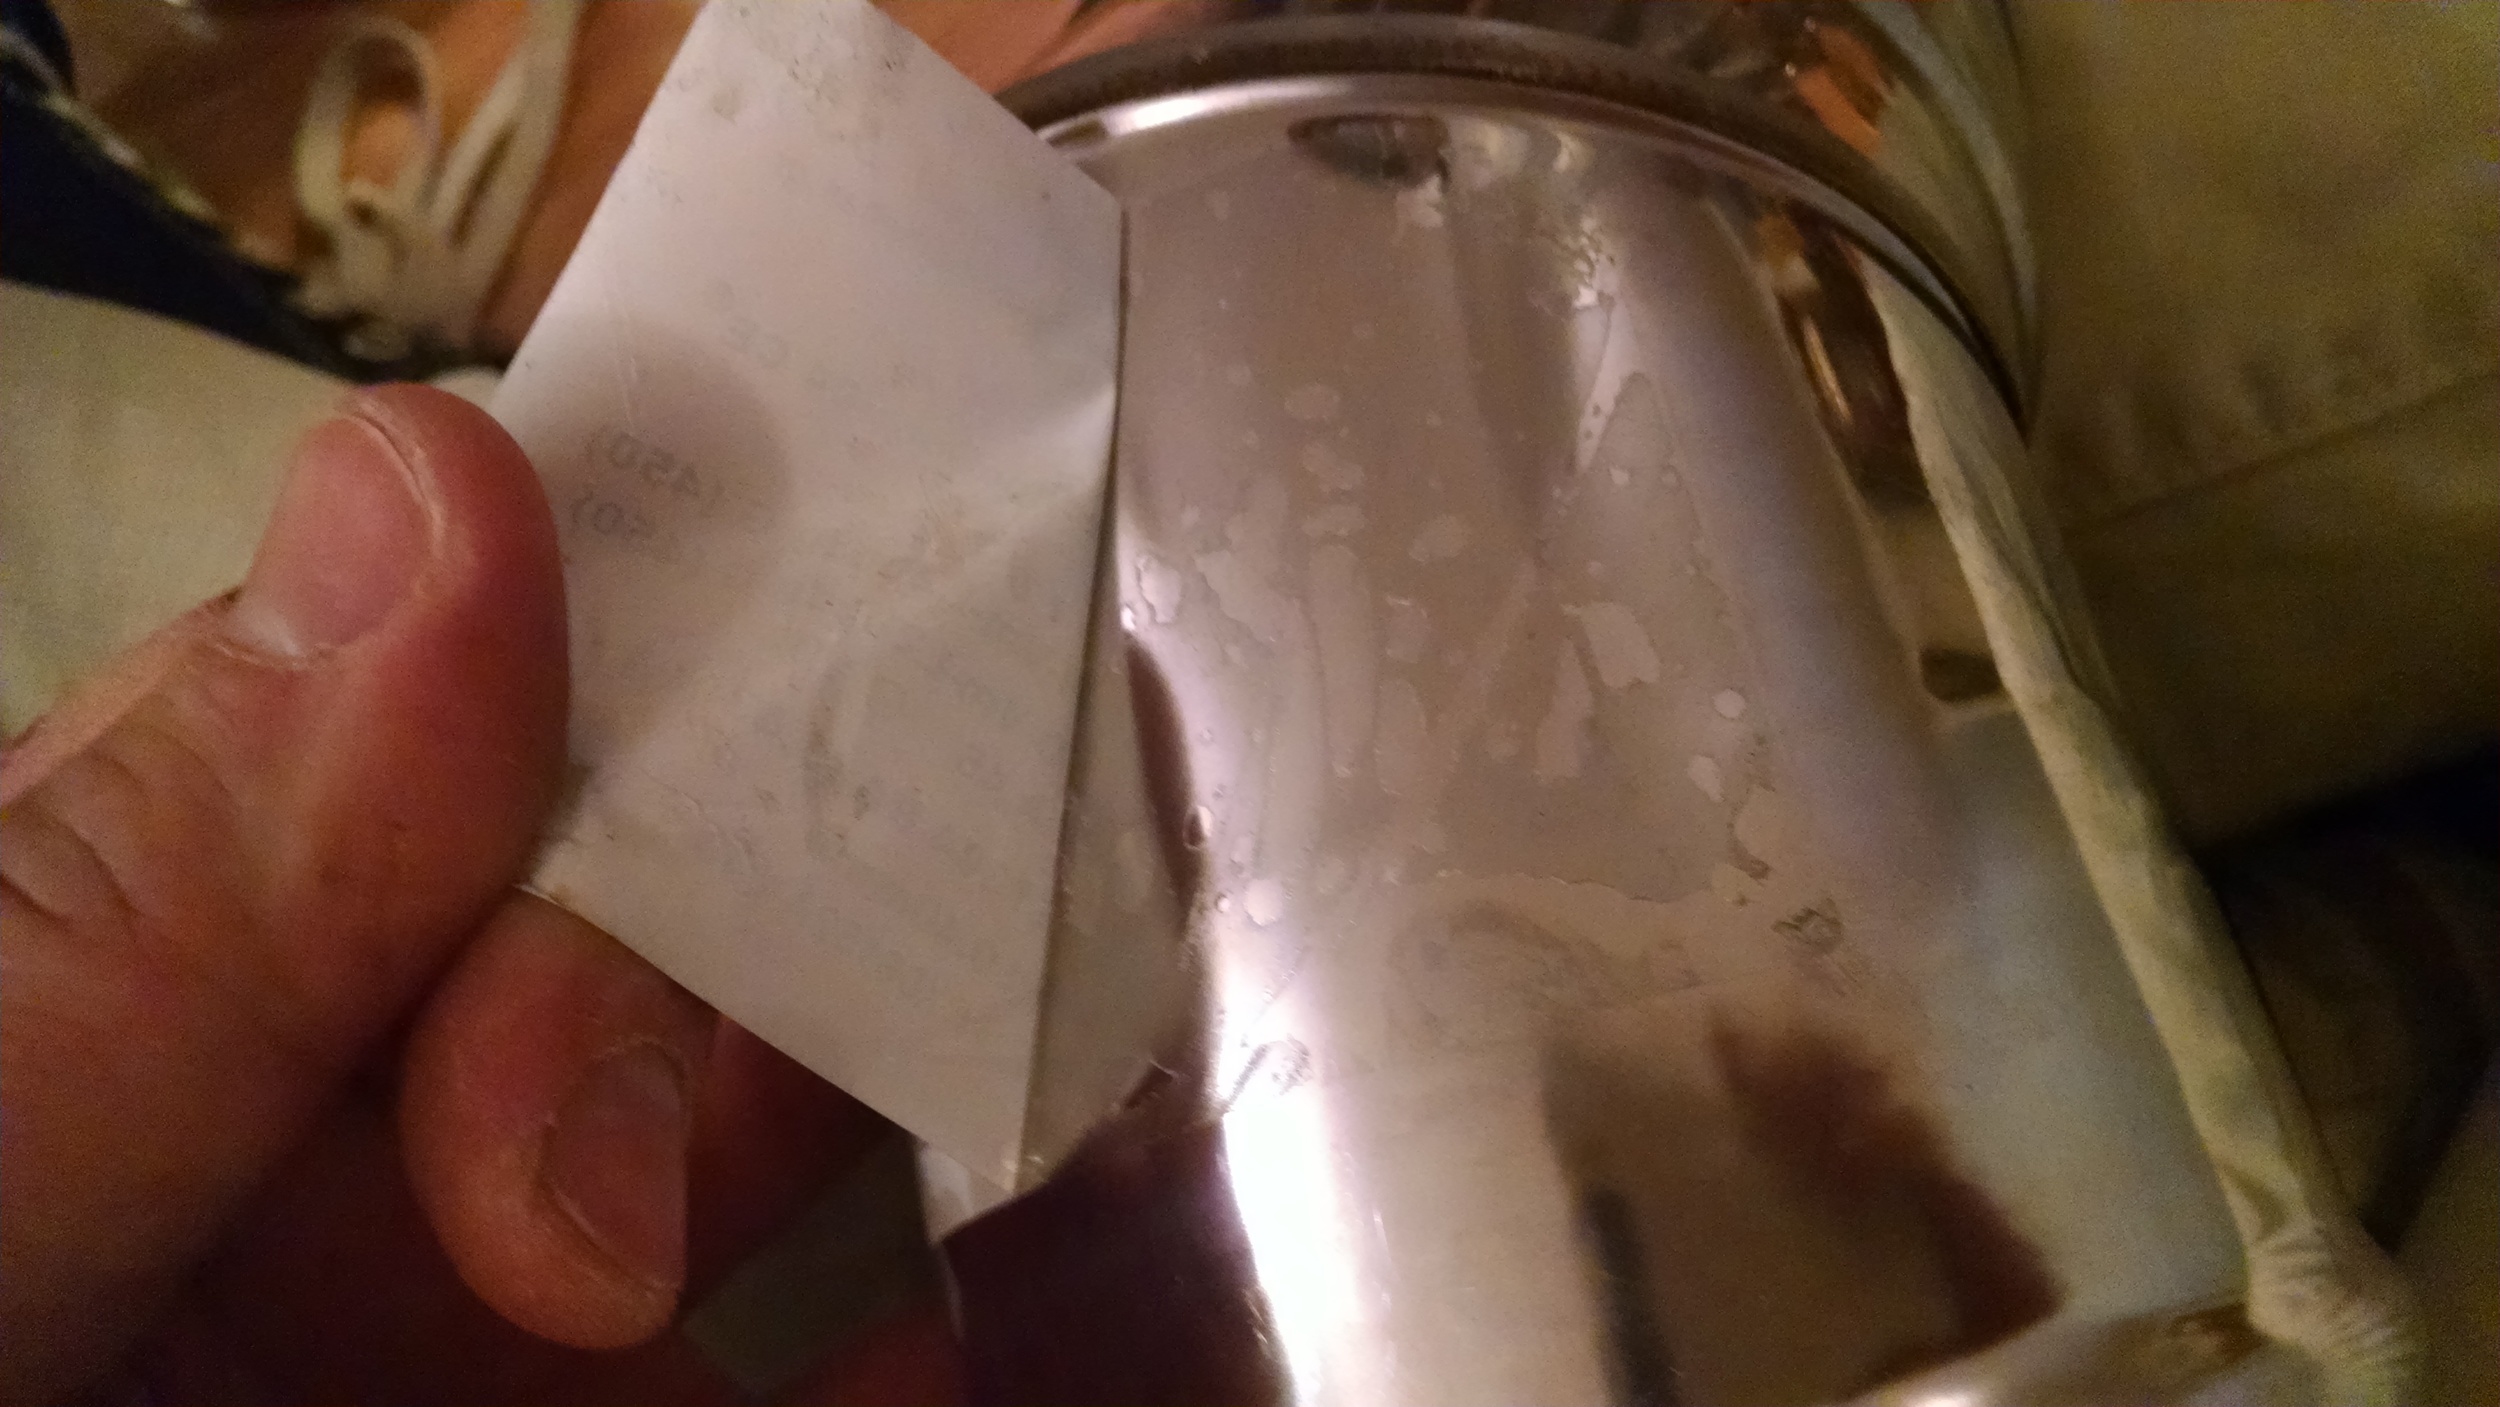
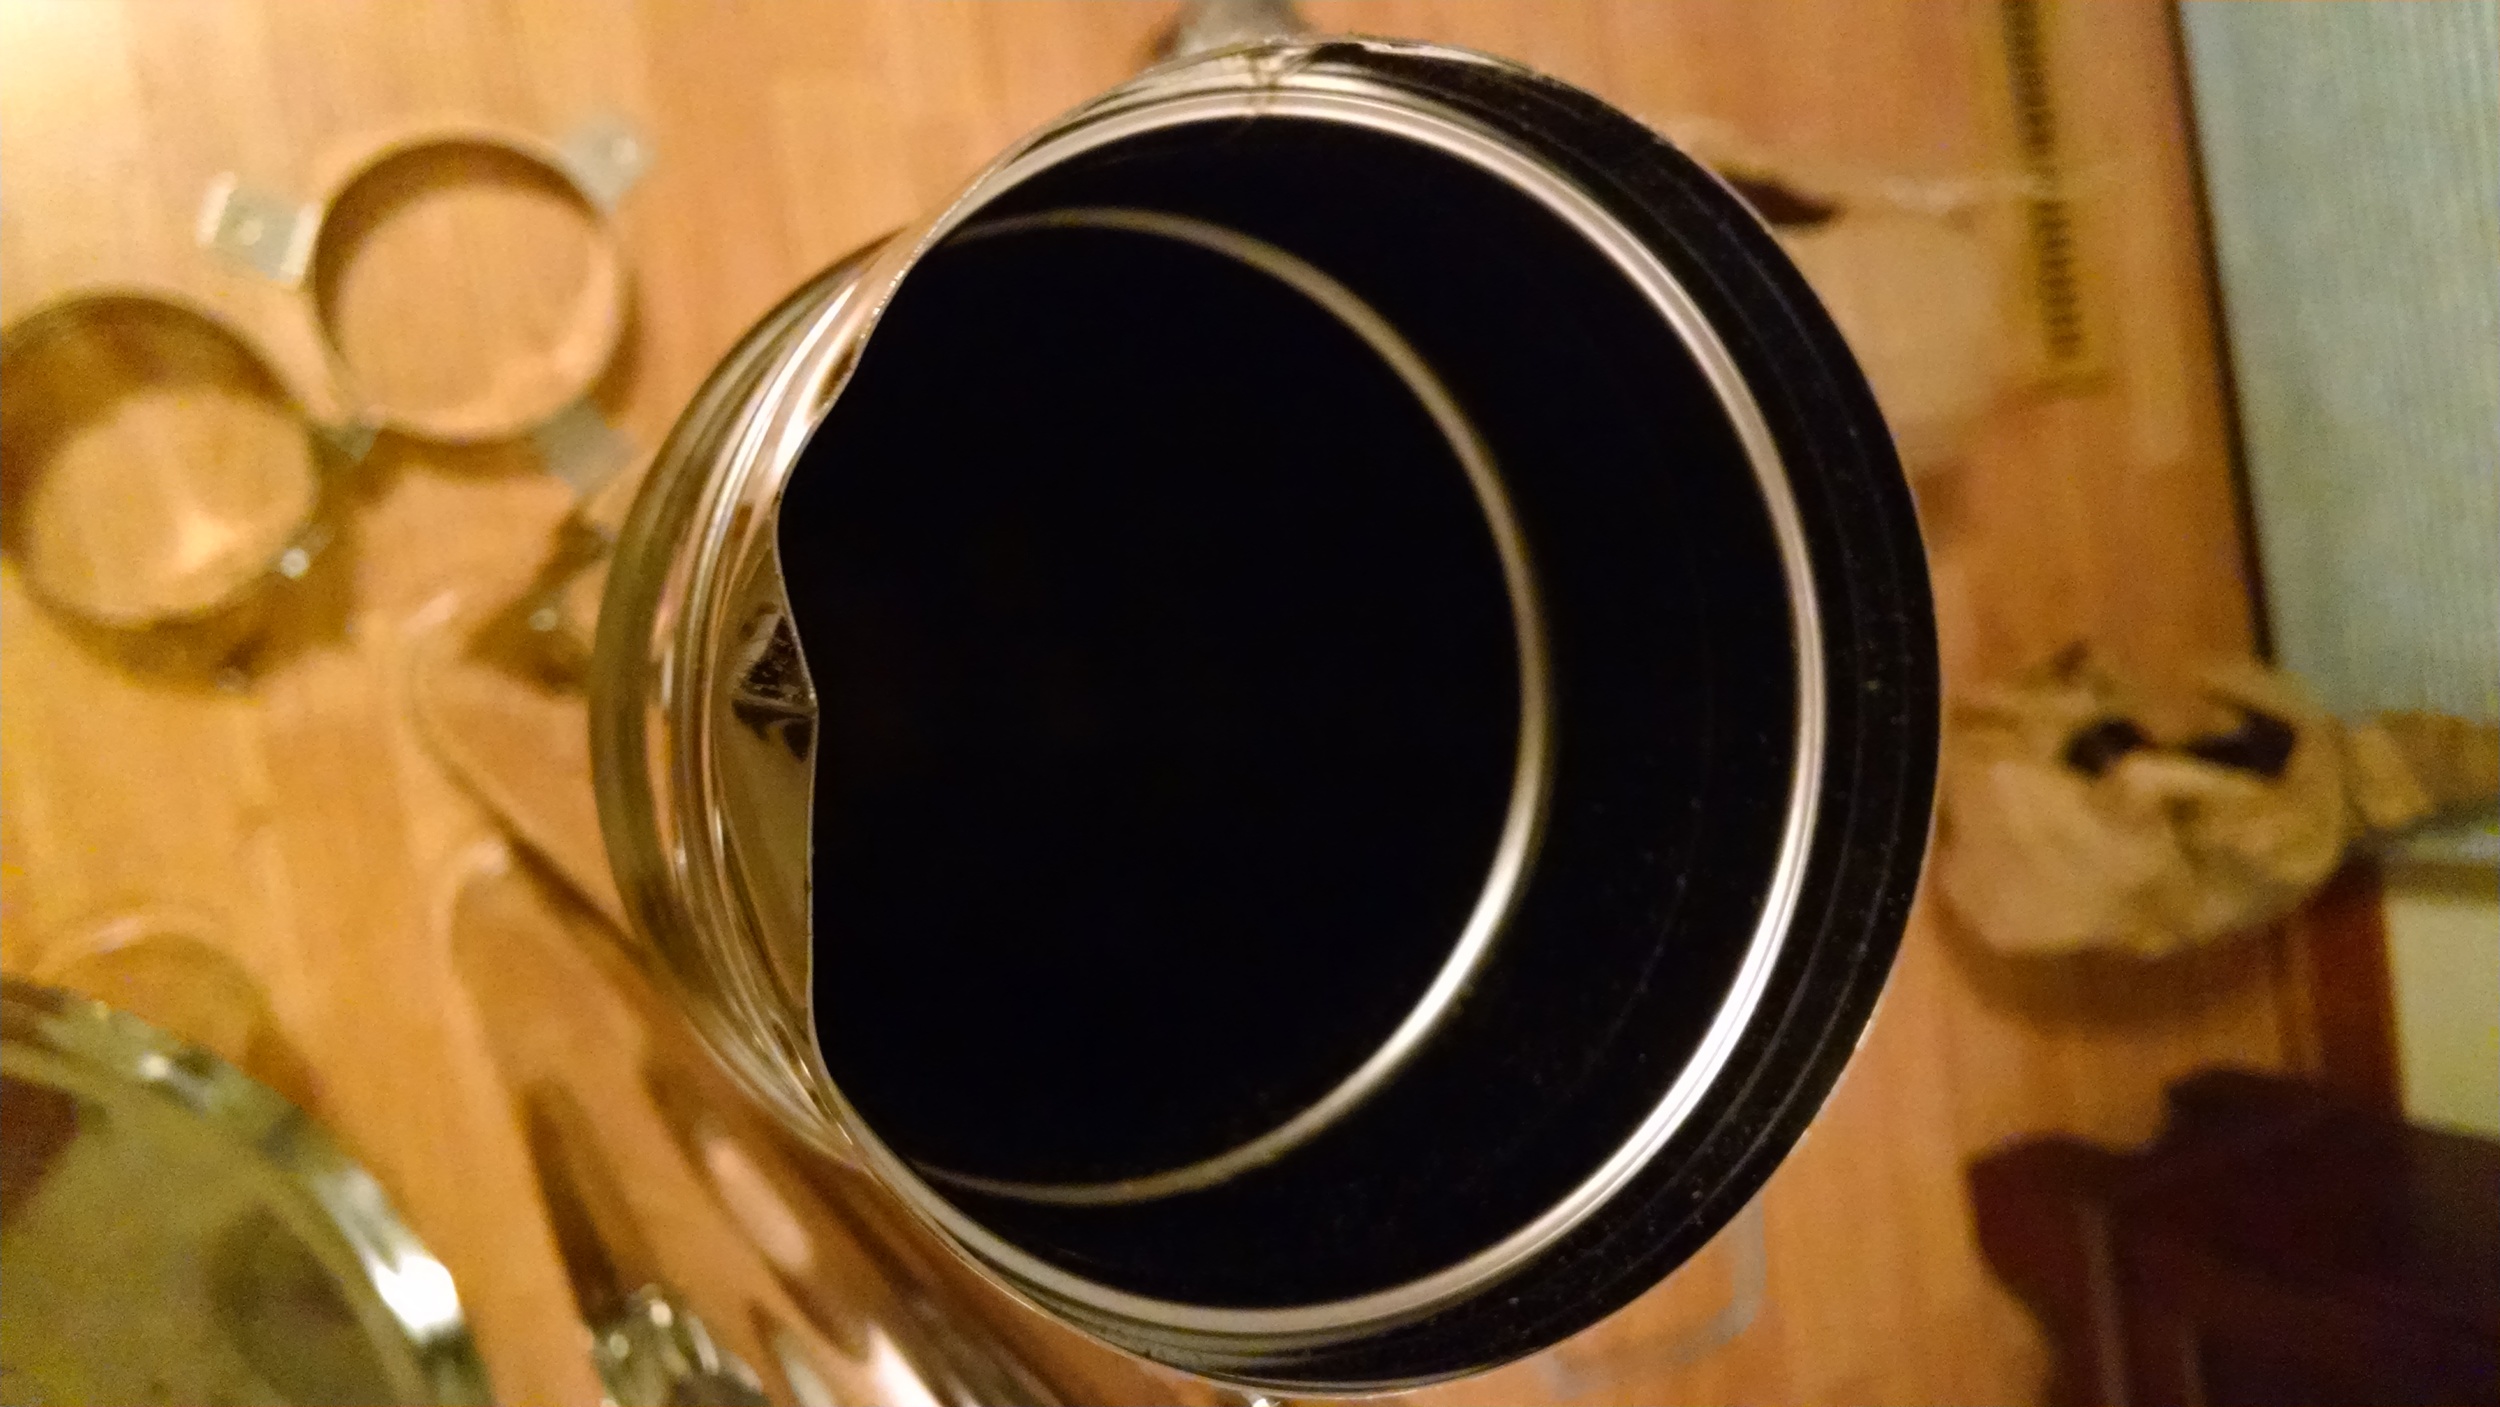
I trimmed a bit off the female end of the 90, since the flared end was a little large to fit into the stove. I used one of the clamps as a guide when marking my marks with a sharpie, and I used an angle grinder with a thin blade to cut the pipe. The cut end will fit into a factory female end, but a factory male end will not fit inside a cut end. The hardest part was fitting the last piece of the assembly together. Since the stove is bolted to the floor and the top of the flue is screwed into the ceiling, there was very little play to lift one piece over the other. I ended up assembling everything up to the top and spinning the last 45 into place. If you're doing one of these yourself, you might want to use a telescoping piece, or think about how you're going to accomplish the assembly of the parts before you bolt both the stove and the double-wall pipe into place.
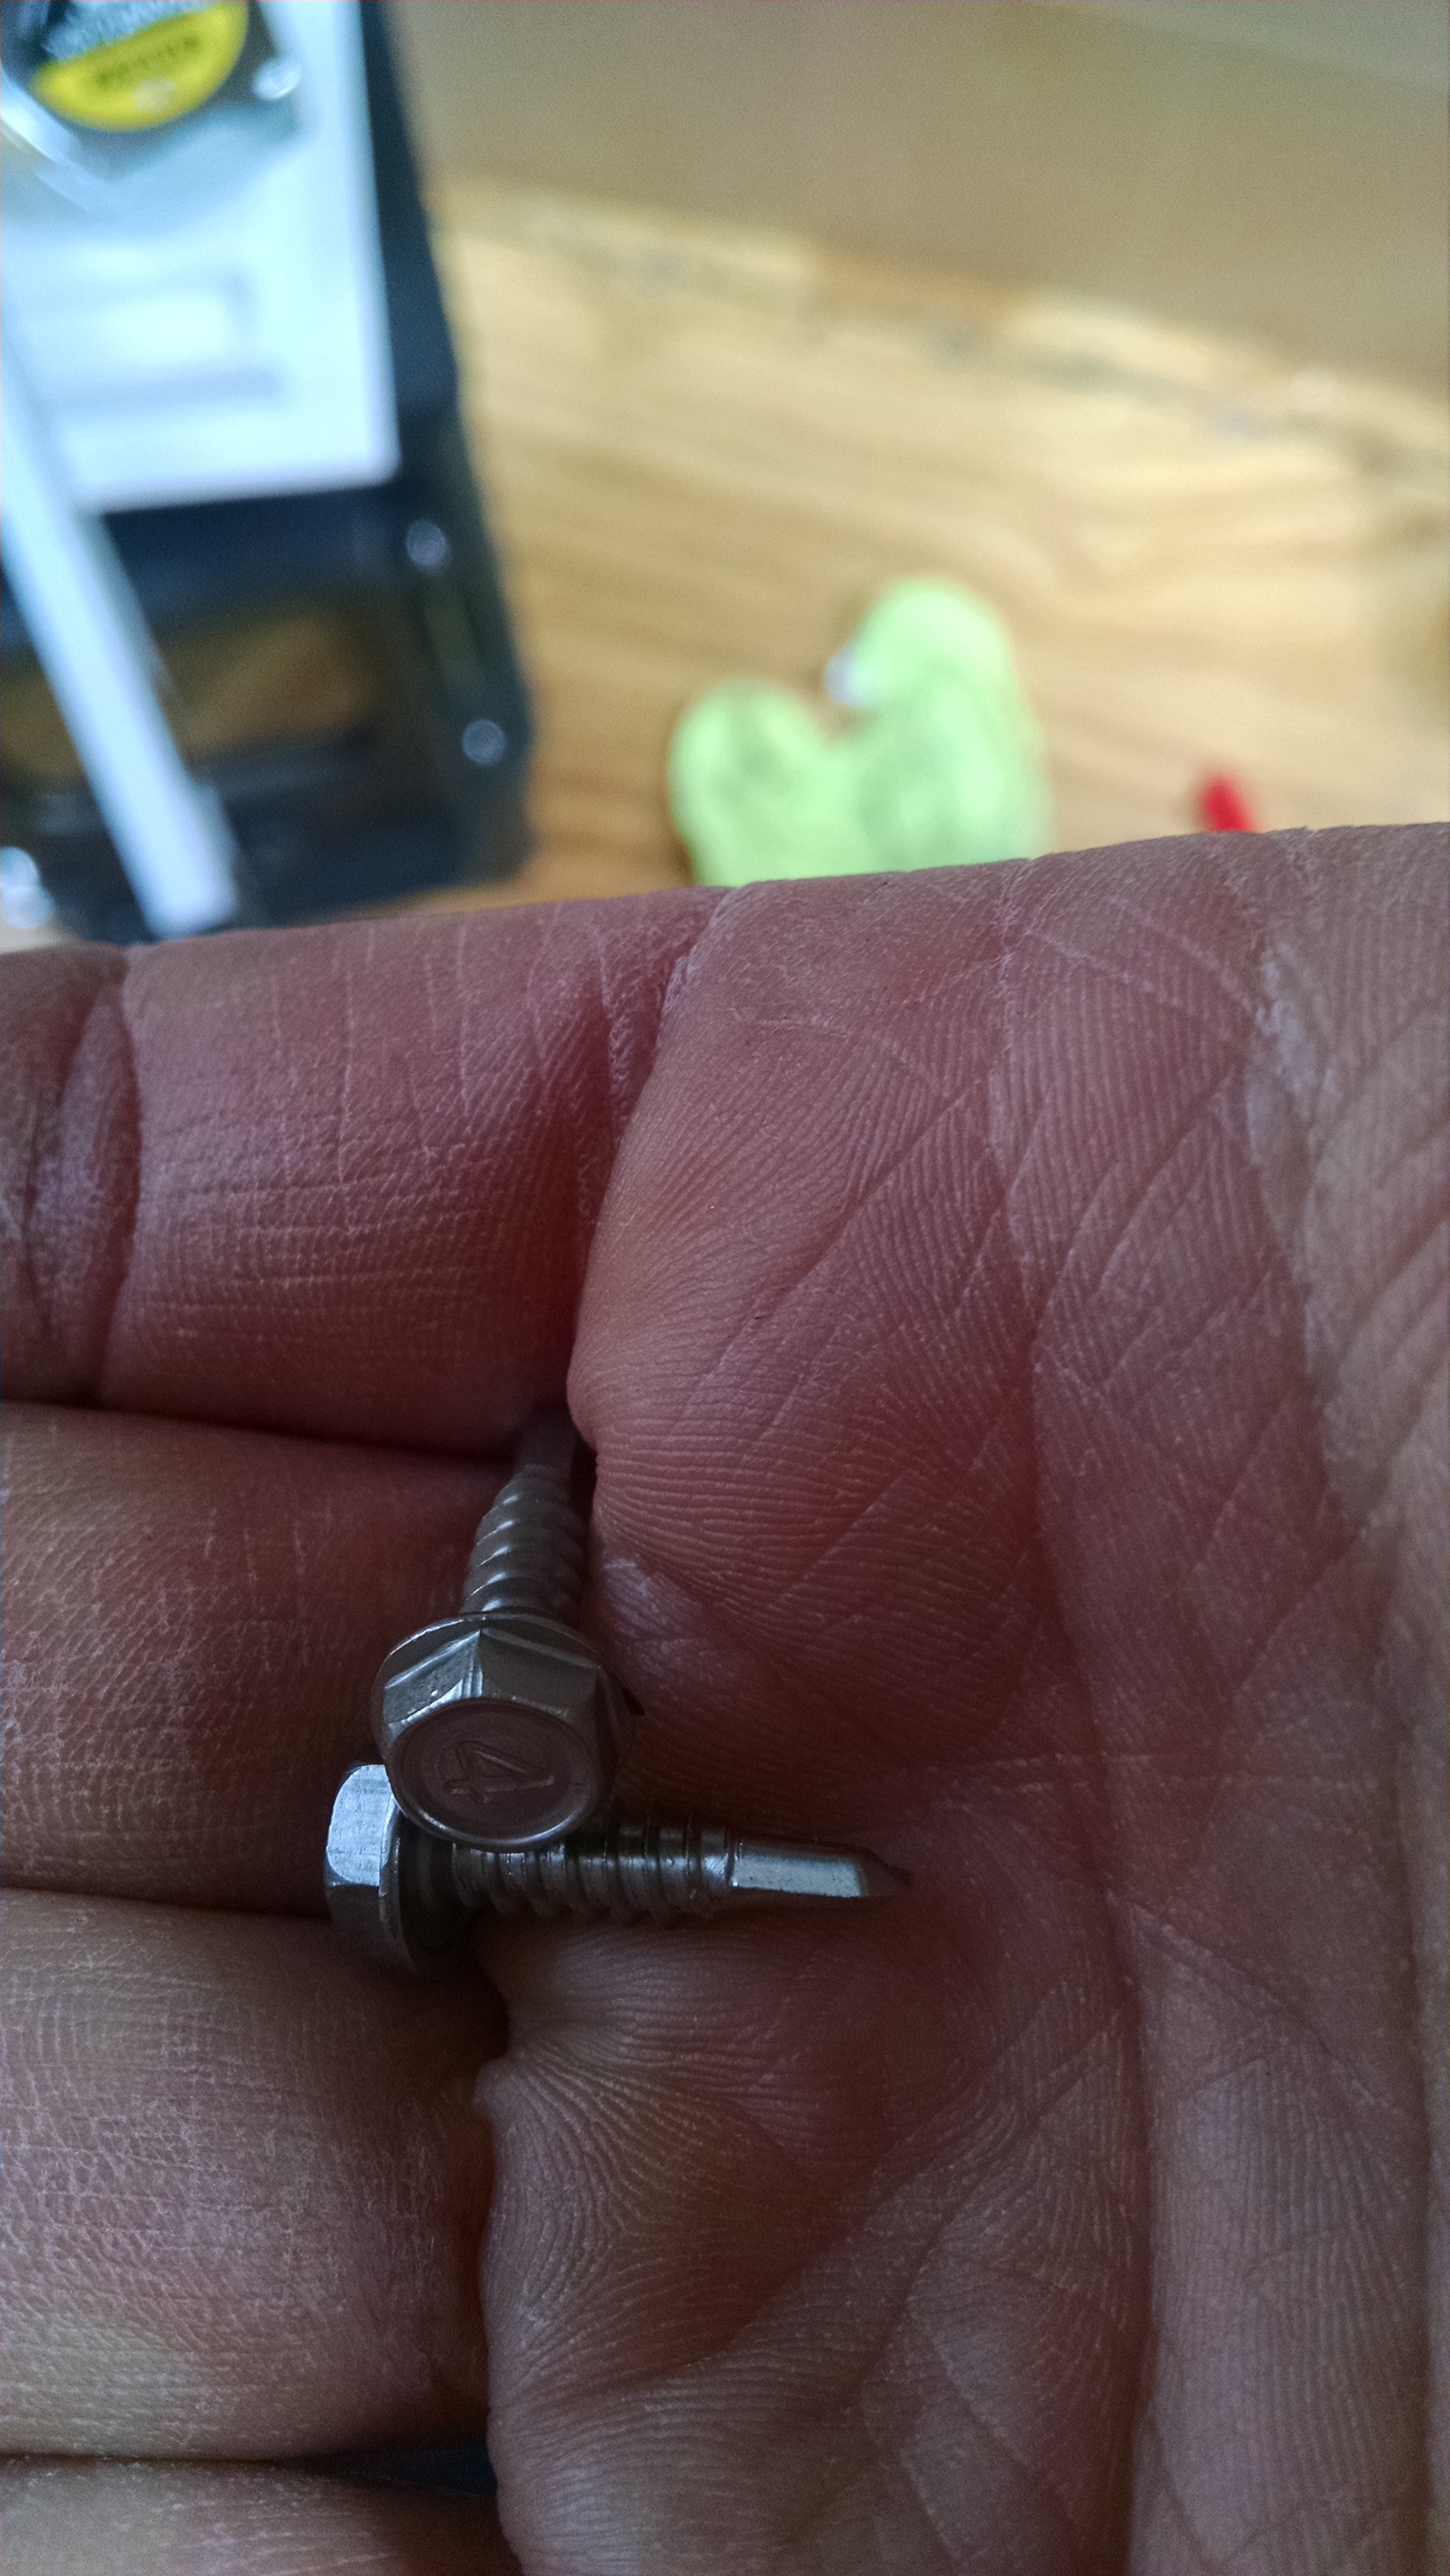
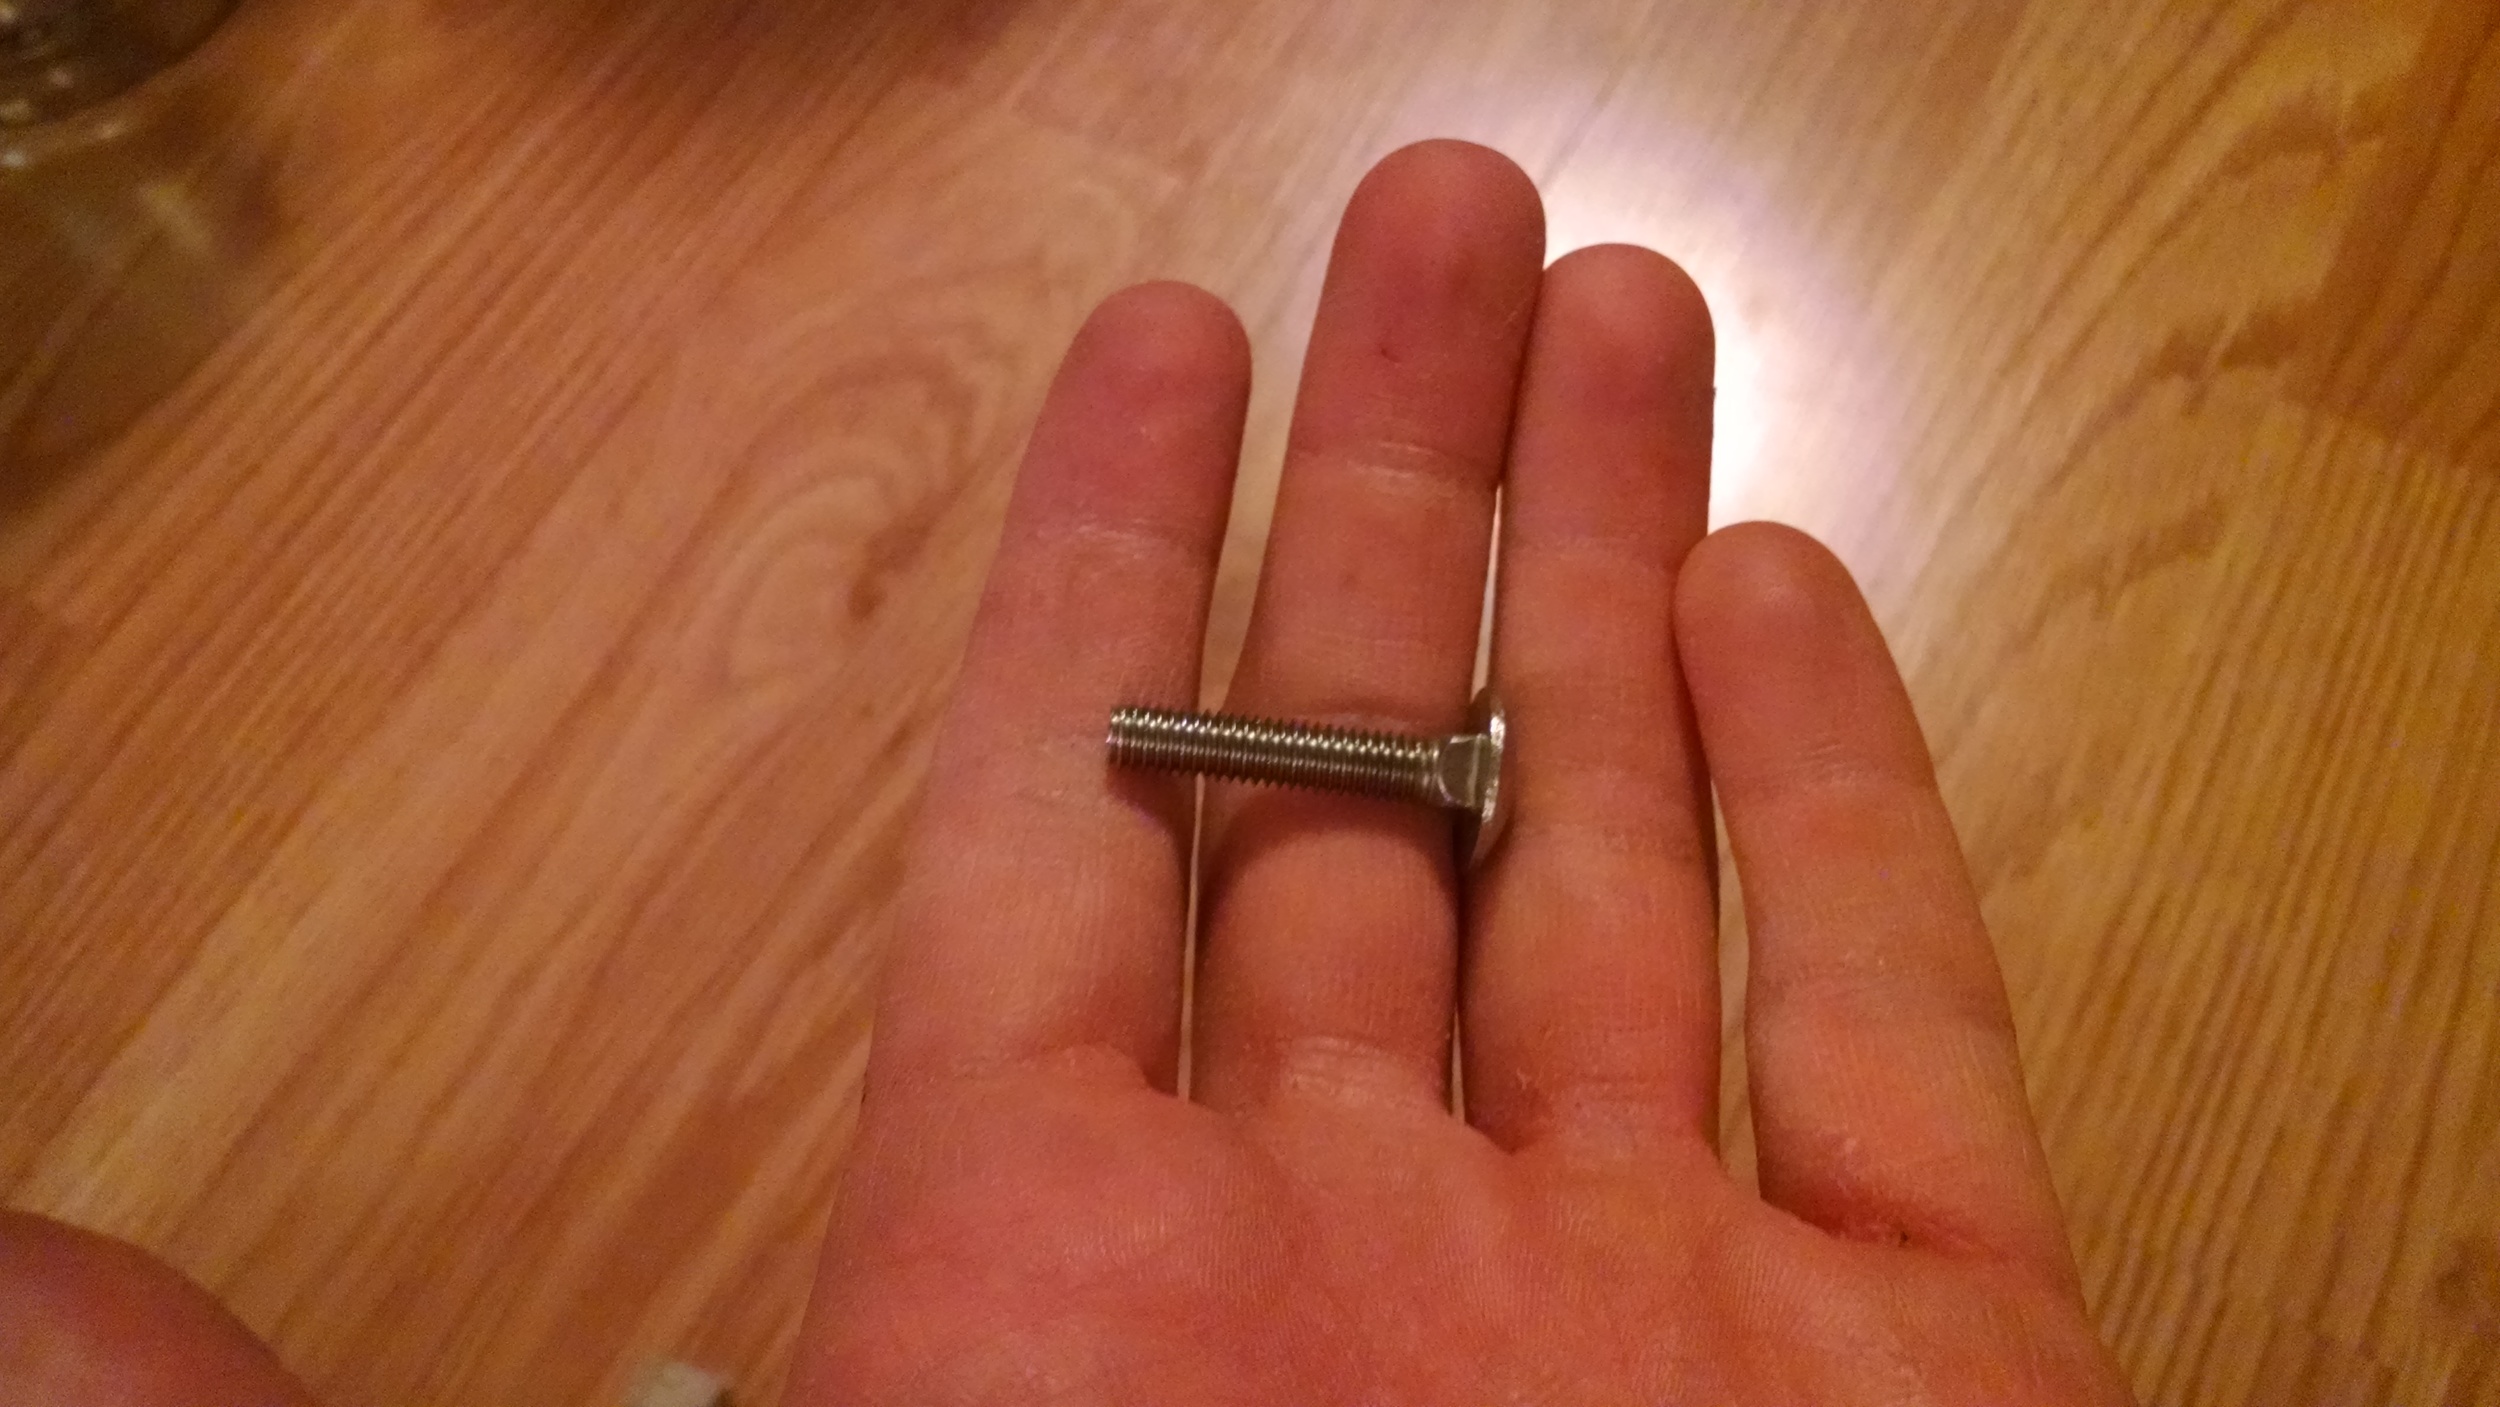
I used four SS screws to secure the 90 in the back of the stove along with stove cement I picked up at the orange box. I don't know if you're supposed to use screws in addition to cement, but I wanted a little extra assurance that things would stay put.
Now, before the stove police comes and tells me that you should never, never, EVER use a 90 on a rear exit to a stove because it doesn't allow access for cleaning, let me say this: "Nuh-uh." The firebox in the stove comes out and allows access directly into the 90, so you can clean and inspect it just fine without disassembling the flue. The access from the top should allow me to get down to the 90, and the access through the stove should allow me to get the 90 itself. It's not an ideal configuration, but it'll be fine until my tee comes in.
Time for the first fire.
The Hobbit stove and the Tiny Wood Stove flue kit work great. It was a bit surreal to be lighting a fire inside the Airstream, but with my clearances and the large hearth, it felt totally safe. The heat shielding isn't up yet, so I need to be extra careful when using the stoveI have a minimum of 9" clearance, which will be proper once I have a reflective heat shield in place. The hottest part of the wall behind the stove only got barely warm, so I'm pretty comfortable with this arrangement for the honeymoon. I'm just hoping for some cooler nights.


