Mach 8 Cub AC Install

Replacing Mach 8 Cub Thermostat

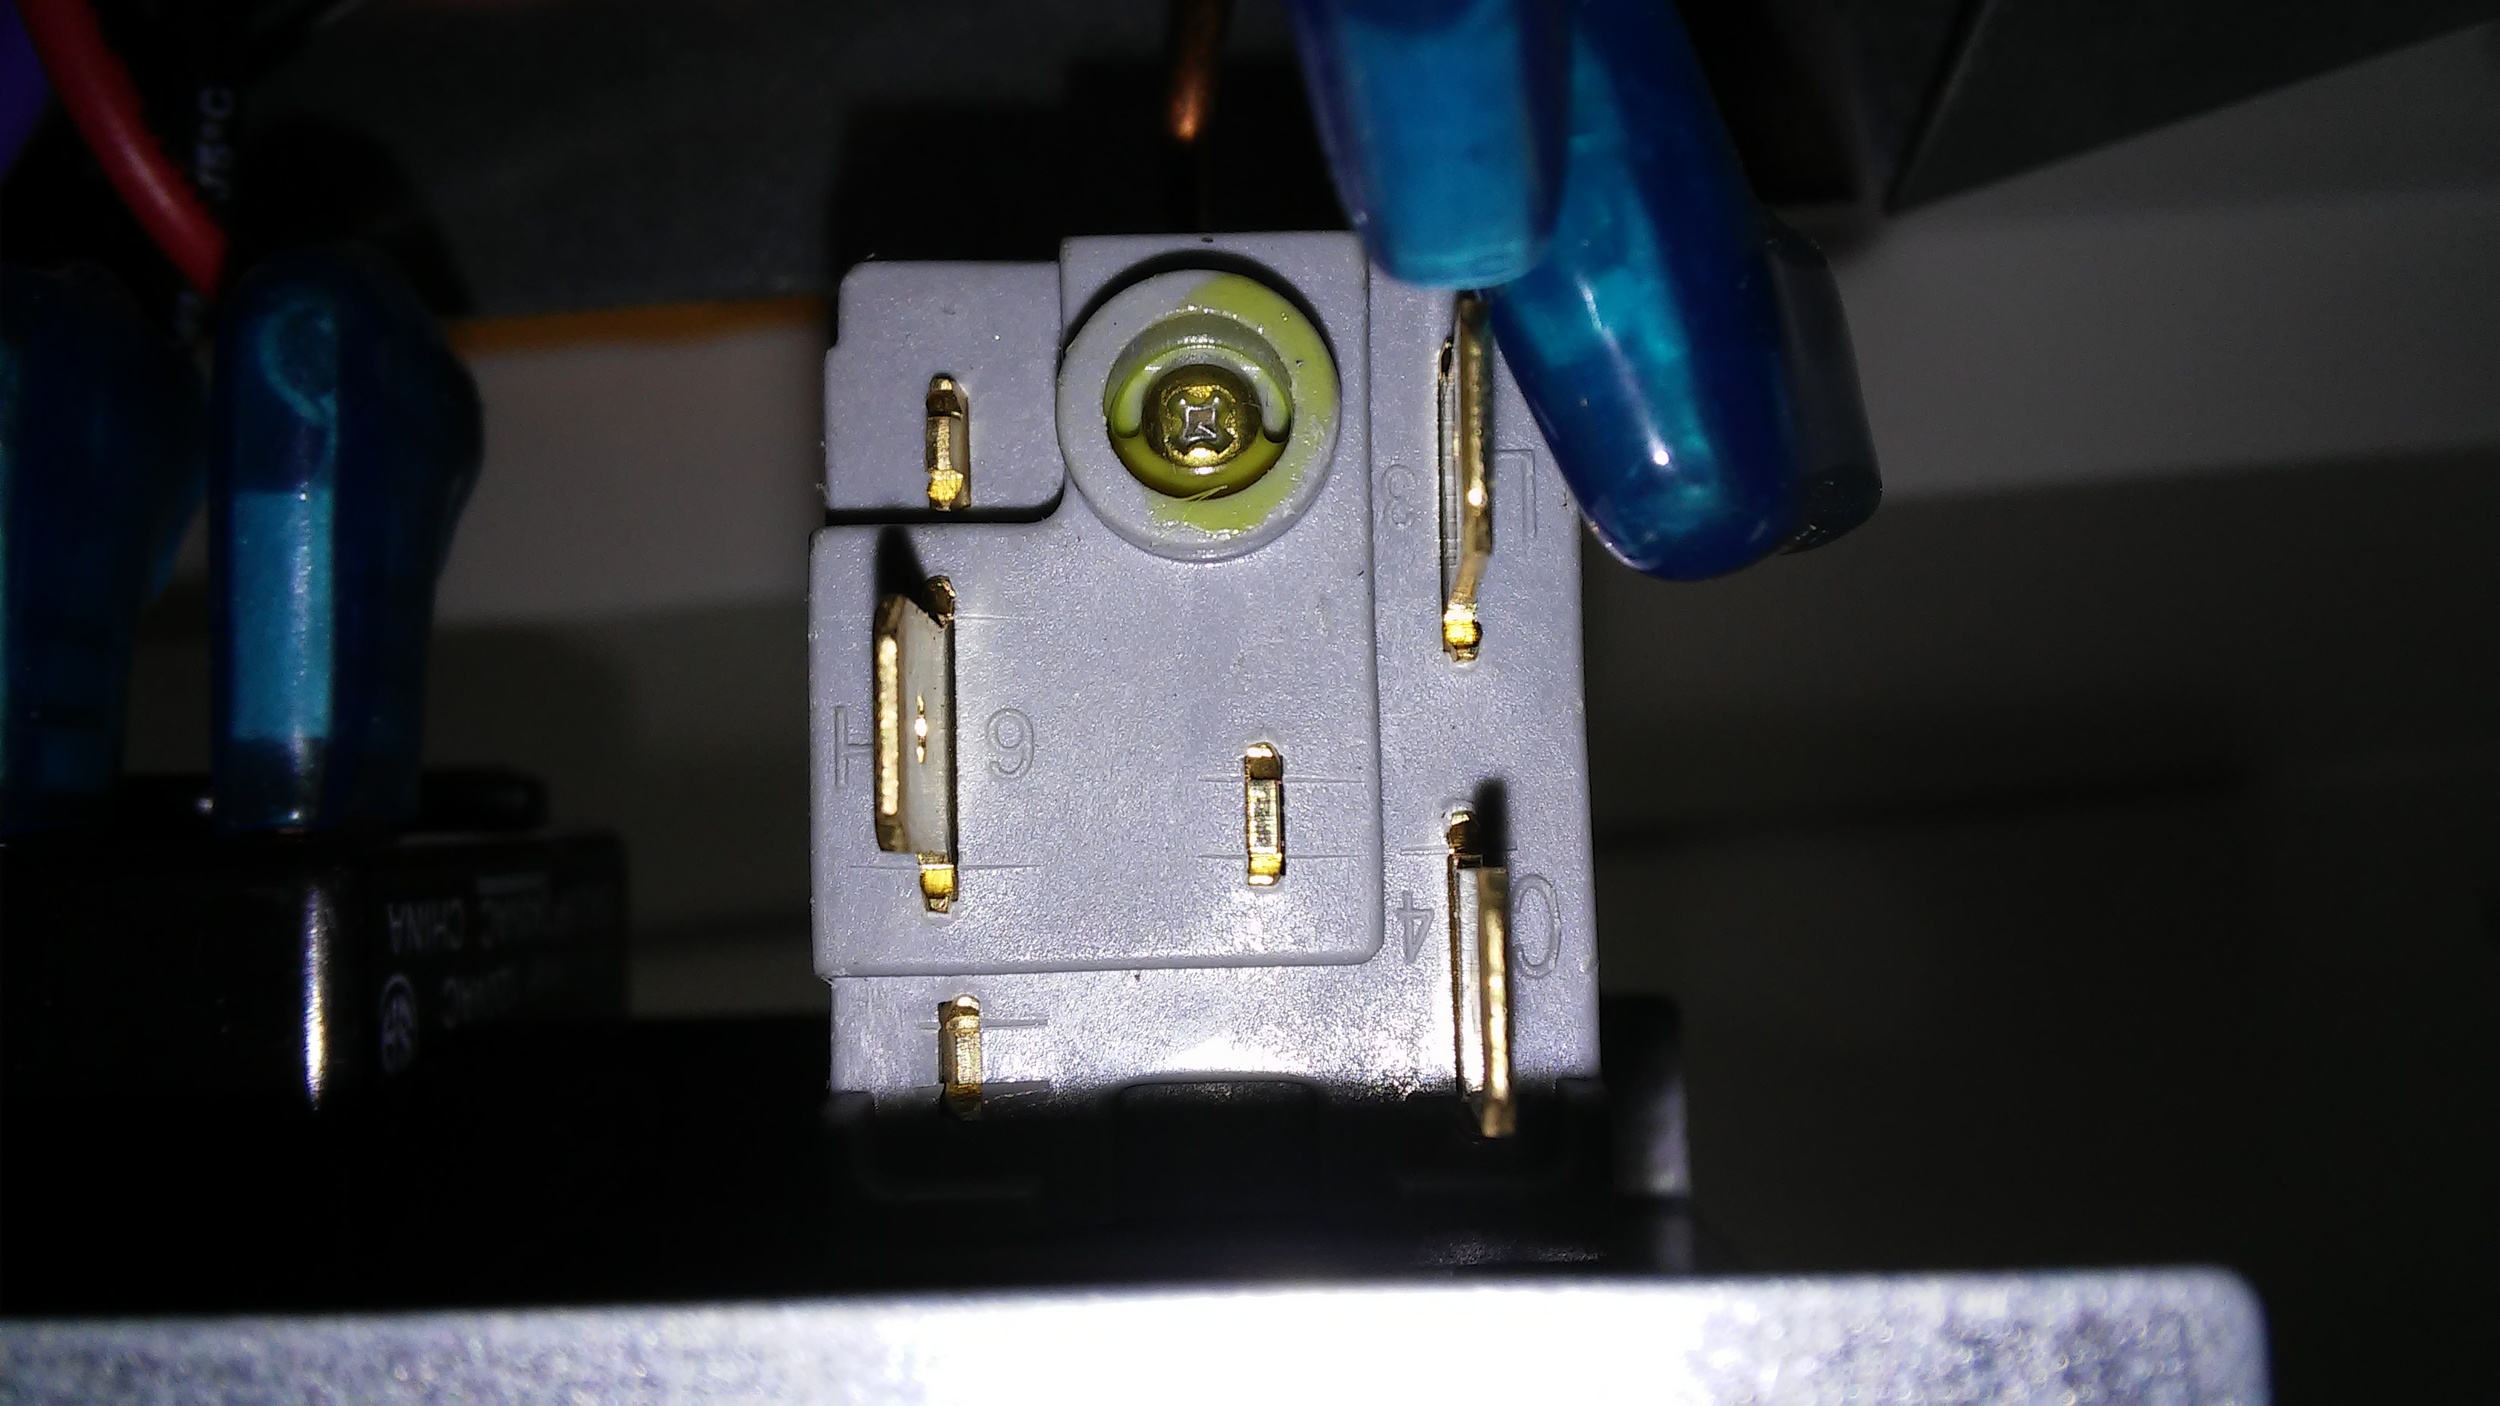
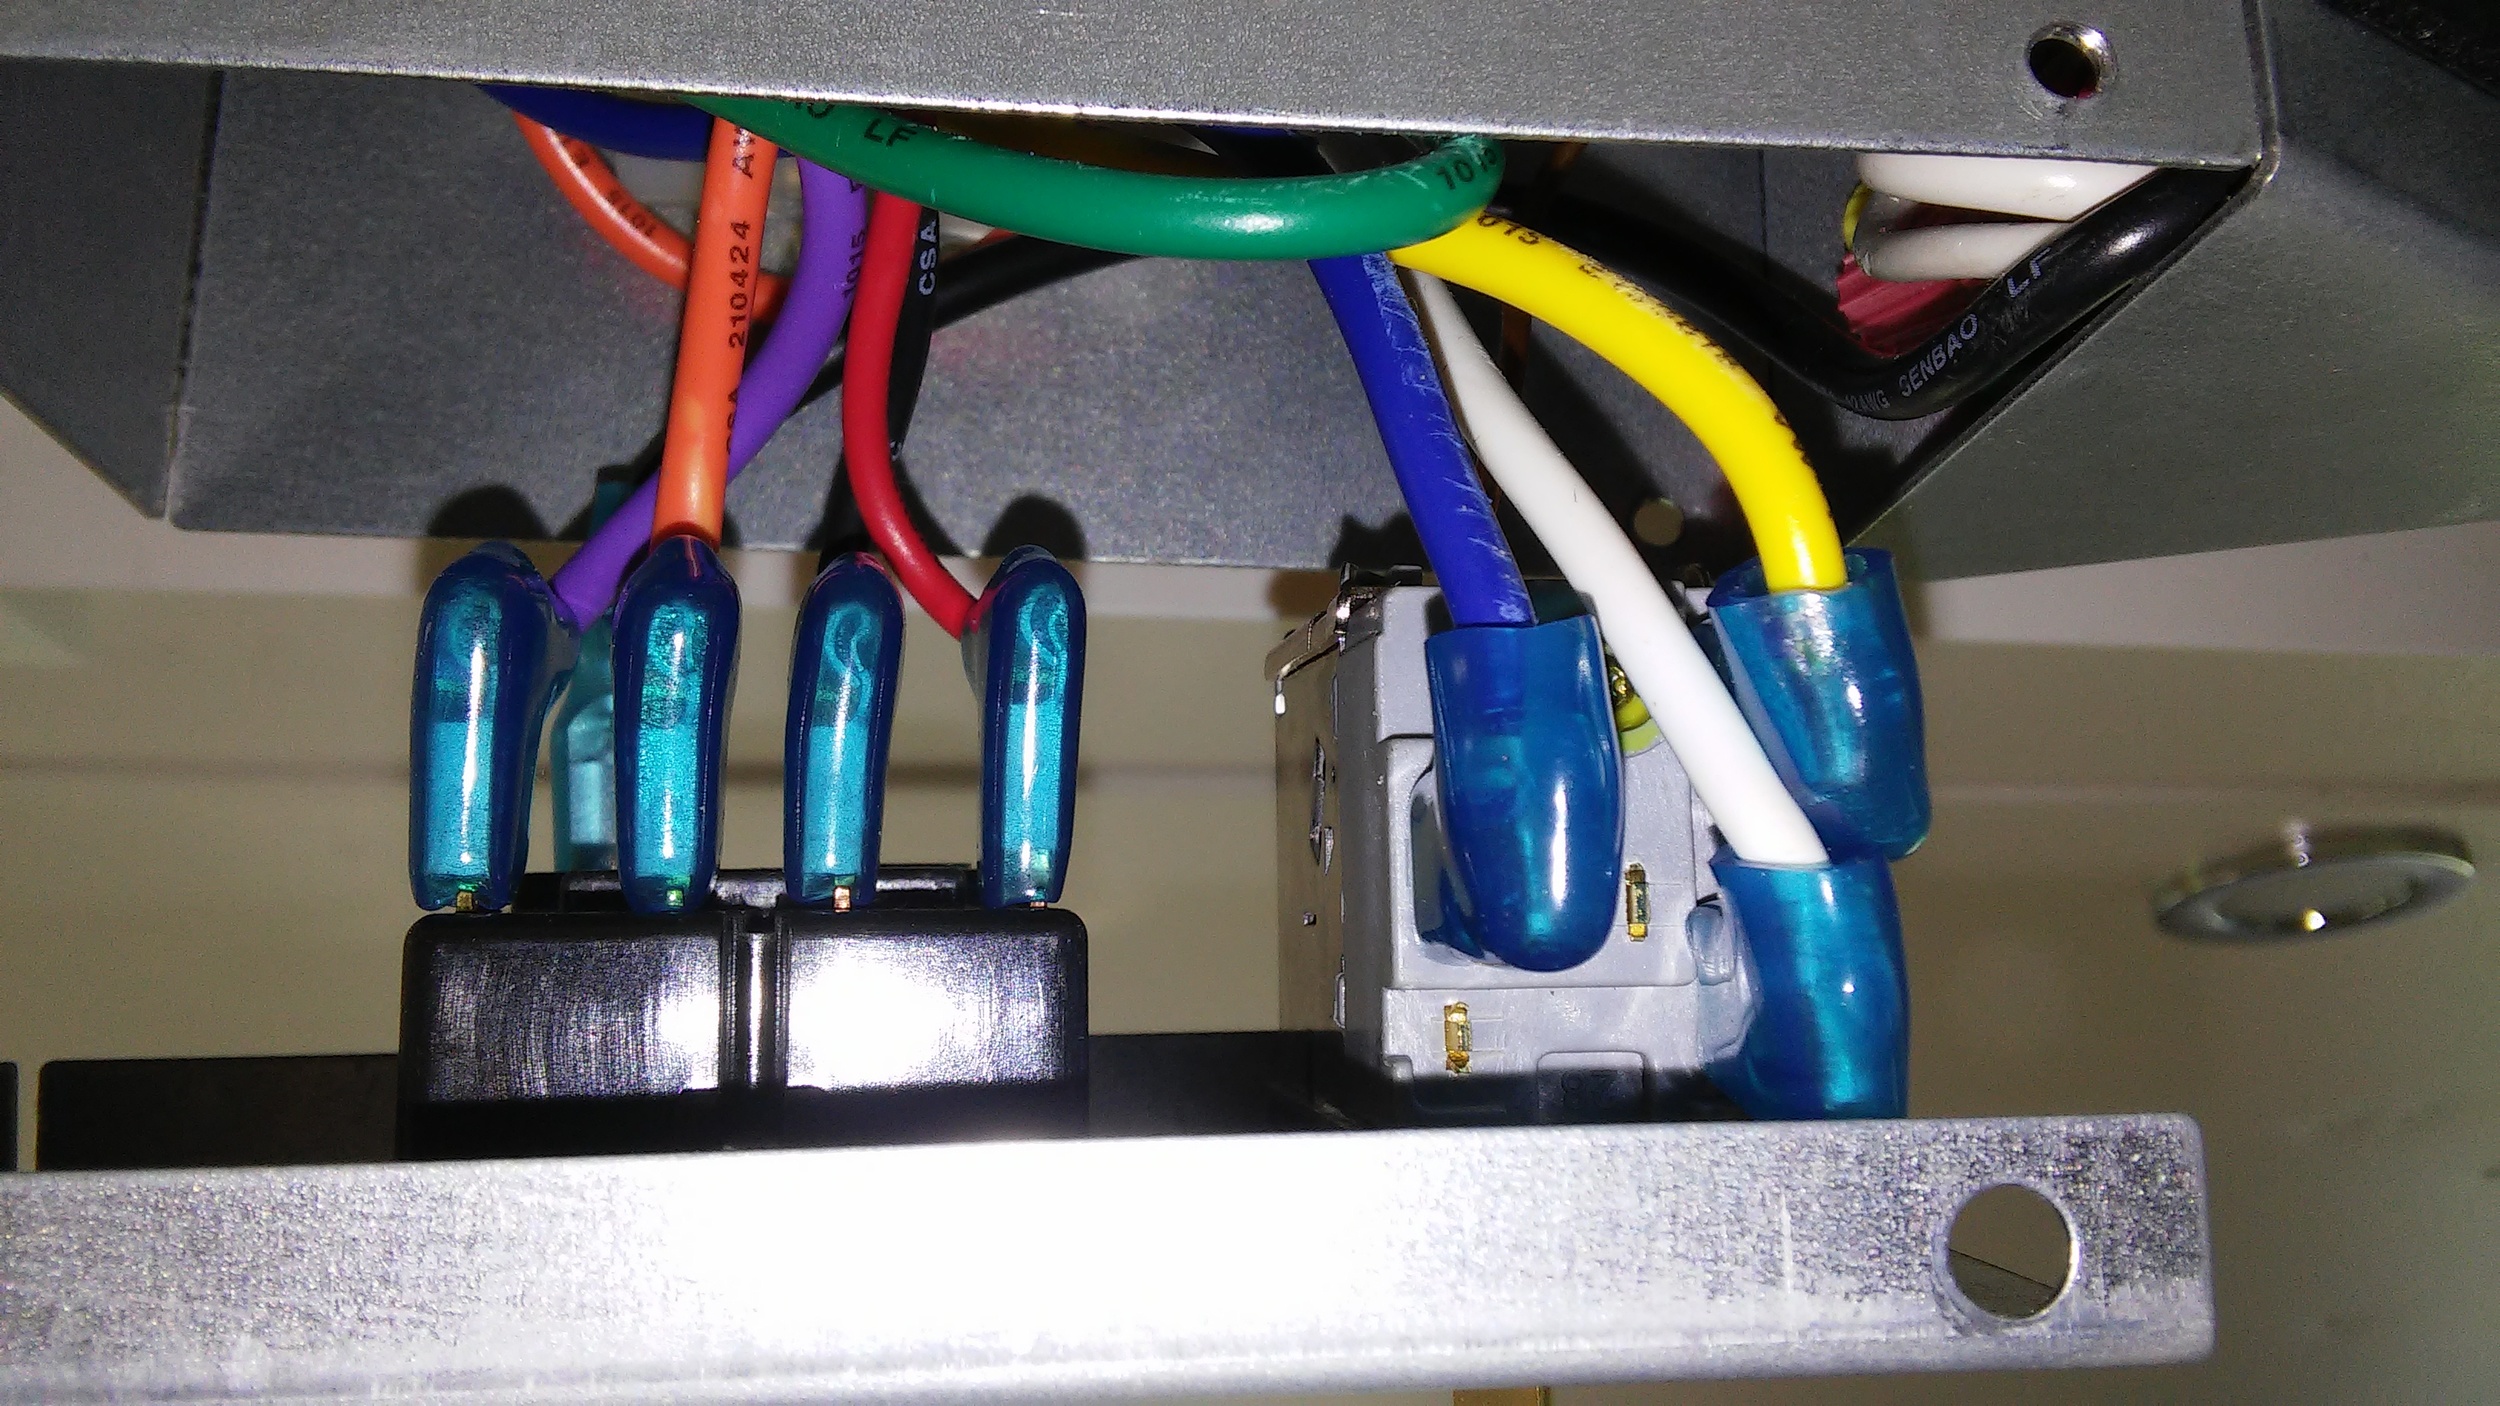
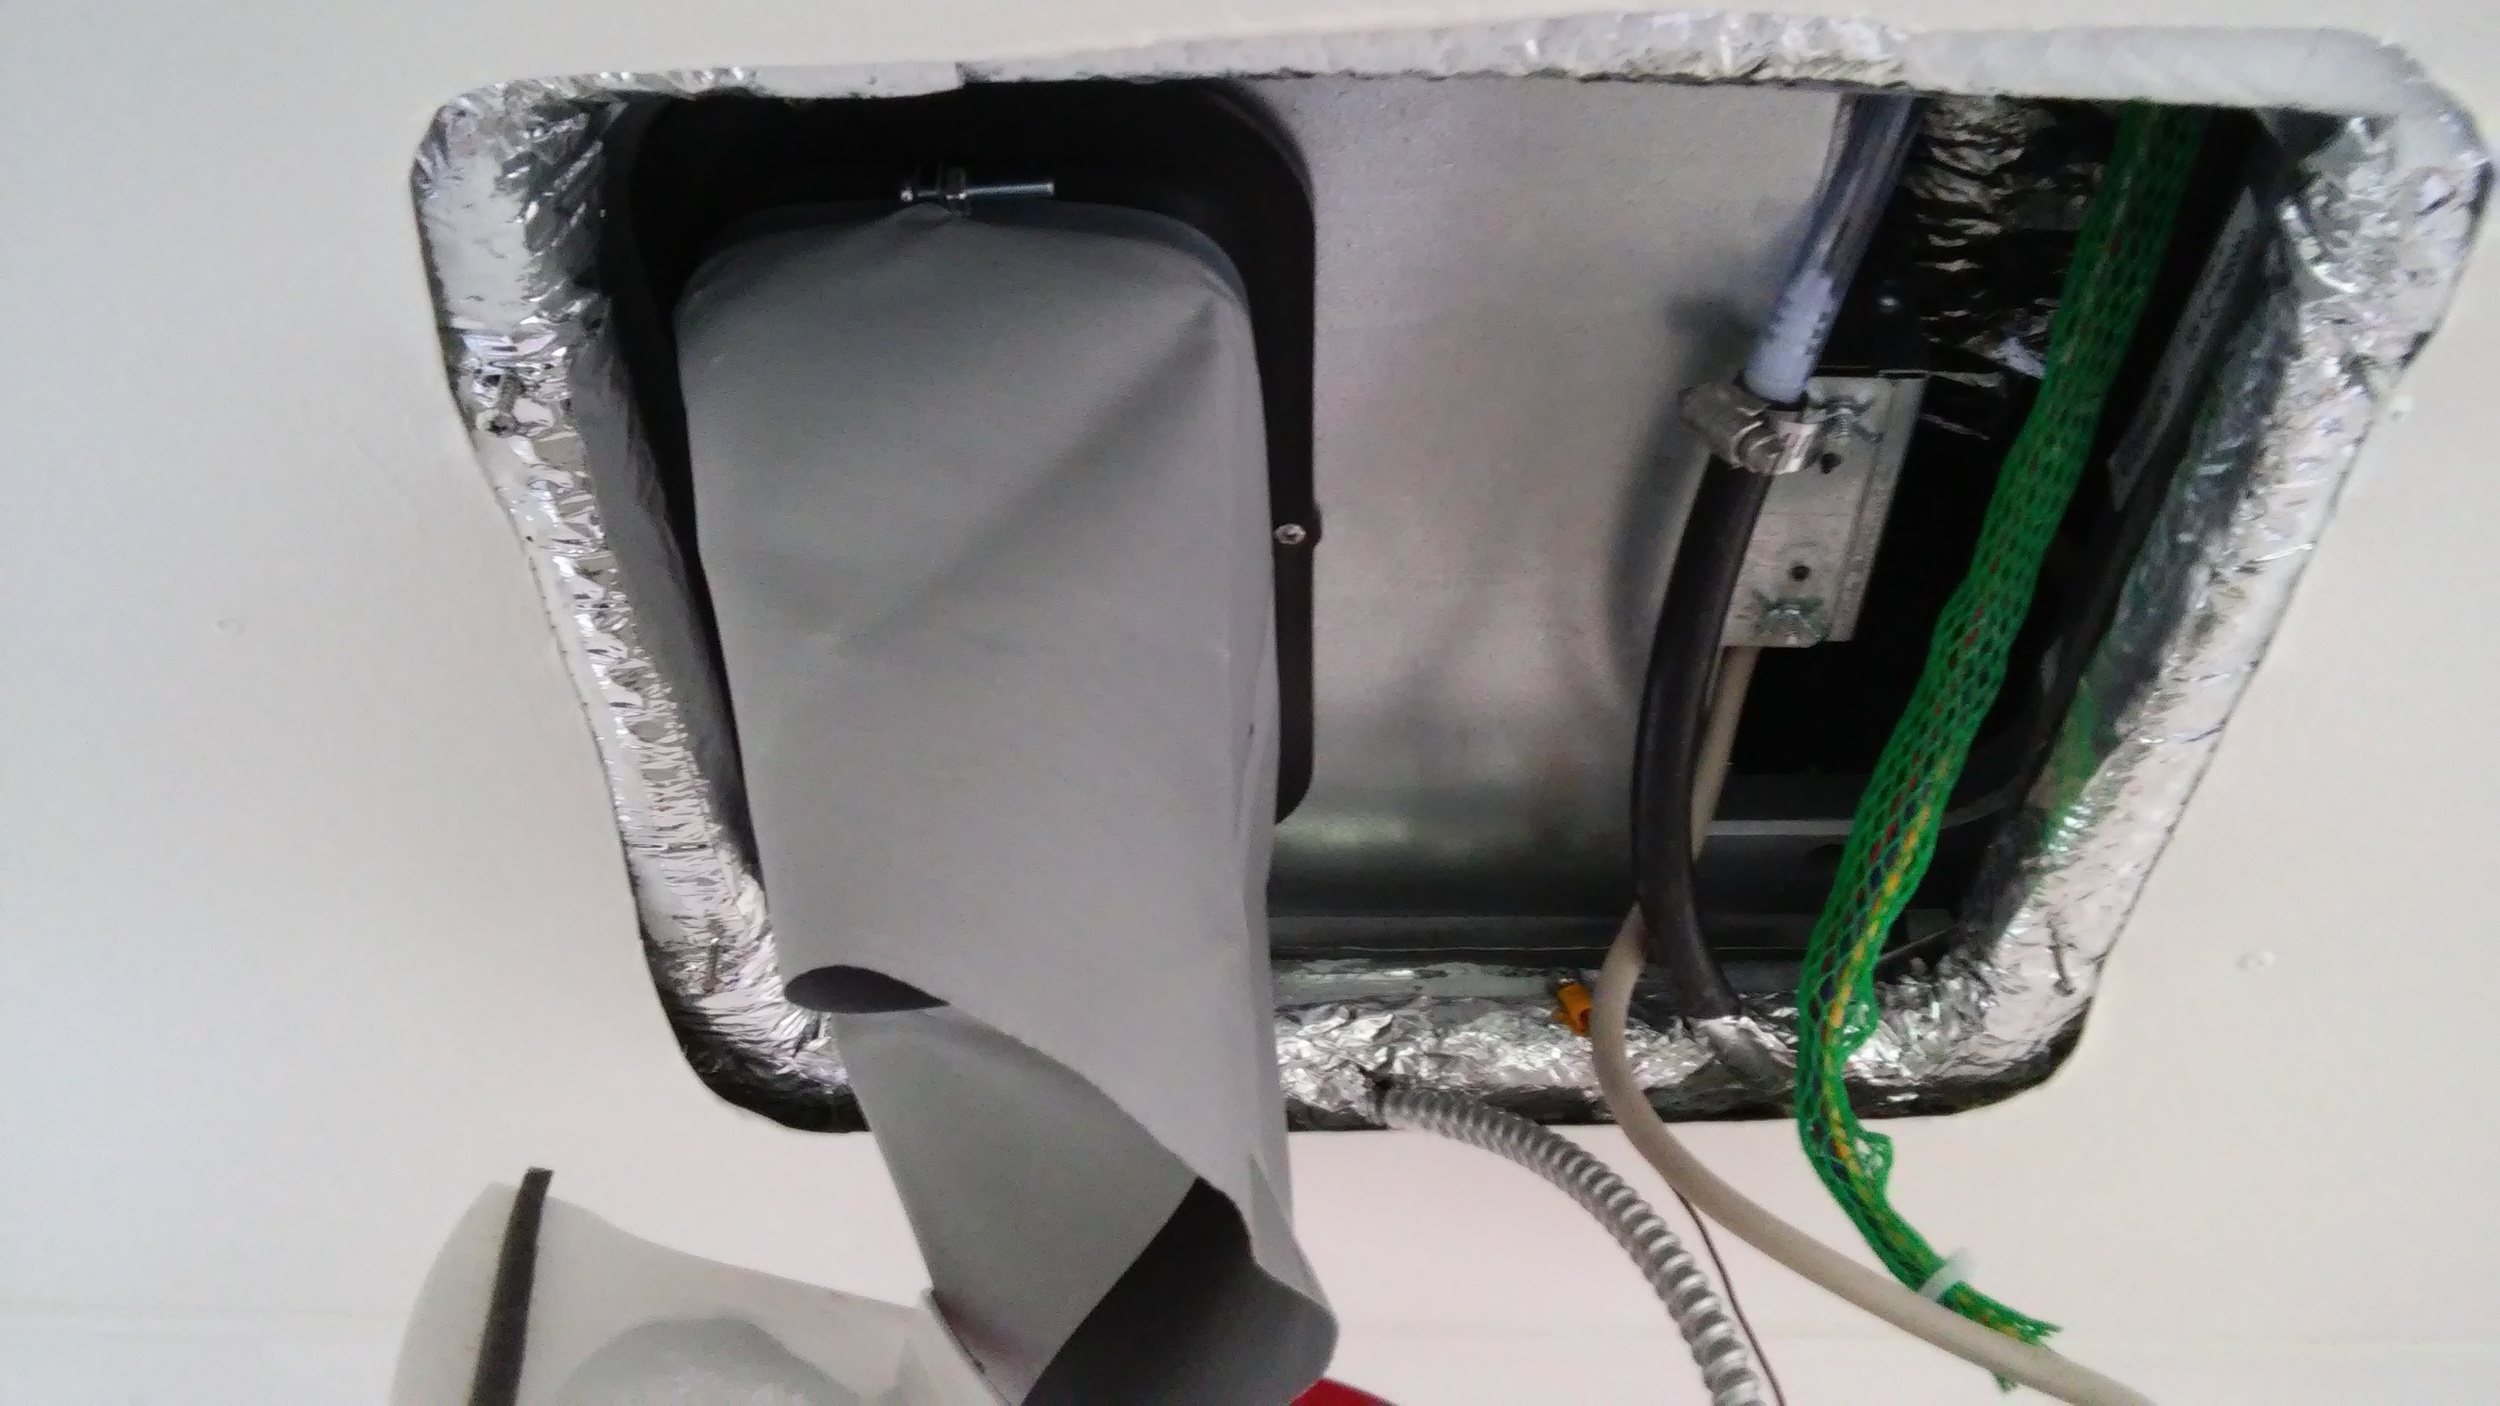
Heat works, fan works, but compressor won't kick on -- no sound from the compressor at all.  I also noticed that the heat will get the coach really hot no matter what position it's in. Turns out, the thermostat is calling for heat regardless of the position of the temperature knob.  I verified that was the problem and got myself some temporary cooling by "hotwiring it" as you can see in the second picture below -- the yellow "cool" wire is attached to the left "heat" terminal.  Alternatively, you could jumper the white and yellow wires together to test what happens during "call for cooling" condition, or jumper the white and blue wires together to "call for heat."

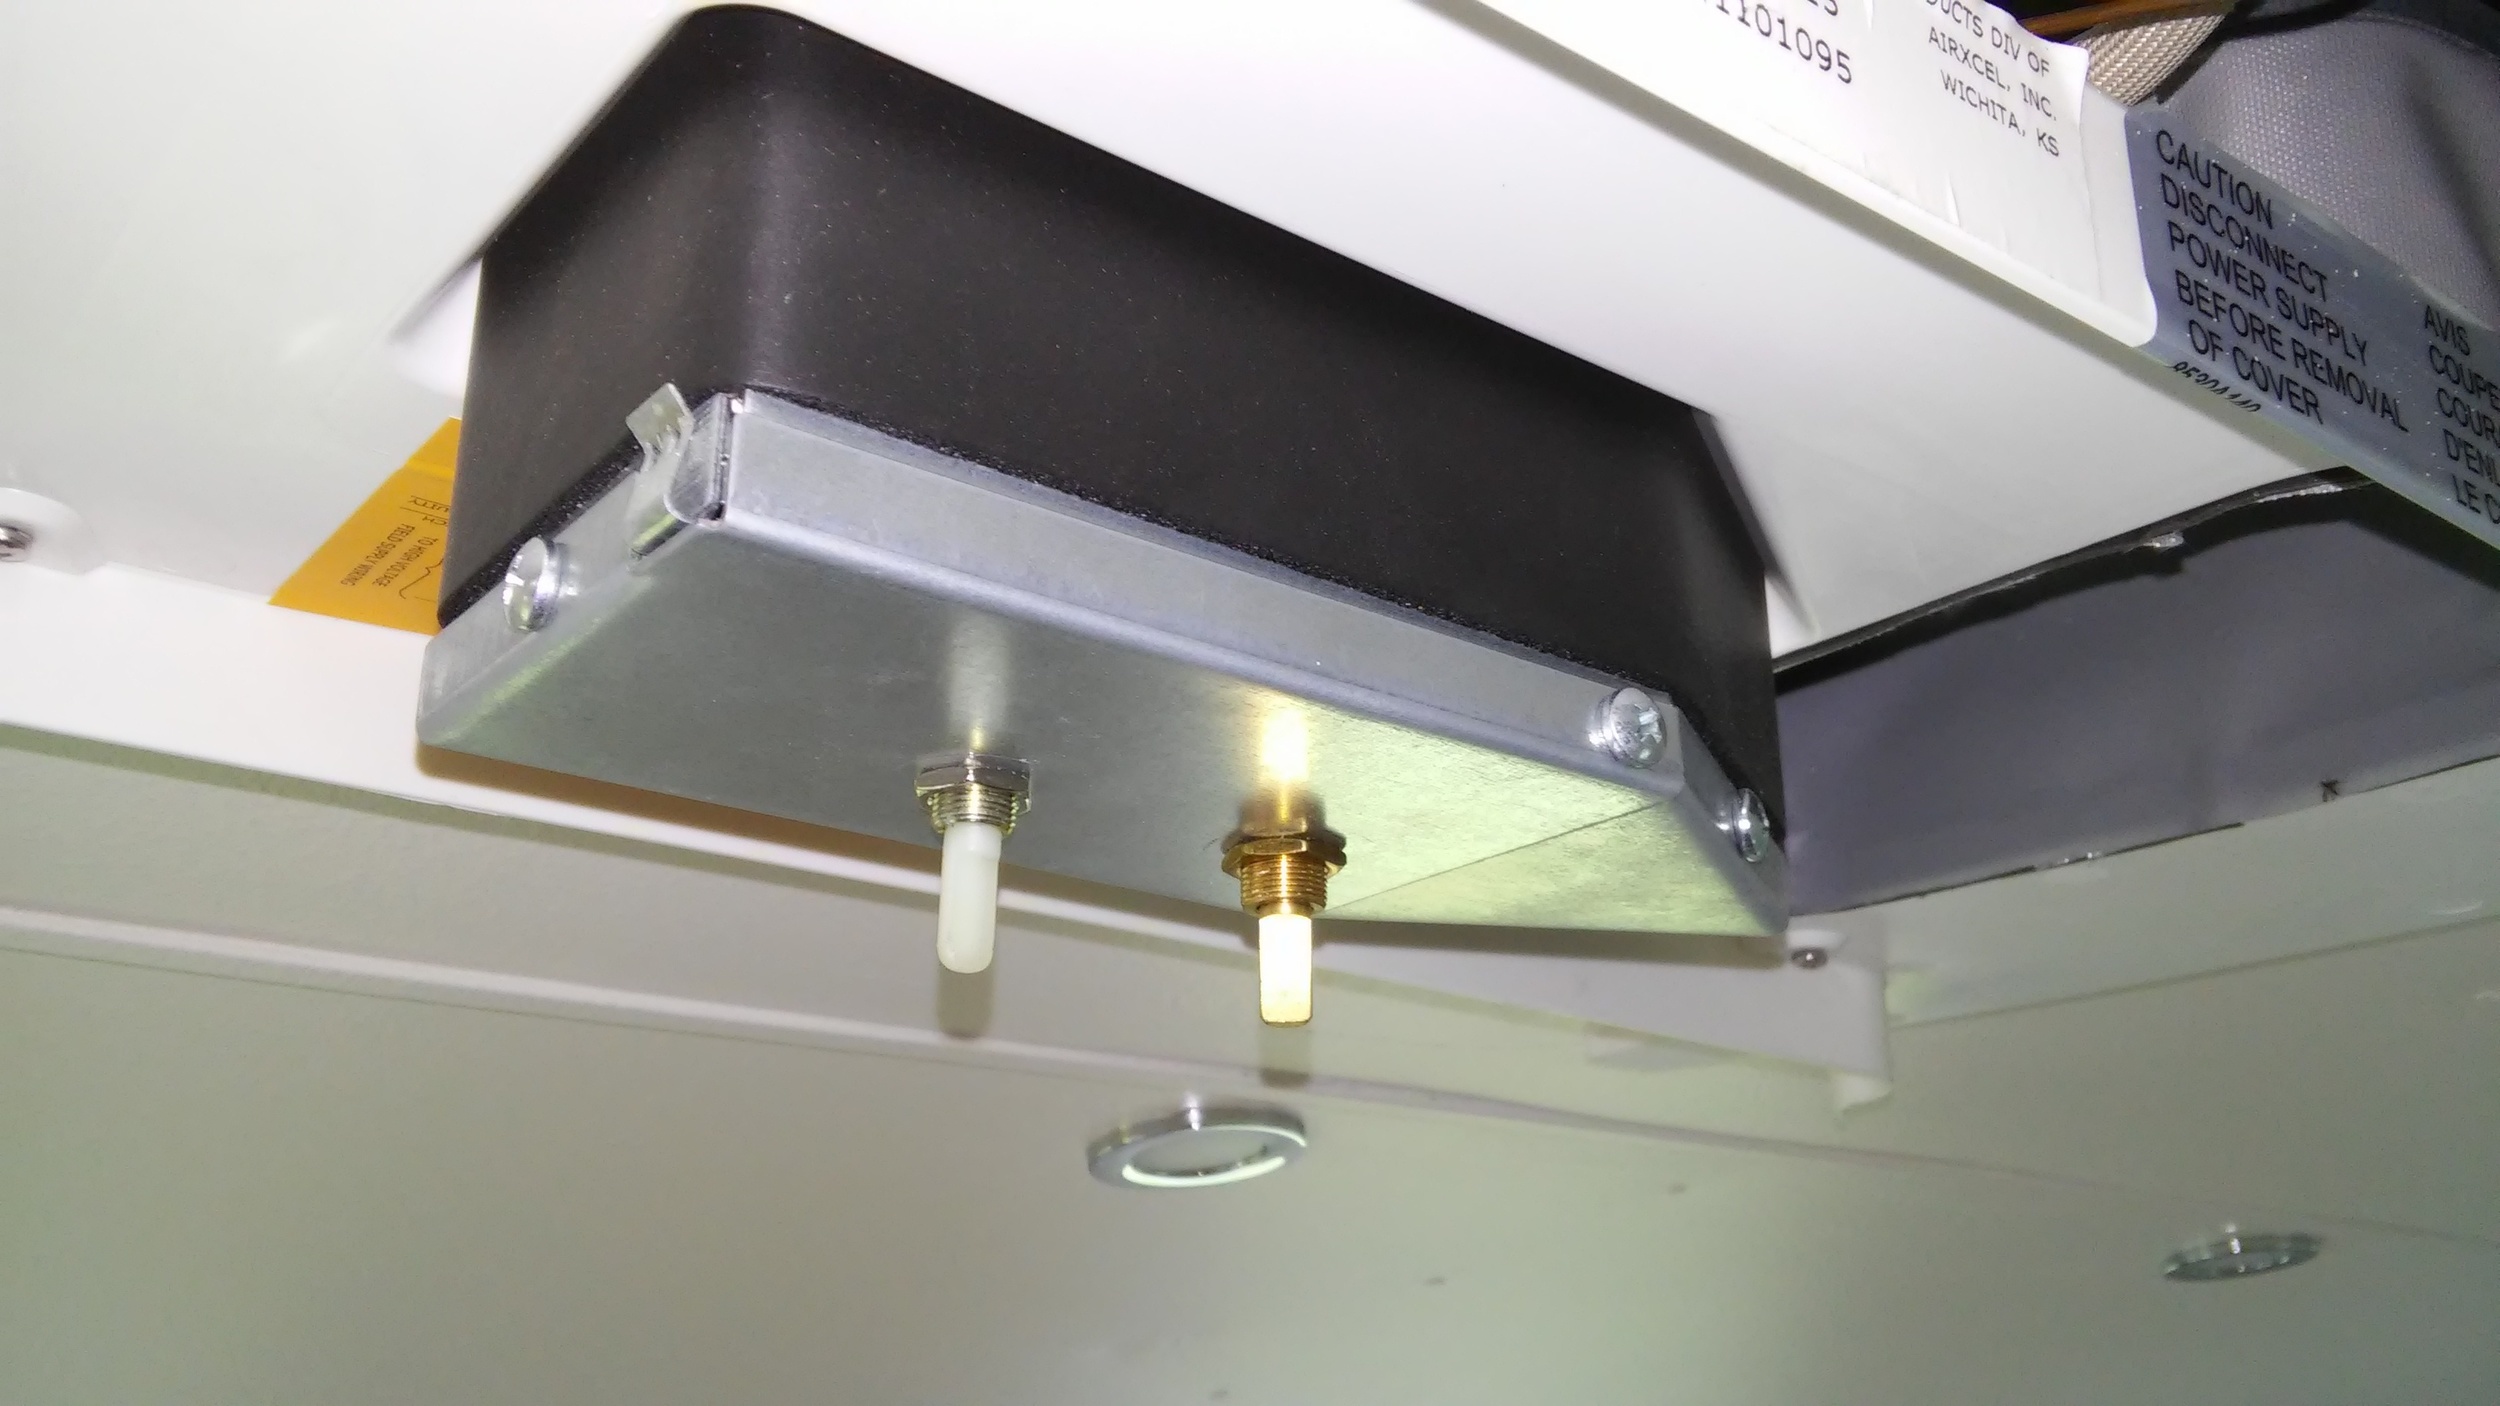
Step one, email Airxcel a bunch of times and get ignored.  Step two, get fed up and call the tech service line on your lunch break, speak with a tech who happily sends you a replacement part at no charge.  Step three, remove old thermostat.

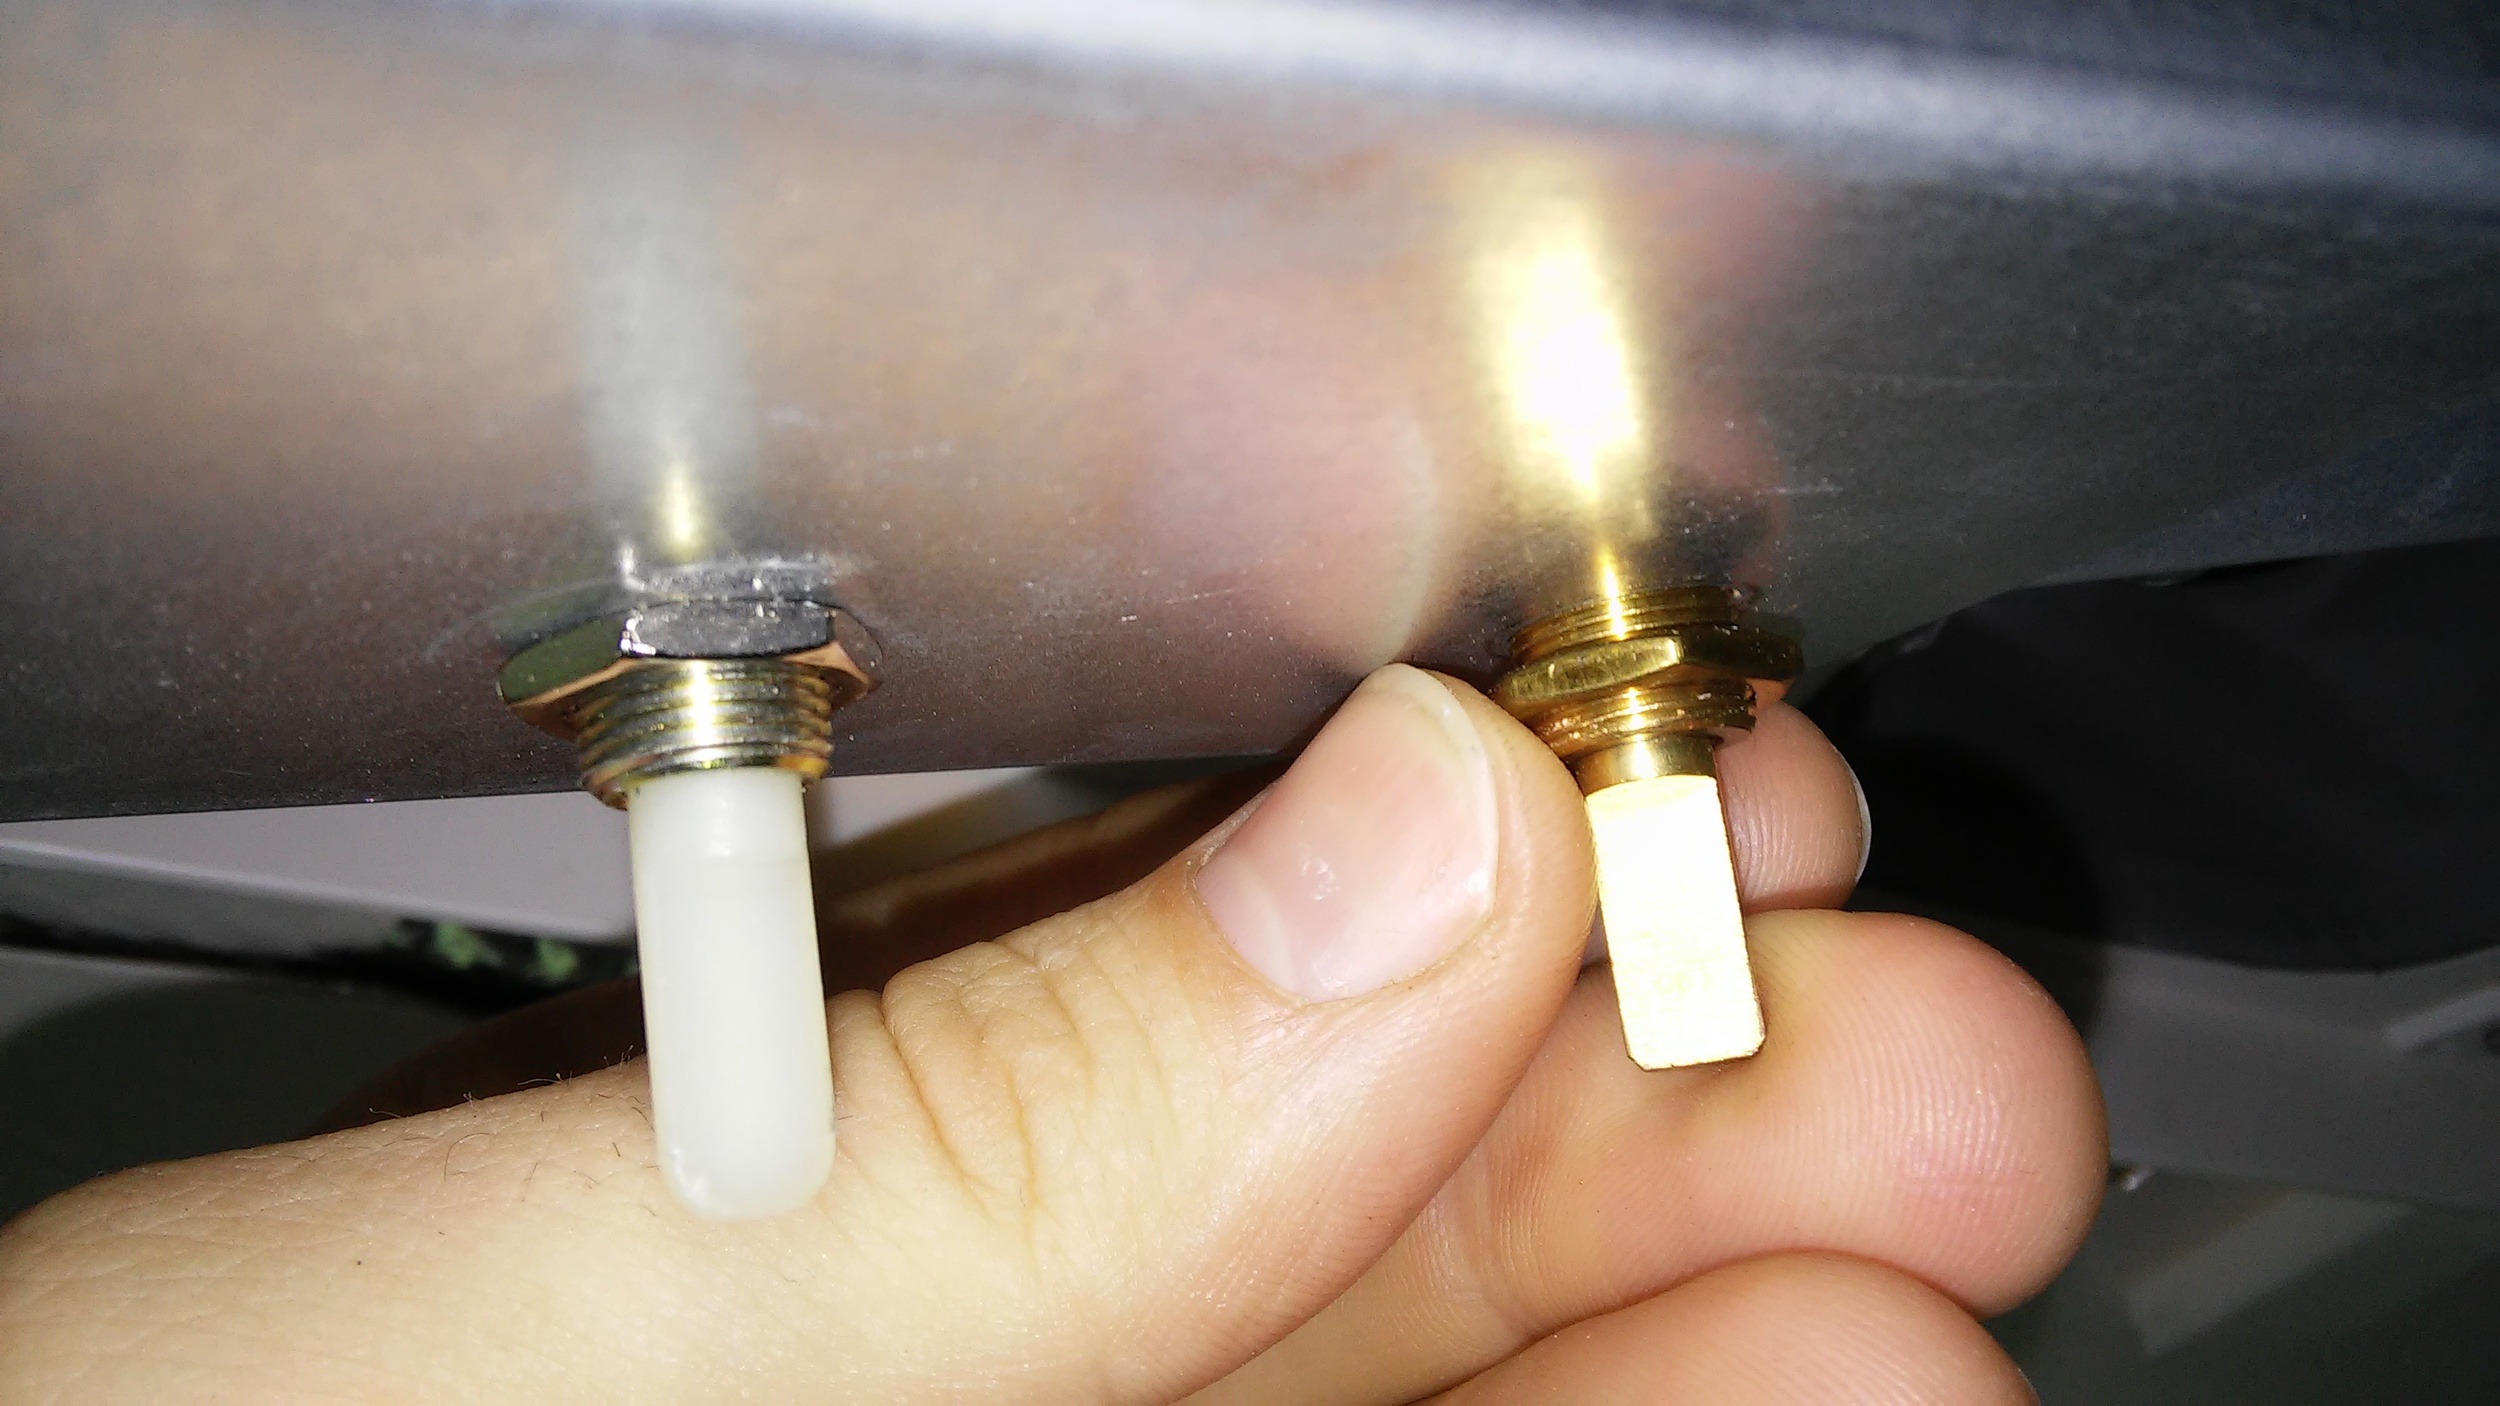
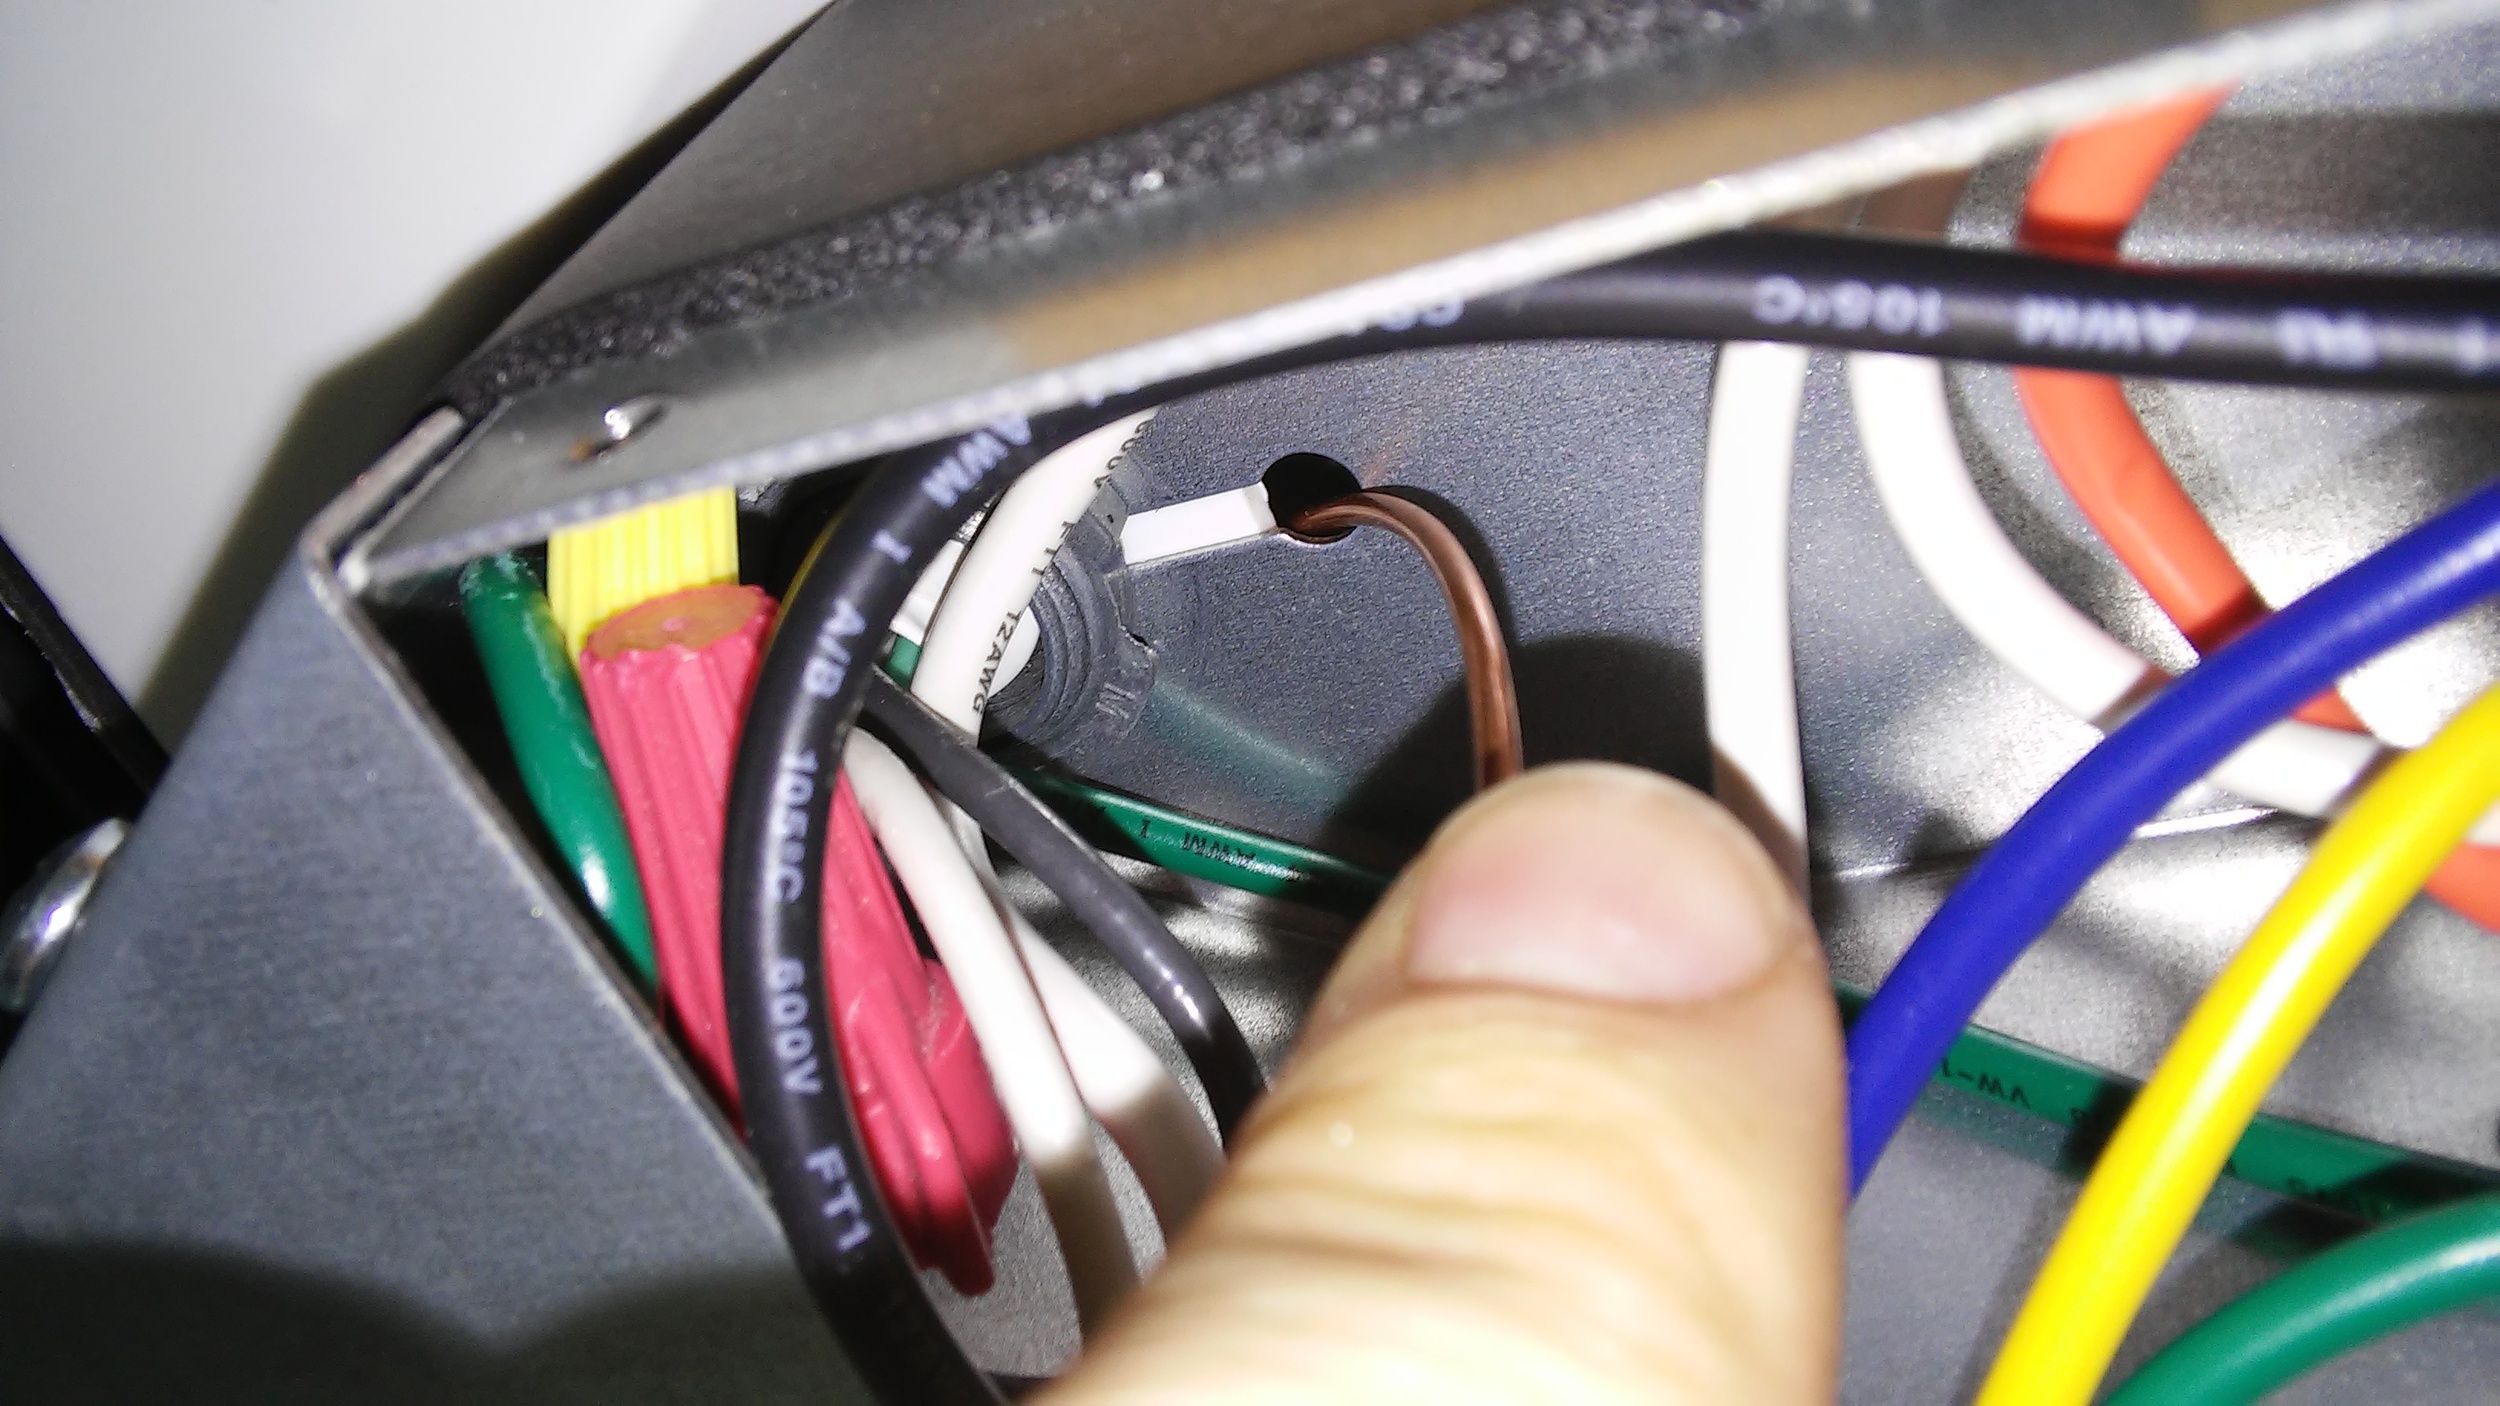
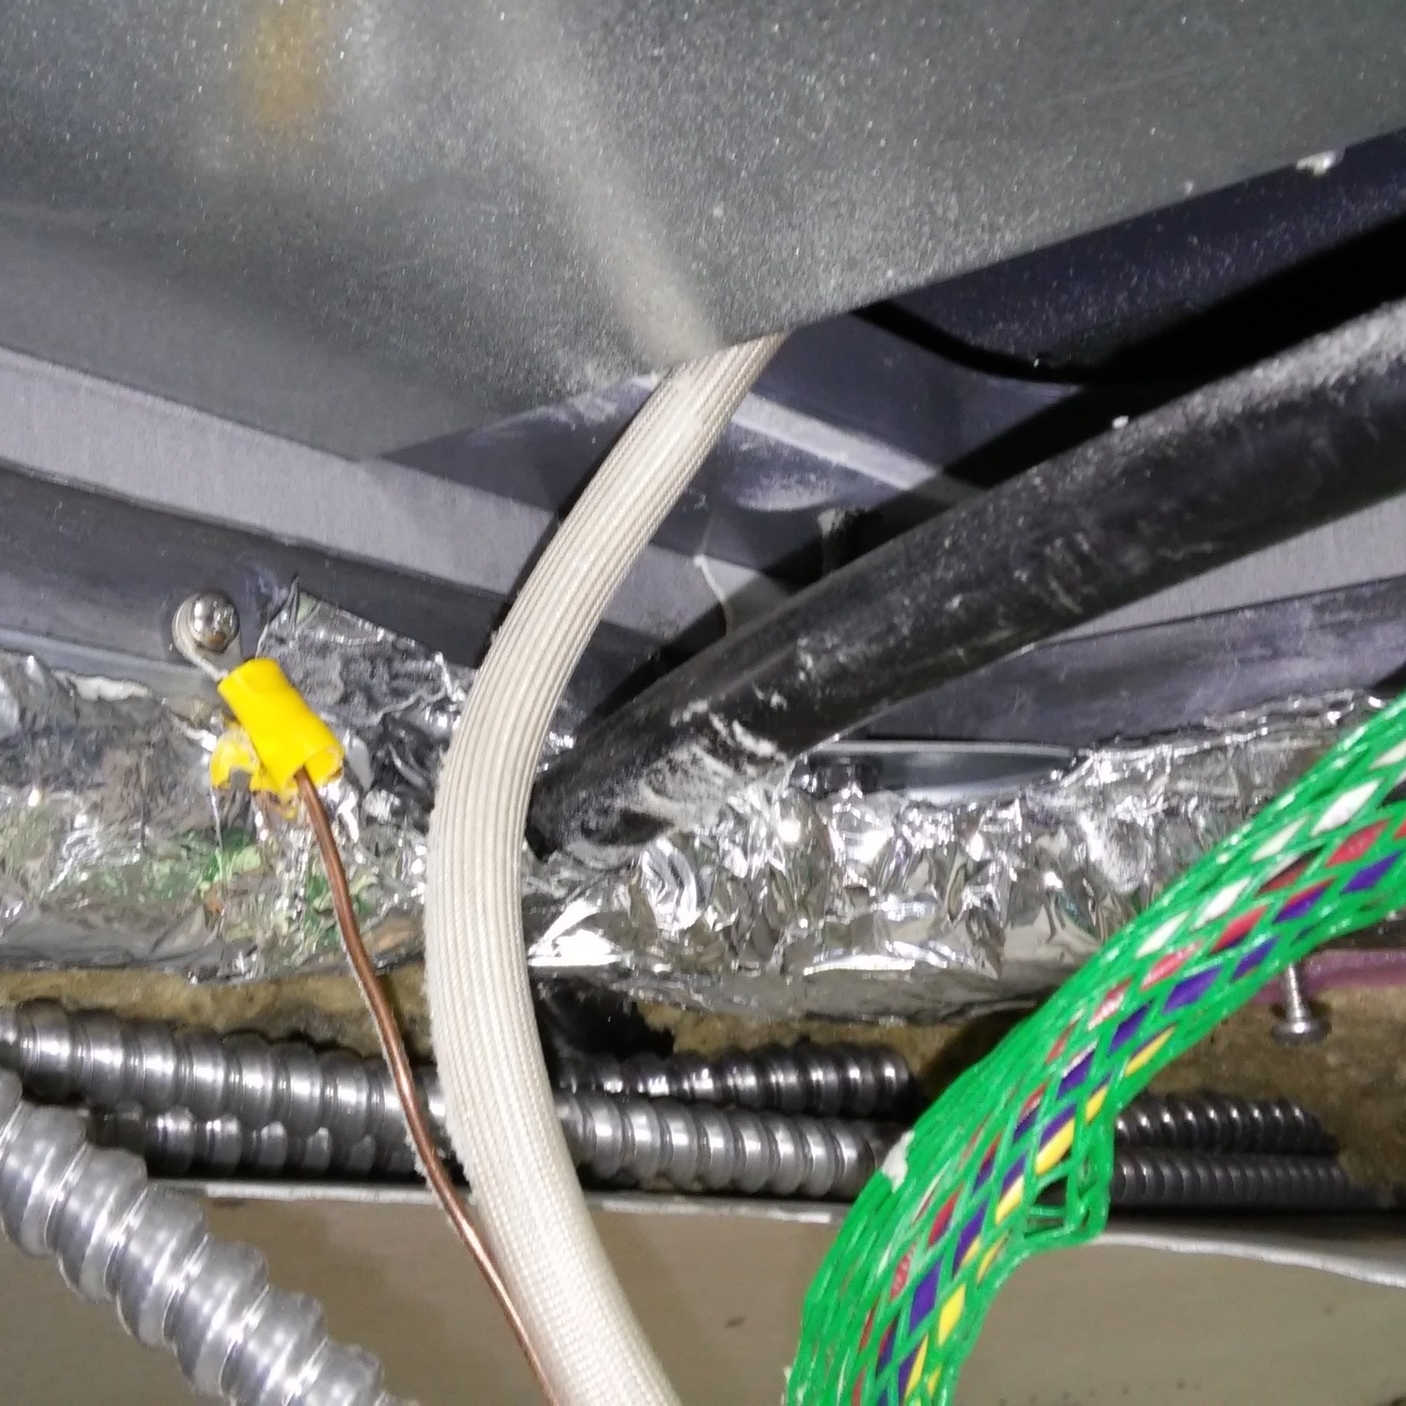
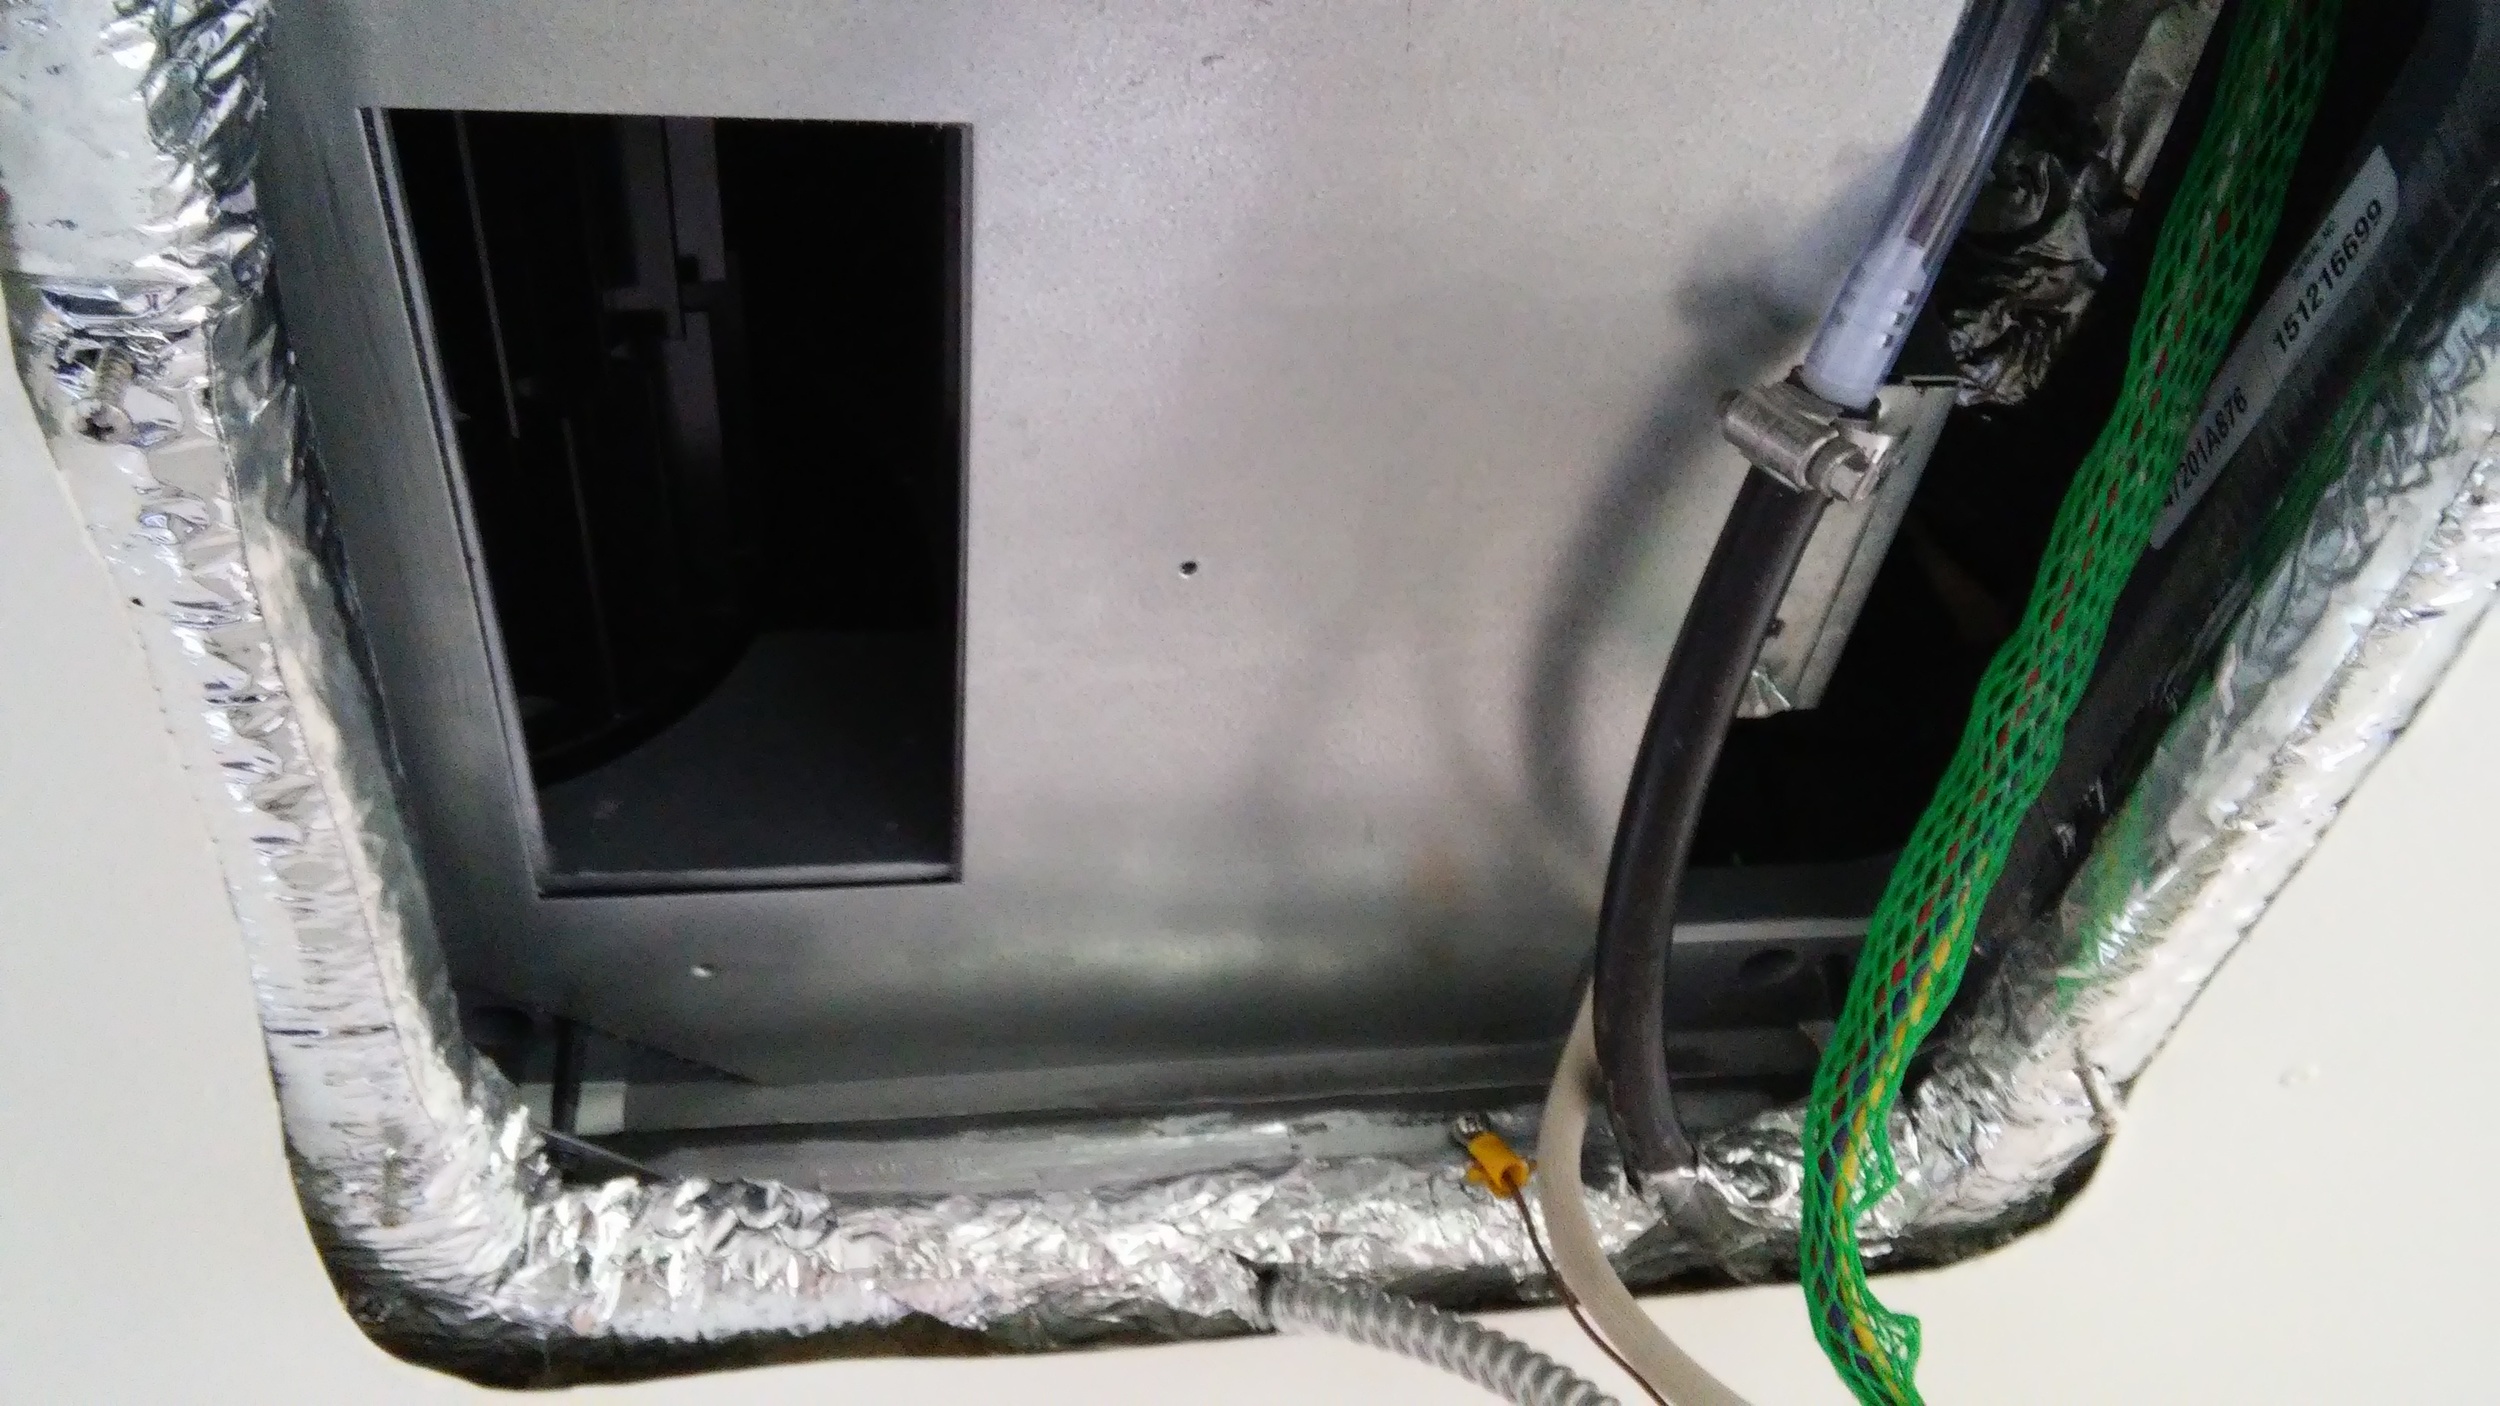
That pesky bare ground wire coming out of the ceiling assembly is from thermostat.  Need to disconnect it from the chassis to remove the old thermostat.  Remember to grab that little rubber grommet, since there isn't a new one in bag with the replacement thermostat.

Fish the new ground wire through and attach to chassis.  Don't forget to put the rubber grommet on it first.  Attach the bolt to hold the thermostat in place.

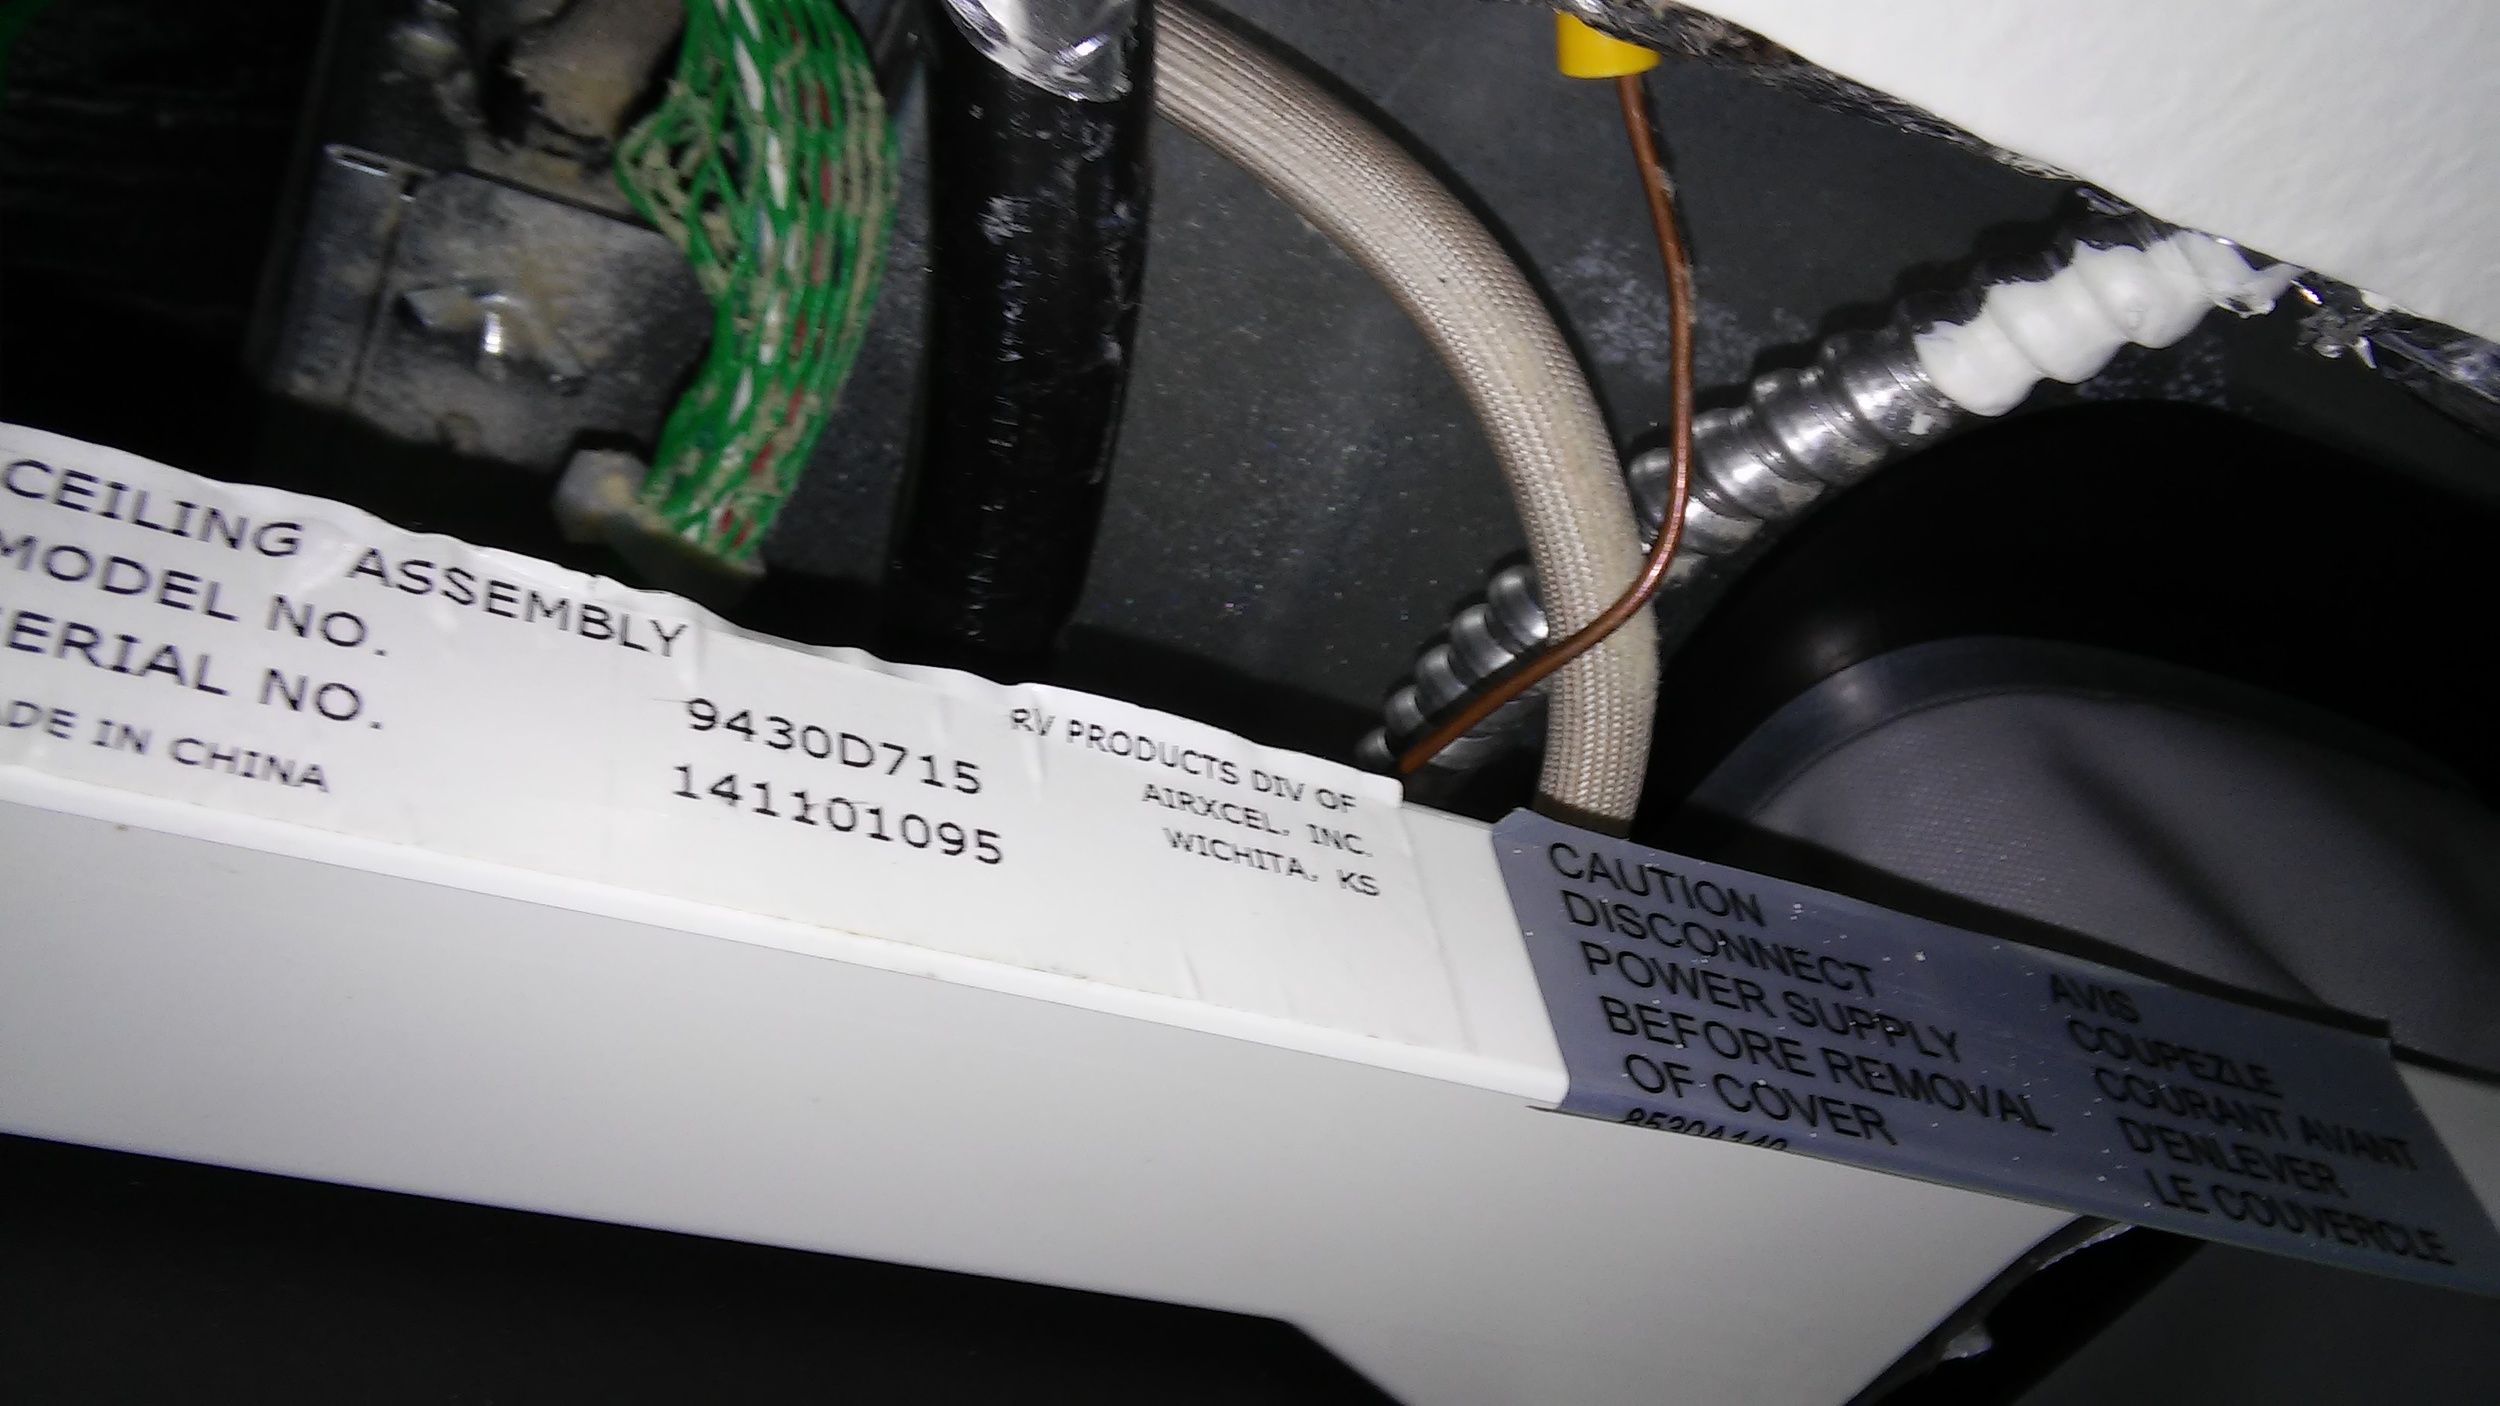
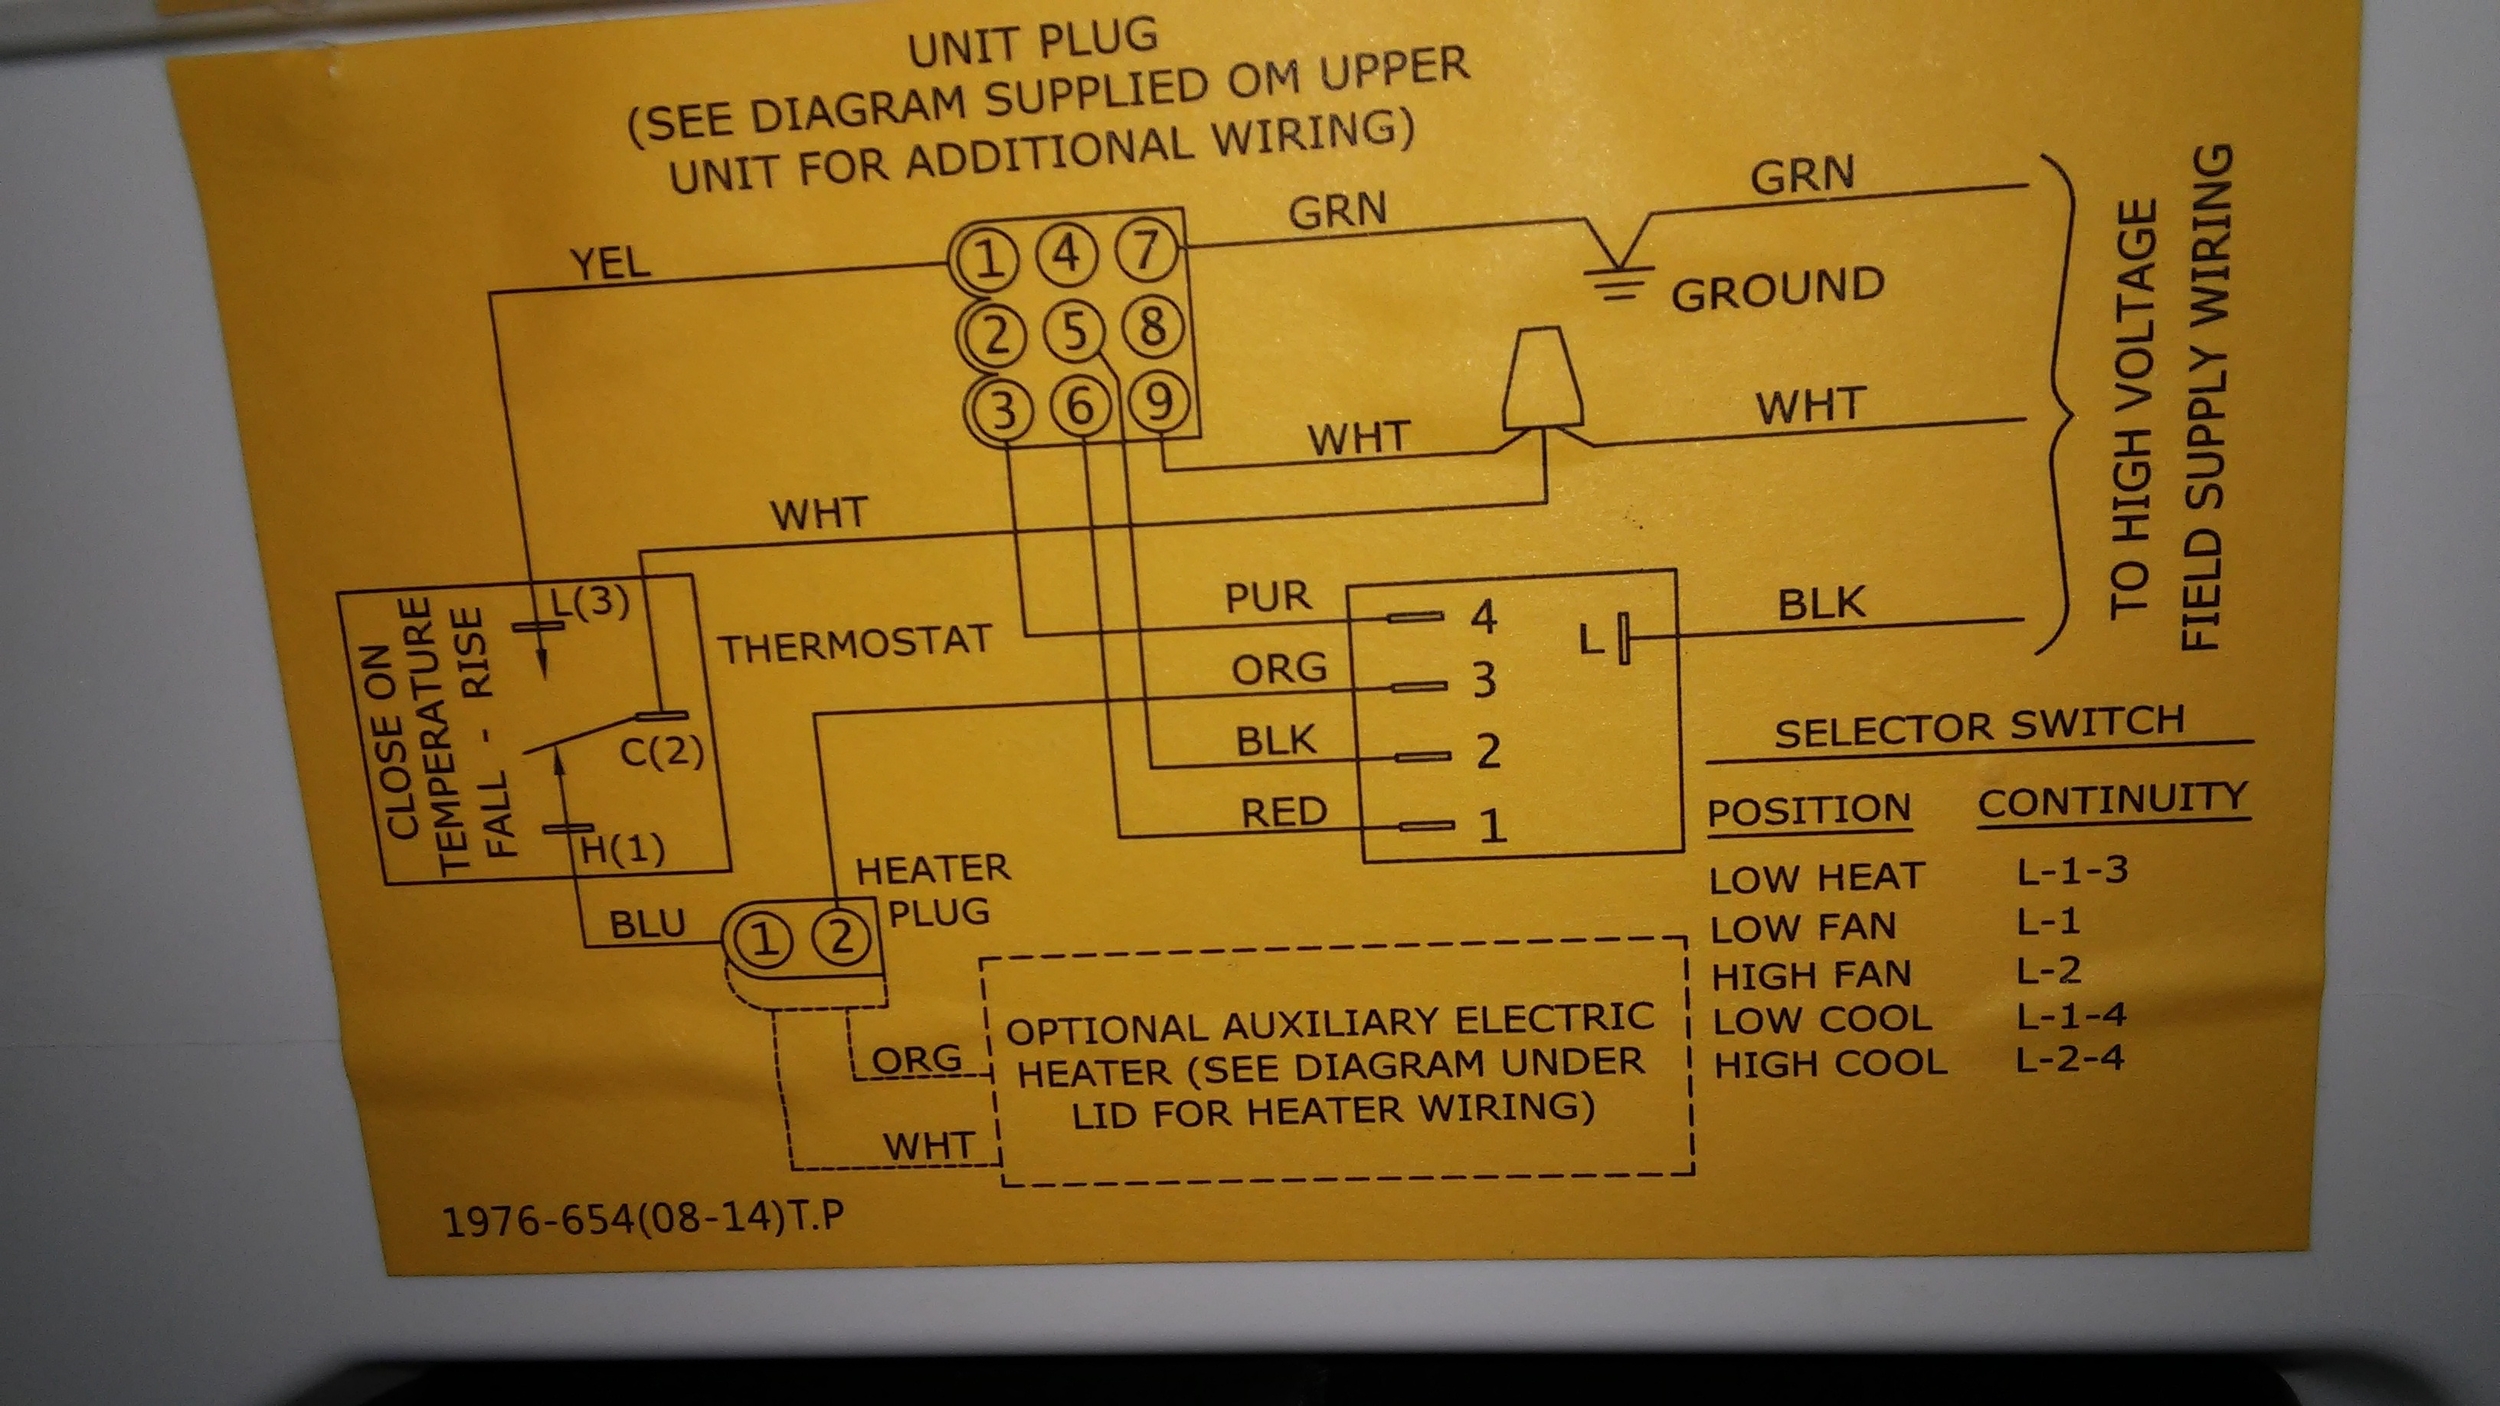
Attach the three wires.  Note the markings on the thermostat correspond to the handy sticker right in front of your face.

Three screws to get the switch cover back on, then install the interior trim and dials, and we're back in business.

More Work, Less Blogging

We're getting down to the wire, so I've been neglecting the blog while I try to get as much done as possible.  The wedding is June 18th, and I've moved the goalposts for Airstream construction from "done in time for the honeymoon" to "safe and legal to tow."  We're going to be doing some aluminum tent camping, which will be just fine by us.
Some of these links are "affiliate links."  If you decide to buy something based on our recommendation, it would be nice if you used the direct link from this page so that we can make a small commission for referring you (which doesn't cost you anything extra).
Here's the stuff I managed to take pictures of over the last month.

Once the paint was up, I was able to permanently attach the lights, like so:

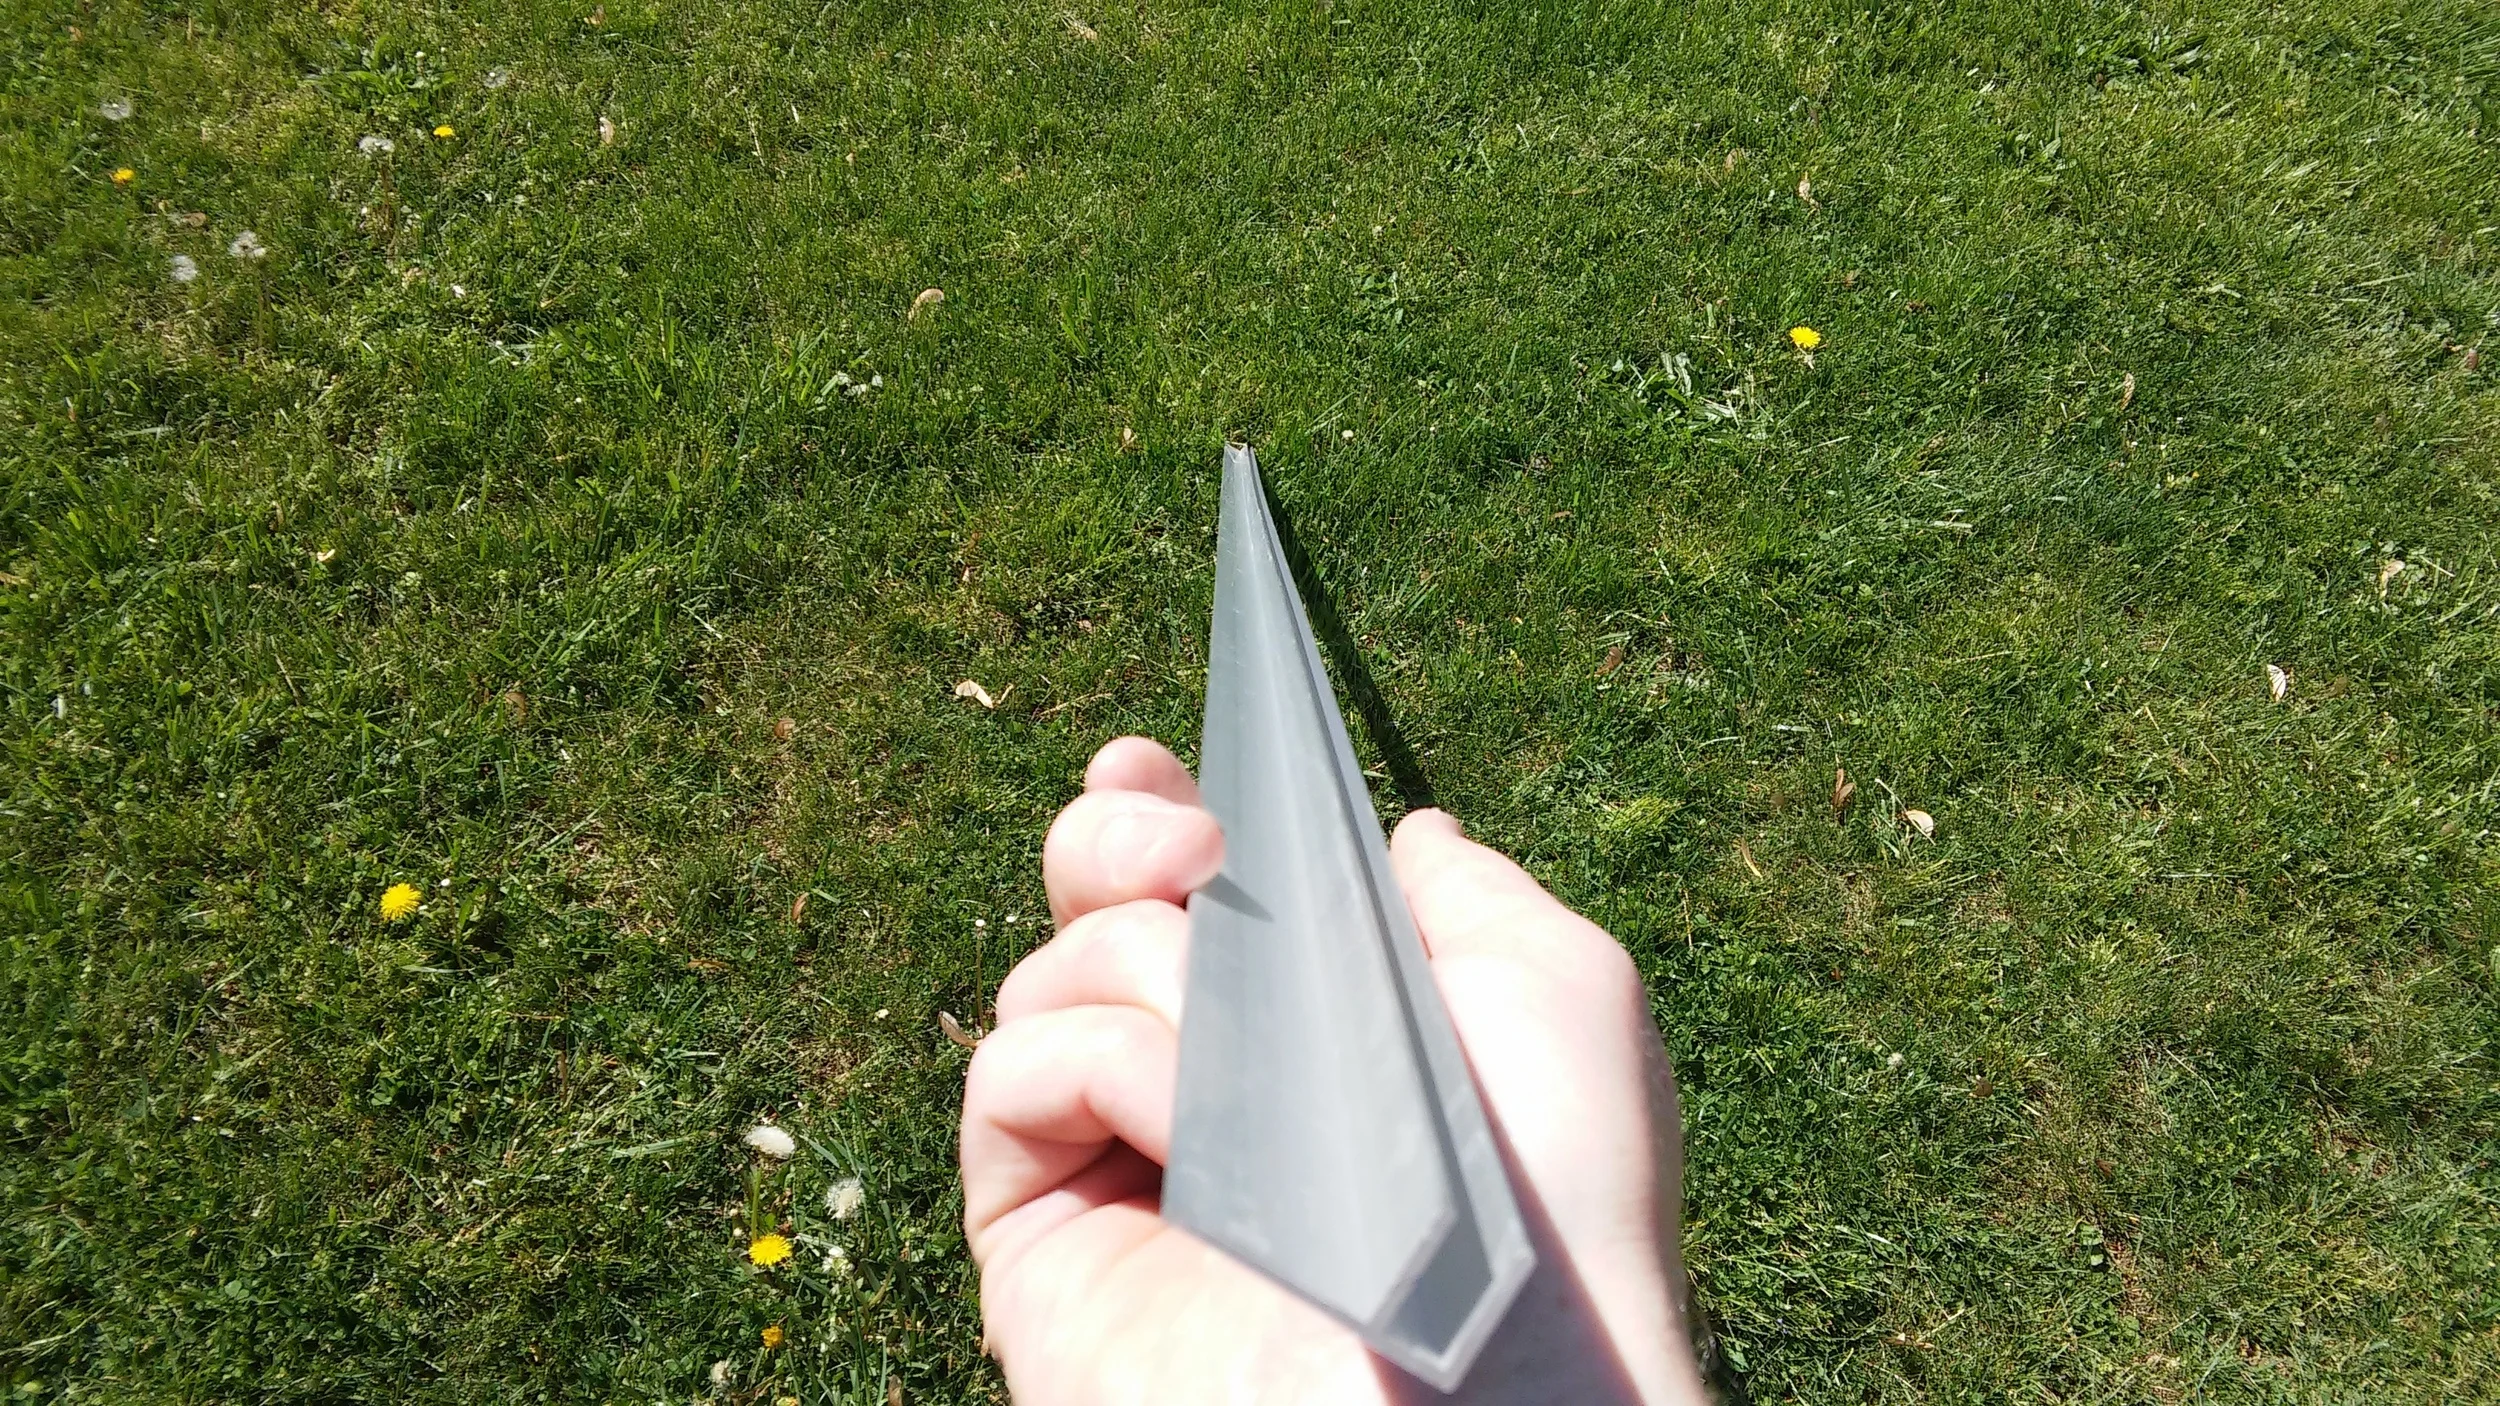
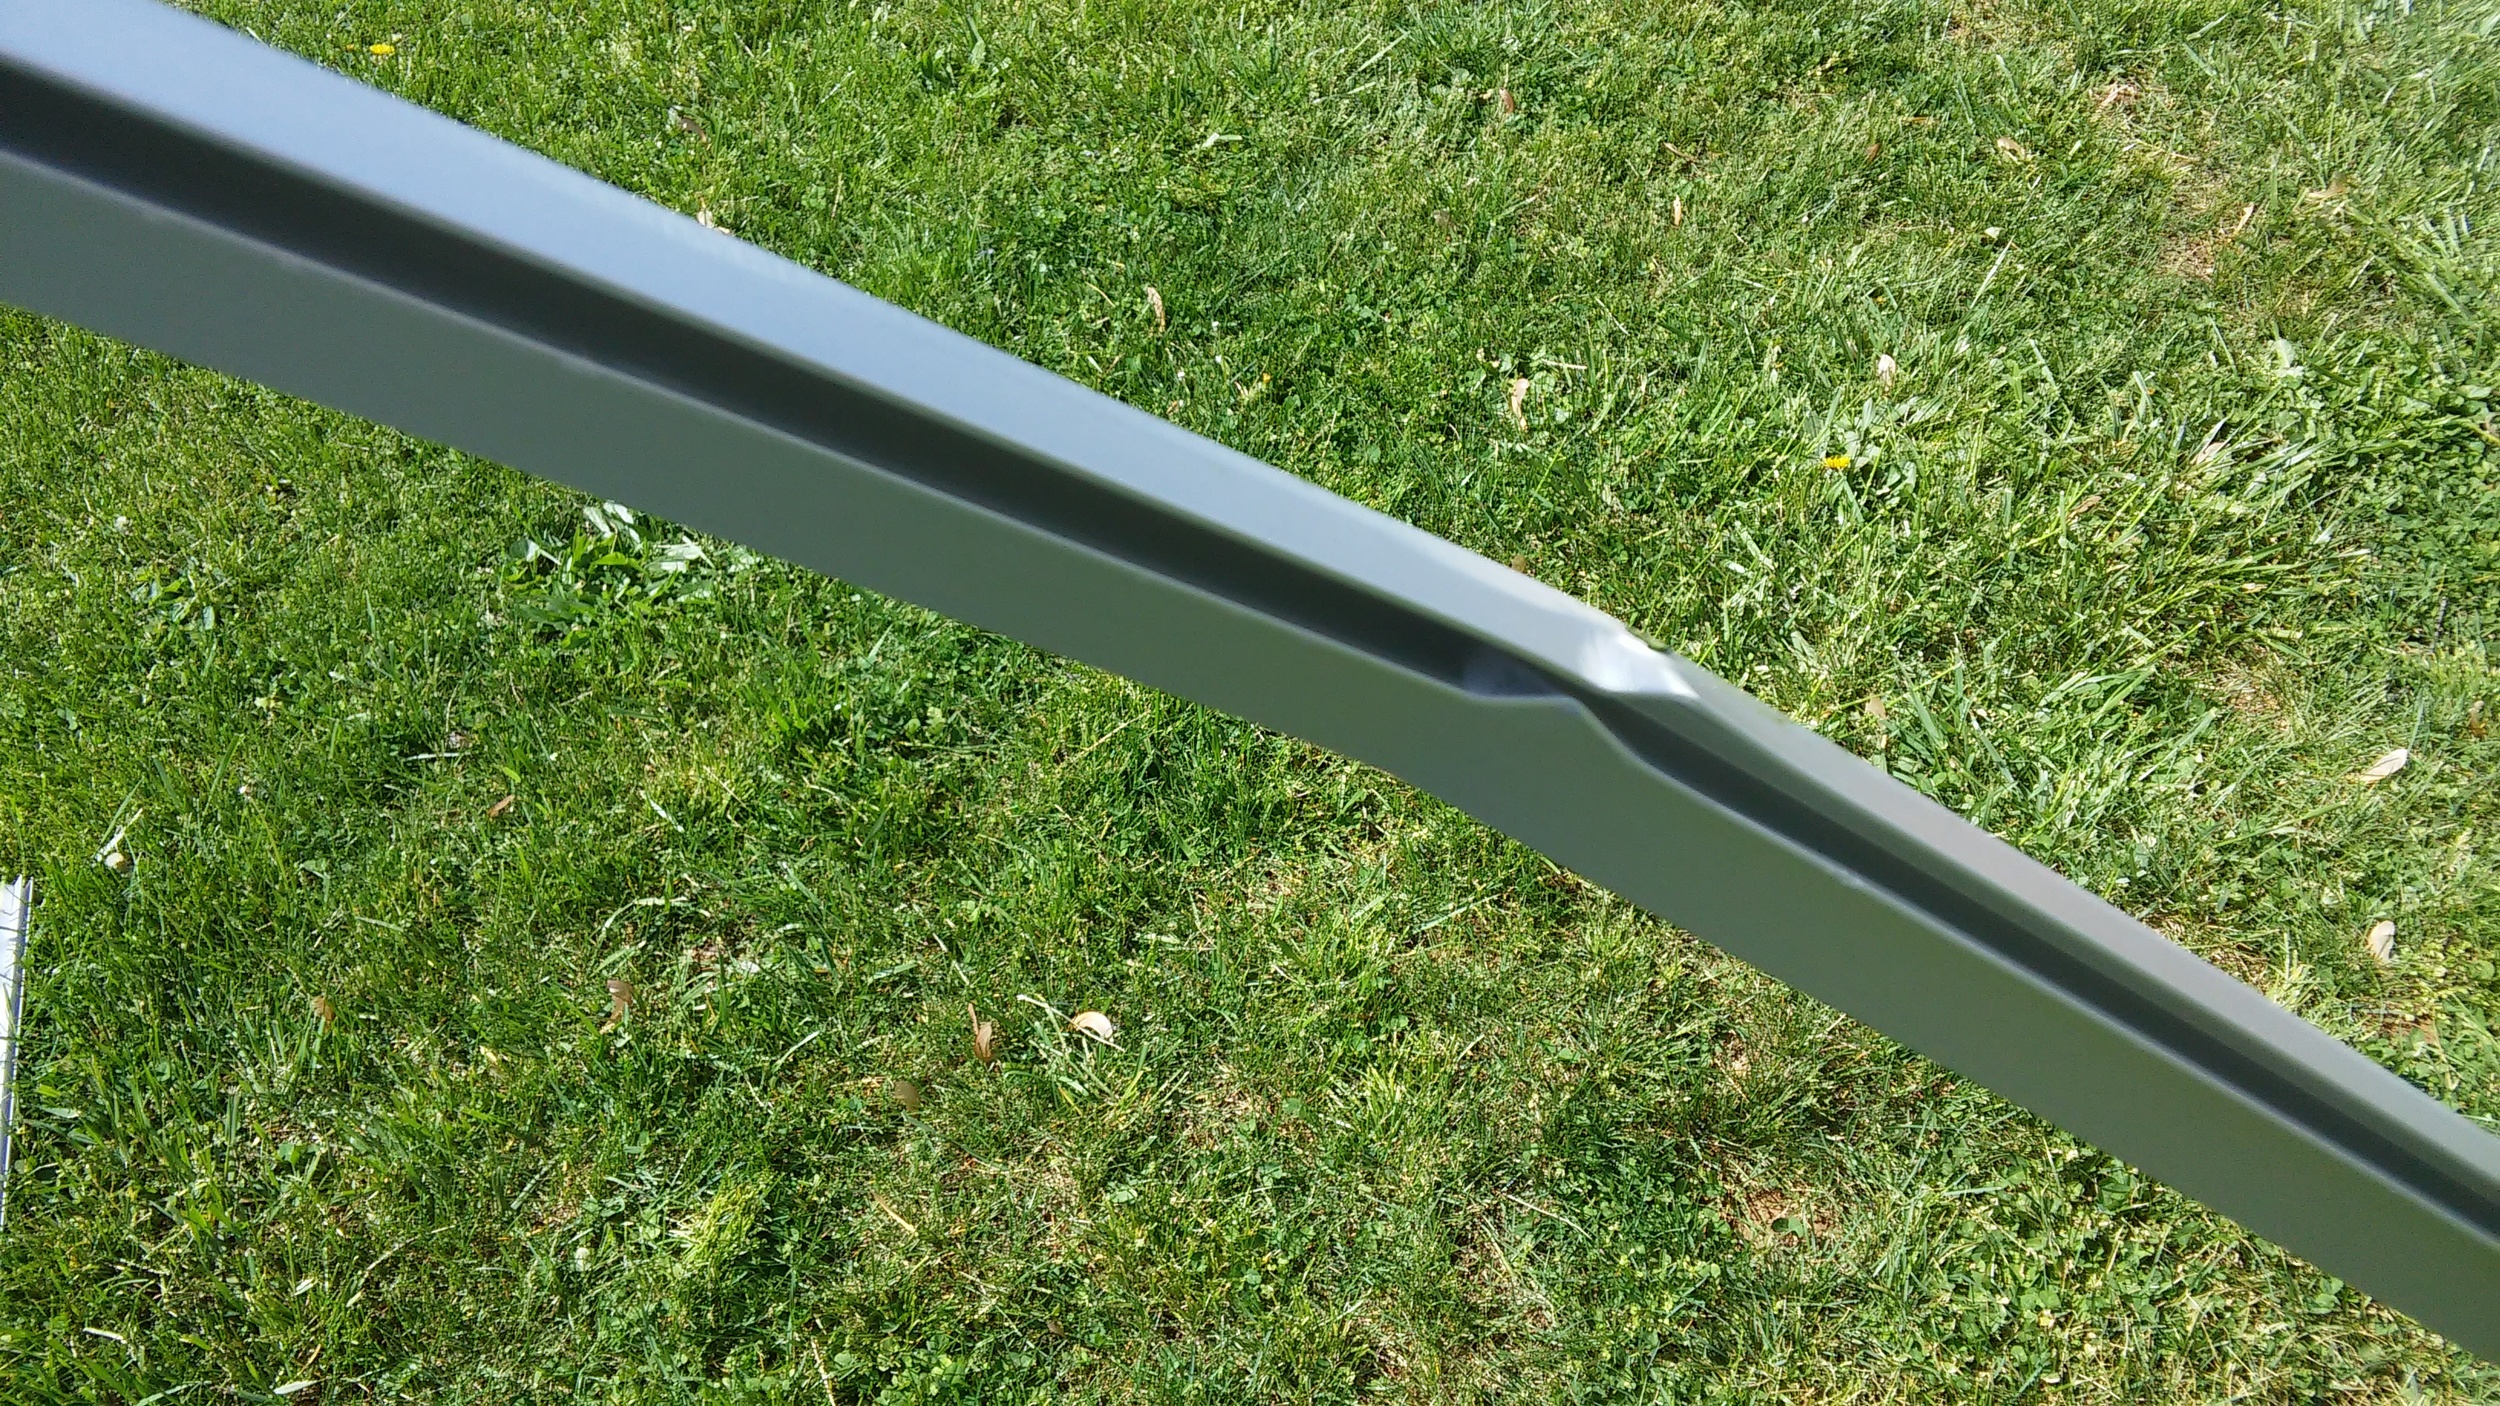
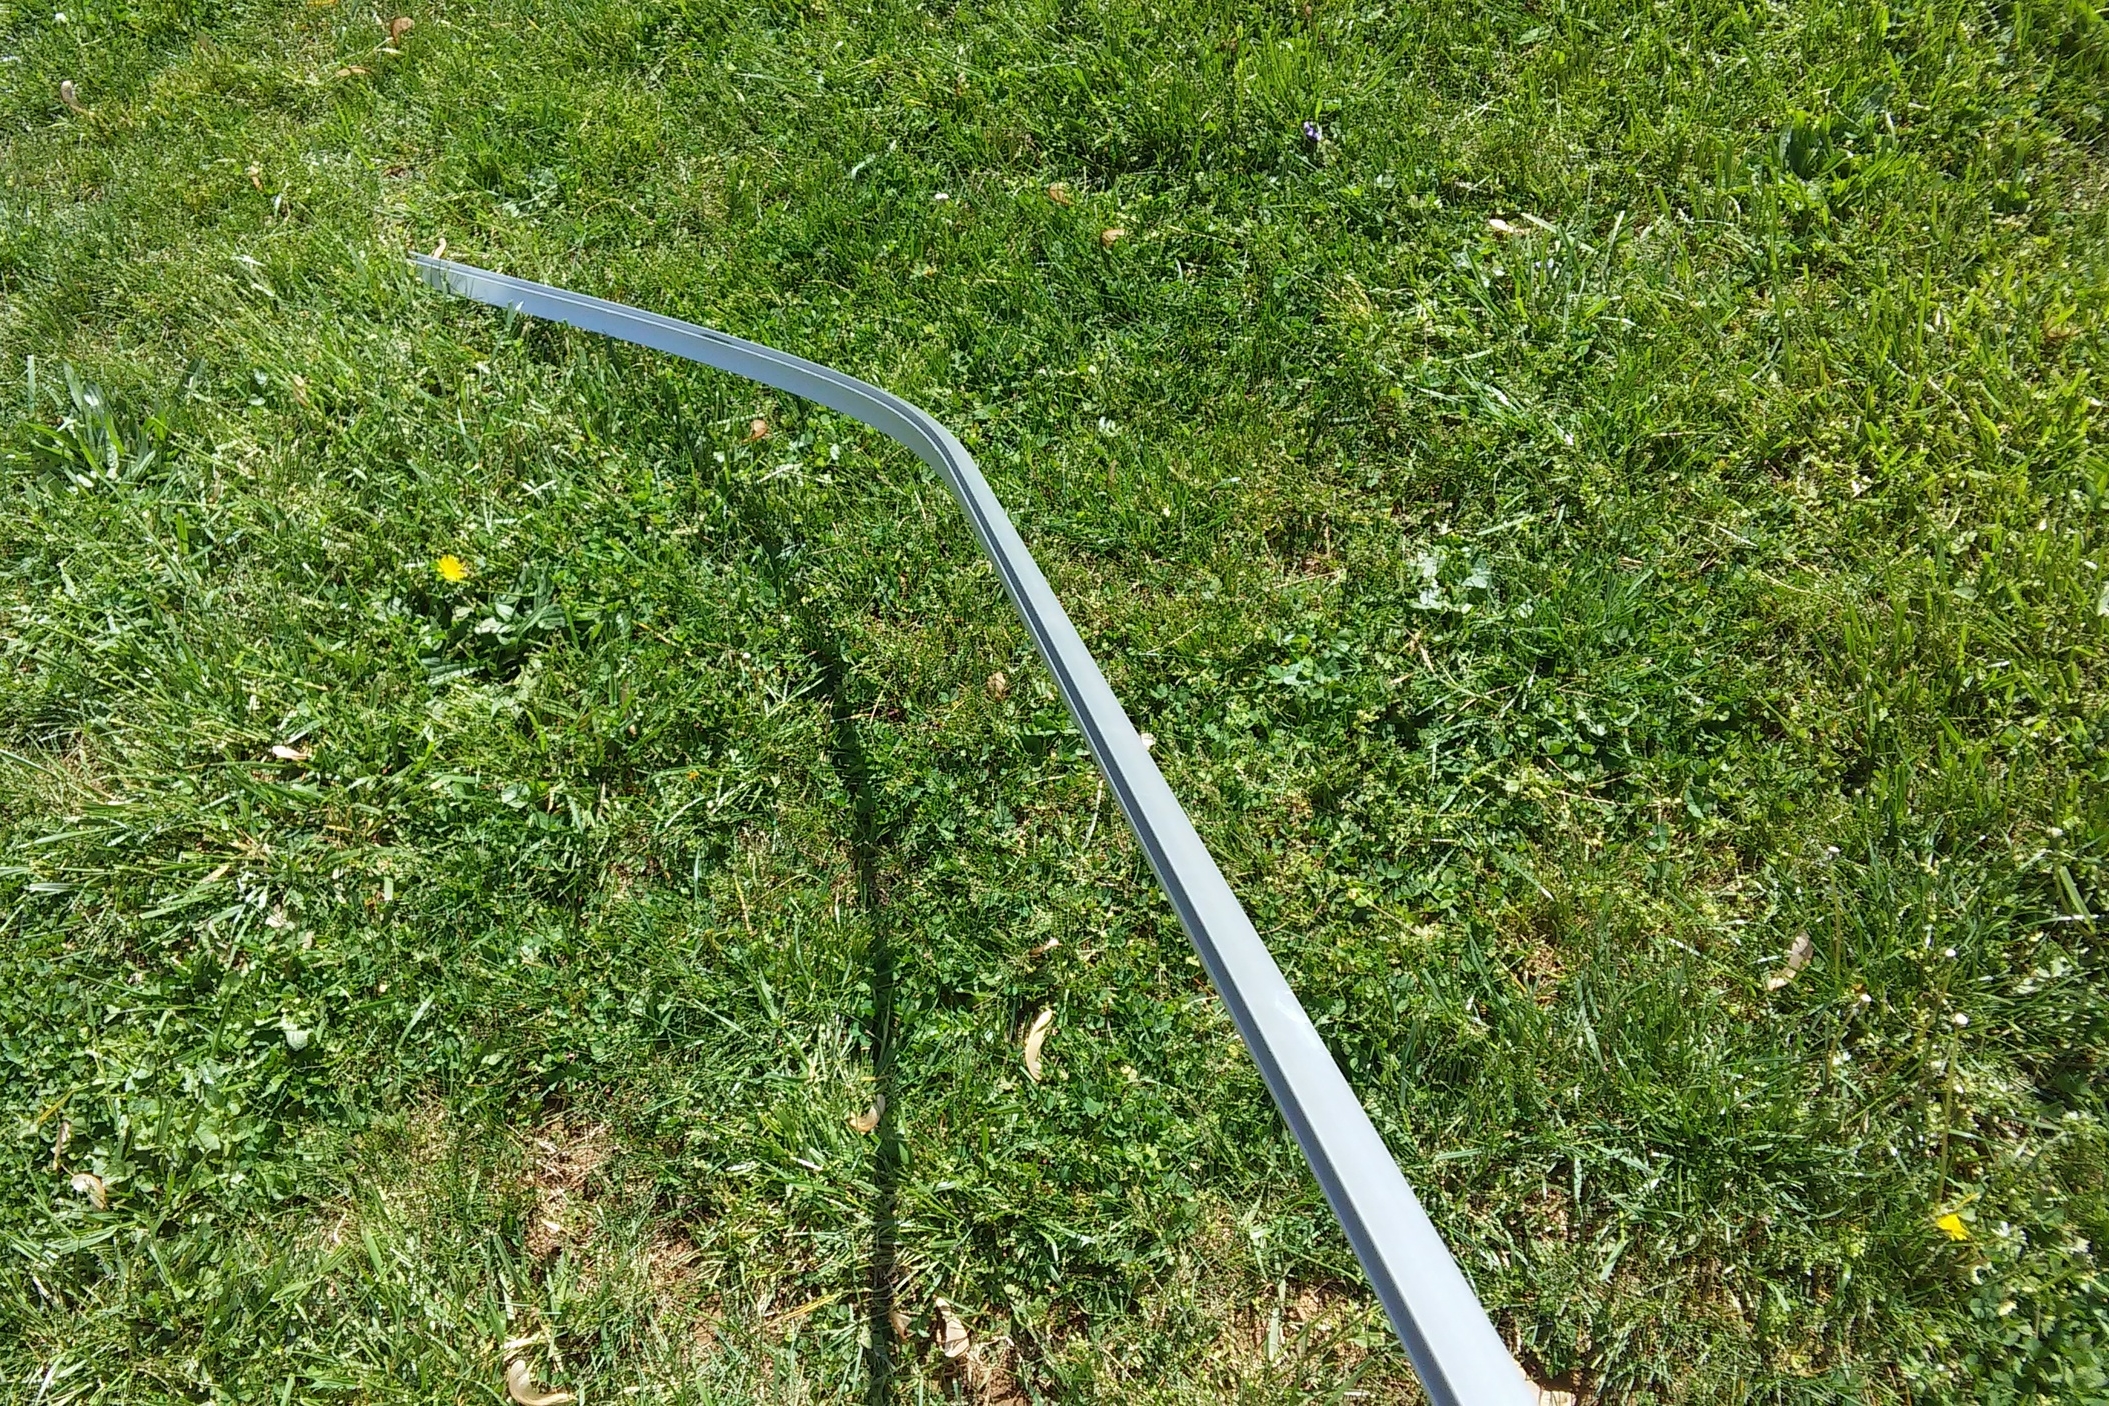
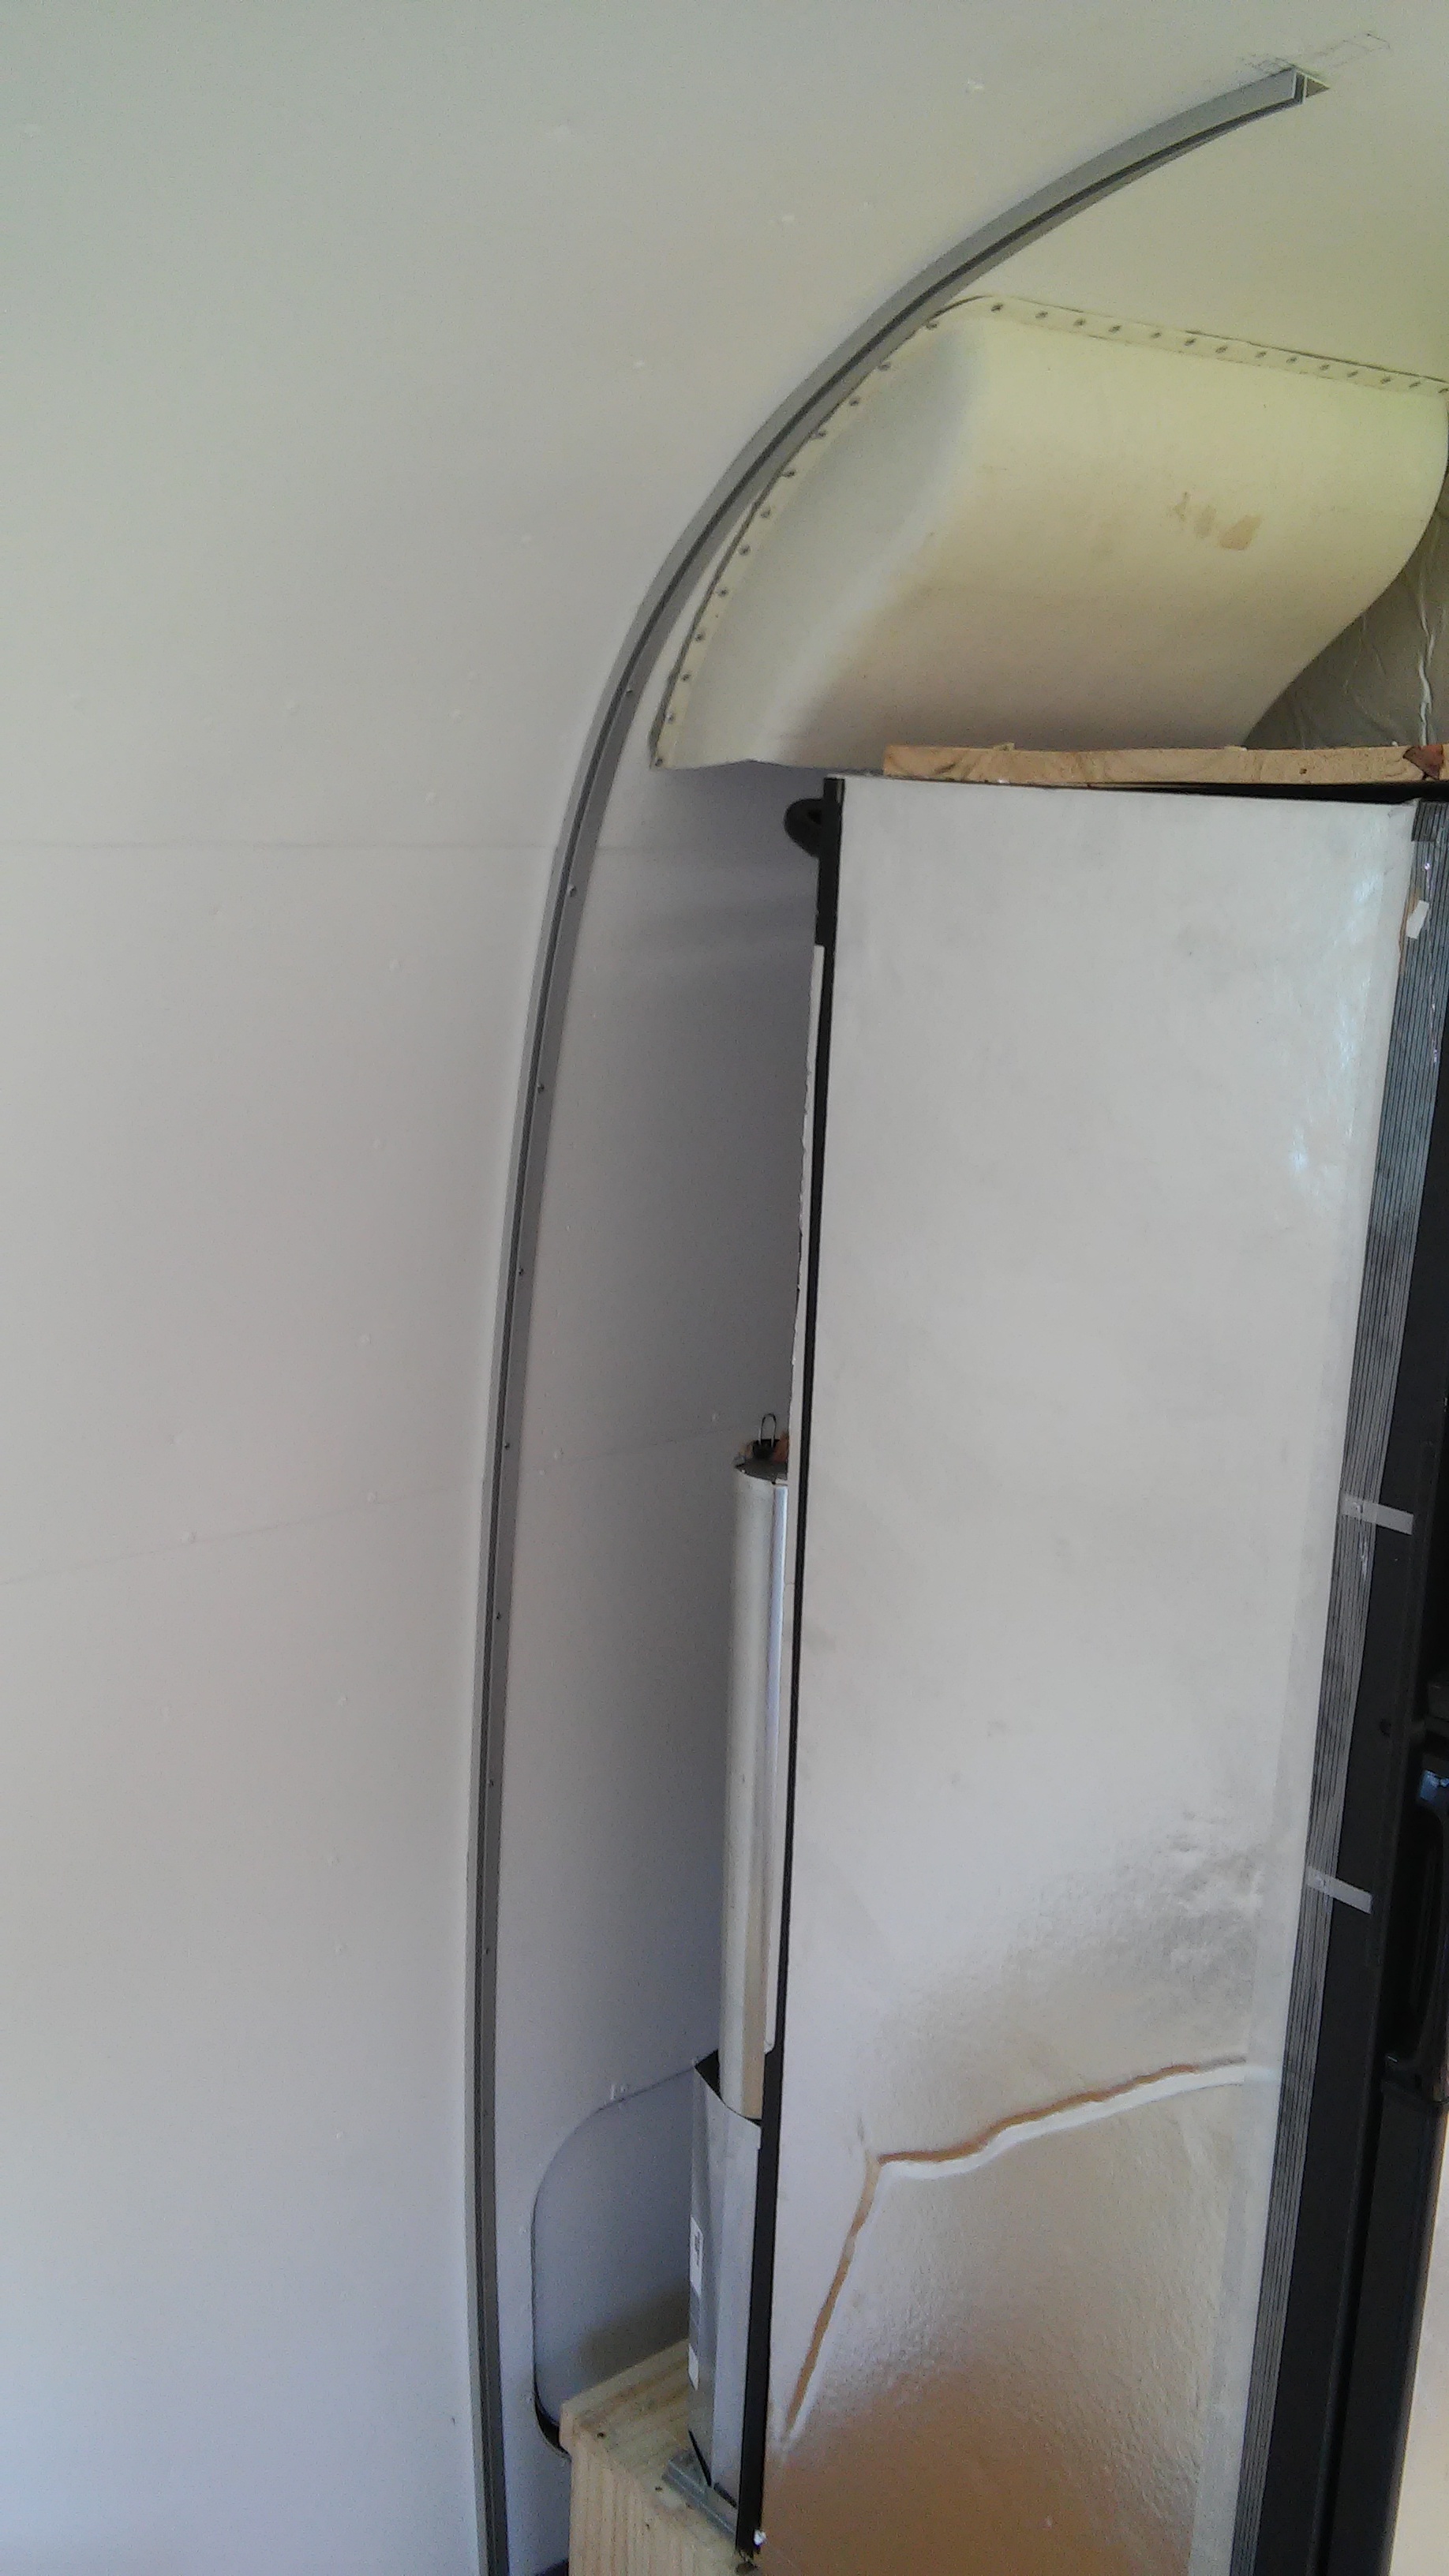
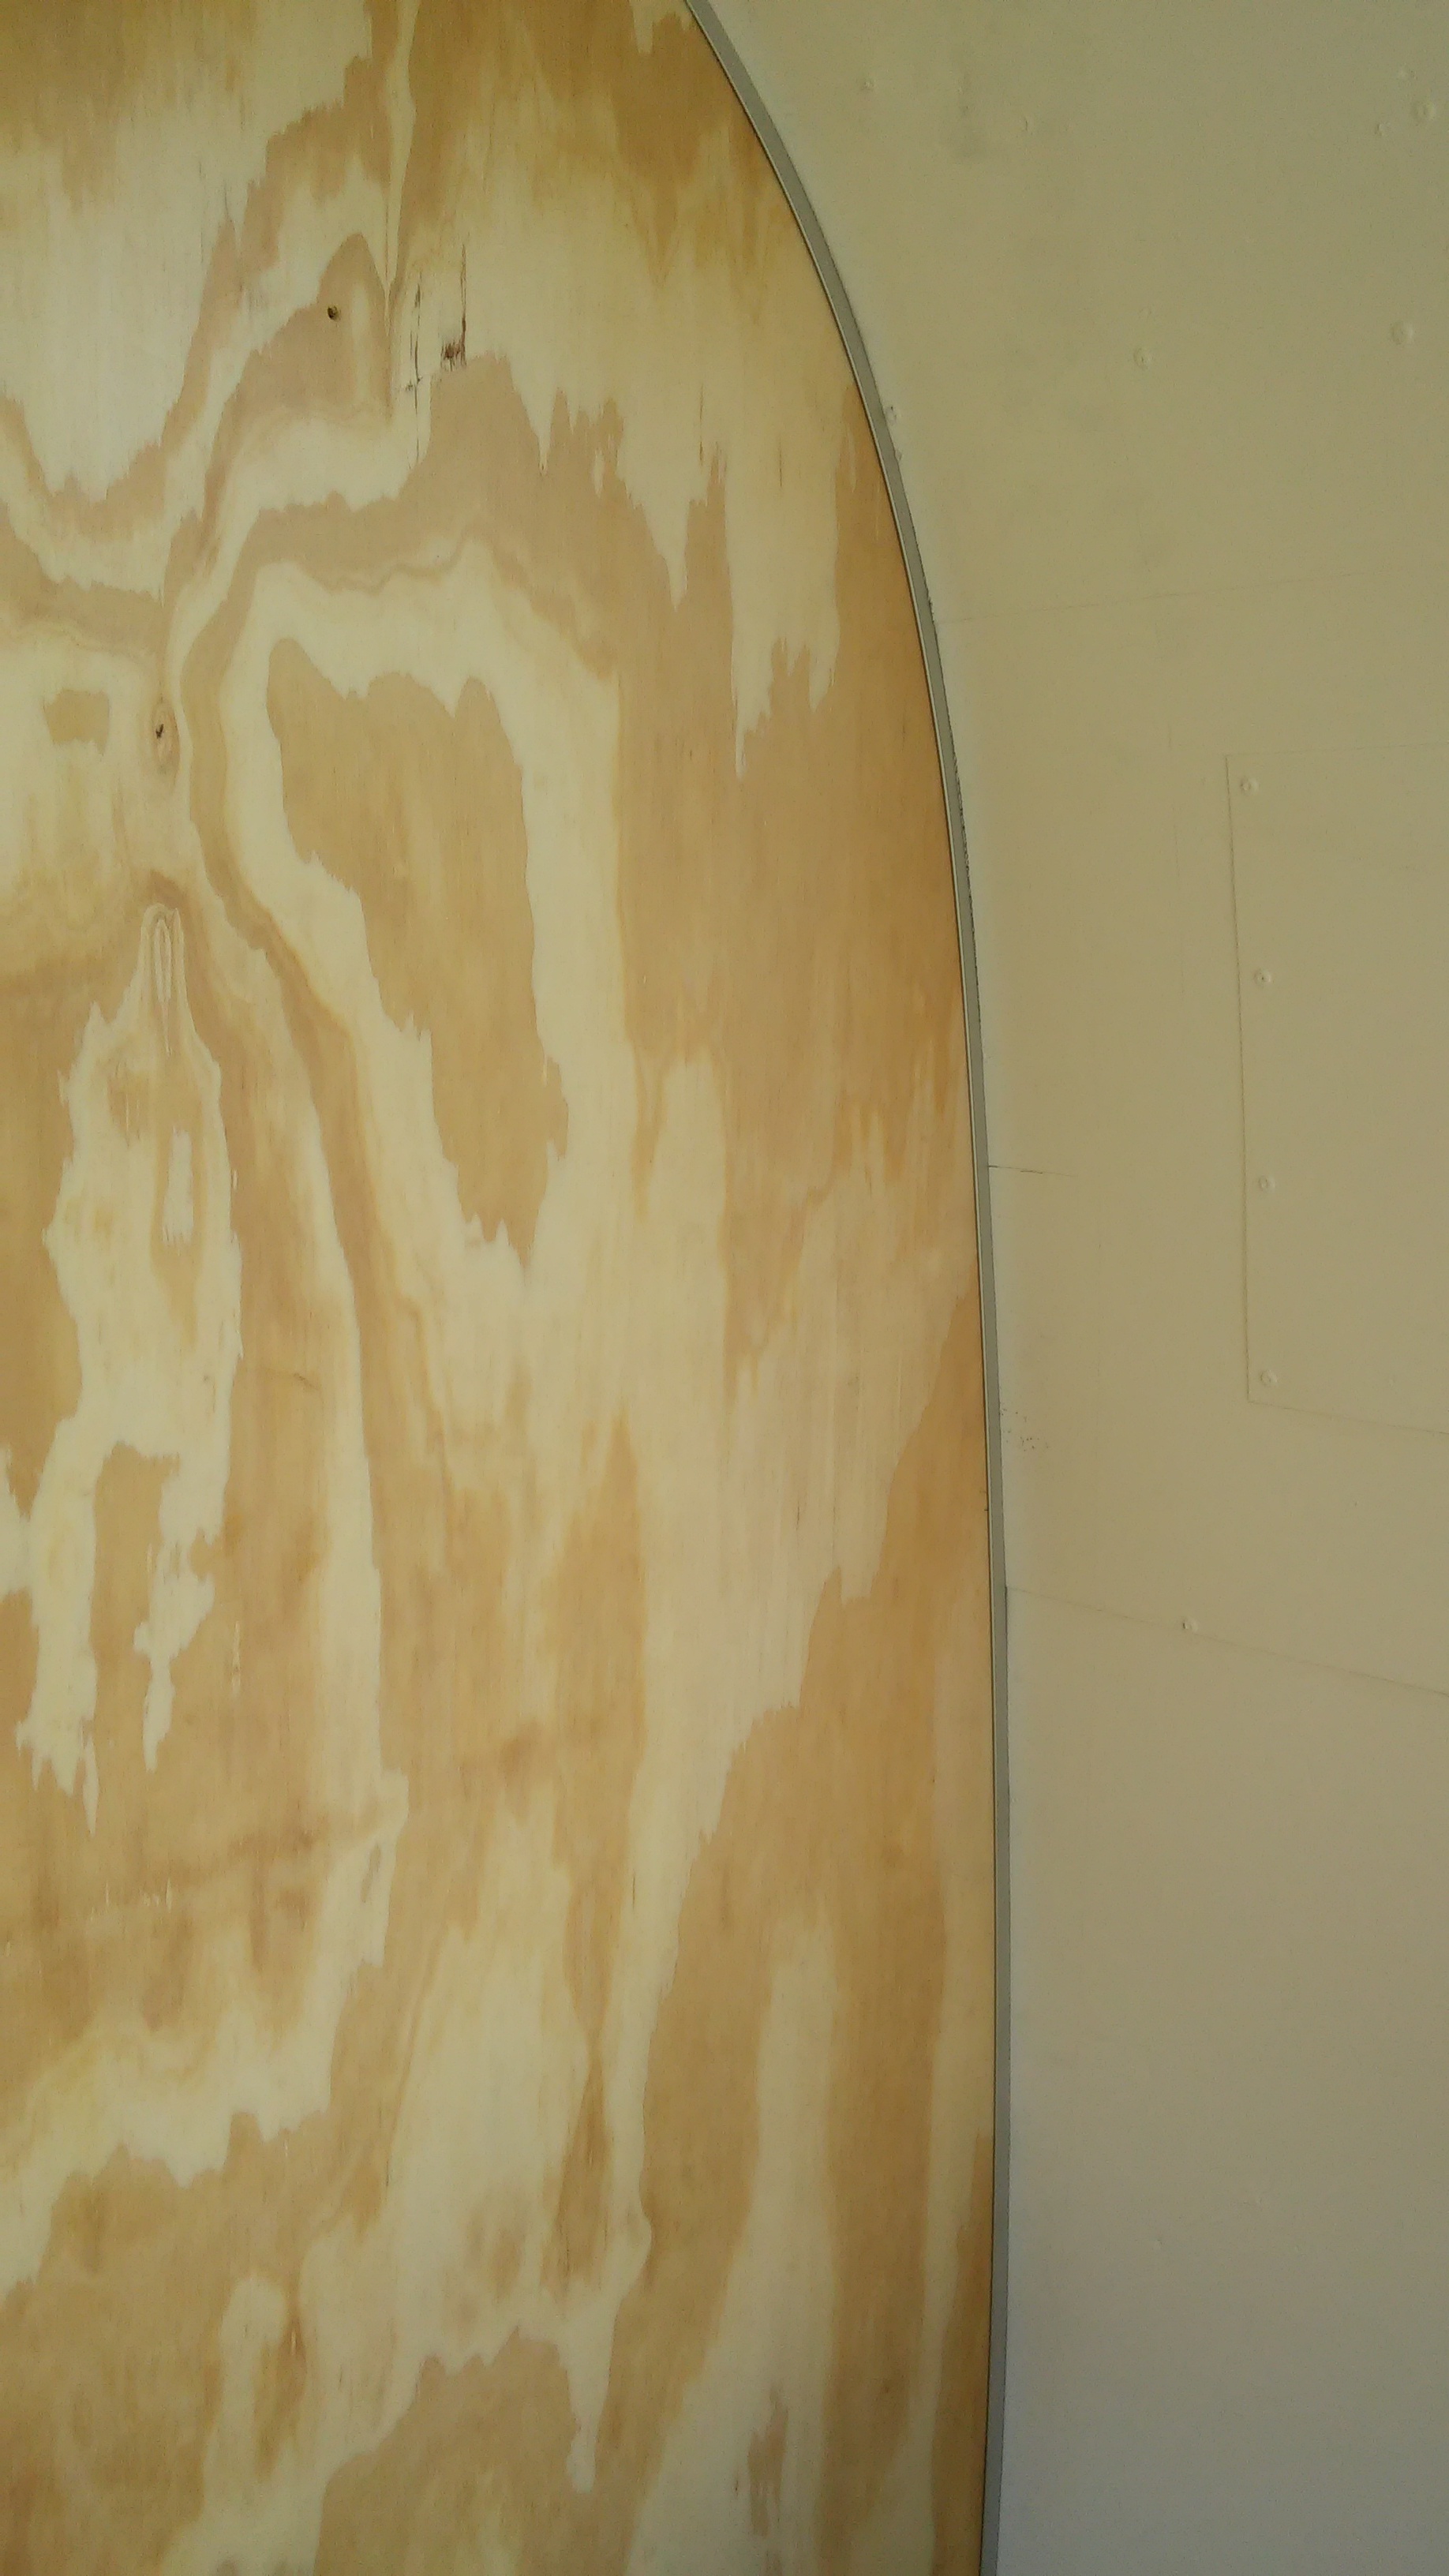
Next, I need to build the fridge enclosure.  I bought this aluminum extrusion from VTS for attaching a 1/4" plywood wall to the interior skin.  Lots of people (including me) seem to have a problem bending this stuff to fit the interior curve.  Photo evidence:

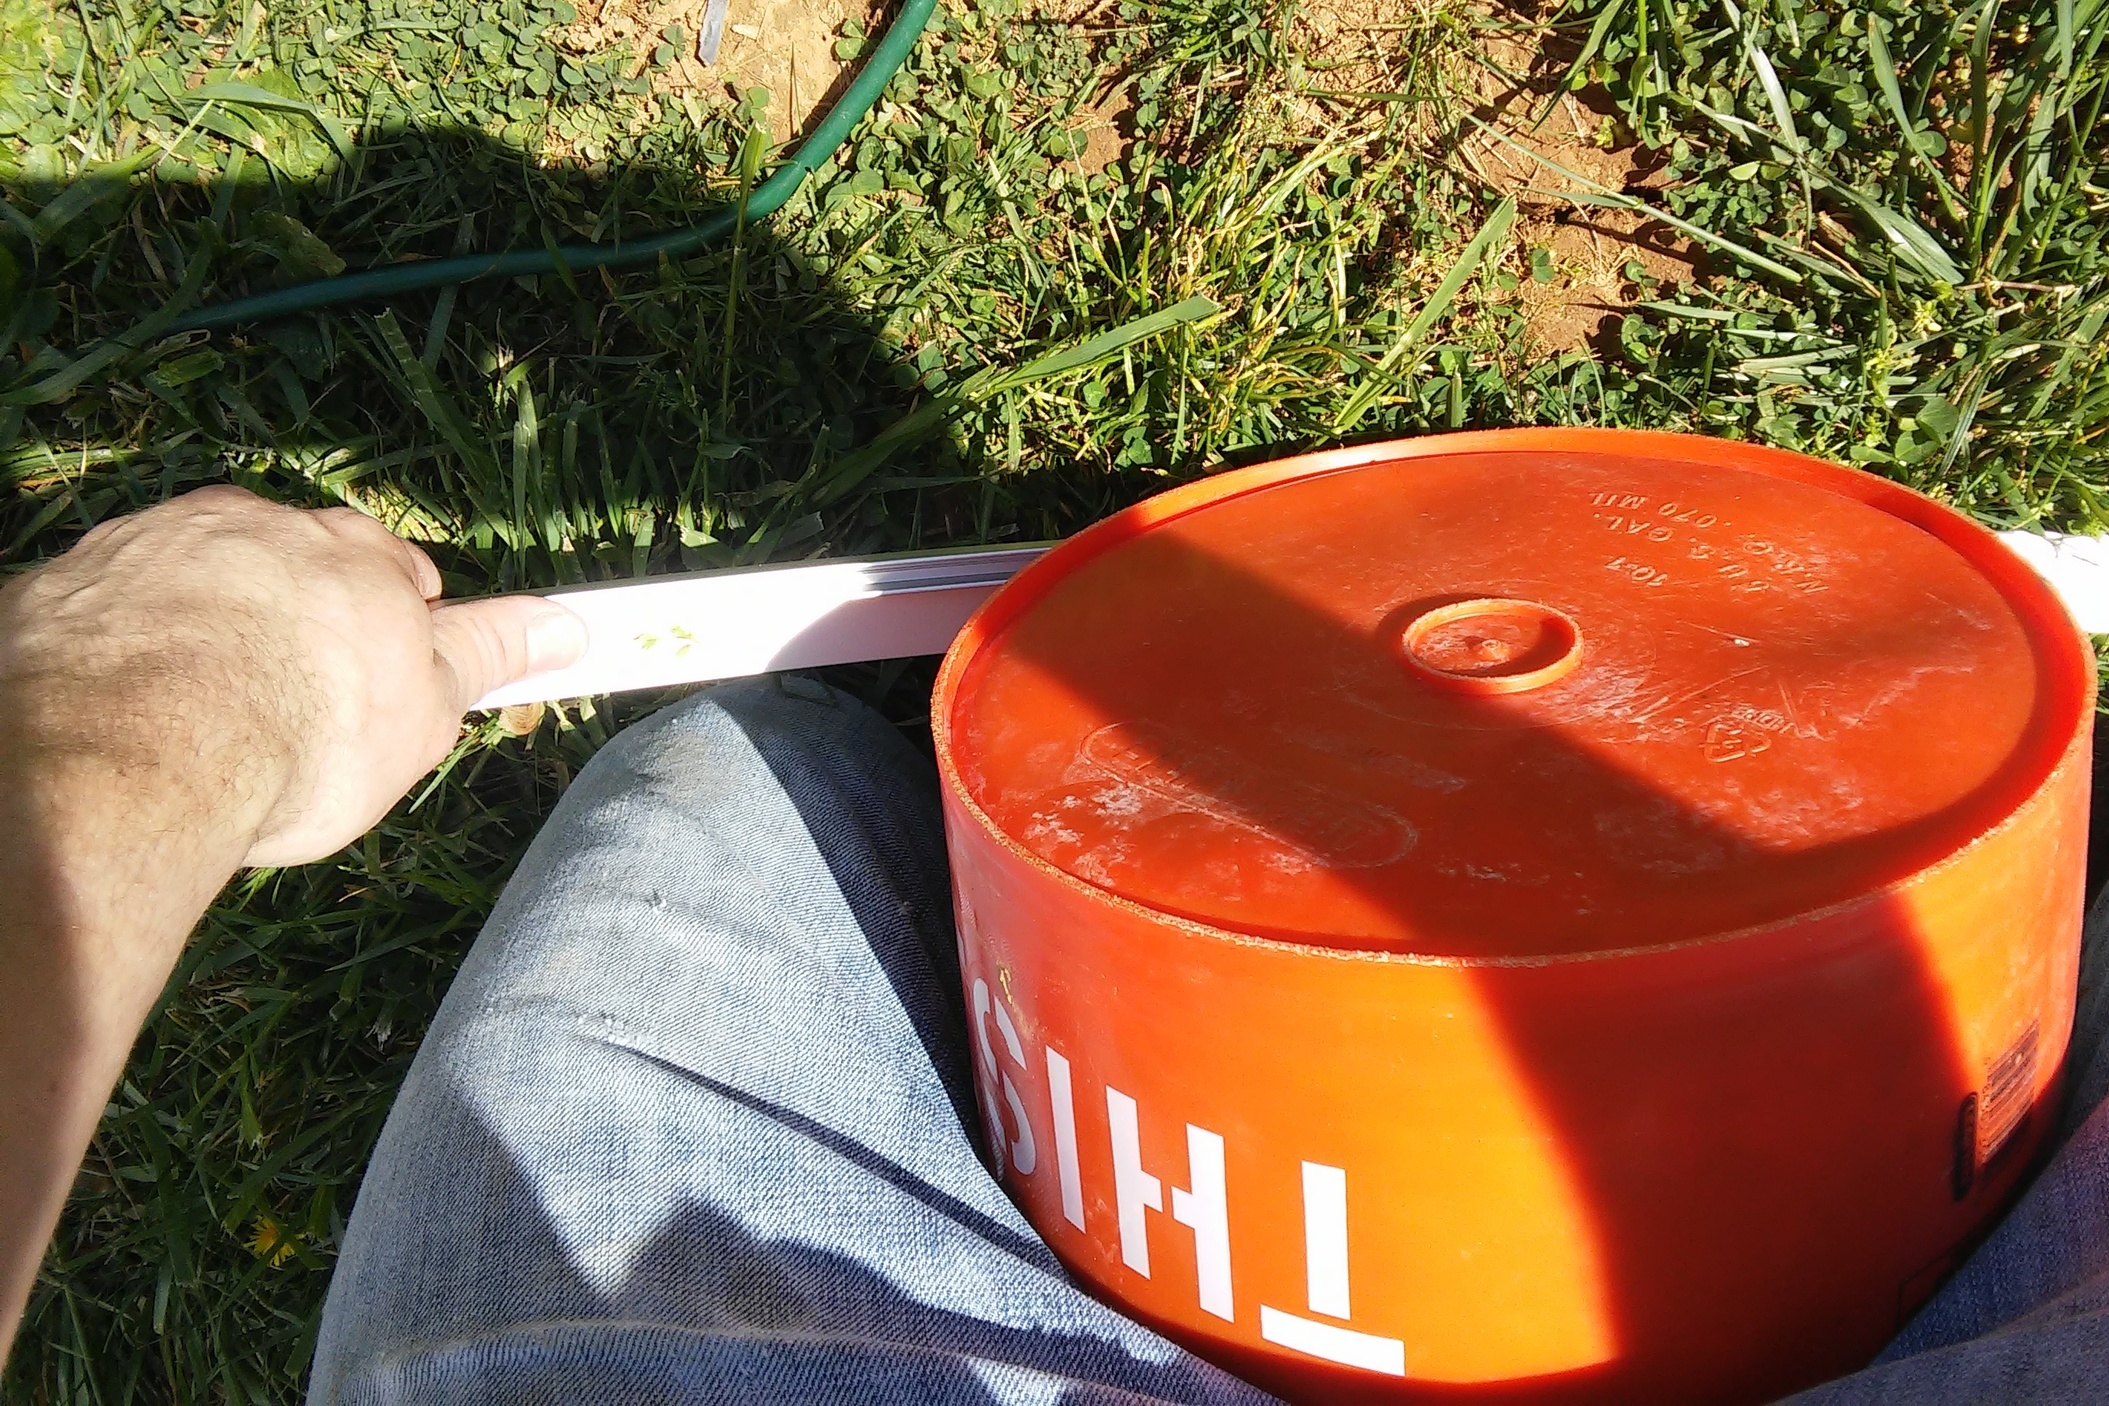
The problem is that it's too easy to bend it too far.  If you're bracing it against something that'll allow it to kink, it will.  My solution was to bend it against a 5-gallon bucket held between my legs.  Bend a little, move a few inches, bend a little again, rinse and repeat.  Worked out very nicely.  I recommend bending a little less than you need since it's easier to push the middle of the bend into the wall than to bend a free end back toward the wall.

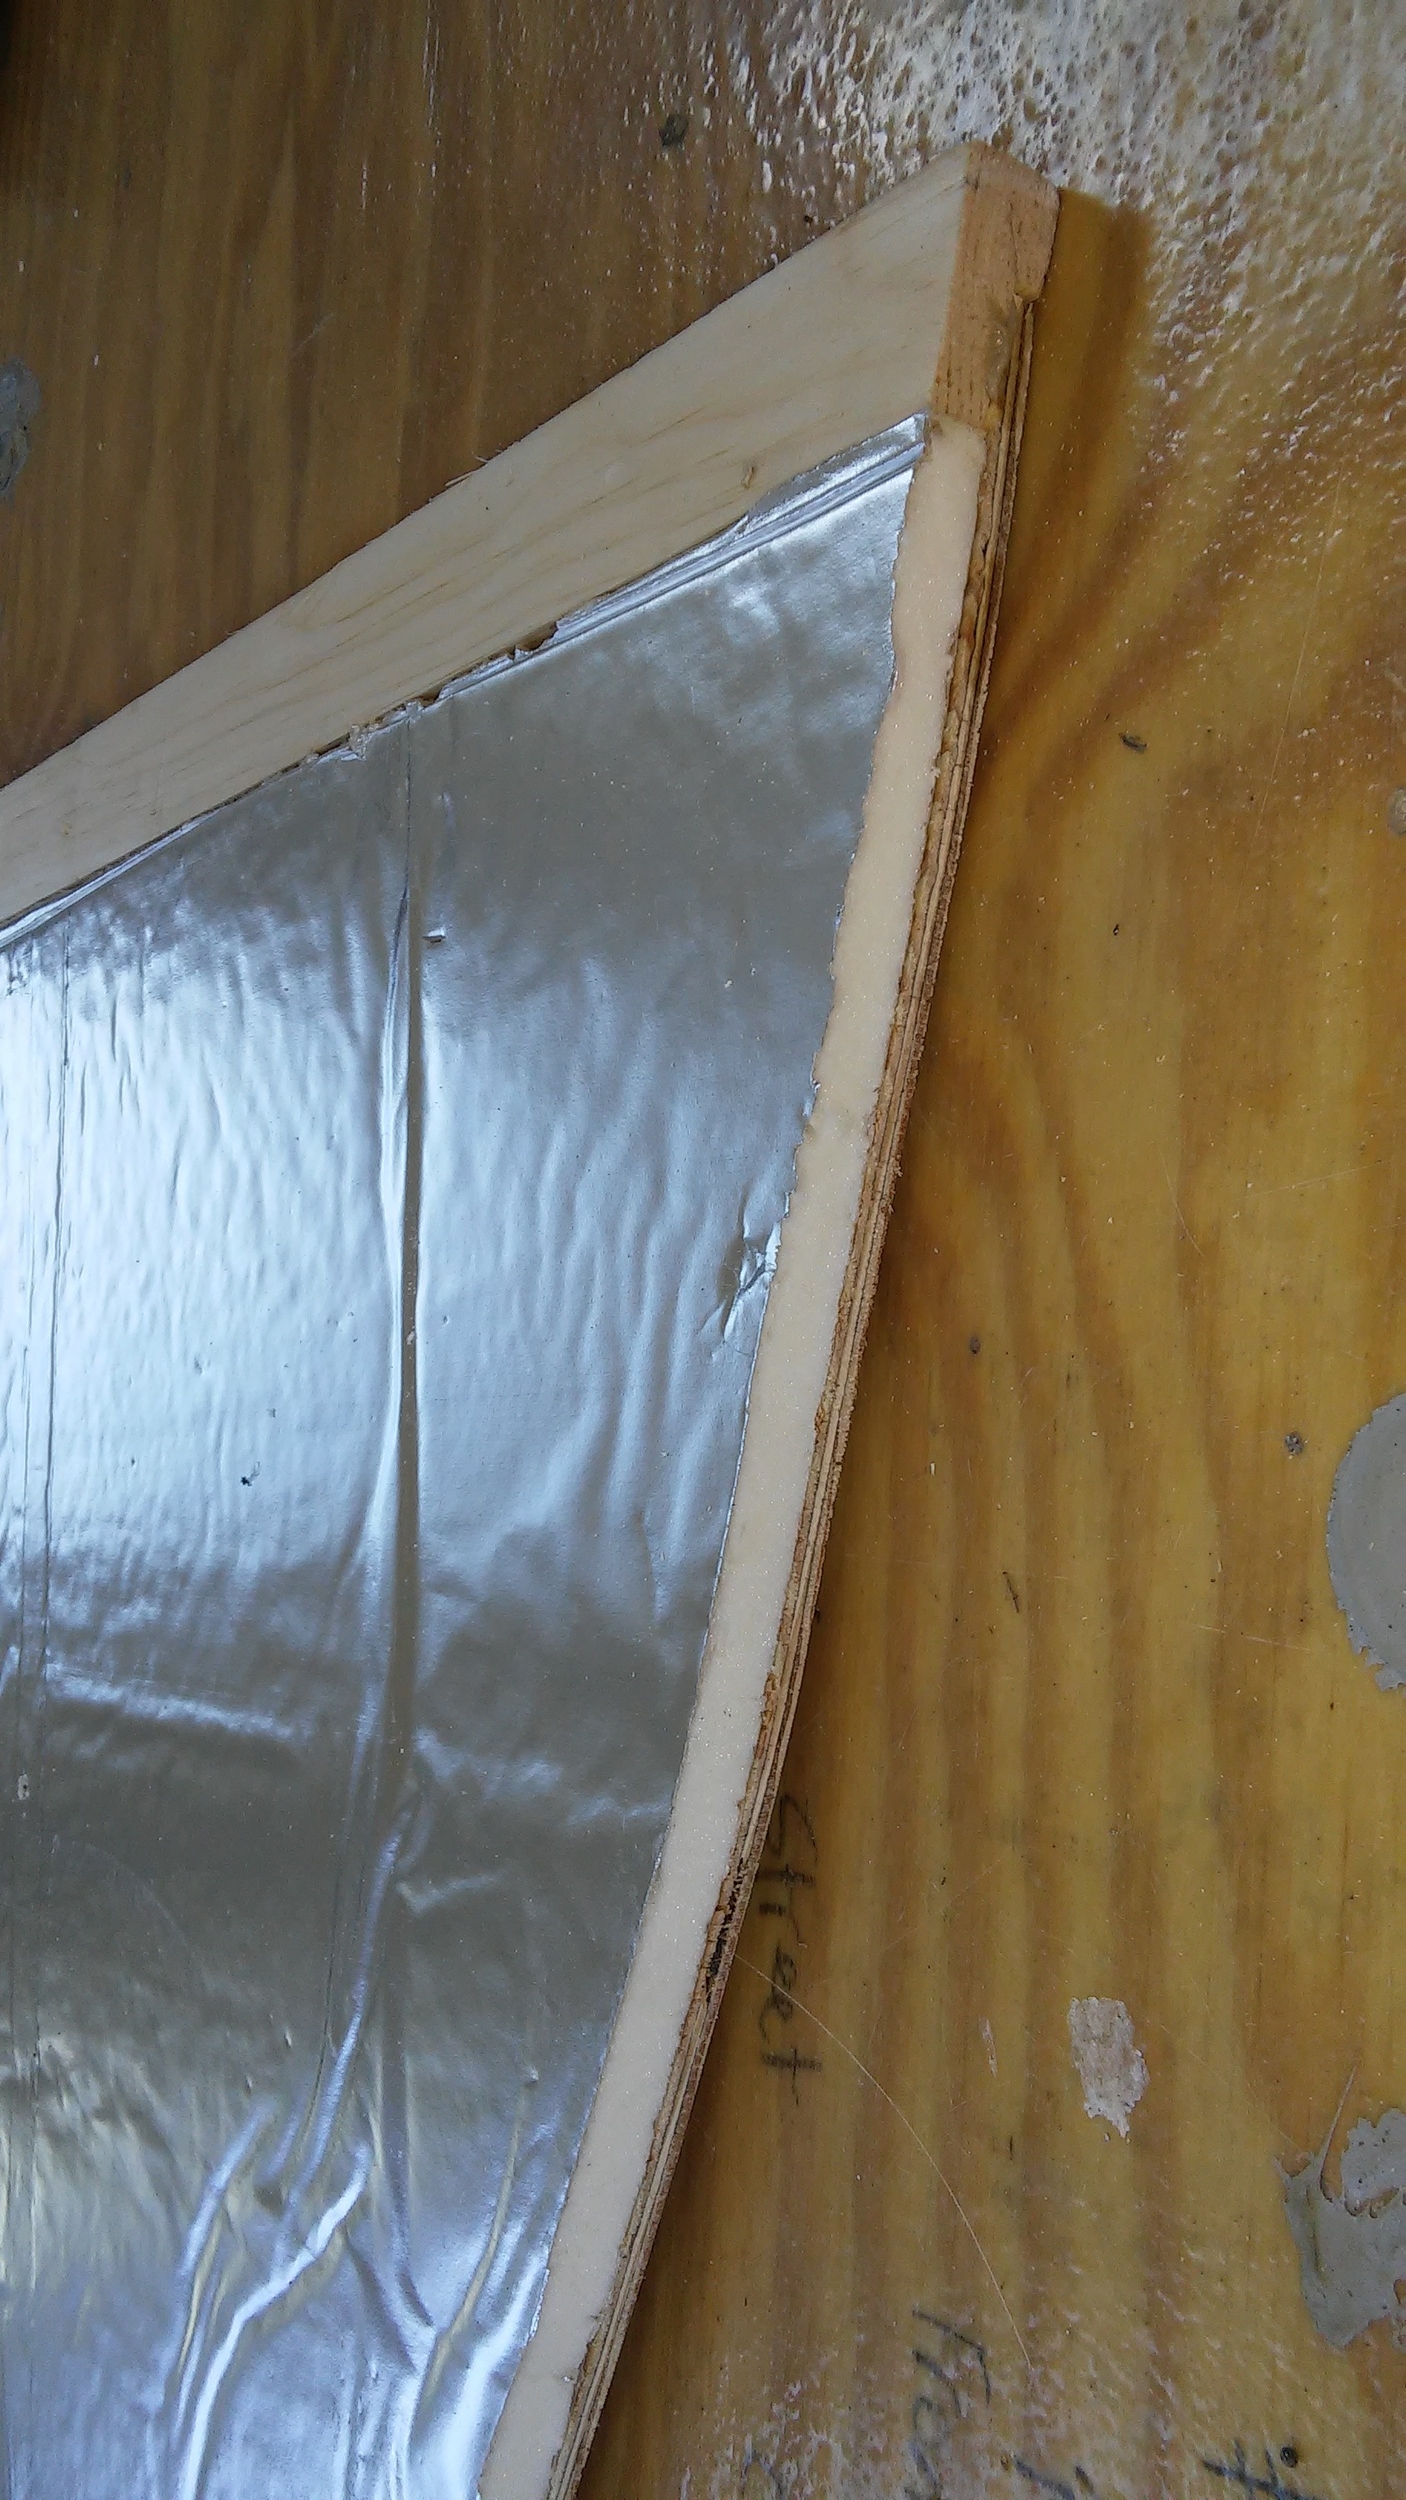
Walls for the fridge enclosure are 1/4" plywood glued to 1/2" rigid foam insulation from Lowes.  This should give me a little extra insulation since the back of the fridge is technically outside.  I made a 1/4" dado cut in a 3/4" thick pine board for the edge of the wall and attached the plywood in the groove then glued the insulation to the plywood.  Lots of test fits and trimming to get the board to fit in the aluminum extrusion.  Attached the top of the wall to a shelf I cut for the top of the fridge, and attached the bottom to a platform I built to raise the fridge up 10" and make space for a drawer.

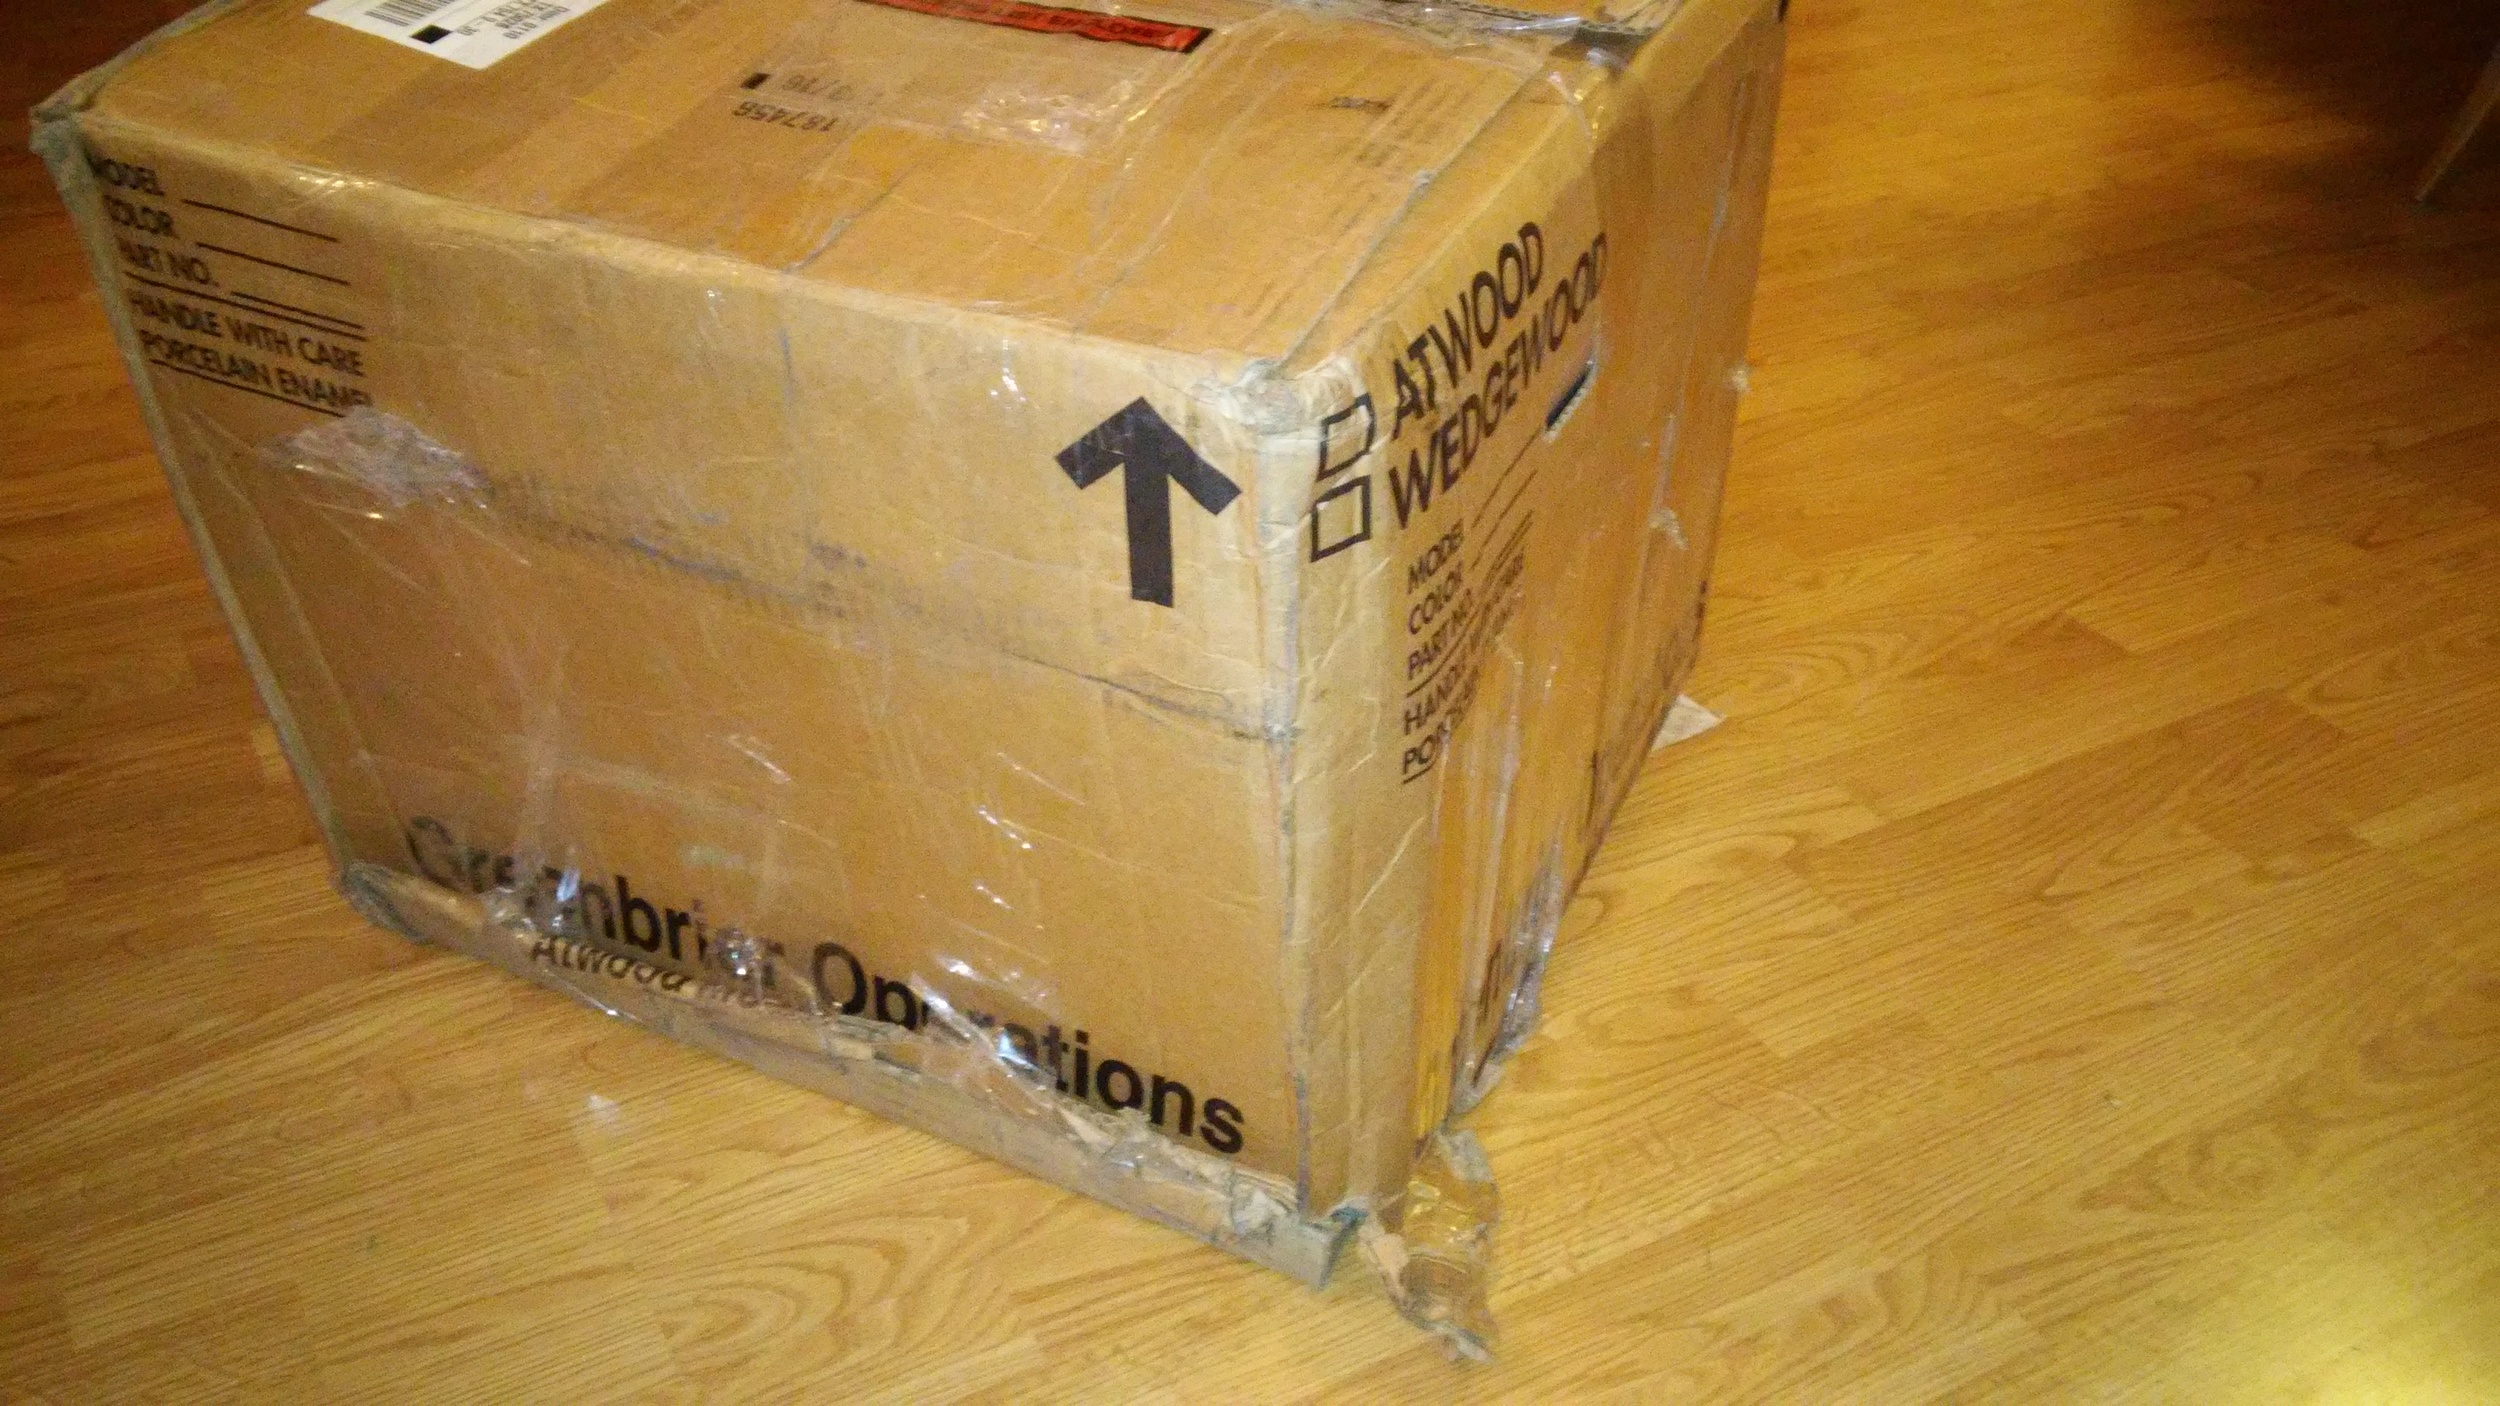
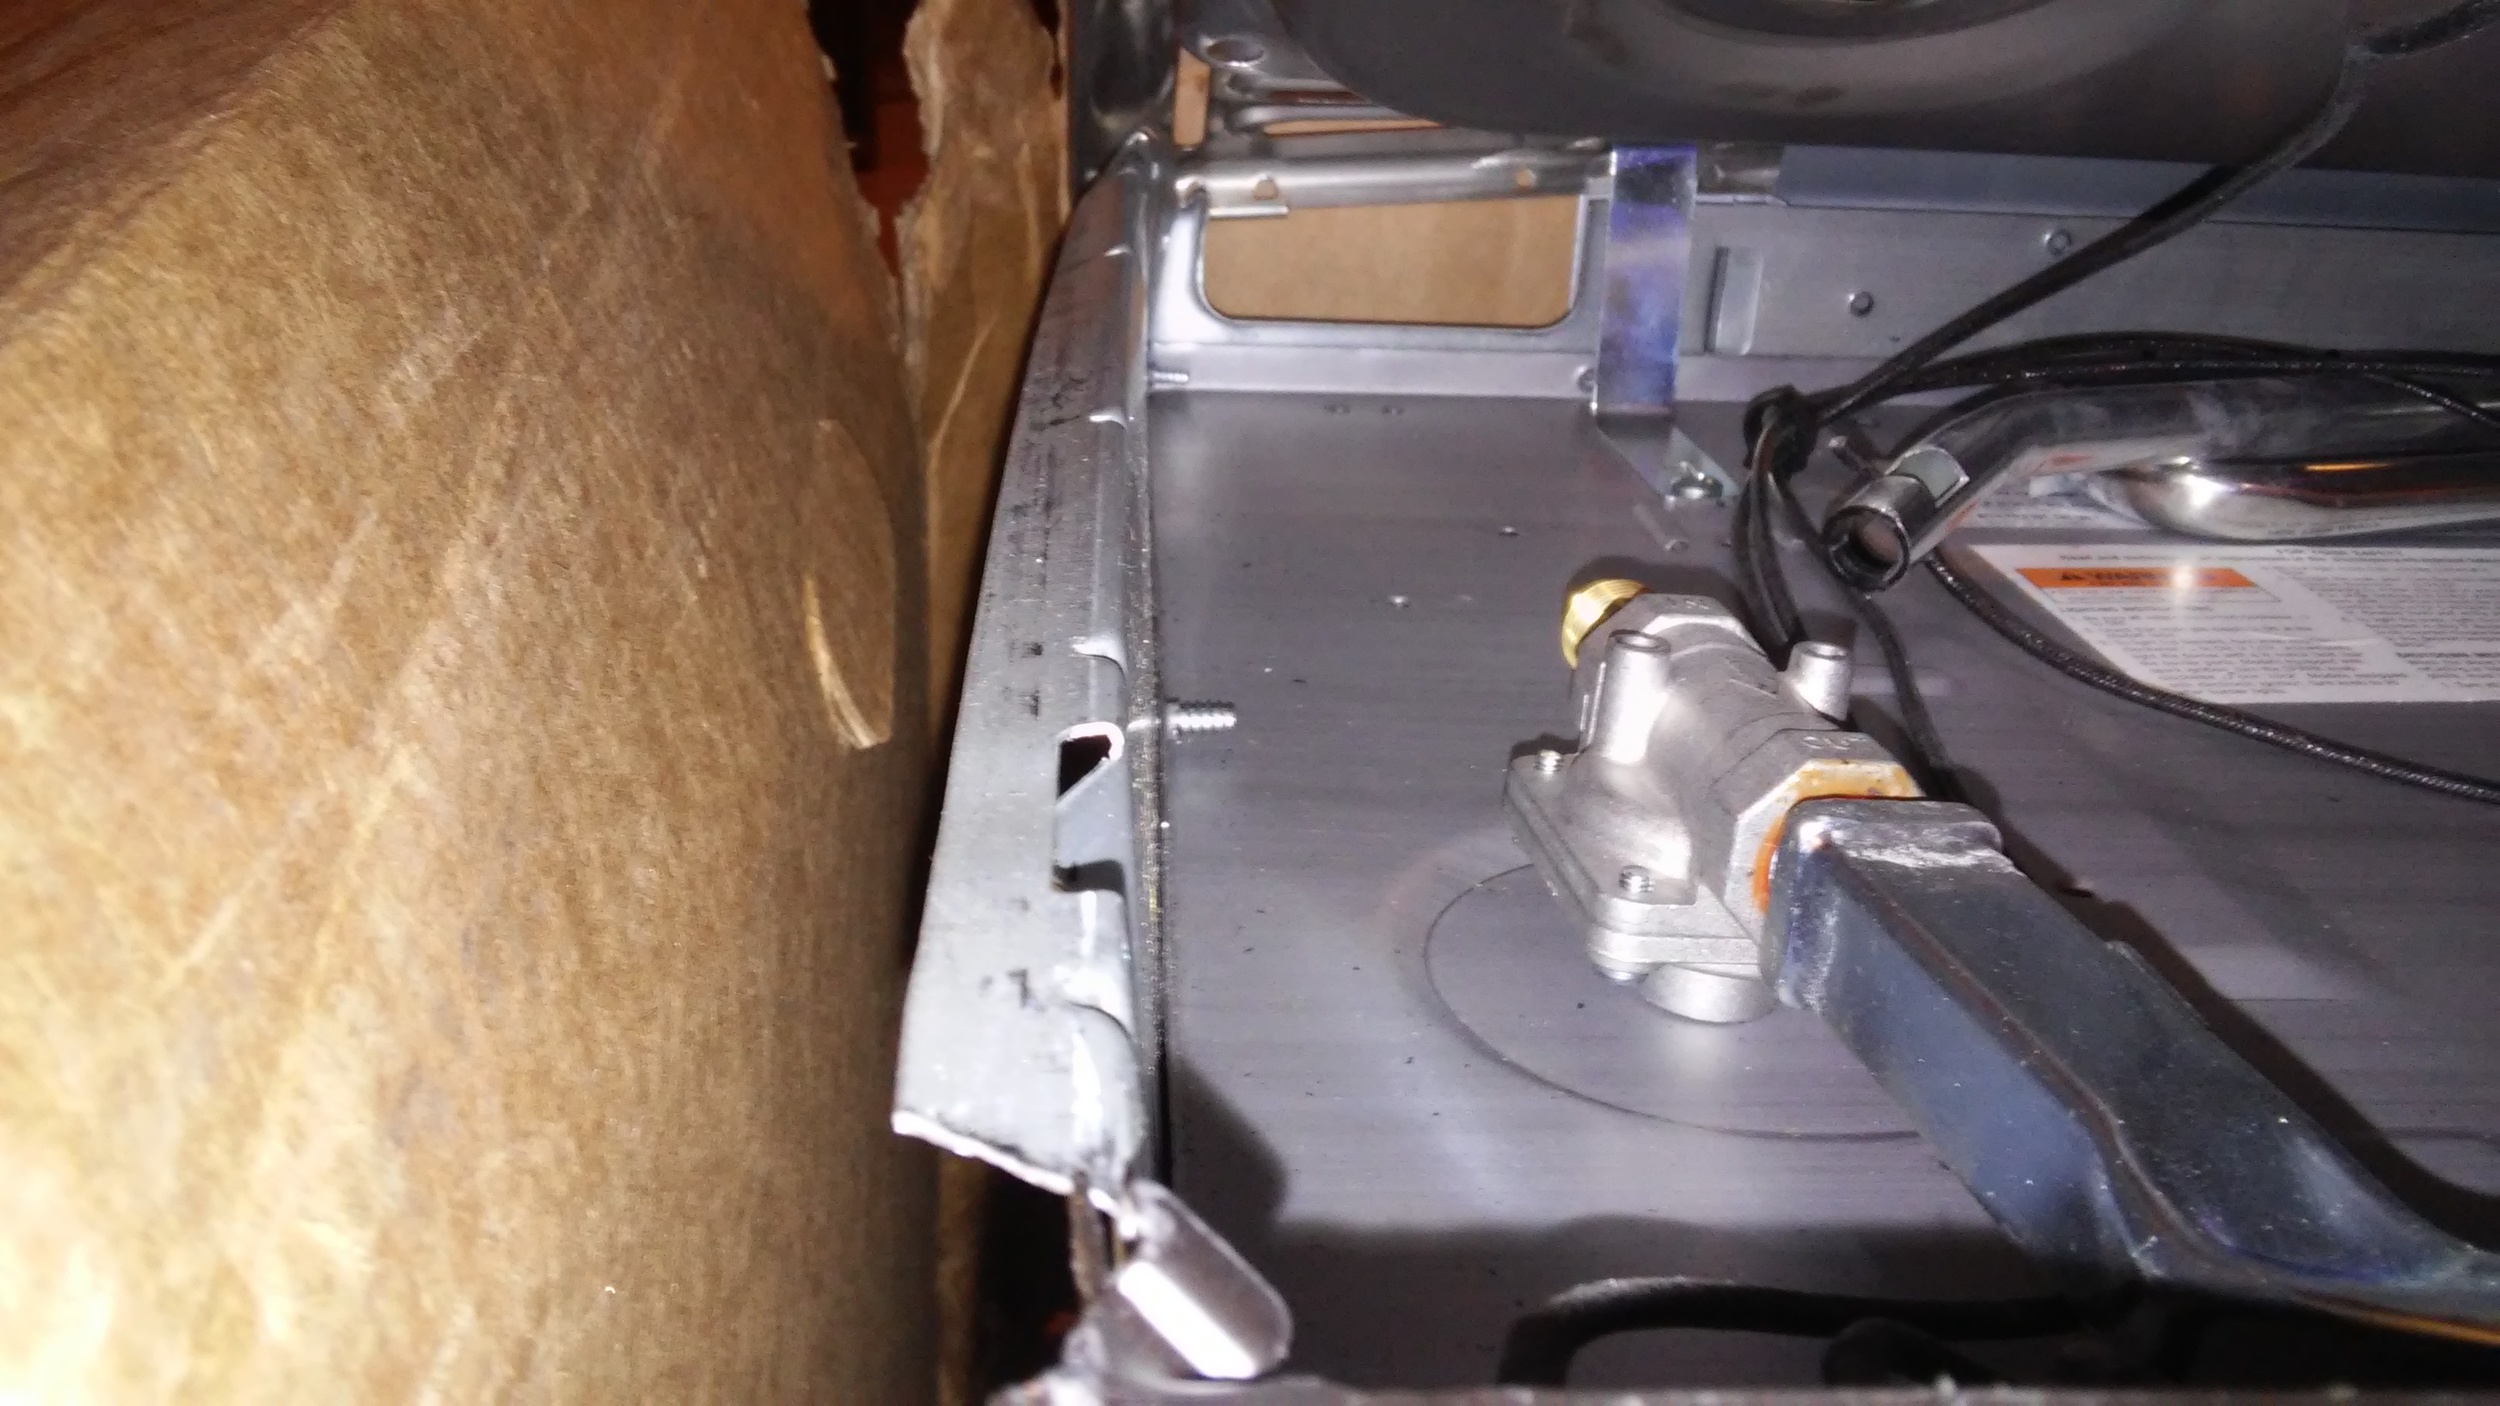
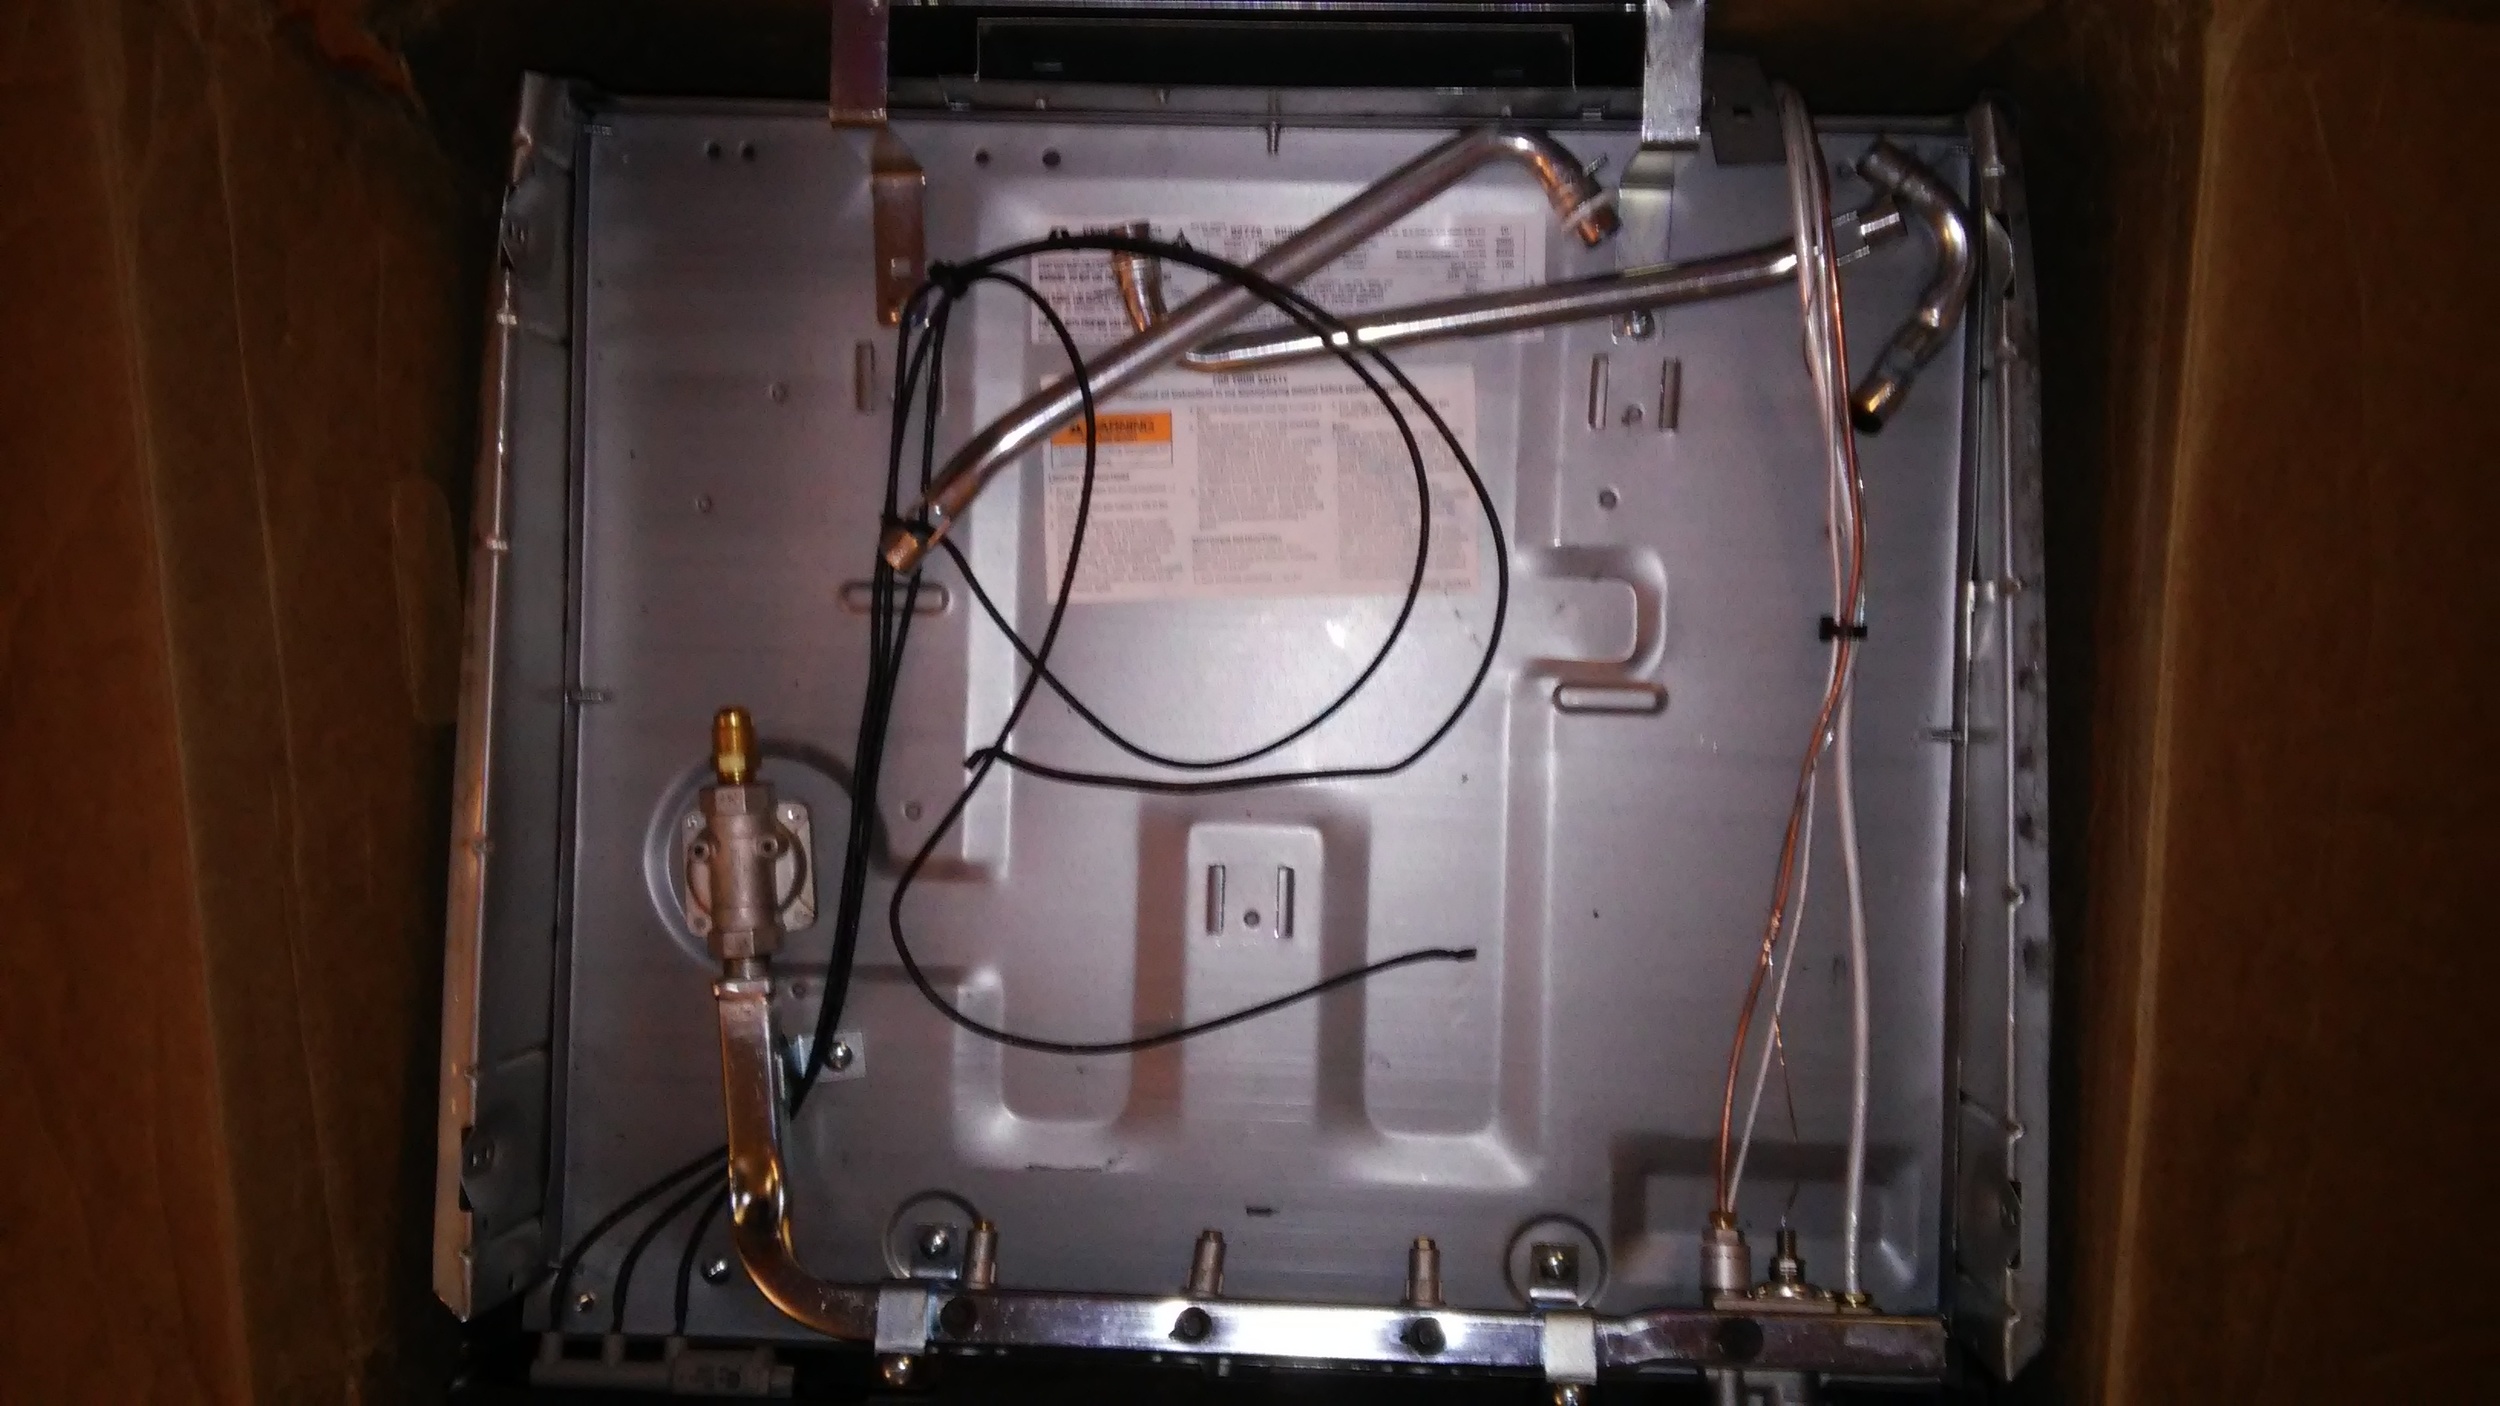
I received my second busted-beyond-repair stove from PPL Motorhomes (#72-4121 Stainless 17" Atwood Range). The first one was sent via UPS ground even though I paid for freight, and it arrived in a retail box with no attempt at protective packing.  There was no bubble wrap or packing peanuts, and the loose metal parts were allowed to bounce around and get scratched up.  The edges of the stove and the oven door were busted and warped beyond repair.  UPS ground is not gentle, especially on heavy items like a stove.  Apparently PPL is getting these drop-shipped directly from Atwood or their distributor, who apparently doesn't care whether their merchandise arrives in decent condition.  I sent the first one back and requested another one sent via freight.  Well, they sent it via UPS ground again.  I give up.  I cancelled my order and will be looking into buying a marine stove instead.  Regardless, this isn't going to be done by the honeymoon.

To his credit, Ron Hunt at PPL motorhomes was great to work with.  He was very responsive over email, and did his best to resolve my concerns.  I would absolutely buy from him again, just not anything that was getting drop-kicked ... er ... drop-shipped from that particular distributor.

Next, flooring installation.  I used 3/8" engineered hardwood click-lock flooring, installed over Pergo Gold underlayment.  It's a floating floor, so it goes in before the bed and the kitchen cabinets, which will sit on top the floor and attach to the walls. 

I like the Pergo underlayment because it has some thickness to it which provides a little r-value and helps smooth out some irregularities in the subfloor.  I promise, it's not just because it's shiny.

I used about 7 boxes of flooring, so my added weight here is 200 lbs.   

Recommended tools for this procedure include a carpenter's square for marking 90 and 45 degree angles, and a compass for transferring the curves of the wall onto the boards.  I used a jigsaw with a relatively fine blade to make the curved cuts.  There was a little chipping, but all the curved cuts are going to be hidden anyway, so I didn't bother trying to prevent it.  Remember: measure n+1 times, cut n times.

I'm very happy with the way the flooring turned out.  Pergo makes some nice products that might be more practical for this application, but they all feel like plastic to me.  The real wood floor just feels nicer.  And it looks fantastic.  As I was installing the wood floor, I kept pulling boards out, looking at the grain and saying, "wow, that is a beautiful piece of wood."  

Leanne approves, too.  Looks like she's already started to move in.

Finally, now that the weather has turned, I bet you're thinking I'm glad to have that nice new AC on the Airstream.  Well, allow me to burst your bubble.  Compressor won't kick on.  Heat works, fan works, but no compressor.

I made multiple email requests to Airxcel for assistance in troubleshooting, and was ignored.  No response at all.  I went so far as to try to contact the CEO via Linkedin.  No luck.

After some tinkering on my own, I identified the problem as a bad thermostat on my ceiling assembly.  It calls for heat regardless of its position or the temperature.  I've now hotwired my AC to work by reversing position of the heat and cool wires.  Now the AC kicks on and it cools, but it won't heat, and it won't turn off the compressor when it gets to the set temperature.  My settings are now OFF - FAN - FAN - MORE FAN - ICEBOX - END SCENE OF THE SHINING.

I contacted Camping World (where I ordered the ceiling assembly in the first place) hoping to source a replacement thermostat -- warranty or not, I just need a working part so I can honeymoon at a reasonable temperature.  Camping World says they won't help me because I'm past their return policy, and I have to contact Airxcel directly.  Awesome.

Half hour later, Derek Hicks from Airxcel (who I had copied in the email to Camping World) replied that I could call them with the model number of the ceiling assembly and model, serial number, and date of purchase of the AC unit, and they would send me the part at no cost.  I called 316-832-4357 and spoke with a technician who was happy to send me the replacement thermostat along with a selector switch just in case.

I guess the lesson here is don't bother trying to reach Airxcel via email.  A phone call directly to the tech service line got me what I needed fairly quickly, but email took five separate tries to get someone to acknowledge me.

Mach 8 Cub Mounting and Interior Install

Now that we have the interior skins in, I'm ready to complete the AC install.  If you've been following closely, you may have noticed that I've already installed and removed the interior ceiling assembly a couple of times before this point.  The AC unit works as long as the wires are plugged in, so I've been using it to heat the Airstream while I'm working on cold days. 

Before we get too far along here, let's review.  Back in January, I added some 1" square aluminum tube around the perimeter of the roof opening for the AC to flatten out the area and provide something for the mounting hardware to grab.

Remember this photo from the previous Mach 8 Cub assembly post?  This is the bottom of the rooftop AC unit.  That foam gasket compresses against the roof opening to make a water tight seal.  There is a white rectangular depth indicator at each corner to use as a reference point for the proper compression of the gasket.

Some of these links are "affiliate links."  If you decide to buy something based on our recommendation, it would be nice if you used the direct link from this page so that we can make a small commission for referring you (which doesn't cost you anything extra).

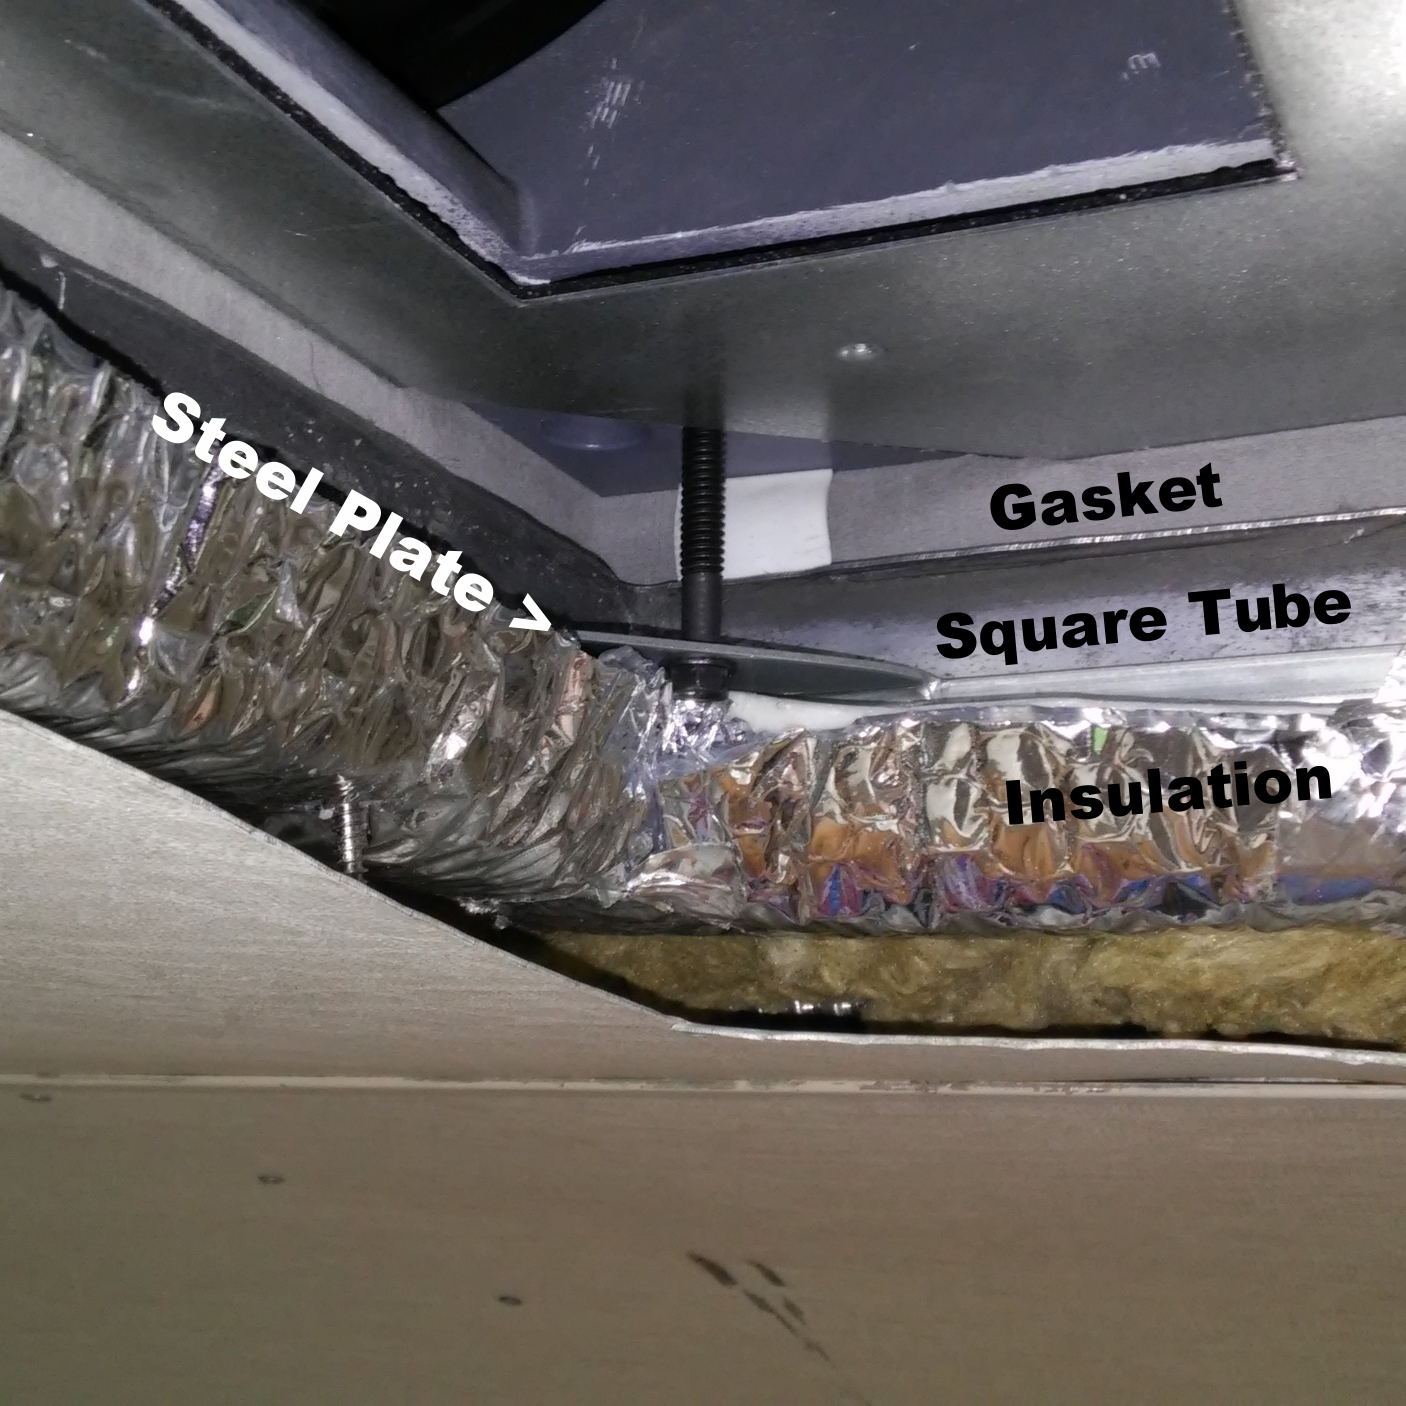
Now, here's the same view from the interior of the coach after the rooftop unit has been installed.  There is a steel frame plate included that pinches the roof to the rooftop unit using four bolts -- one at each corner.  You can just see the edge of the frame in these pictures at the head of the bolts.  To attach the rooftop unit, you just have to get it in place and tighten down each of the four bolts until the white indicator just touches the roof.  Simple.  No need for sealant, and no need to double up on gaskets (I'm looking at you, Penguin).

As with any radial bolt pattern, you want to tighten these bolts evenly, together.  So, get a little tension on one bolt, then put the same amount of tension on the bolt across from it, then do the other two before putting a little more tension on the first and repeat.  Same as when you change a tire.

Technically, the steel plate is supposed to go below the ceiling inside the coach, not inside the ceiling.  But I reinforced the opening with 1" square aluminum tube and not 1-1/2" tube to match the ceiling thickness, and I wanted to put the steel plate directly against the reinforcement for stability.  So, I put the plate inside the ceiling and added some rigid foam insulation and a layer of Reflectix below to fill out the additional space.  I'm happy with this choice because I was able to notch out the insulation to route the drain and electric through, rather than having to drill holes in the reinforcement tube.  It does mean I need longer screws to attach the ceiling assembly because the ceiling assembly is meant to attach to the metal plate.

Now that we're all caught up, here's where we're at: interior ceiling assembly installation.

Now, before we permanently attach the duct to the ceiling assembly with the 3M VHB tape, I want to test-fit the rest of the ceiling assembly.  That revealed that I need the inner part of the ceiling assembly to stand off the roof about 1/2" to accommodate the convex curve of the ceiling.  So, I got some 2" #8 SS screws and some white high density rubber foam strips from the local orange box and installed it above the ceiling assembly like so:

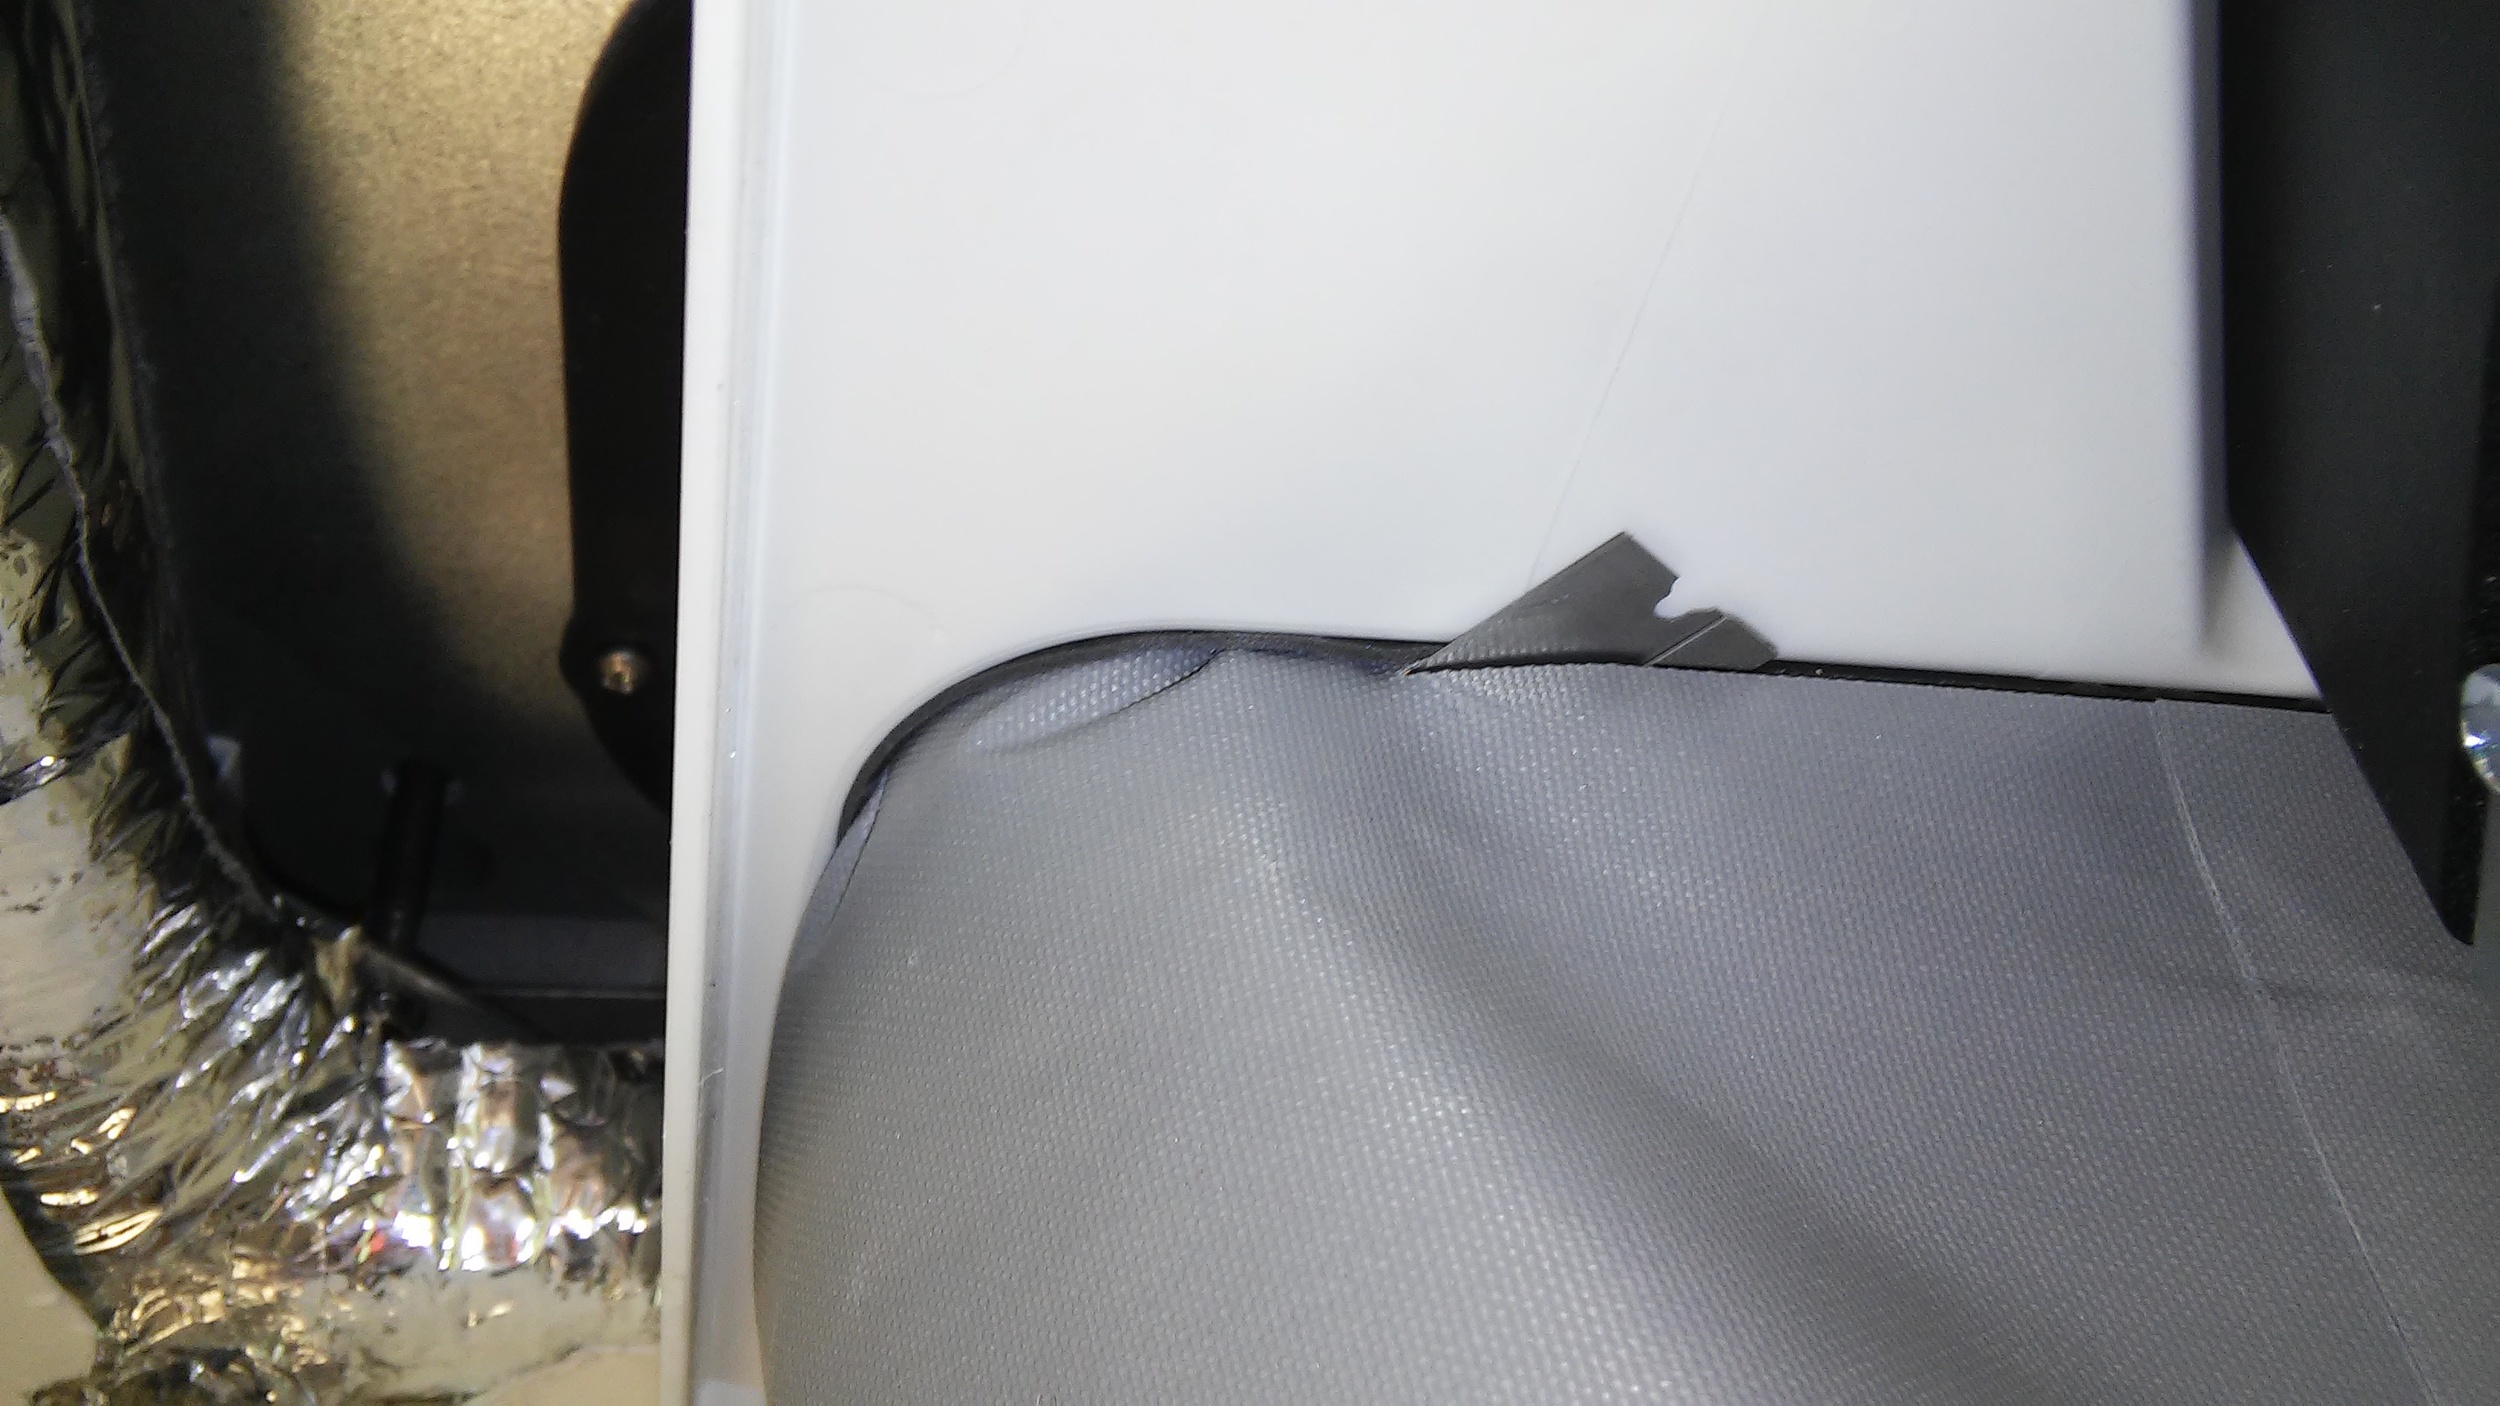
3m VHB tape exposed, duct adhered, excess trimmed.

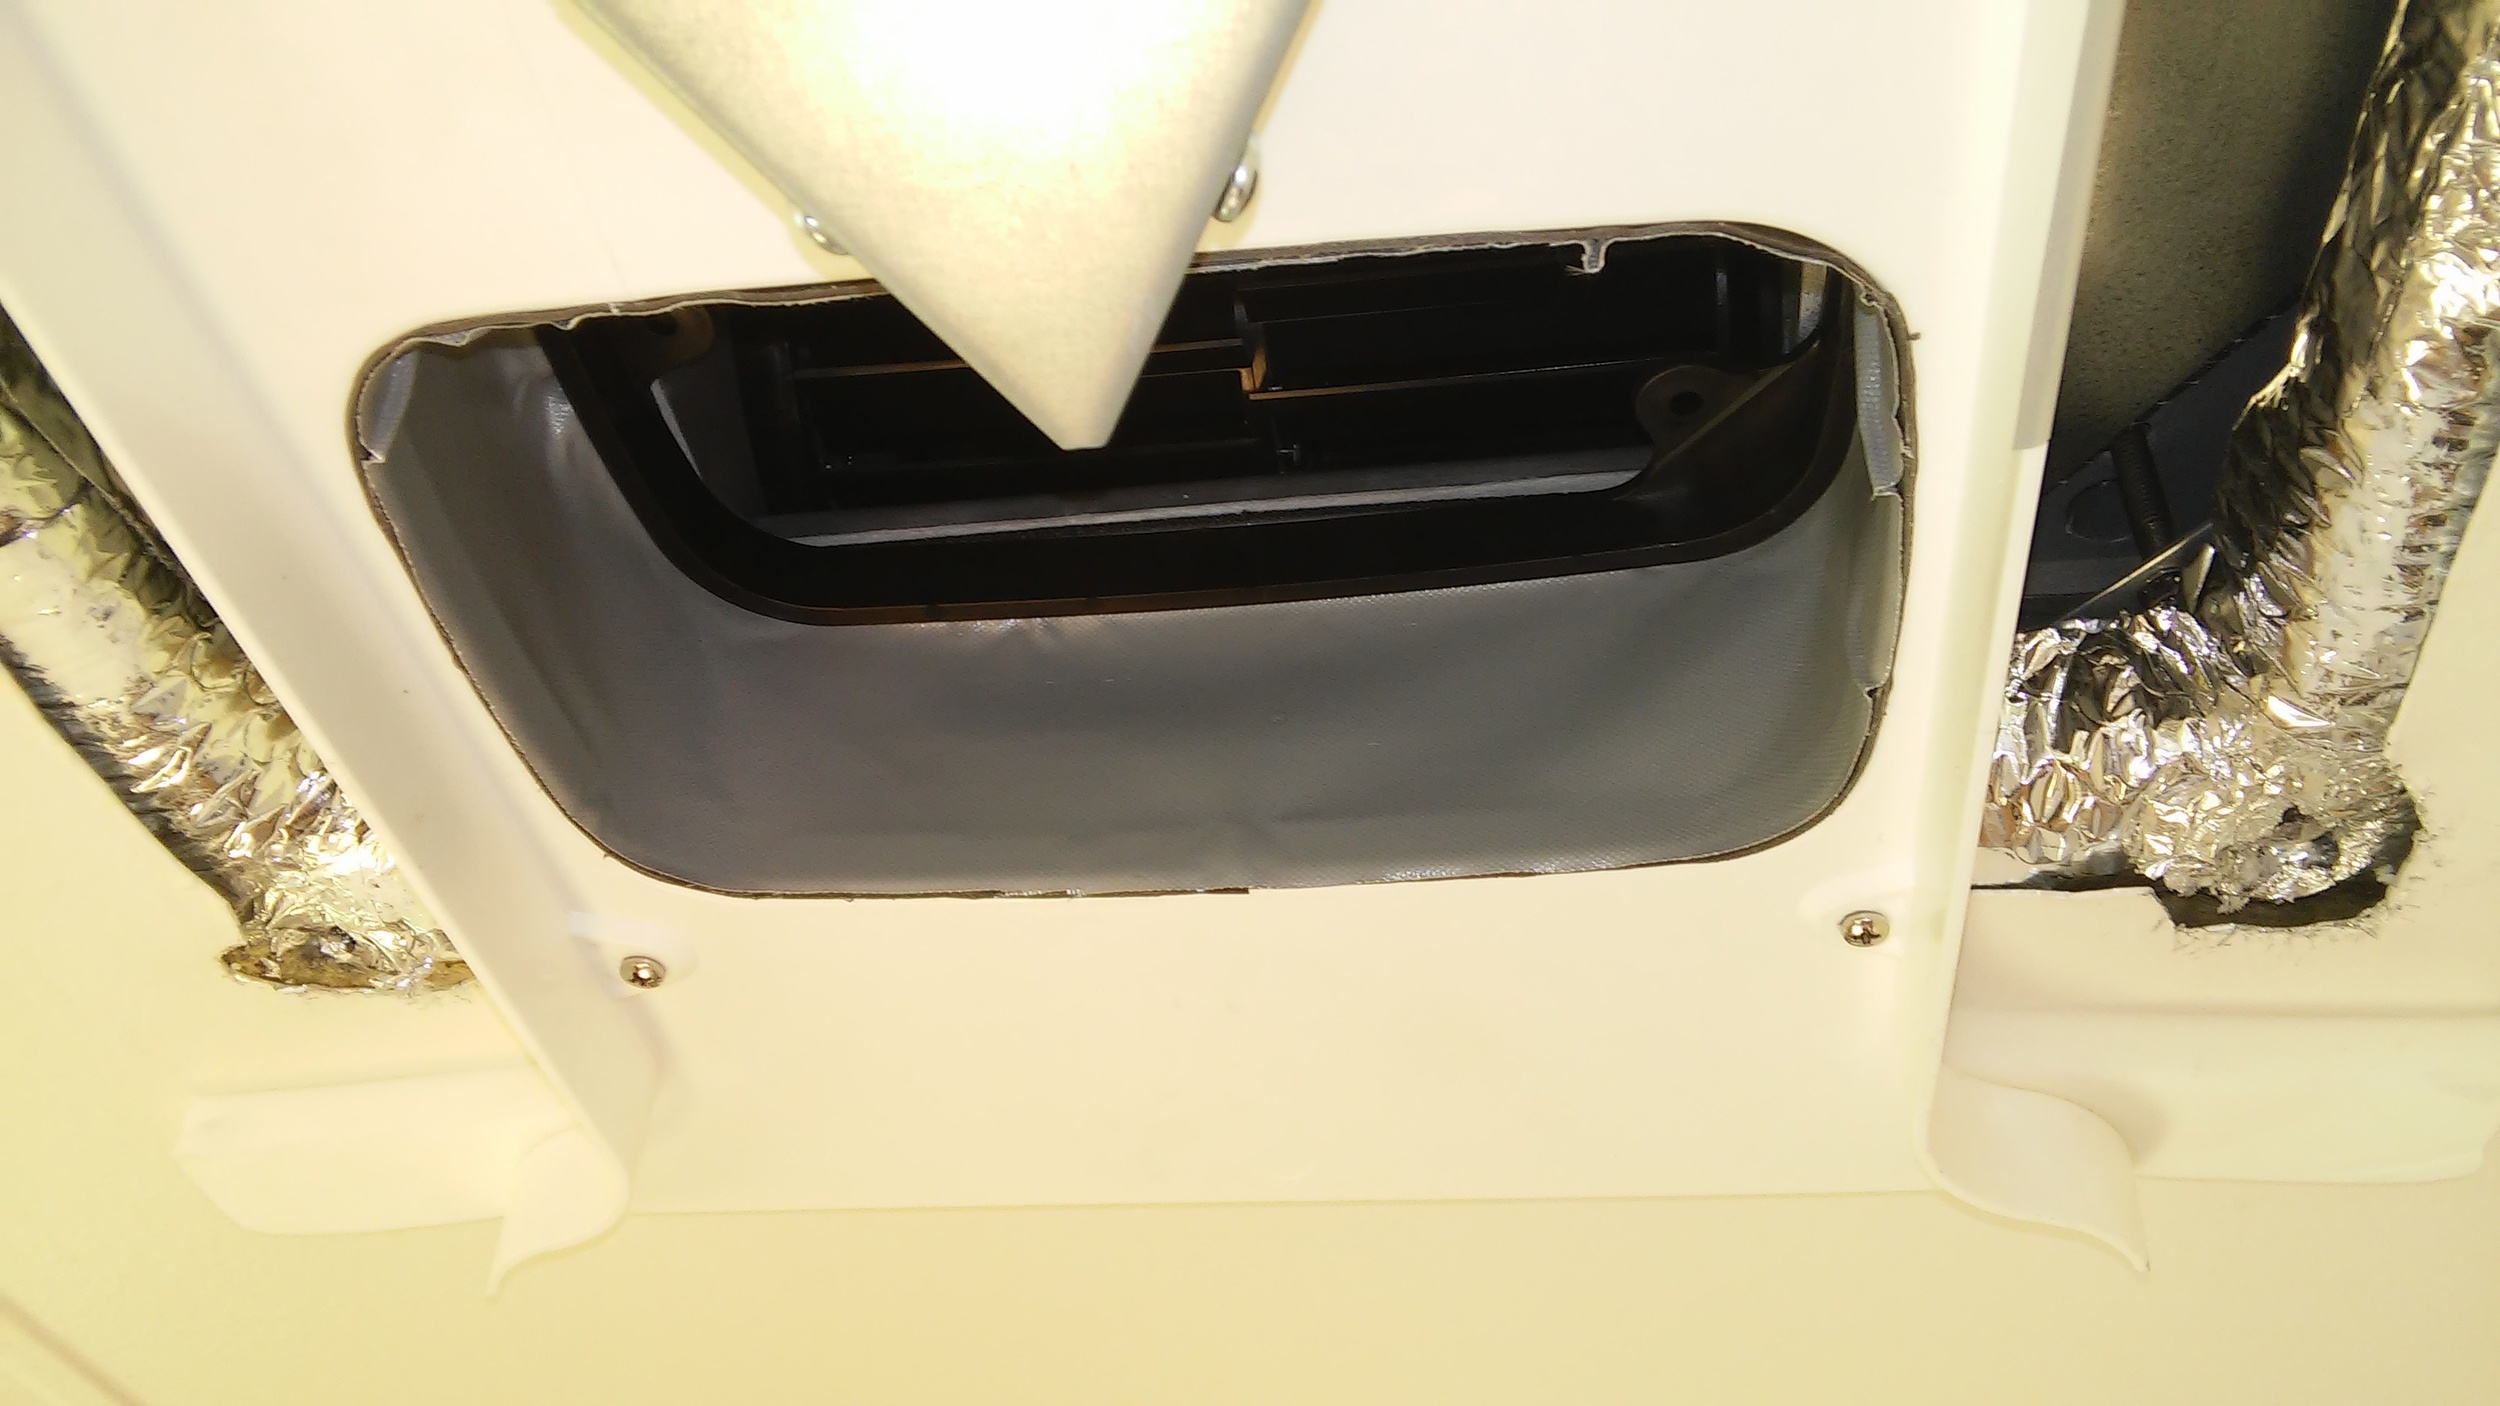
Lower ceiling assembly screwed in place.  I had a heck of a time finding the correct holes.  Remember, these screws attach to the steel plate that is now about 1" deep into my ceiling, so it takes some digging to get to the screw holes.  Once the four screws are in, filters snap in, and covers snap on top.   Temperature knob goes aft, fan speed goes forward.  Make sure to use the knob that came in the heating coil box that says LOW HEAT instead of the one that came with the ceiling assembly that says LOW FAN twice.

Final result.  Not bad.

Update for 2018: Coleman has released a new version 47201B876 Mach 8 Plus Cub rooftop unit.  The Mach 8 Plus has a redesigned outdoor fan to reduce outside fan noise and improve heat transfer across the condenser coil.  Find the new Mach 8 Plus Cub rooftop unit on Amazon here. The same ceiling assembly, heat kit, and condensate pump will fit.

Step by Step Coleman Mach 8 Cub Installation

We purchased the Coleman Mach 8 Cub 9200 BTU AC unit to replace the original Armstrong unit.  This is the newest version of the Coleman "Polar Cub." It has a low profile (8-1/4" tall), low power demands (should run on a Honda EU2000 generator), has an optional heating coil, and once our insulation is in, should be plenty of cooling for our purposes.

Some of these links are "affiliate links."  If you decide to buy something based on our recommendation, it would be nice if you used the direct link from this page so that we can make a small commission for referring you (which doesn't cost you anything extra).

The process of purchasing exactly what we needed was a little difficult, so I am posting lots of detail here in case it can help someone else.  I purchased 47201A876 rooftop unit, 9430D715 ceiling assembly, and 47233-4551 heat kit from CampingWorld.com for a total of $905.64.  There were lower listed prices elsewhere, but once you include shipping, Camping World was the cheapest I found at the time.  You can sometimes find the rooftop unit, ceiling assembly, and heat kit for cheaper on Amazon.

Update for 2018: Coleman has released a new version 47201B876 Mach 8 Plus Cub rooftop unit.  The Mach 8 Plus has a redesigned outdoor fan to reduce outside fan noise and improve heat transfer across the condenser coil.  Find the new Mach 8 Plus Cub rooftop unit on Amazon here. The same ceiling assembly, heat kit, and condensate pump will fit.

After placing my order, I had some additional correspondence with the manufacturer of the Coleman Mach 8, Airxcel Inc., and learned that a condensate drain system is not included on the Mach 8 Cub, even though it is standard on some of the larger units.  As designed from the factory, the condensate would run down the outside of the Airstream.  That won't do, so off I went to MarkariosRV.com (the only website other than eBay I found that had the 47203-3091 condensate pump kit) and $89.38 later, I should have everything I need.

Now, to assemble the bits.  Here's our new AC.

Remove 4 screws, shroud off...

Here's where the condensate pump is going.  Note the two small holes drilled in the bottom of the pan.  That's where the condensate would exit the pan to create an ugly streak down the side of our nice shiny house.  There are a bunch of holes drilled in the plastic pan, but these are the only two I should need to plug.

Test fitting the condensate pump.  Looks good.

The fan blade needs to come off so we can access the wirebox below it.  One screw, star bit.

Now the cover for the box.  One hex nut.

Nice view of the capacitor and terminal blocks.  Airxcel was kind enough to manufacture all these parts with spade terminals, so we don't need to splice any wires together.

Now, we need to remove the evaporator cover.  Four hex nuts.

OK, evaporator cover off.

This aluminum tape comes off to reveal a notch in the plastic ...

... which is a perfect fit for the drain insert included in the pump kit.

Probably would have been easier if I put the tubing on first.  The condensate pump is using 1/4" ID (inside diameter) tubing, and the kit includes an adapter for the 1/2" ID tubing I'll be using to run the drain through the wall of the airstream, behind the refrigerator, and onto the ground.

Now, before I close up the evaporator cover, I want to mount the heating coil.  You can do this from underneath after the unit is installed, but it'll be easier now.  Here's the heating coil kit.

Attach the mounting bracket.  2 wing nuts.

There are two threaded studs already in the return air opening for mounting this heating coil.

Two wingnuts, and it's mounted.  There's a relay inside the electrical box on this coil that rattles a little.  I'm hoping it won't be audible when the AC is on.  There are now two electrical wires hanging through the return air section, which will both plug into the ceiling assembly.

Now, back to the condensate pump installation.  Evaporator cover goes back on, 4 nuts.

Need to remove this strain relief bolt.  One nut.

There is an indentation where we need to drill a 7/32" hole for the other mounting bolt.

Drilled out.

Now I need to plug those drain holes.  TremPro, because this is for an Airstream, after all.

Not pretty, but it'll hold water.

Pump goes in.  The directions say to install the bolt downward through the hole I just drilled, but that doesn't make sense to me.  I installed upward like the opposite bolt.  There are two nearly identical nuts supplied in the kit.  Ask me how long I spent trying to thread the 8-32 nut on the 10-24 bolt.  Big nut goes on the ground wire and newly installed bolt, little nut anchors the ground wire to the blower motor.

Tubing attaches to pump standpipe.

Wires into the wirebox through the plastic entry clamp.  

Black spade to purple block, white spade to yellow block.

Wirebox cover goes back on, one nut.  One zip tie to keep the pump wires away from the sharp edge of the condenser coil bracket.

Fan blade back on.  One screw.  Check out the crazy angle that compressor is mounted at.  That's not for lack of space -- someone at Airxcel clearly doesn't want the compressor vibrating in the same plane as the blower motor.  Clever way to make it quieter, I'm guessing.

Cover back on.  4 screws.

Checking the drain holes for a good seal.  You can see the foam around the square roof opening that compresses to form a water-tight seal. This will install with just four bolts, one at each of the corners of the roof opening.  The old Armstrong AC installed with about a fifty screws and a gallon of Vulkem.  I spent most of the rest of today removing said goo from the roof.  I'll be bucking rivets into the screw holes next weekend.

Once I'm done prepping the roof, probably weekend after next, I'll install this unit.  Then, we'll have to wait until the interior skins are in before we install the ceiling assembly.  ETA on that -- March-ish.

See Part Two here.

Vents and Fans

Like the hat?

Maxxfan Deluxe vents installed -- one in the front living room area, and one in the rear bedroom area.  These vents lay relatively flat against the roof in the closed position, but keep the rain out in the open position. 

The Airstream roof curves, but the plastic vent doesn't.  This puts stress on the vent and can cause damage and leaks over time.  My solution to this is to attach the fans through two strips of aluminum angle on the inside of the skin -- one on the front and one in back --  which will take the stress of flattening out the curve instead of the plastic fan frame.  This is a pretty easy modification to do now, but it would be a lot harder if we hadn't already removed the interior skin.

This is one of the original vents that I reinstalled using a new translucent Lexan lid.  It's in the center kitchen area just ahead of the air conditioner.  I had considered removing this vent entirely and sealing up the hole, but after seeing the skylights in the newer Airstreams, we thought it would be nice to have a little more natural light.

This is the Maxxfan in the rear bedroom area.  This one is a slightly different model than the fan in the front because it operates via remote control.  We'll be able to raise/lower the fan, turn it on/off, change the thermostat setting or fan direction, all without getting out of bed.

This is where the AC goes.  The new AC attaches to the roof with four bolts.  There is a metal plate inside the coach that pinches roof to hold the AC in place.  Since the roof is .032 aluminum, I needed to build out some framing to give the plate something to grab onto.  Most people use wood for this, but I went with 1" square aluminum tube.

I also had to deal with the curved roof/flat AC issue.  The front of this opening is about 1-1/2" away from a rib, so I had to remove a couple of rivets and add some aluminum shims to flatten out the roof.