
Modifications we made to our 1974 Airstream Overlander to turn it into a four season trailer for comfortable winter living.
Cabinet Door Catches
Shaker Style Cabinet Doors and Drawer Fronts
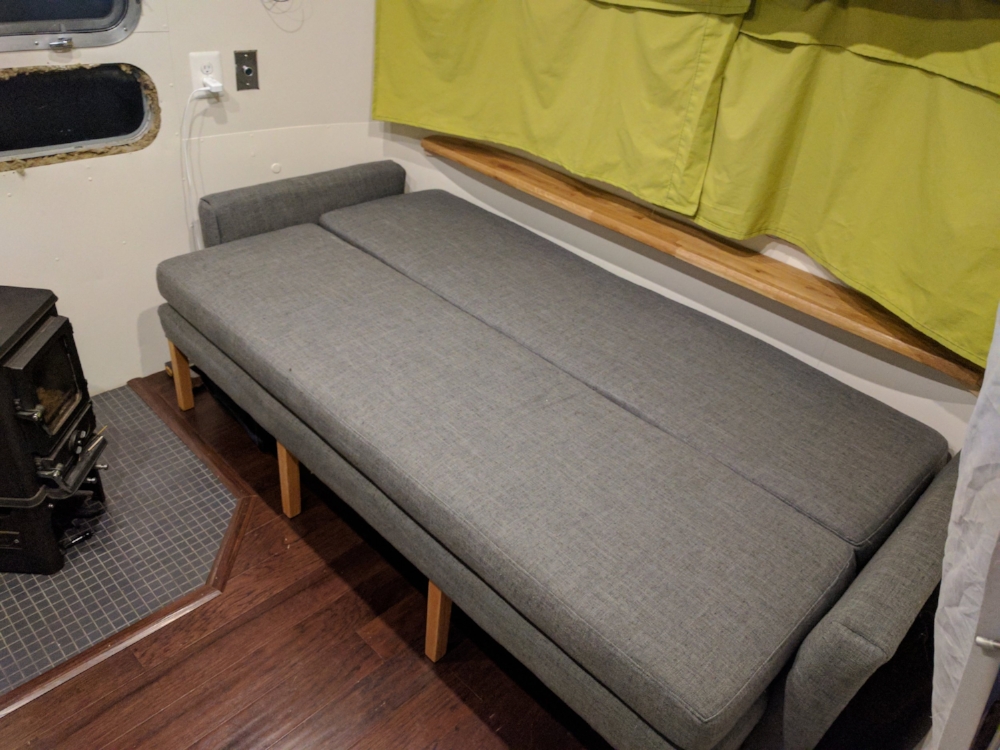
The Grand Unified Couch Theory, Part 2
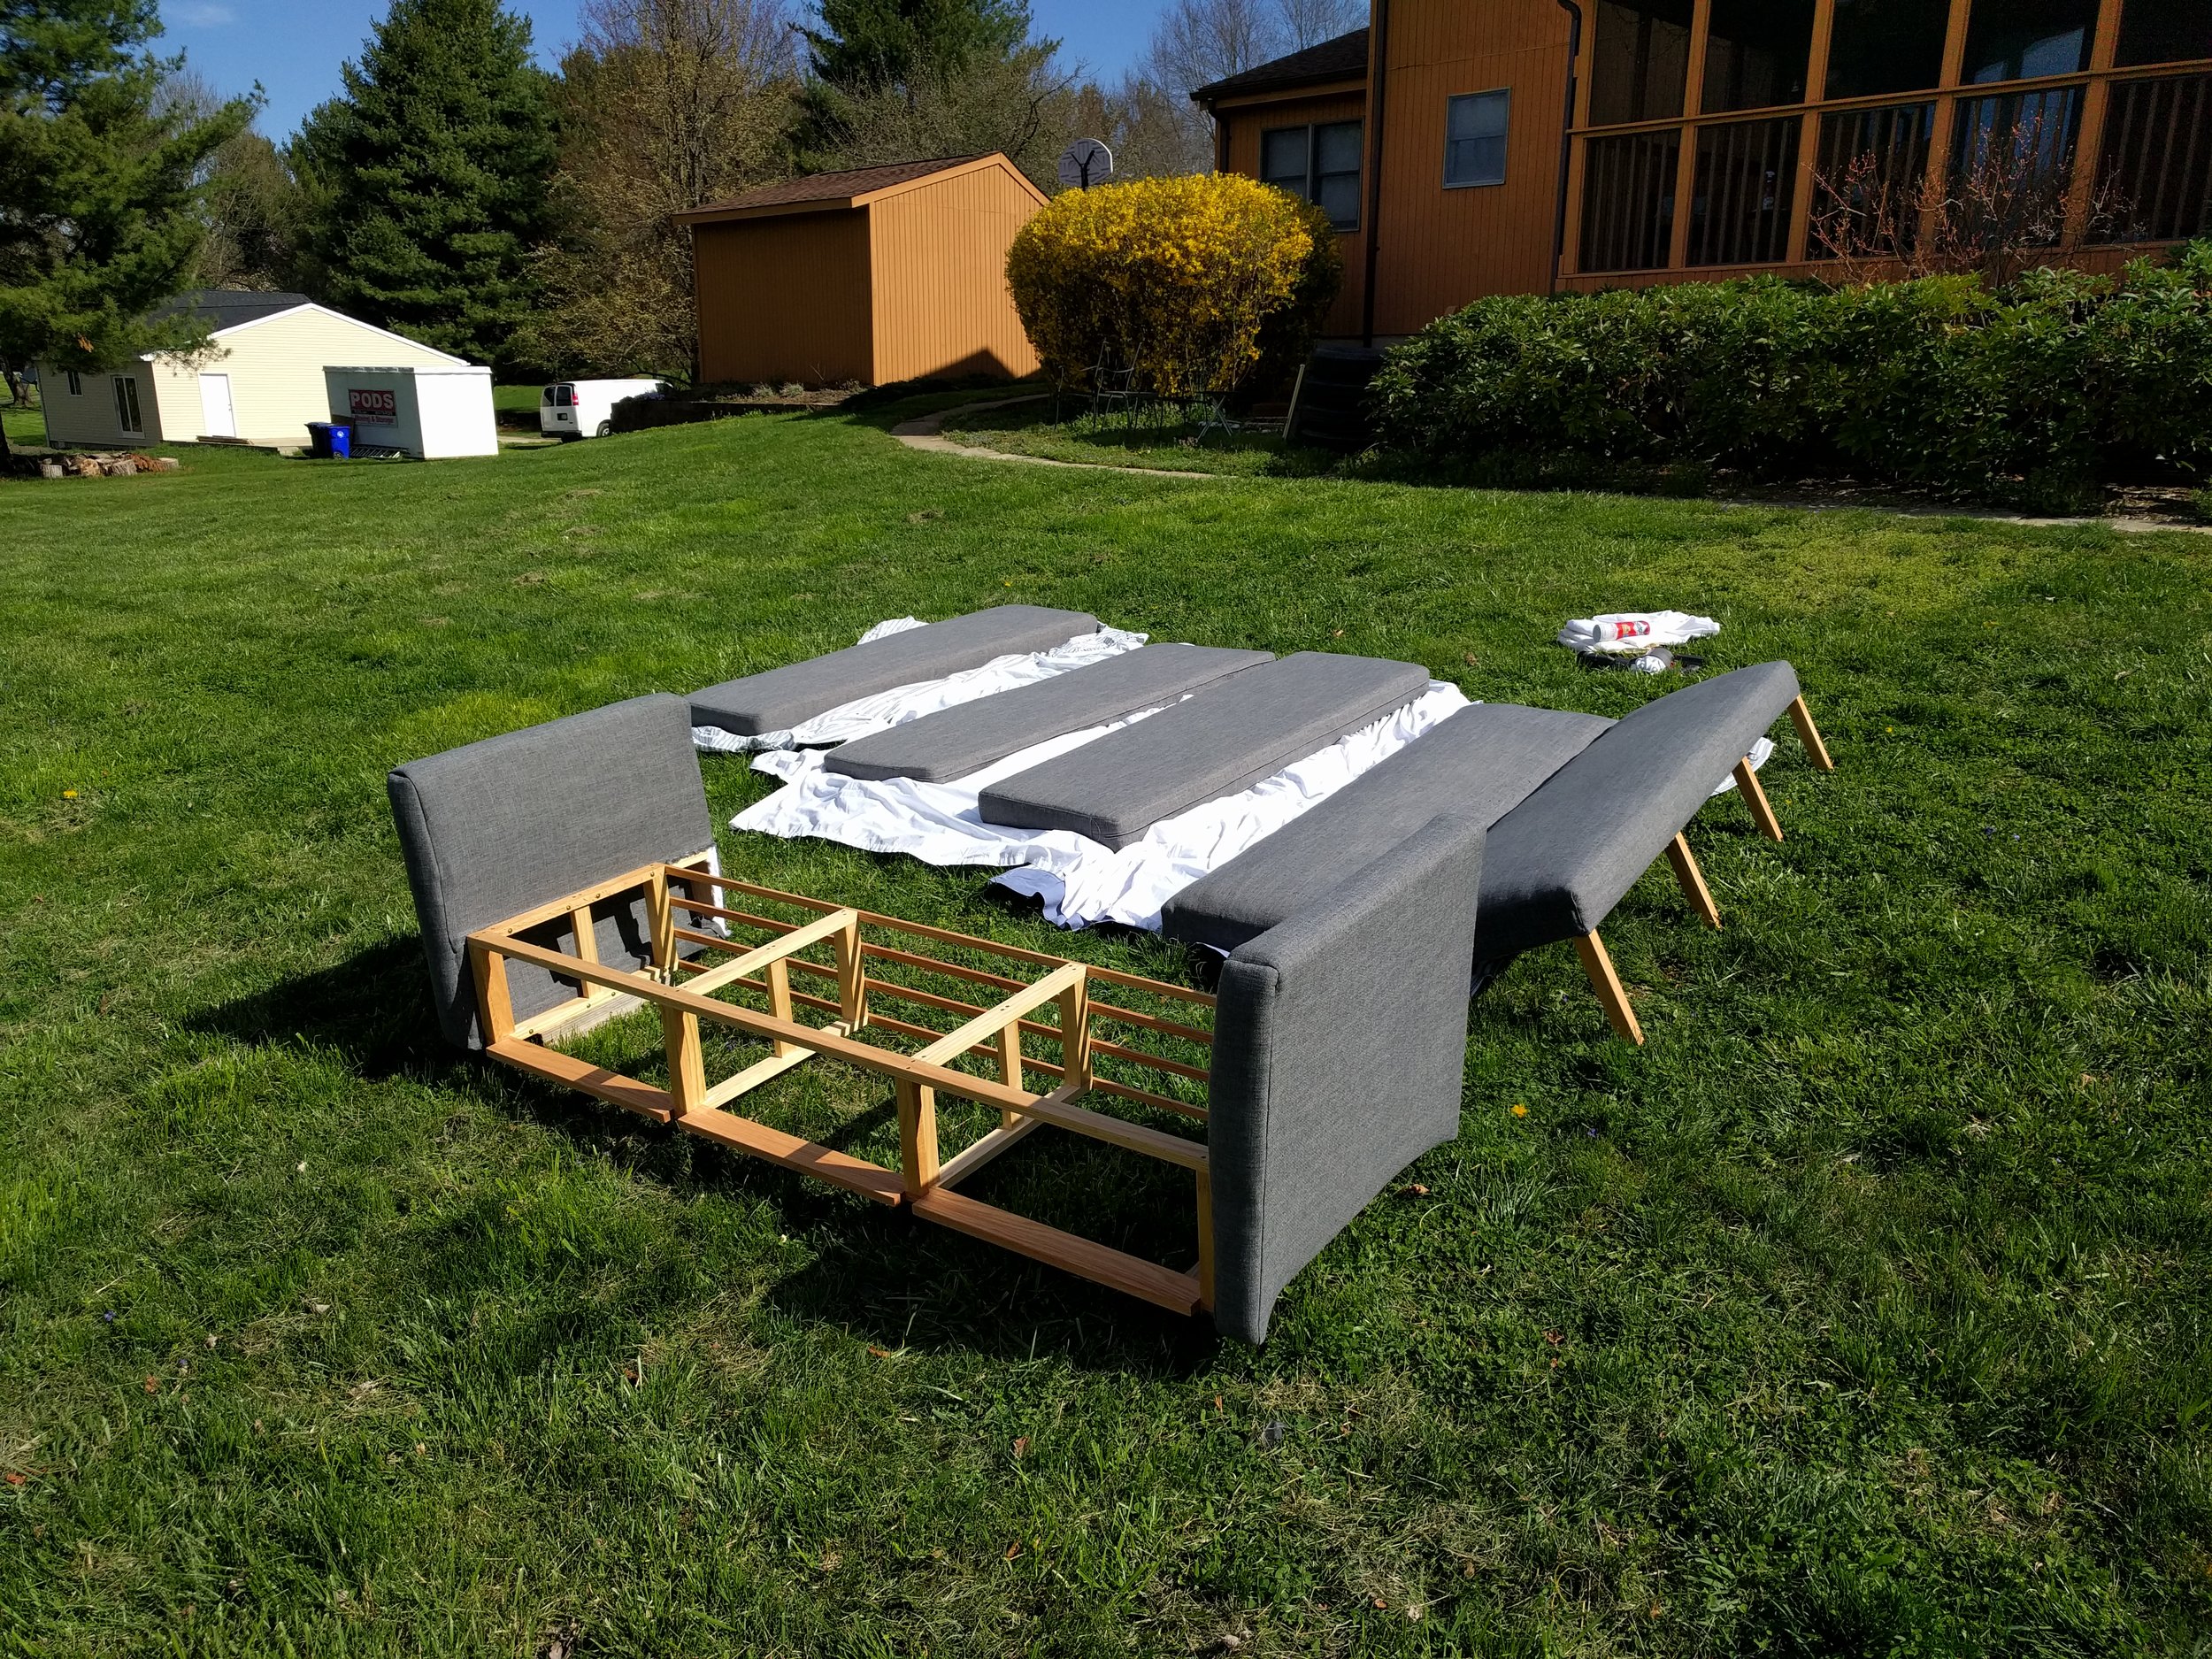
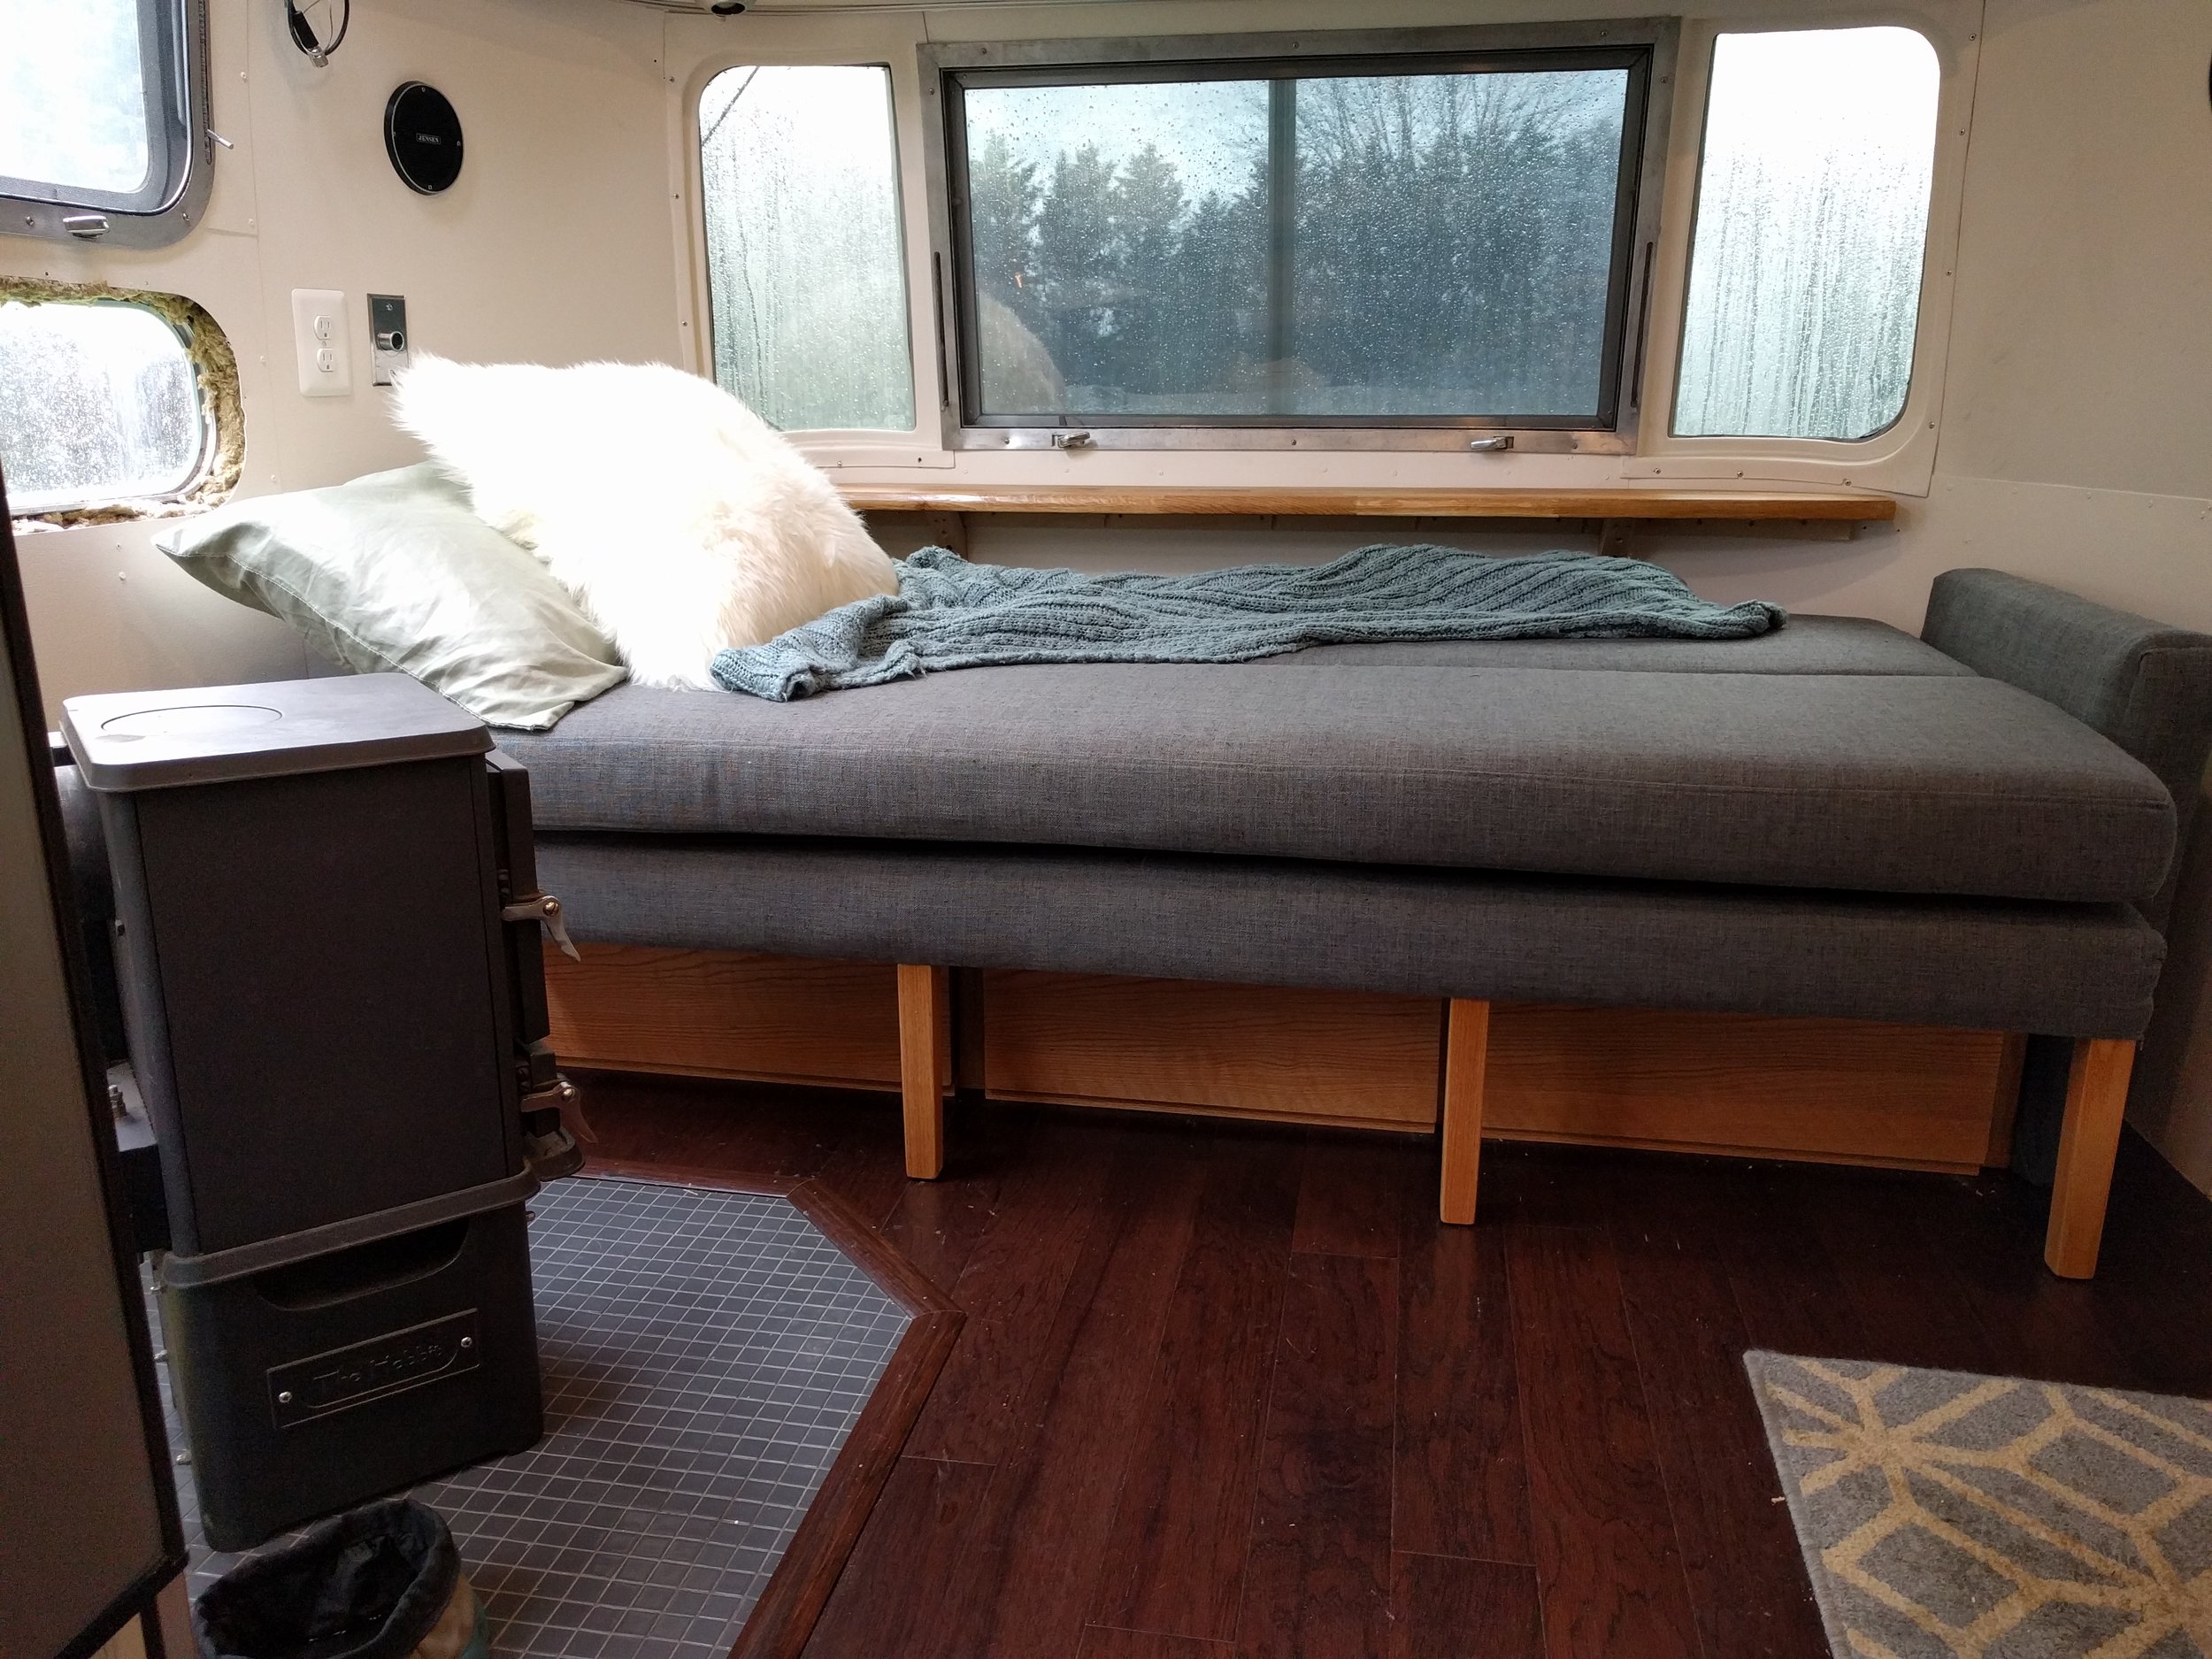
Next step on the Grand Unified Couch Theory is the cushions. Fortunately, my mother is a professional interior designer with her own workroom, so I can cheat. Thanks, Mom!
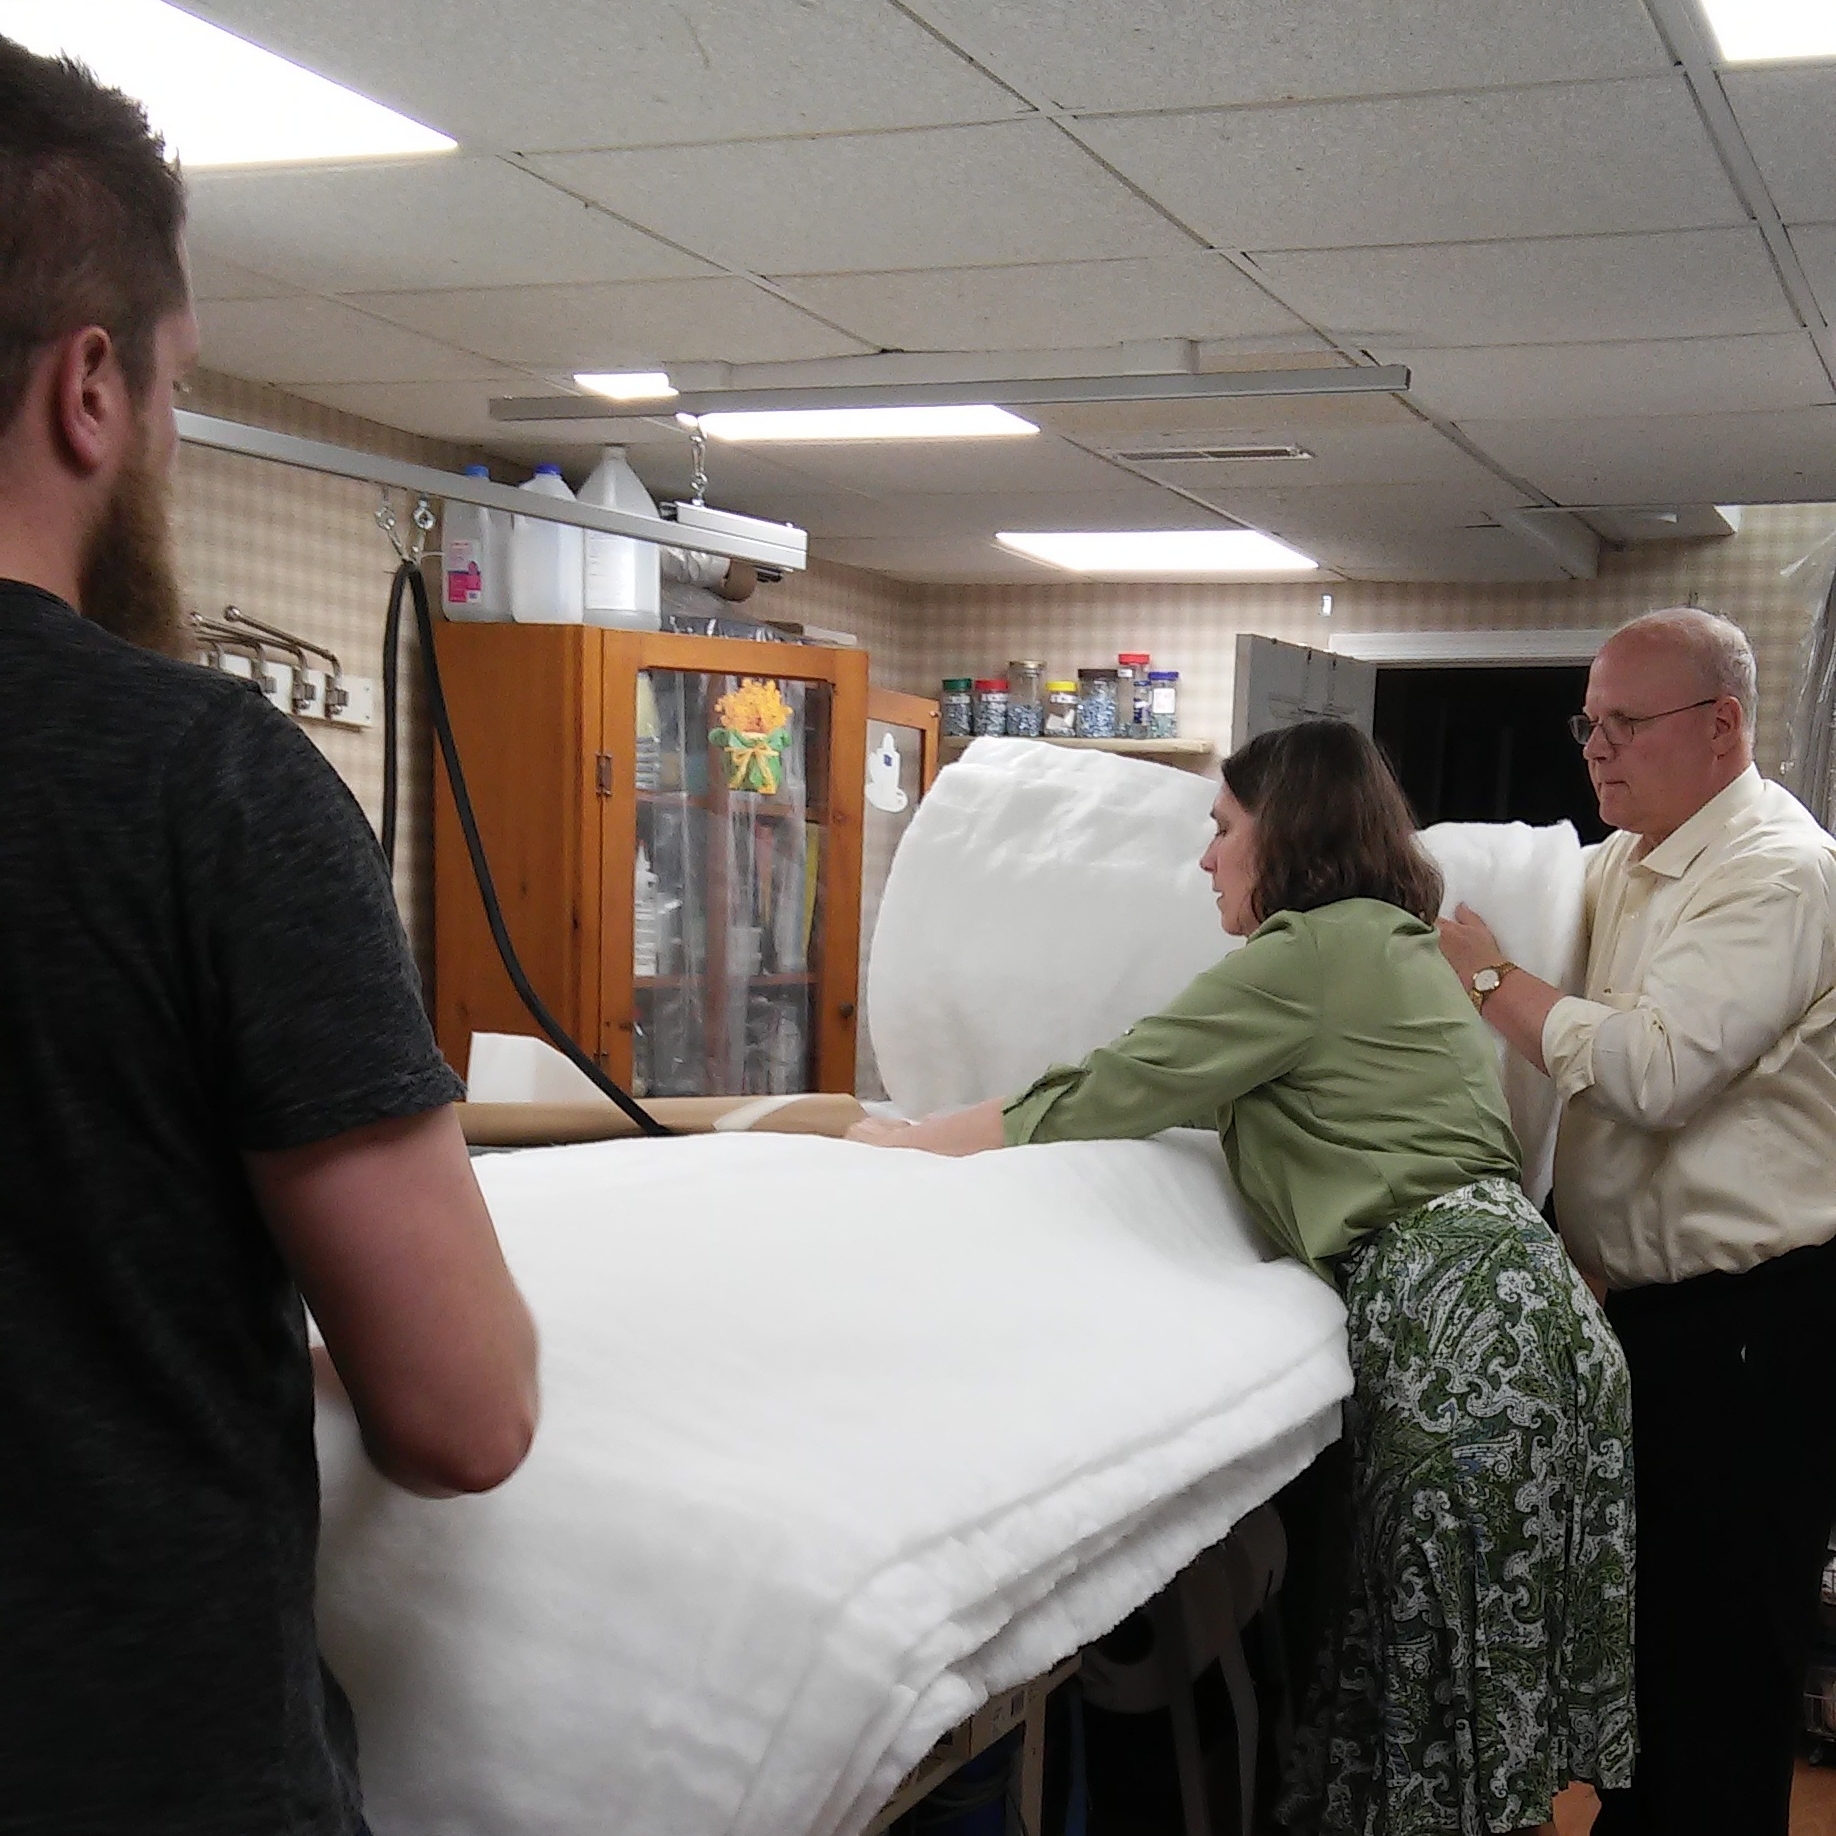
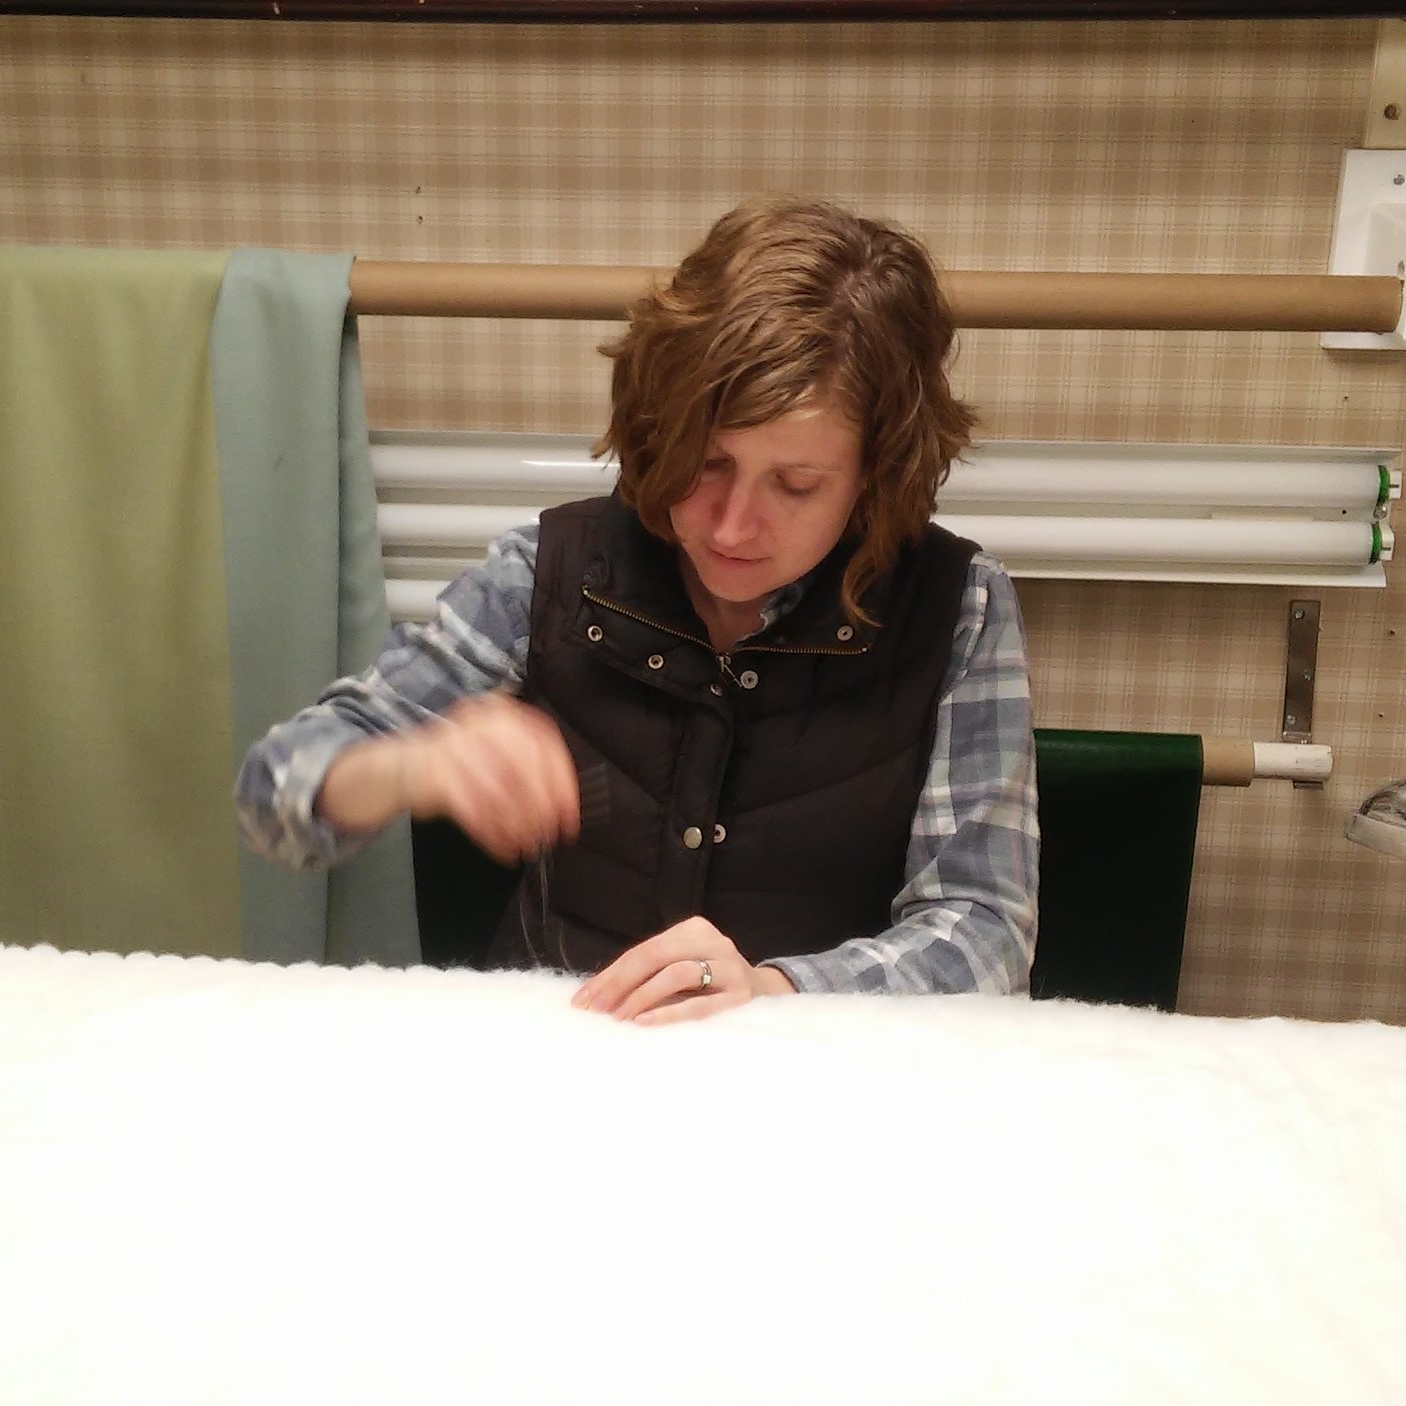
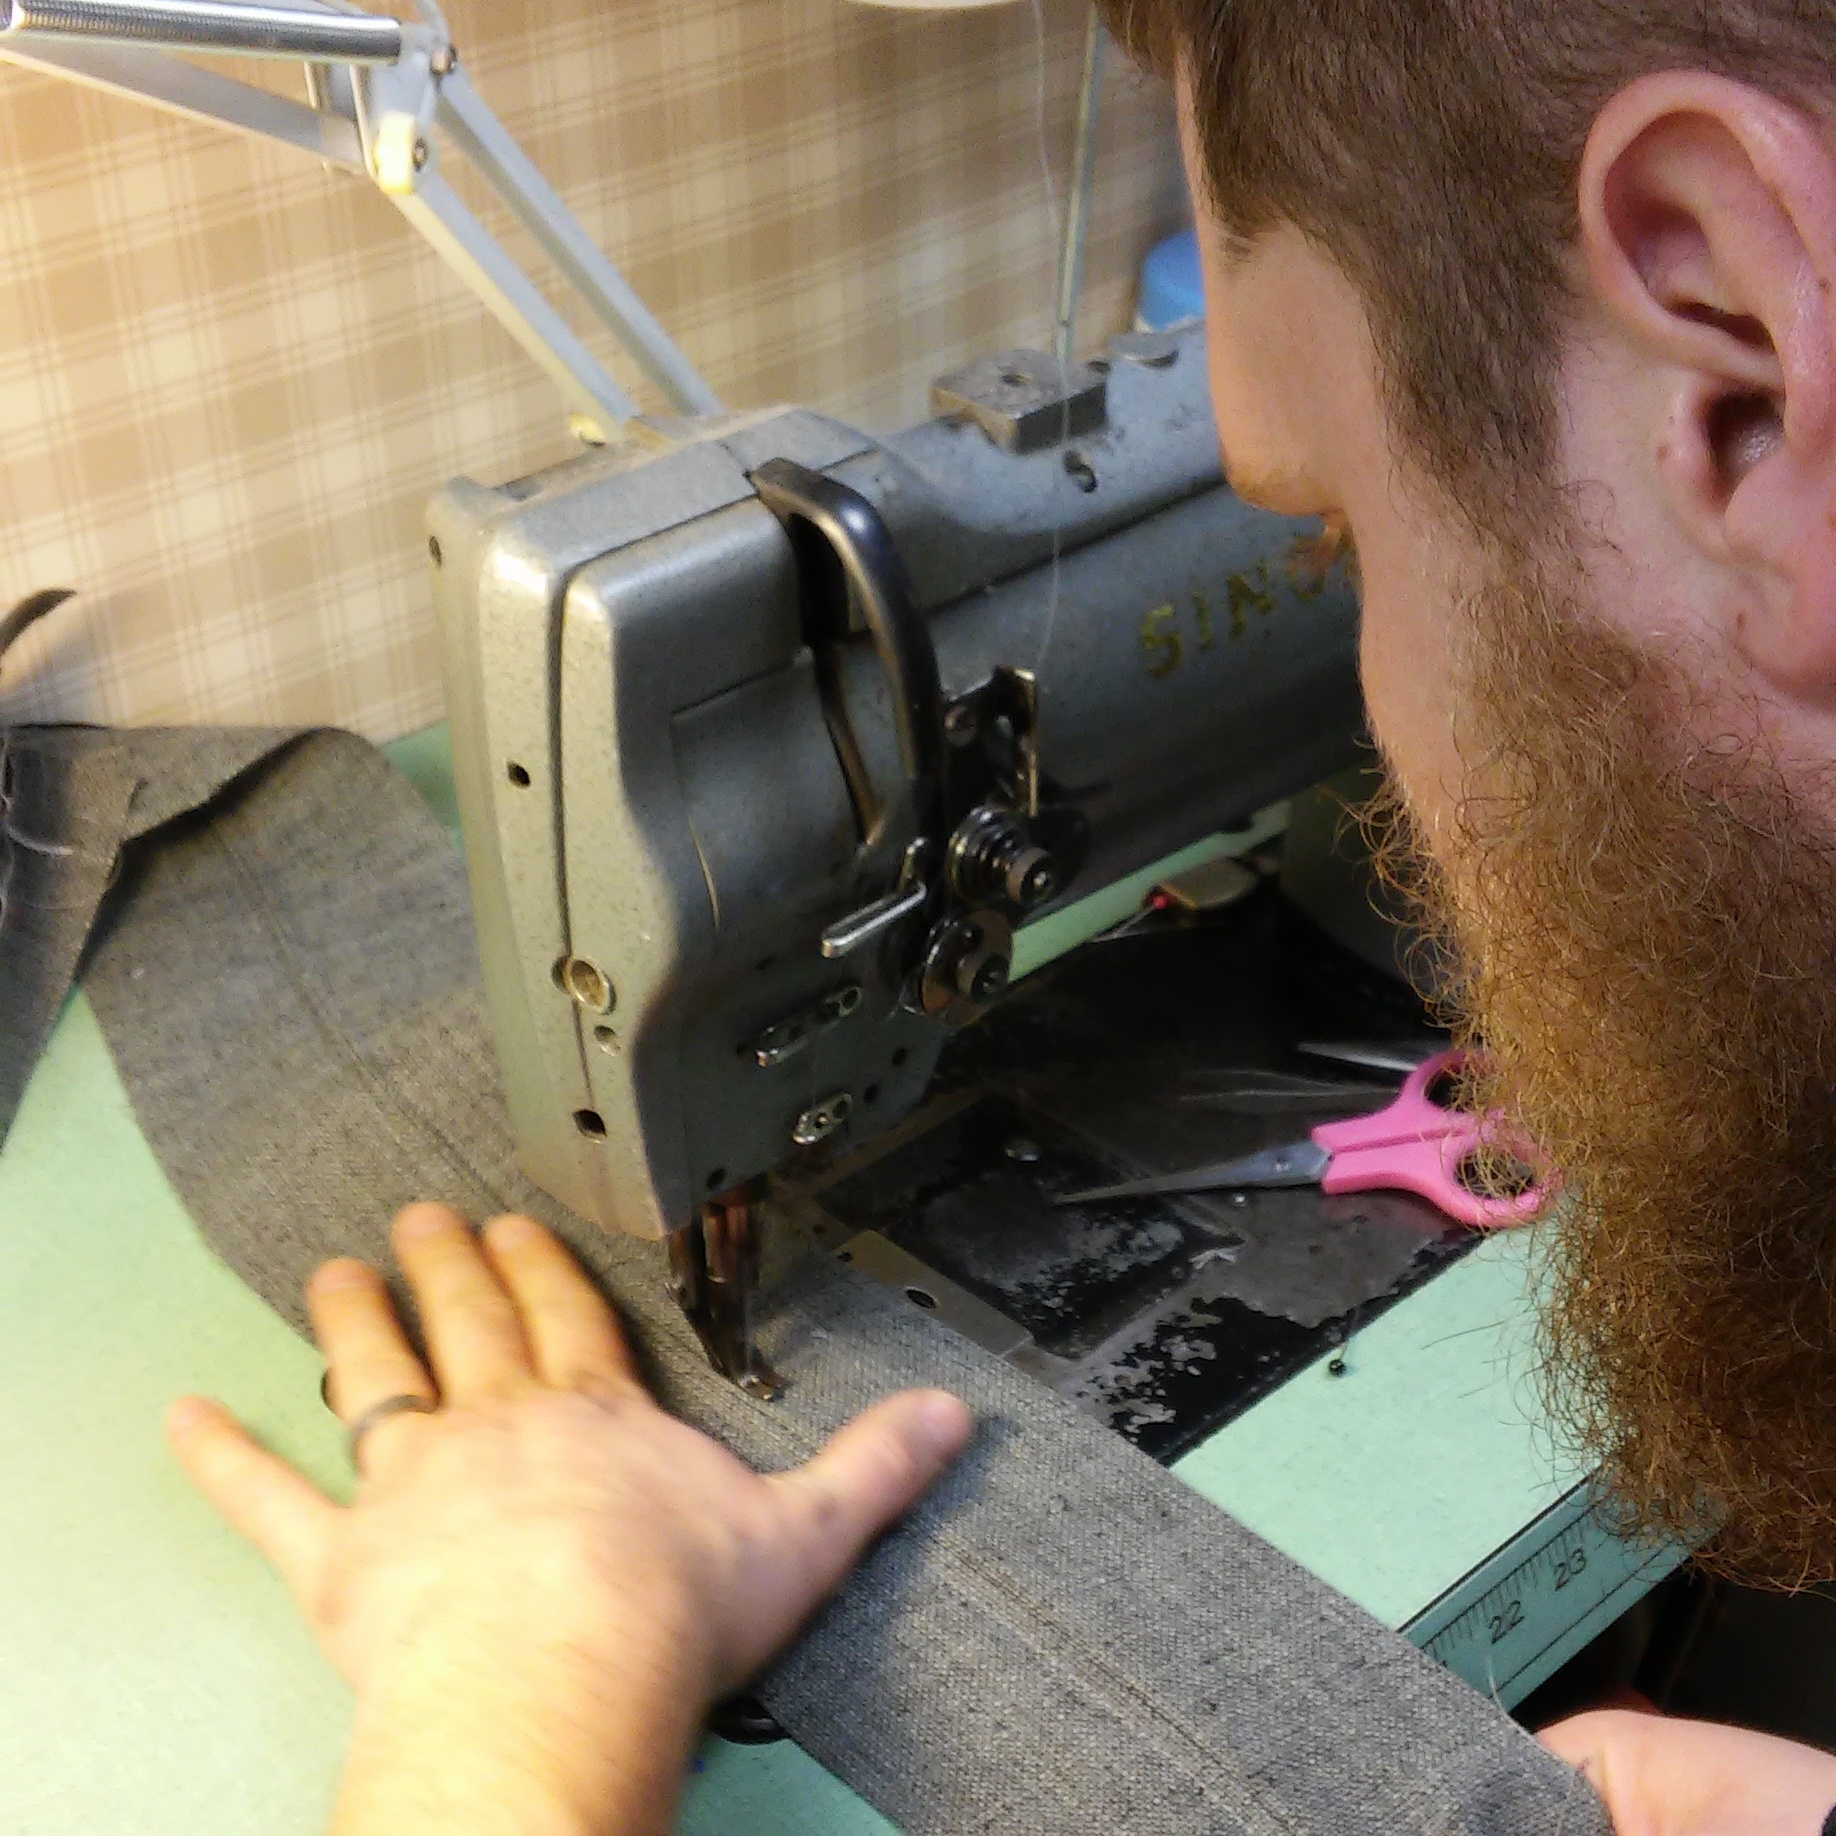
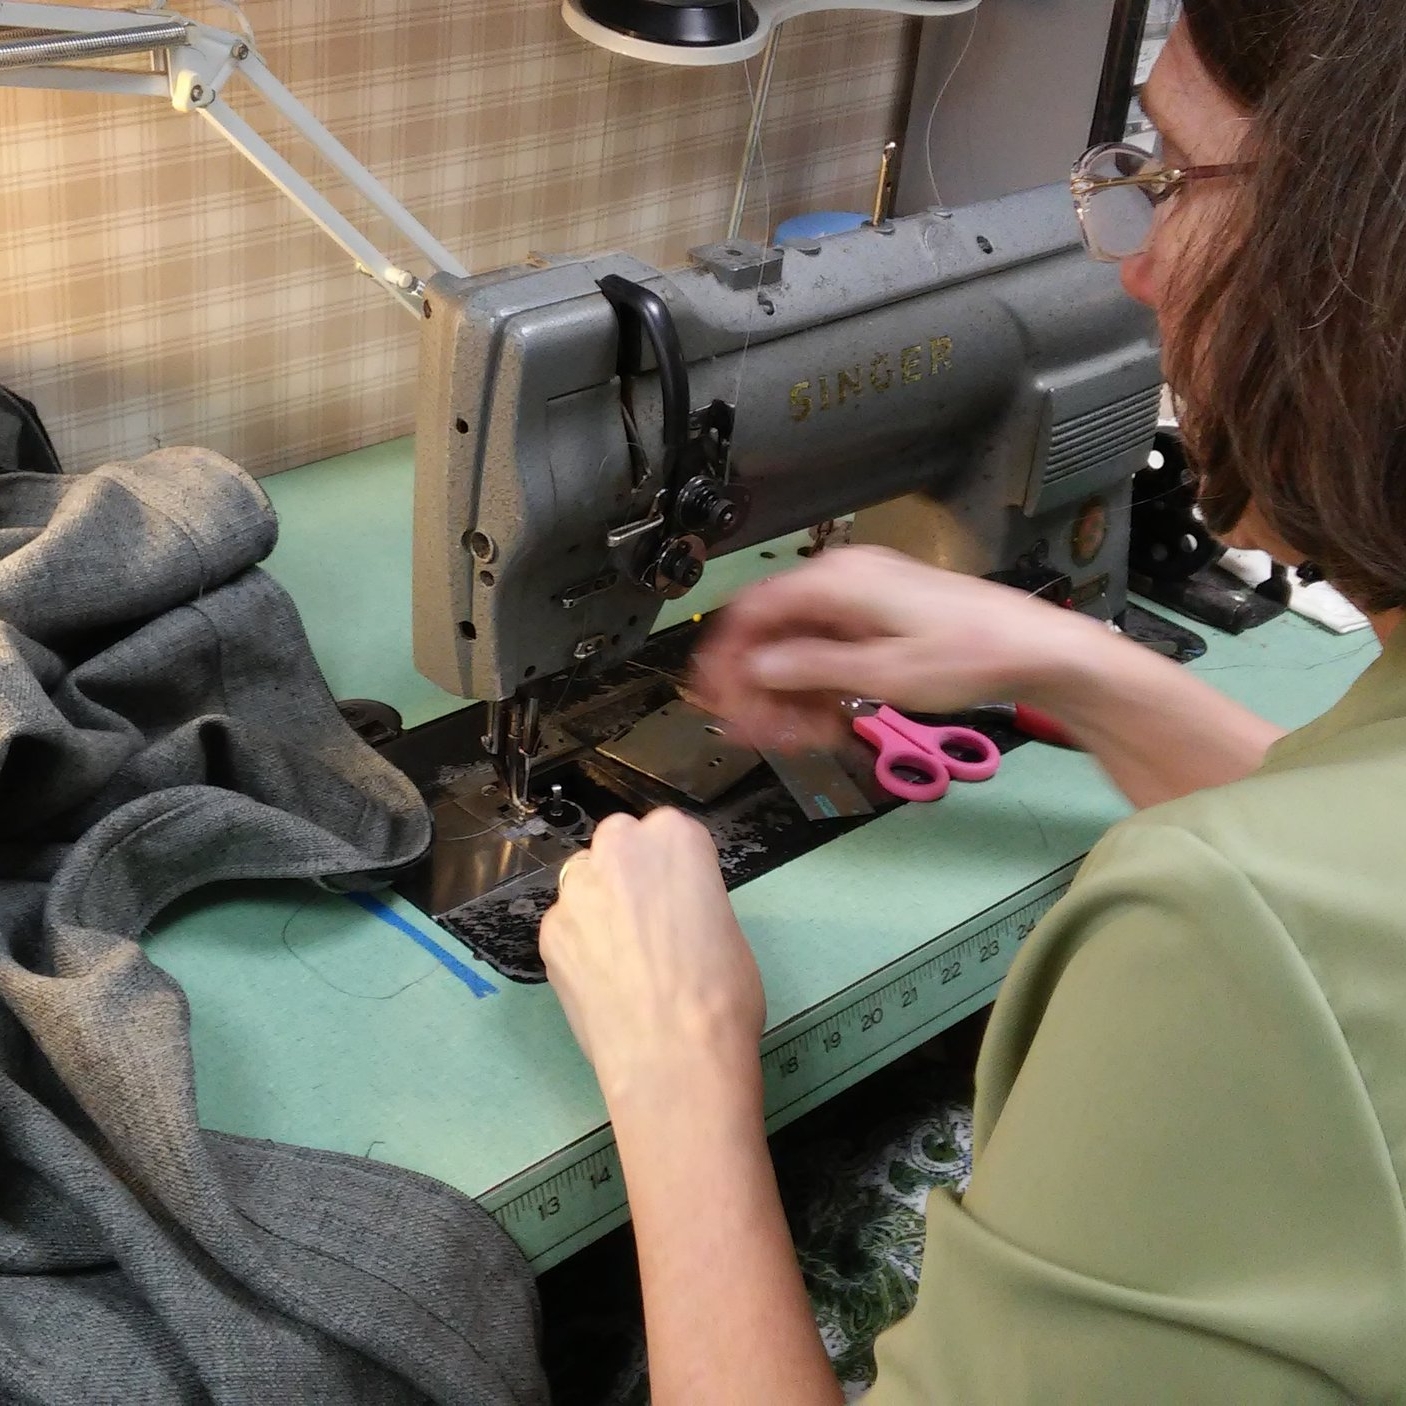
And just like that, we have cushions overnight. We made two identical cushions for the seat and one slimmer cushion for the back. But because of how shallow the seat is already, and the fact that the back is constructed of 8-way hand-tied springs anyway, I think it's more comfortable without the back cushion.

Slumber party mode uses the duplicate seat cushion to make a flat mattress. It's a twin mattress, plus about an inch of width.
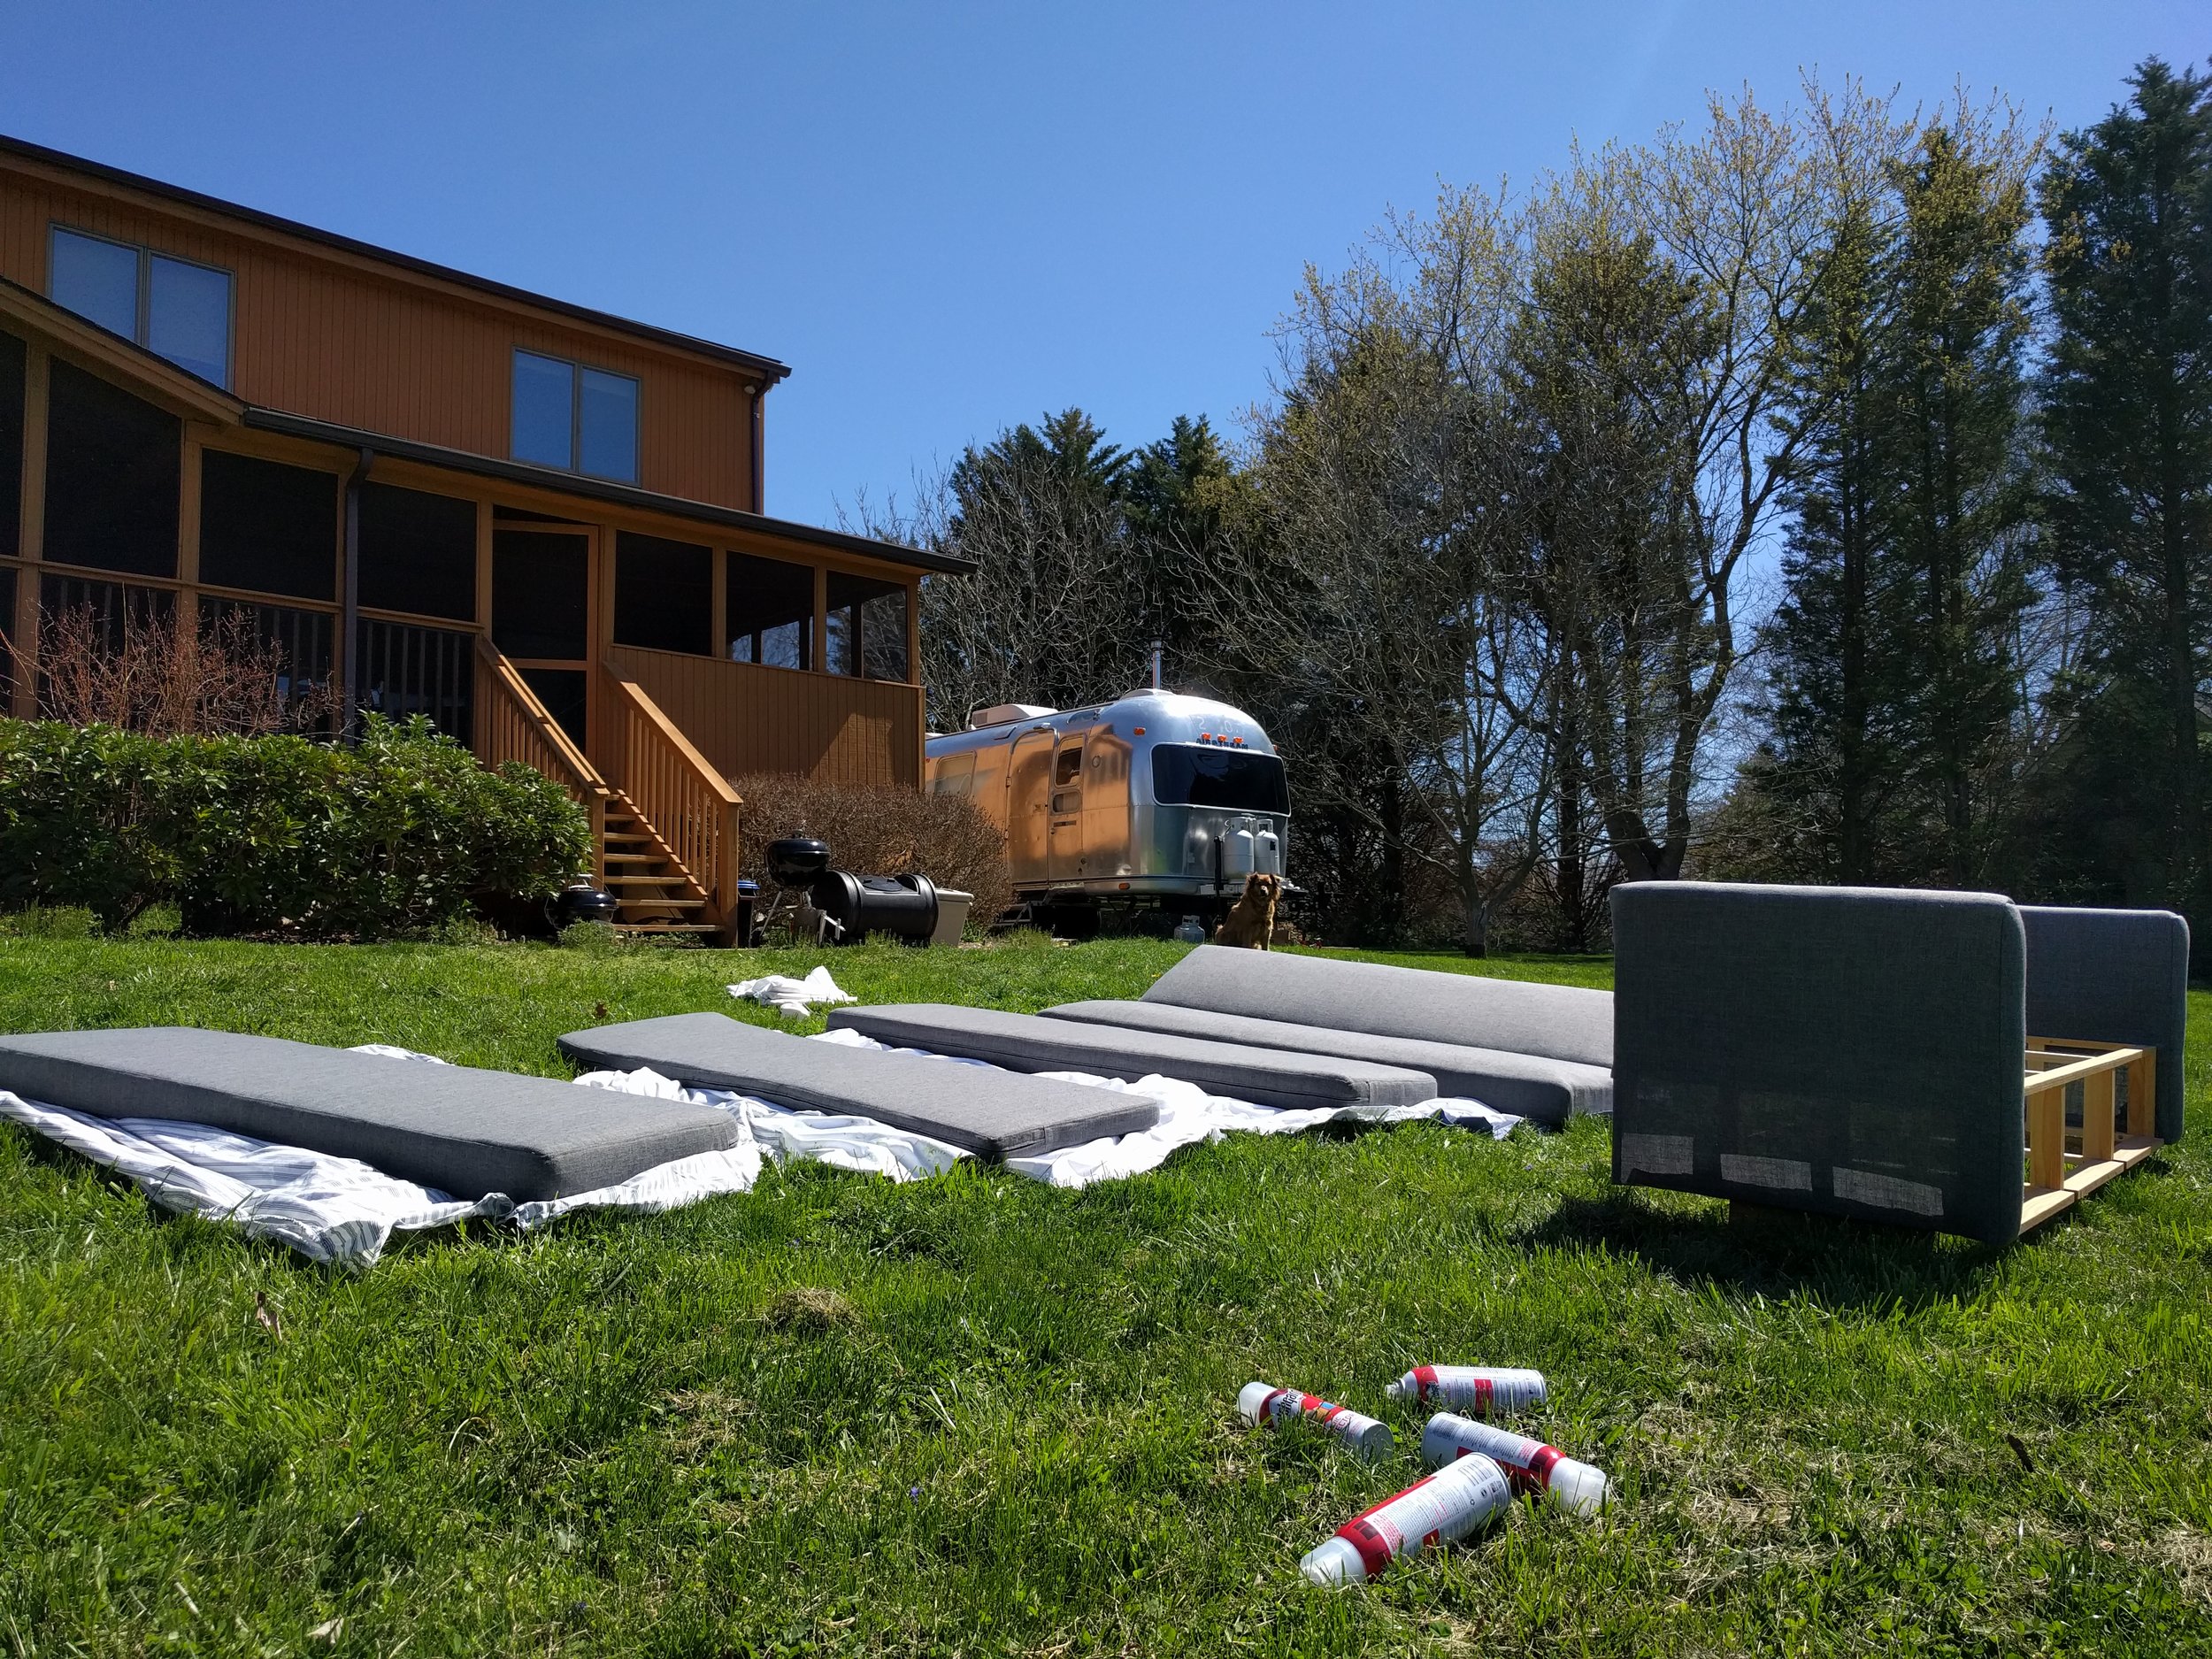
I Scotch-Guarded all the fabric to make for easier cleaning. Since this is our only living room seating as well as Luna's favorite sleeping and squirrel-viewing area, Scotch-Guard was a no brainer. It took four cans to do two coats.
The shelf behind the couch is made out of a scrap of oak butcher block I had left over from the countertop. It's both a console table and support for the back of the couch in "lounge mode," and a nightstand in "slumber party mode."
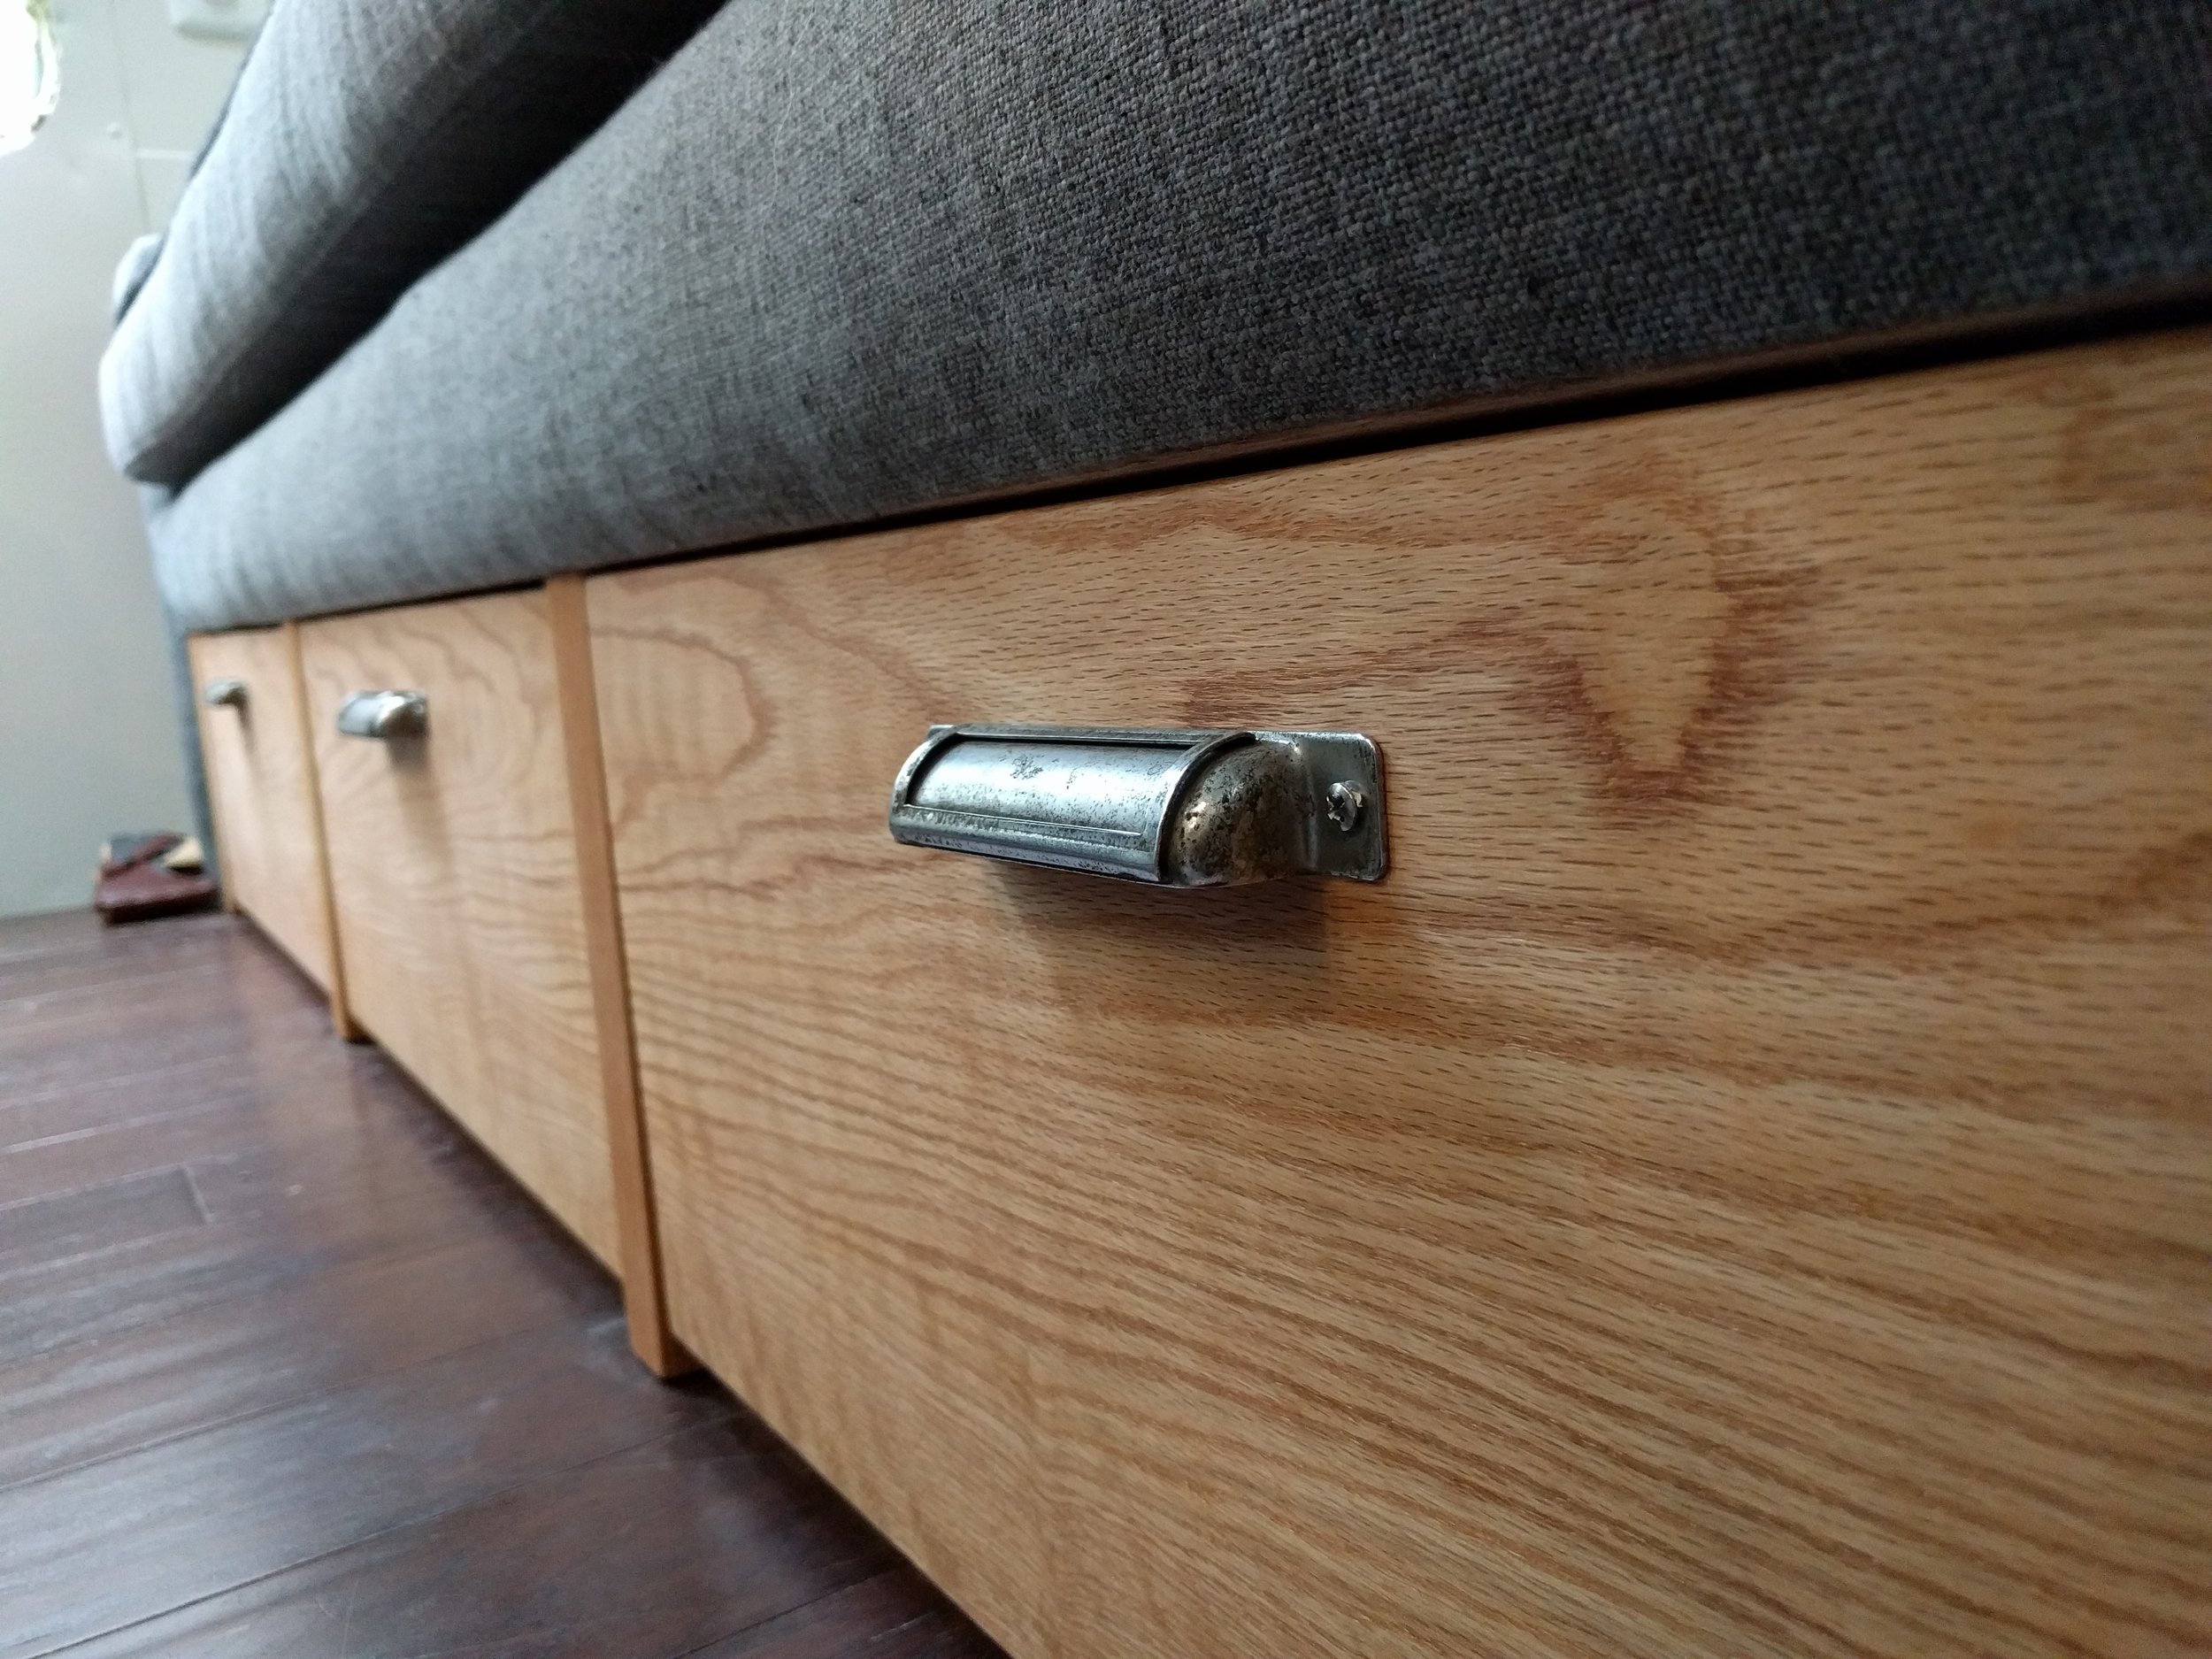
I built the drawers the same way as all the other drawers in the Airstream using this method and these soft-close drawer slides. The drawer fronts are made of a single piece of oak 1x10 so that the grain matches across all three drawers. The hardware are salvaged letterpress drawer handles from A Vintage Parcel on Etsy.
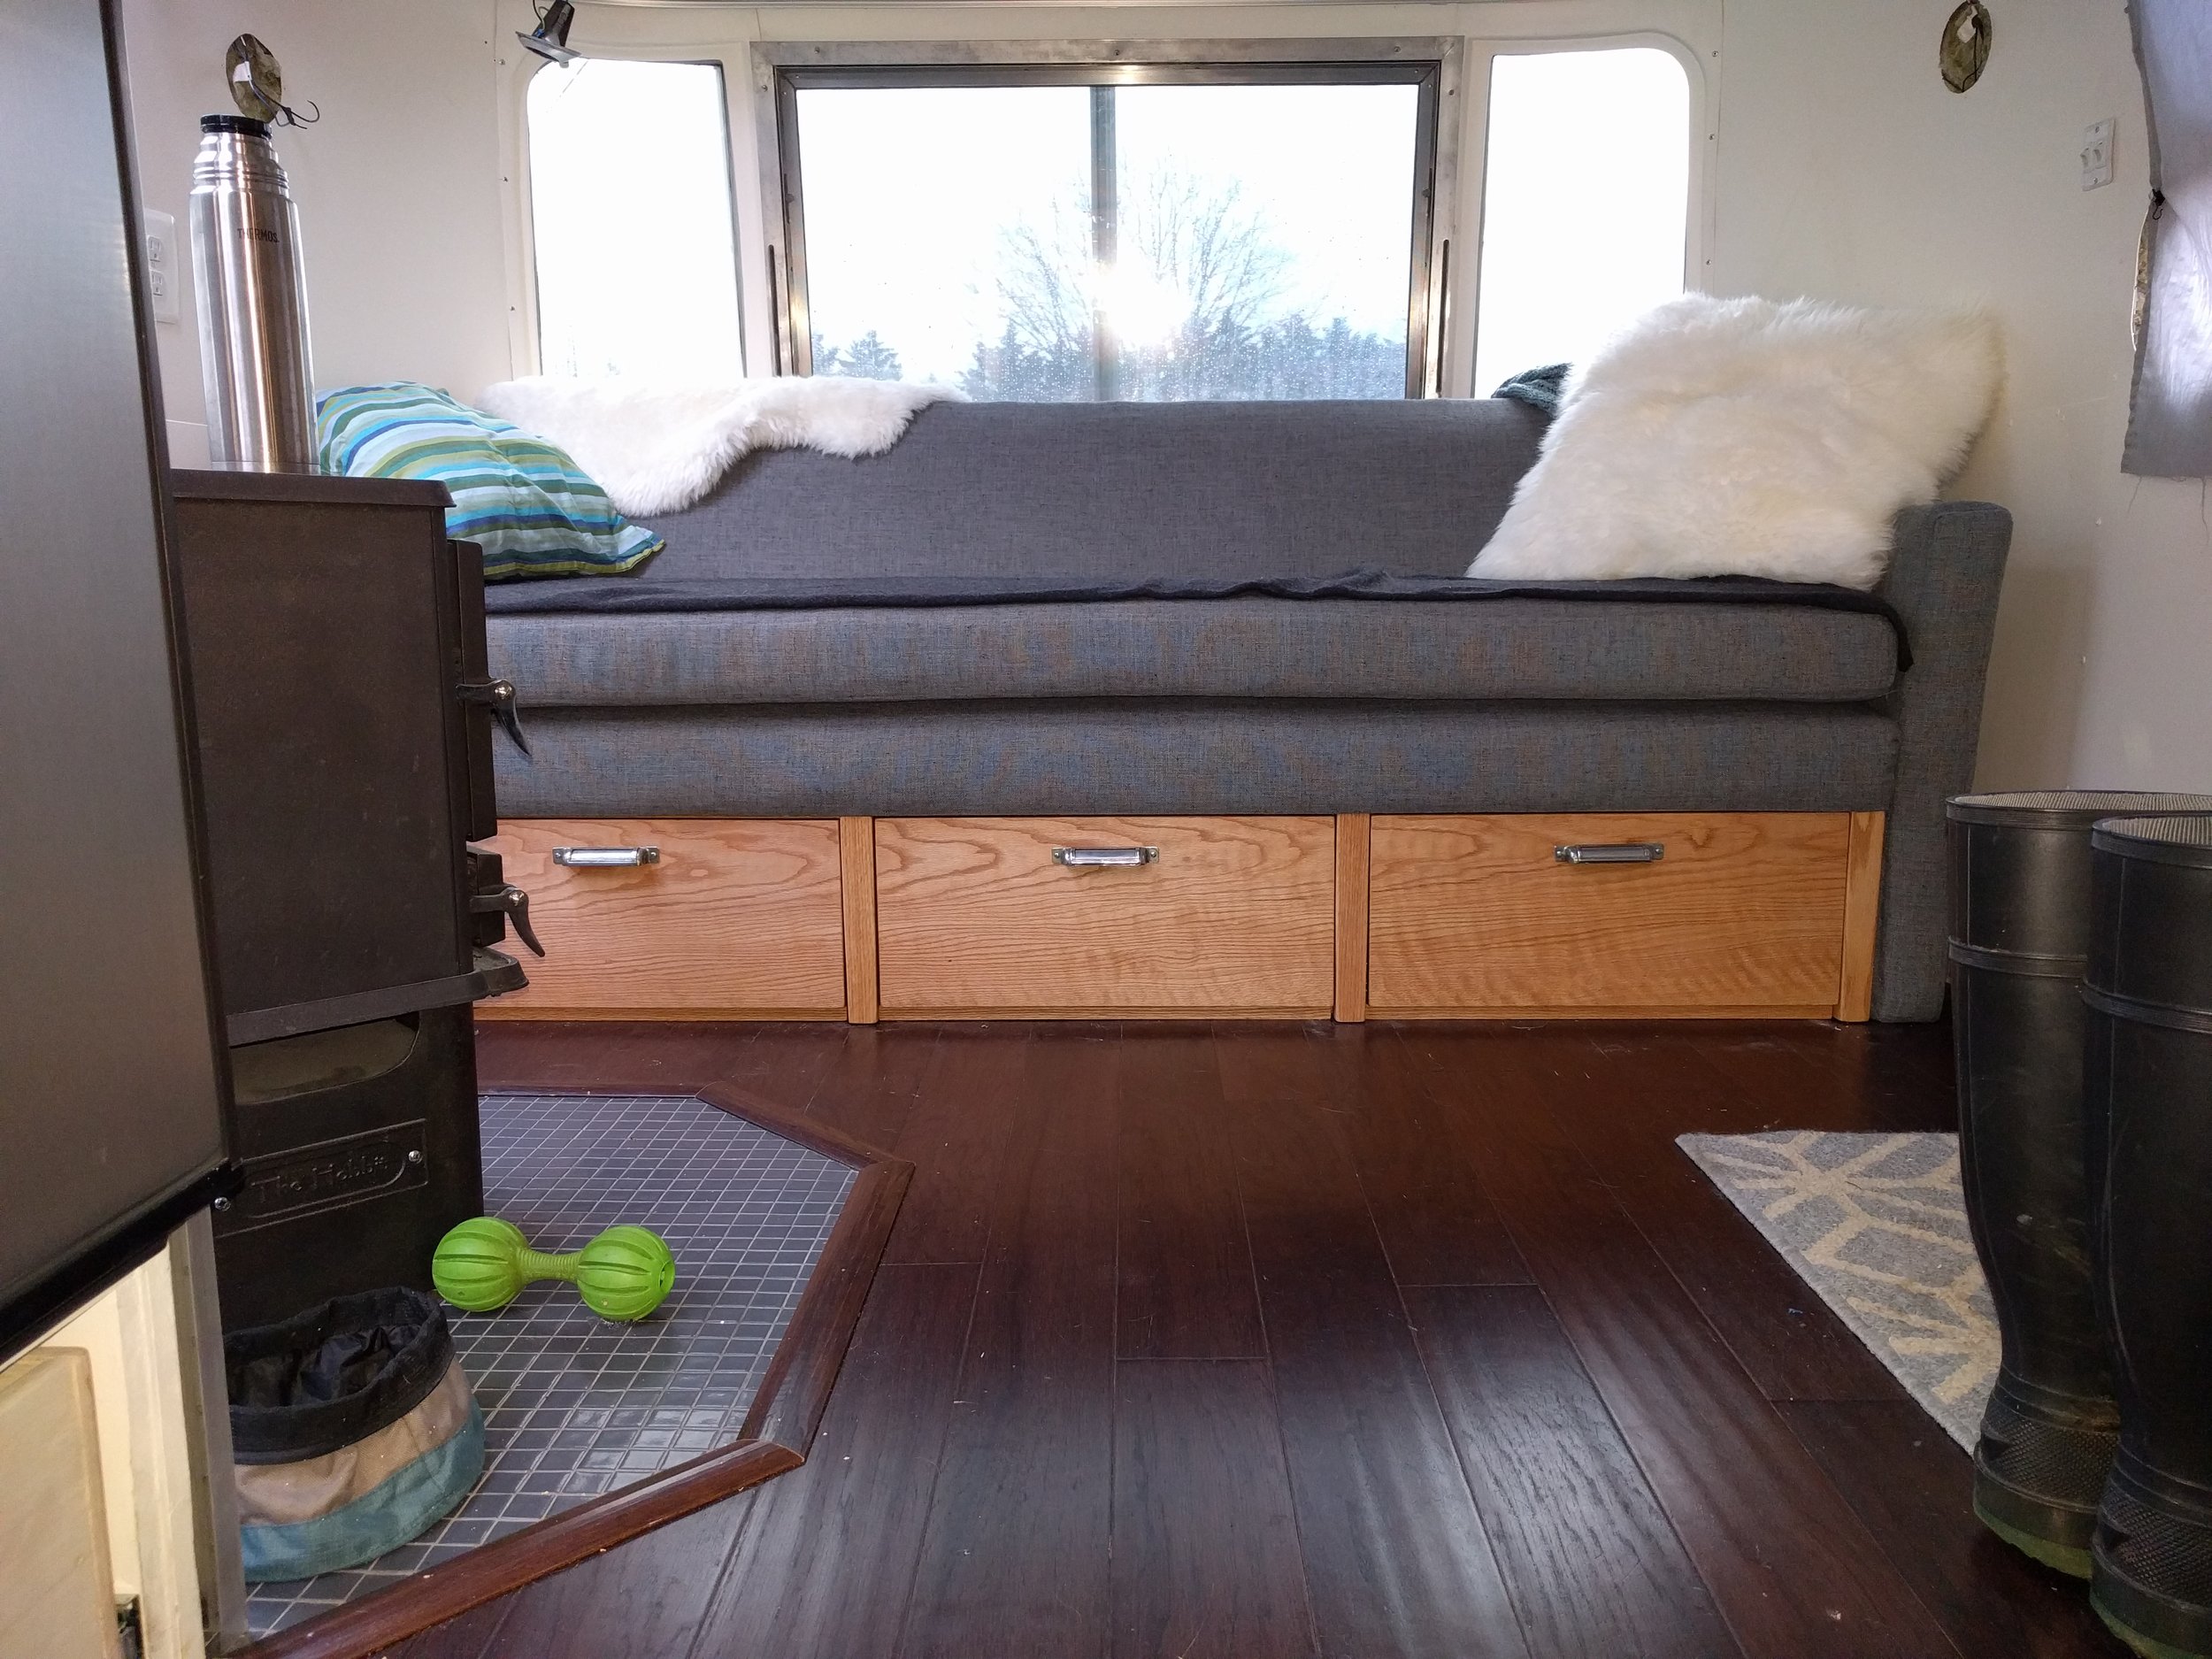
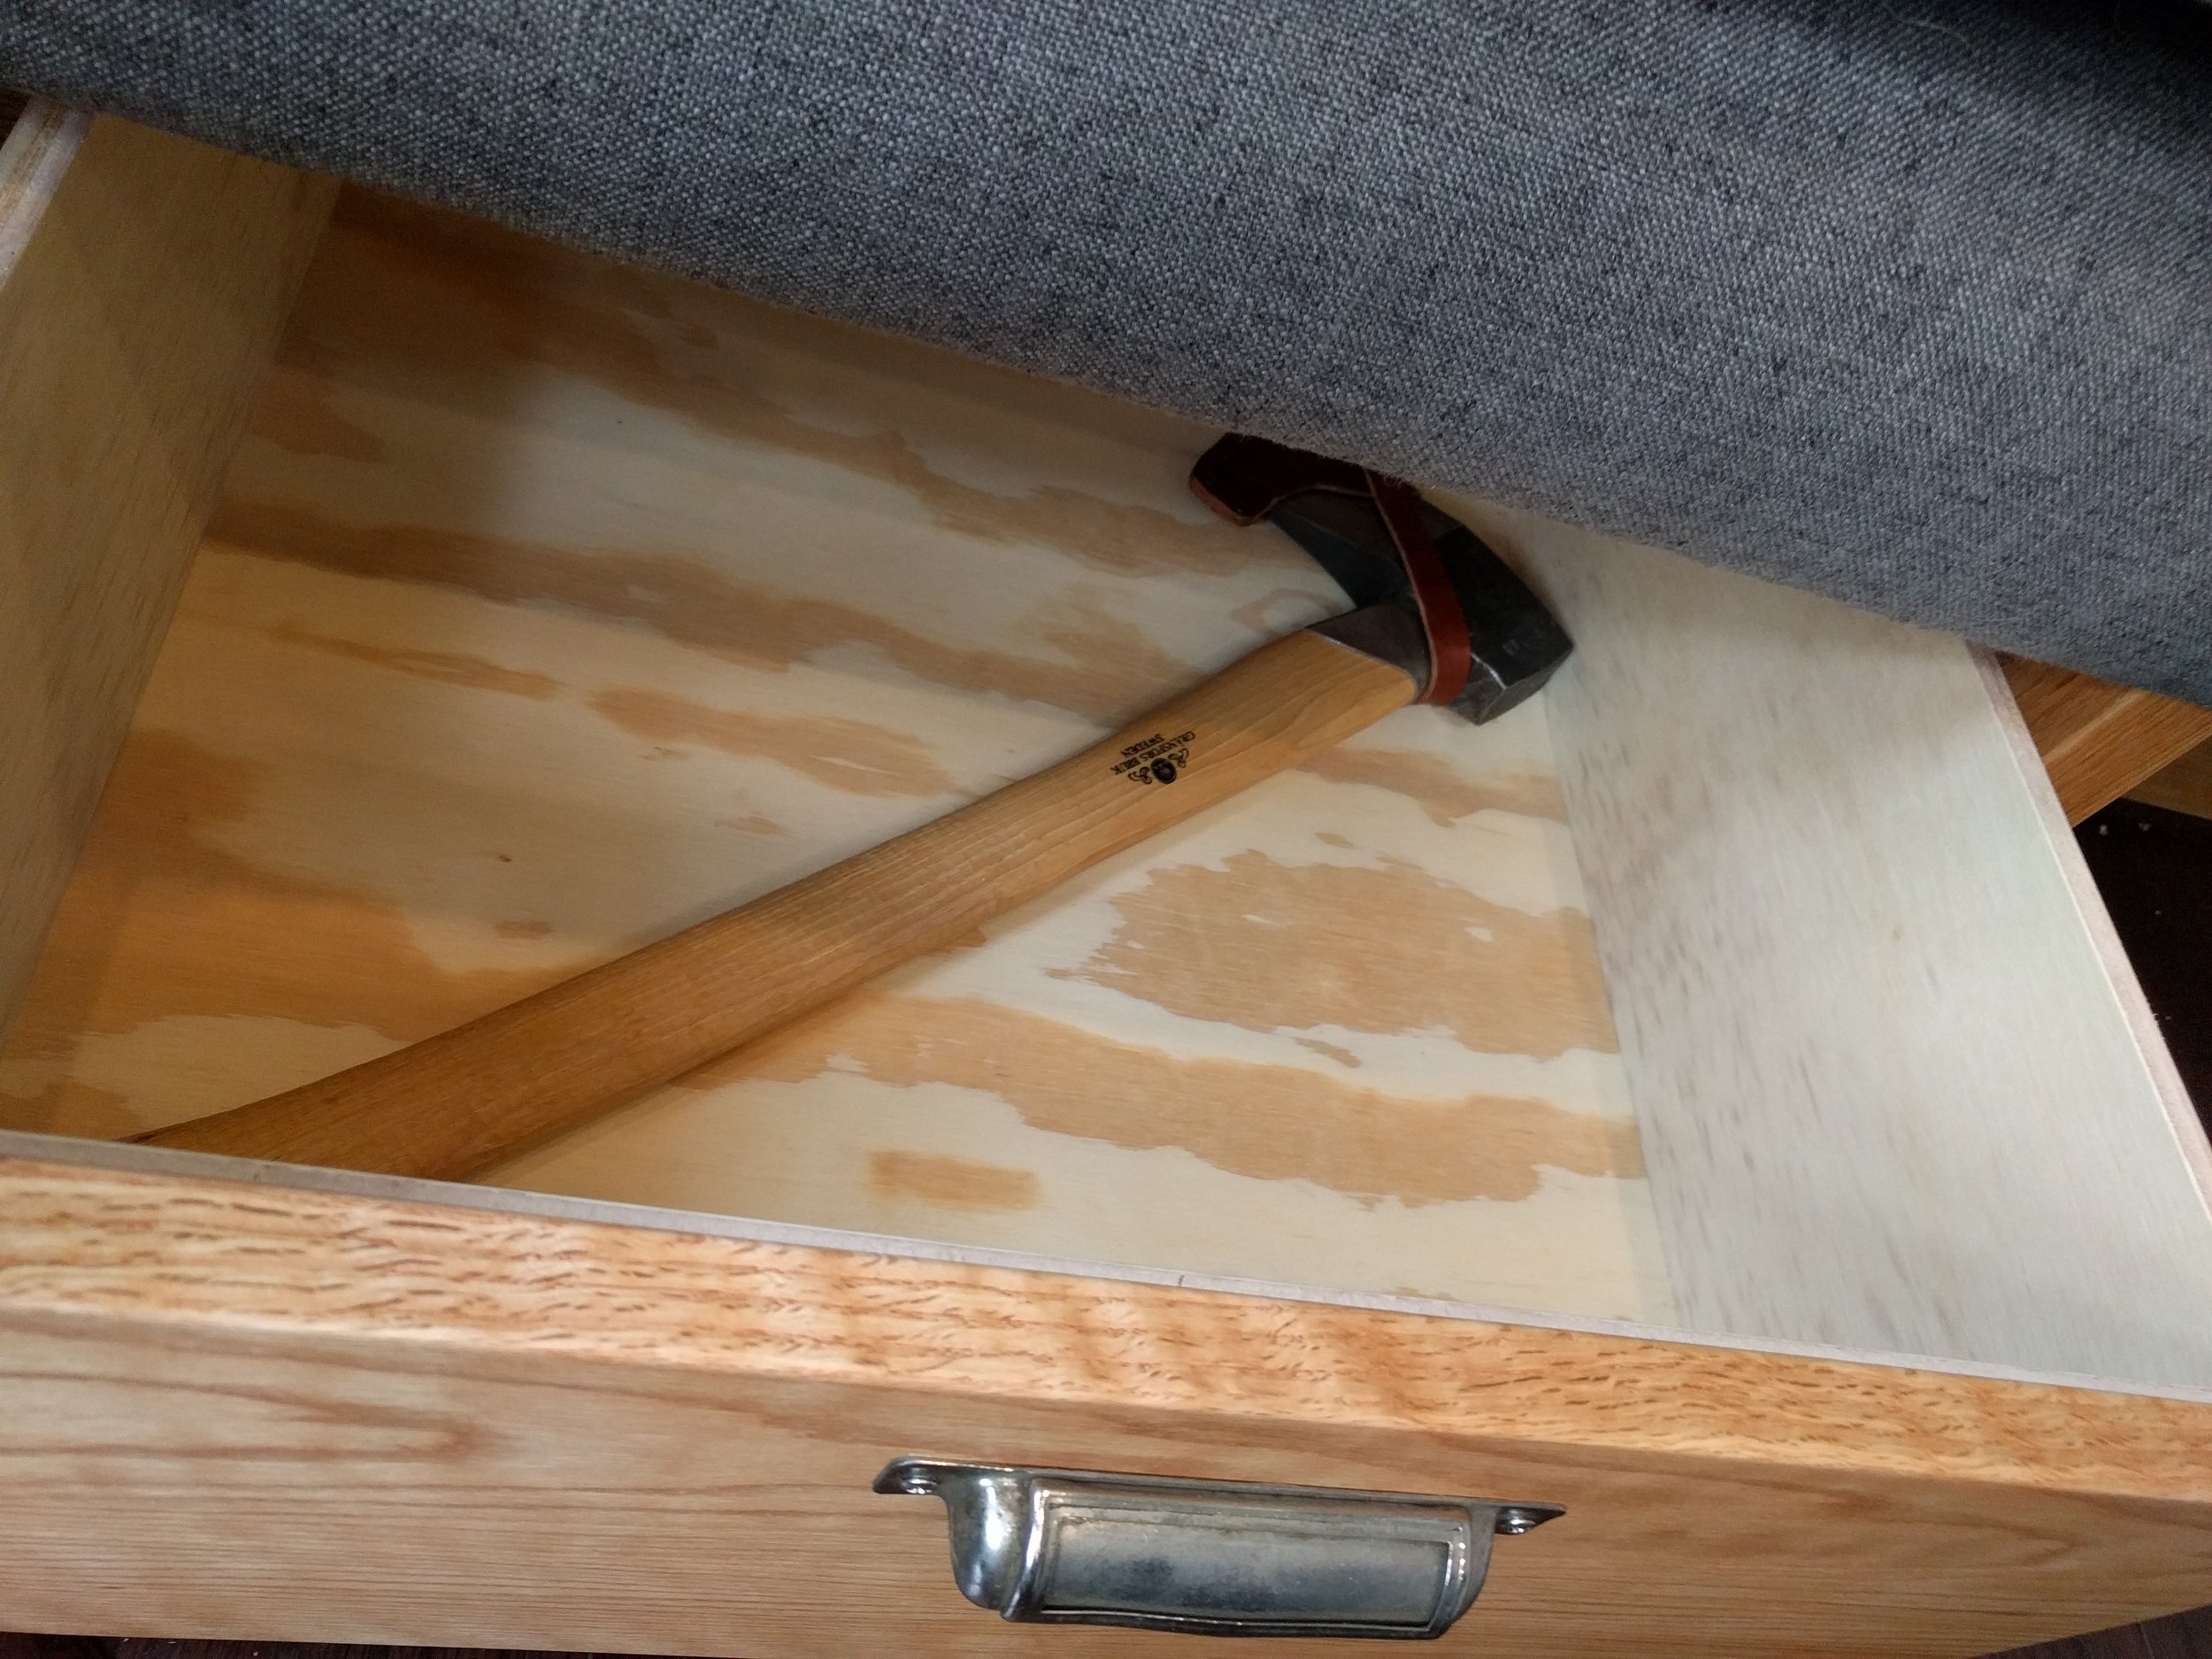
I'm pretty happy that my Gransfors Bruks small splitting axe fits perfectly inside the drawer next to the wood stove.
How to Build Drawer Boxes
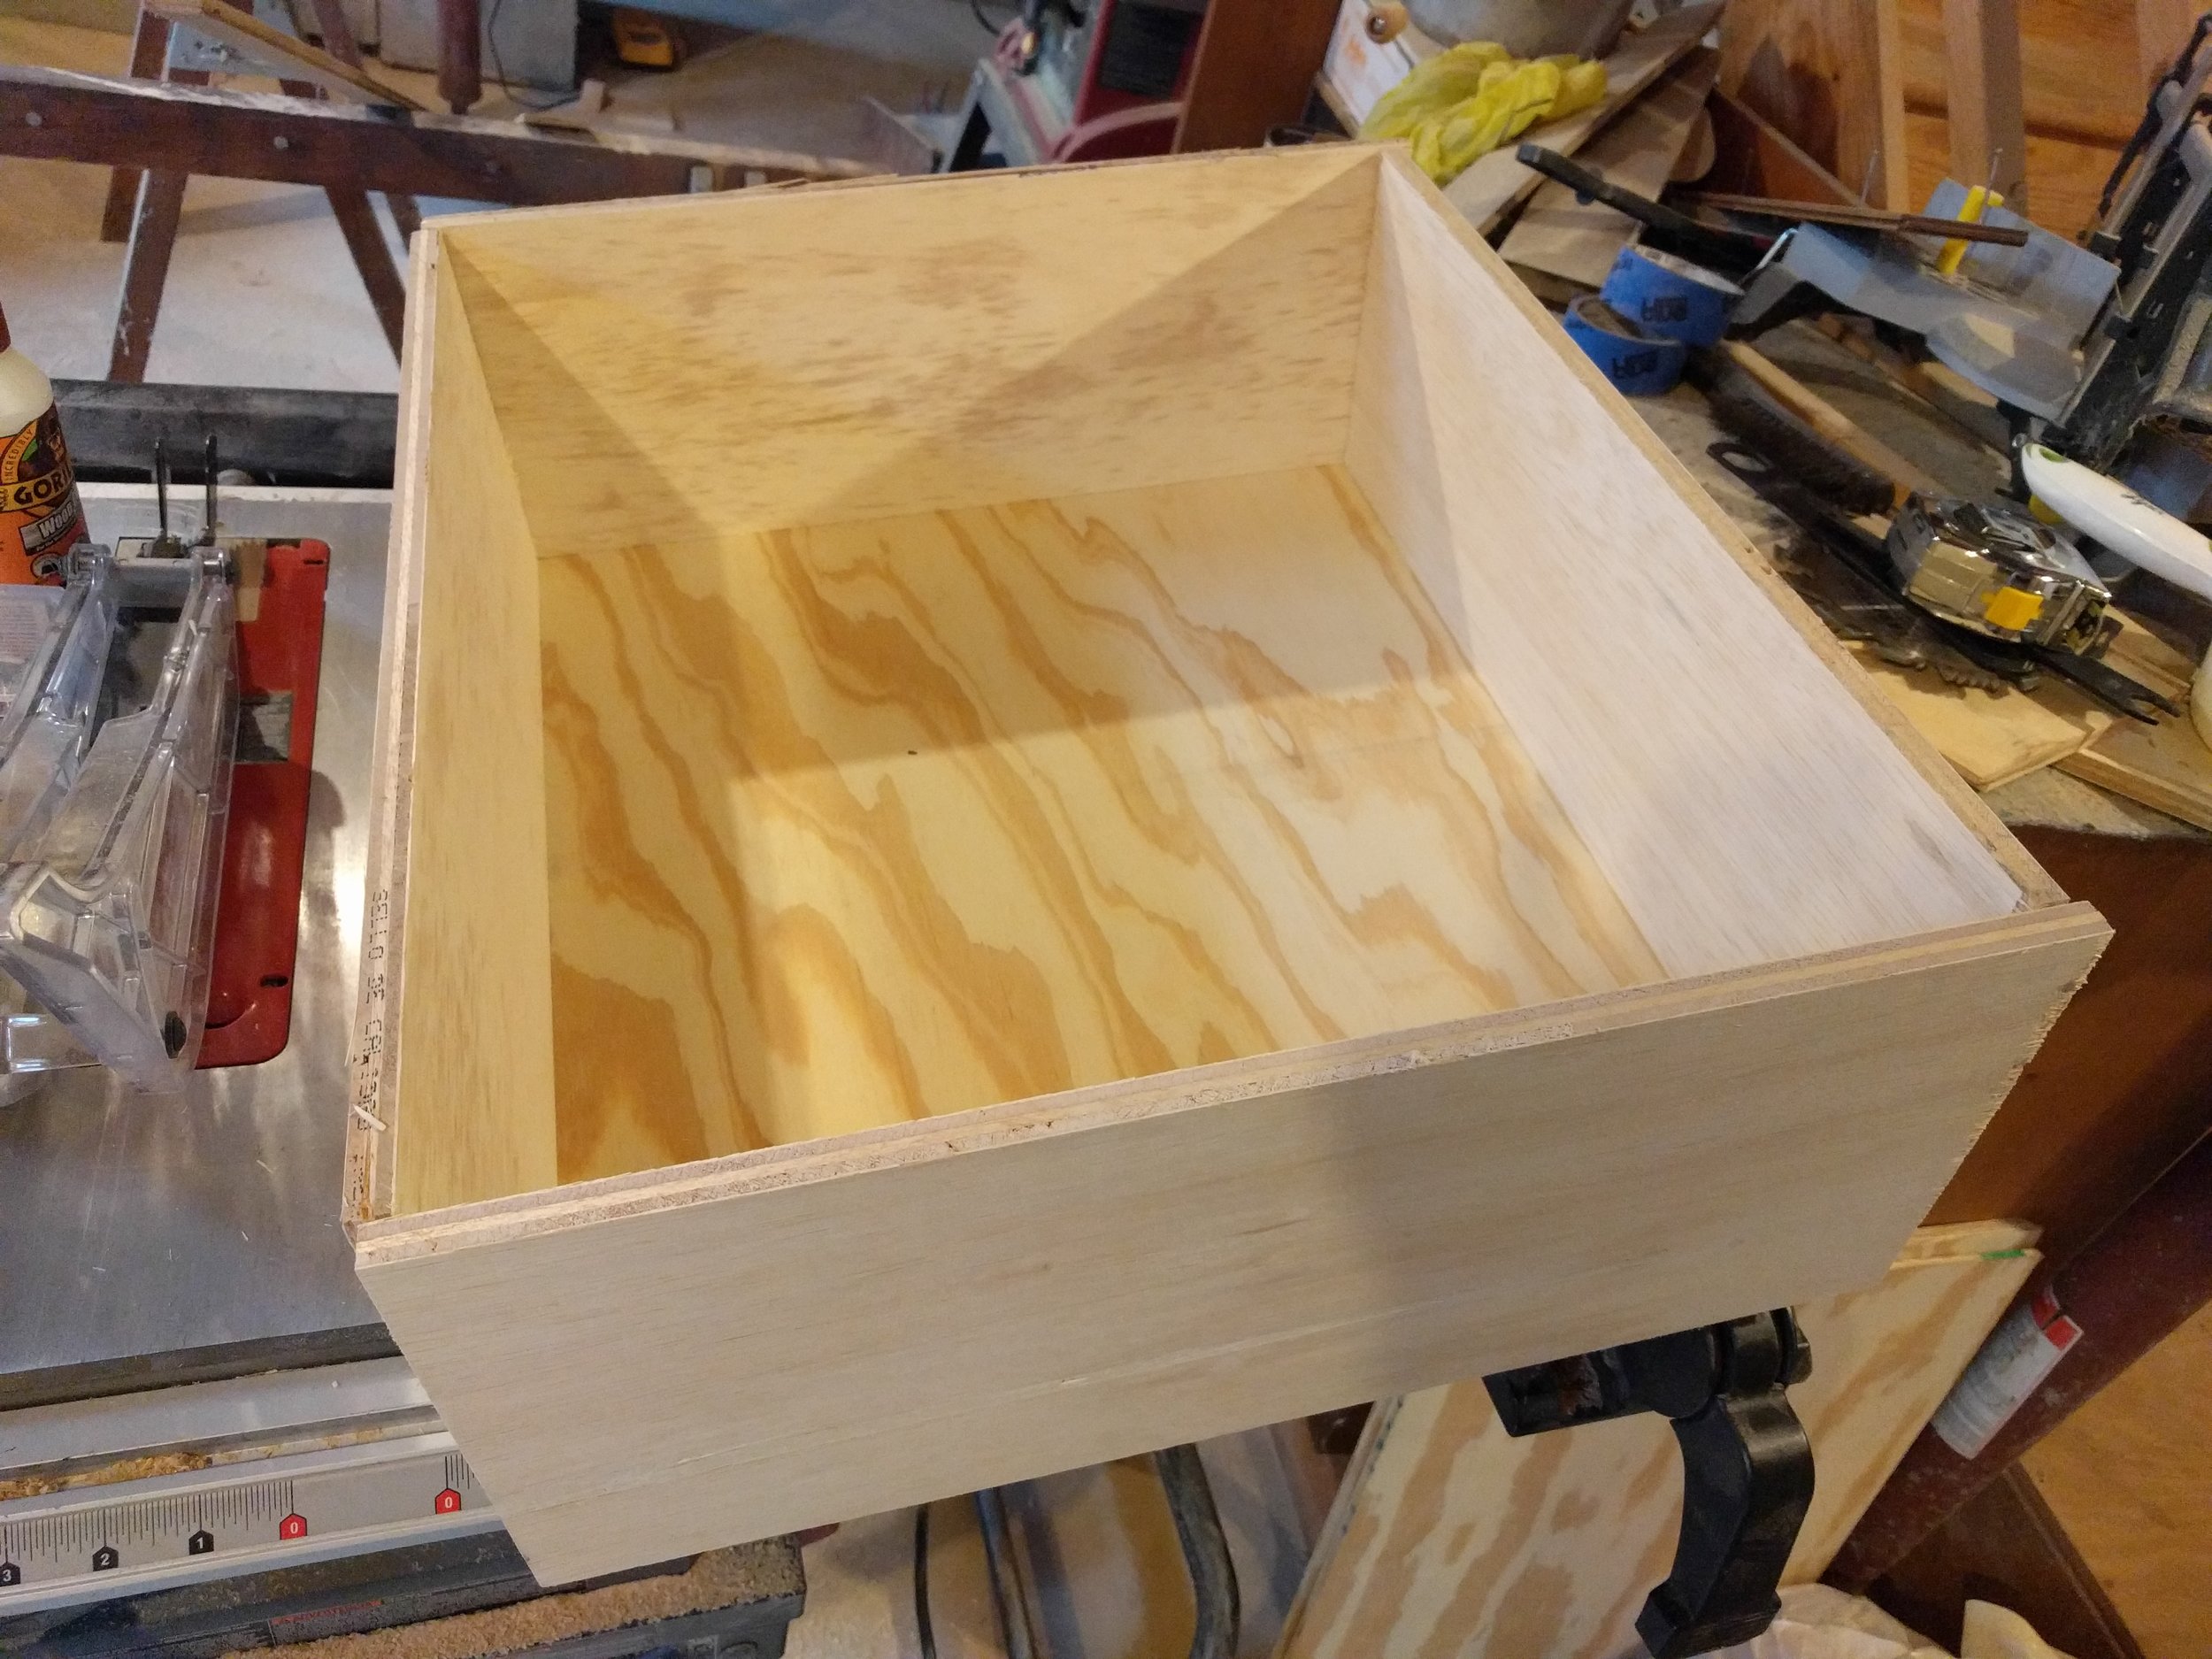
A typical drawer consists of a simple open-top box with drawer slides attached to the sides and a decorative drawer front attached to the face.
There are lots of ways to build drawer boxes, but the method we used makes strong, lightweight boxes with inexpensive materials and minimal time investment. You'll need 1/2" plywood for the sides, 1/4" plywood for the bottoms, 1-1/4" cabinet or trim screws, wood glue, and a table saw with a dado blade.
Measure the space your drawer needs to fit into and subtract the thickness of your drawer slides. Our drawer slides need 1/2" on both sides, so we're subtracting 1" from the width of the opening in the face frame. For instance, if the space our drawer will occupy is 16" wide and 18" deep, the finished dimensions of our drawer box will be 15" wide and 18" deep. The fronts of our drawer boxes are flush with the face frame because our decorative drawer fronts will overlap the face frame.
Cut your drawer sides out of 1/2" plywood. The sides of the drawers should be exactly as long as your drawers are deep. In our above example, that's 18" long. The front and back of the drawers should be 1" shorter than your drawers are wide. In our above example, that's 14" long.
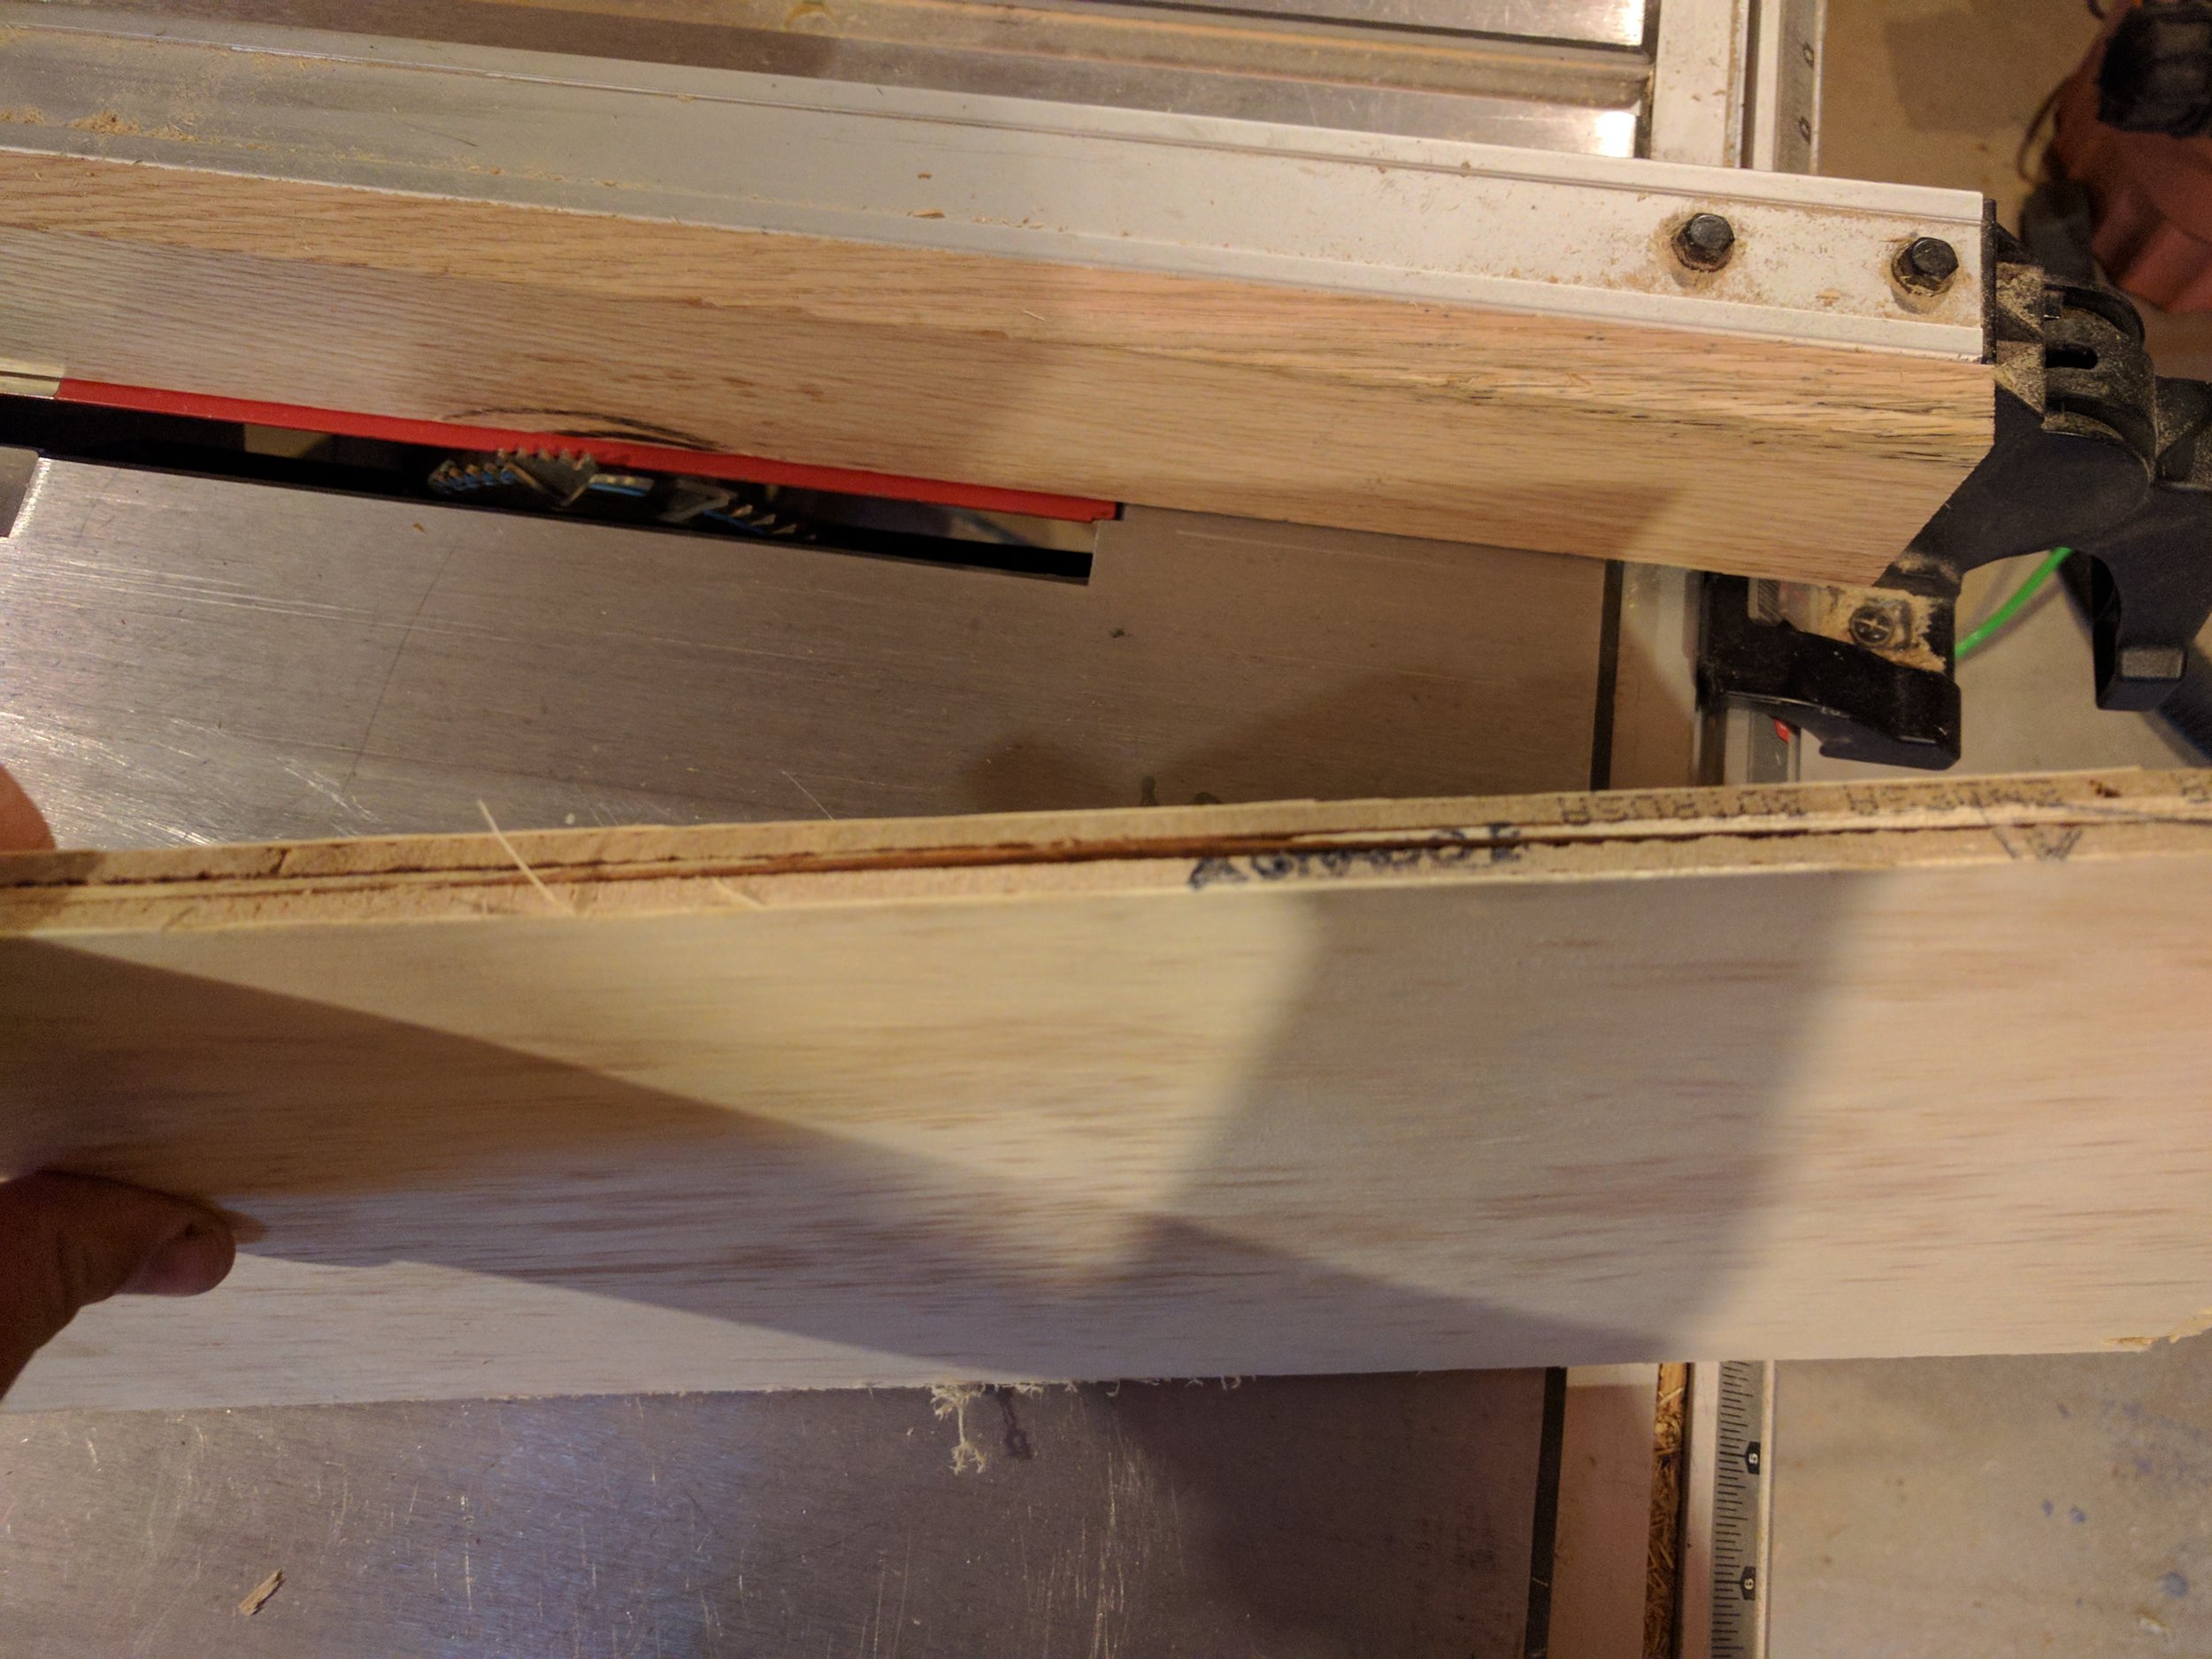
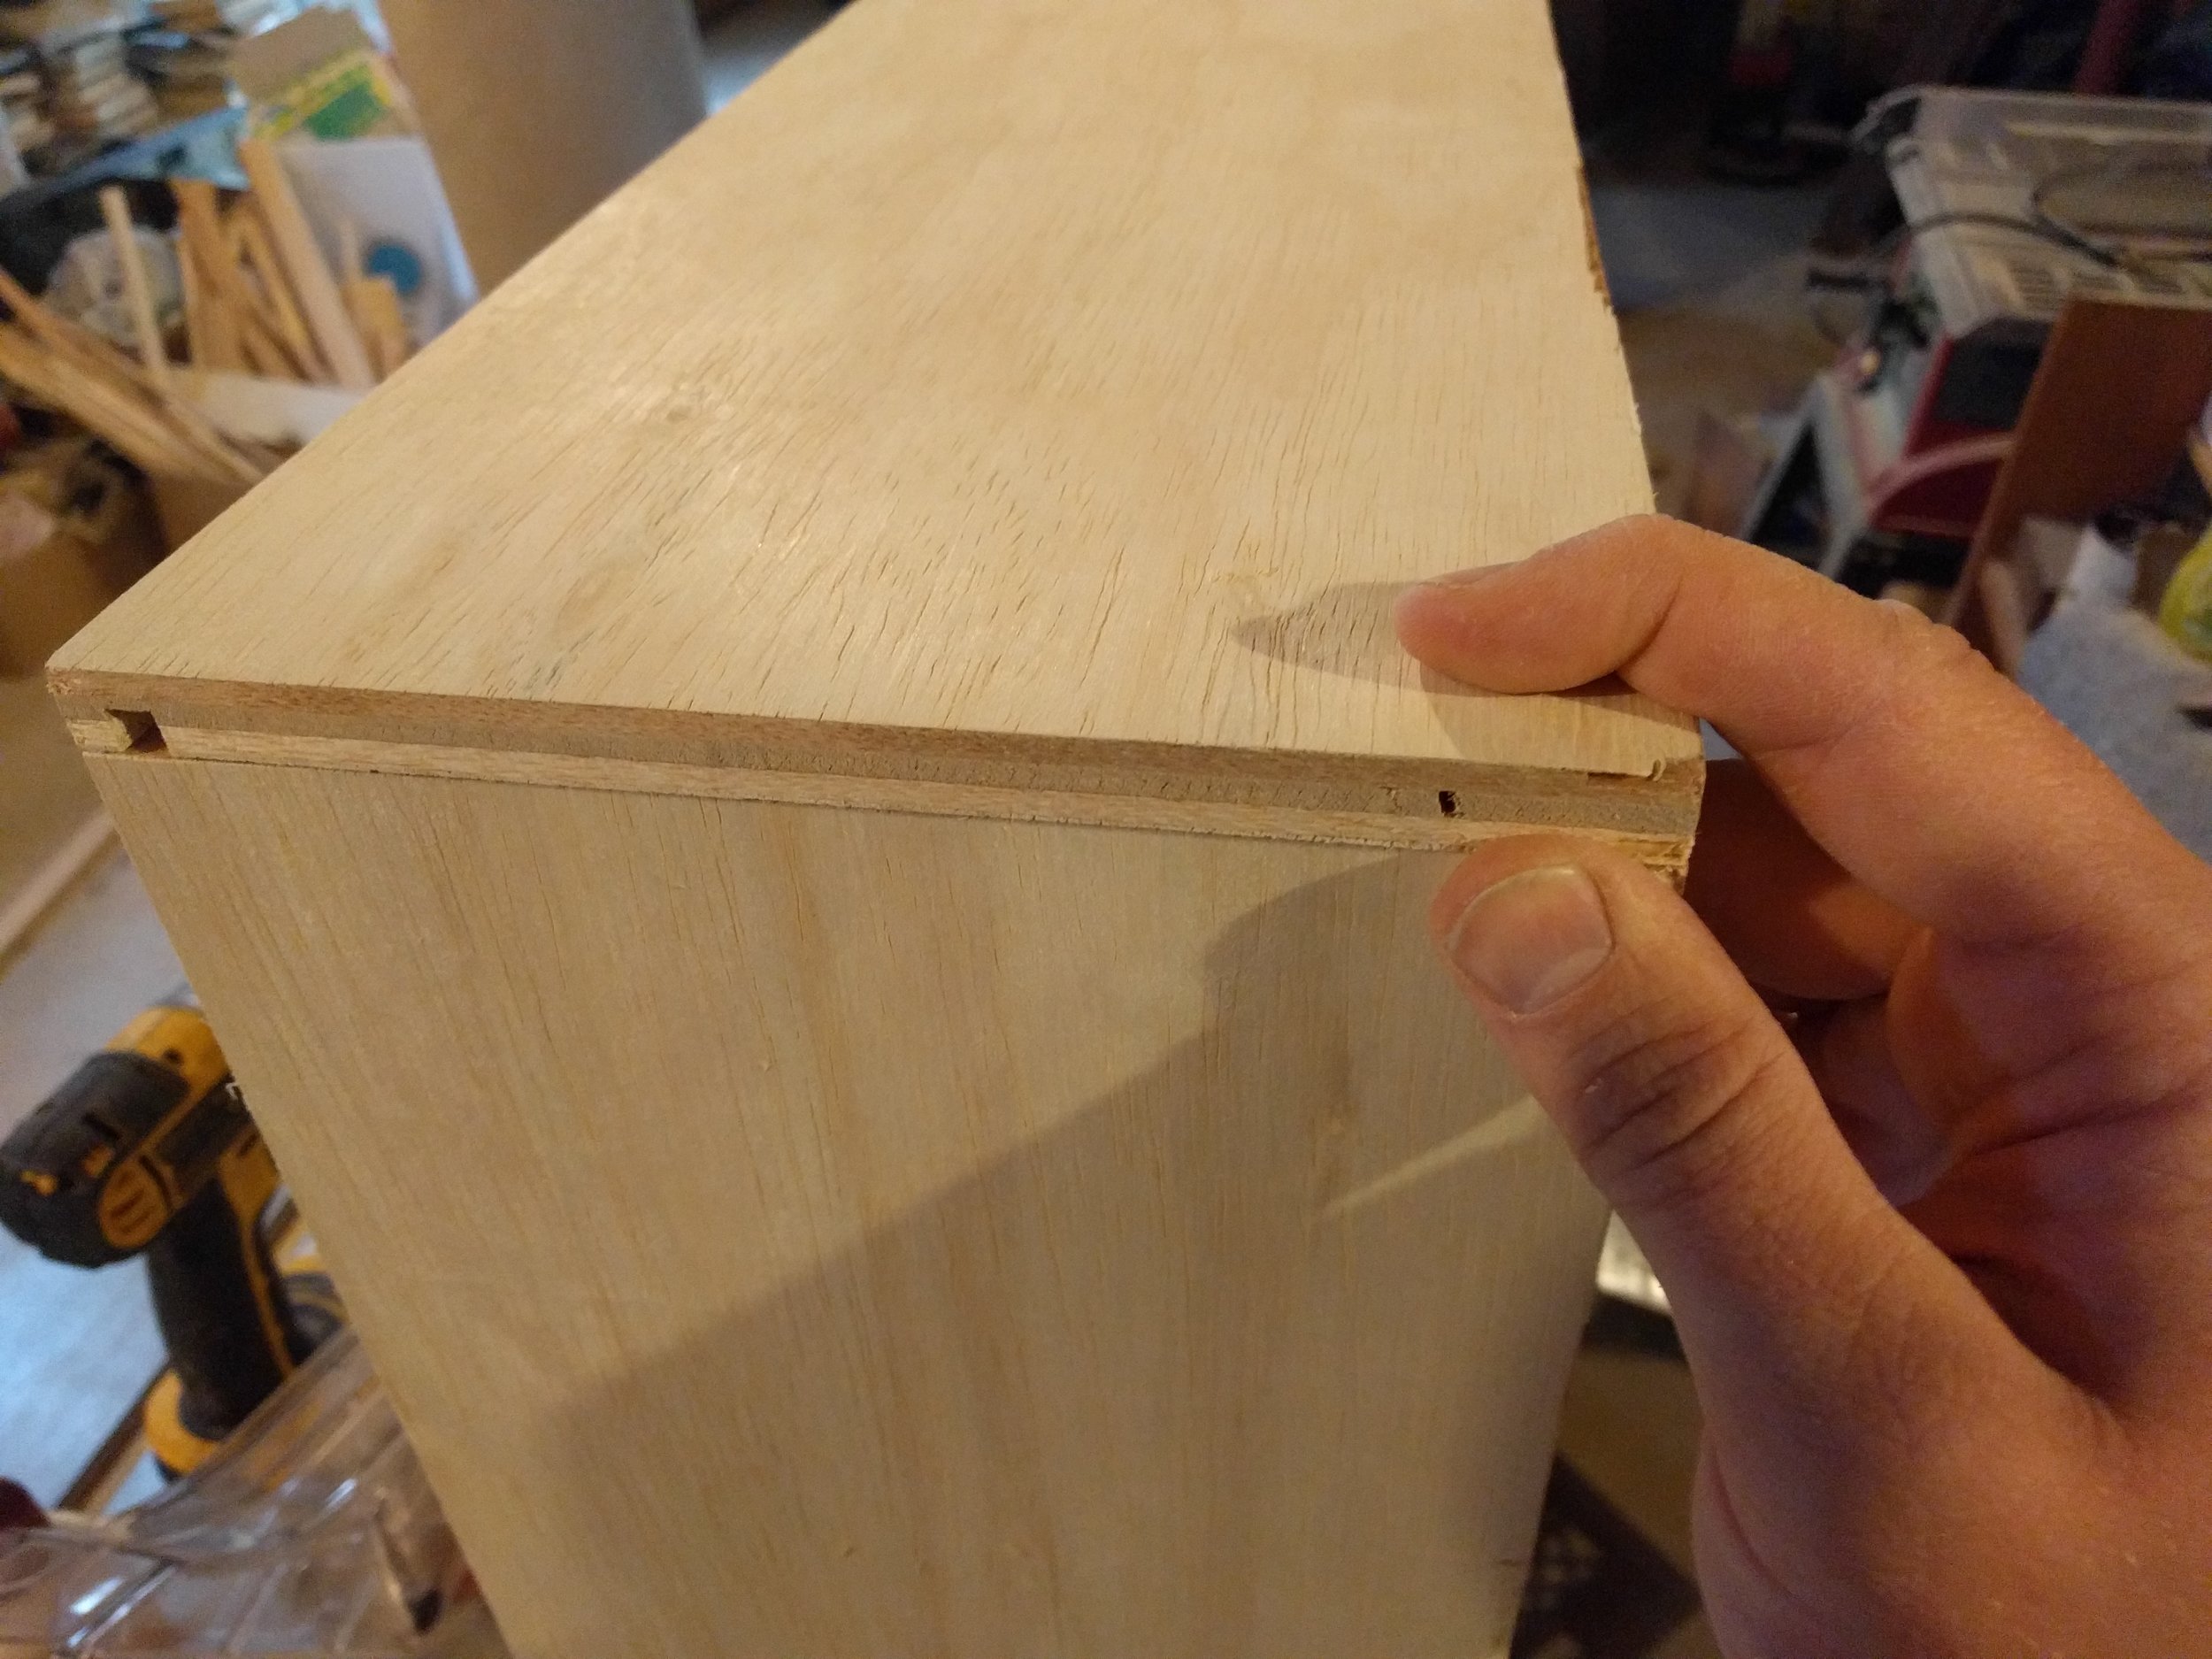
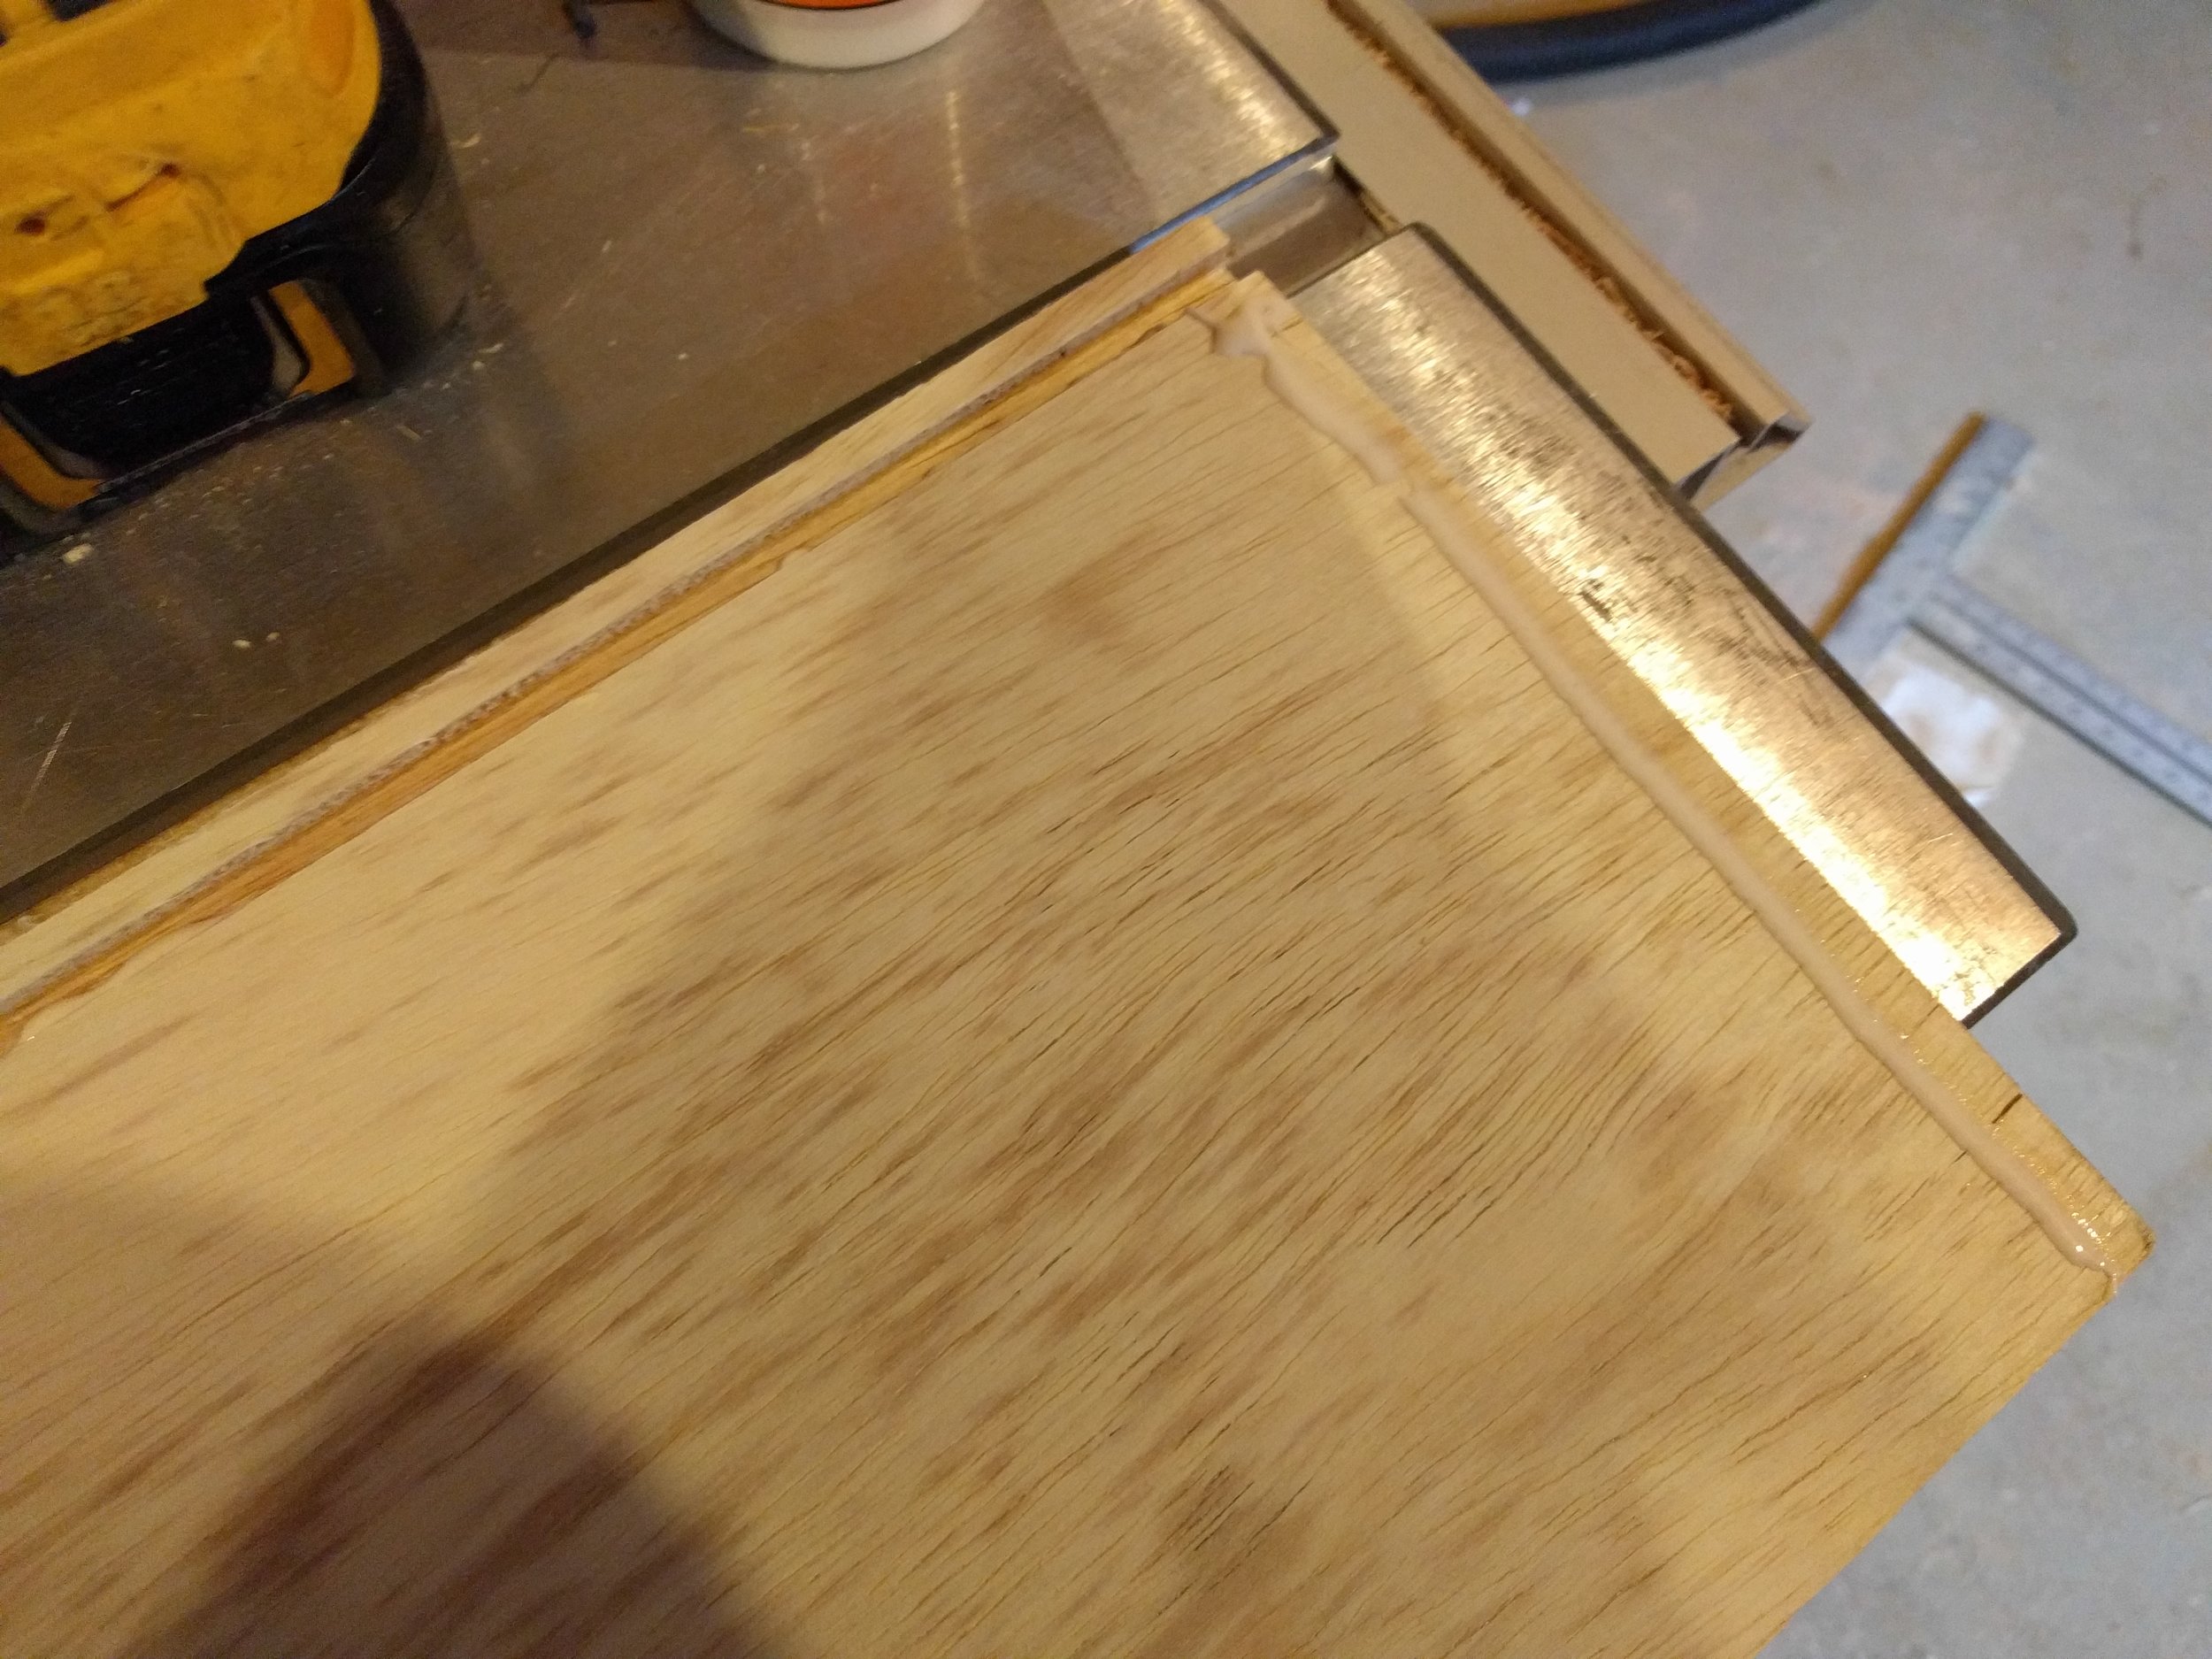
Next, we'll cut the dado for our drawer slides. My dado set comes with two 1/8" thick blades, which together are exactly the same thickness as a 1/4" piece of plywood.
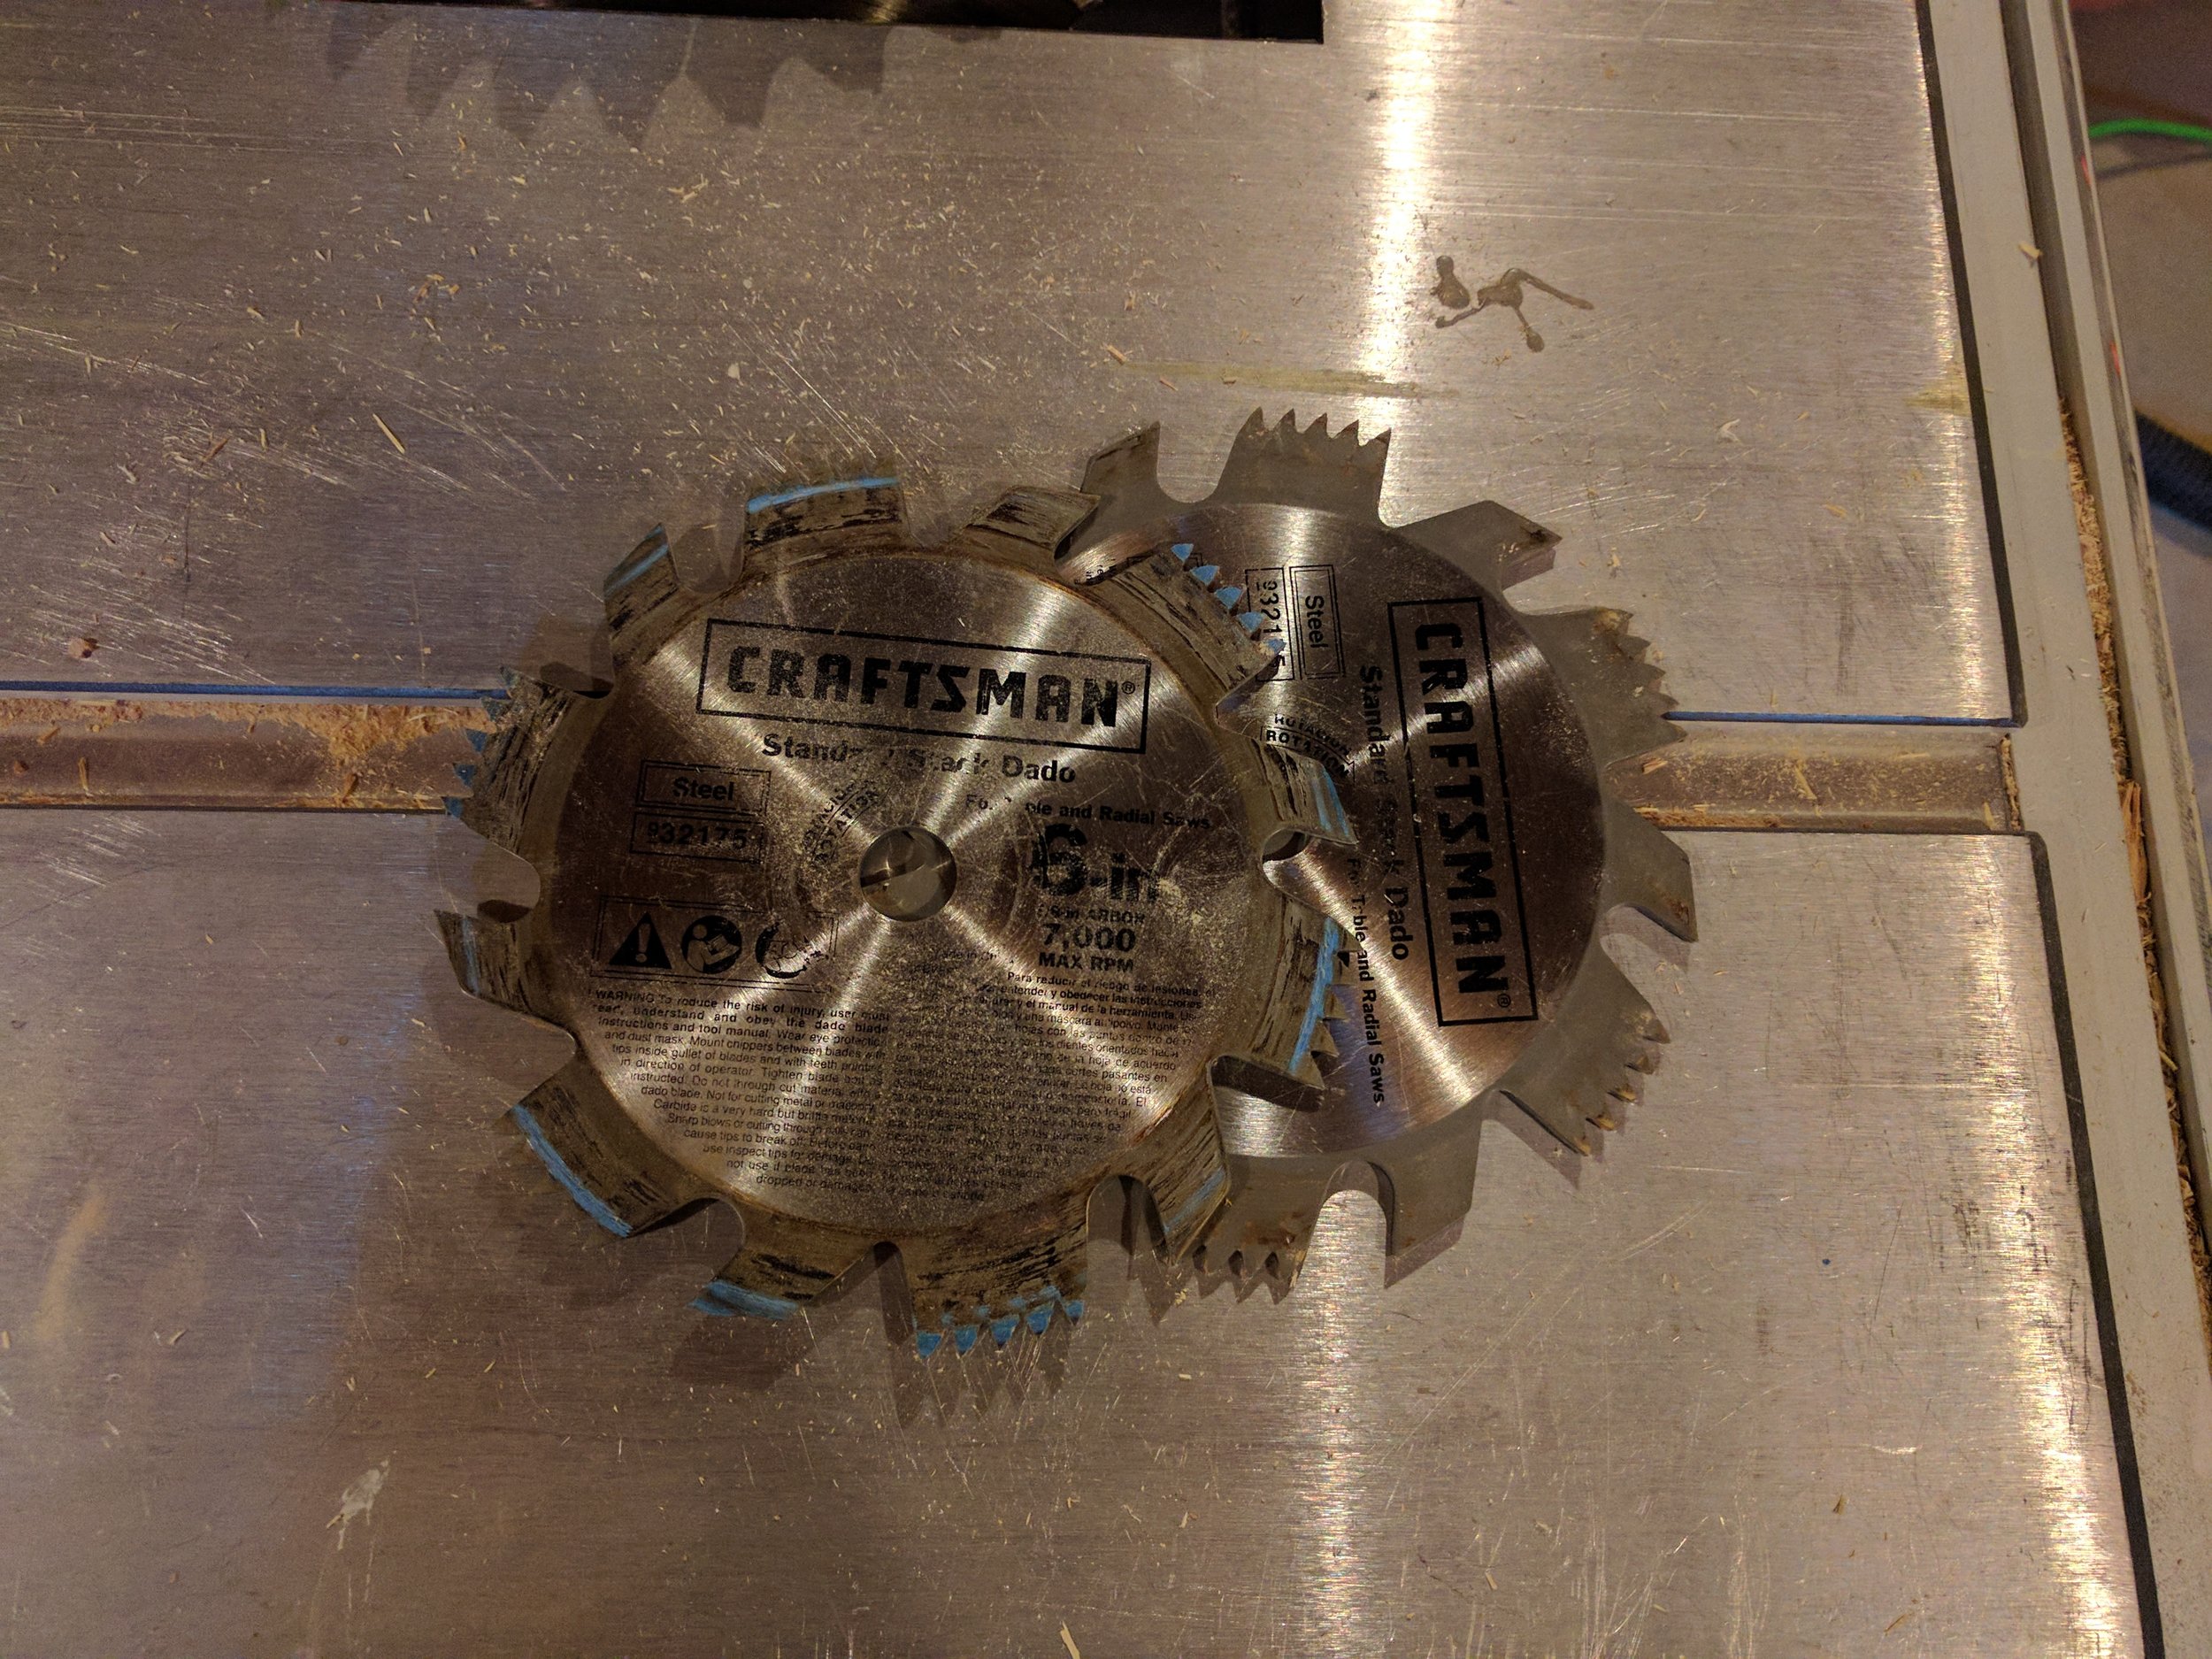
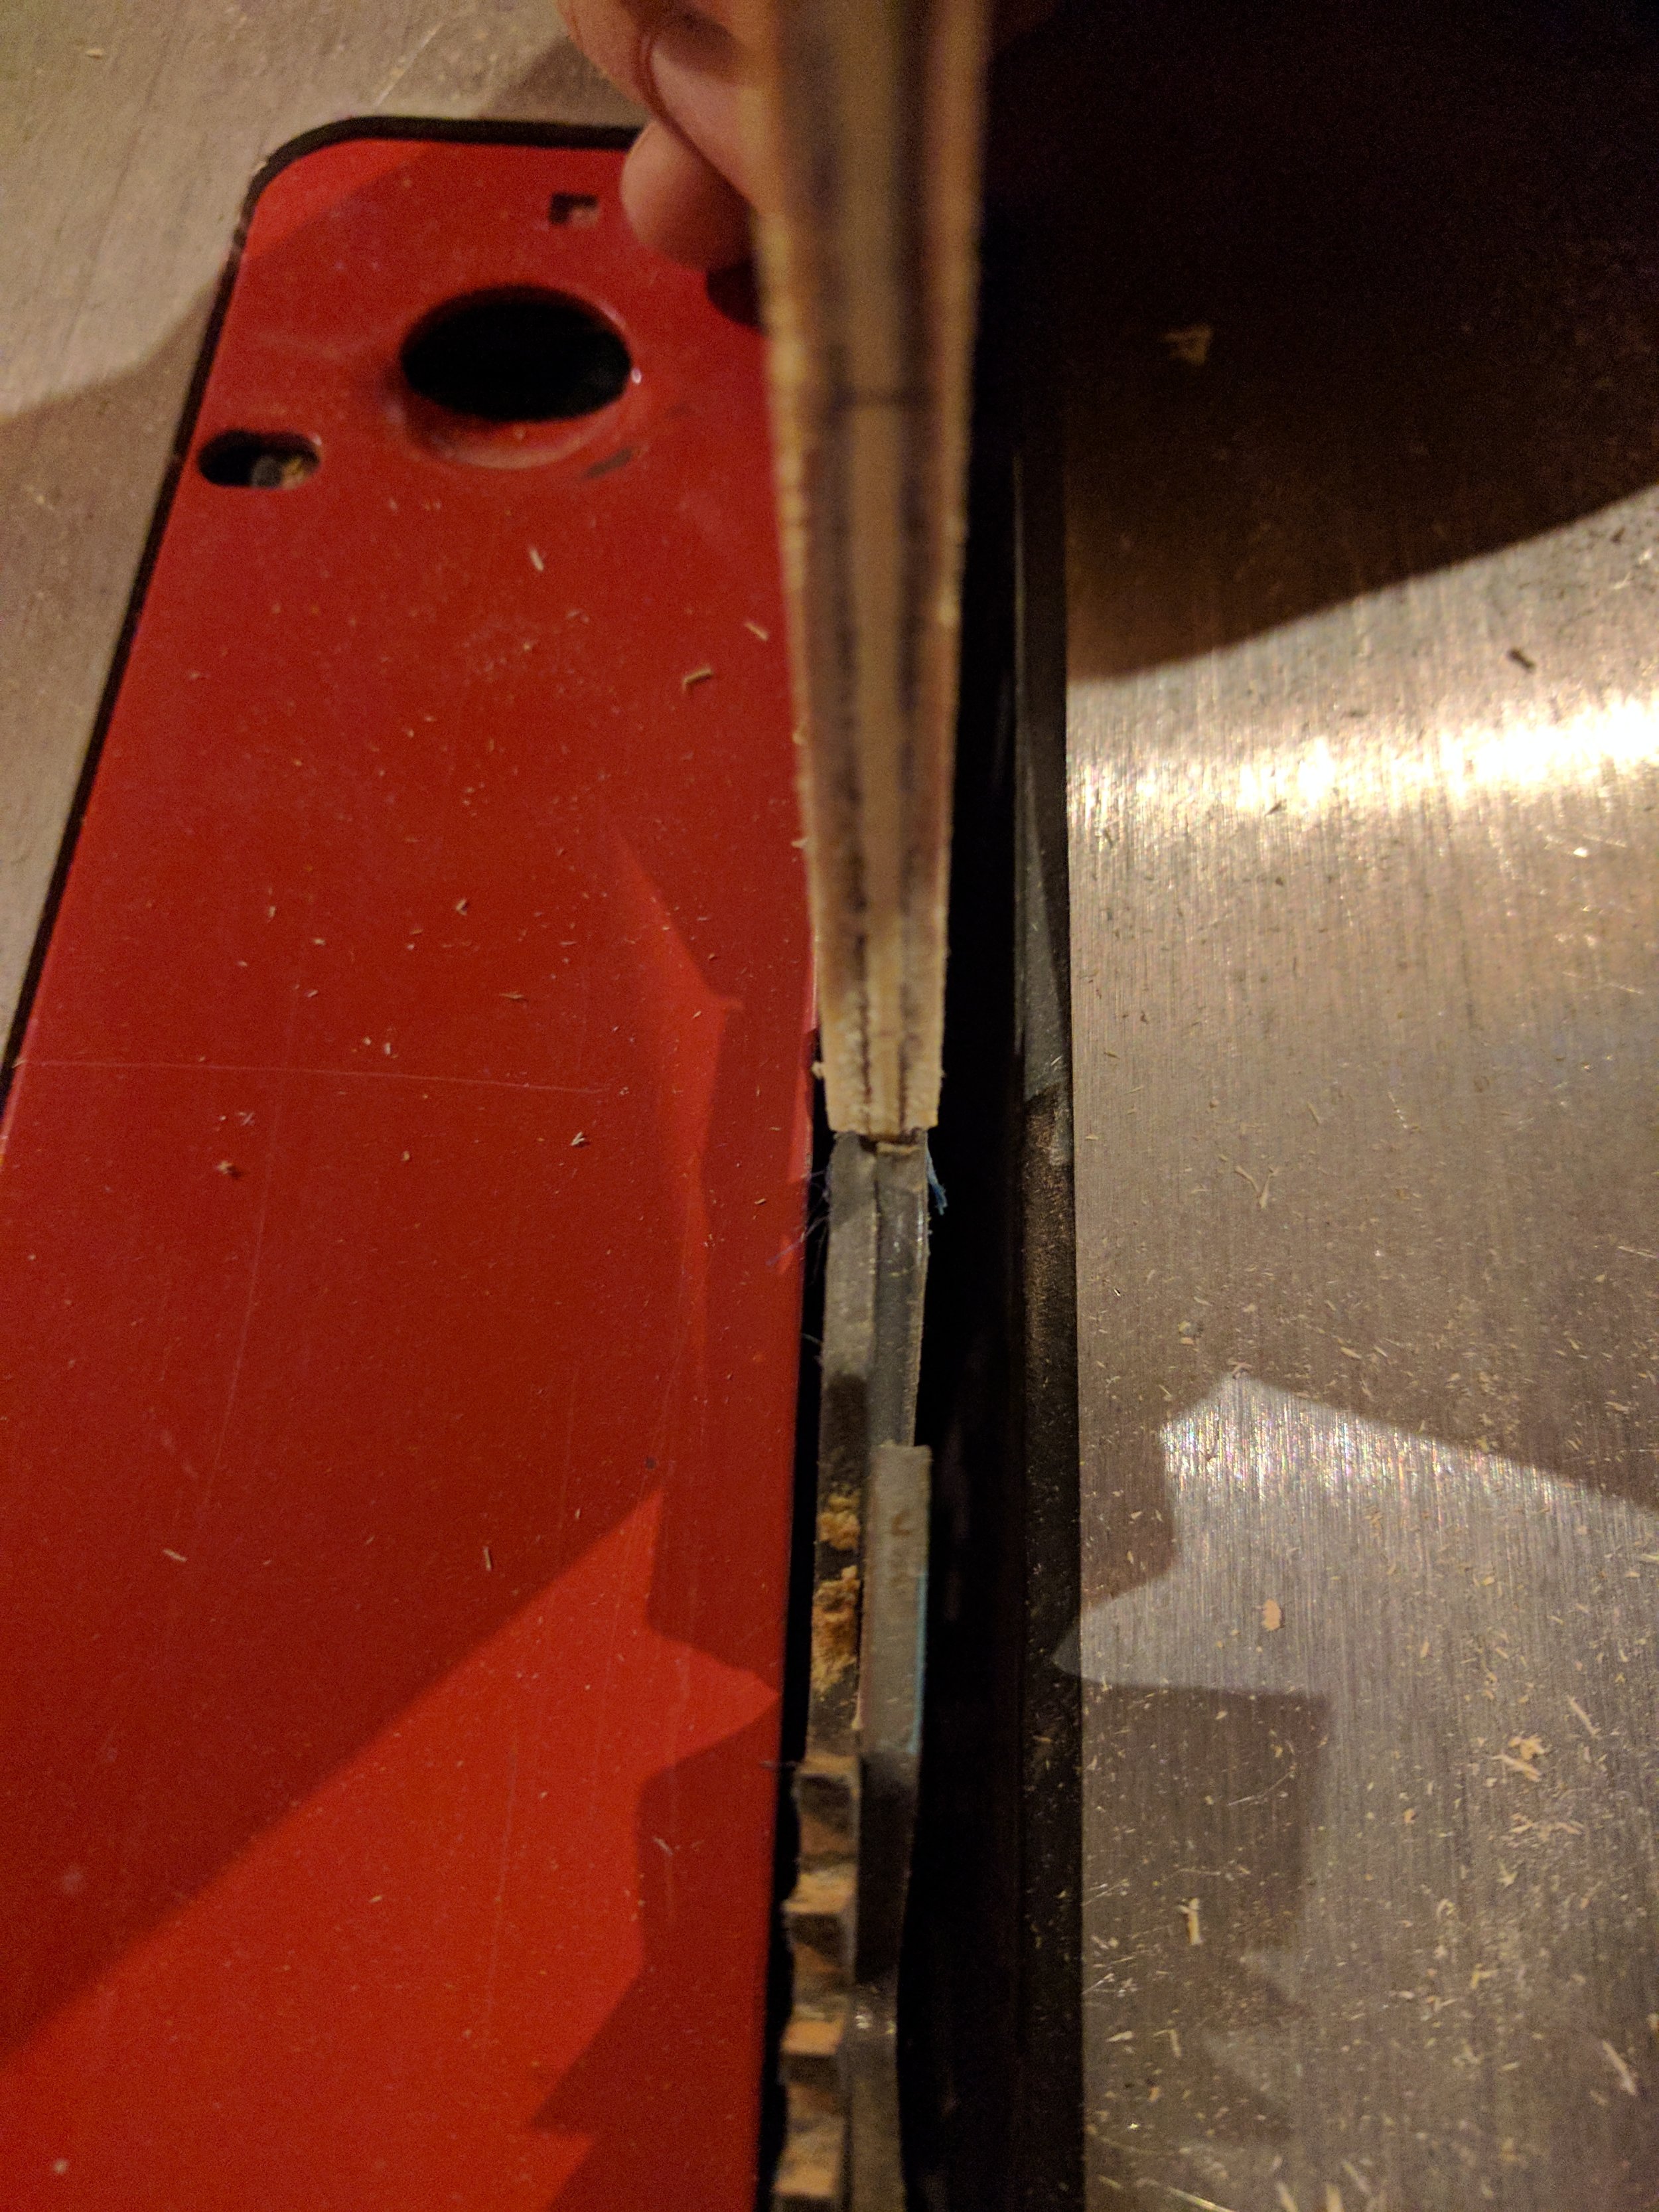
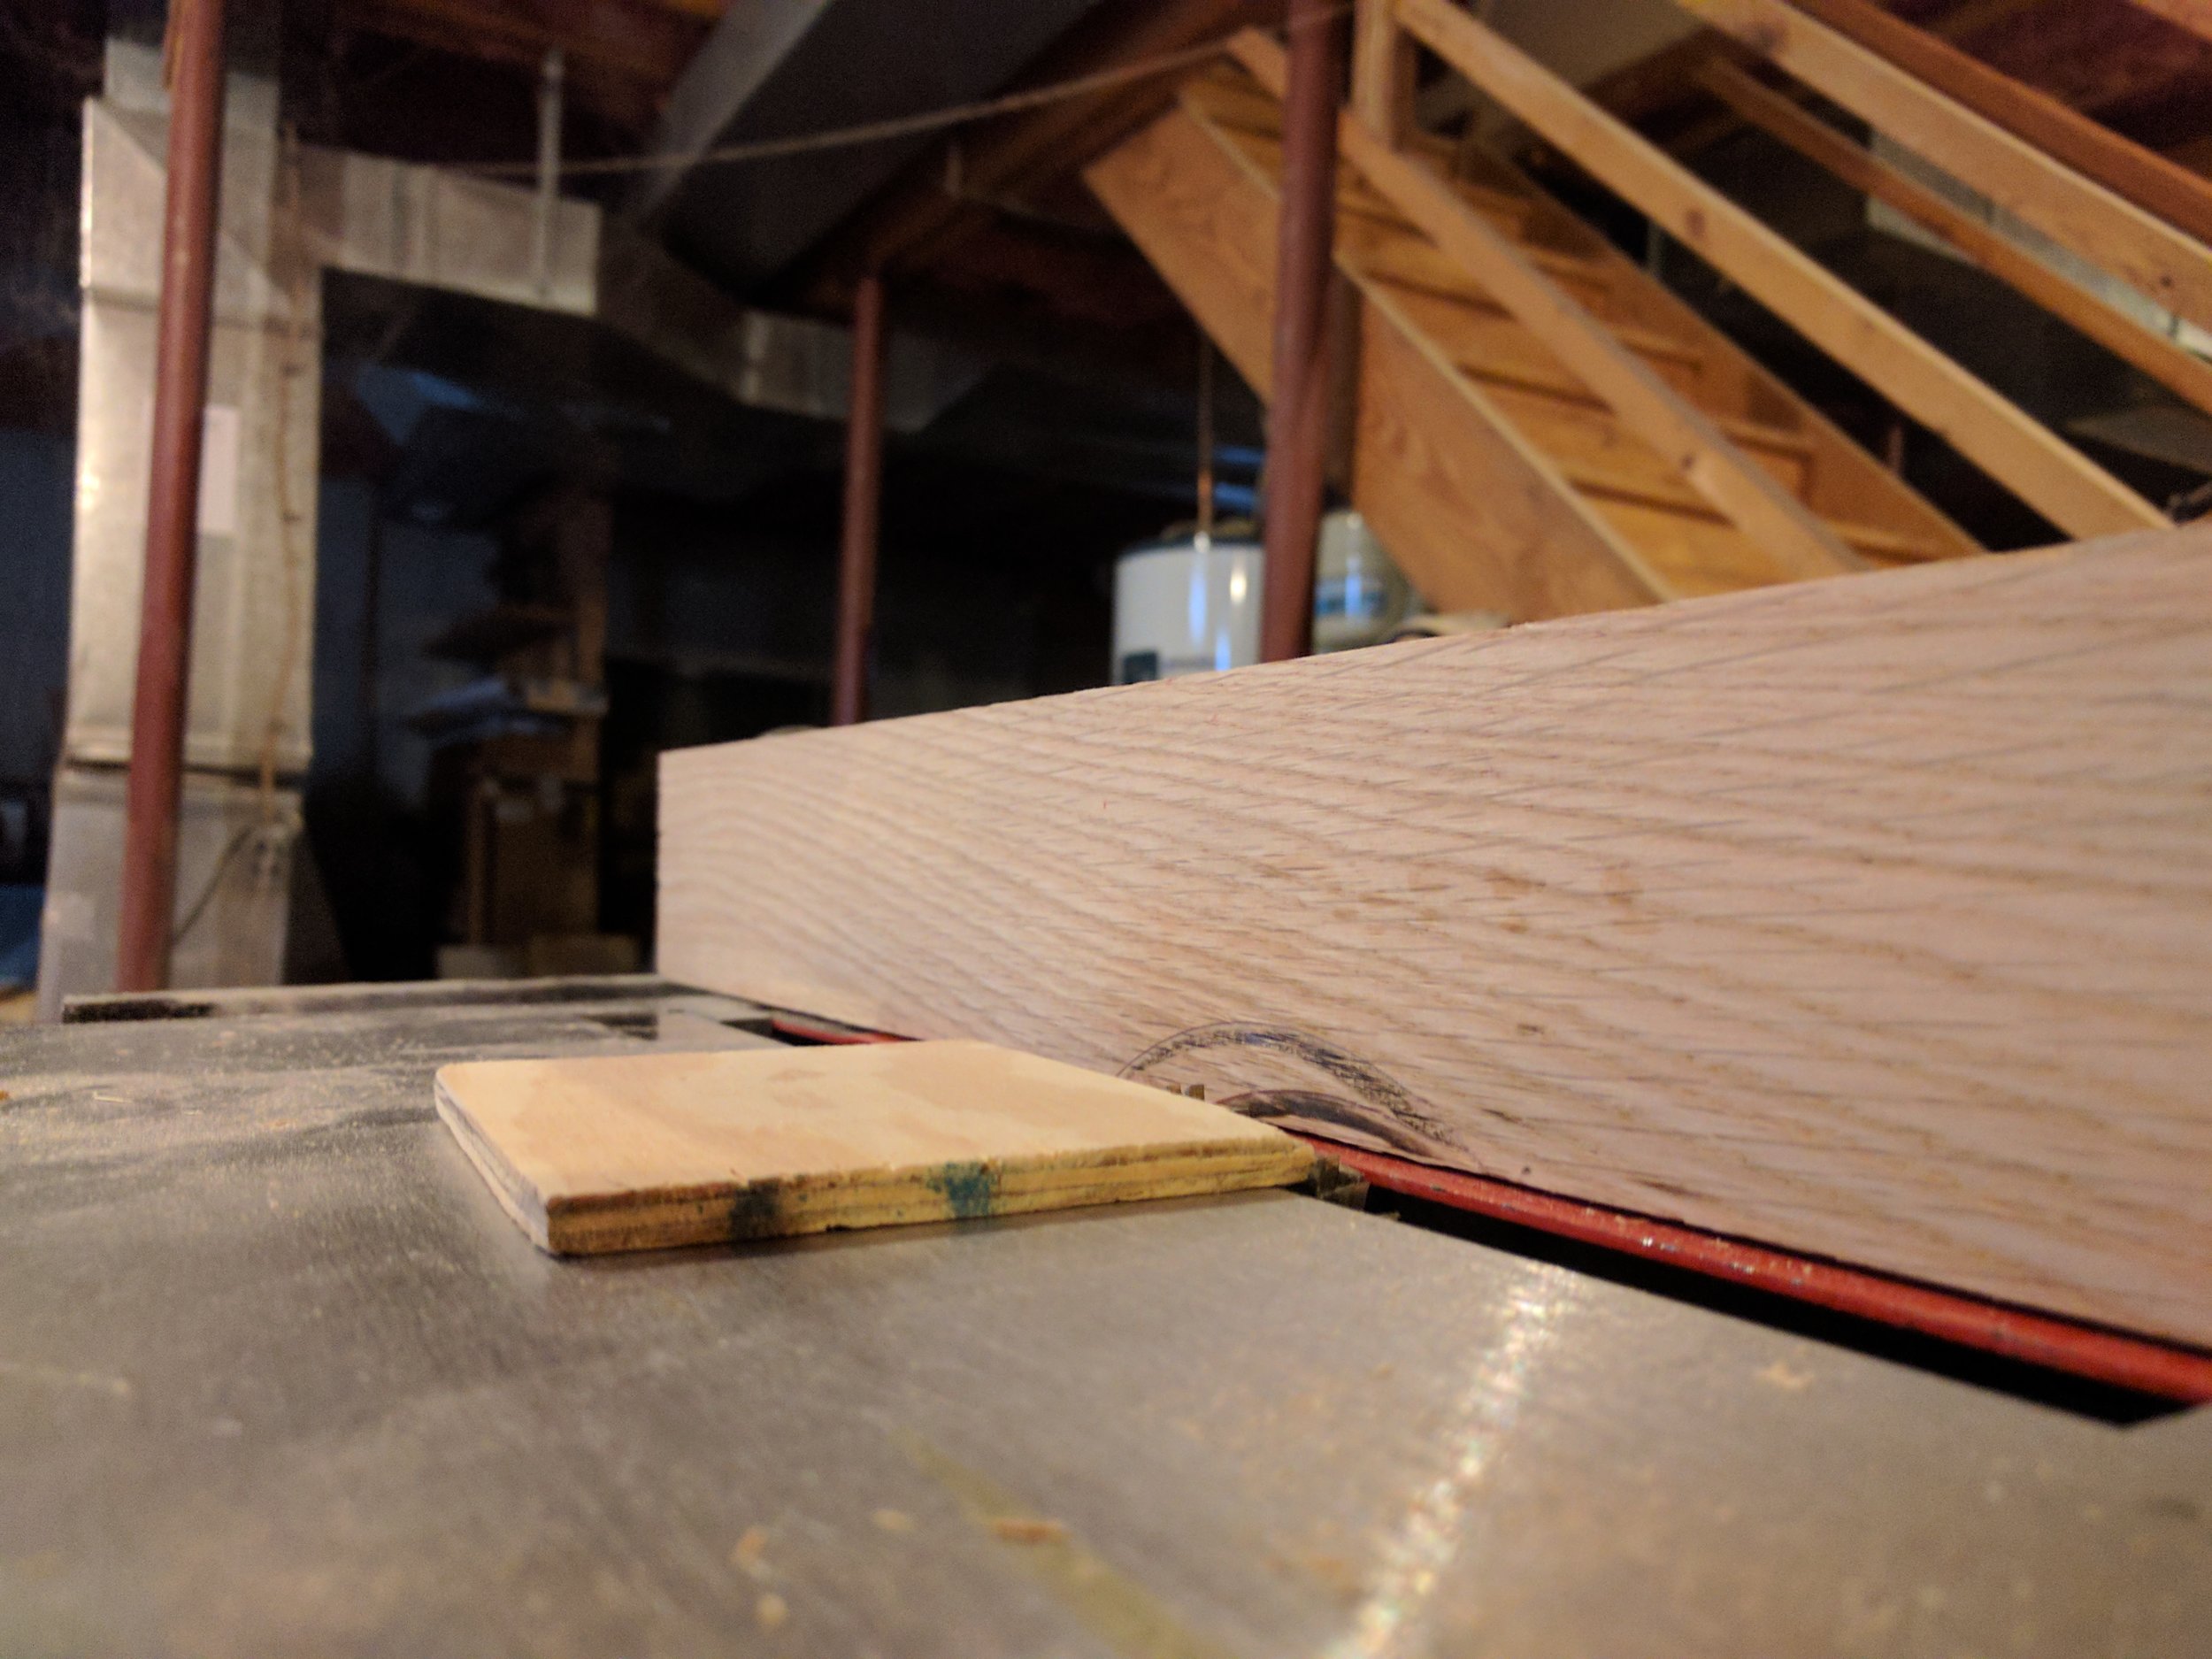
Set your fence to be 1/4" away from the blade, and set your blade height to 1/4". I like using a scrap piece of 1/4" plywood as a guide.
If this is your first time using a dado blade, take a moment to appreciate that you have just removed all the safety guards from your saw. You should be wearing eye protection and ear protection. Your body should be to the side, not in front of the blade in case the saw picks up your workpiece and throws it back at you. You should NOT BE WEARING GLOVES. Wearing gloves with a power saw is dangerous because if the blade catches the glove, it can grab the material and pull your hand in.
Generally, don't put your hands anywhere you wouldn't put your genitals, and you should do fine. Sorry for the coarse wording, but it's remarkably effective at generating safe behavior with power tools.
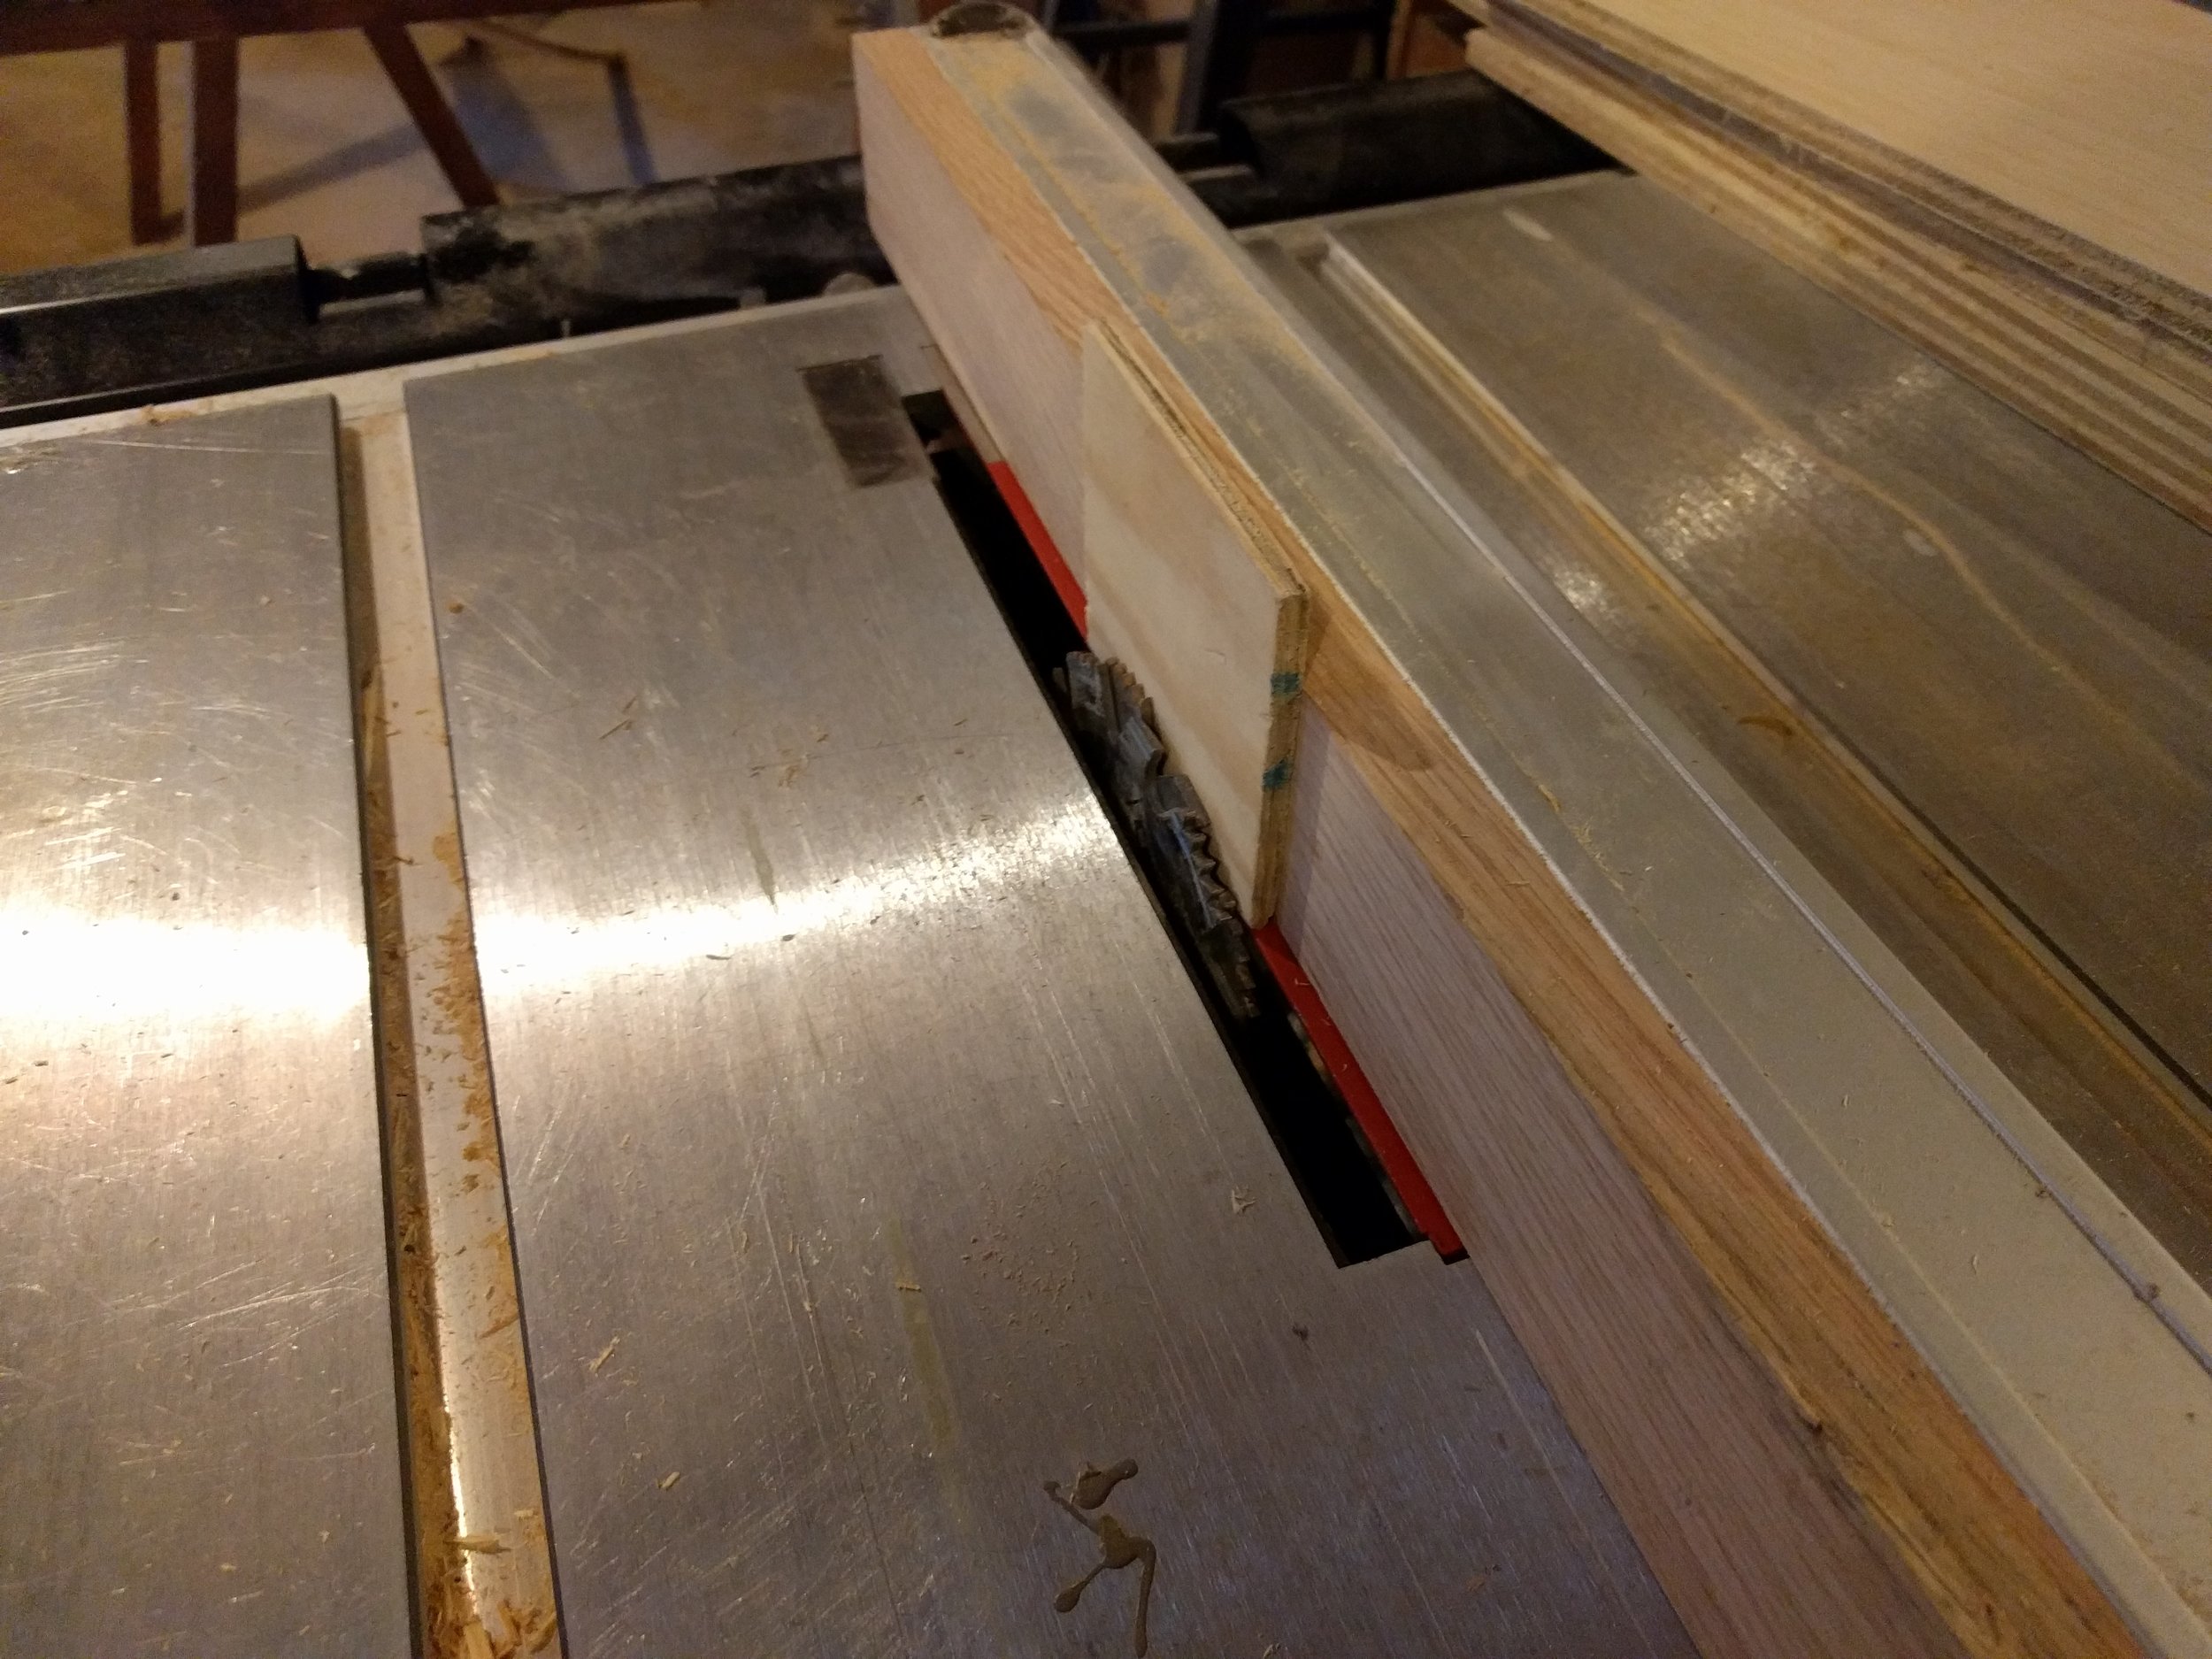
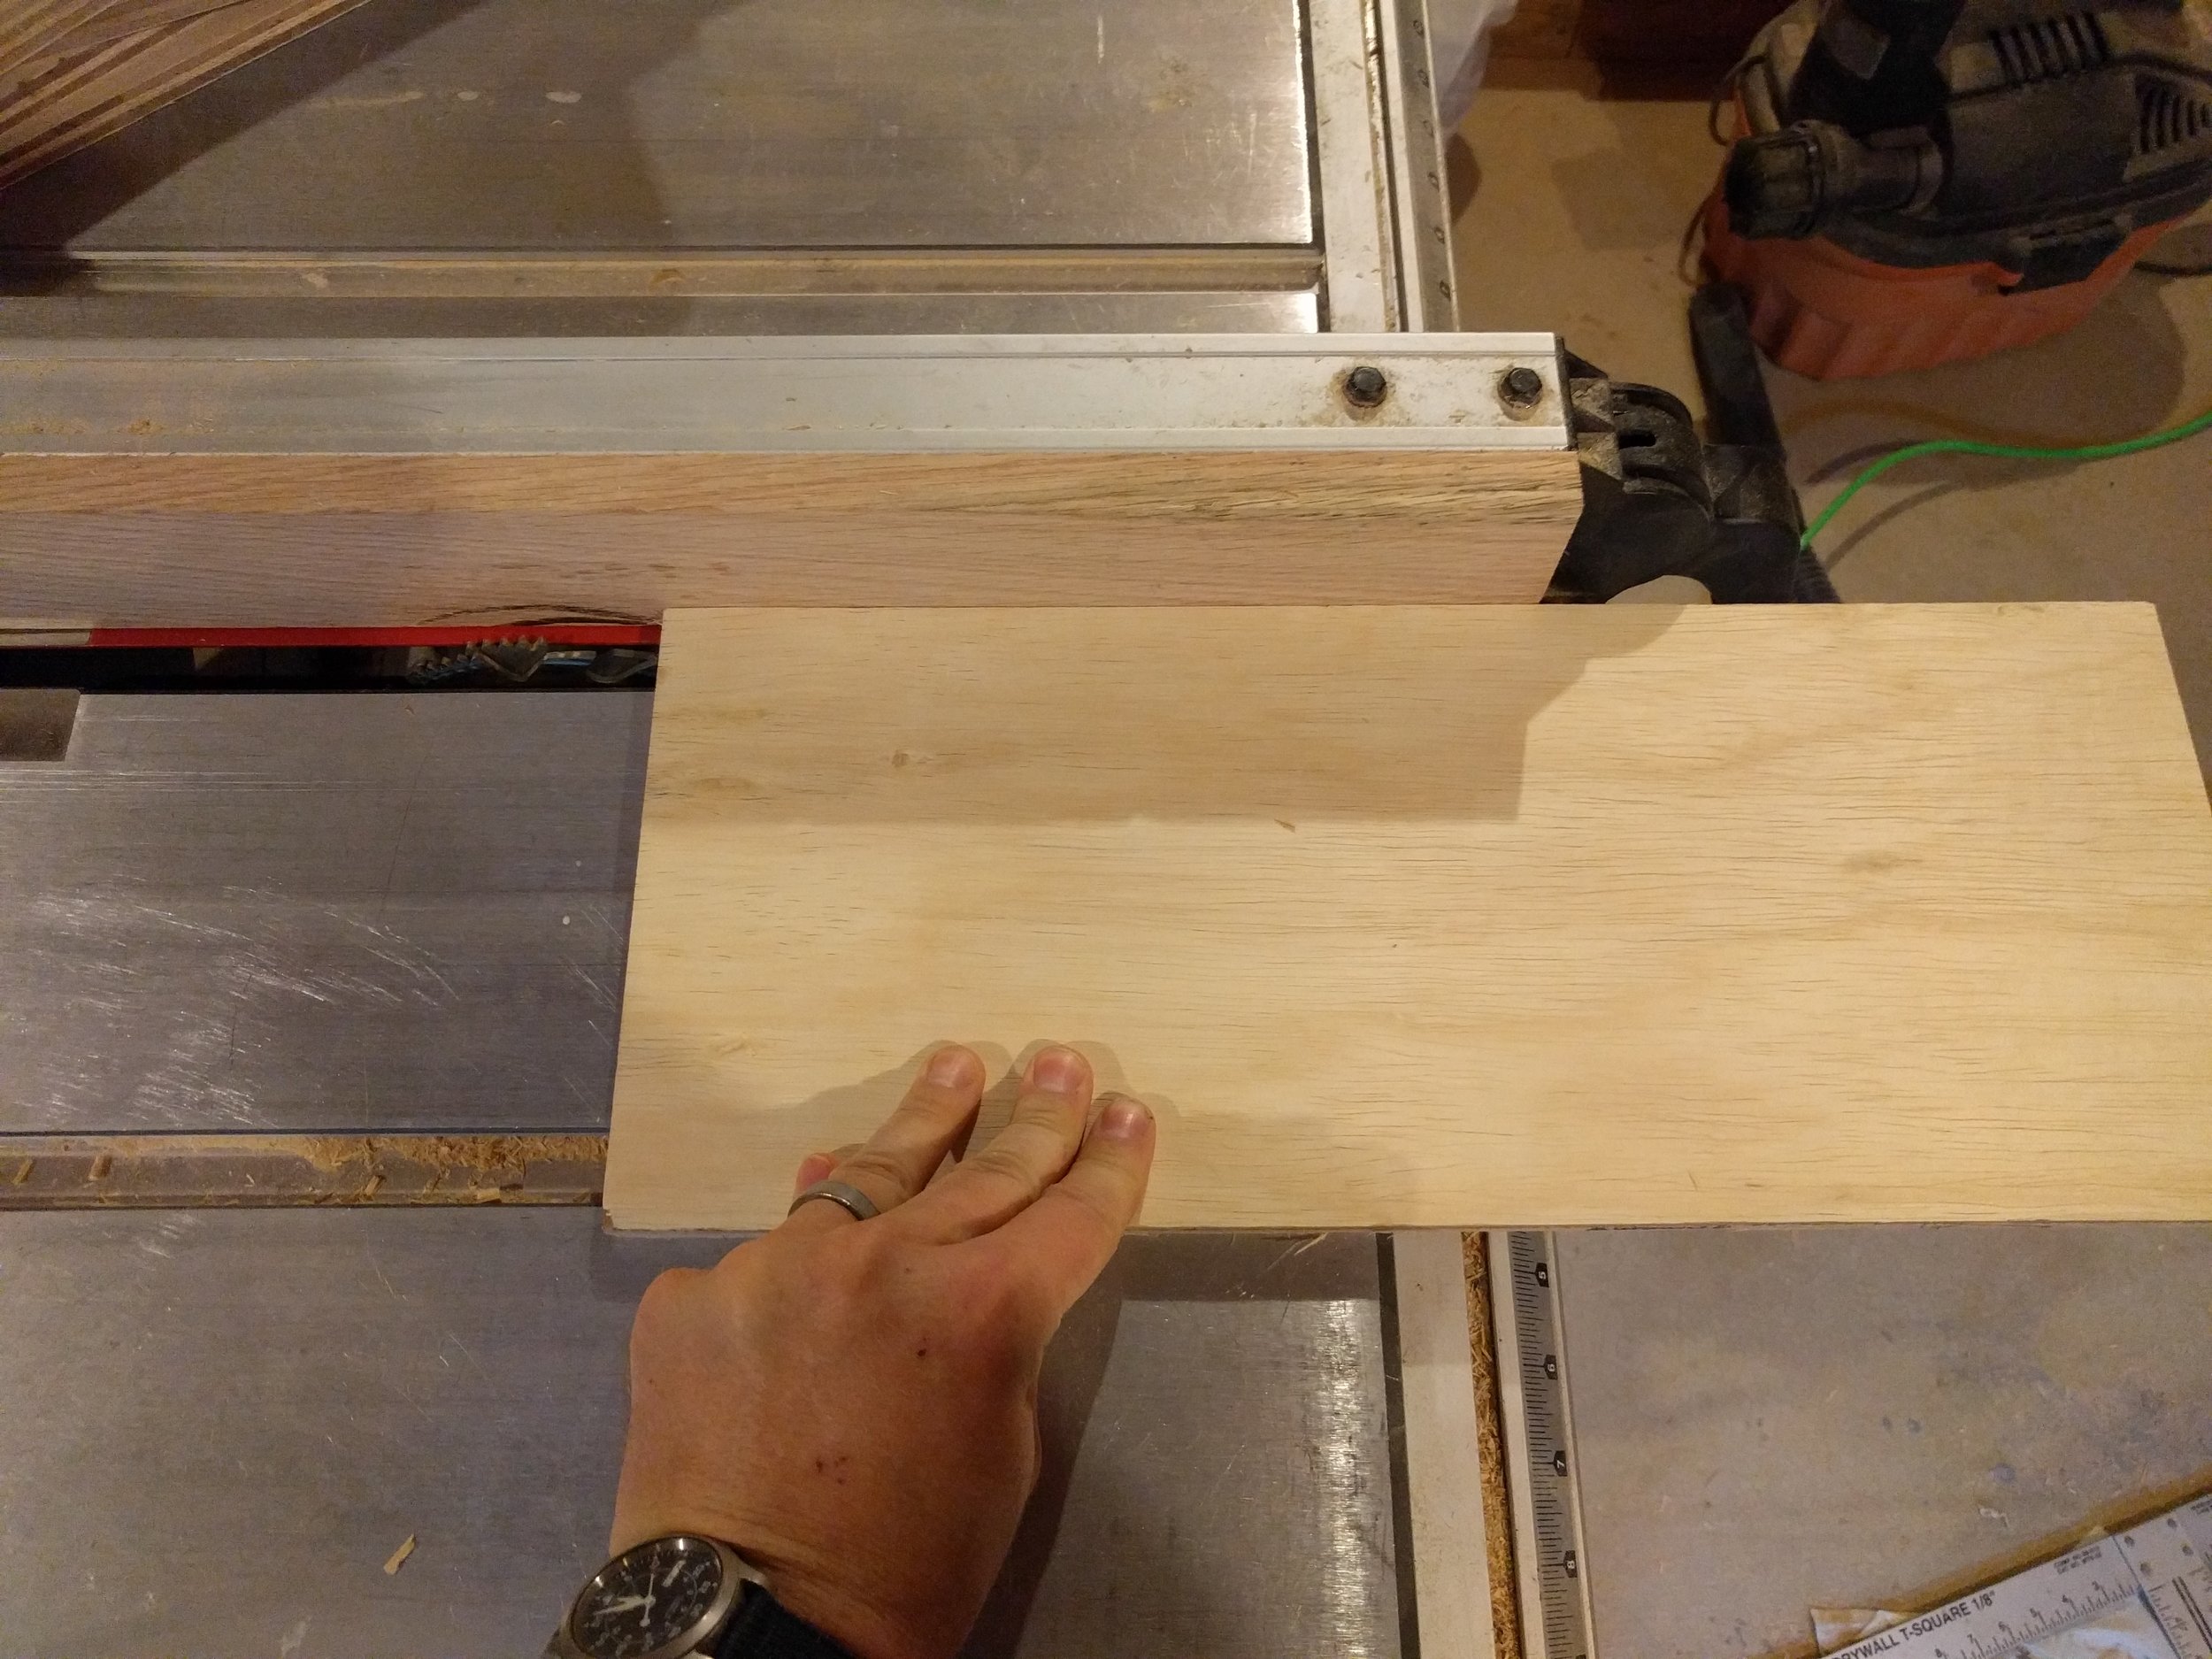
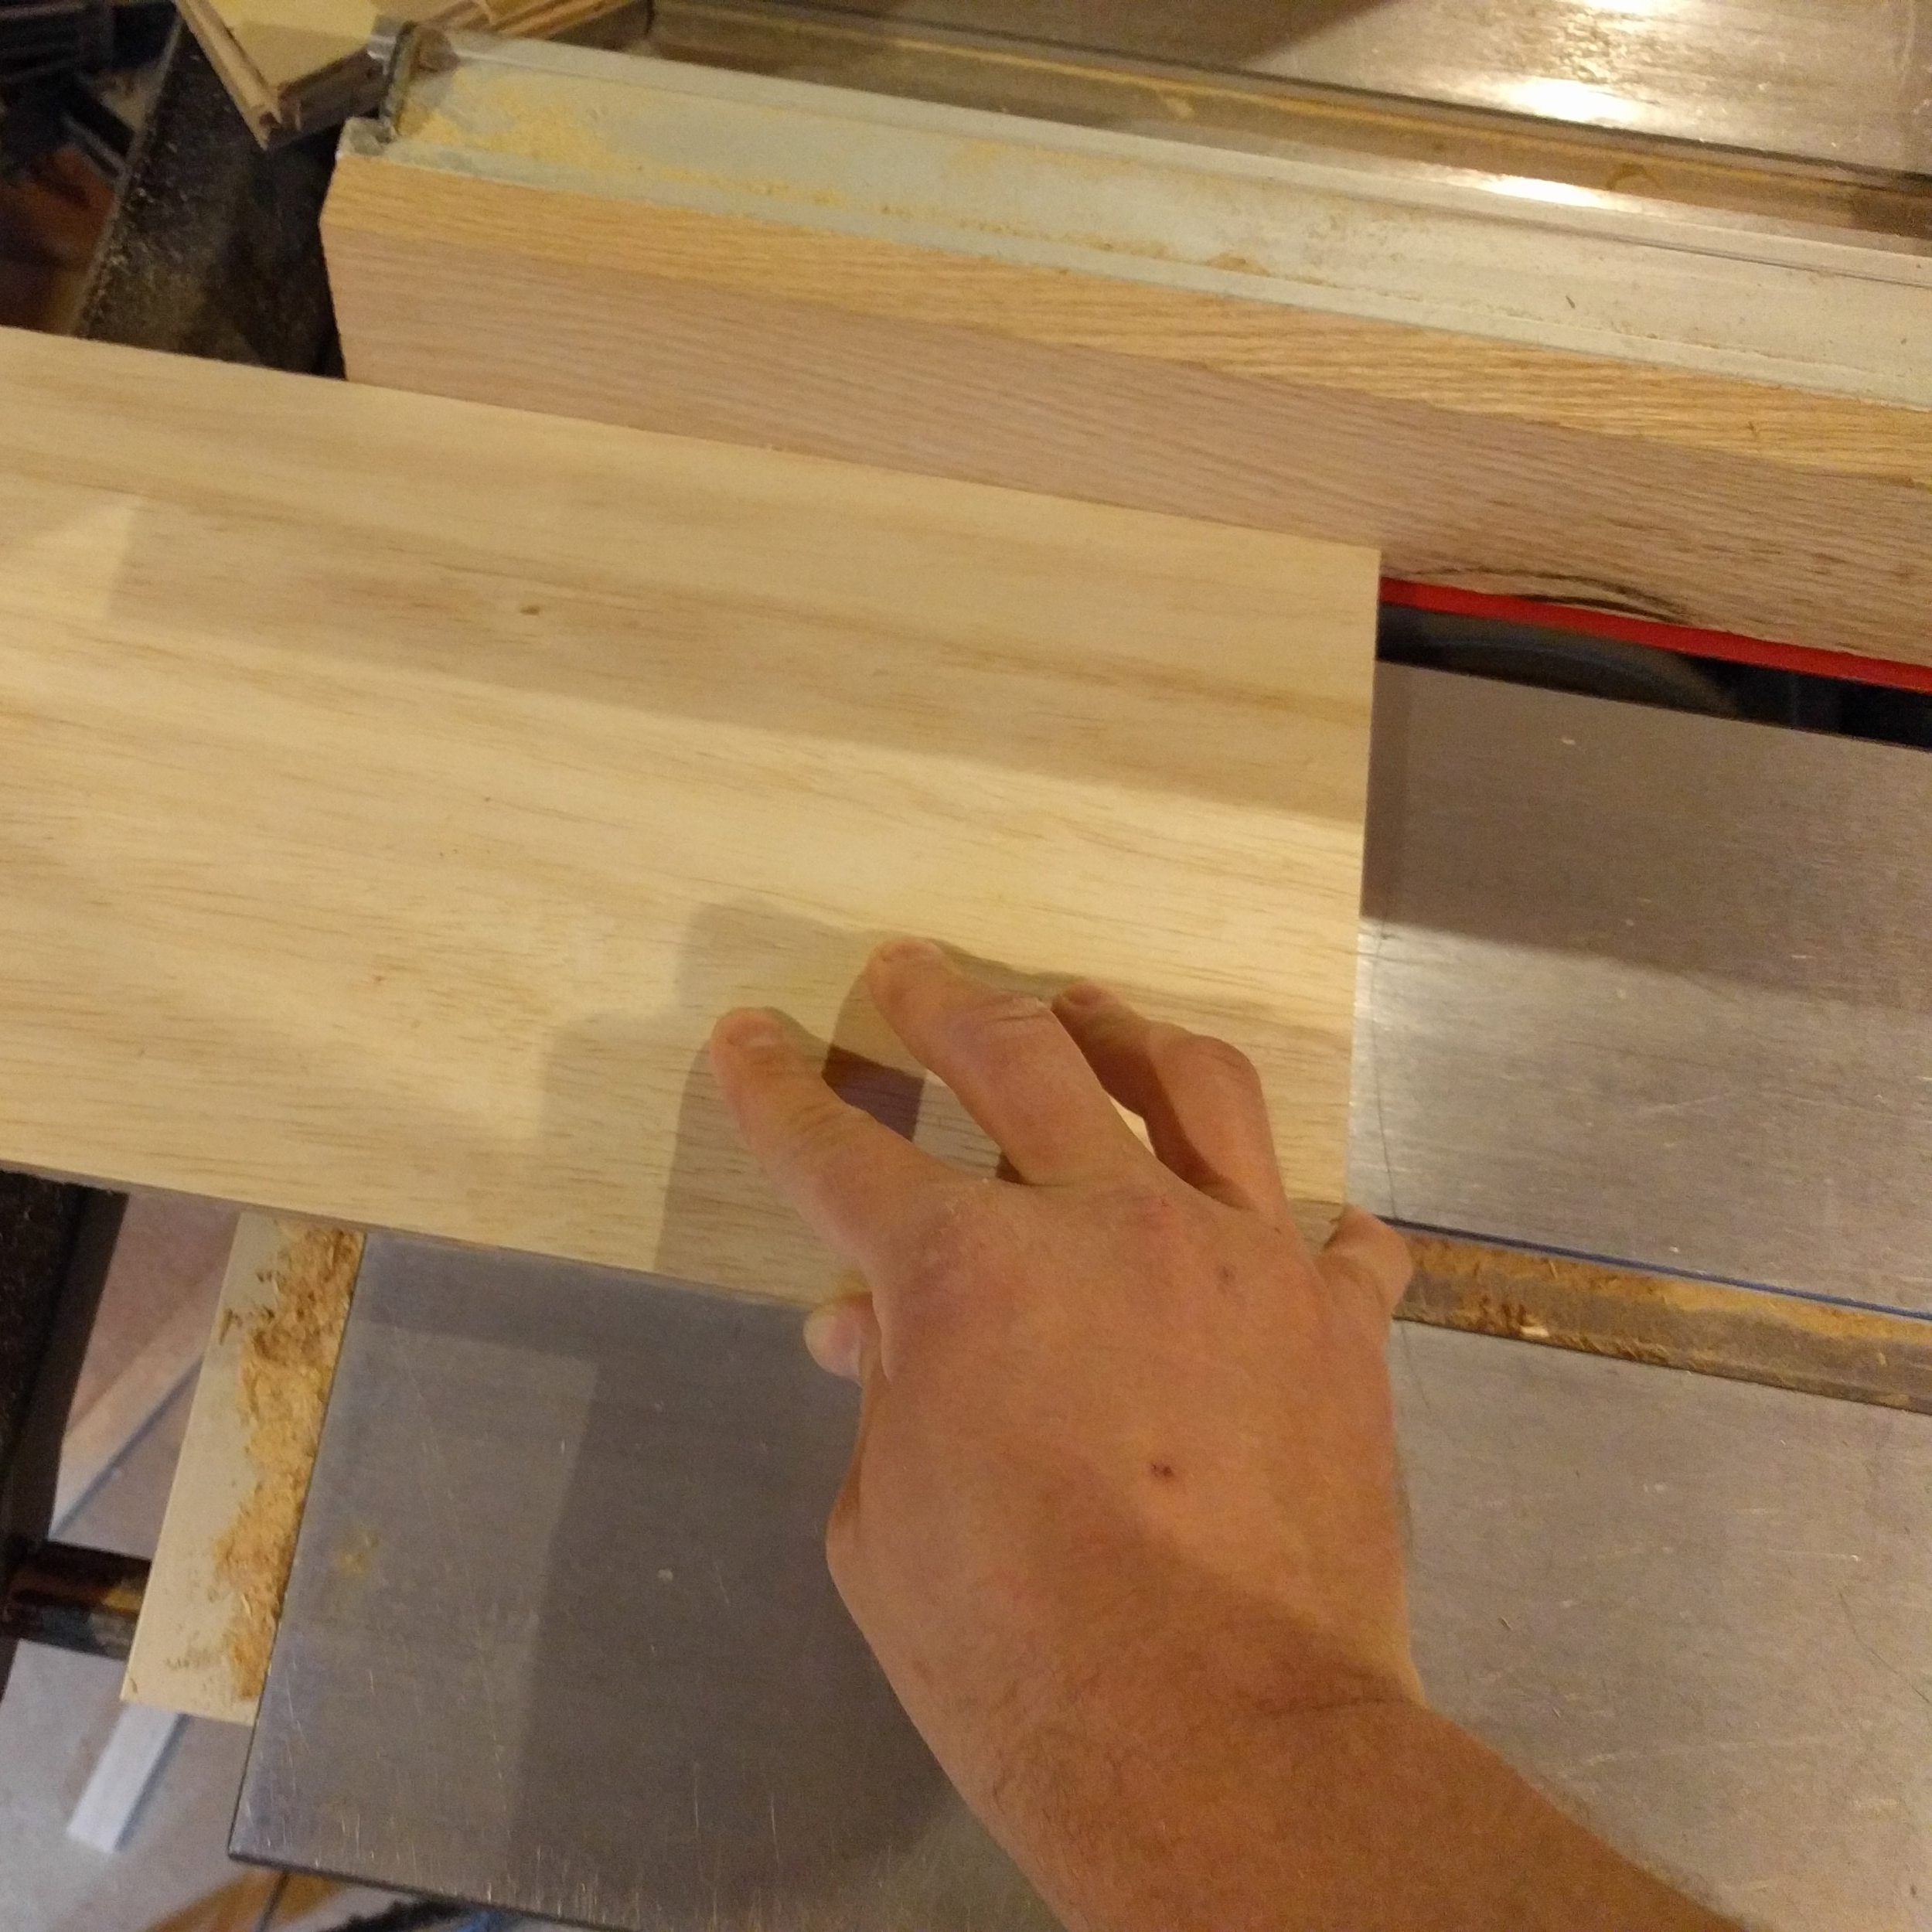
Now, use a scrap piece of 1/2" plywood to make a test dado cut to check for proper fit.

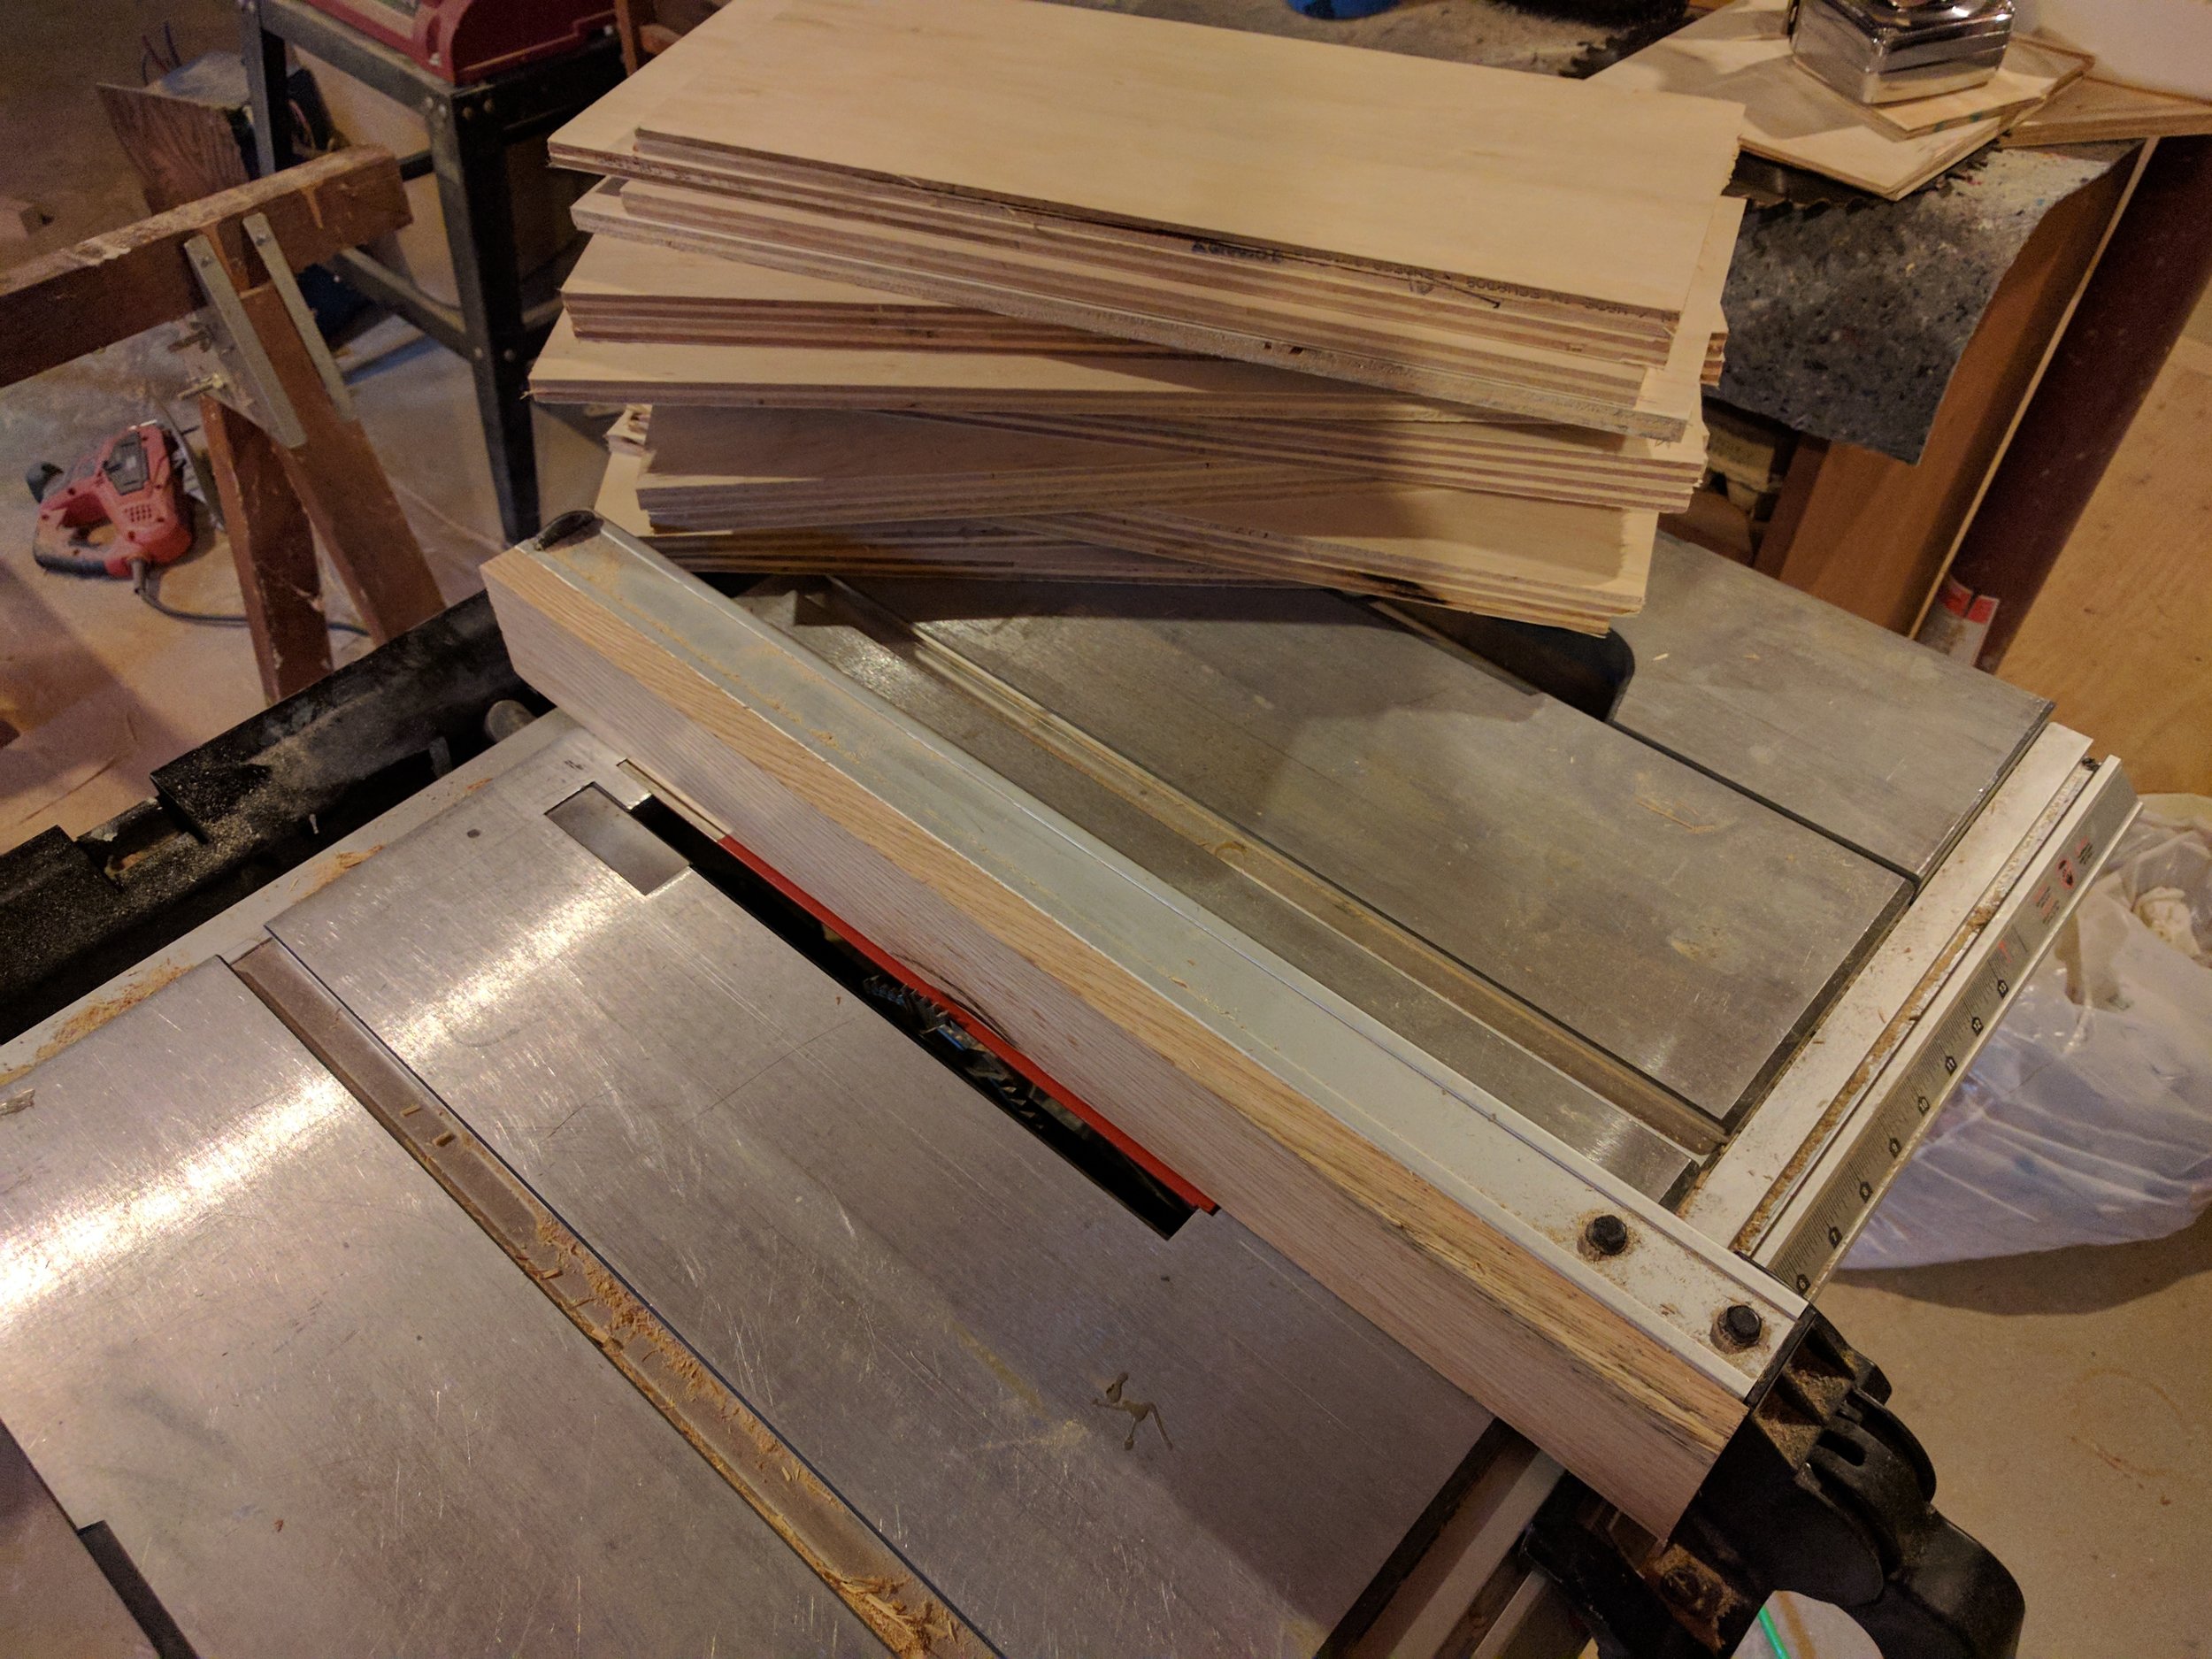
Once you're happy with how your saw is set up, go ahead and make your cut along the bottom of each piece you've prepared. Take a moment to check the plywood for defects before cutting. Sometimes you'll find a void in the plywood that would compromise your dado, so don't cut that side. You can fill the void later.
Now that we're done with the dado blade, you can put your regular blade back in and cut your drawer bottoms out of 1/4" plywood. The length and width should be 5/8" less than the finished dimensions of the box. In our above example, that's 14-3/8" wide and 17-3/8" deep.
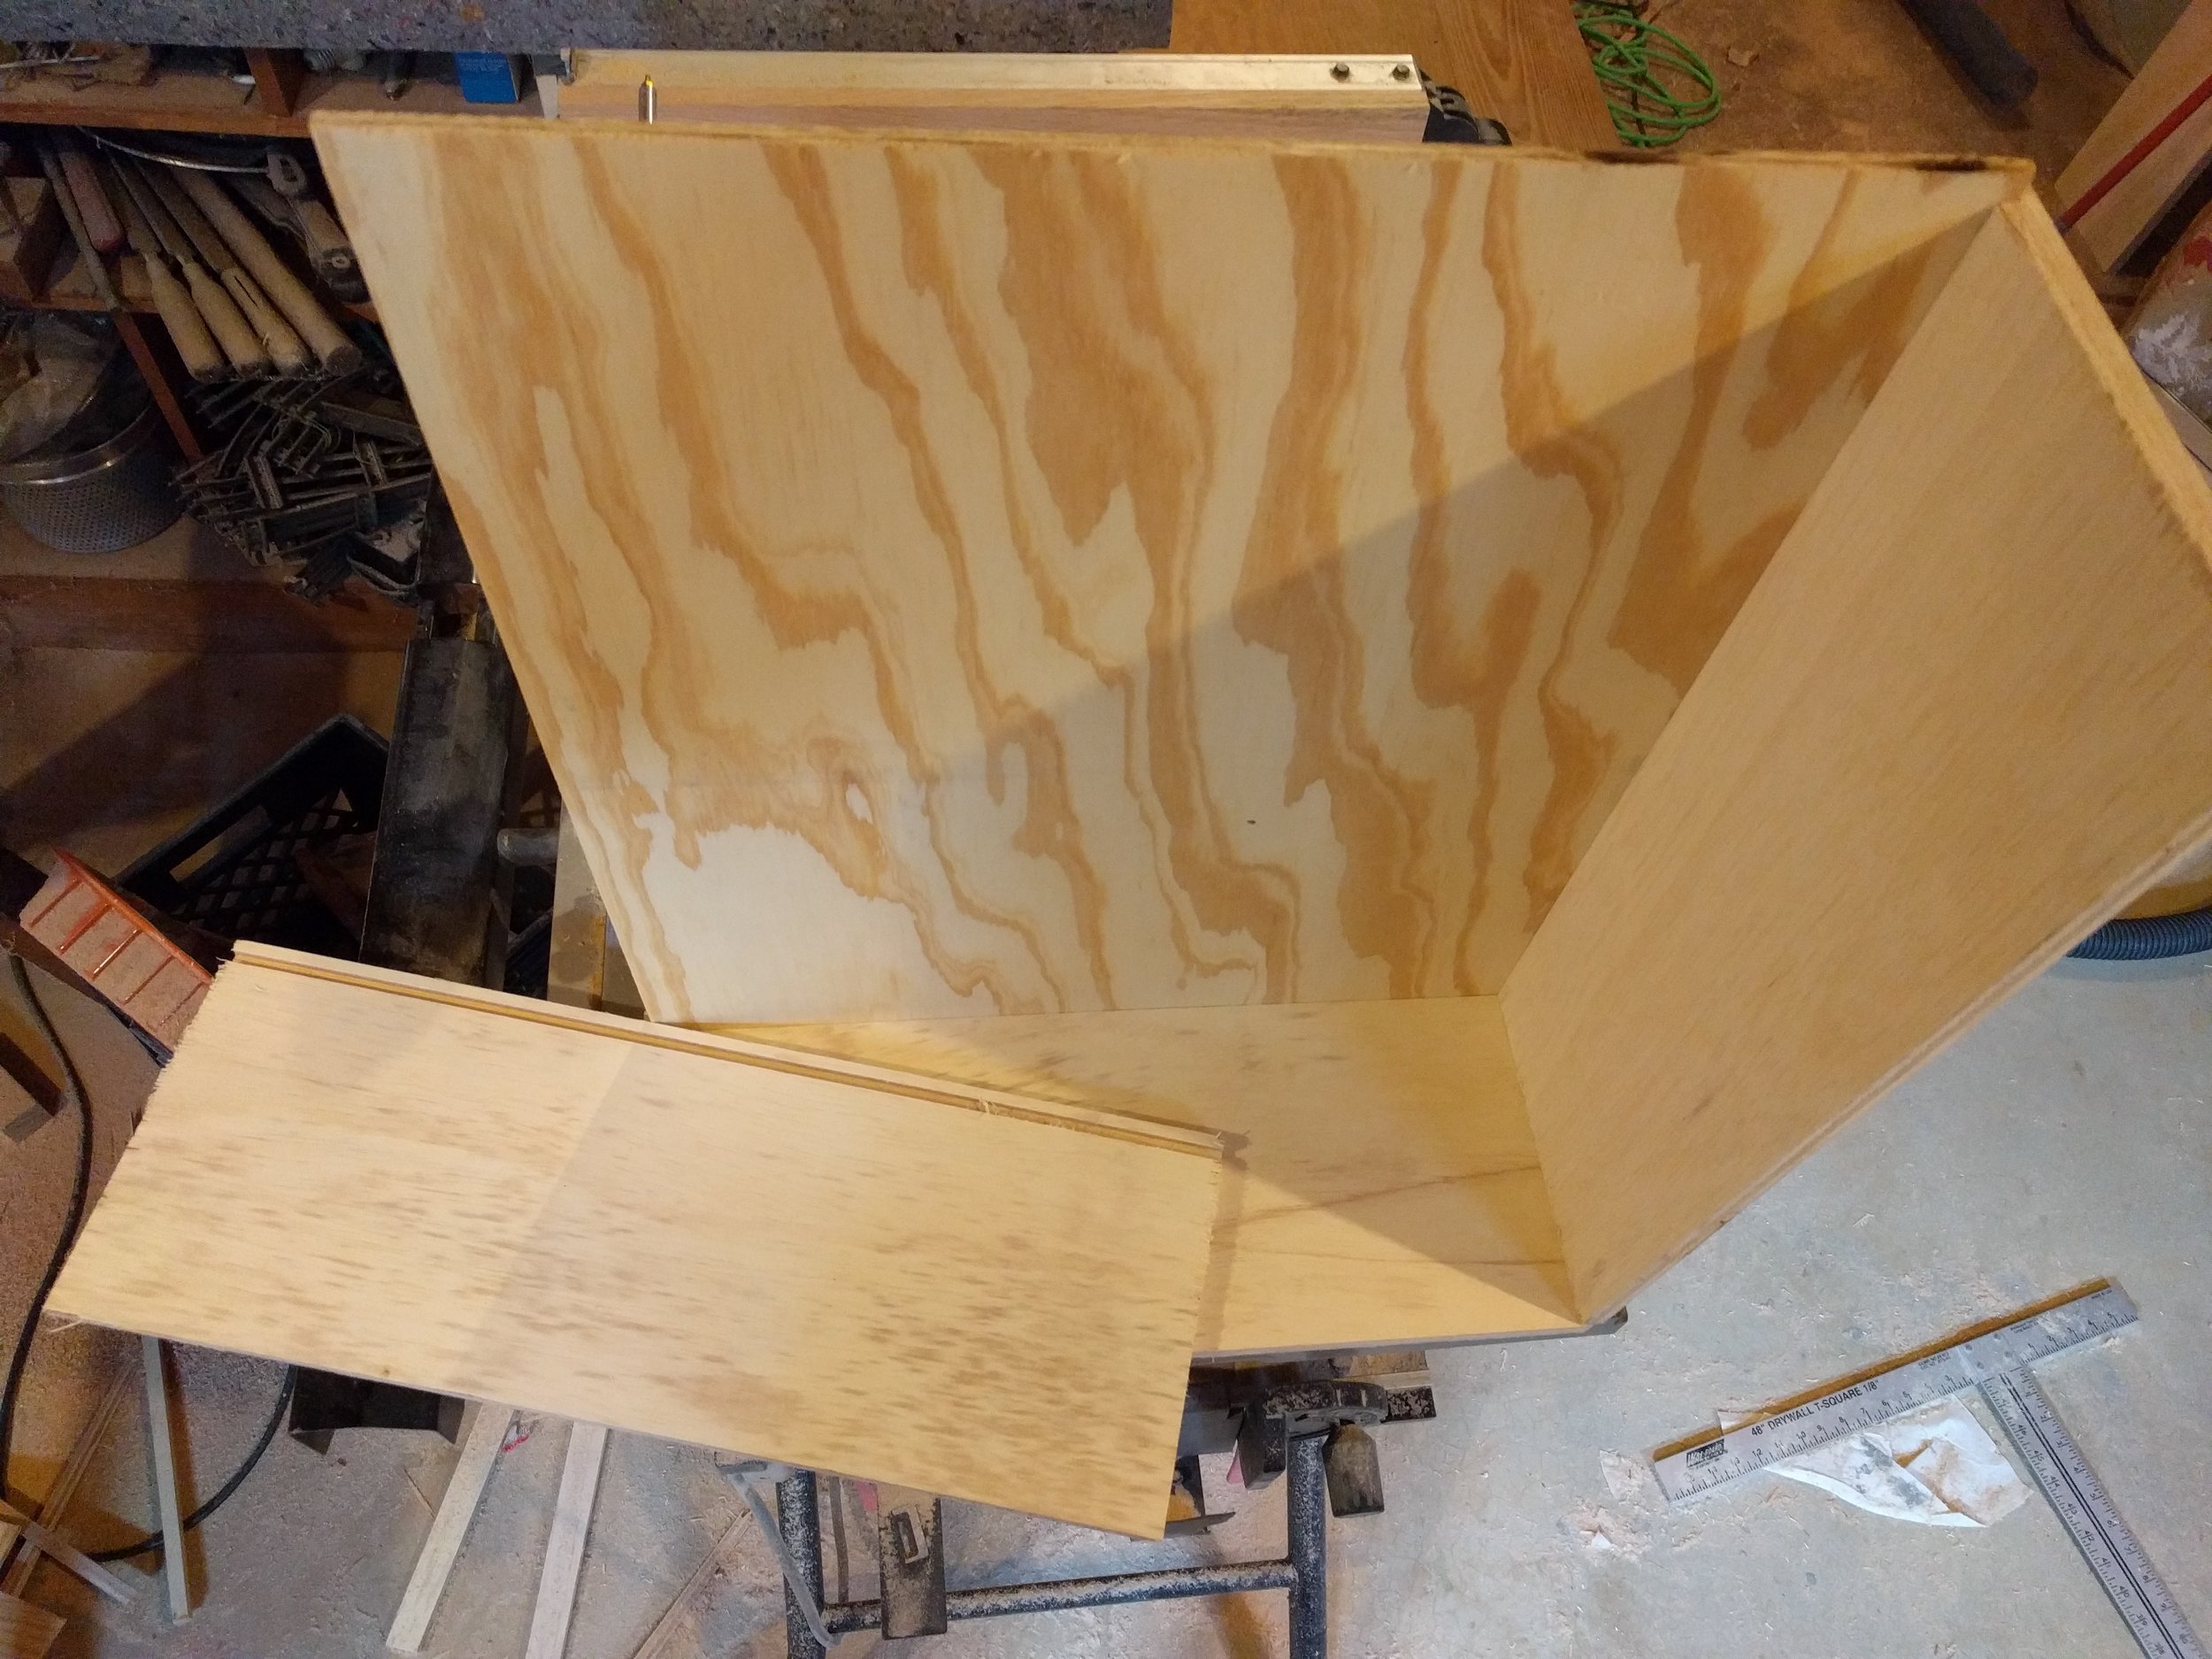
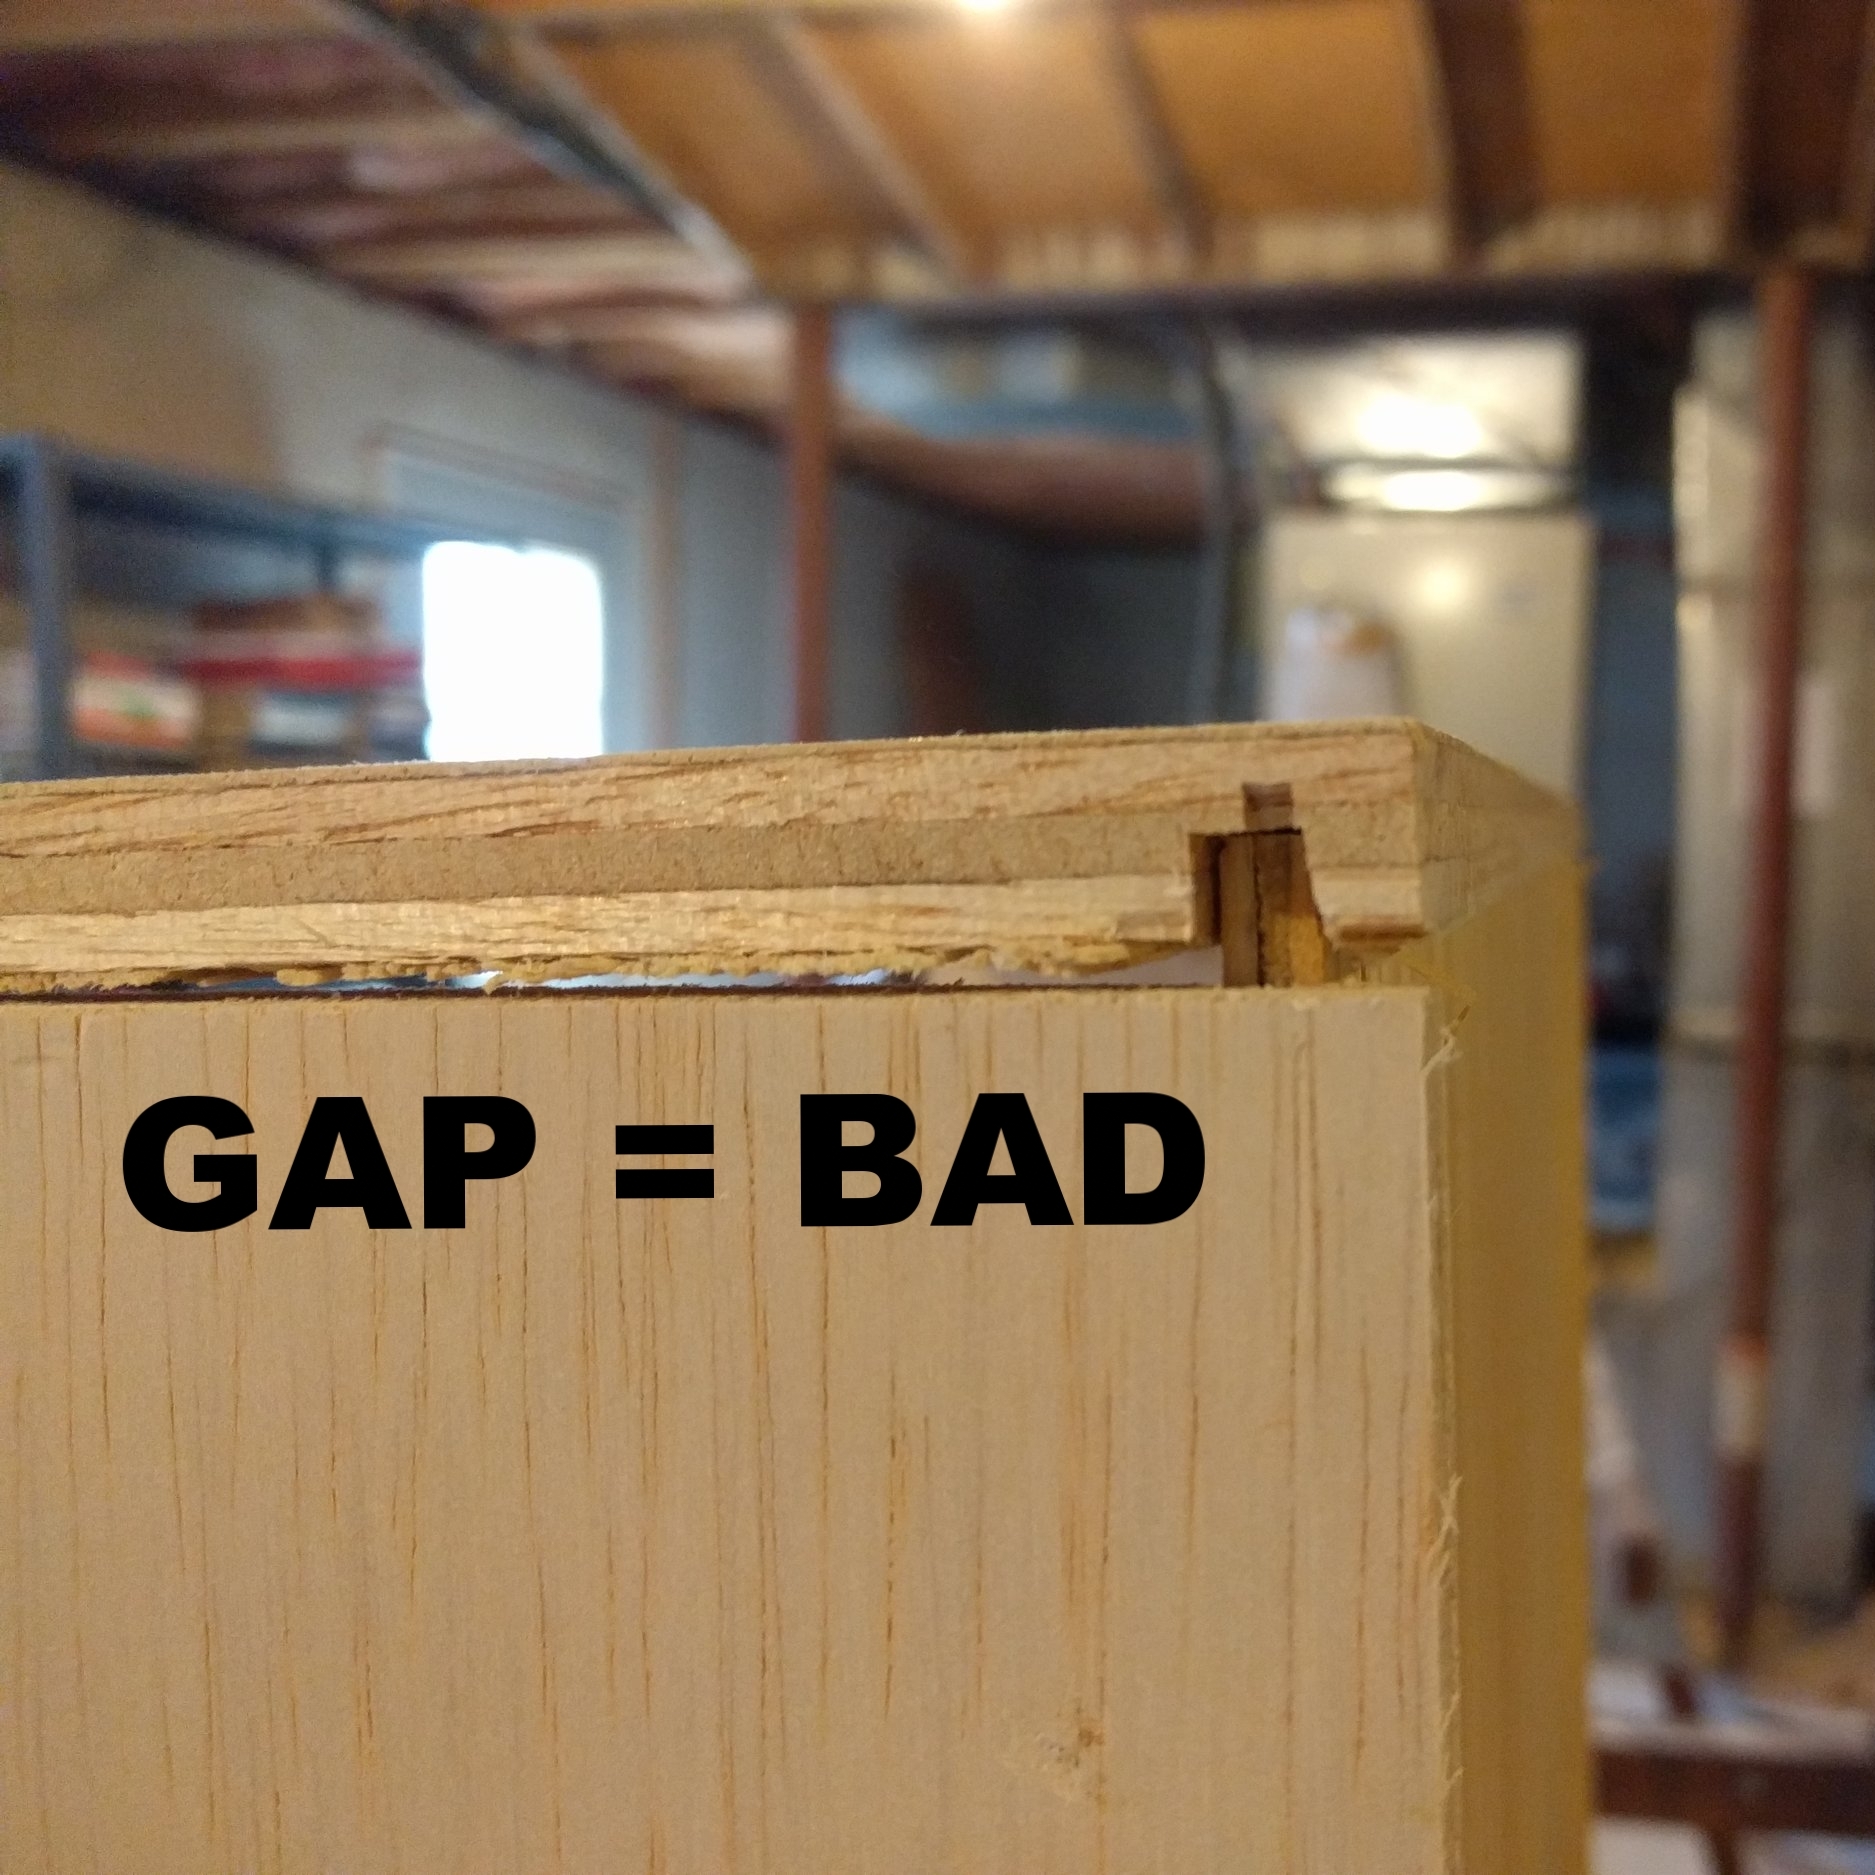
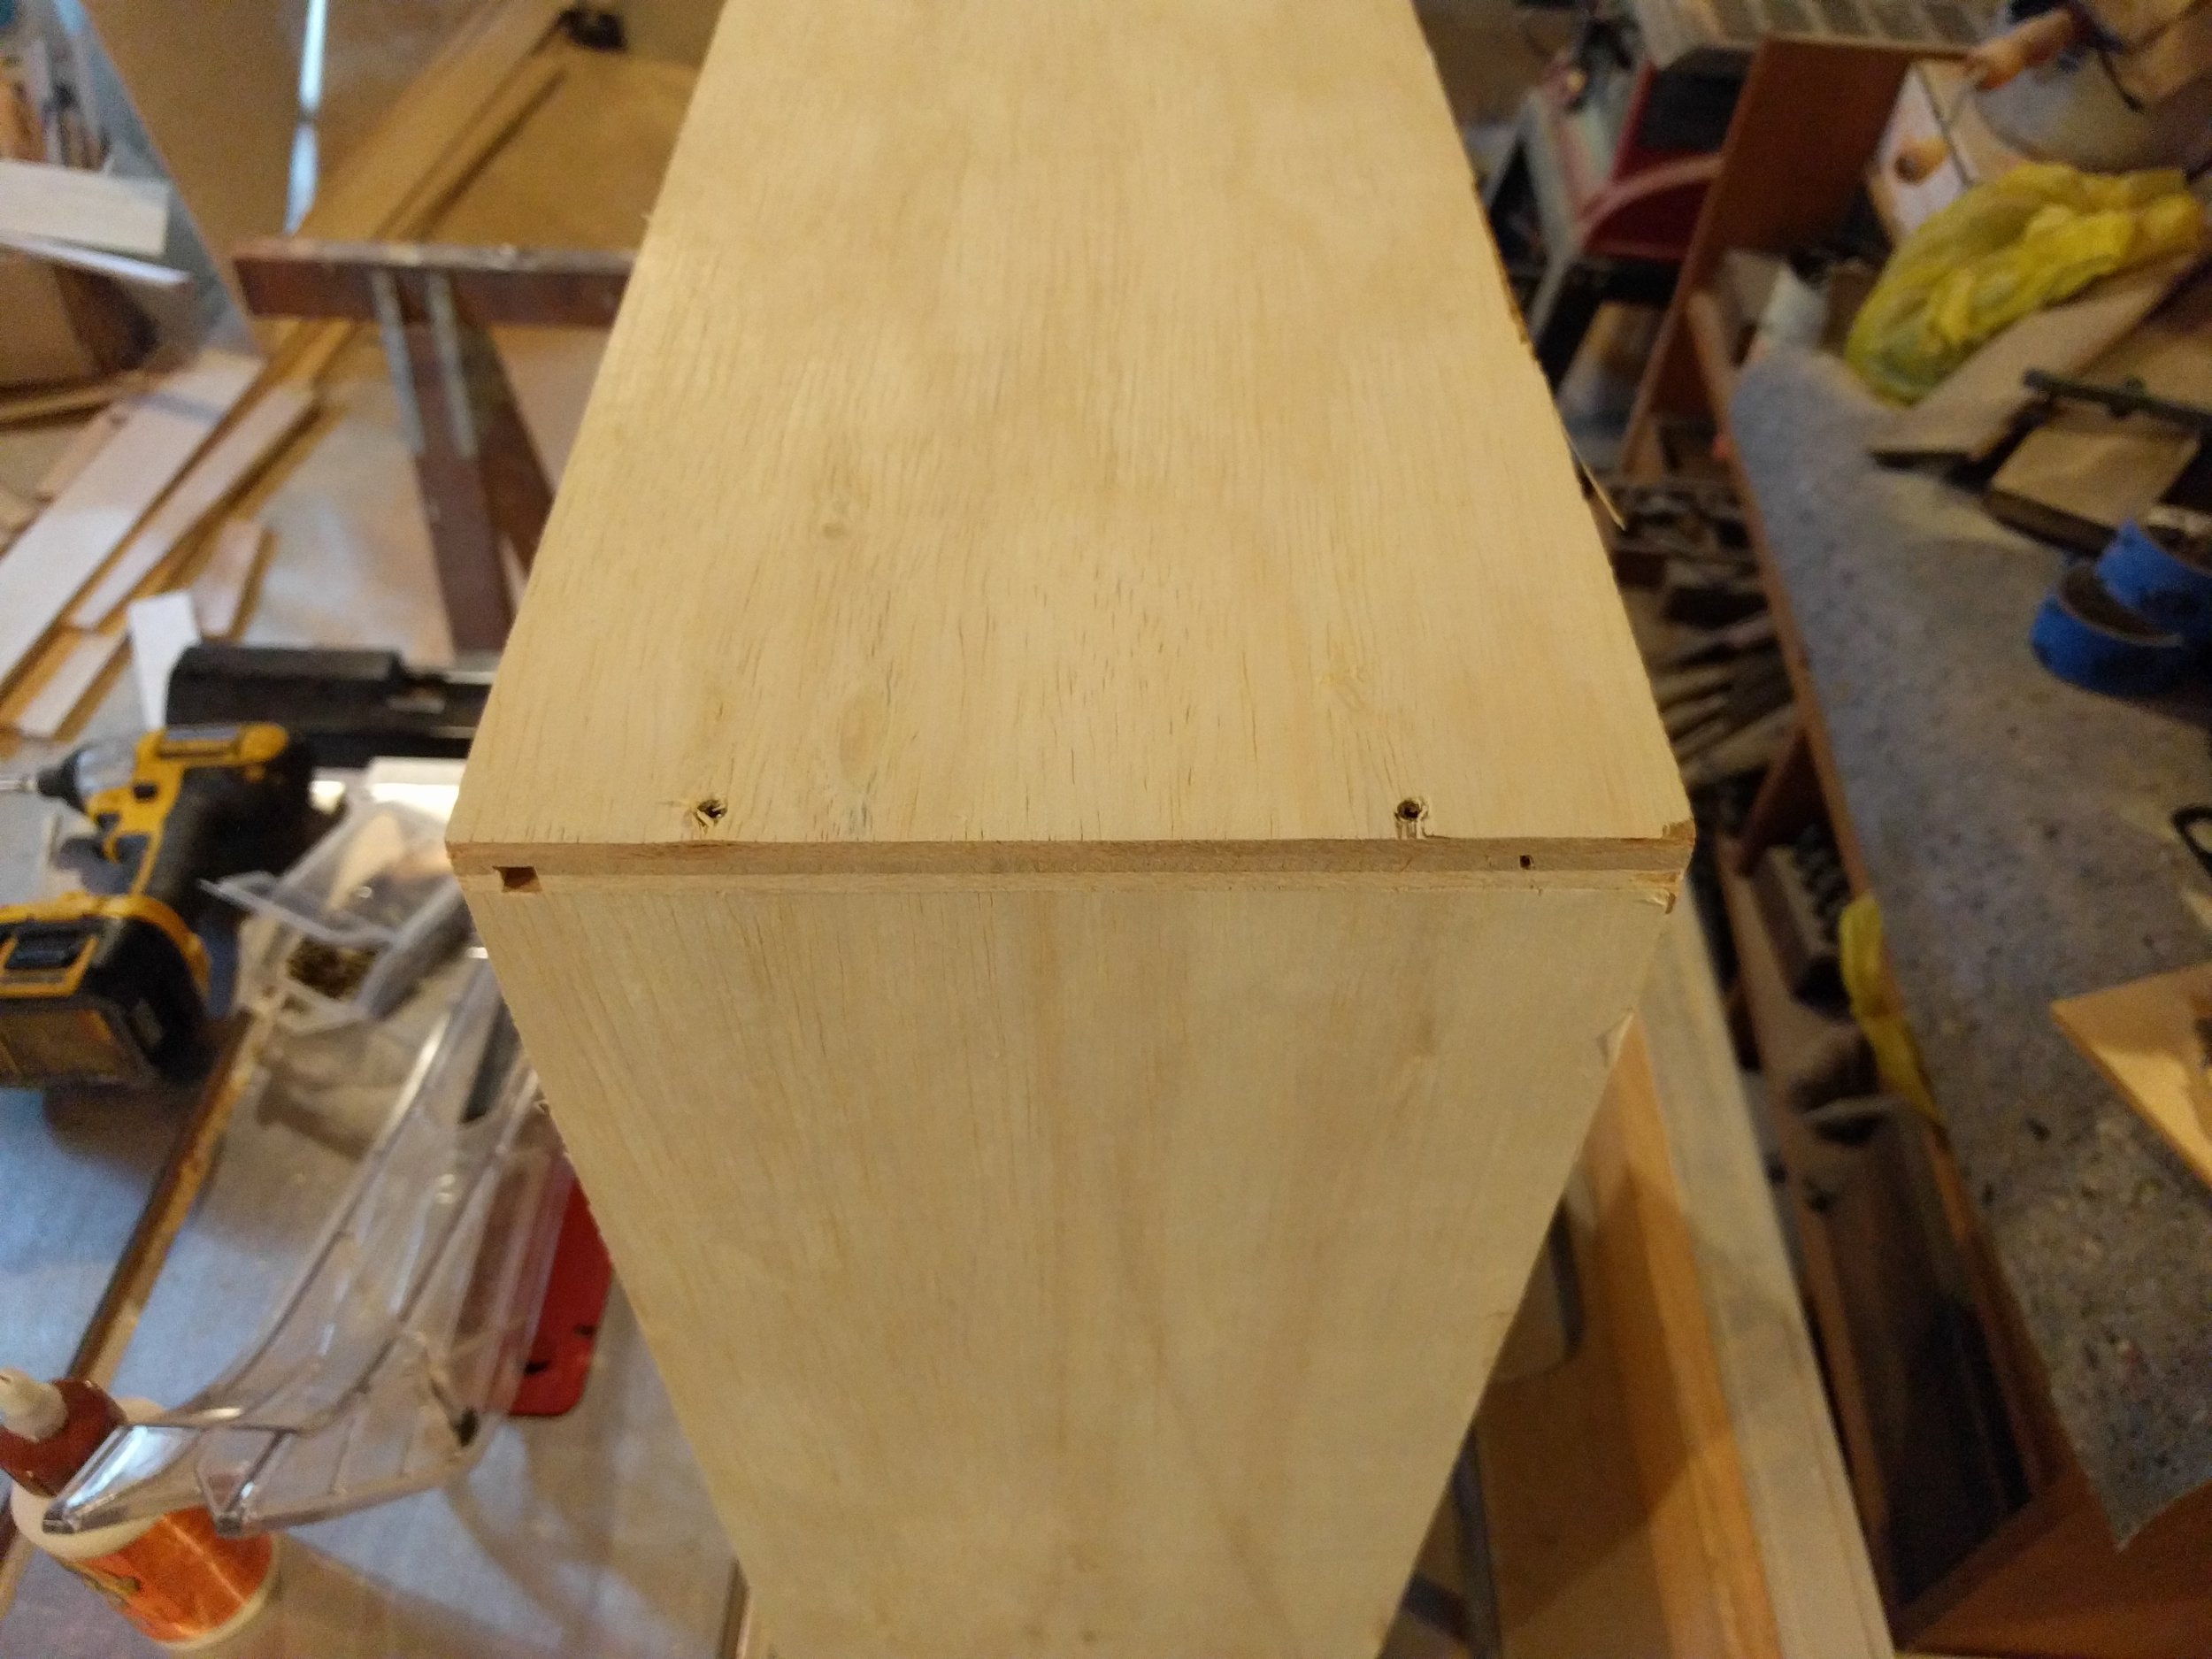
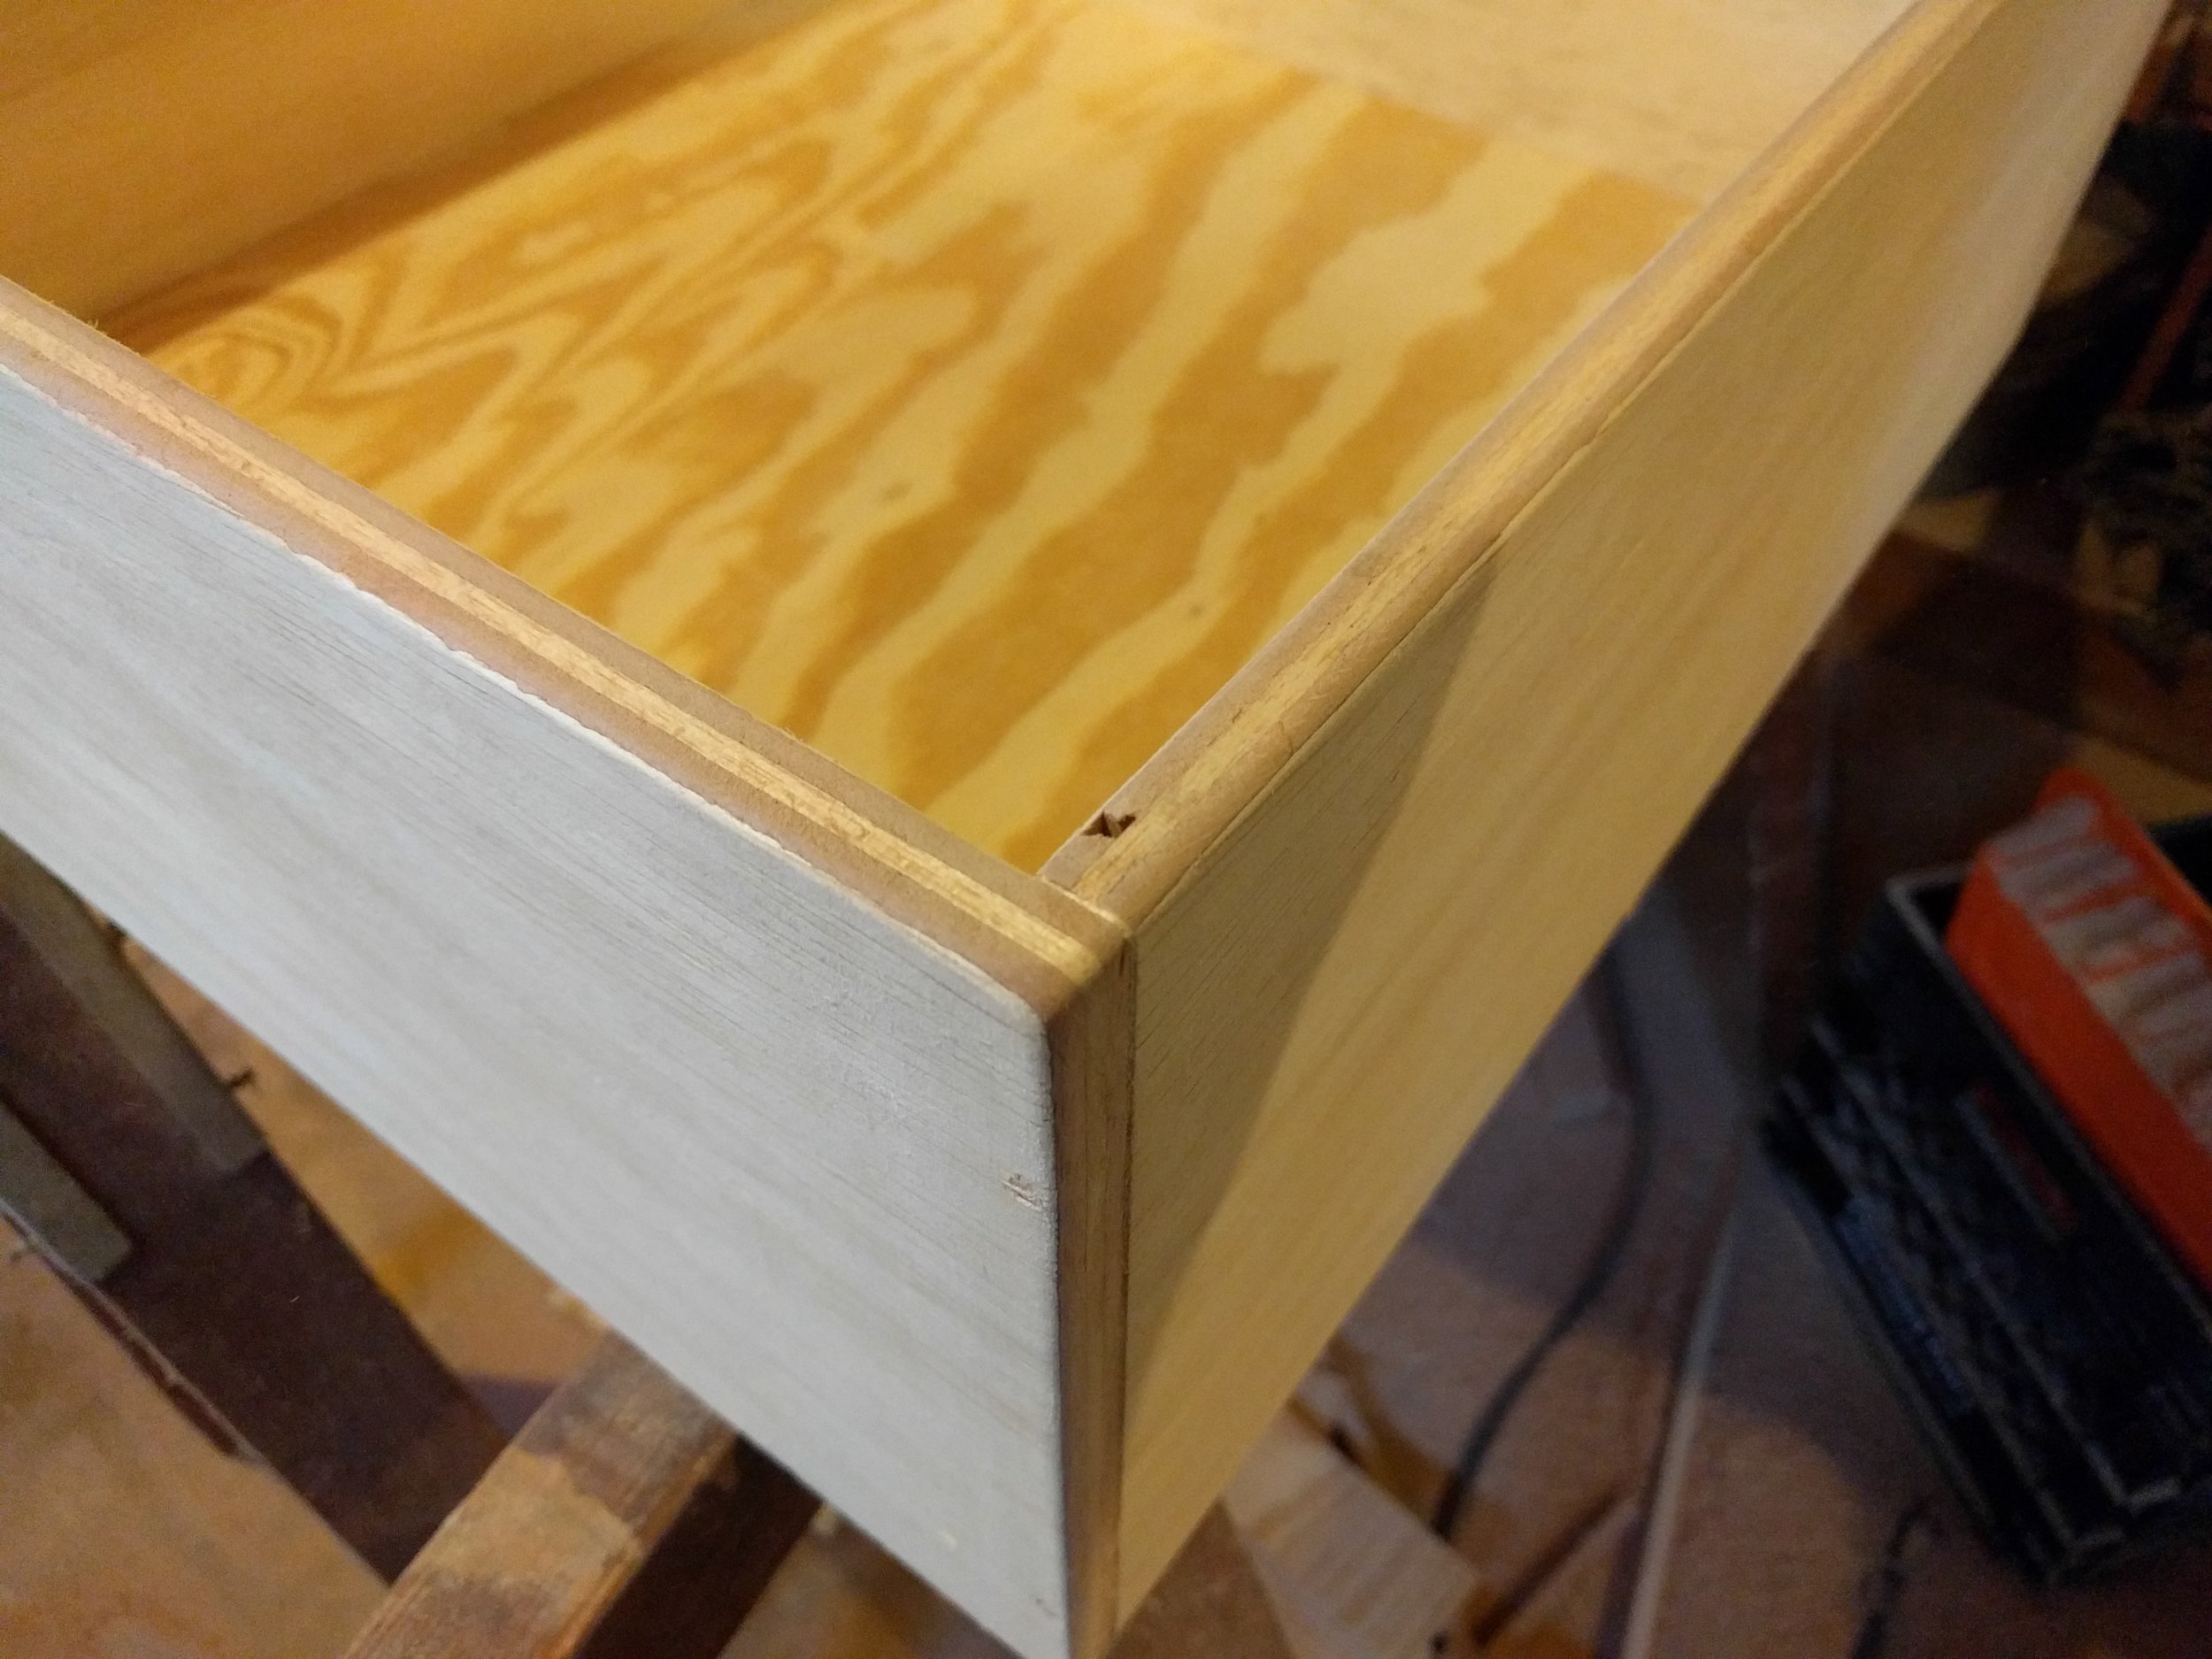
Now that you have all the pieces of your drawer boxes, test fit them together. Remember, the drawer sides extend all the way to the corners, but the front and back are overlapped by the sides. Make sure there are no gaps at the corners -- the drawer bottom tolerances are pretty tight, so if you cut your bottom too wide or your dados to shallow, you may need to recut your drawer bottom to get everything to fit perfectly.
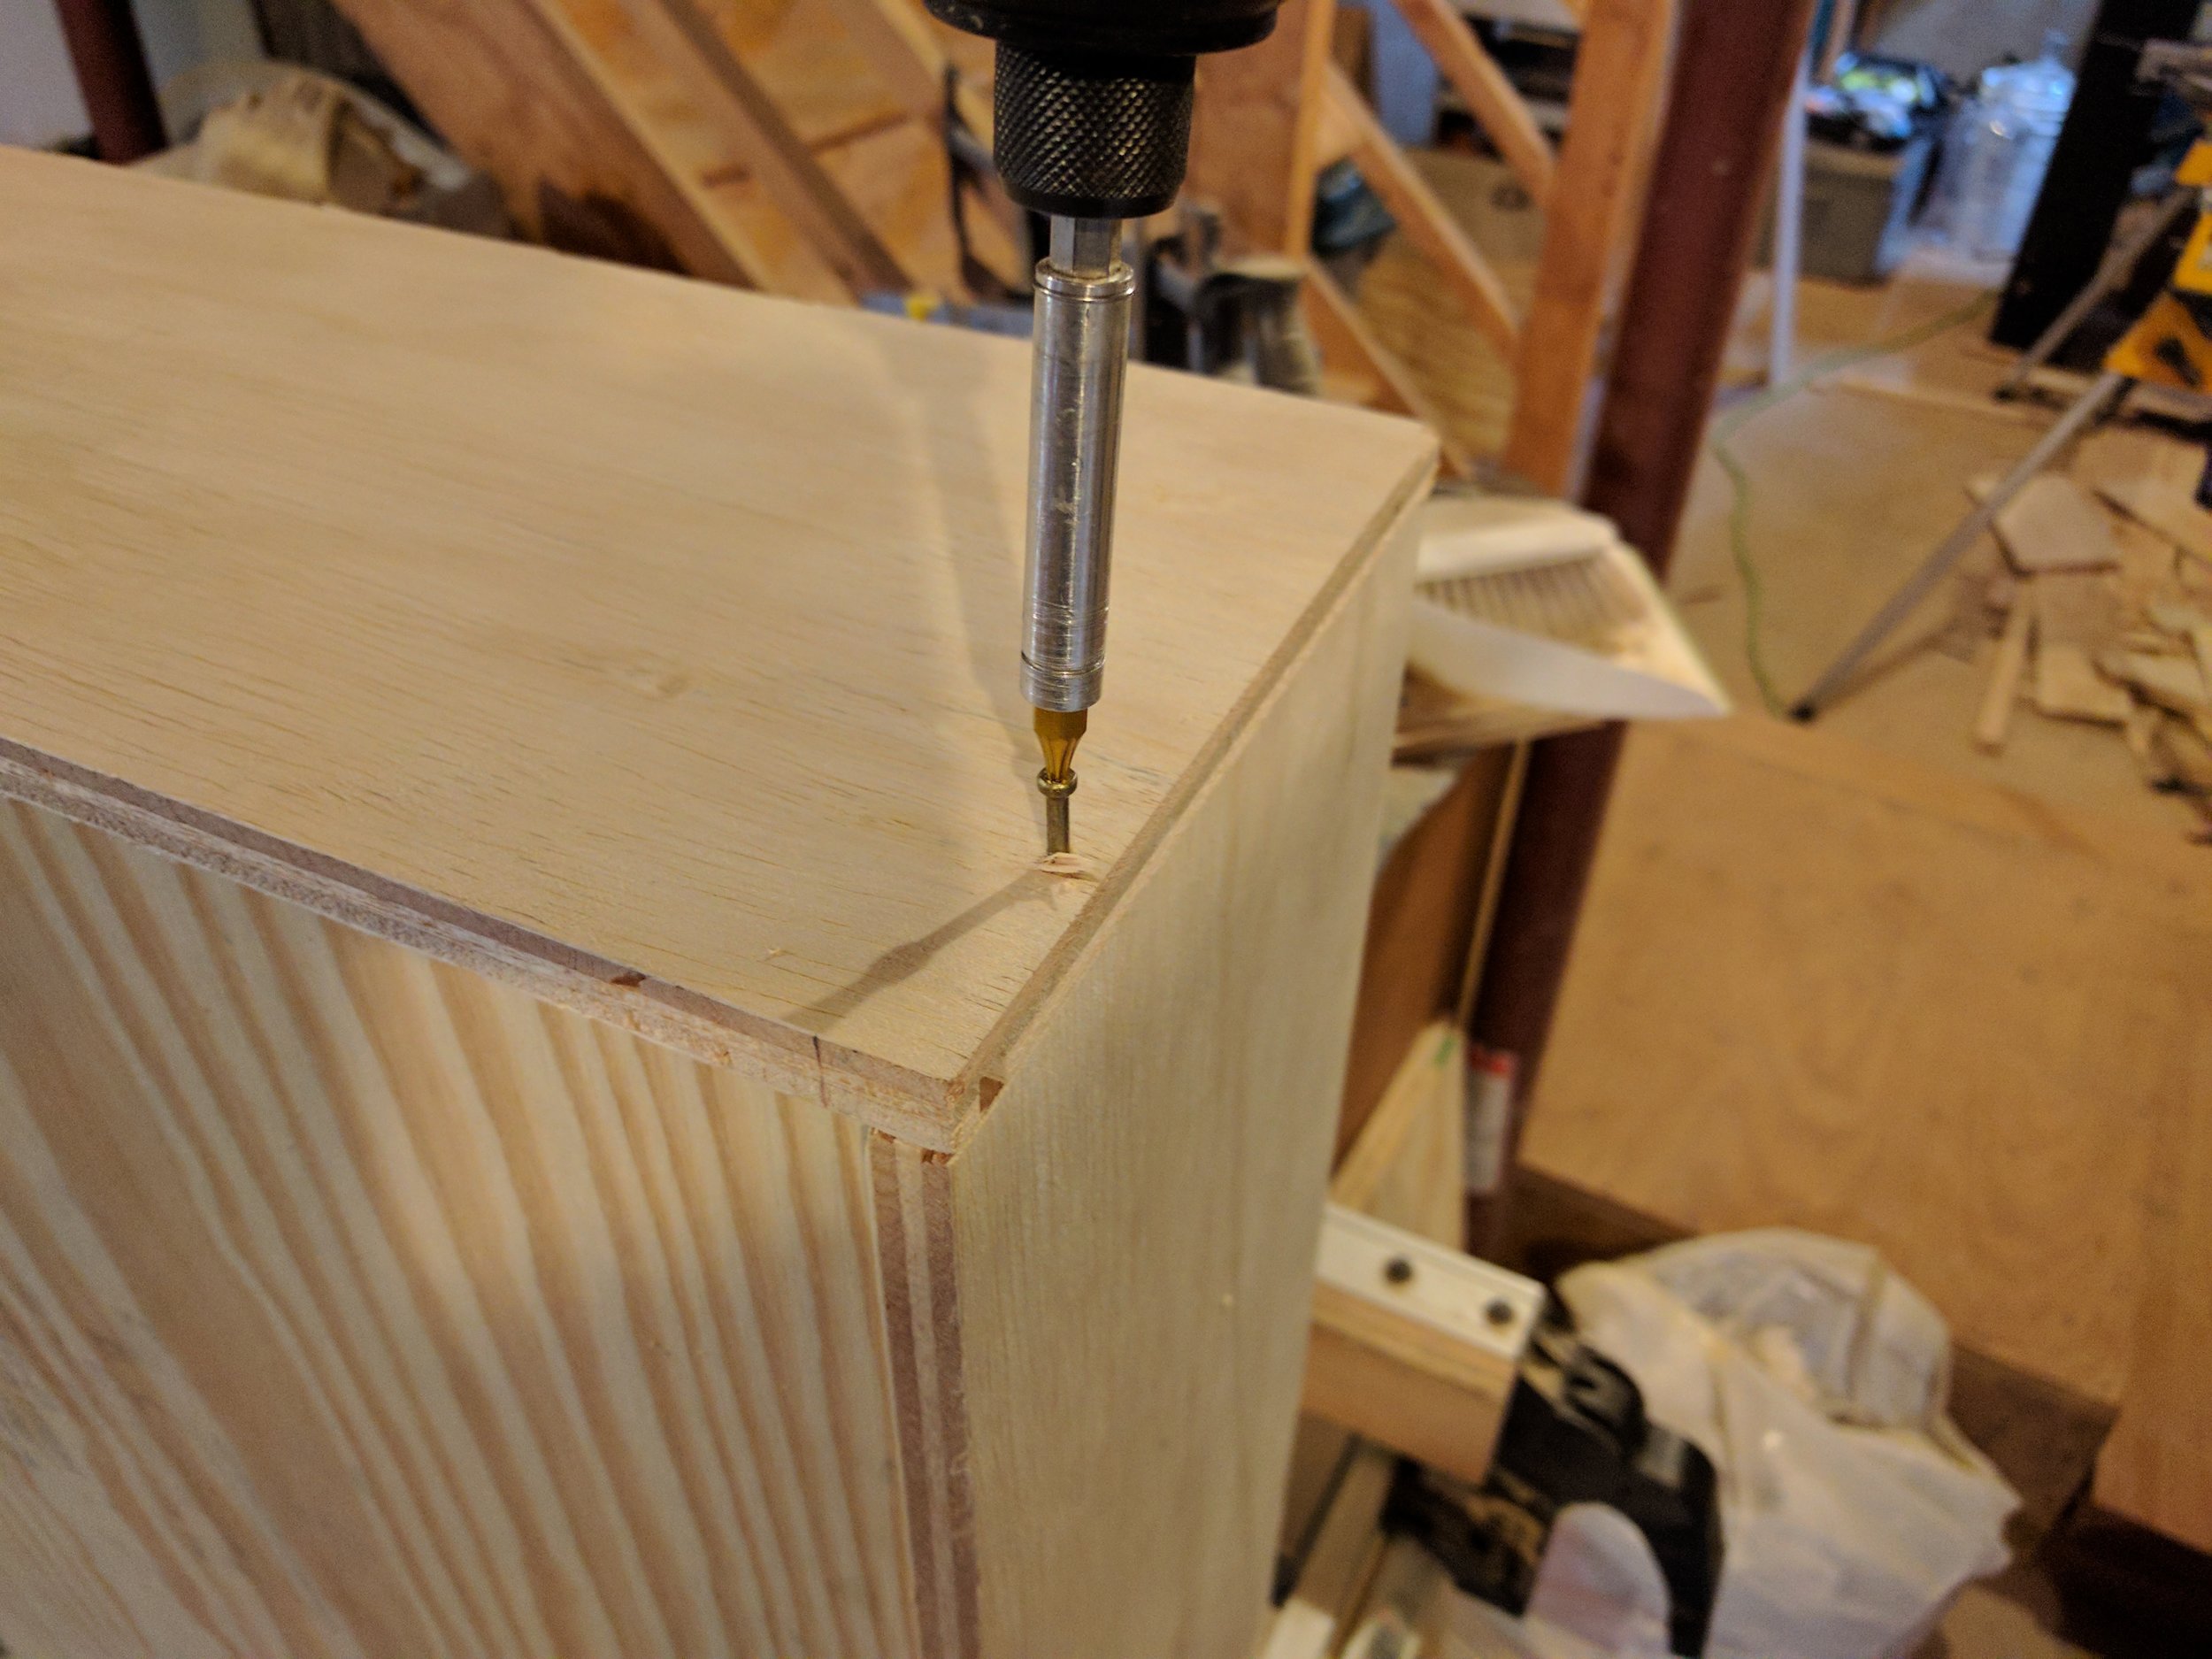
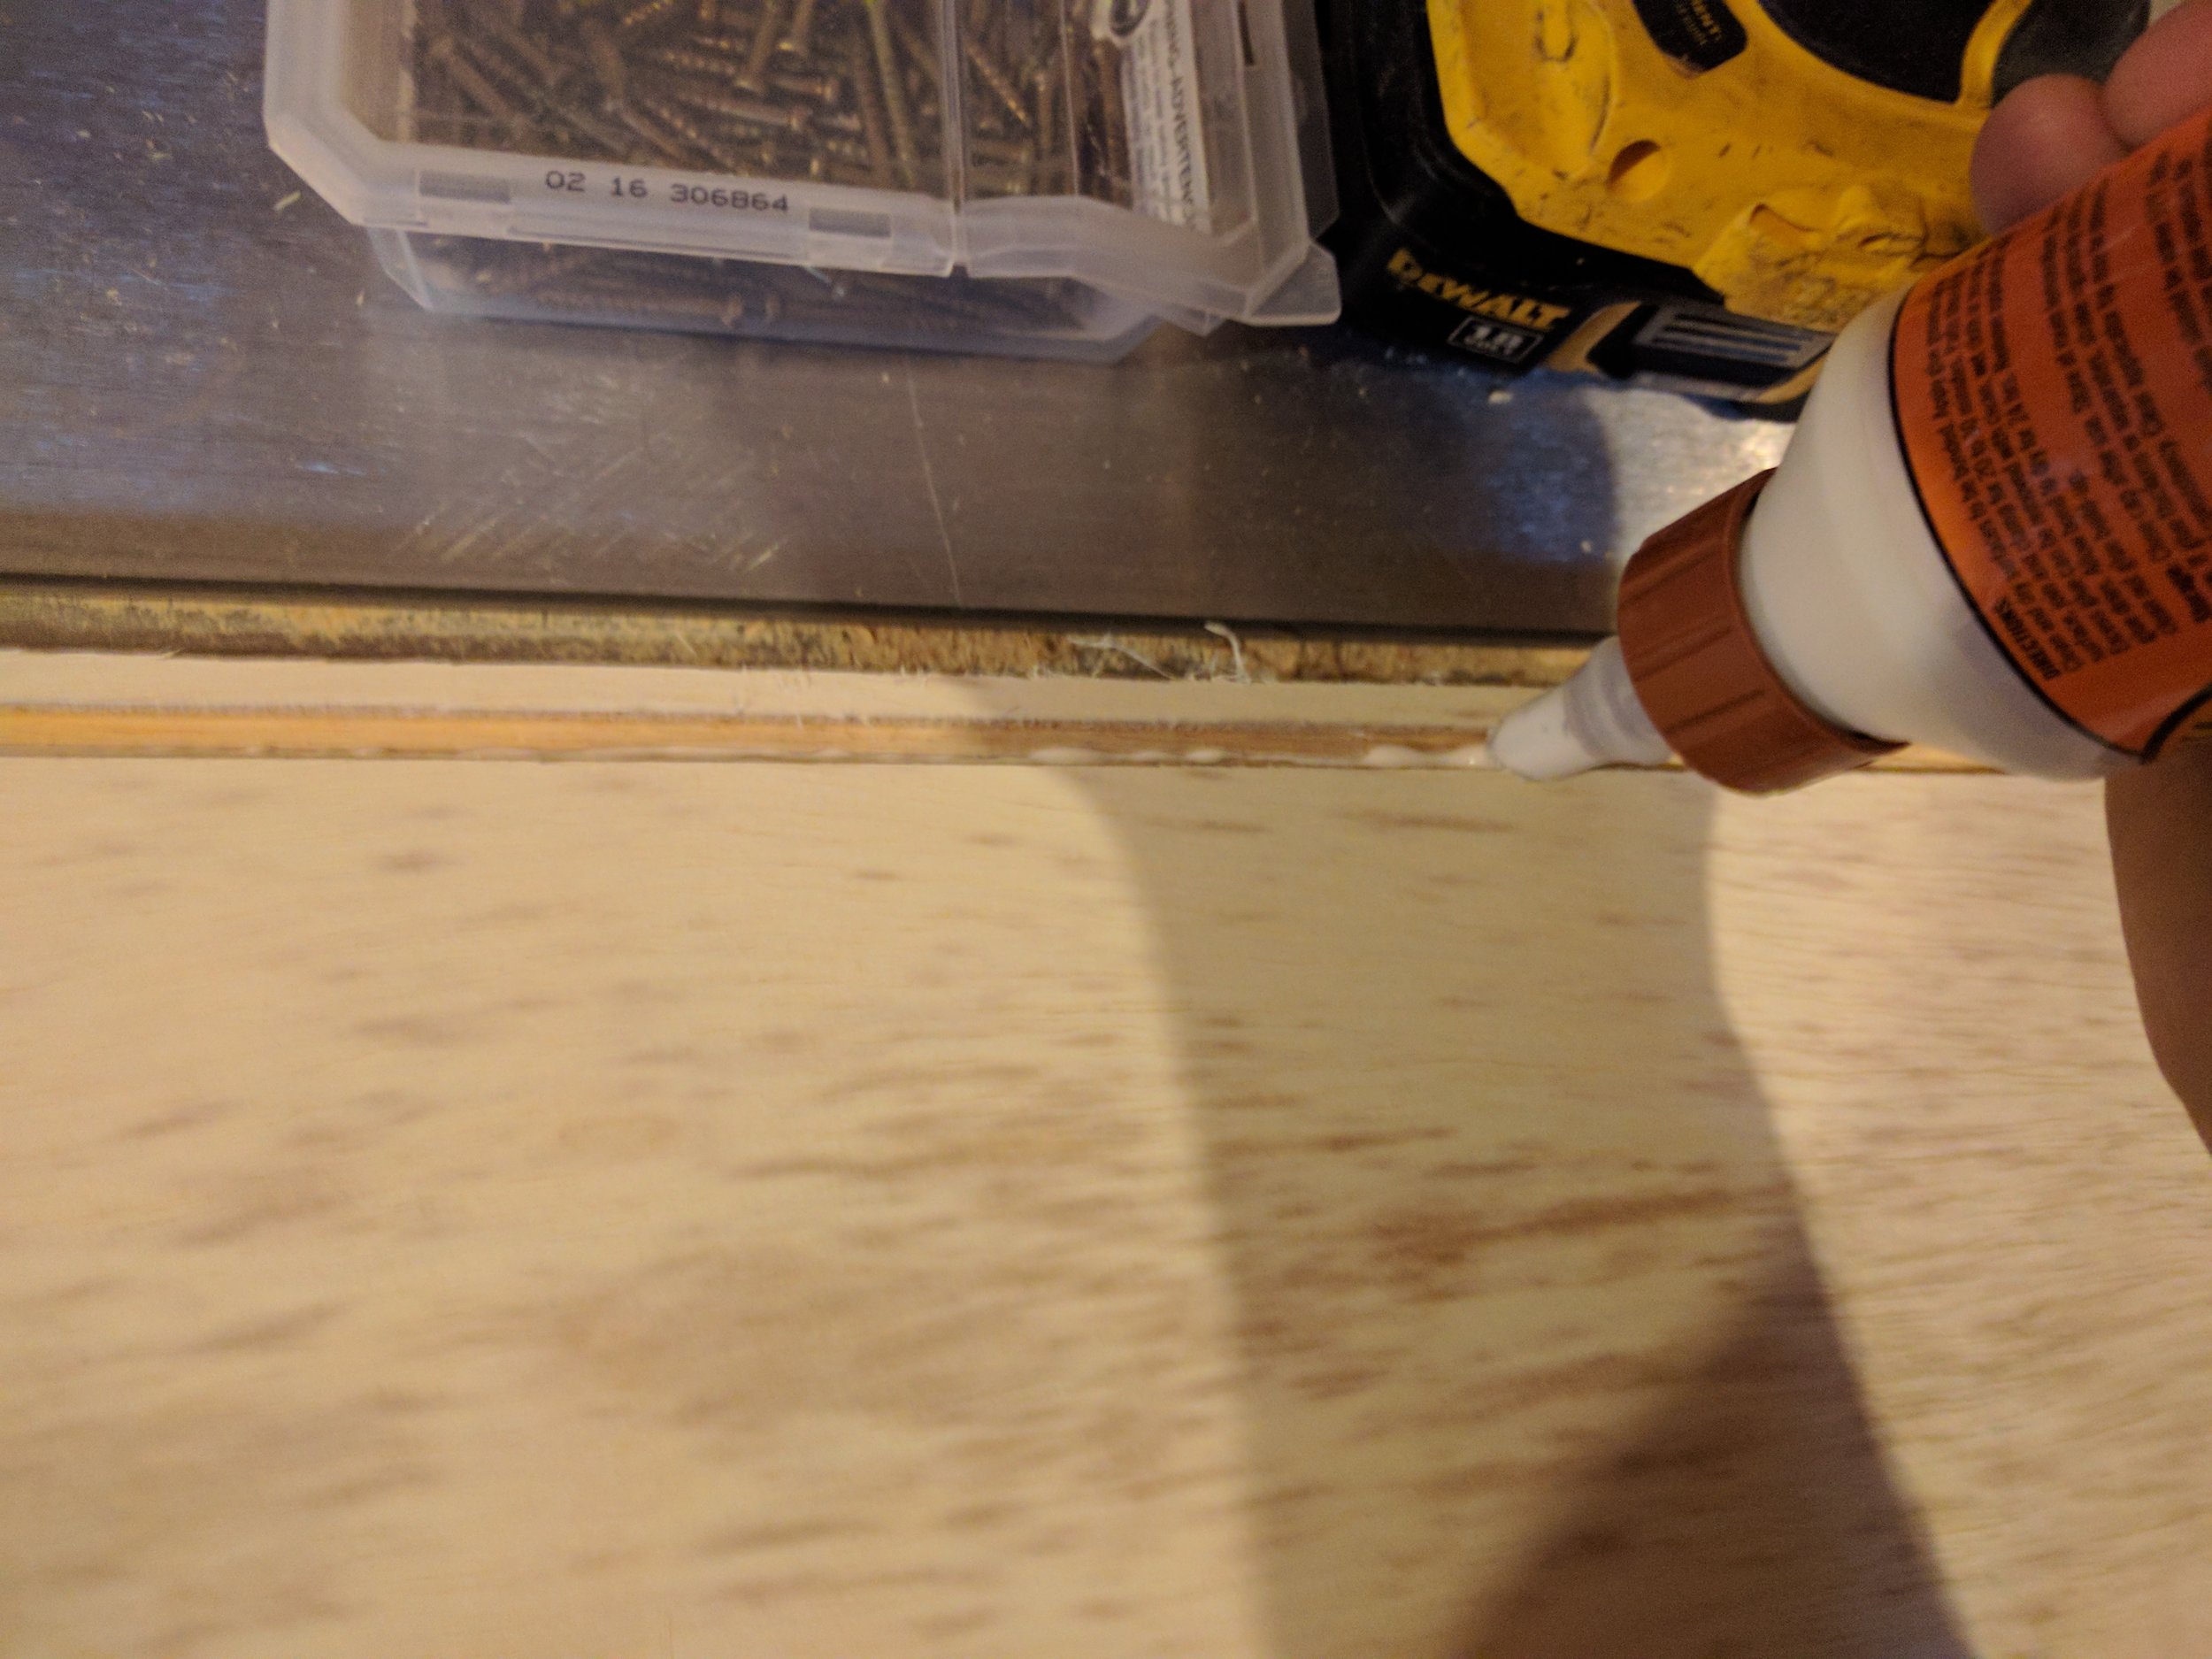
Once you're satisfied with the fit of your drawer box, remove one side at a time to apply glue. Put a thin bead of glue inside the dado cut, as well as a thin bead where the sides meet at the corner. Use a couple of 1-1/4" cabinet or trim screws to secure the corners together. You need to aim for dead center of the plywood you're drilling into. I like using these star-drive trim screws because the small gauge and trim head cause less splitting. If you find you're having trouble with splitting, or just want to be on the safe side, drill a small pilot hole before installing each screw.
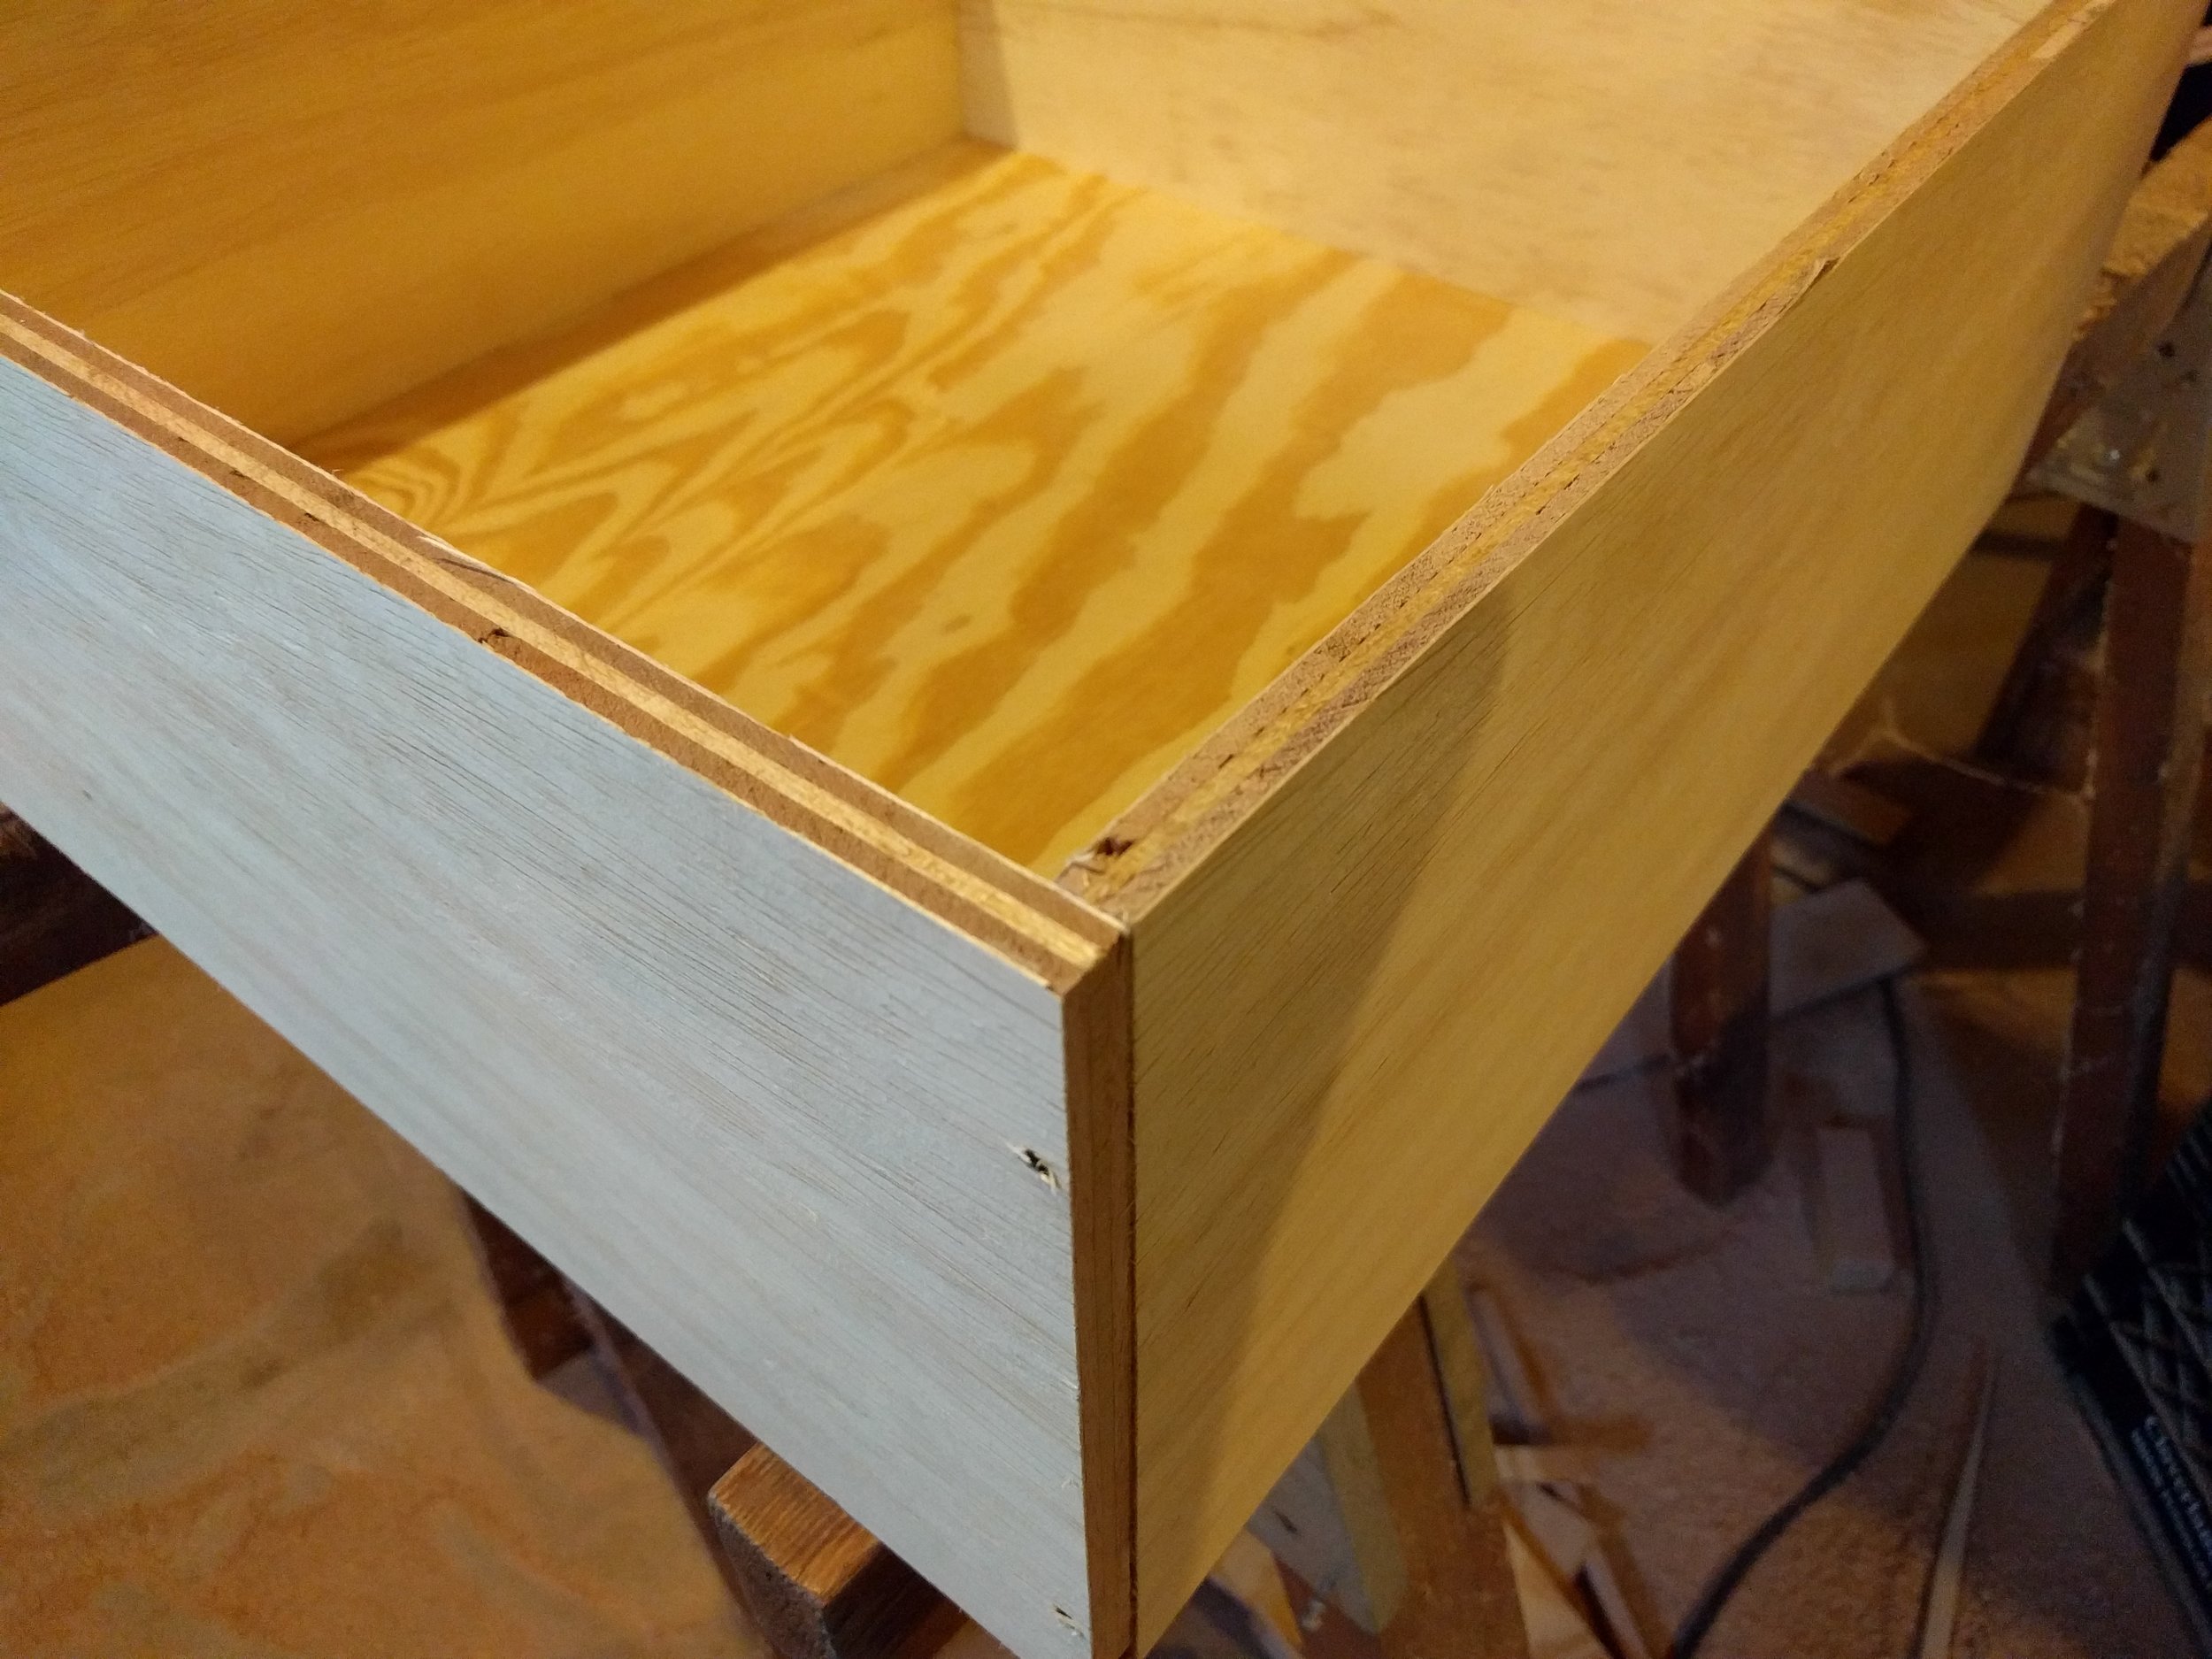
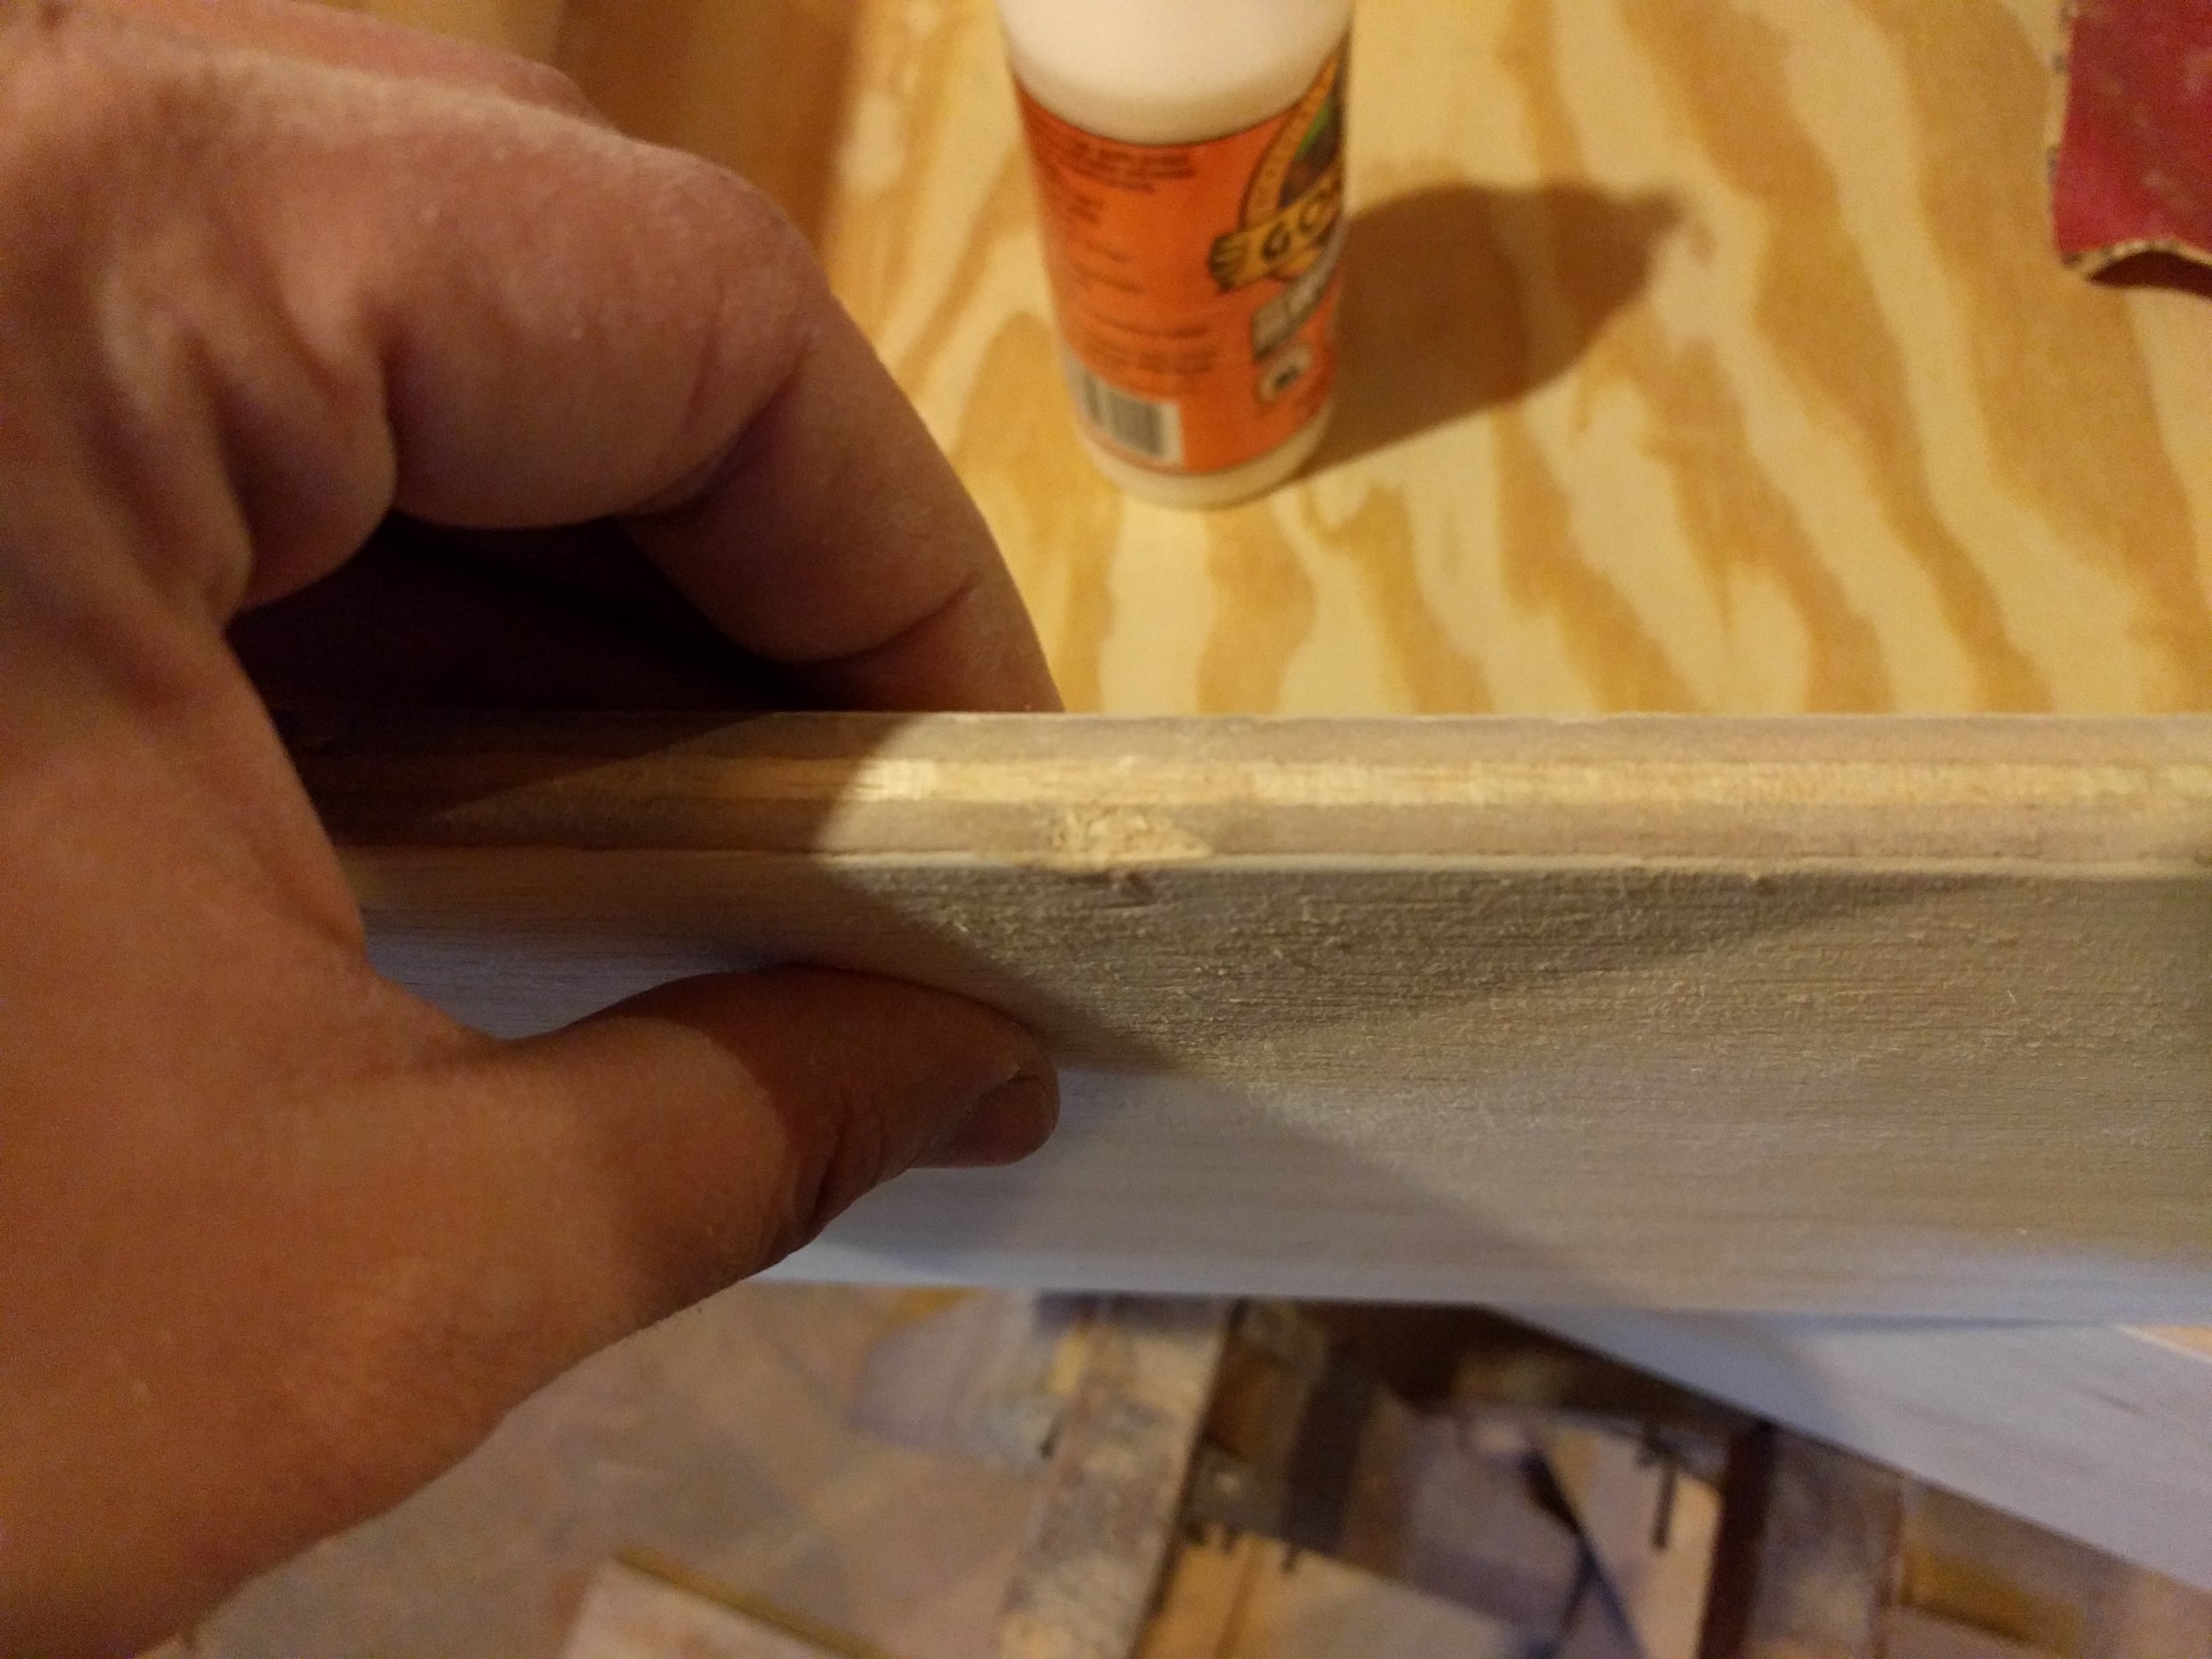
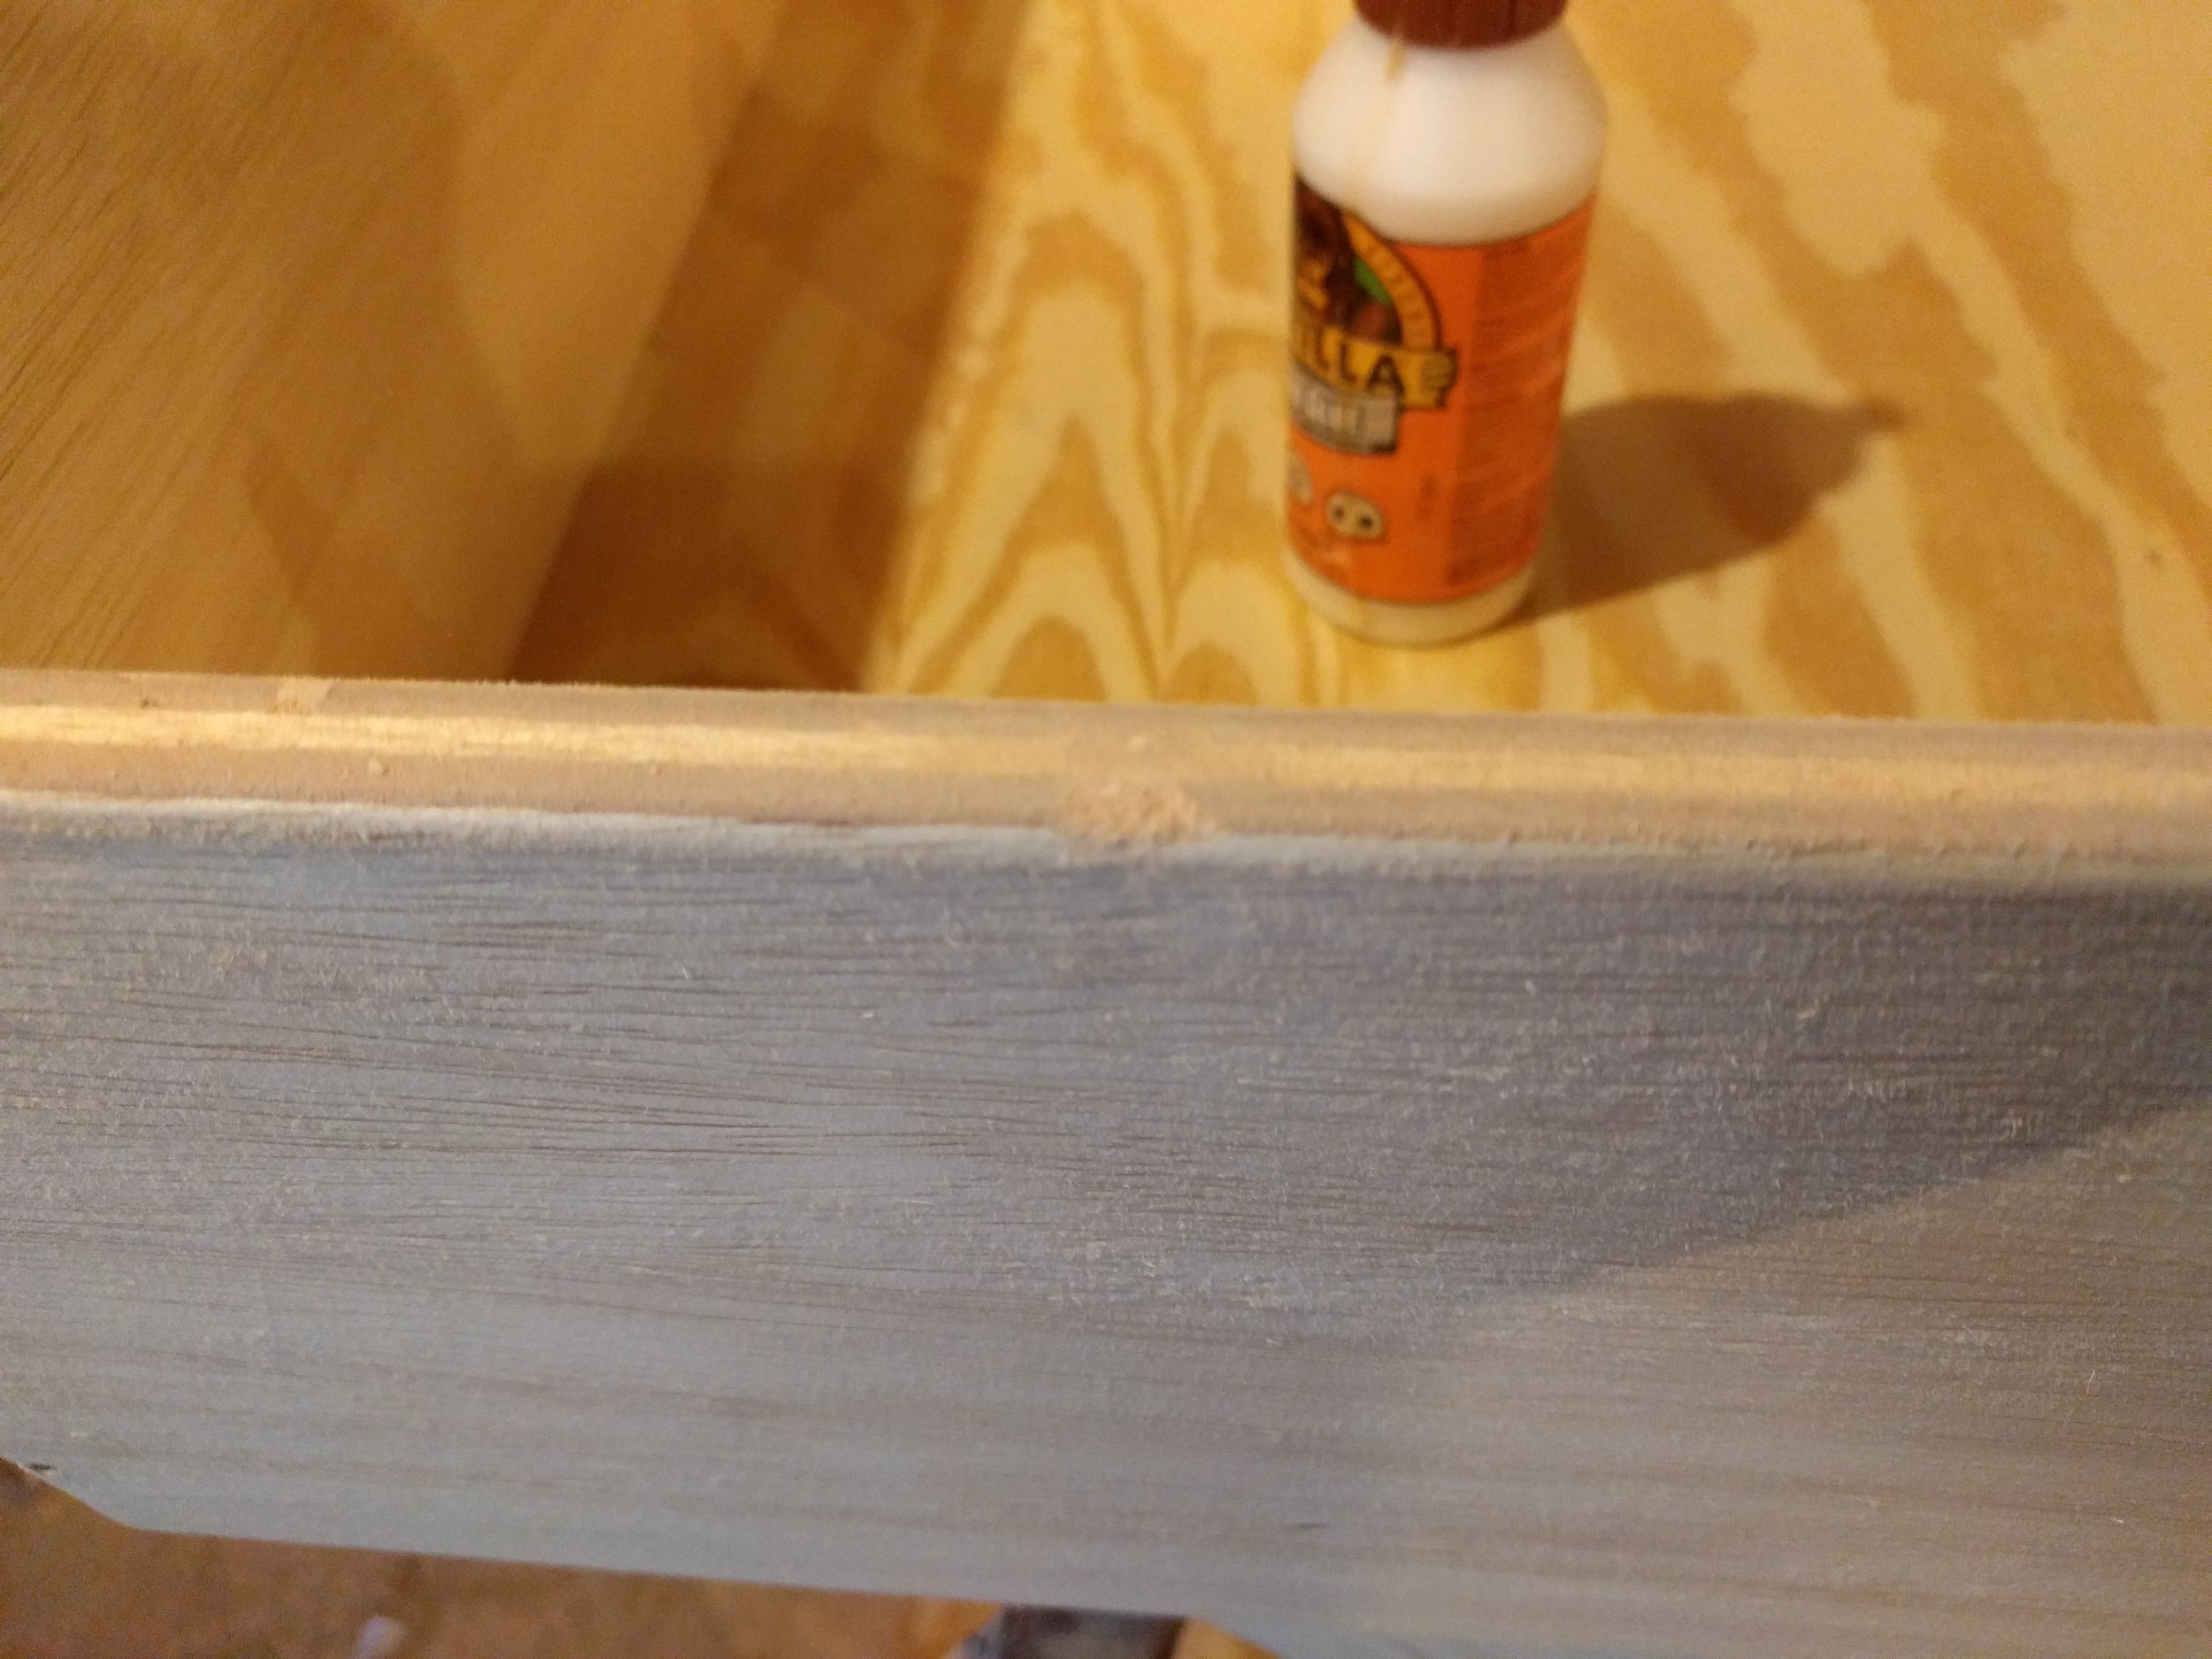
Now, I know what you're thinking. That raw plywood edge looks pretty rough. Are we really going to have to look at a raw plywood edge every time we open the drawer?
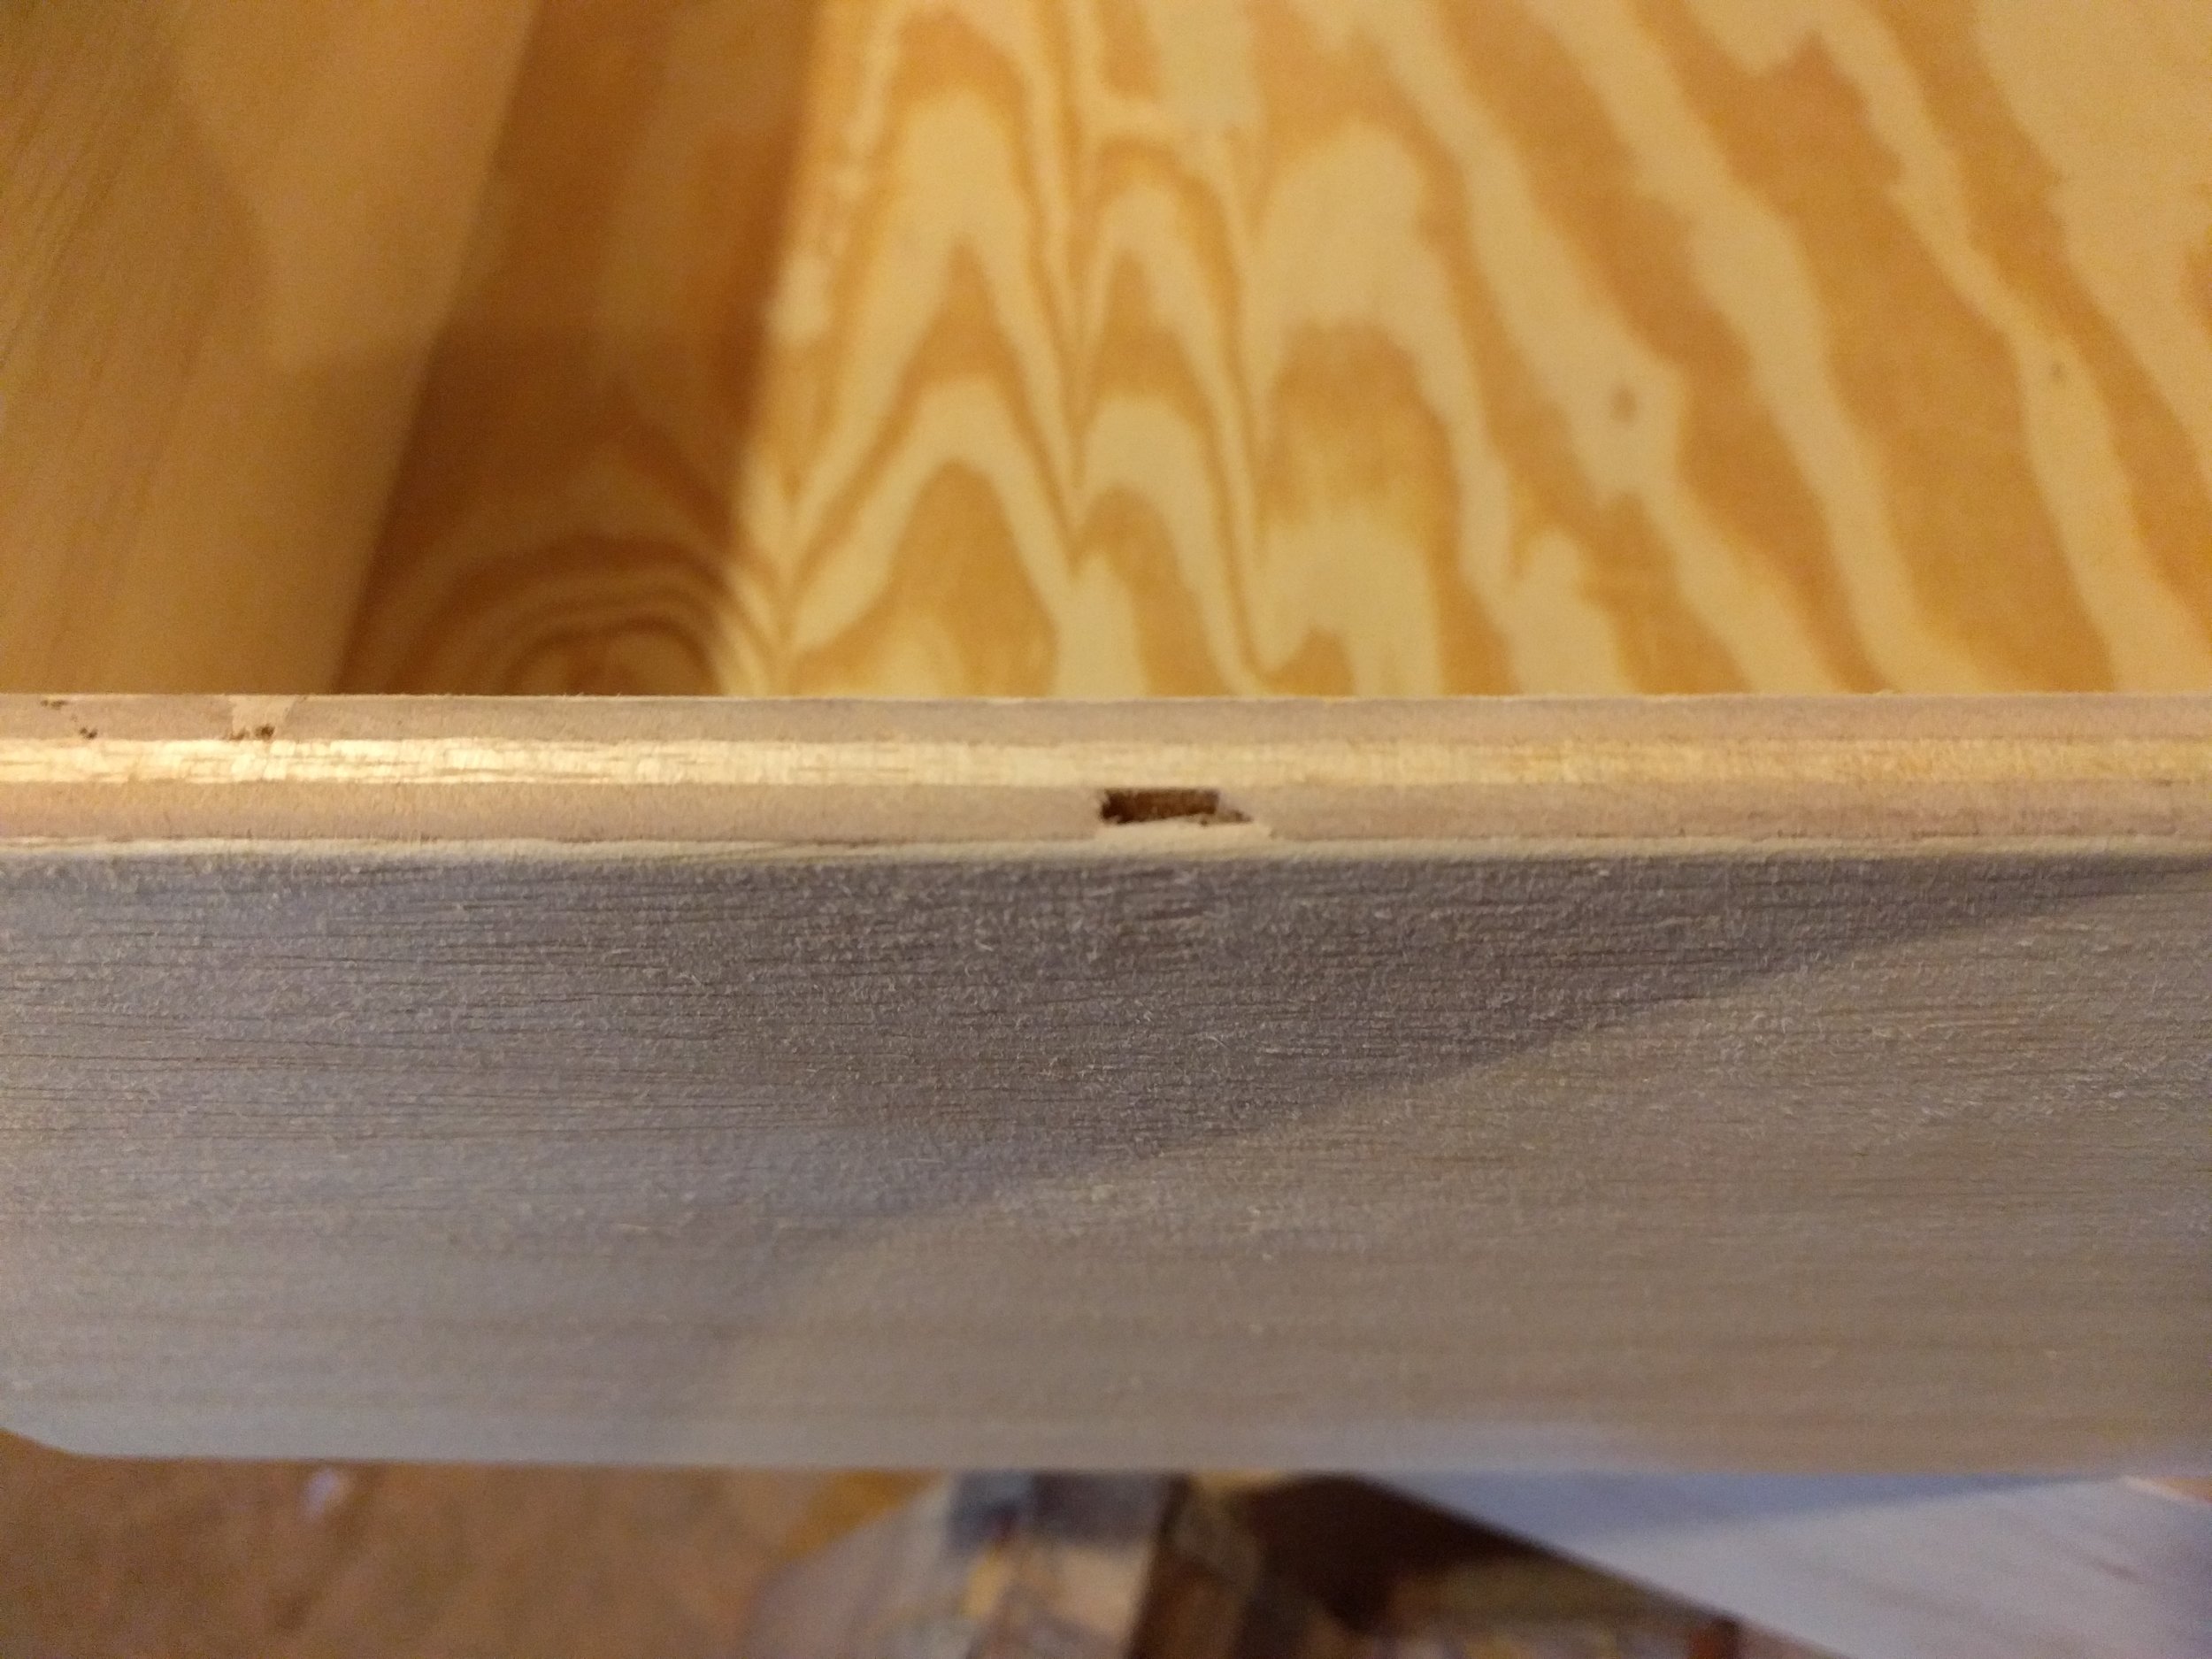
Yes. But you can vastly improve the look with a little touch-up. First, sand the raw edges with 100 or 150 grit sandpaper. This would be a good time to wear those gloves and save your hands from splinters. Just a few minutes with sandpaper will drastically improve the look and feel of your drawers.
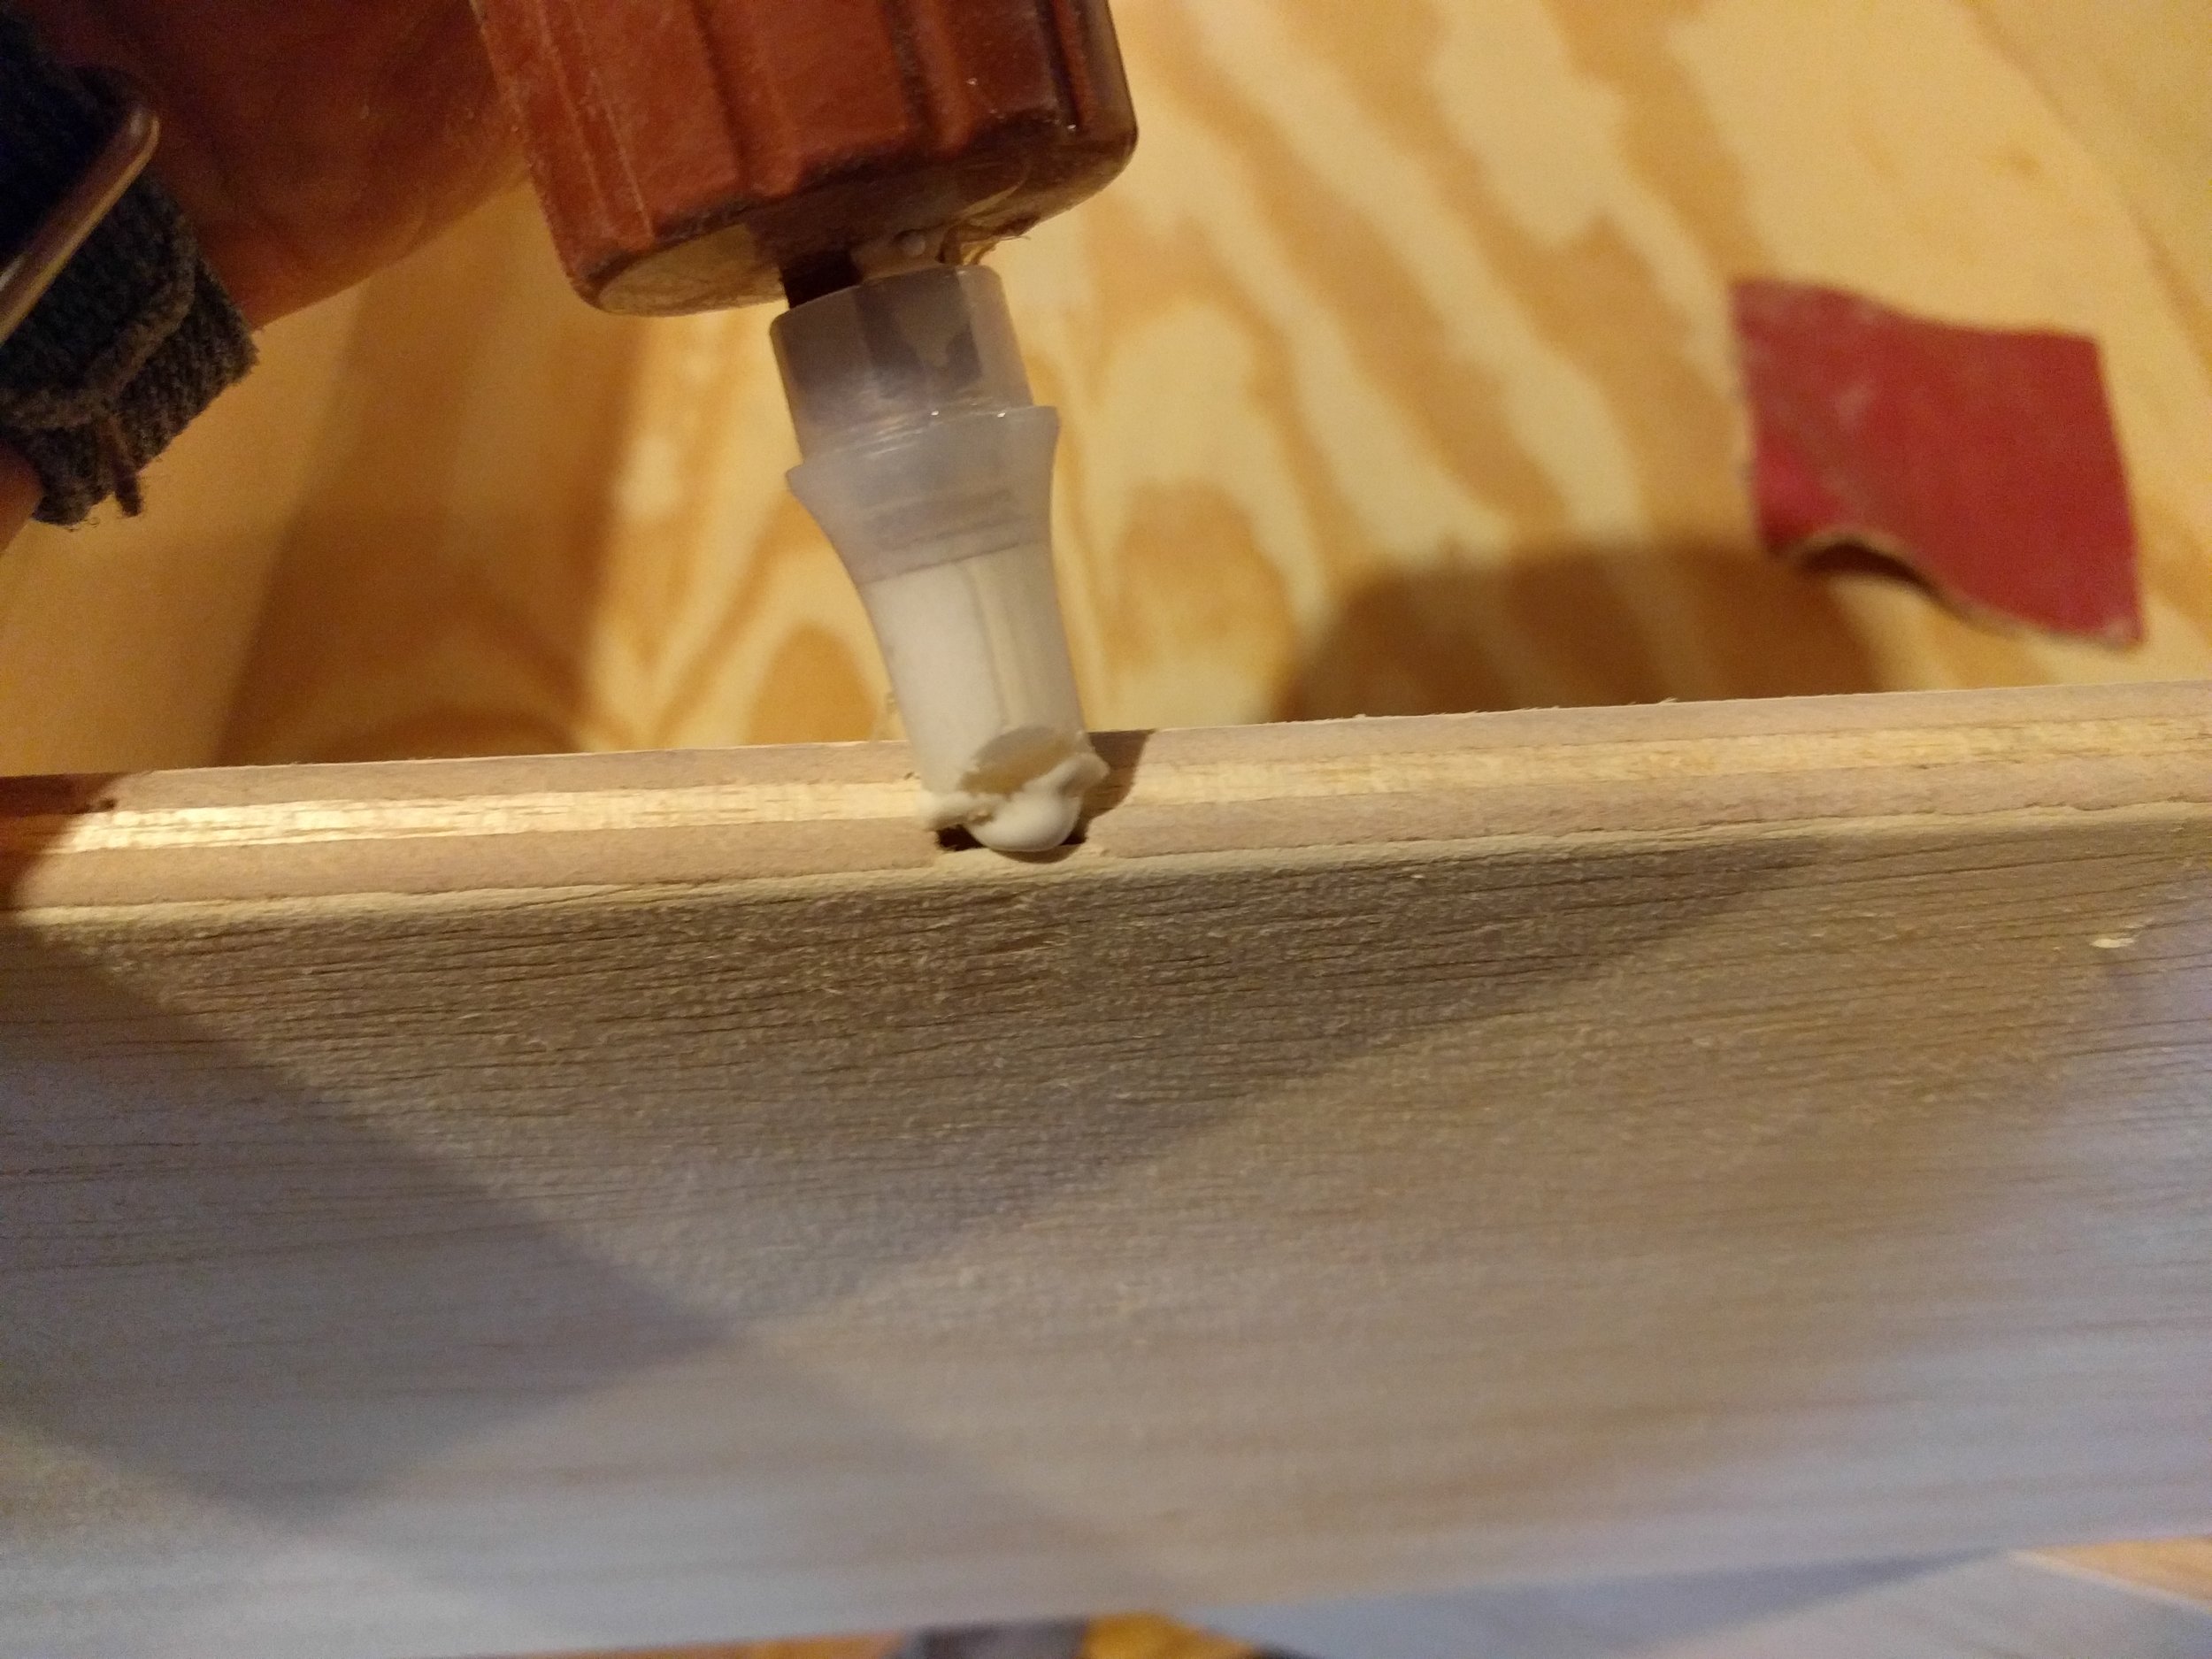
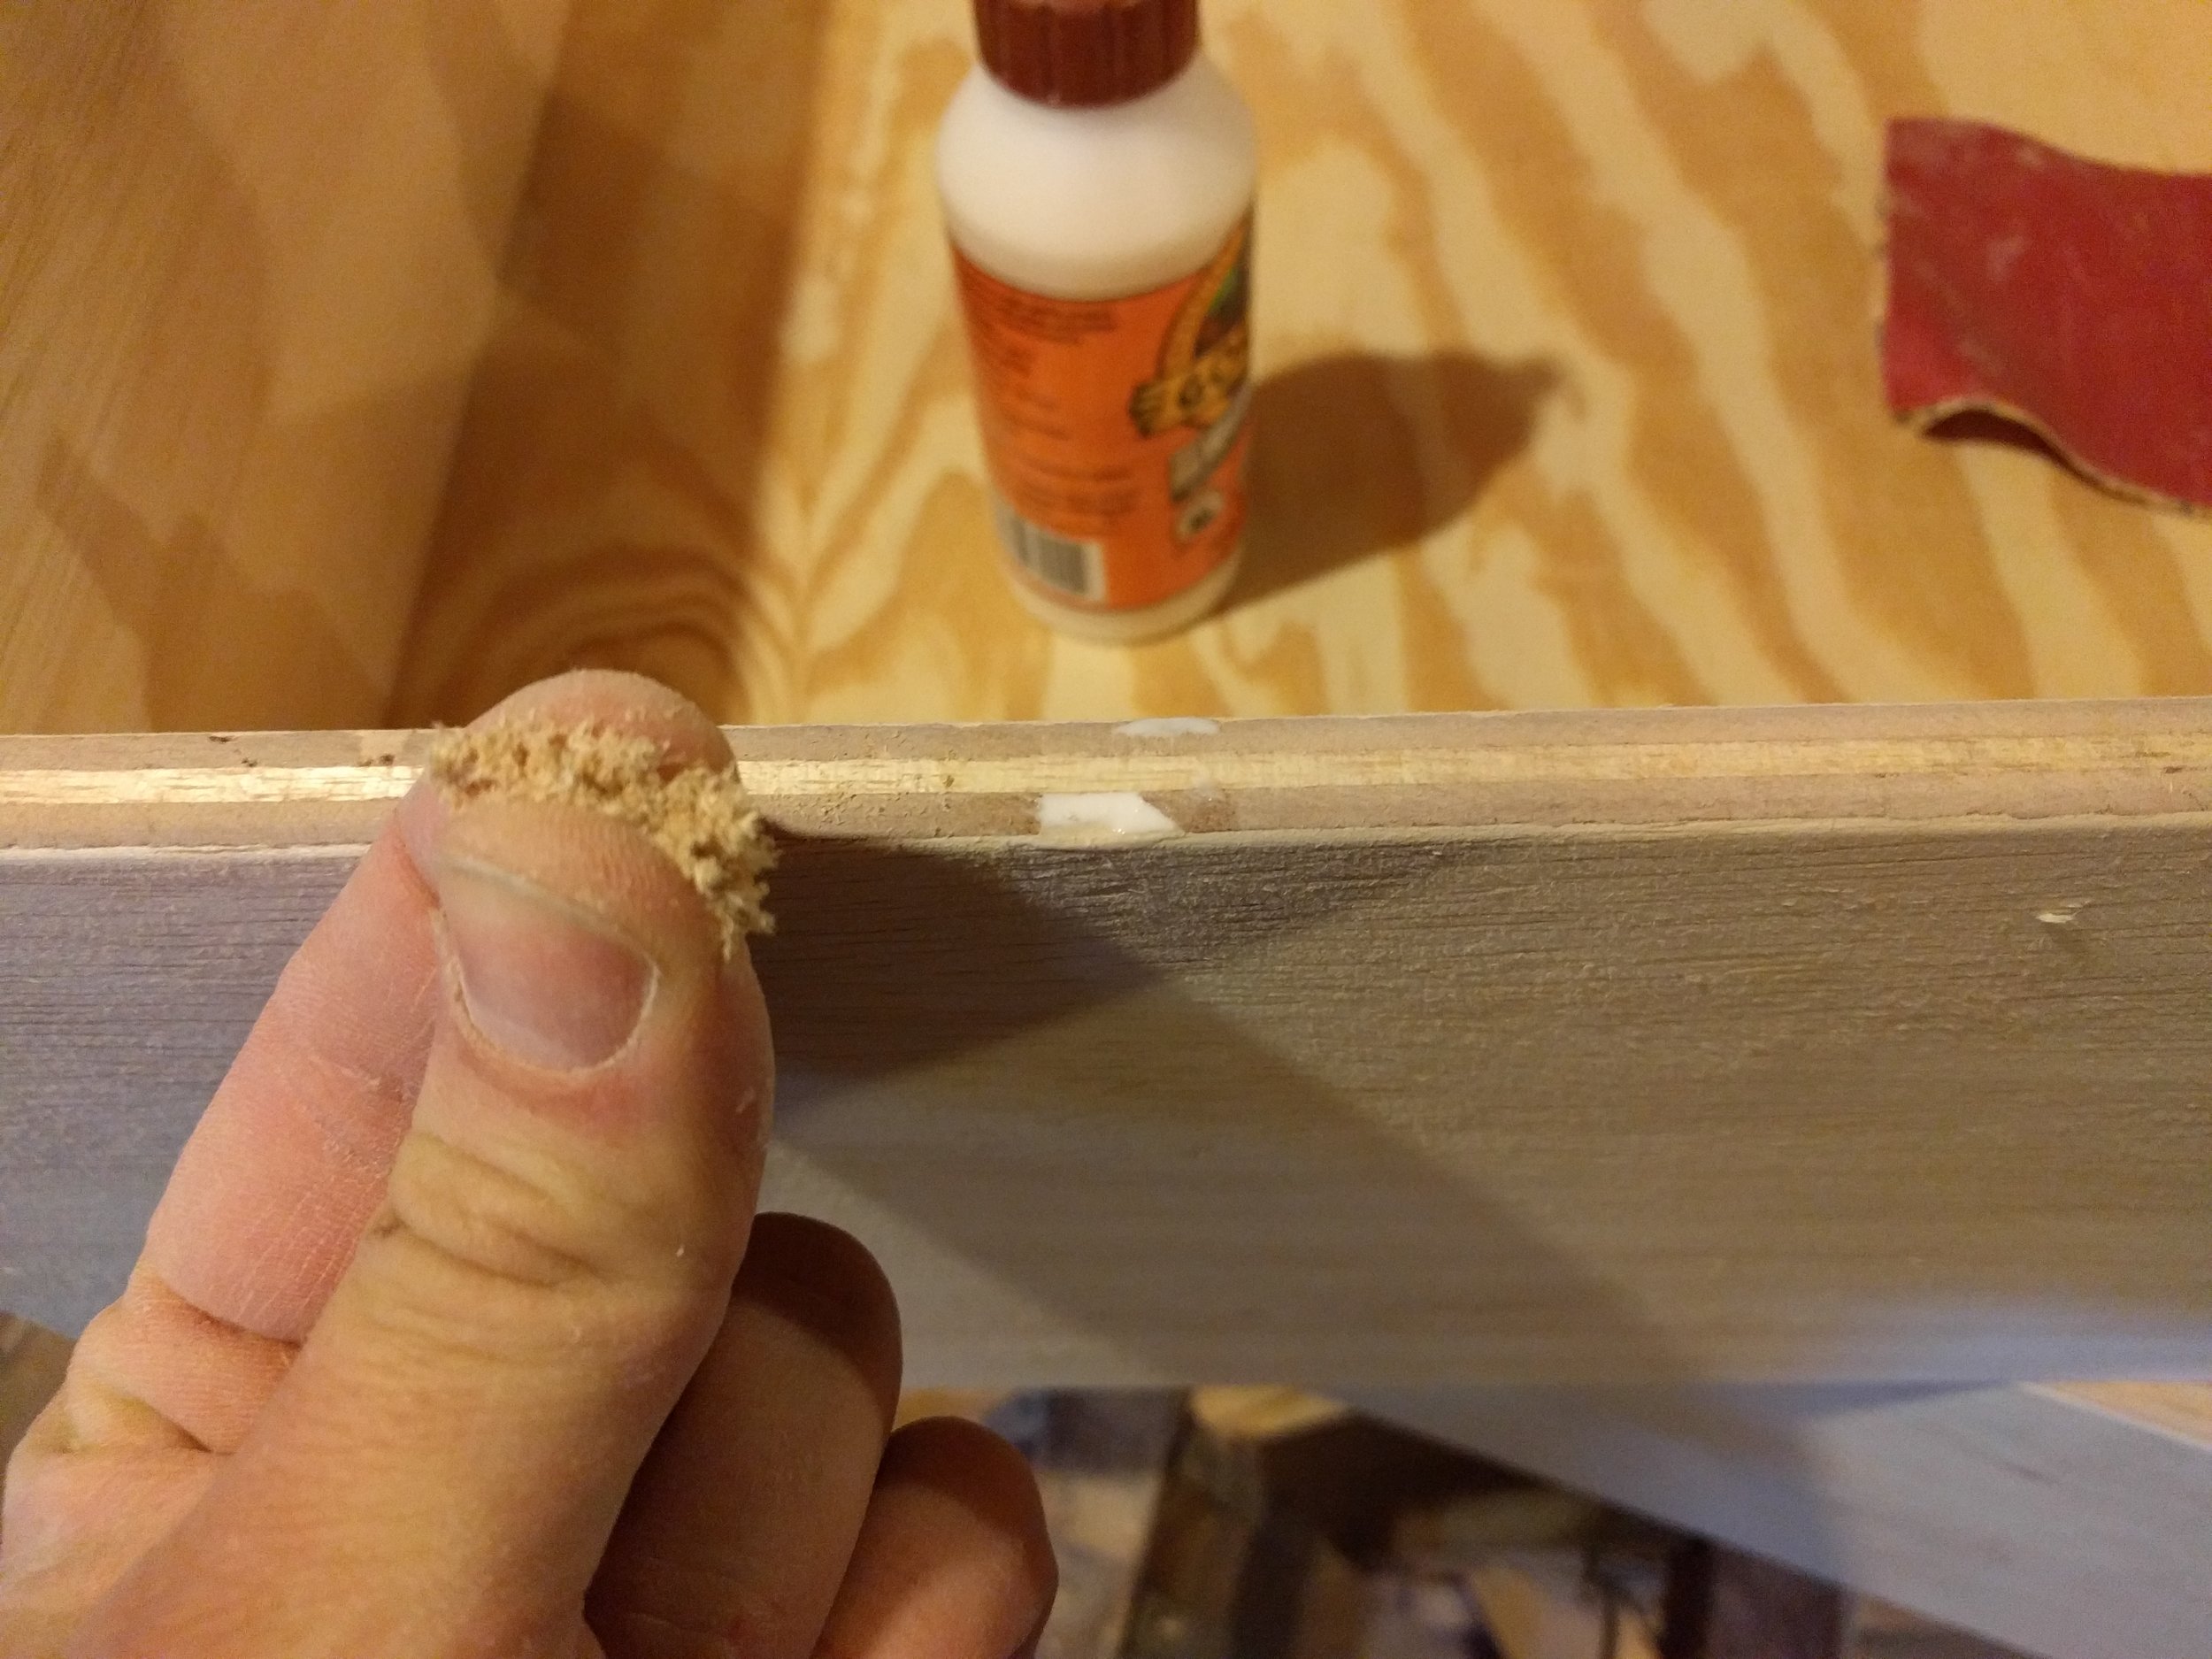
Next, if you have any voids in the plywood showing, you can make them virtually disappear with a little glue and sawdust. Apply some glue to the void, then shove some sawdust in there, then more glue, then more sawdust. Keep going until you have a fairly solid surface. Then, go over it with sandpaper to smooth it out. Finally, smear a layer of glue over the area, and gently sand around its edges, creating a fine sawdust to coat and smooth the area. Once the glue dries, you'll forget the void was there.

That's all there is to it. Once I make my decorative drawer front, I attach it to the drawer from the inside with cabinet screws.
This is also the same method we used to make our sliding pantry shelf system. We're basically just making a stacked drawer, with multiple dadoes cut in the front and back face of the drawer. If you end up cutting across the grain, it helps to put a strip of masking tape on the wood before you cut, which will help prevent tear-out.
