Modifications we made to our 1974 Airstream Overlander to turn it into a four season trailer for comfortable winter living.
Baby On Board!
Tiny Worm Bin
We've had worm bins before, but none of the commercial or DIY solutions were a good fit for our space. We needed something small. Really small. Our house is under 200 square feet.
In addition to being tiny, our bin has to:
- Hold enough scraps and worms to keep up with our usage
- Provide lots of air circulation and good drainage to keep the worms happy
- Keep the worms in the bin, keep fruit flies out of the bin (or if they get in, keep them in)
Some of these links are "affiliate links." If you decide to buy something based on our recommendation, it would be nice if you used the direct link from this page so that we can make a small commission for referring you (which doesn't cost you anything extra).
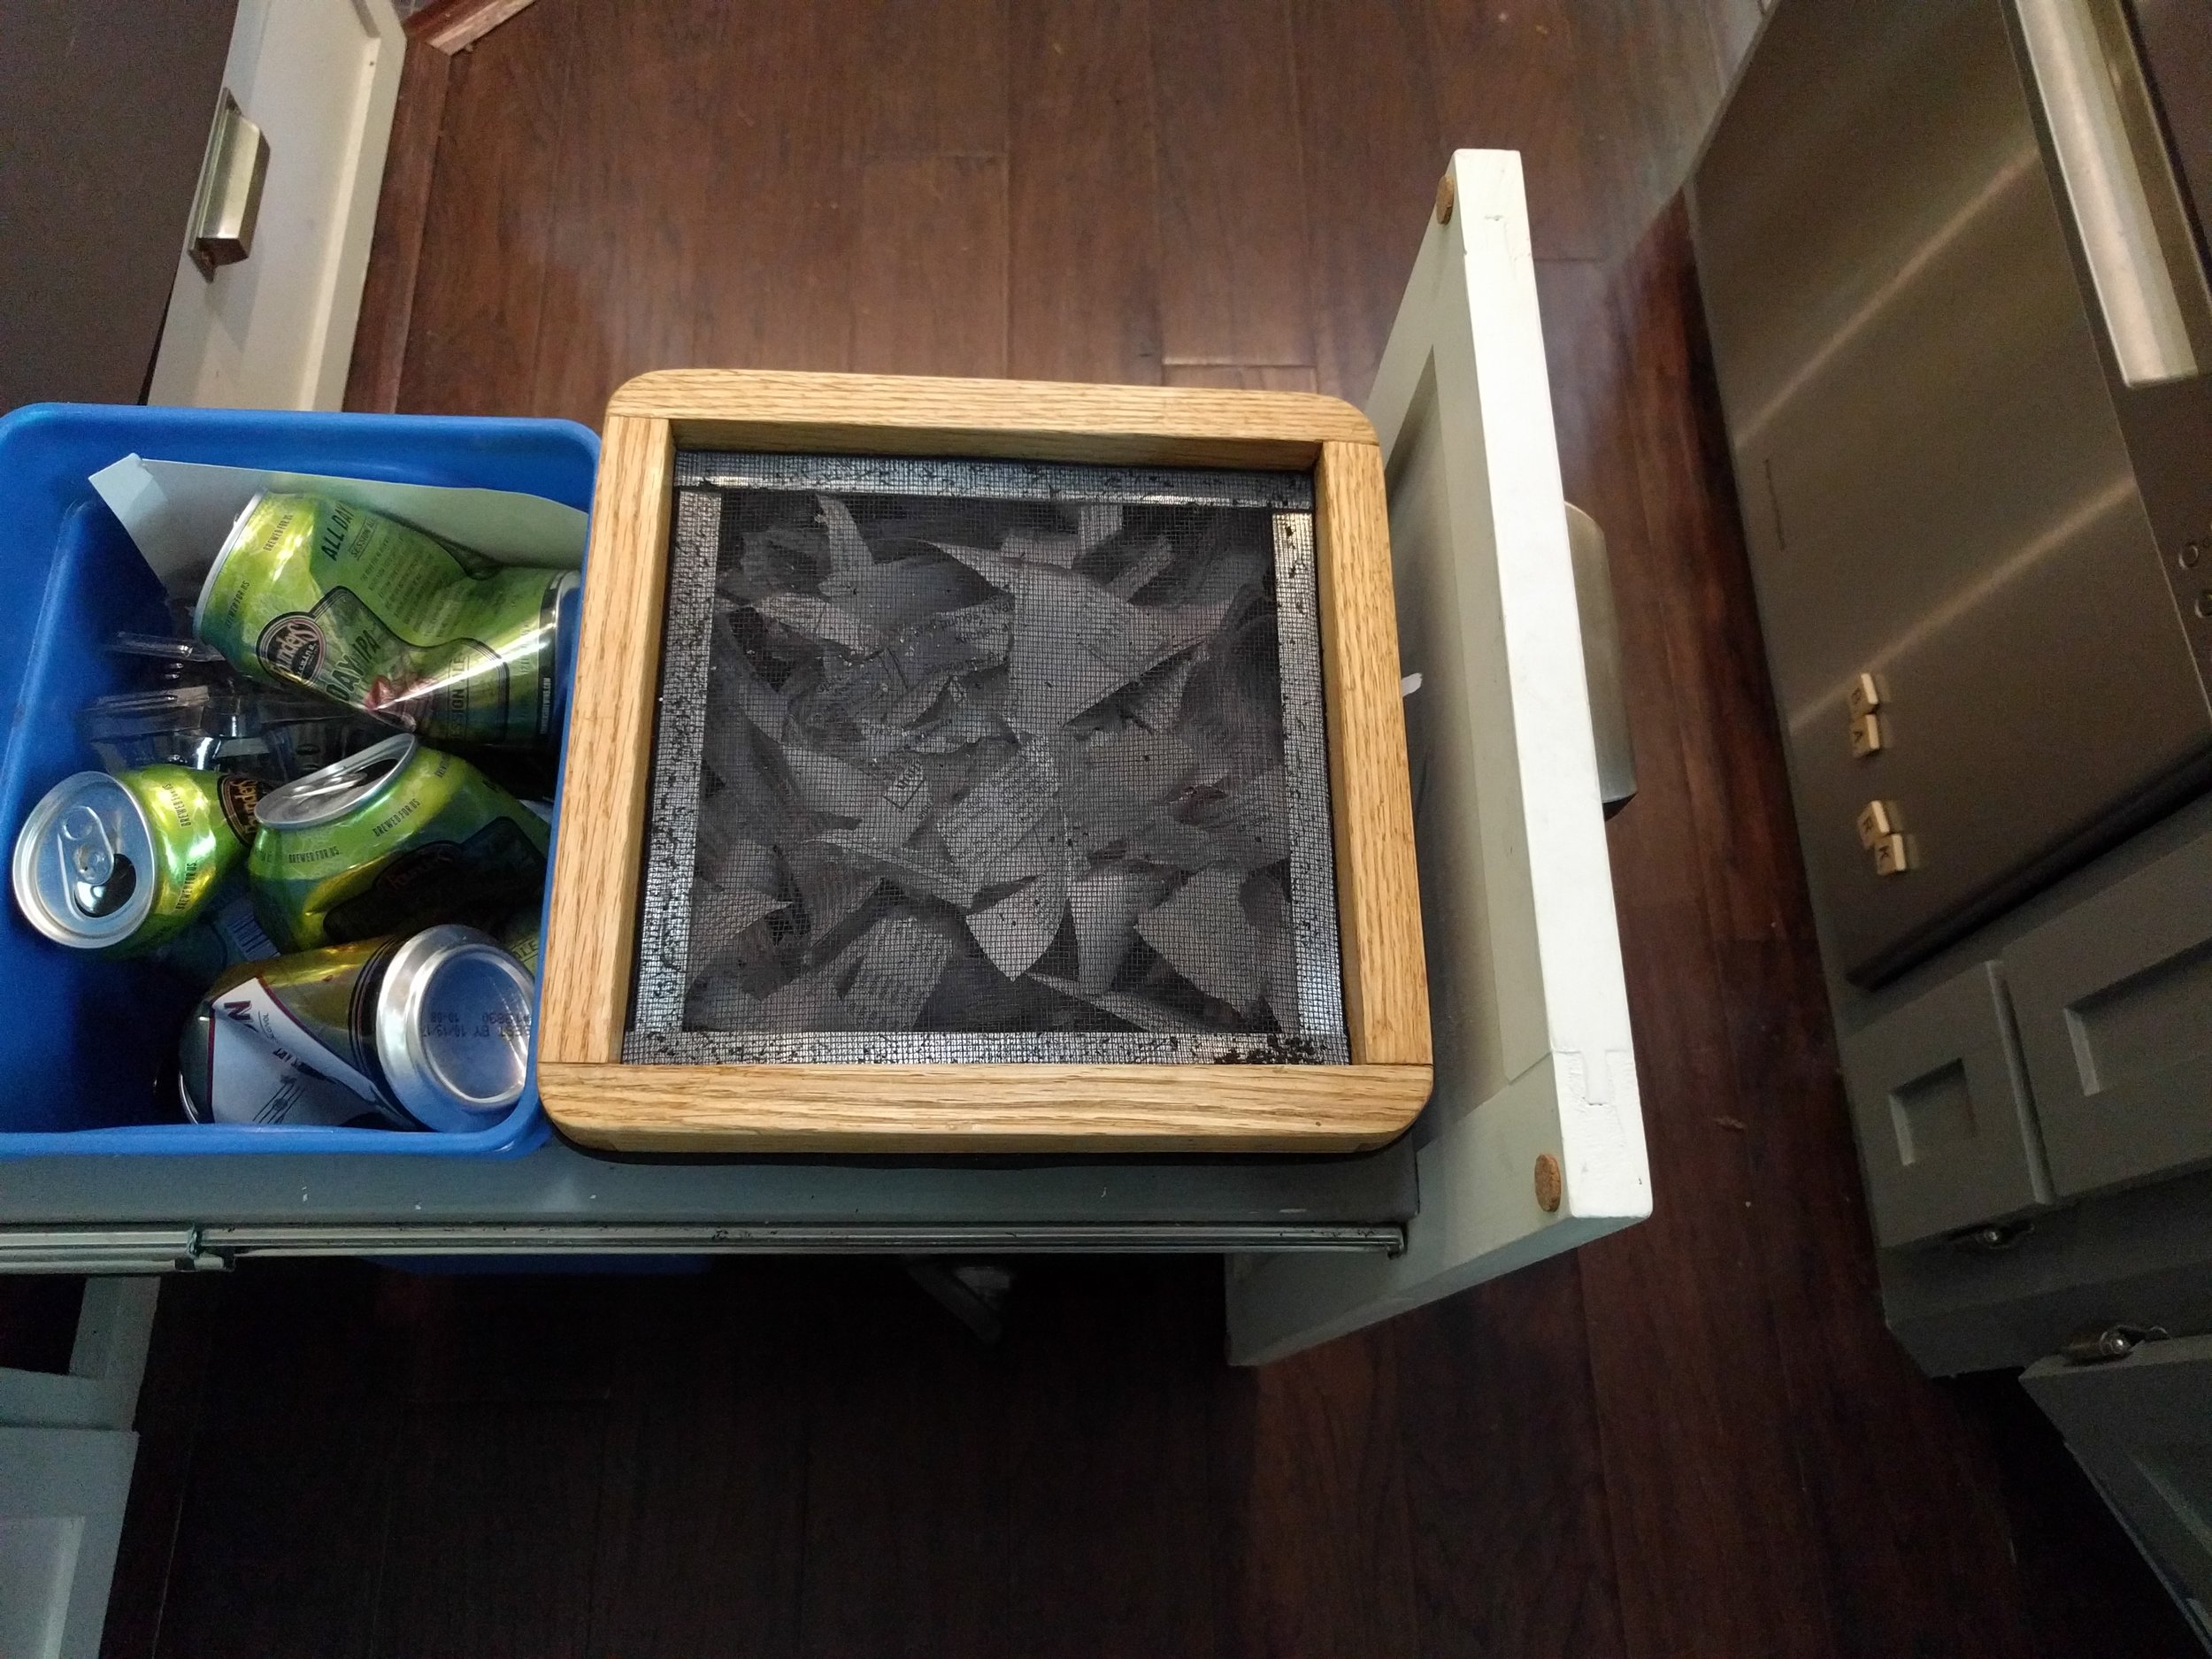
I built a trash/recycling drawer under the pantry, and I had just enough depth for an extra trash can to use as a worm bin. We found the perfect sized bins in a SimpleHuman trash/recycling system. I didn't actually buy the system from SimpleHuman, which retails for $80 on Amazon. I bought replacement bins for 20 bucks a piece, free shipping.
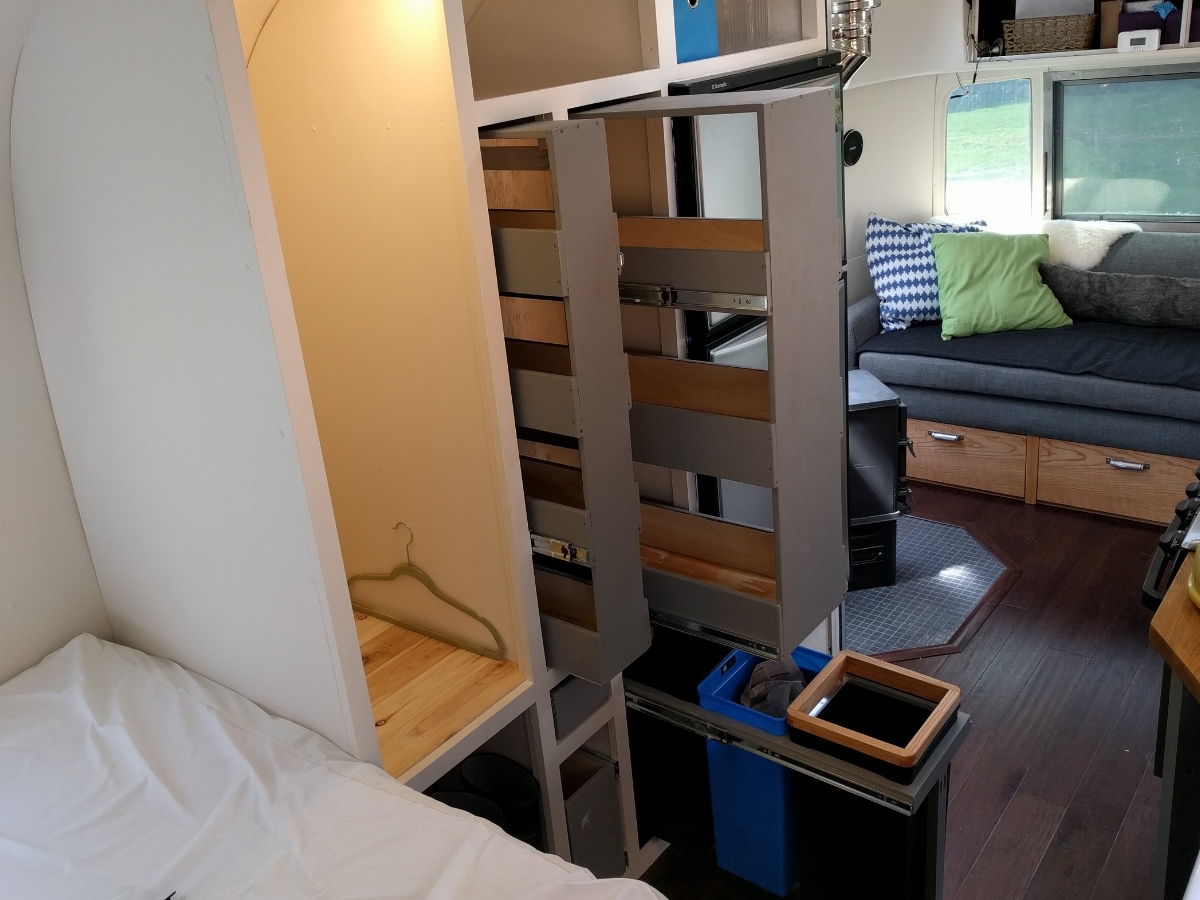
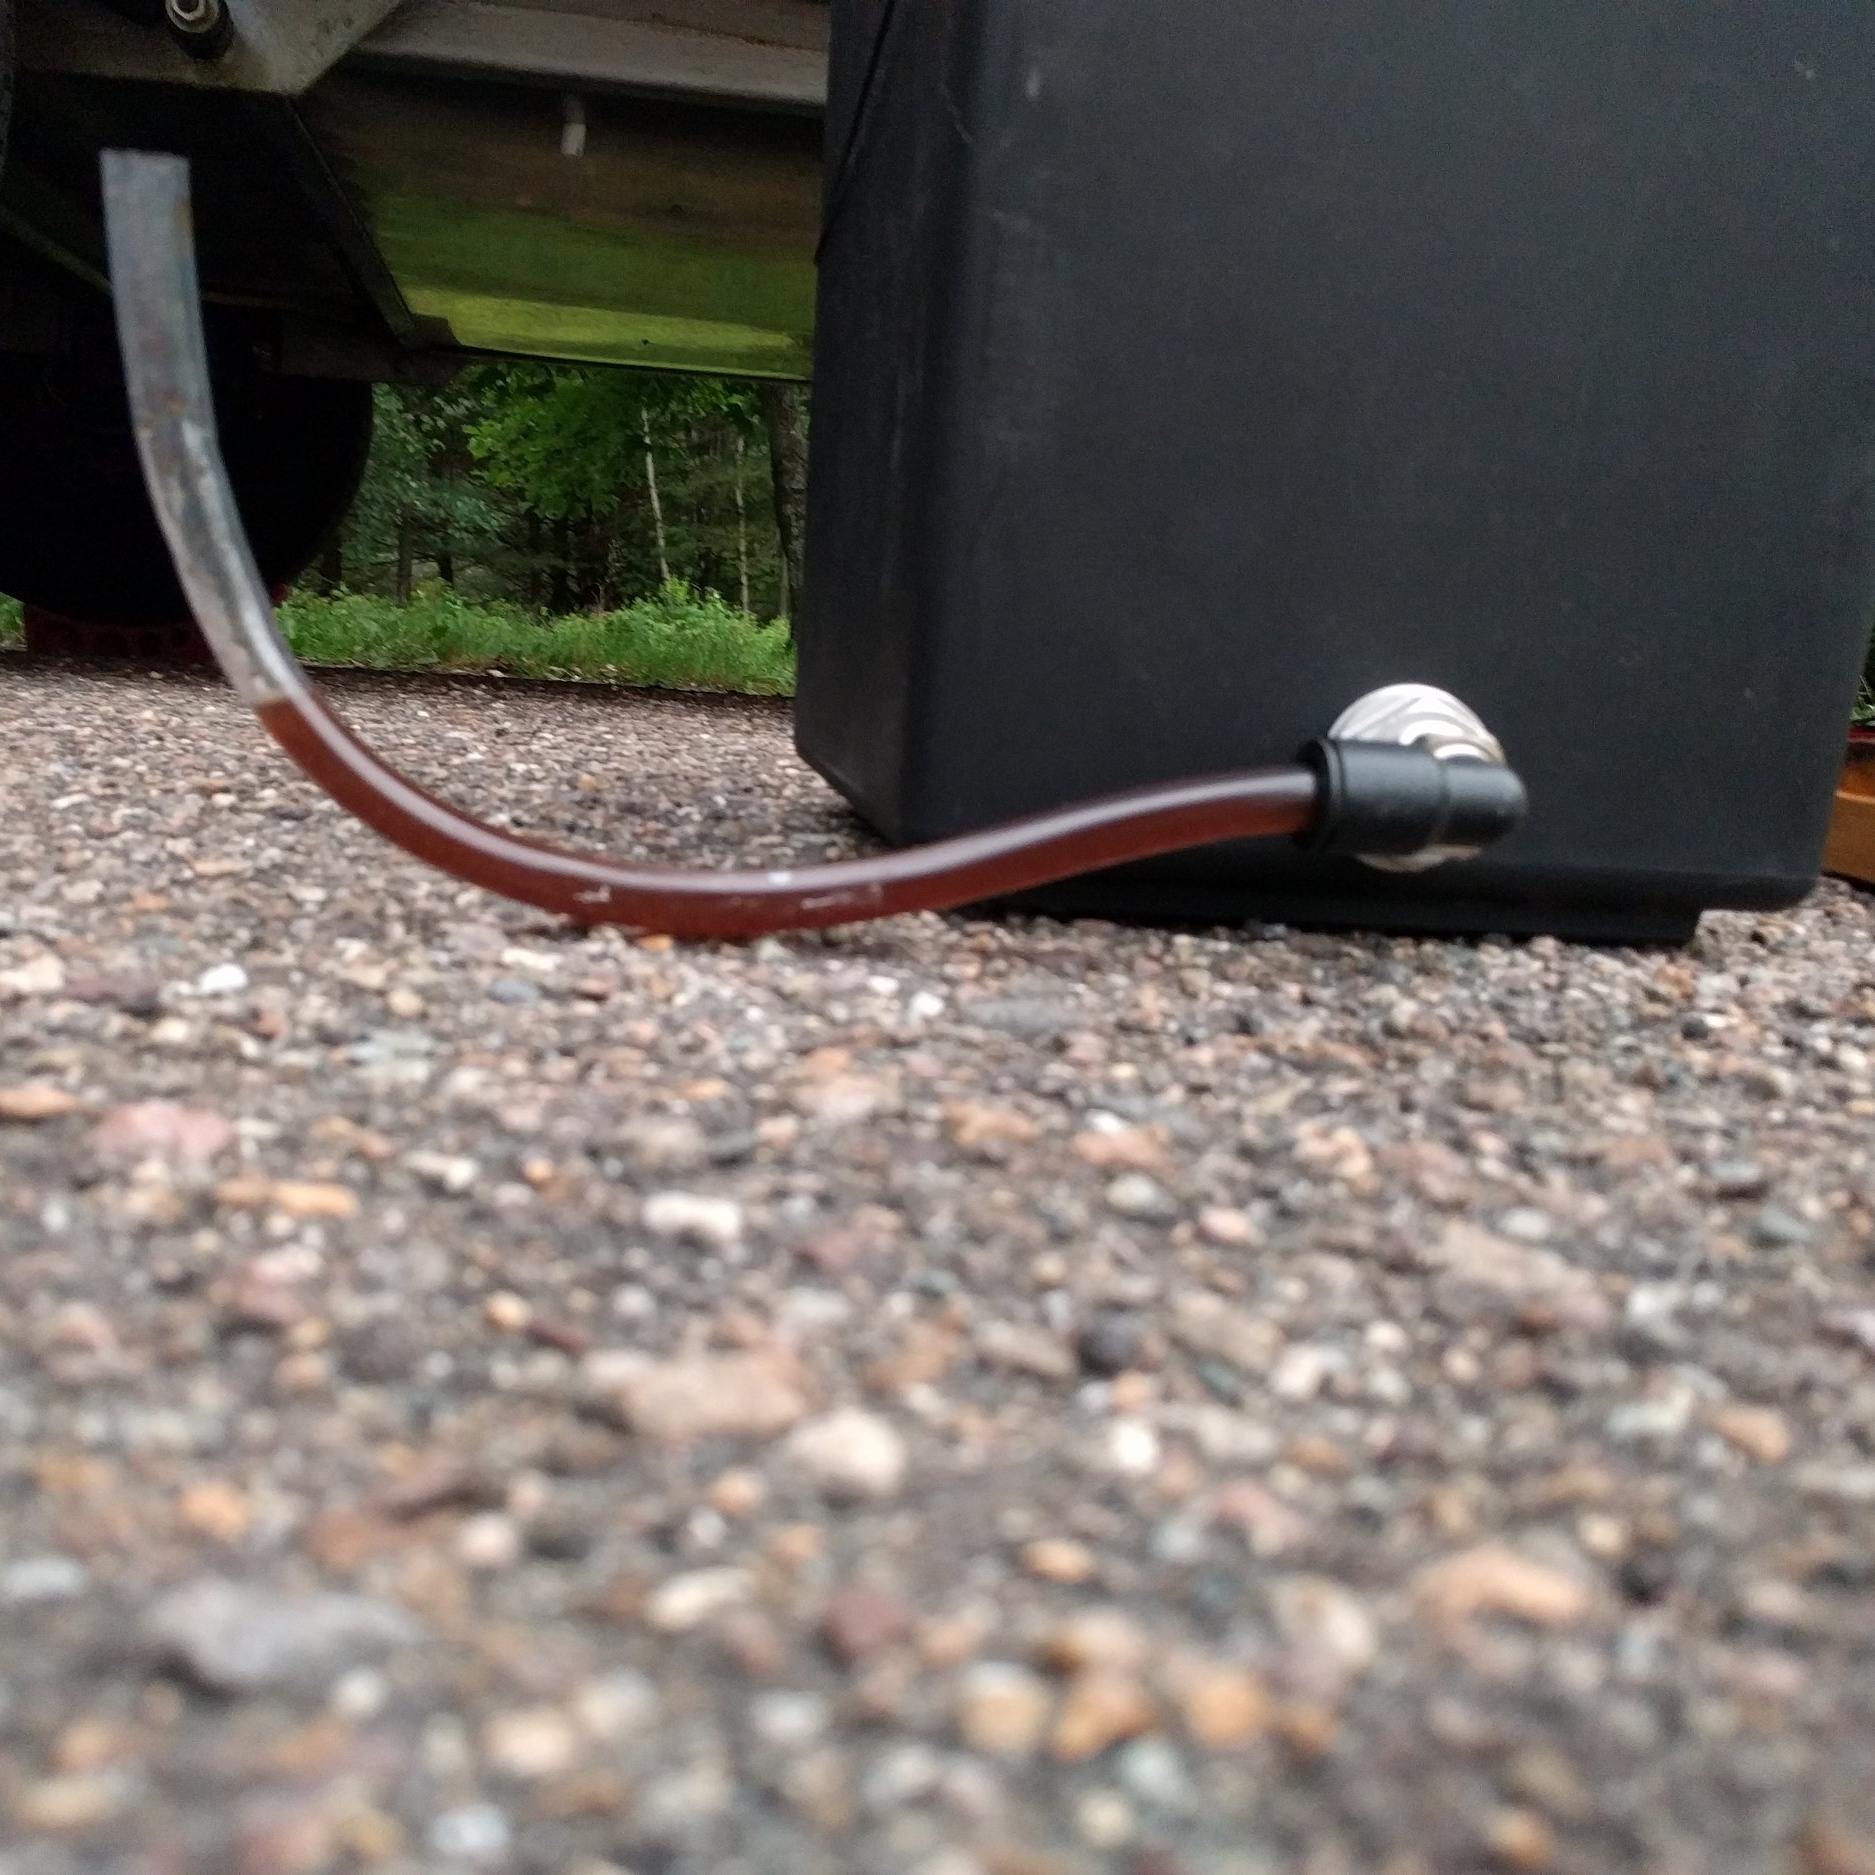
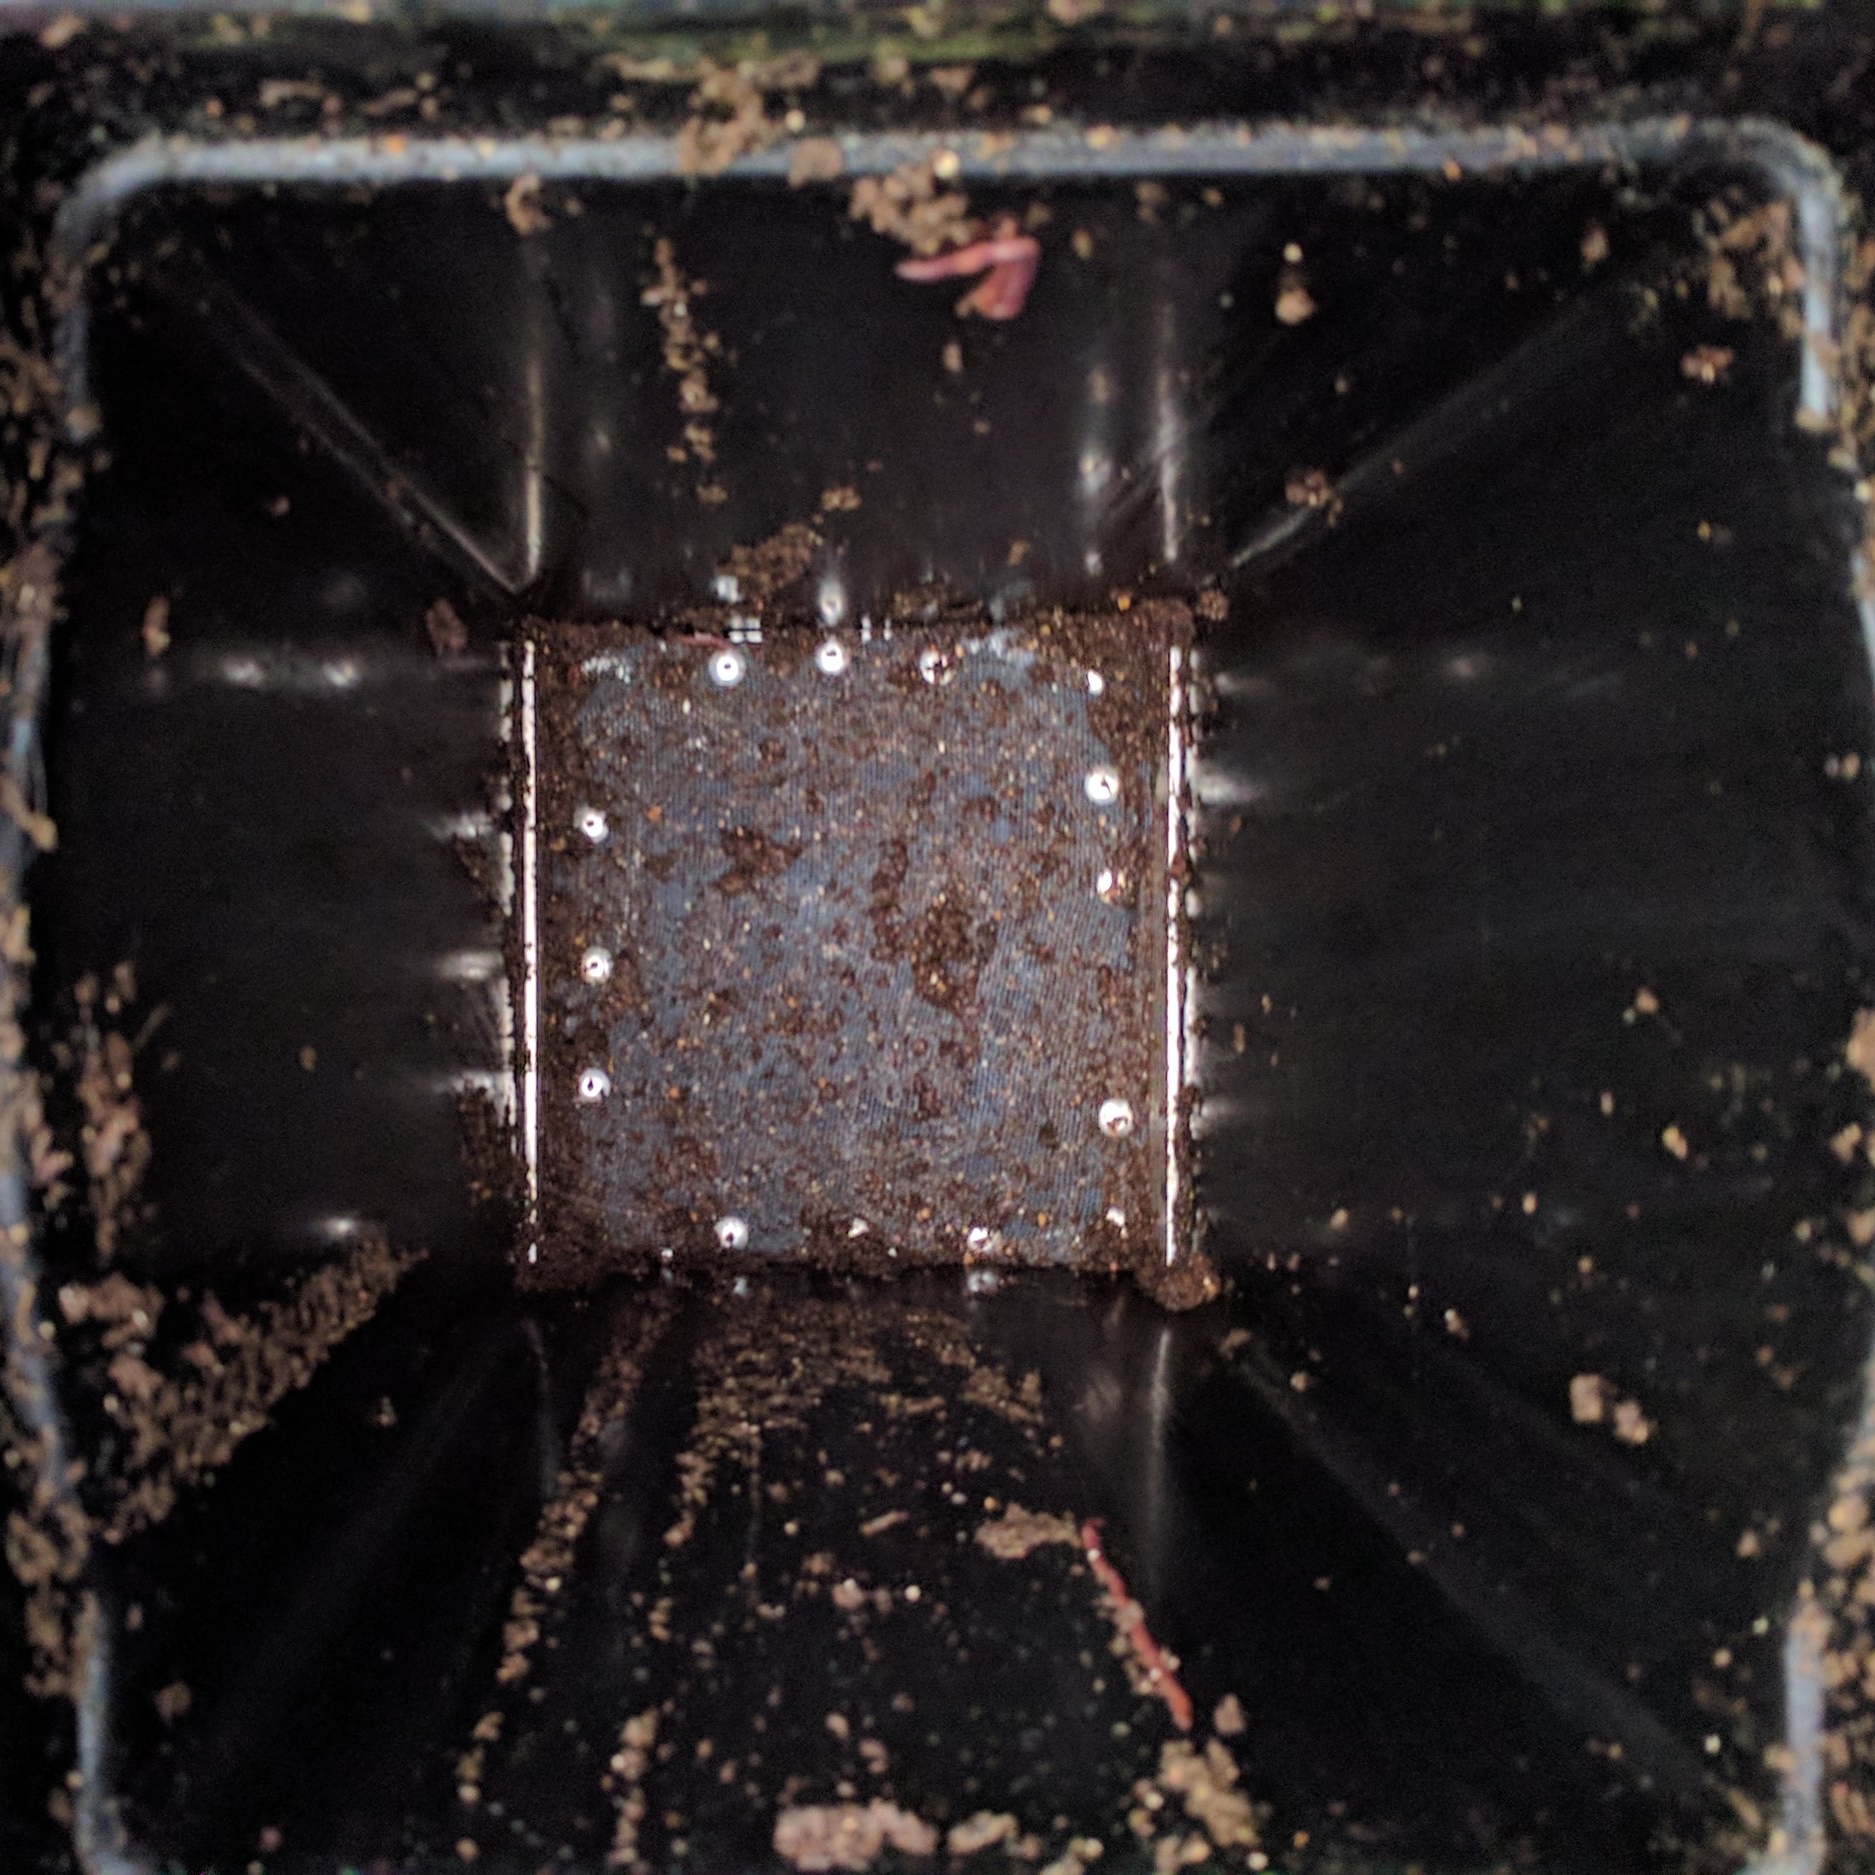
I drilled a hole in the bottom side of the worm bin and installed a bulkhead fitting with a swivel elbow to help drain the water. A piece of 1/2" OD vinyl tubing inserted into the elbow and secured to the side of the bin gives me a sight glass, so I can see if water is accumulating in the bin. I built a false bottom above the drain with some 1-1/2" aluminum angle and some aluminum screen, which filters the worm castings from the water to keep the drain from clogging.
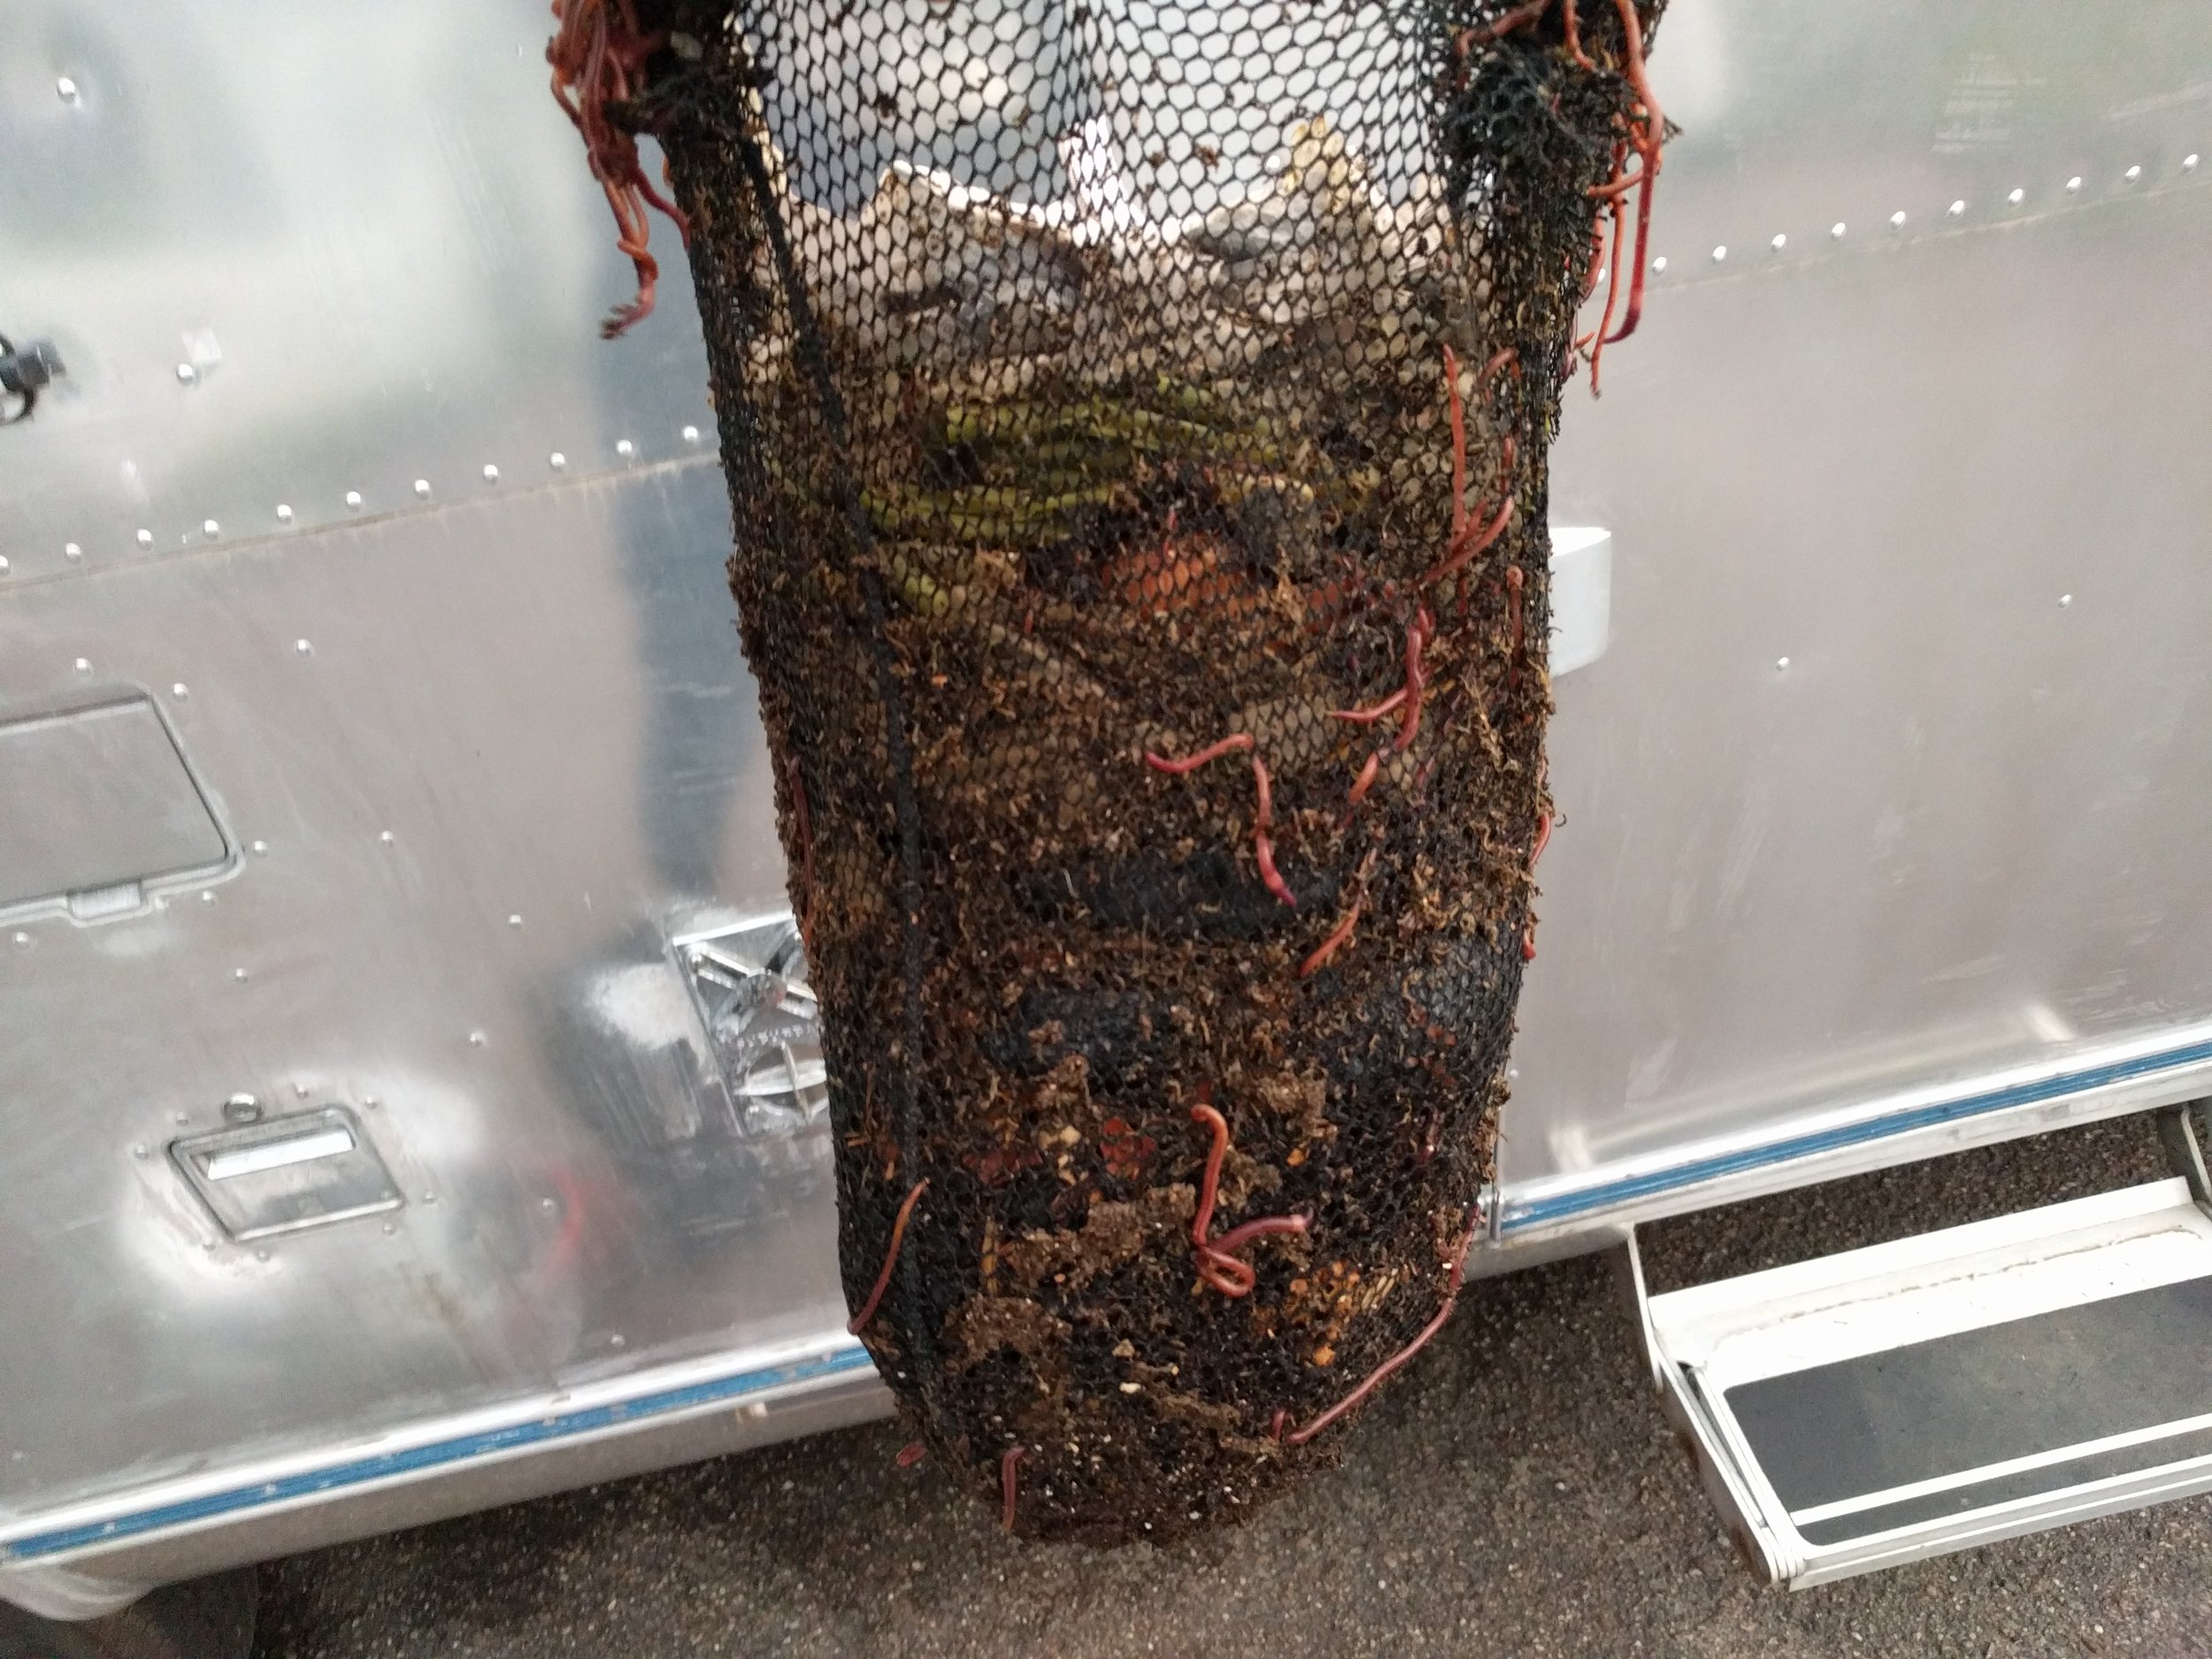
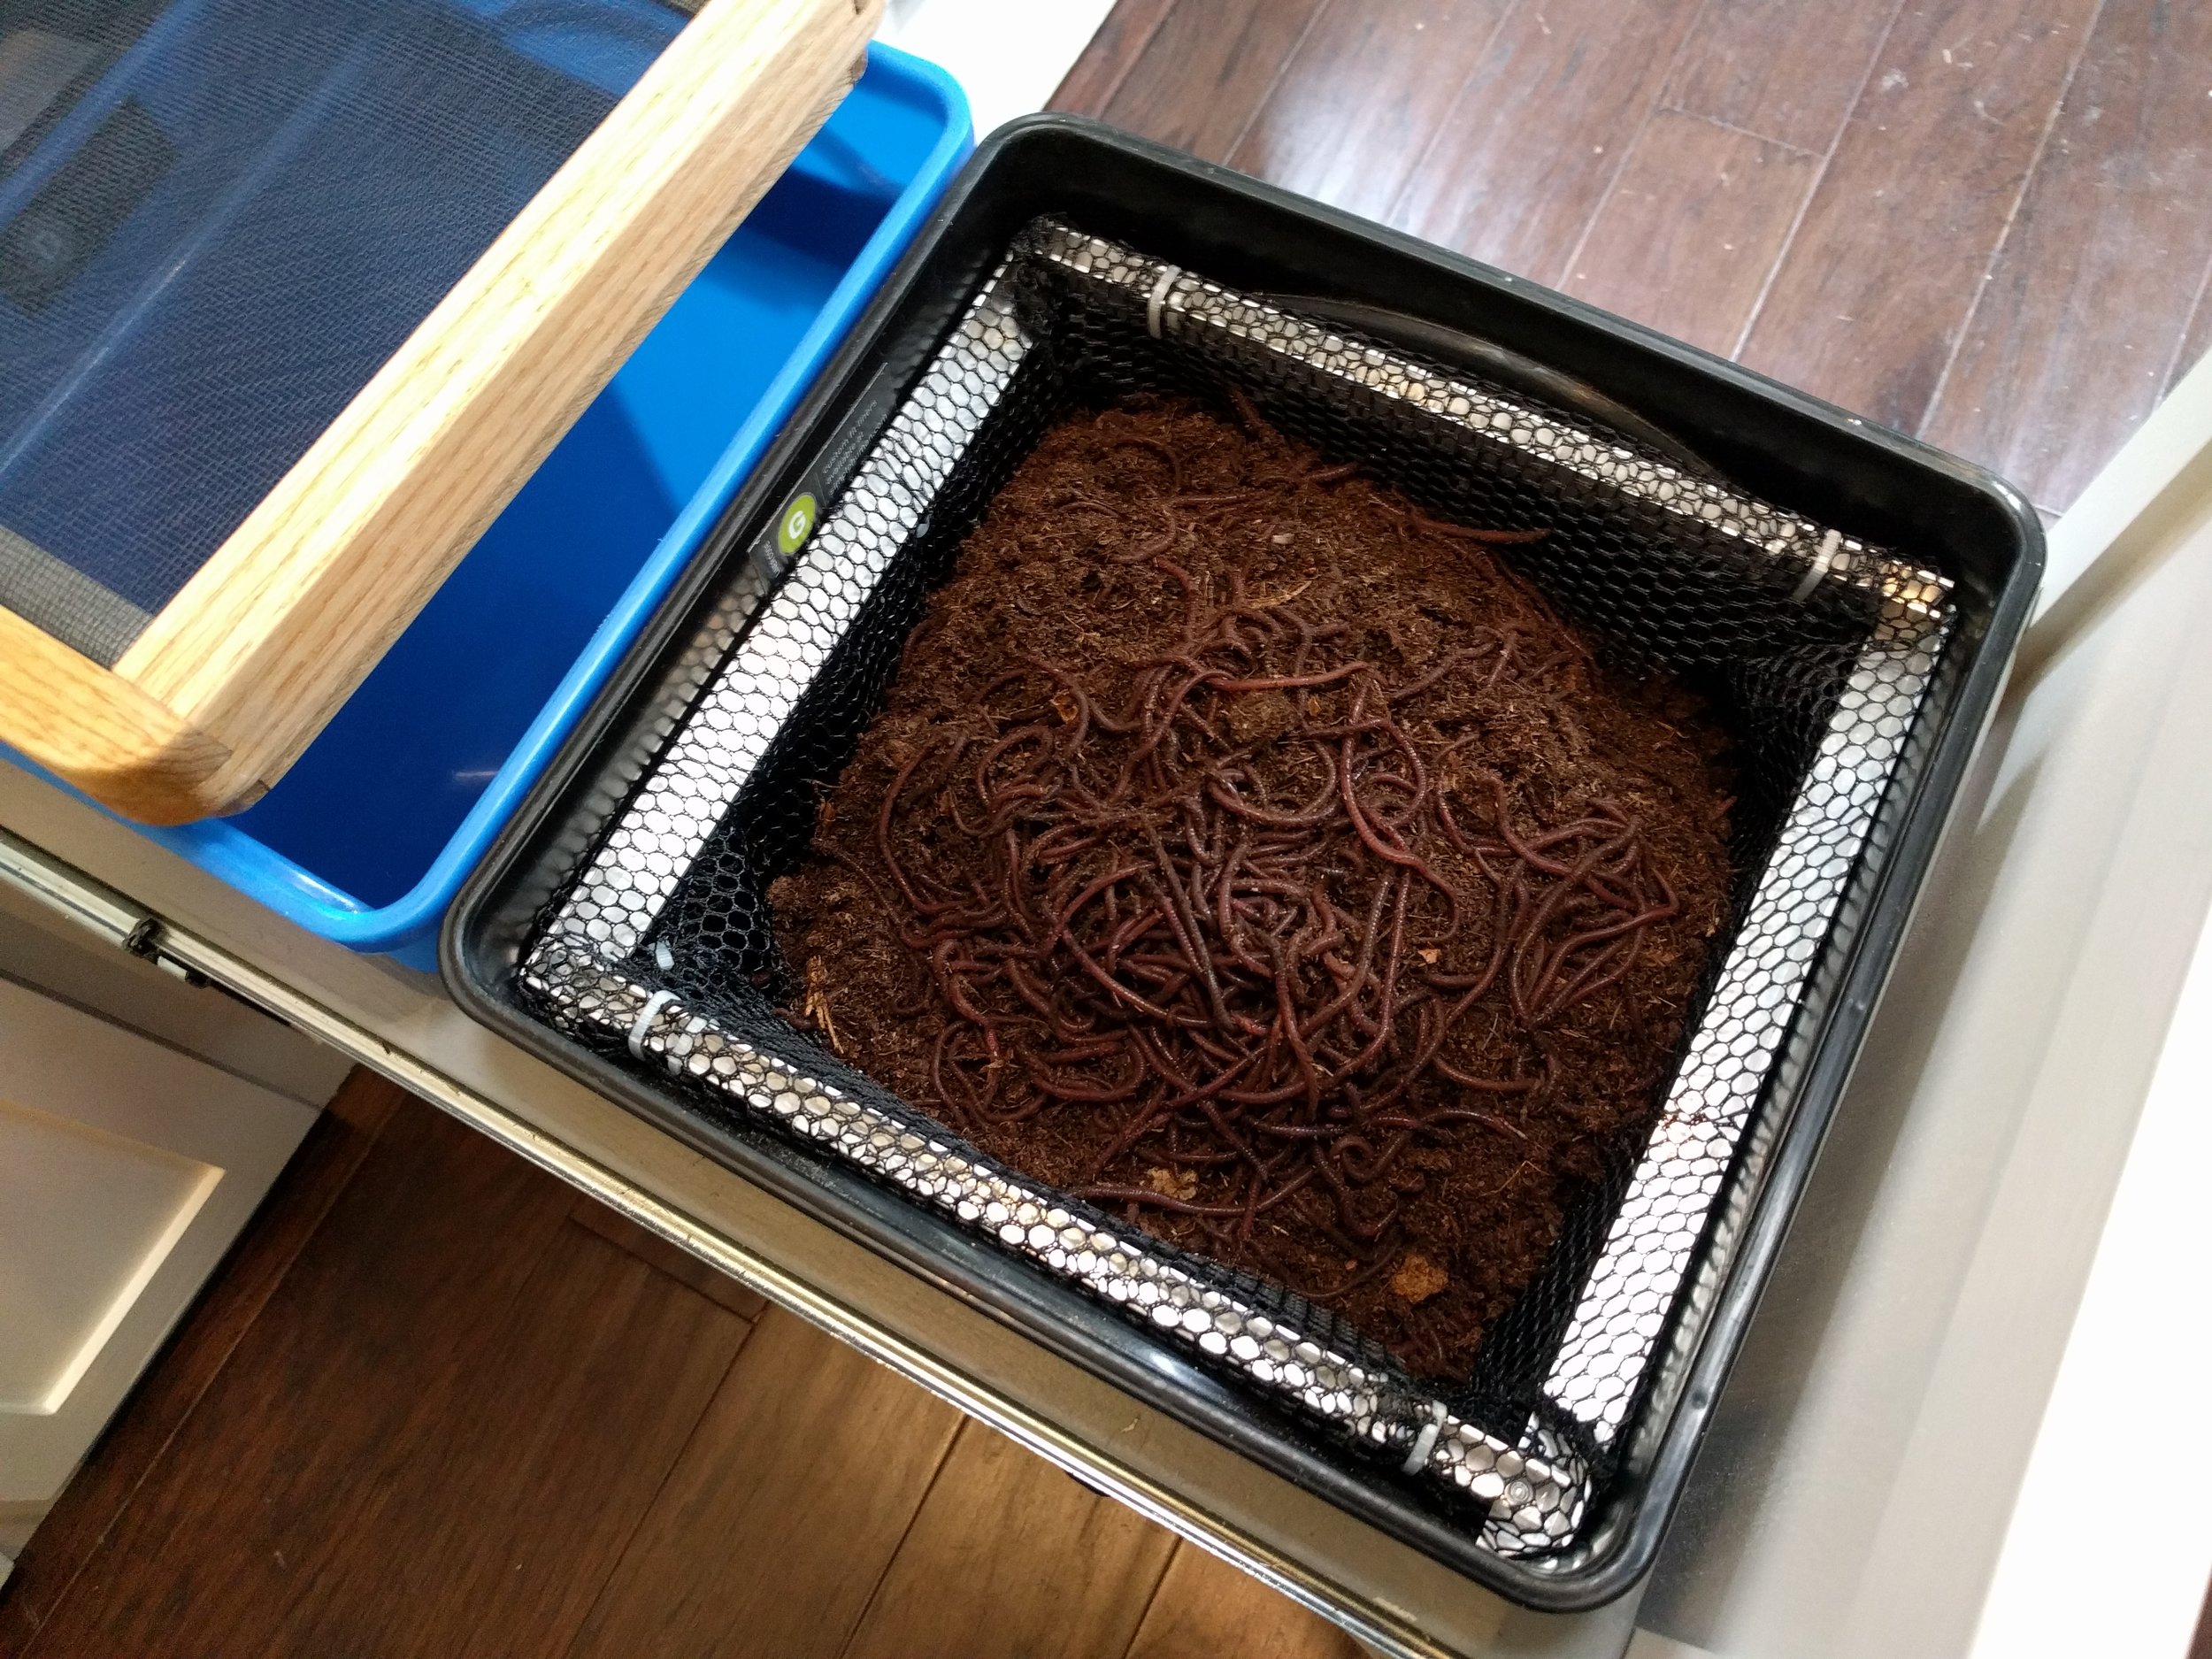
At the top of the bin, I built an aluminum frame to suspend a nylon minnow net, which holds the food scraps and bedding. The scraps are bigger than the holes in the net, but the worms and their castings are smaller, so as the worms eat the scraps, their castings fall through the net. The net doesn't touch the sides or the bottom of the bin, so there's plenty of air circulation throughout the scraps. The worms are happy throughout the depth of the bin, not just on the top.
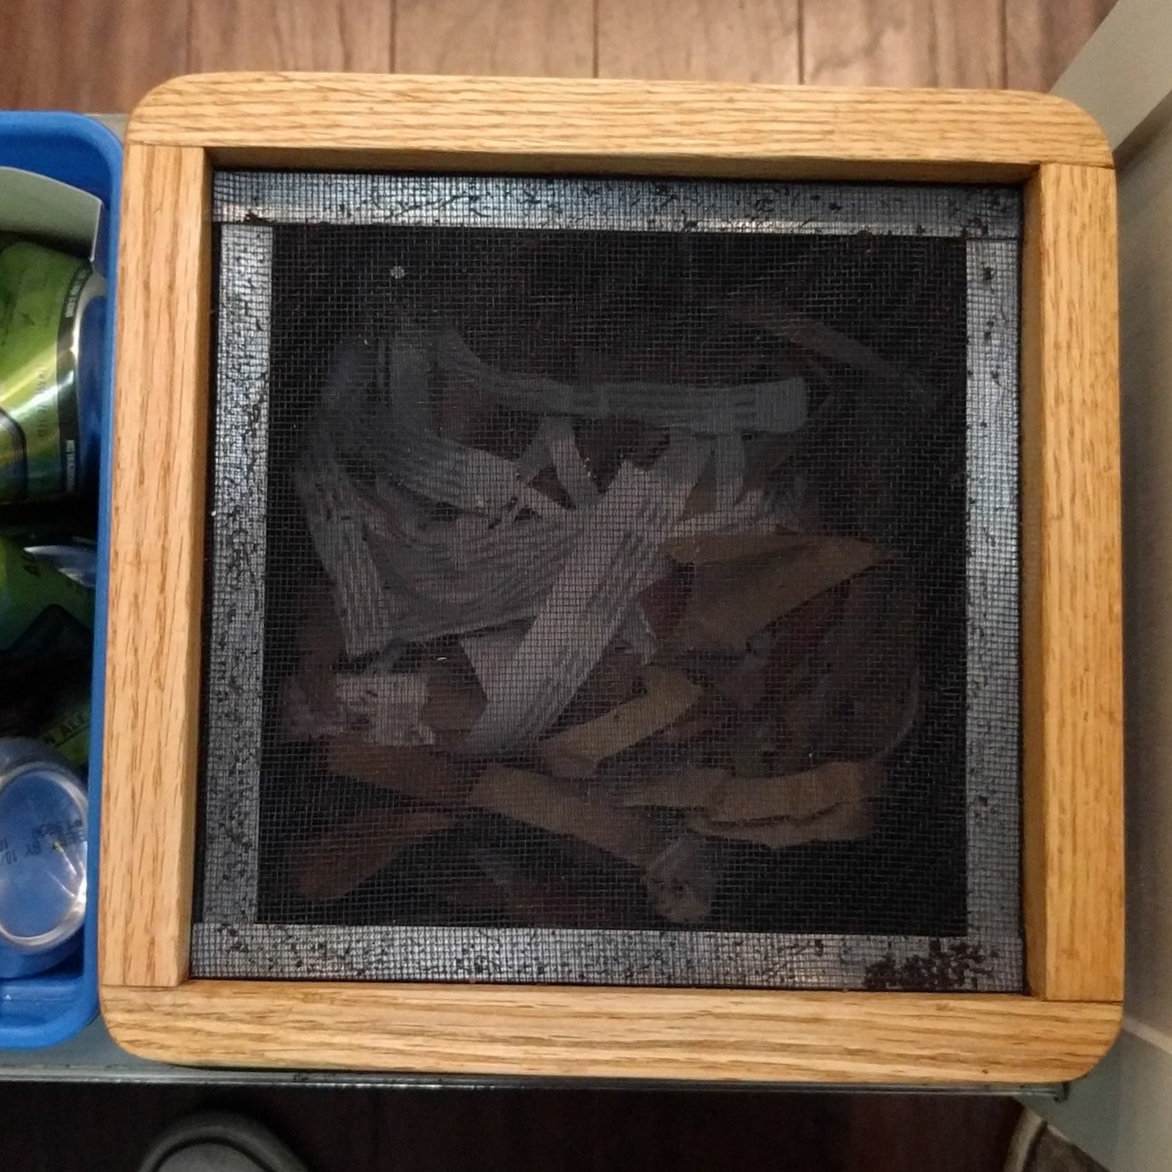
The lid needs to seal tightly, but provide good airflow through a screen. This bin doesn't come with a lid, so I built a tight-fitting frame out of oak (varnished a bunch of times to keep it from rotting) and used no-see-um netting to keep the worms contained. Regular window screen does not work -- the worms will crawl right through it. I also added a rubber gasket around the rim of the trash can to keep the worms from escaping. I had some leftover window gasket that I attached to the rim of the bin using super weatherstrip adhesive. I sandwiched the rim of the bin between the two "fingers" of the gasket so that the flat side was up, which made a nice tight seal with the lid.
It's worth noting that another method to keep the worms from escaping would be to put a light over top of the bin that's always on. Worms don't like light, so they'll stay in the bin. We don't have a lot of electricity to spare, so a physical barrier seemed best.
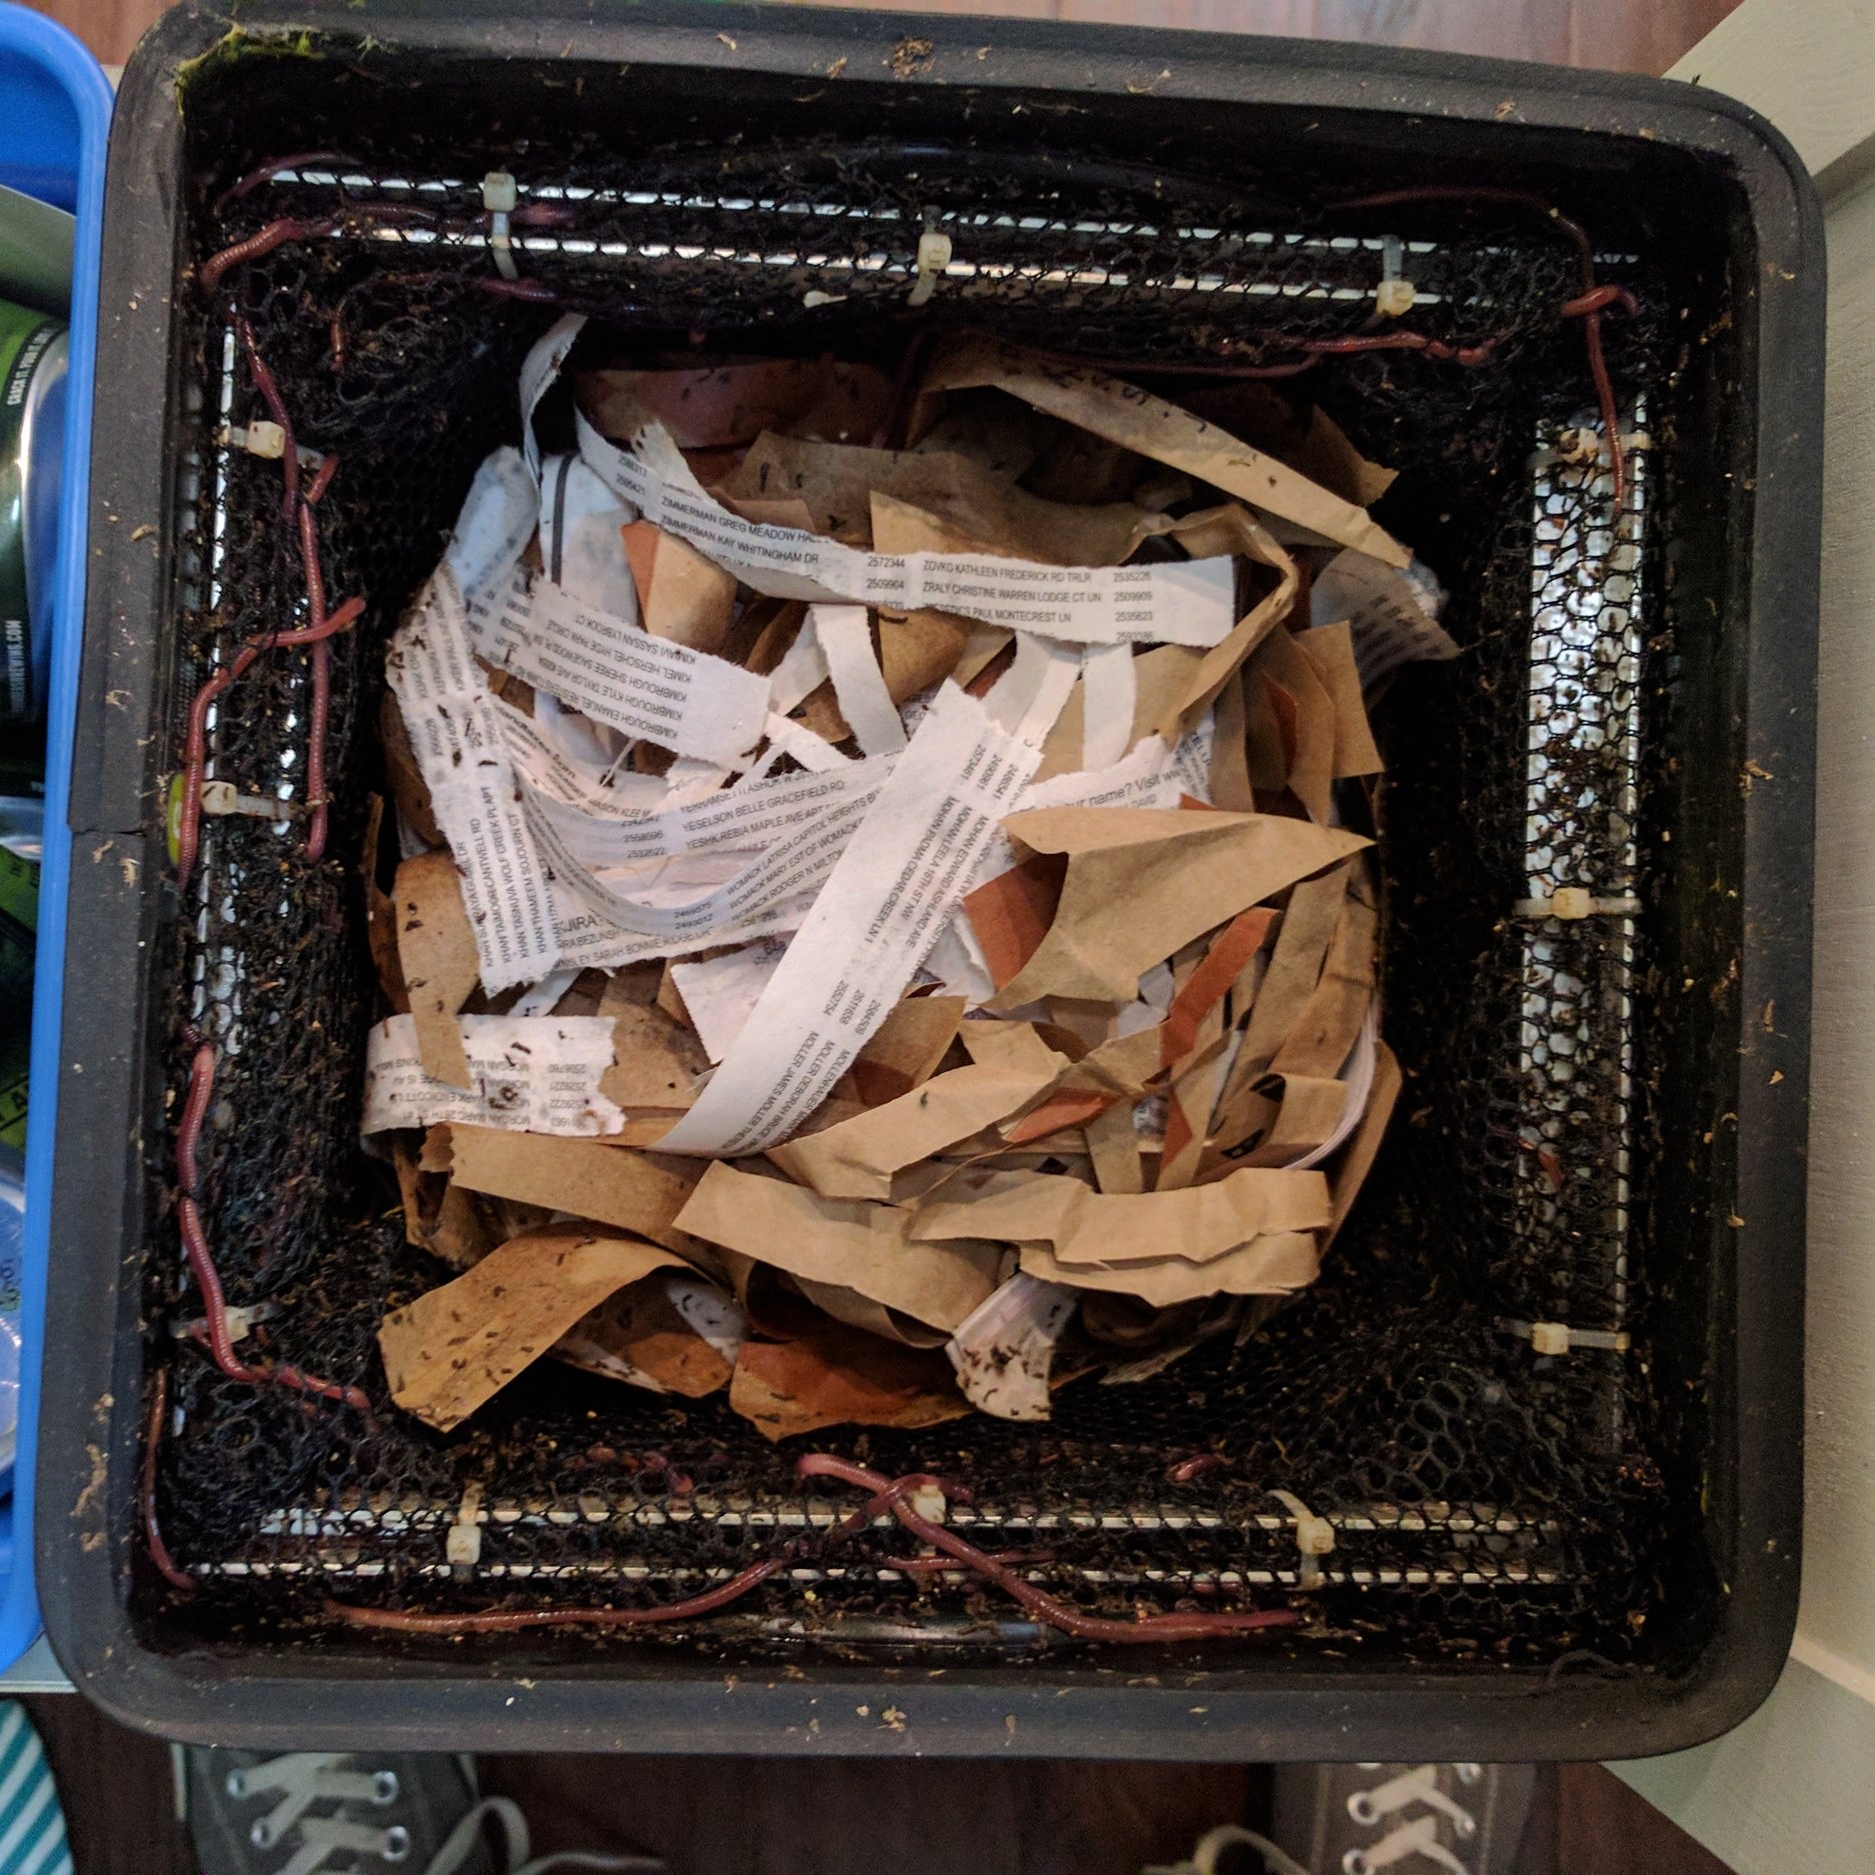
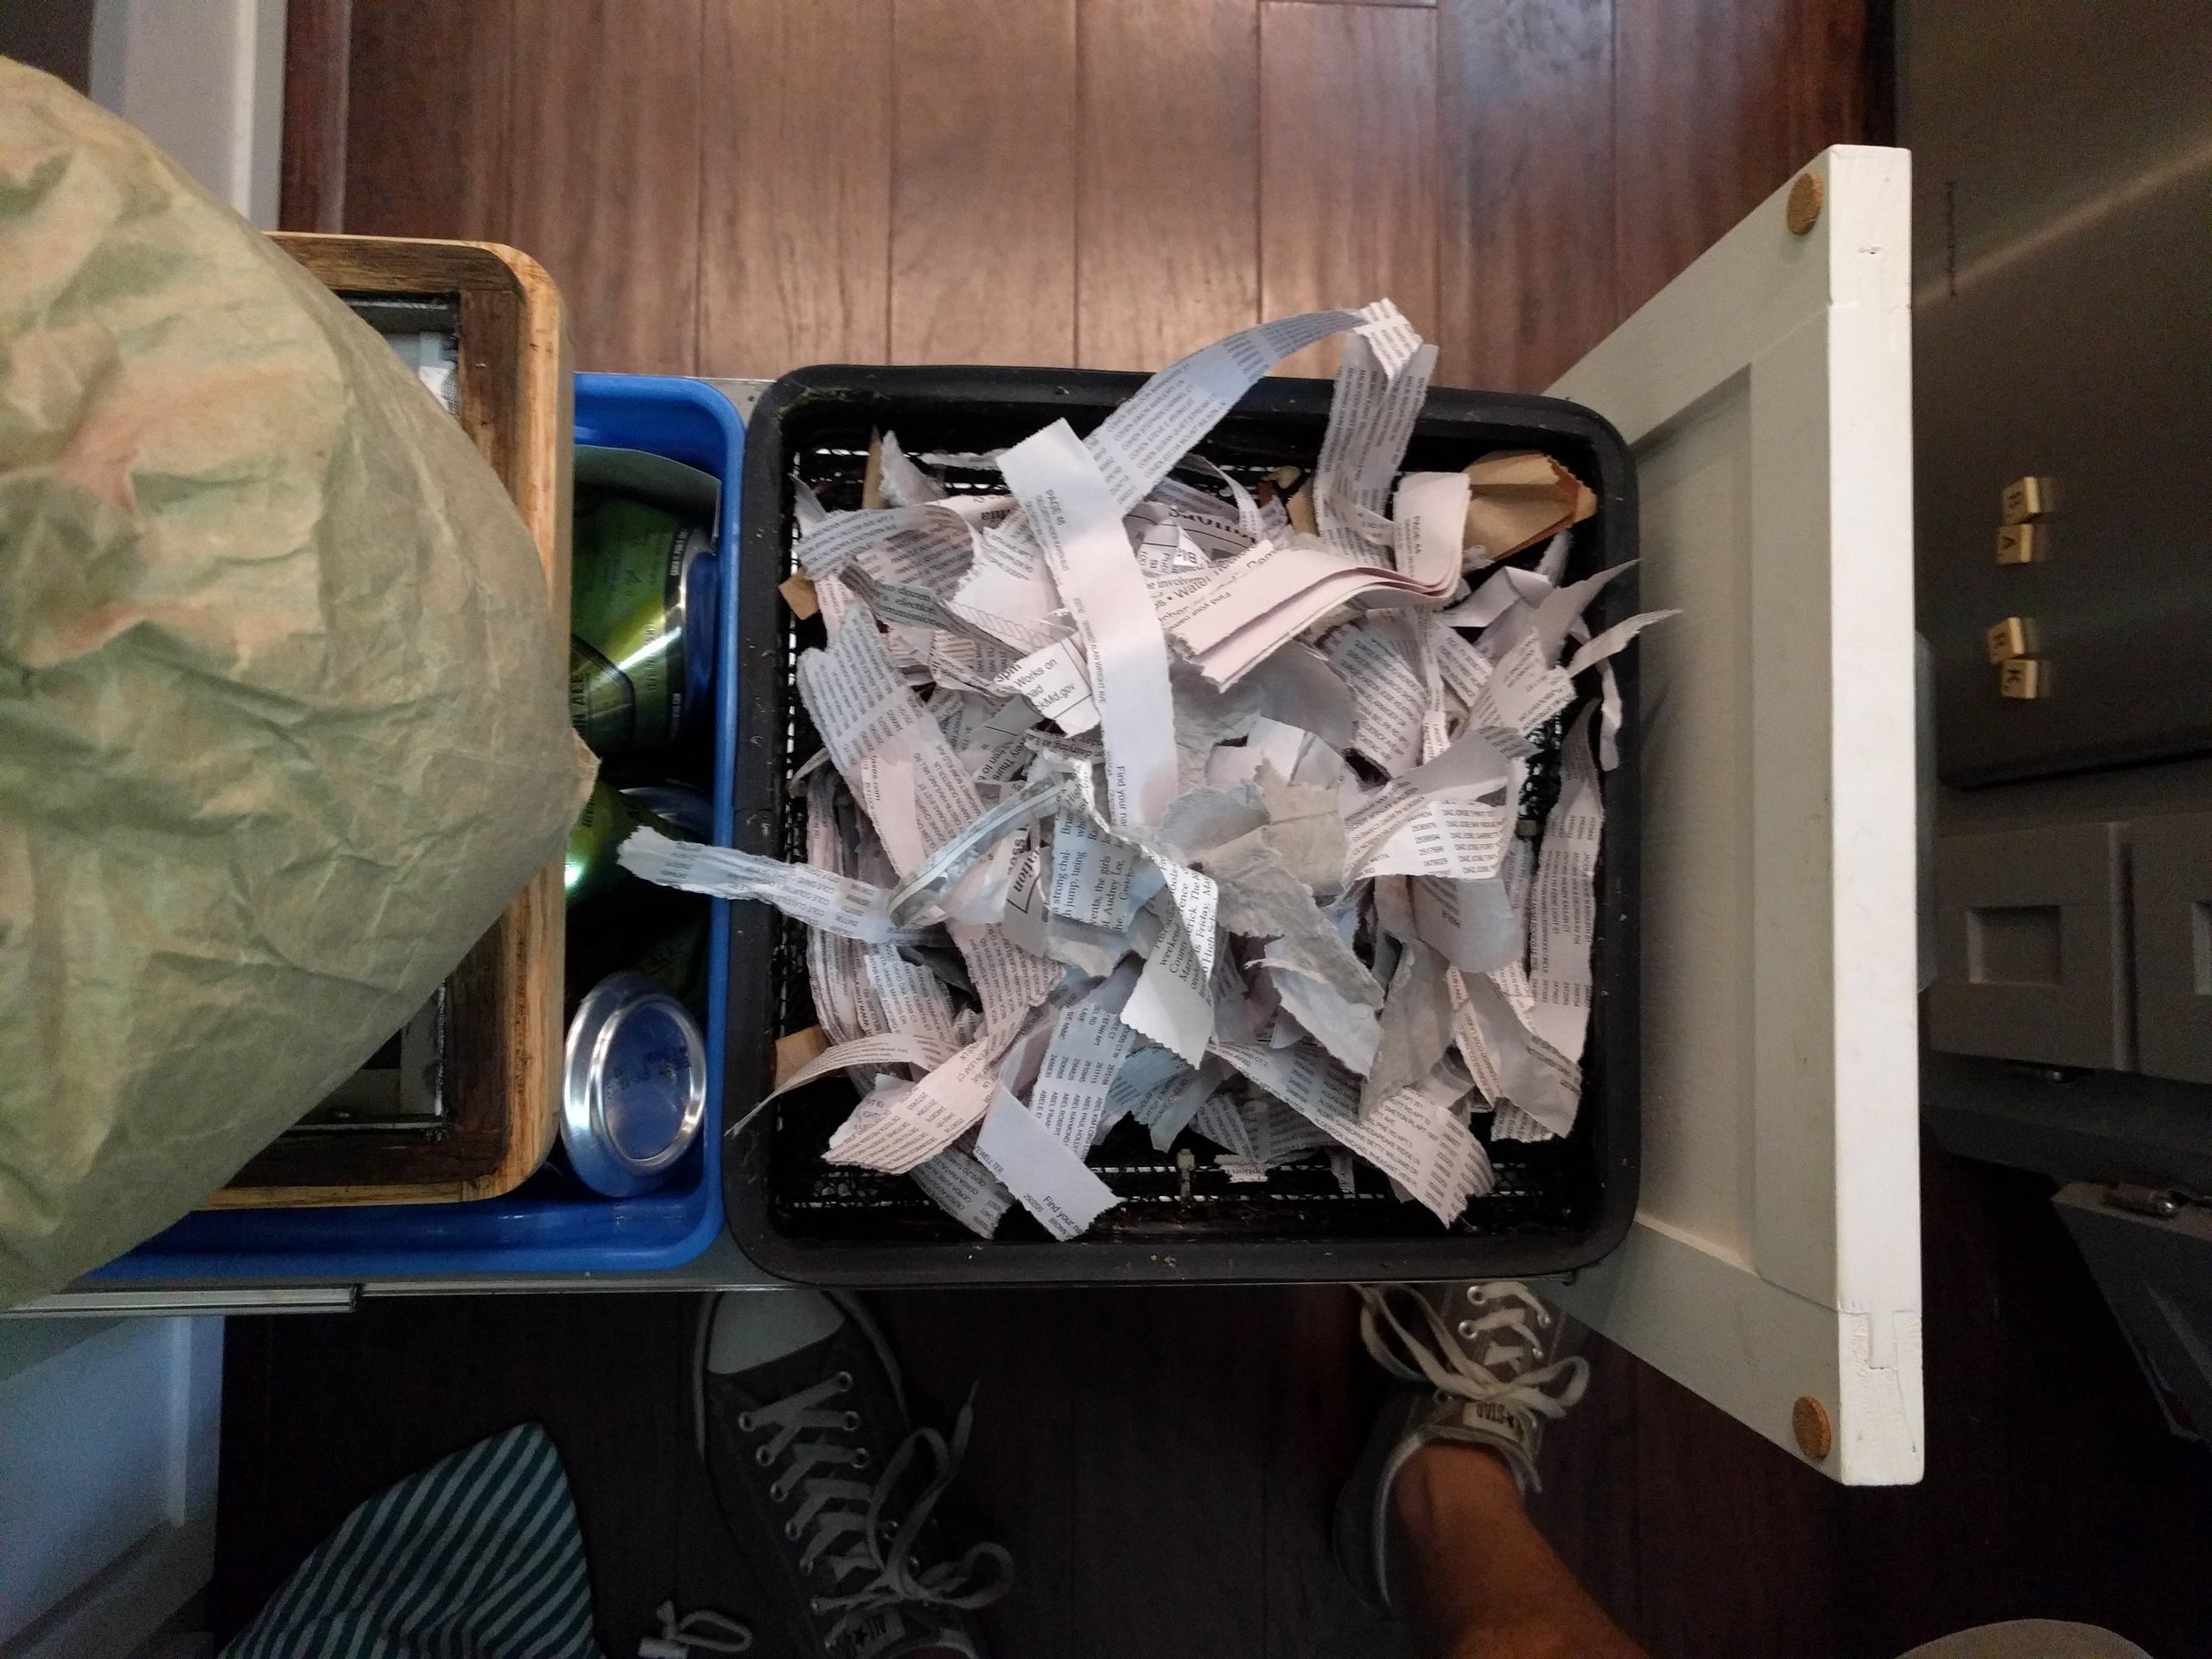
To start composting, I put a couple handfuls of bedding (shredded black and white newspaper, cardboard, paper bags, egg cartons, etc) in the bottom of the net and put some fruit and vegetable scraps on top. I added some crushed eggshells -- worms have gizzards, so they need some roughage to digest their food, and eggshells help maintain the pH balance of the bin. Then, I filled the bin to the top with bedding.
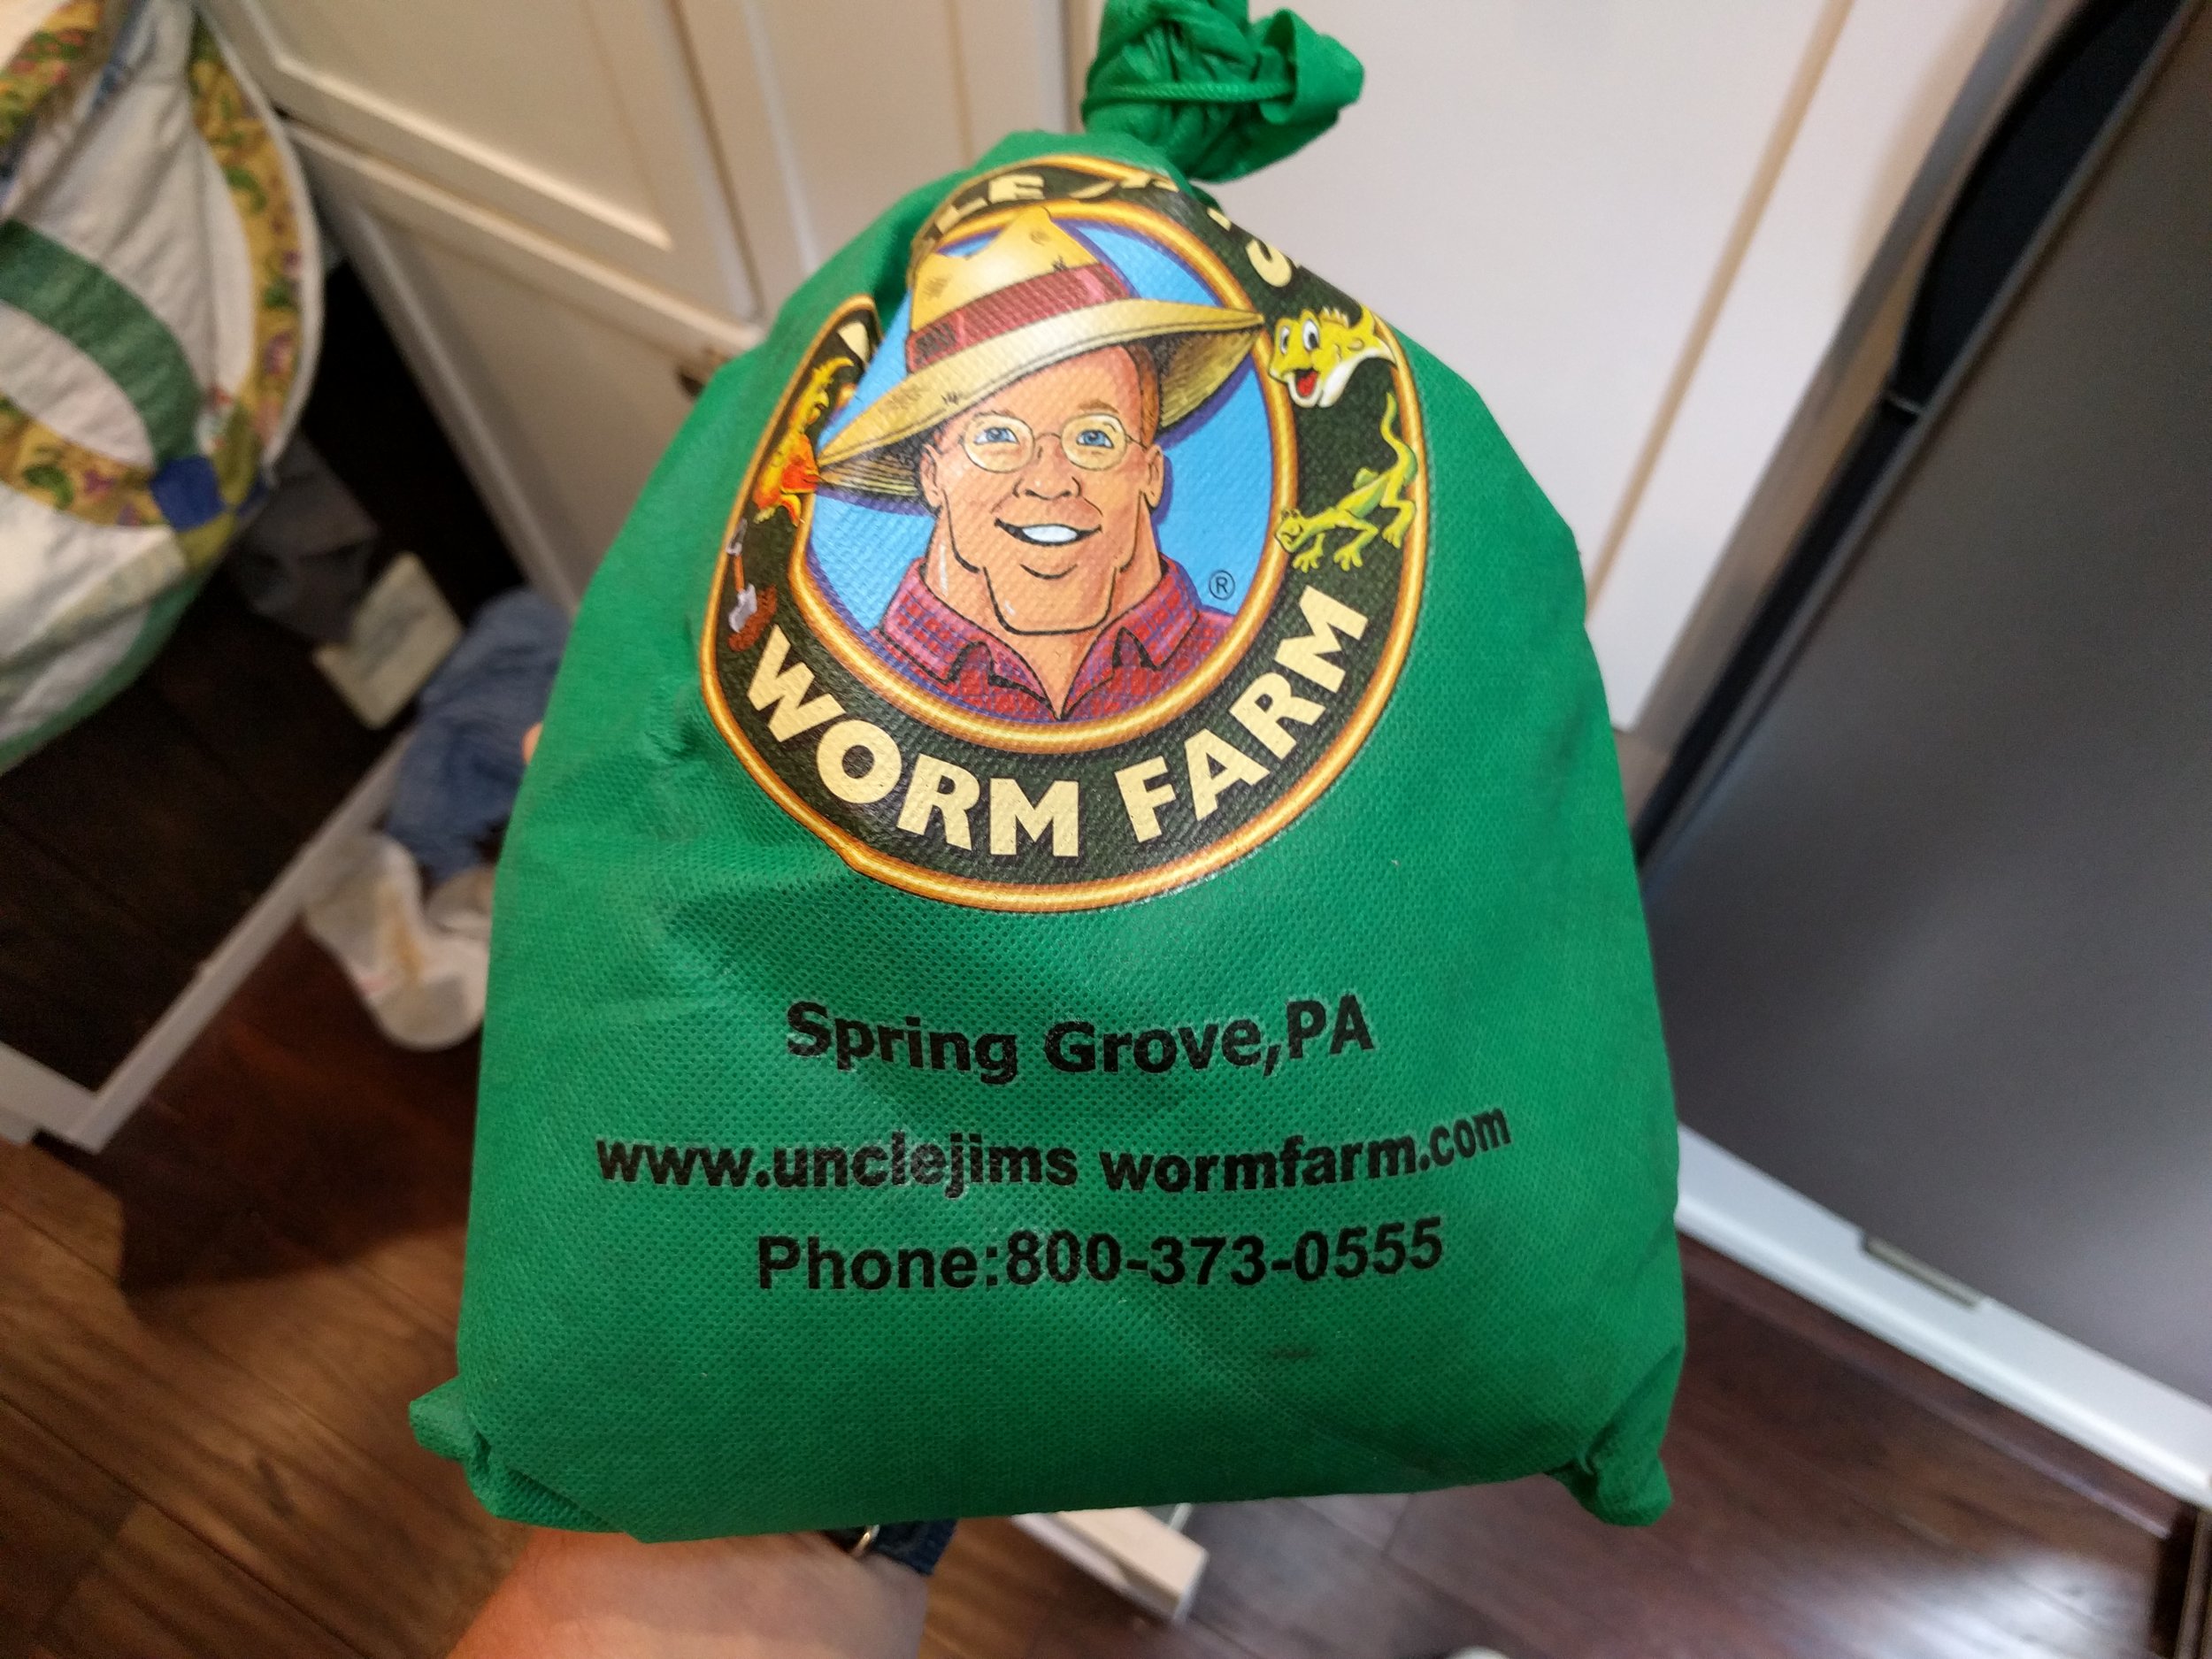
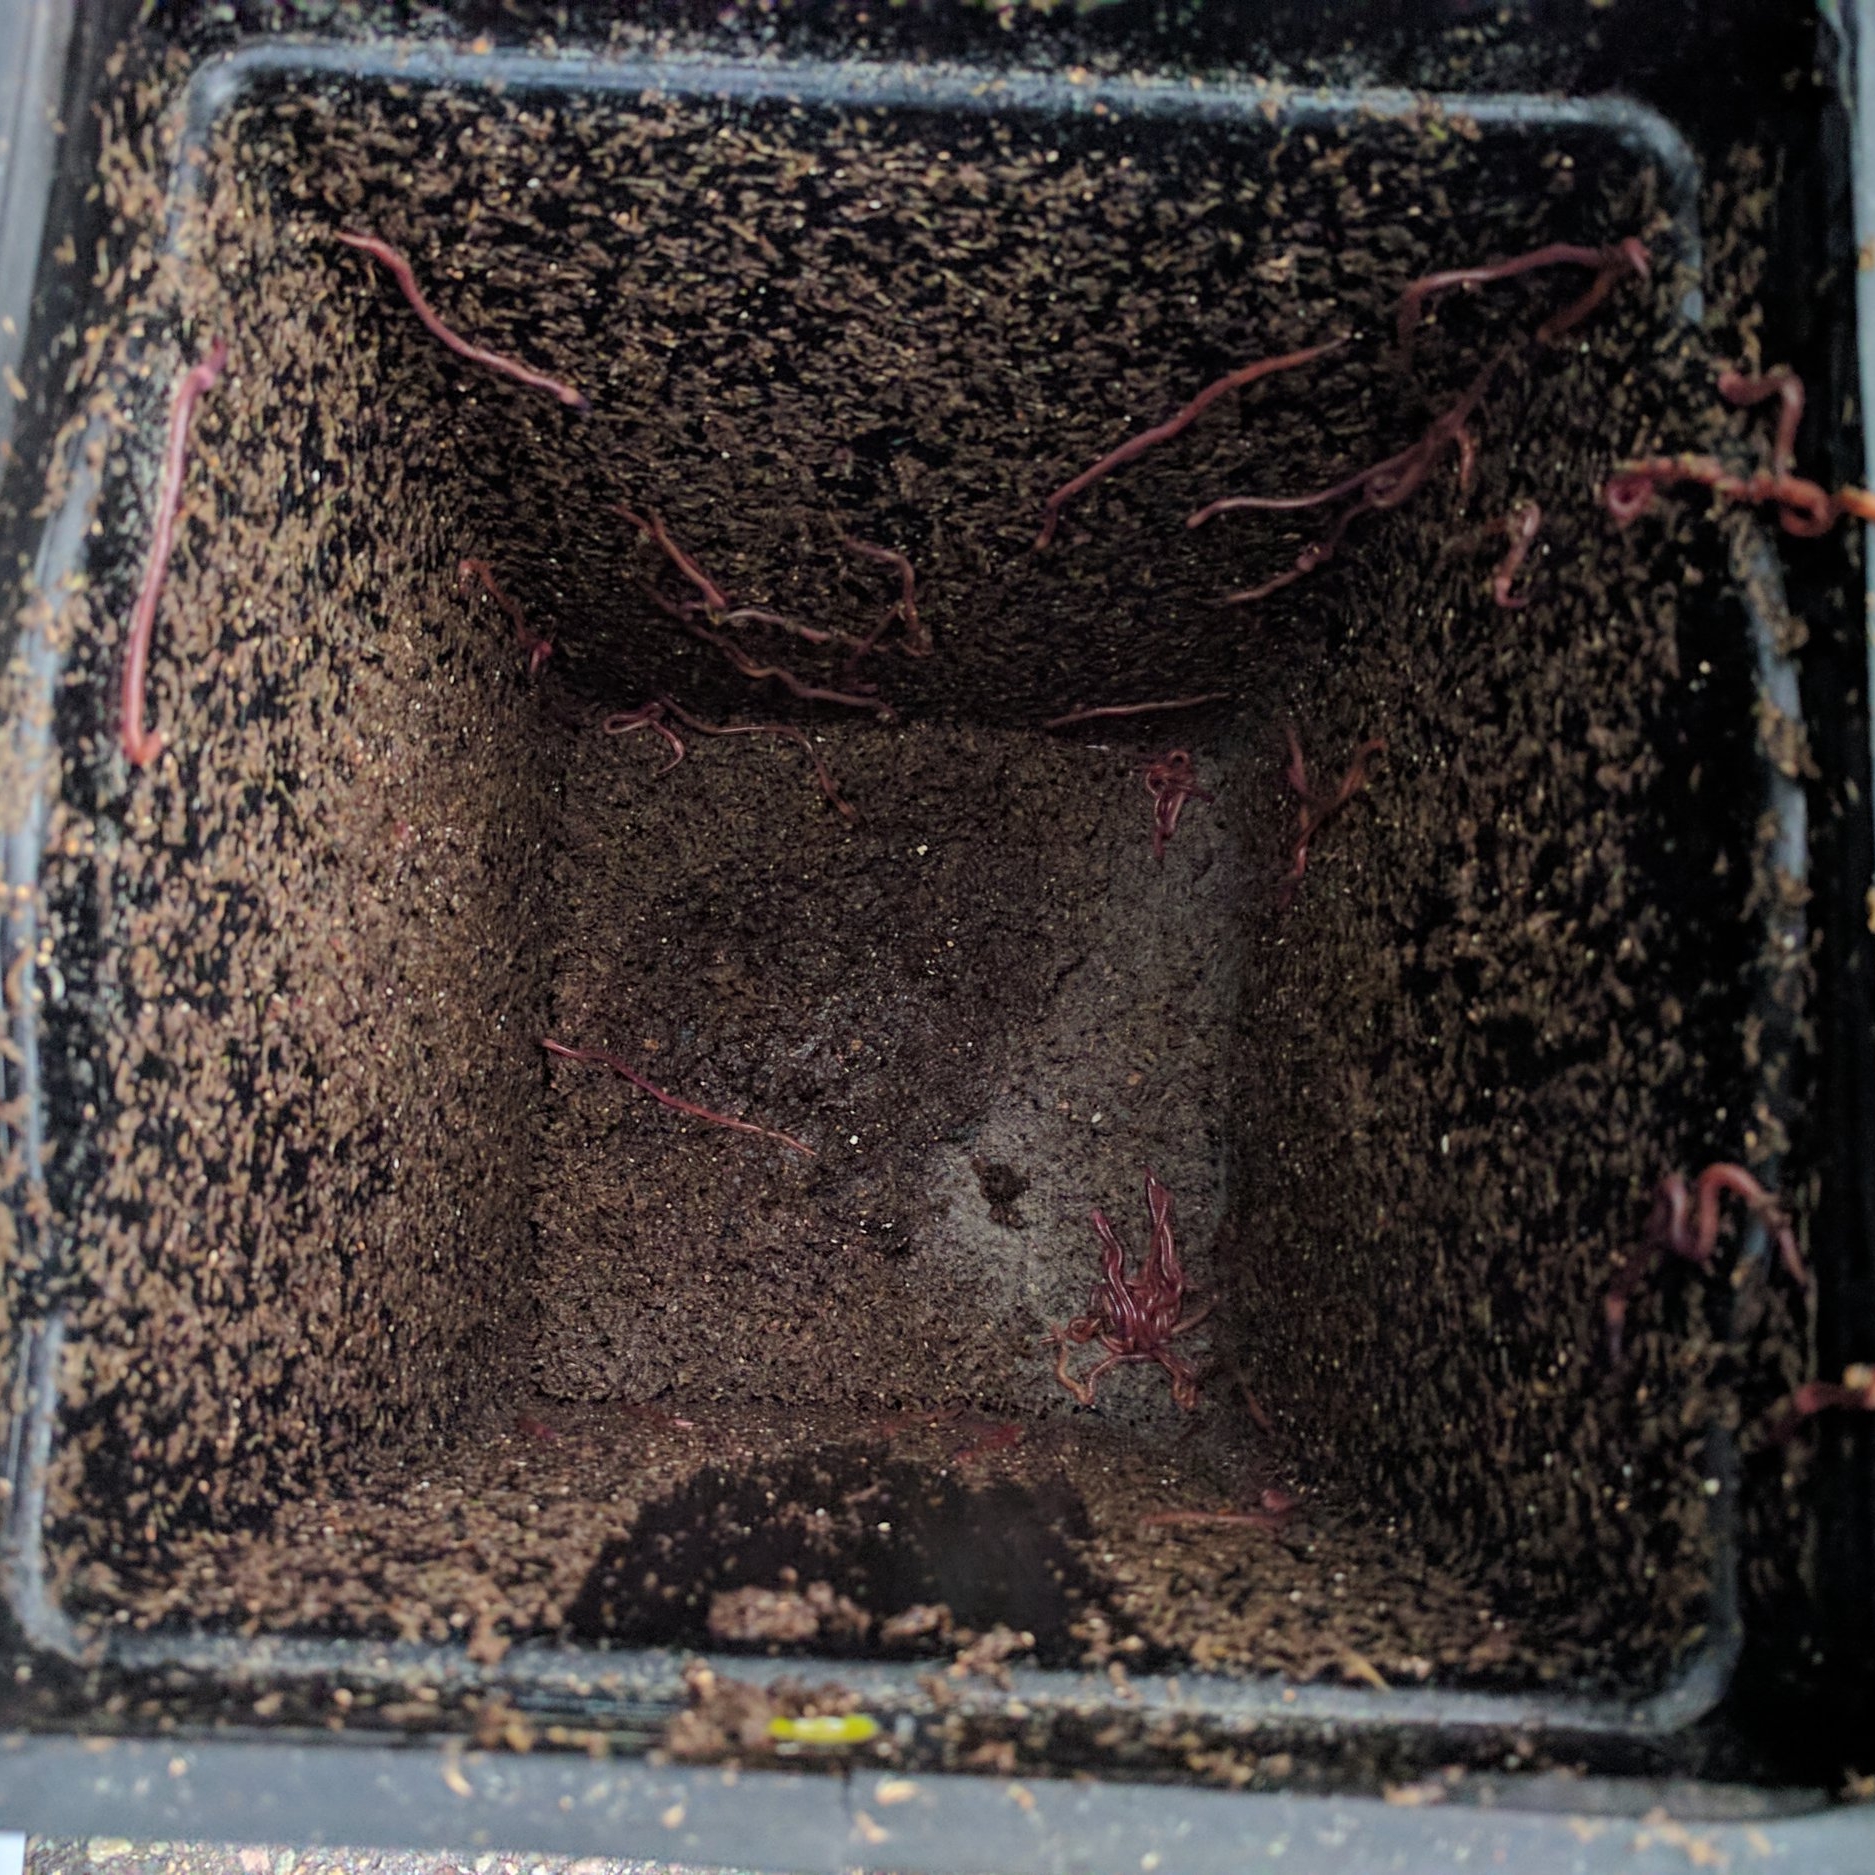
Once our 1,000 red wigglers from Uncle Jim's Worm Farm arrived, I plopped the worms in and let them settle in.
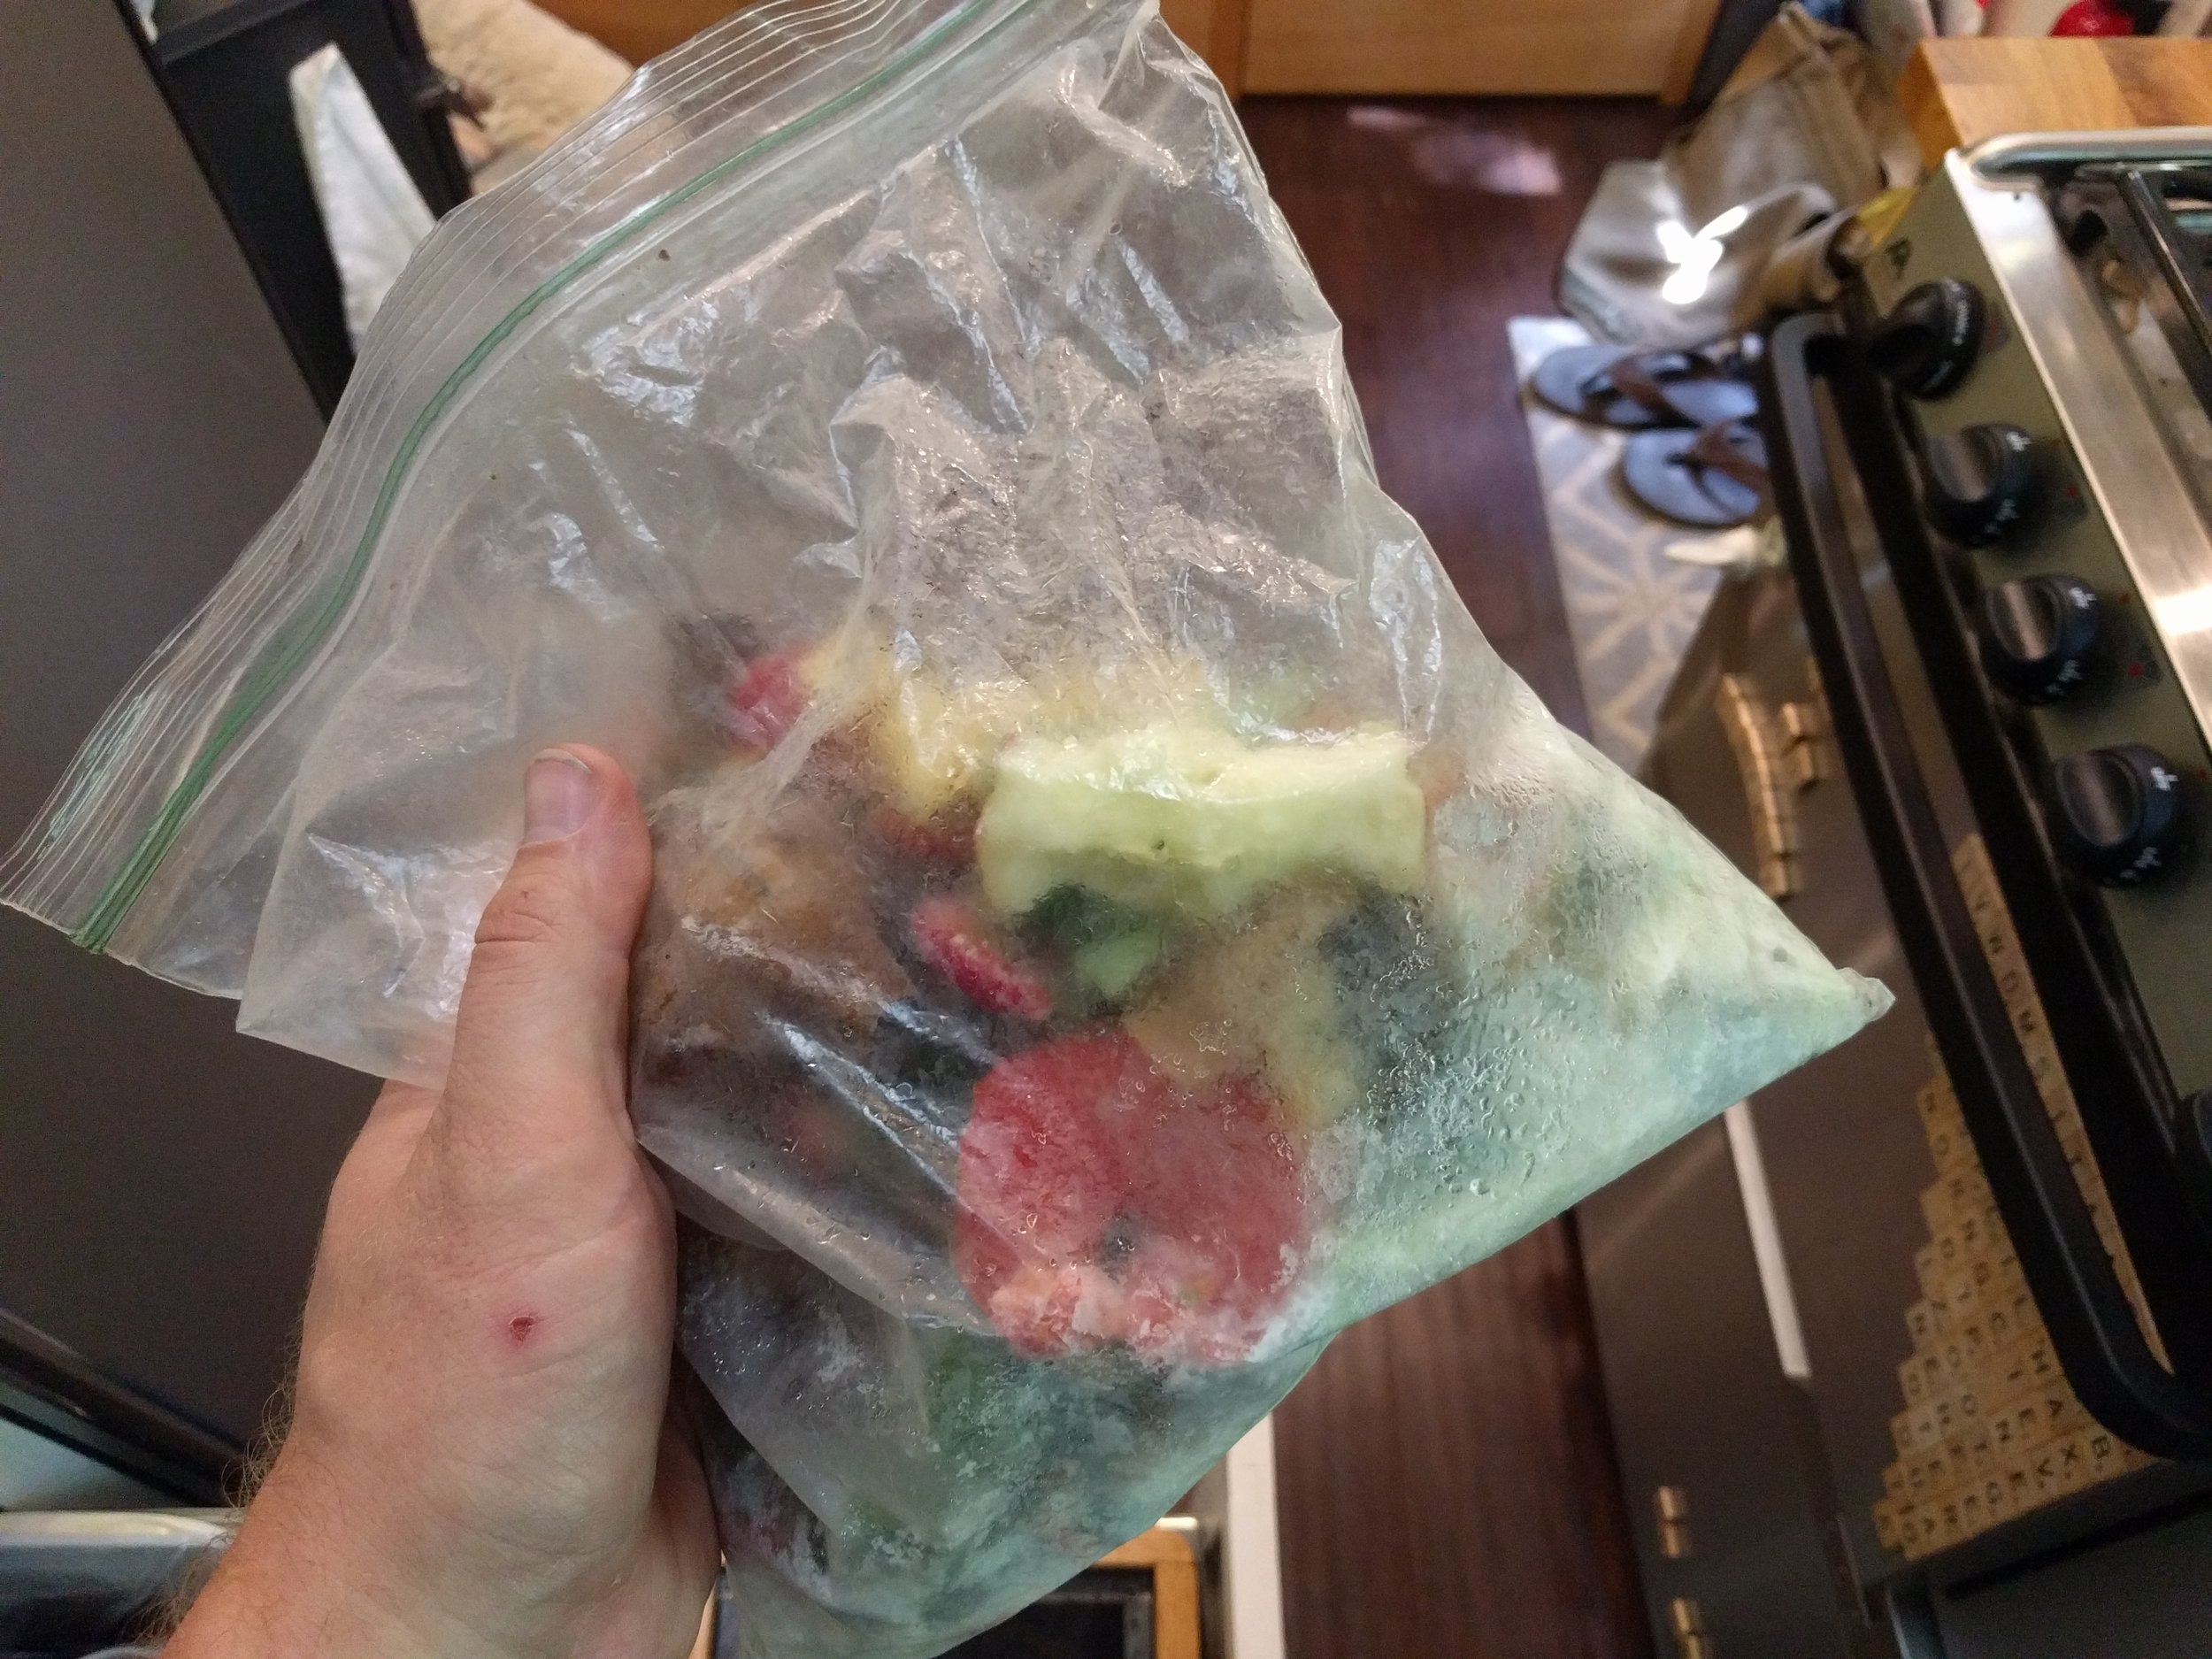
We keep a Ziplock bag in the freezer where we put all of our suitable scraps. Freezing helps soften up the scraps so that the worms can eat it faster. Every few days, I'll open up the bin, lift out any bedding that's still dry, drop in the scraps, replace the bedding on top, and top off with enough bedding to fill the bin.
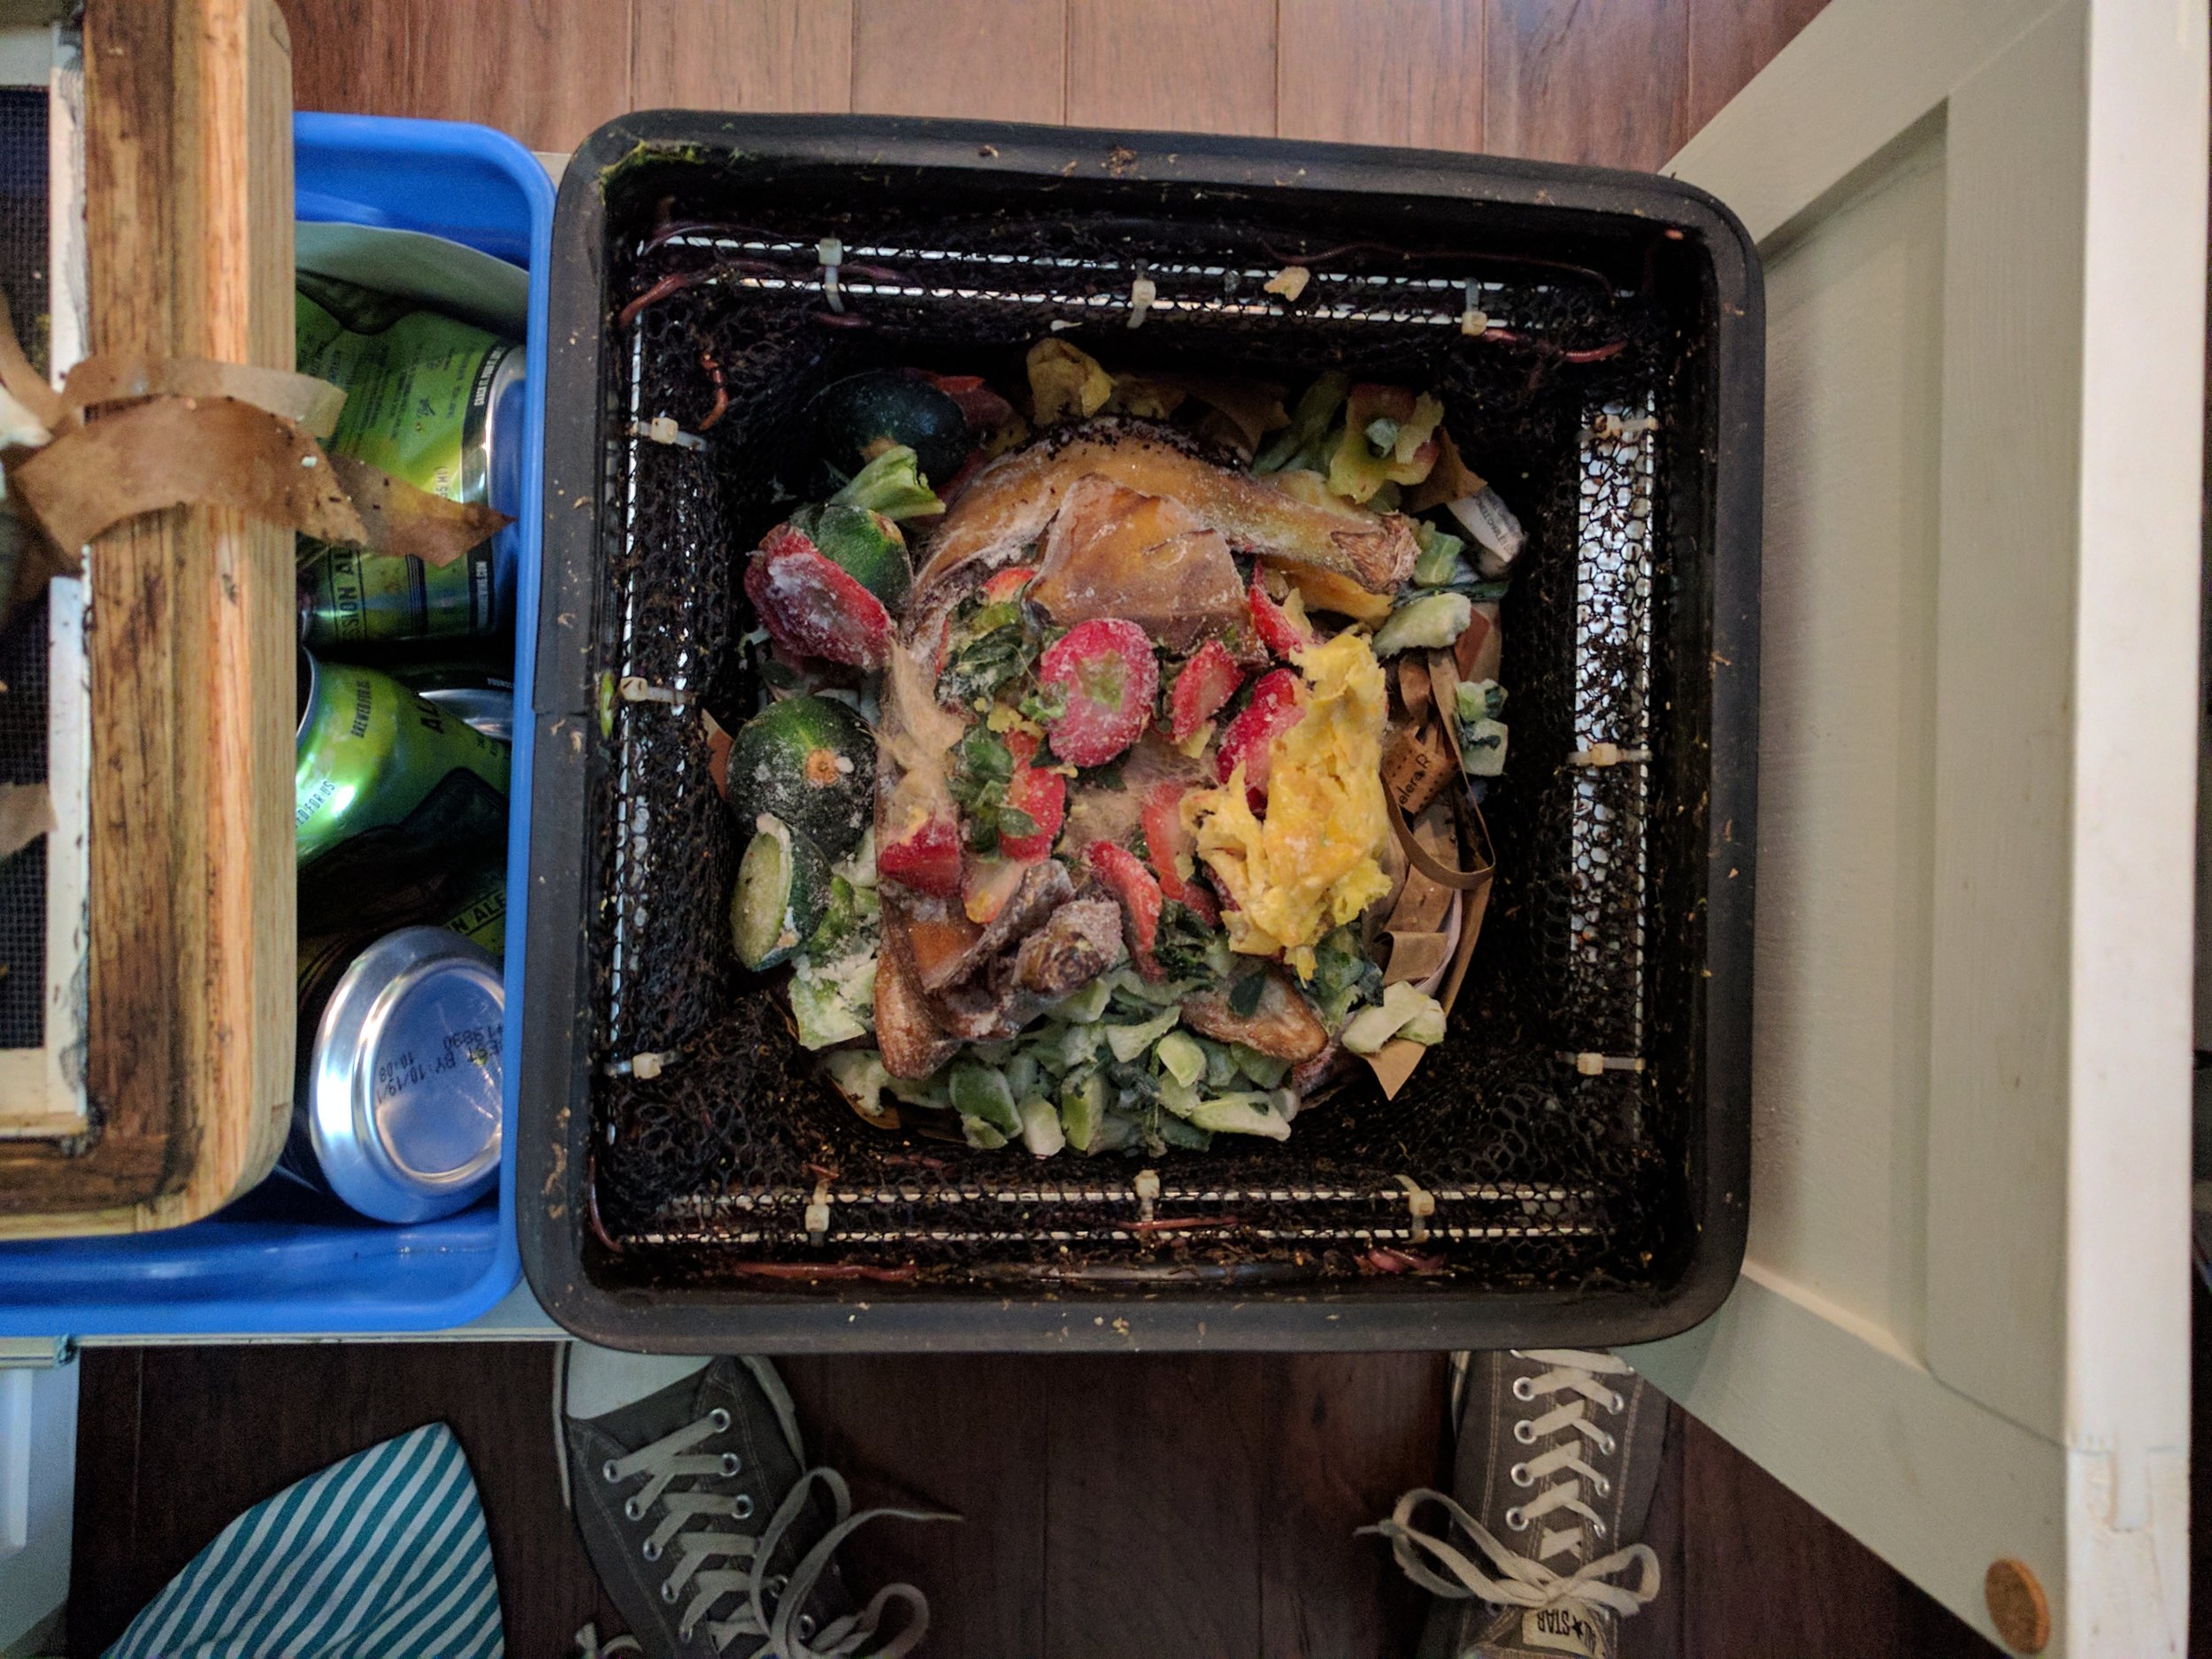
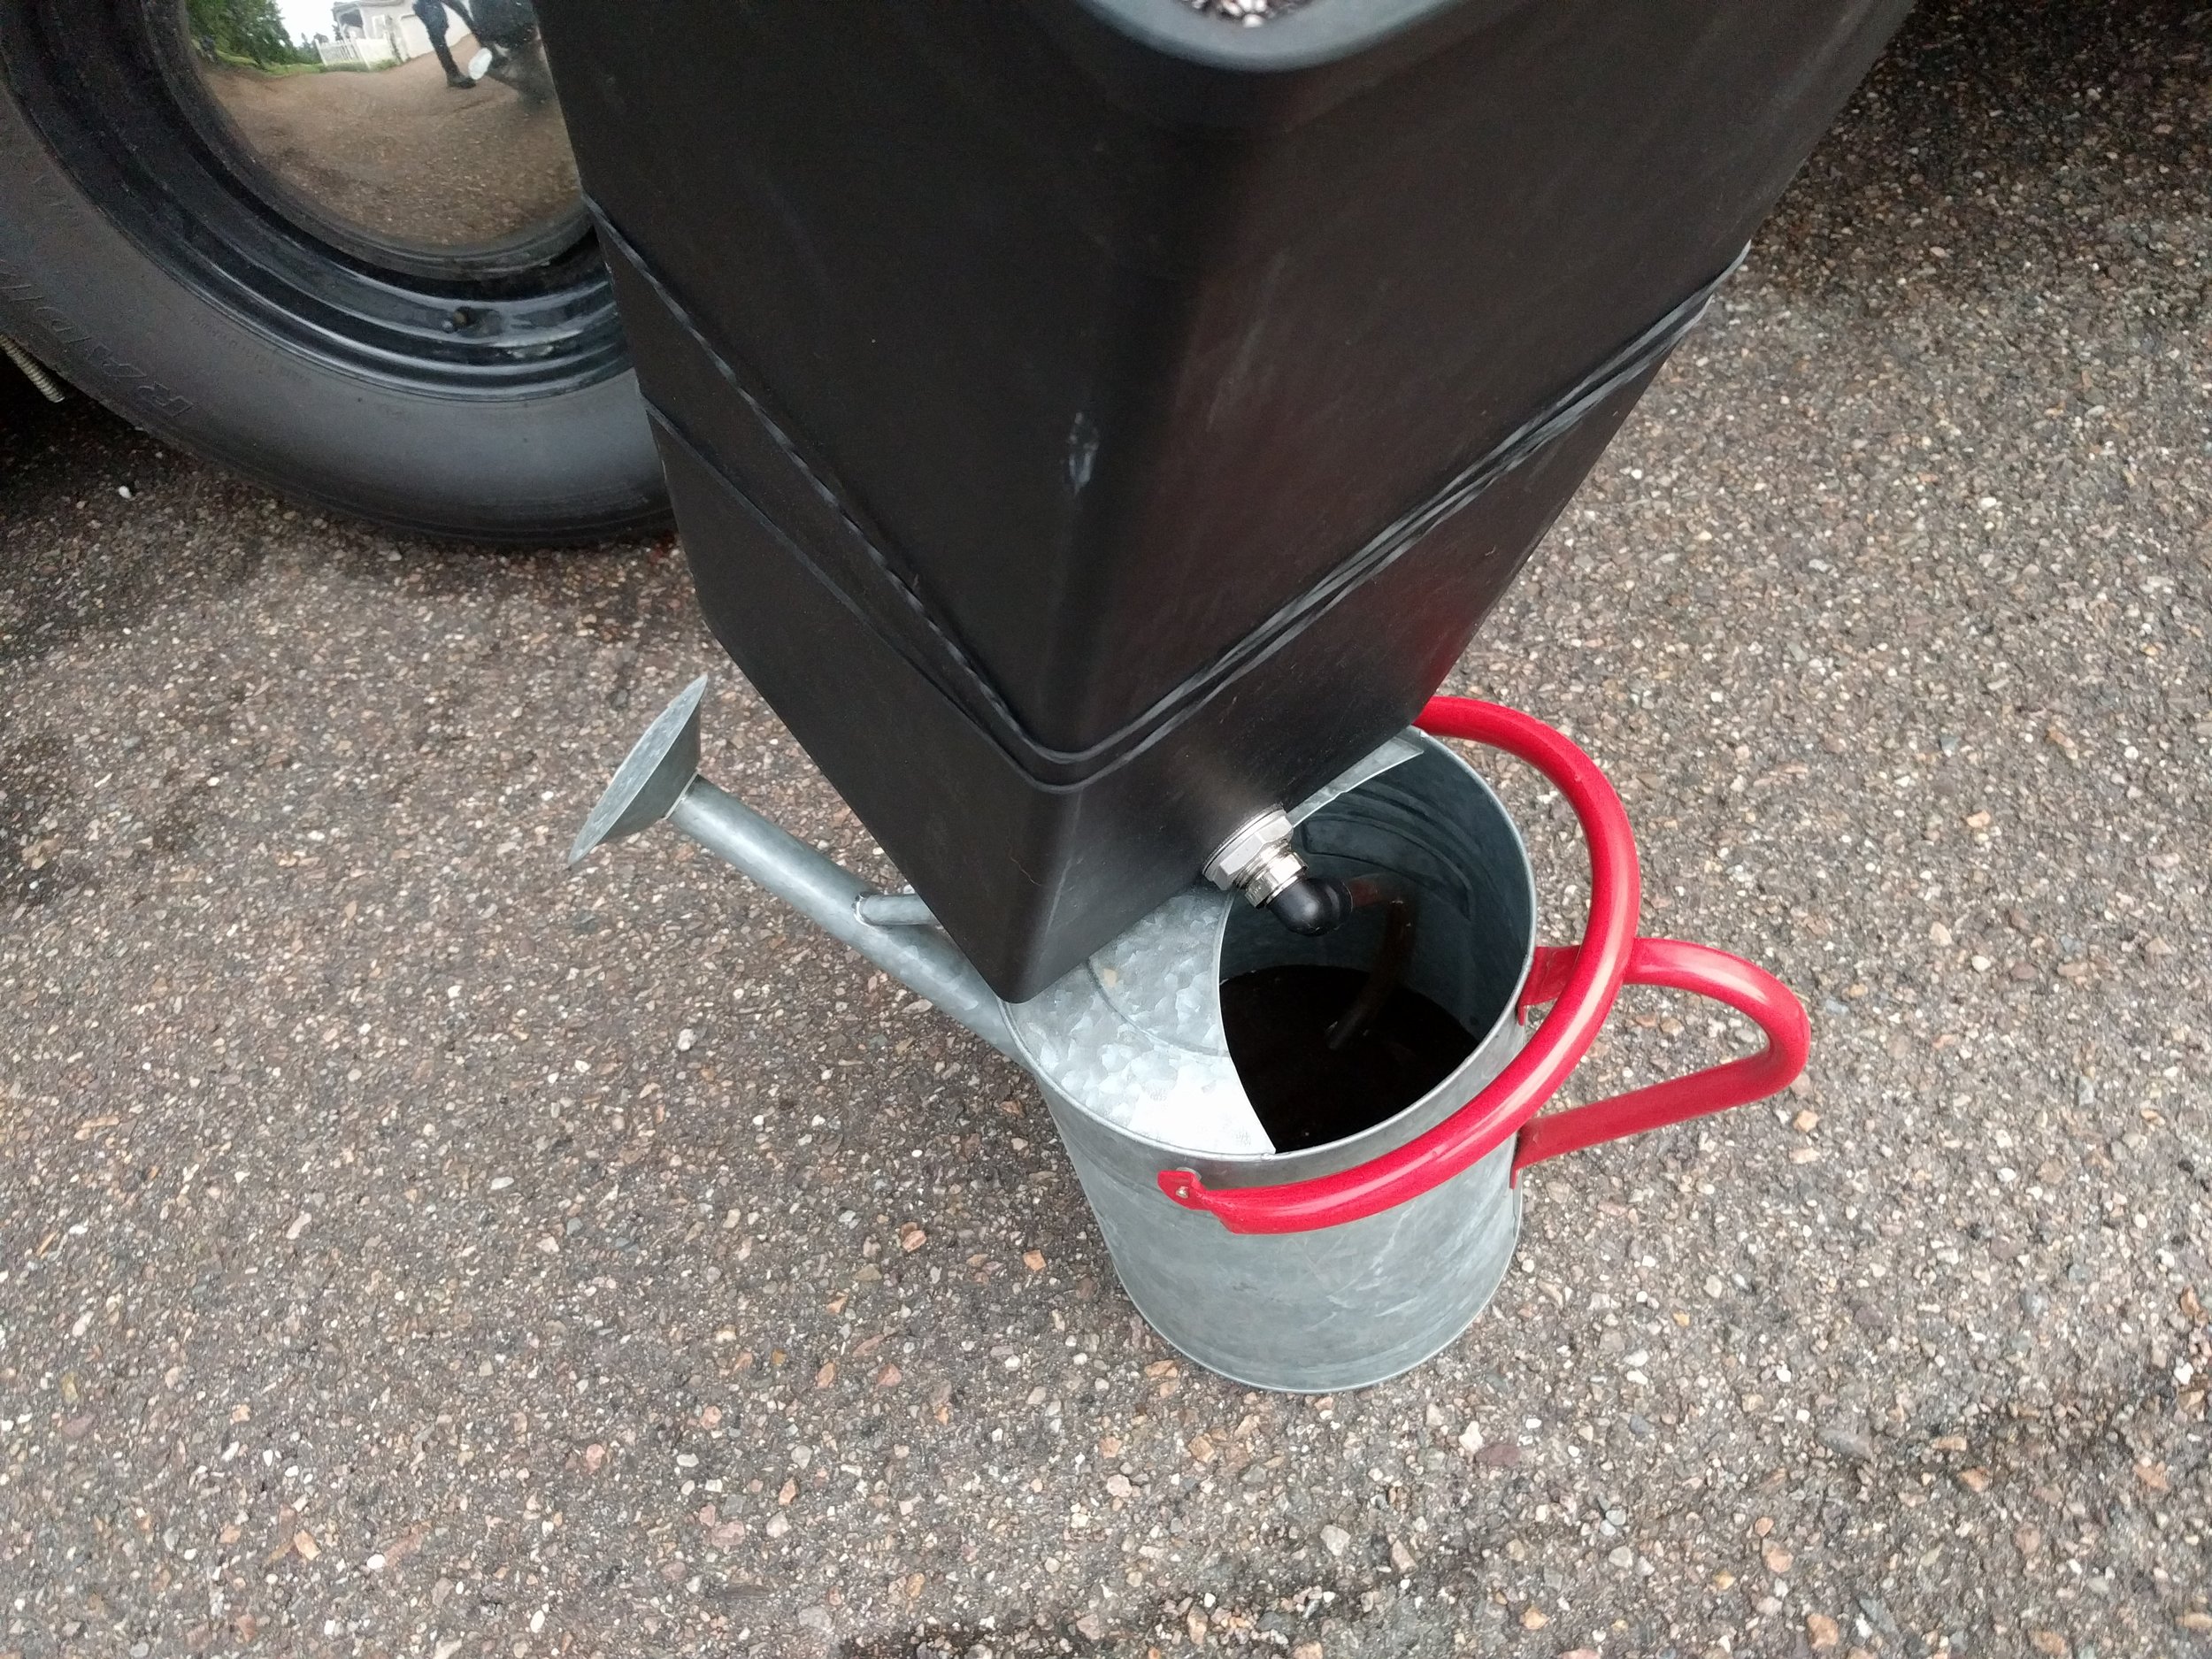
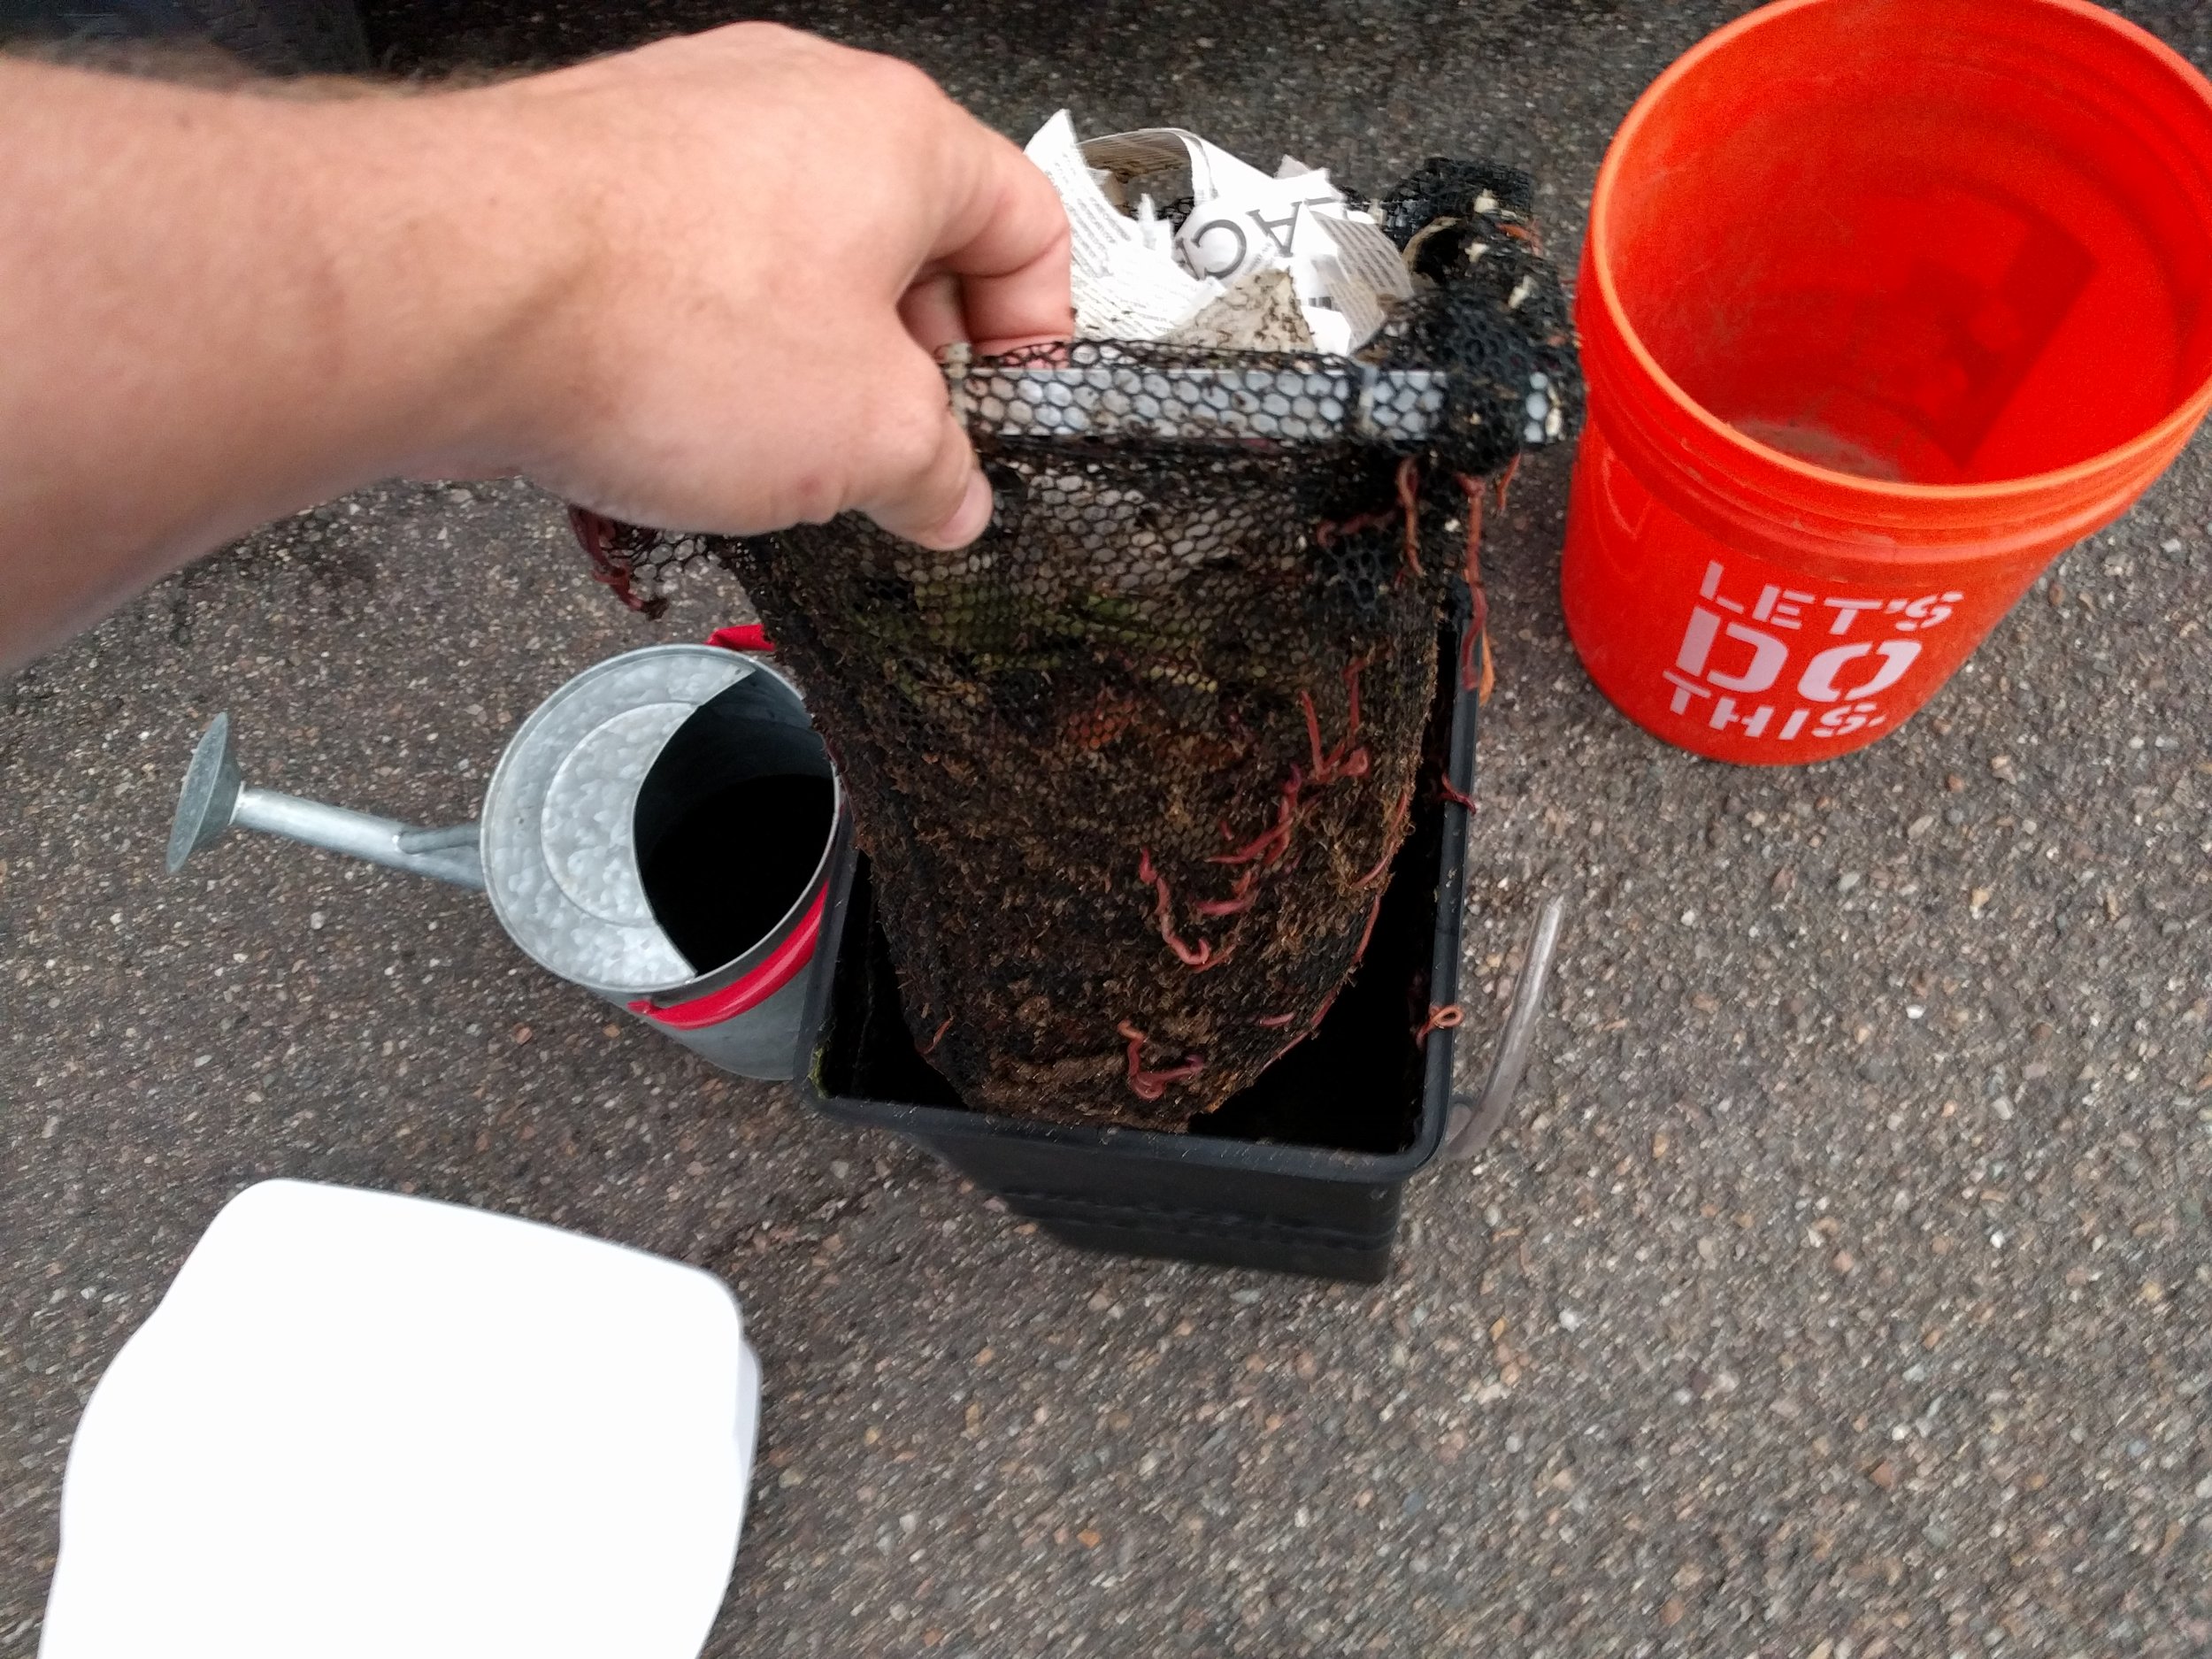
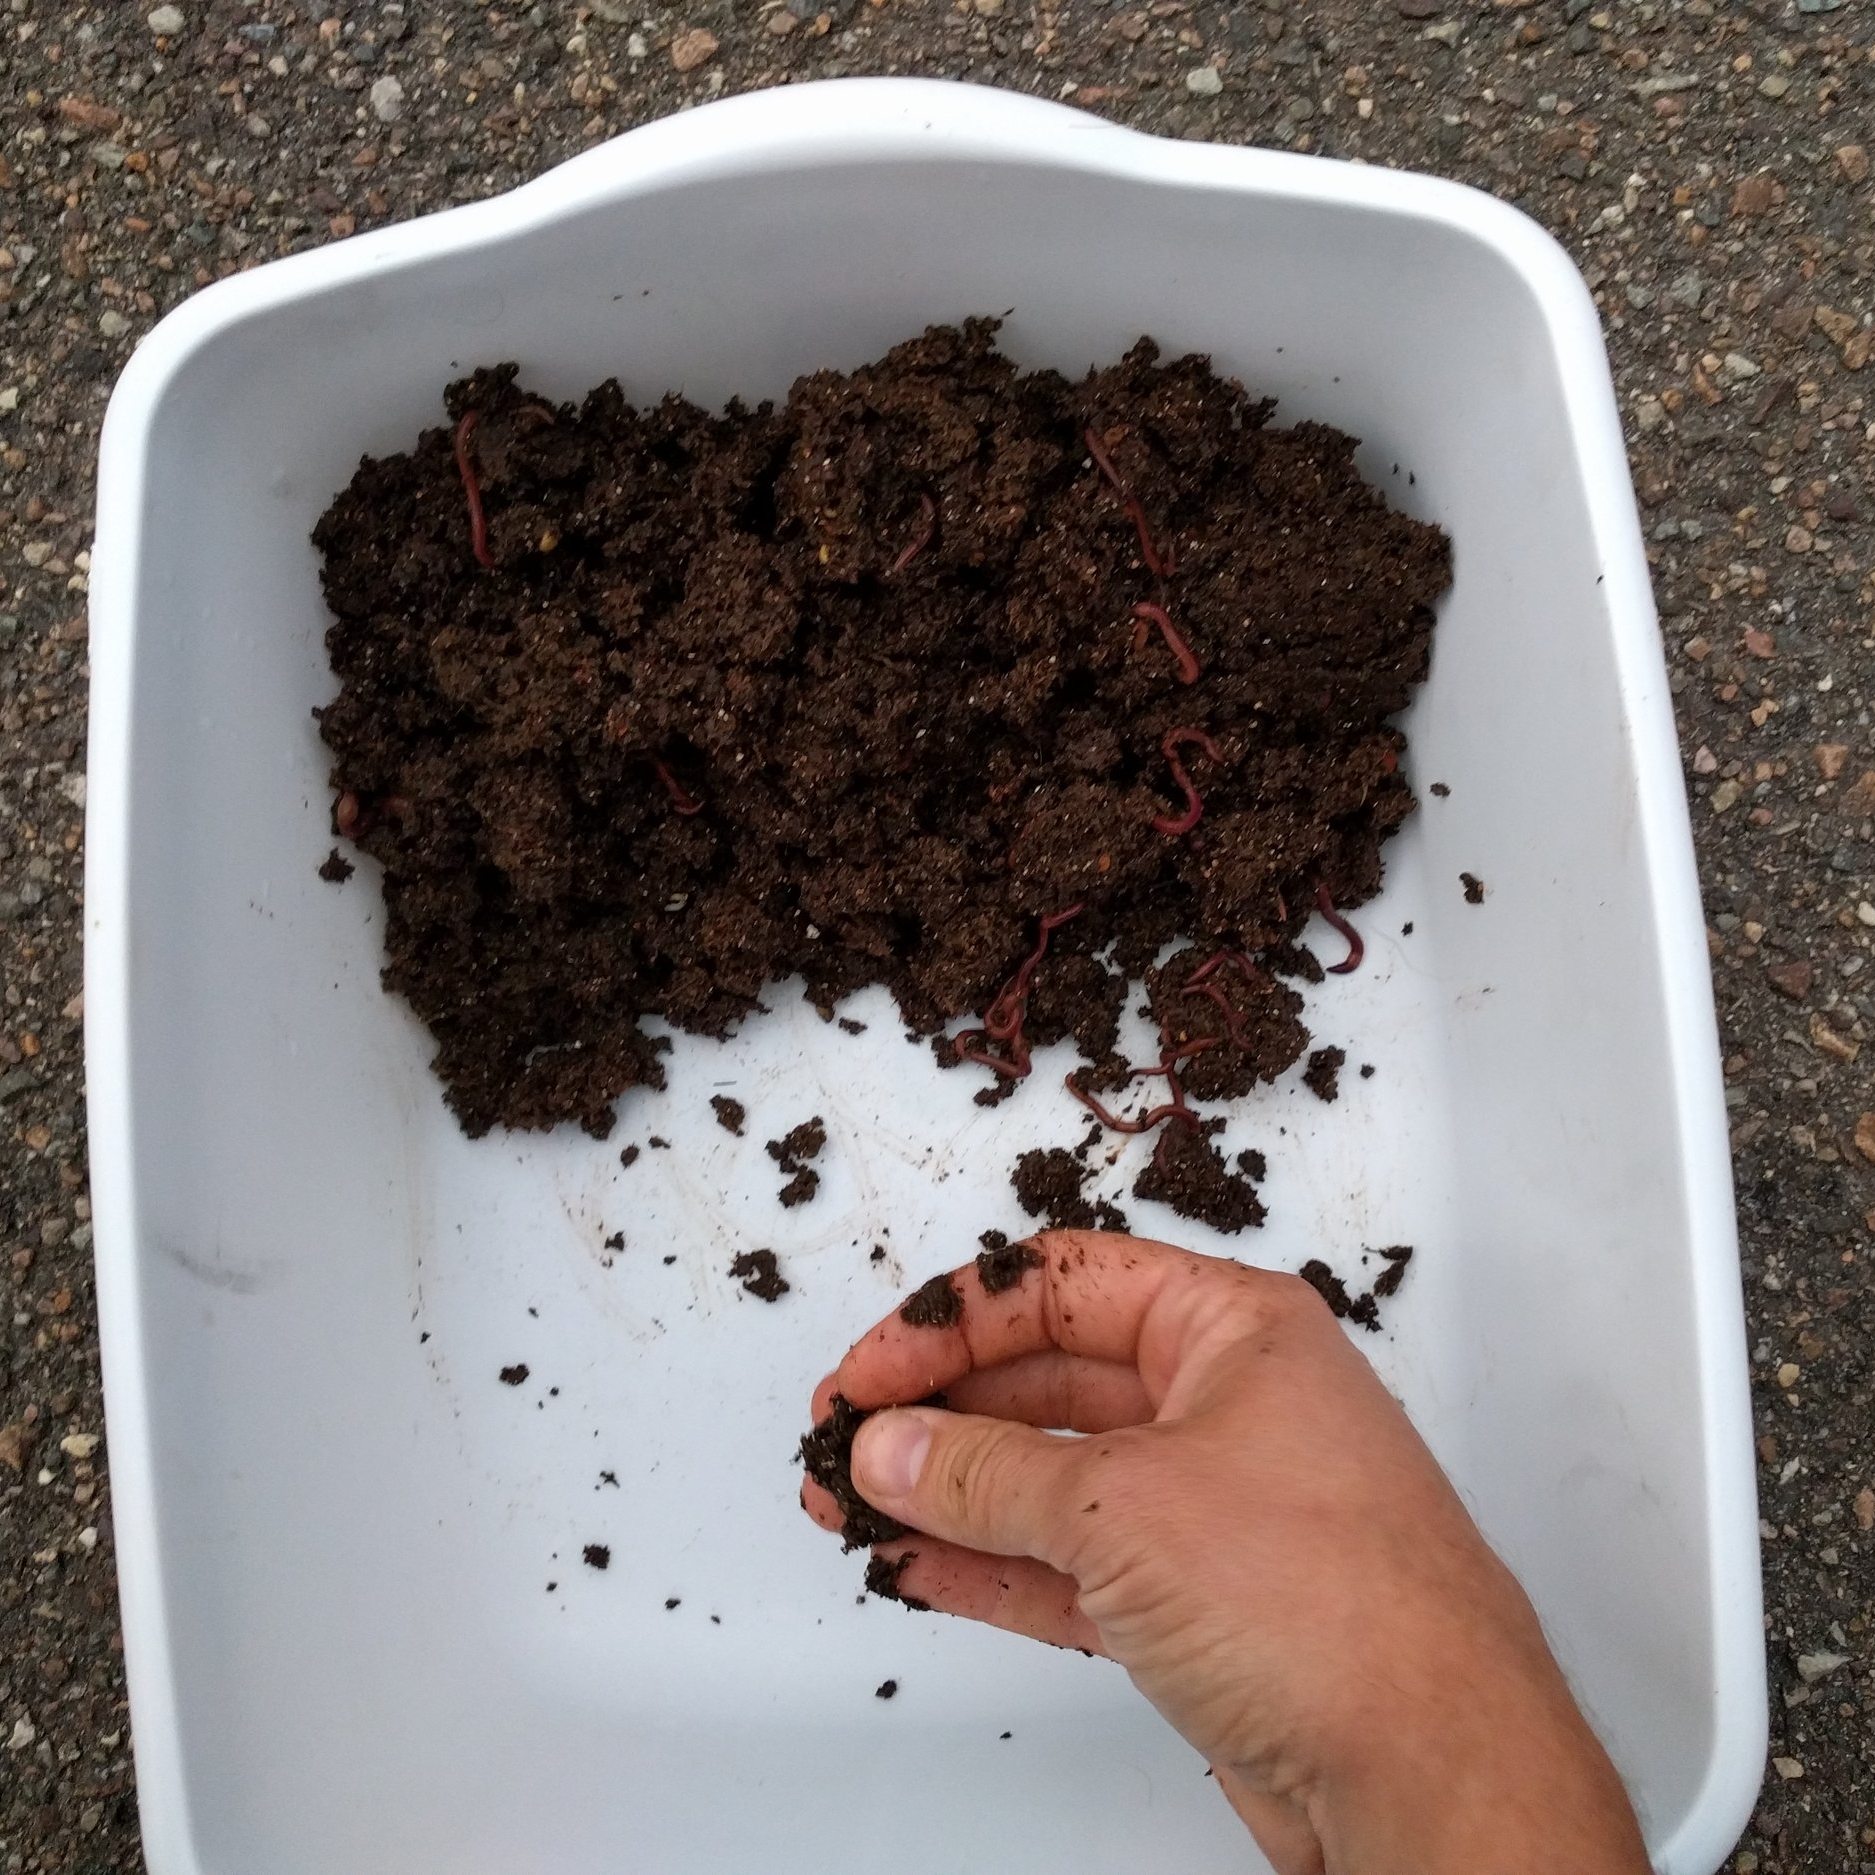
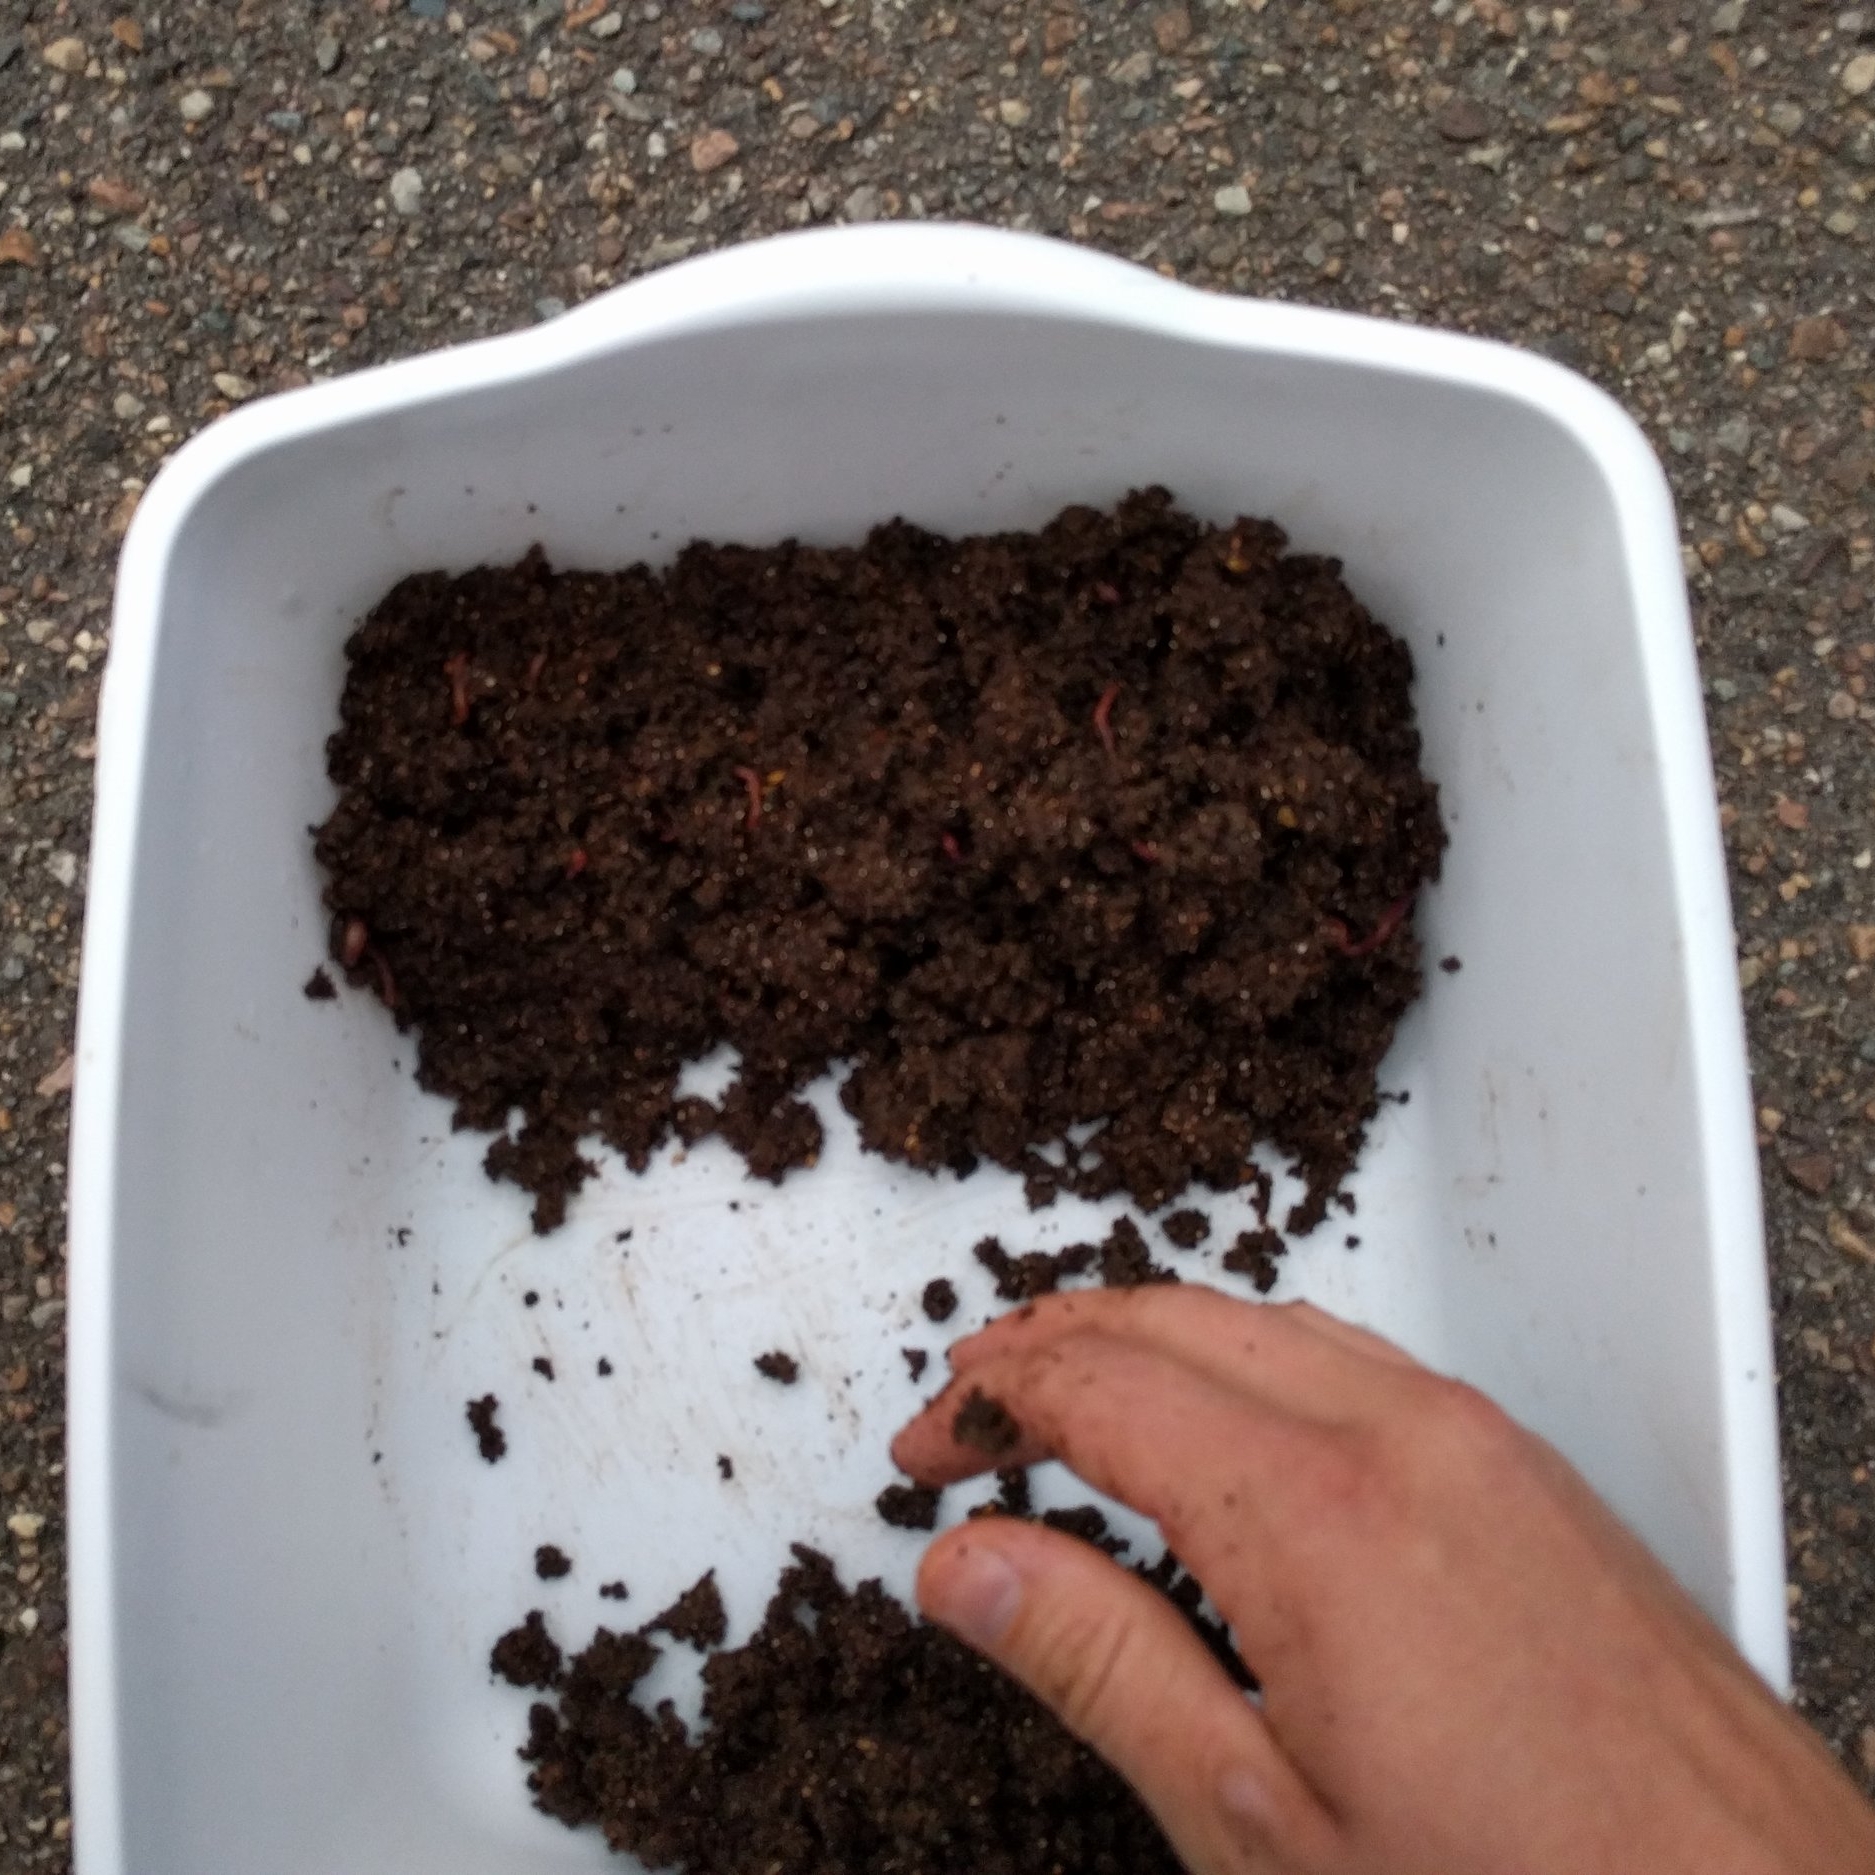
About once a month, I need to empty the bin. The worms will crowd at the top of the bin when it's time. First, I'll take the bin outside and drain the water, using it to water some plants. Then, I'll remove the net with the scraps and put it in a bucket for safekeeping. As long as you do this in direct sunlight, the worms won't go anywhere -- they'll just burrow deeper in to the scraps. I'll dig the castings out of the bin and put them in a shallow tray.
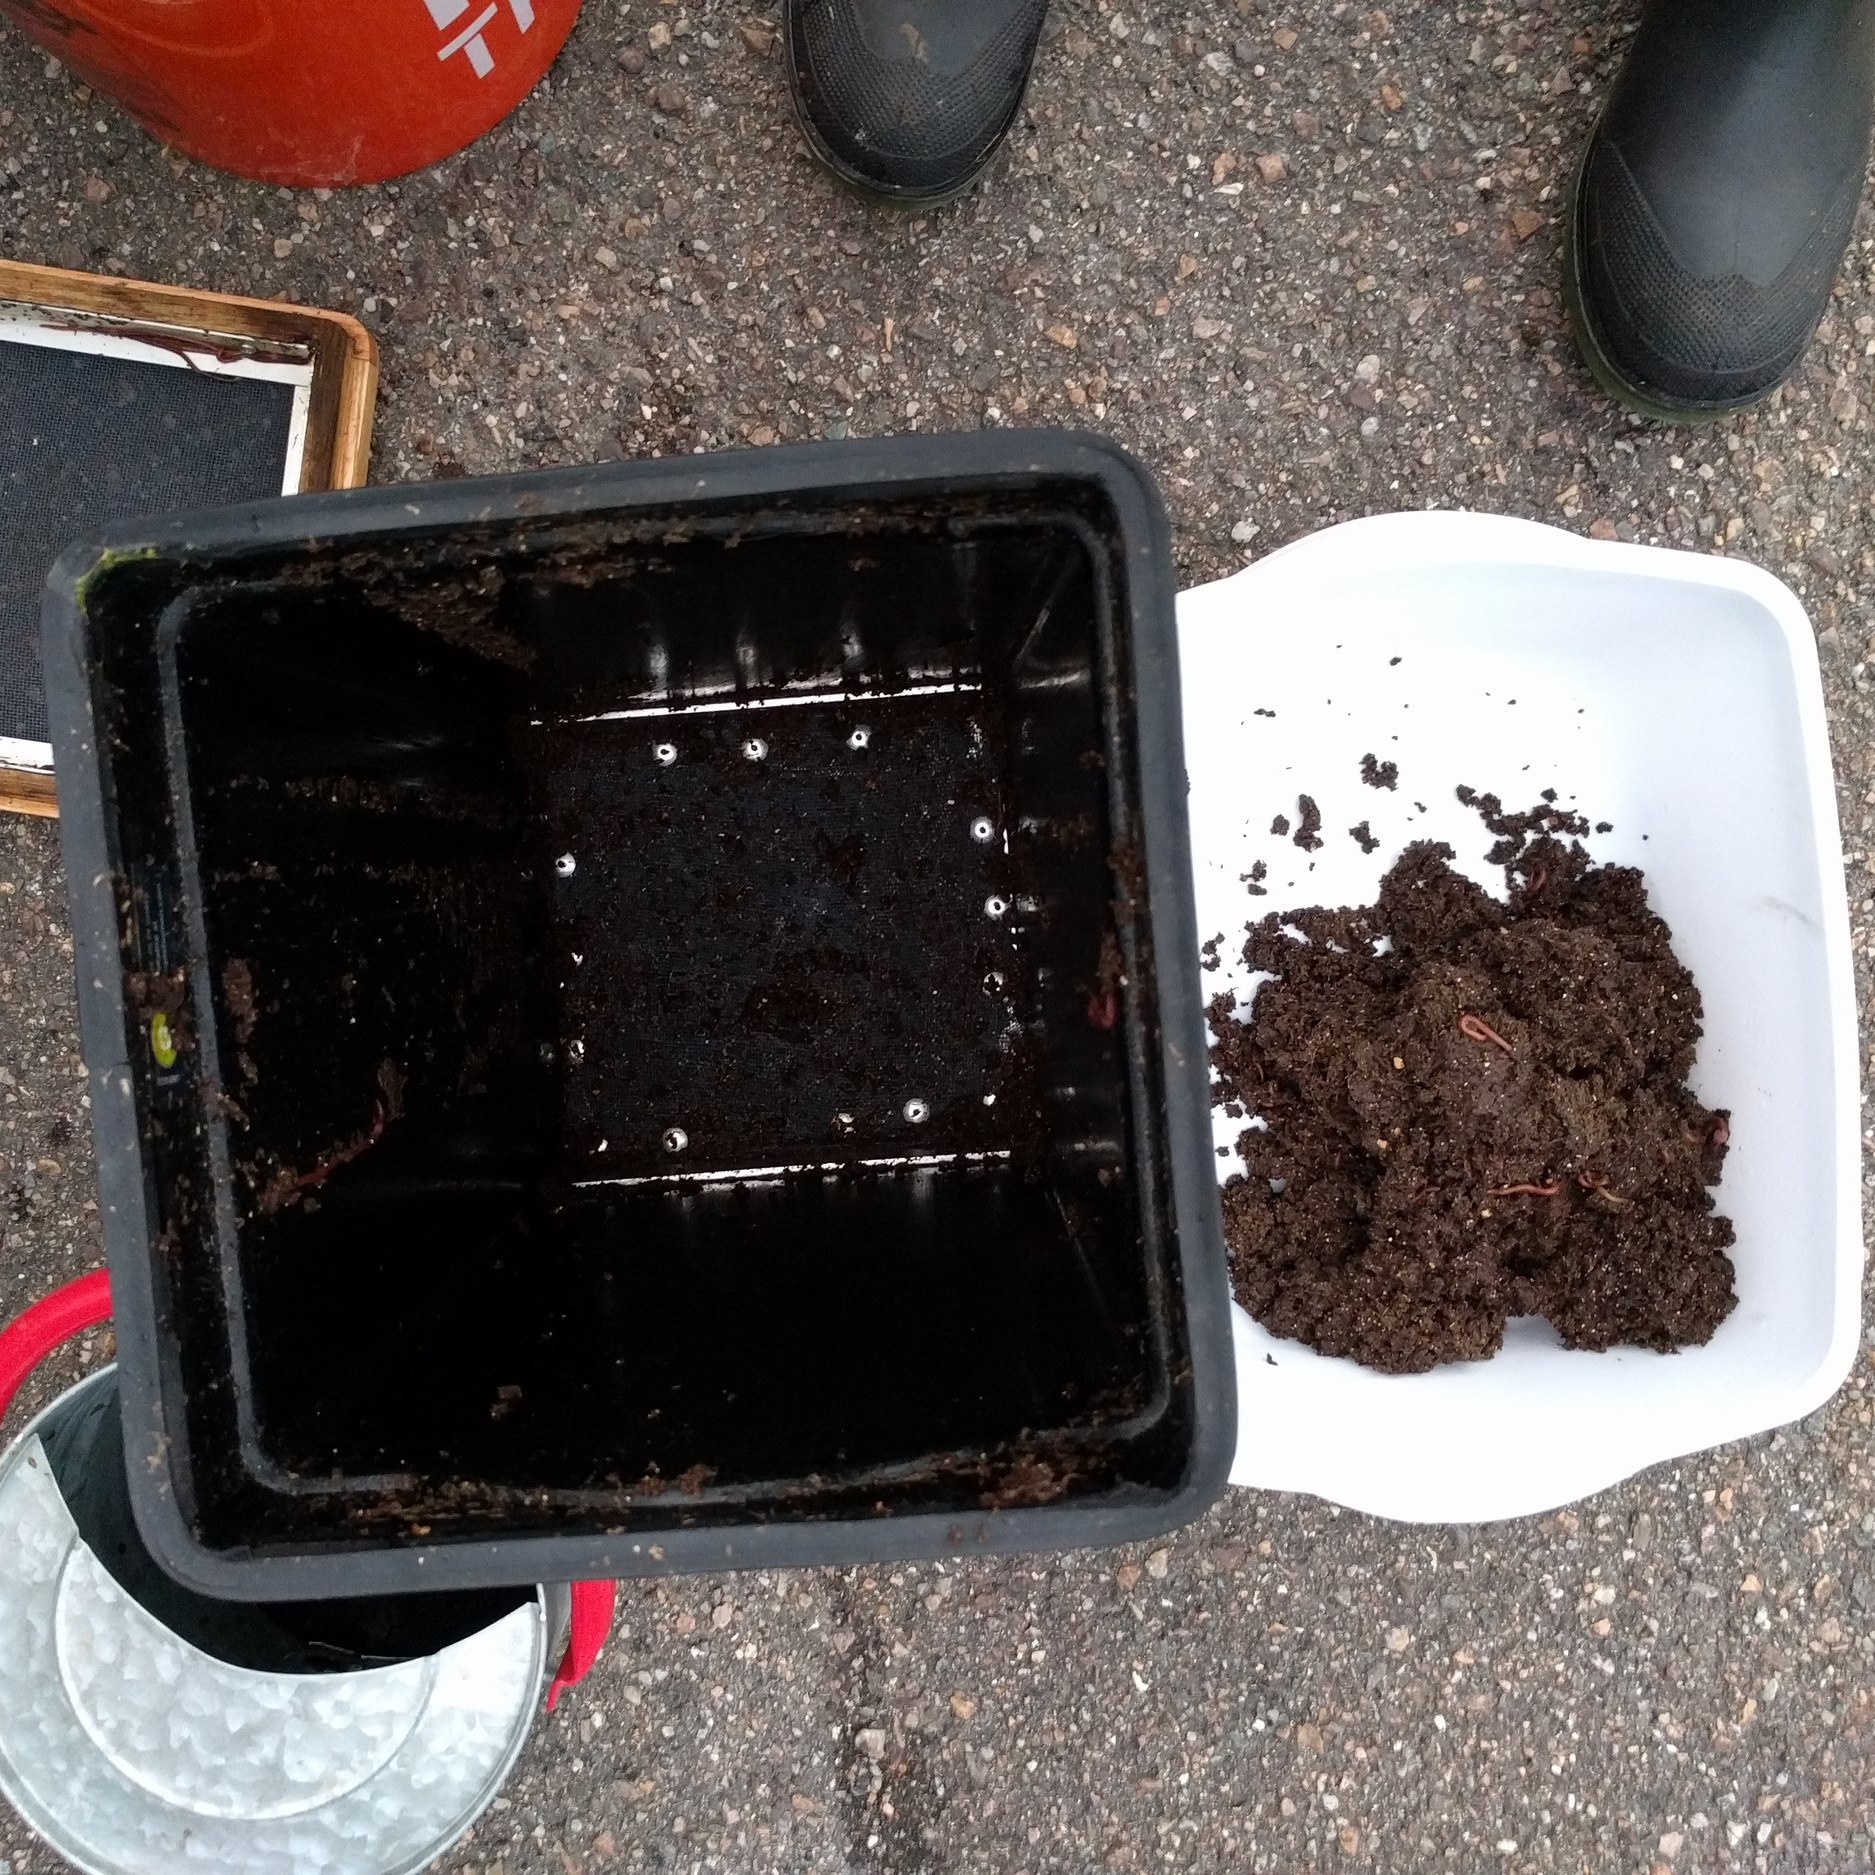
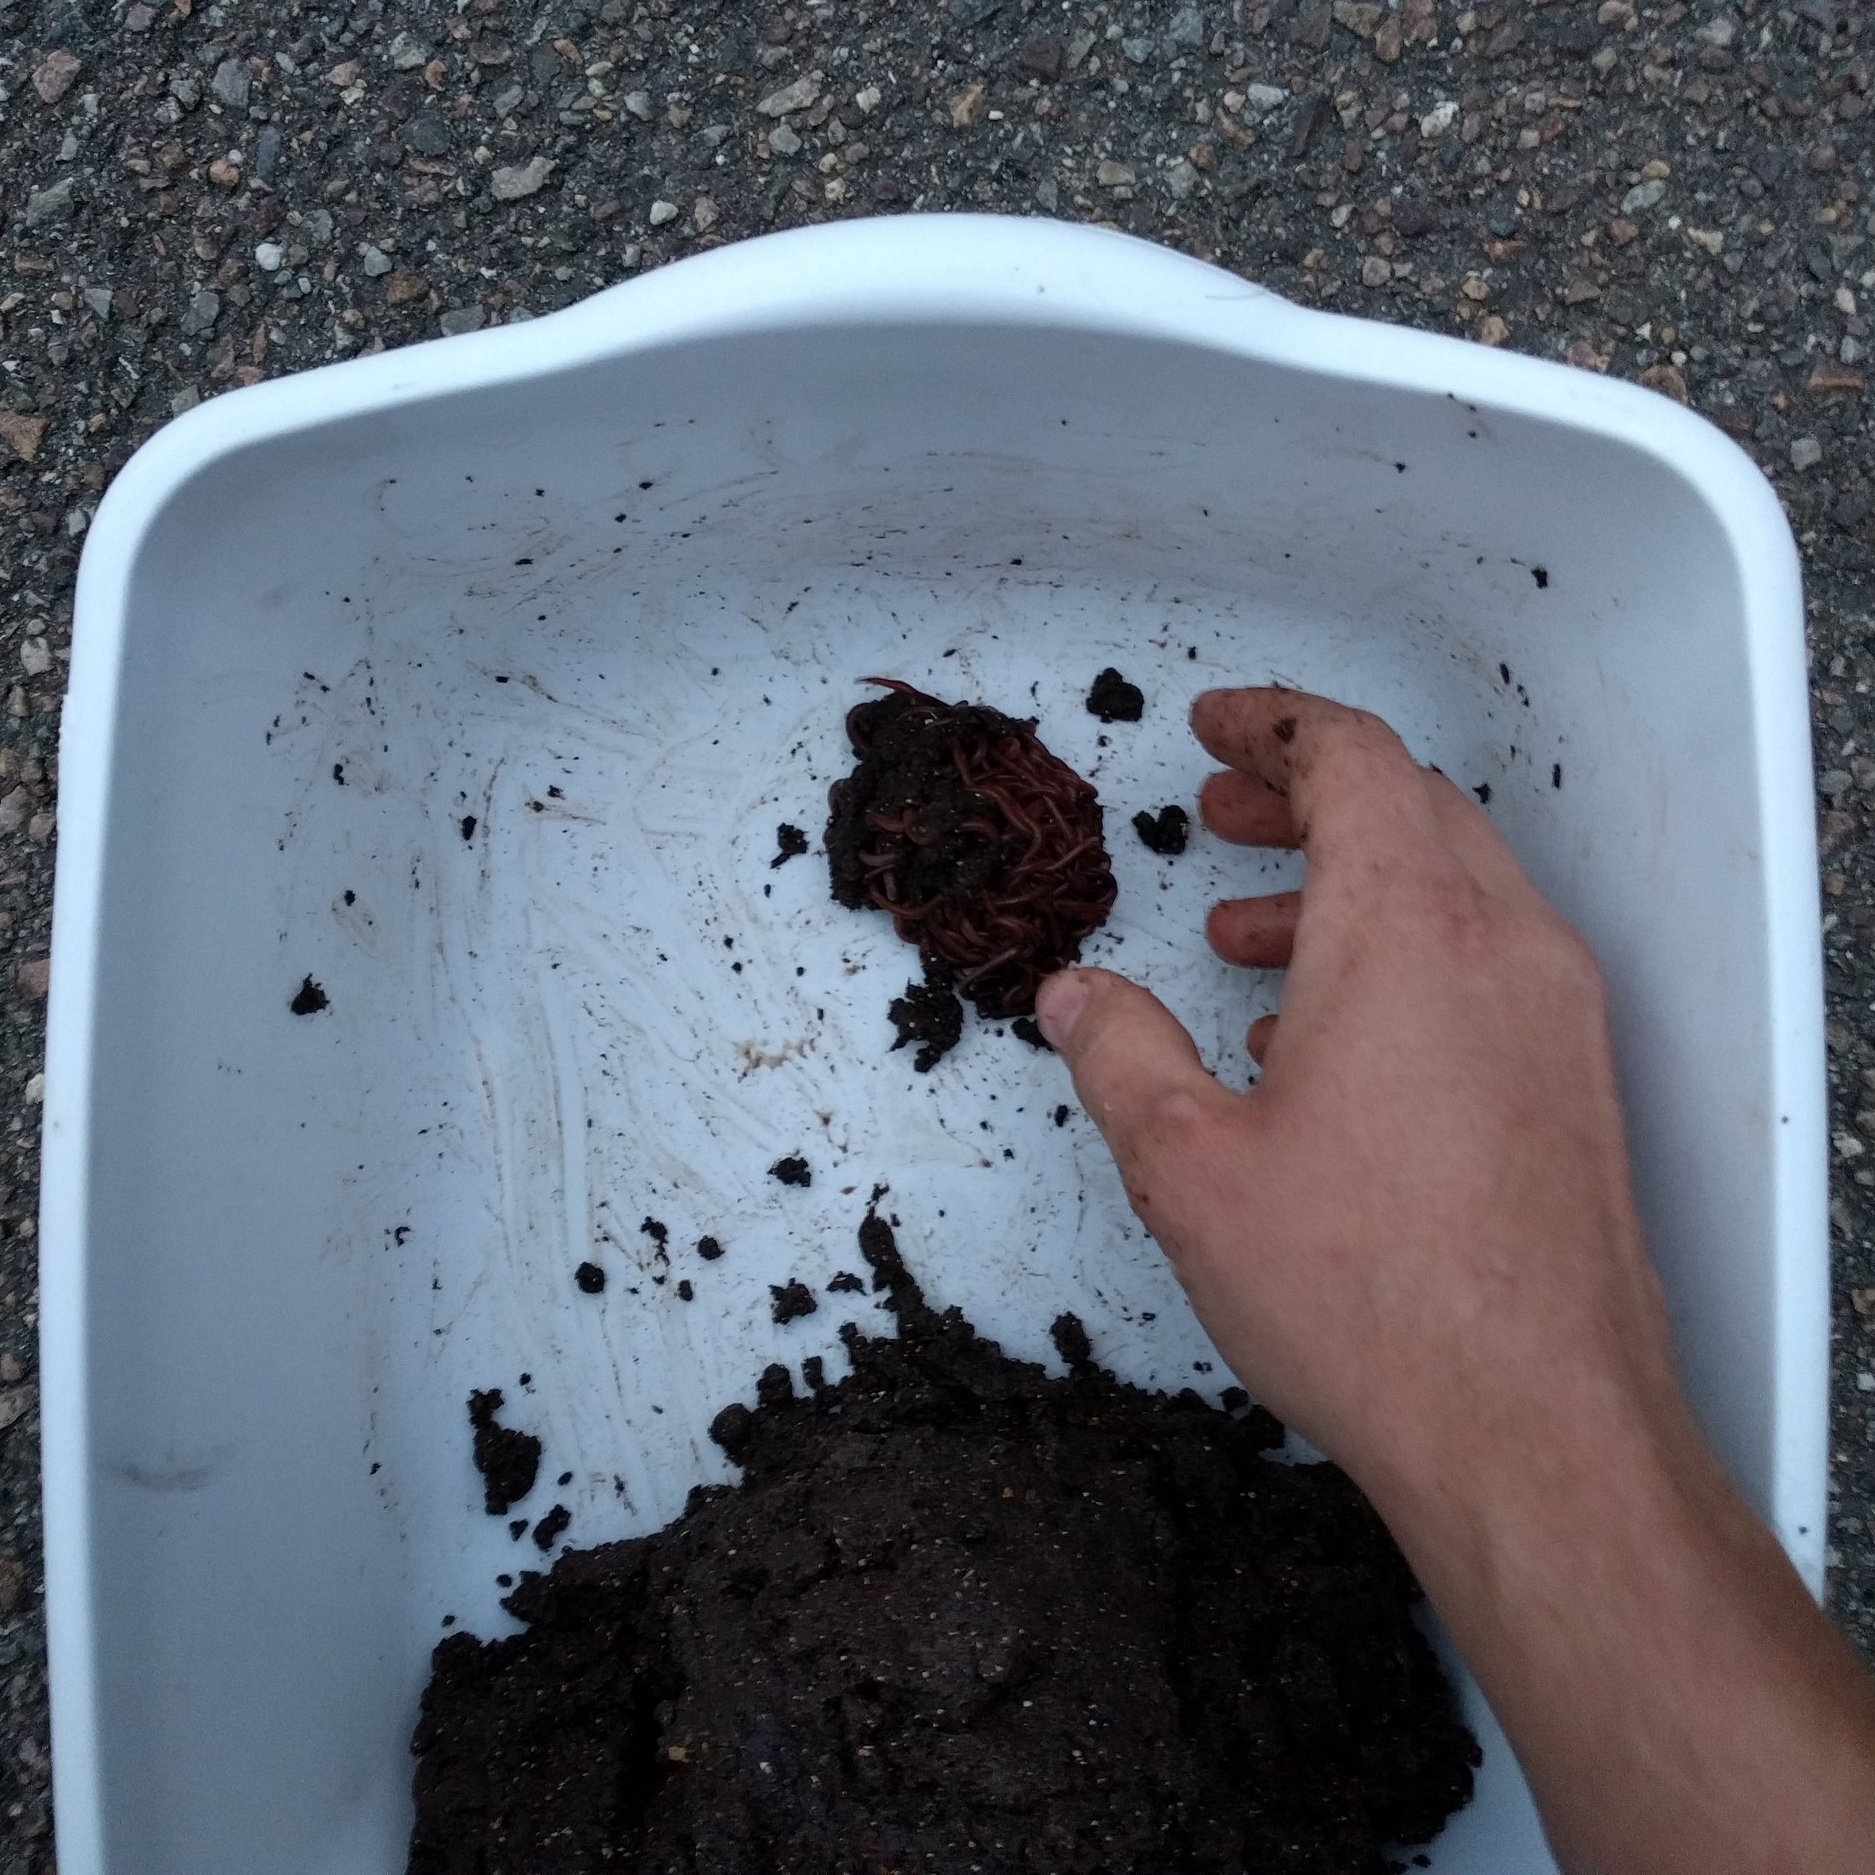
The castings still contain quite a few worms, which I want to keep, so I need to separate them. The easiest way to separate worms from soil is to make a pile at one end of a shallow bin and set it in direct sunlight. The worms don't like the sun, so as you skim the top layer off, they'll dig deeper. Keep pulling bits off the top and returning the worms to the pile, and pretty soon you'll end up with a wriggling mass of worms. No big deal if a few worms end up in the finished compost, there are plenty and they'll be happy in the garden, too.
We're getting about a half gallon of vermicompost per month. It's not a lot, but we're not really after the compost. The real benefit here is that our kitchen trash is far less smelly, and we're putting a ton of stuff in the bin instead of the trash, so we make less garbage. Apple core? Give it to the worms. Lettuce going south? Worm food. Paper or plastic? I can feed a paper bag to the worms. Cardboard egg carton? Comfy worm bedding.
Want to try vermicomposting but don't think you have room? It doesn't take much space to keep compost worms happy. If you want to do a tiny worm bin experiment of your own, use #tinywormbin on Instagram to share your results.
Honeymoon Week Three: Greenville Farm and Family Campground
For our last week, we wanted to stay pretty close by, as we had some local errands to take care of. Greenville Family Campground looked promising, and so off we went!
Greenville Family Campground is situated on a working dairy farm. There were quite a few other campers there -- some contractors staying locally for work, some families vacationing, and some travelers just passing through. There are tent sites, 30A RV sites, and full hookup sites with 50A and sewer. The scenery is beautiful with wooded campsites and trails, rolling farmland, ponds, and a resident blue heron.


We were surprised at how few of the sites were occupied. There are clues around the campground that suggest a much busier past, such as the pedestals for electronic gates with the arms removed, laundry facilities with half of the appliances out of order, and showers that have a rod for shower curtains, but no actual curtains.
The pool, however, was well maintained. We spent one afternoon swimming with some resident frogs before shuttling them down to the pond where they would be happier.

Frog friends.

Releasing the frogs we abducted ... er ... rescued from the pool.
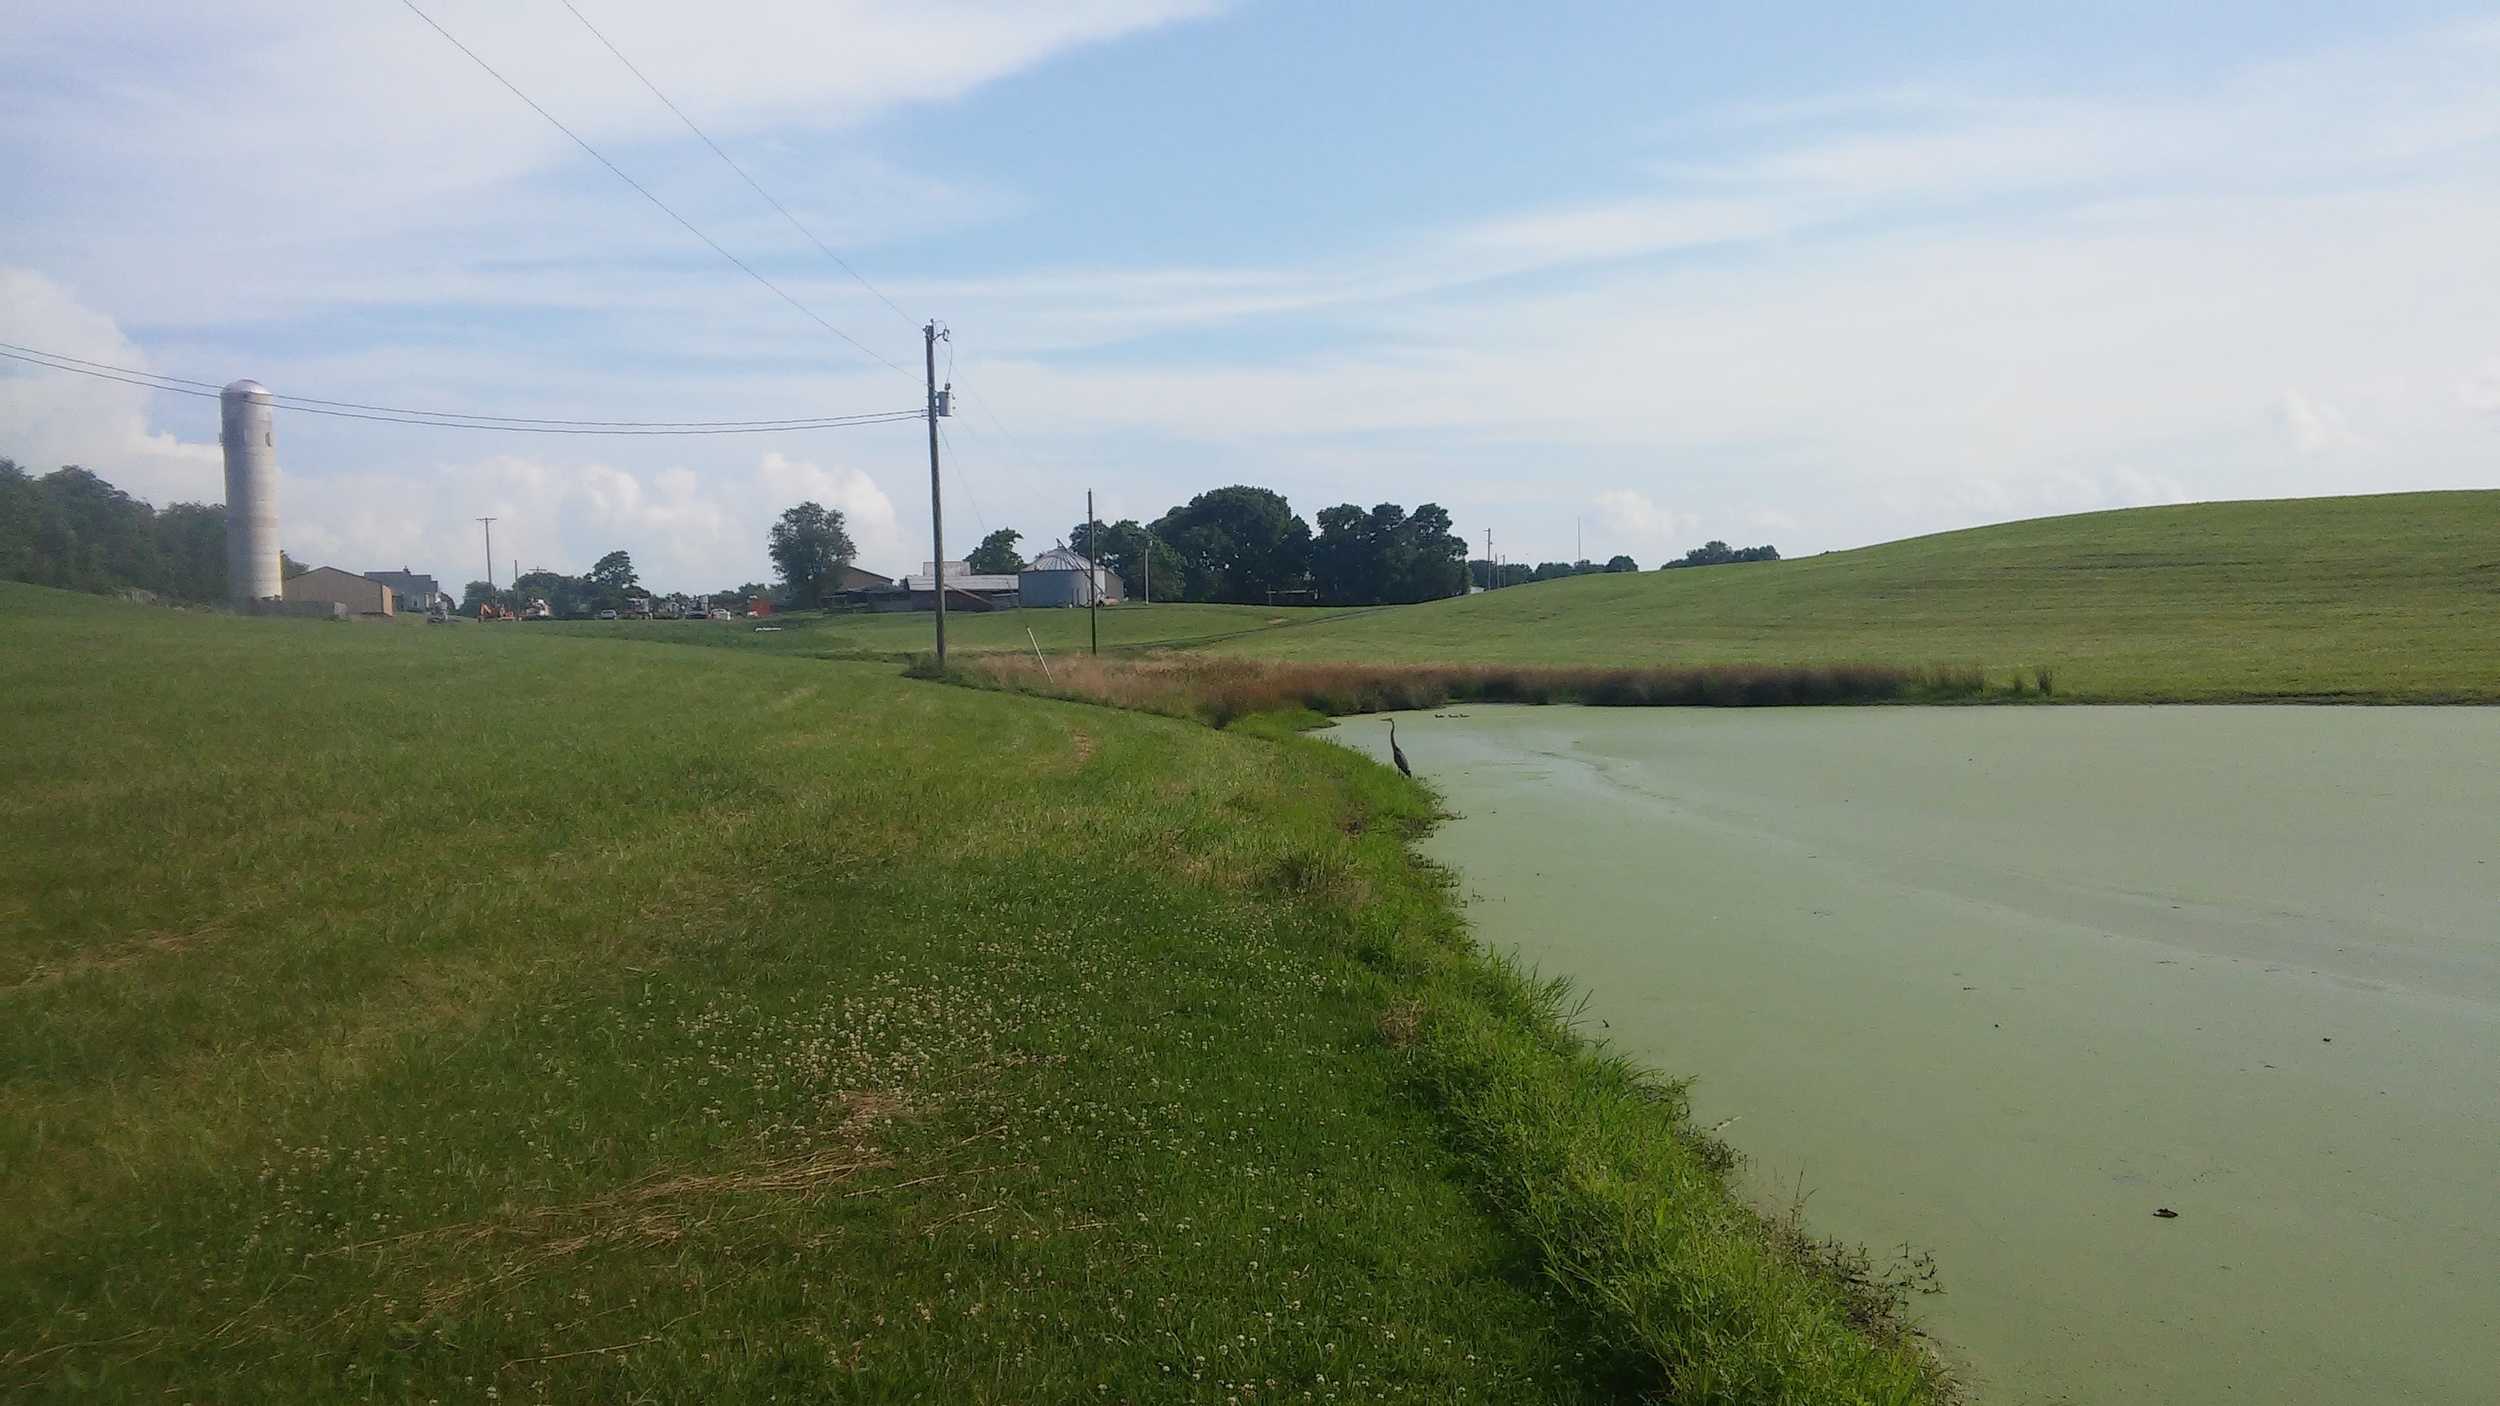
It is surprisingly difficult to take a picture of a heron.
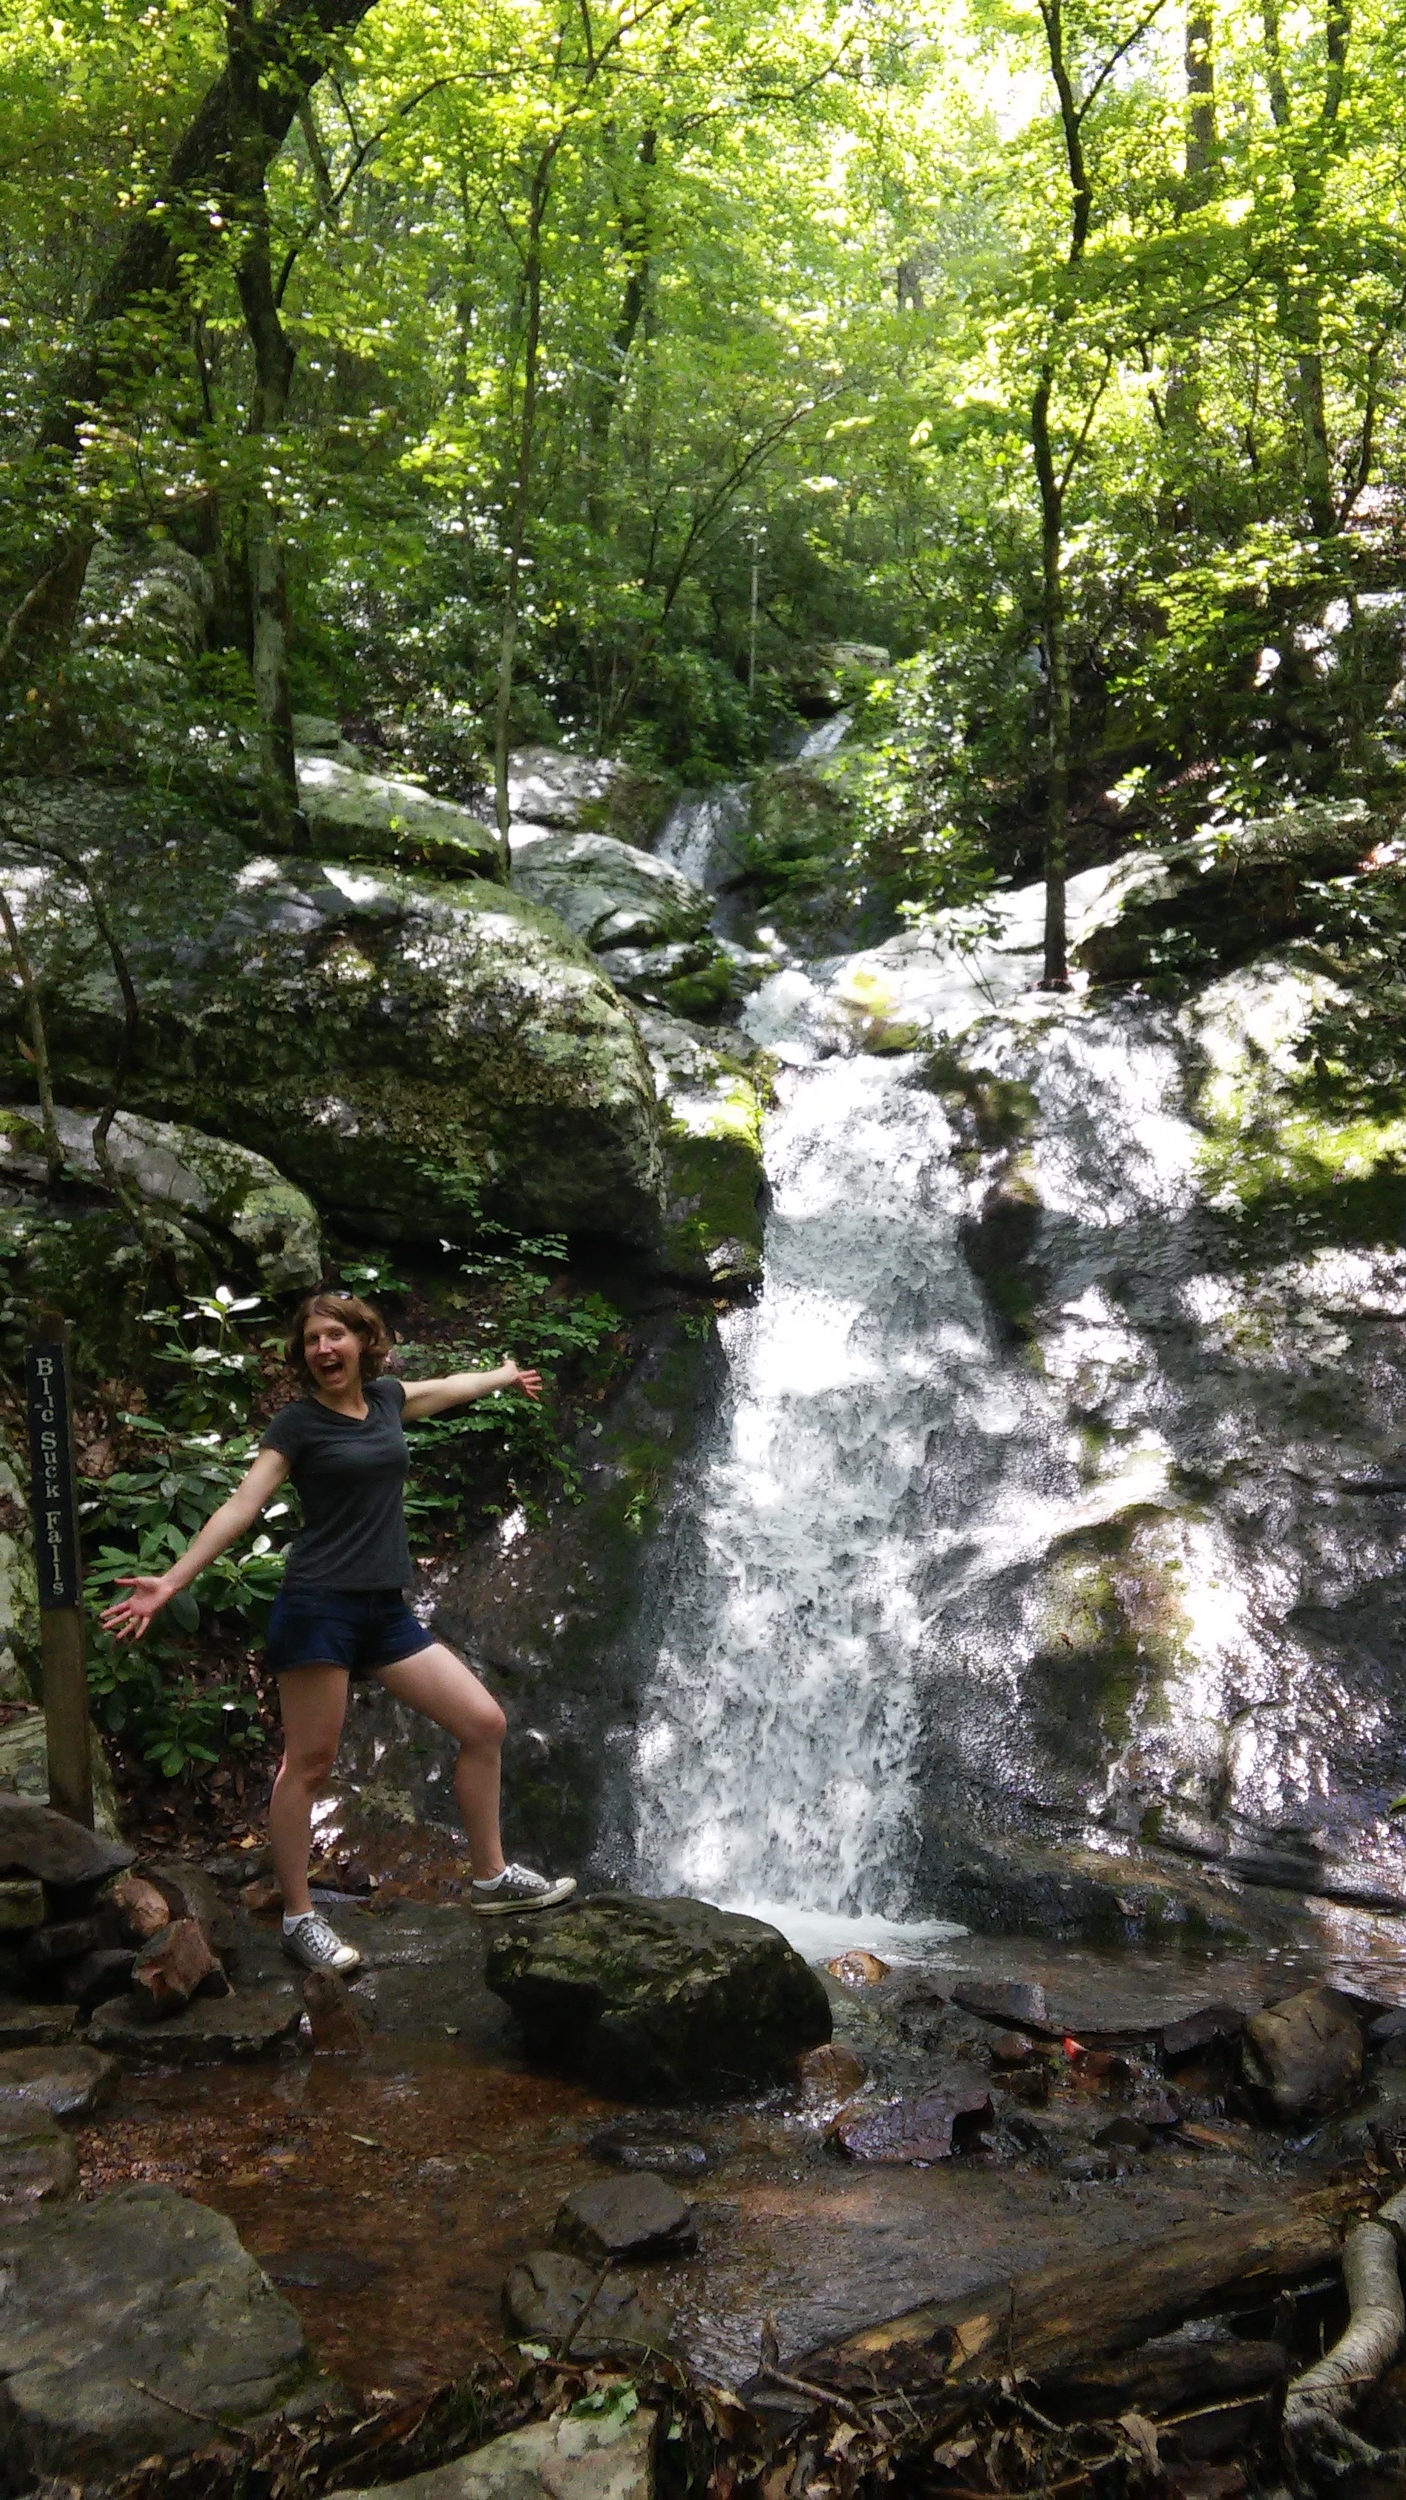
Honeymoon Week Two: Douthat State Park
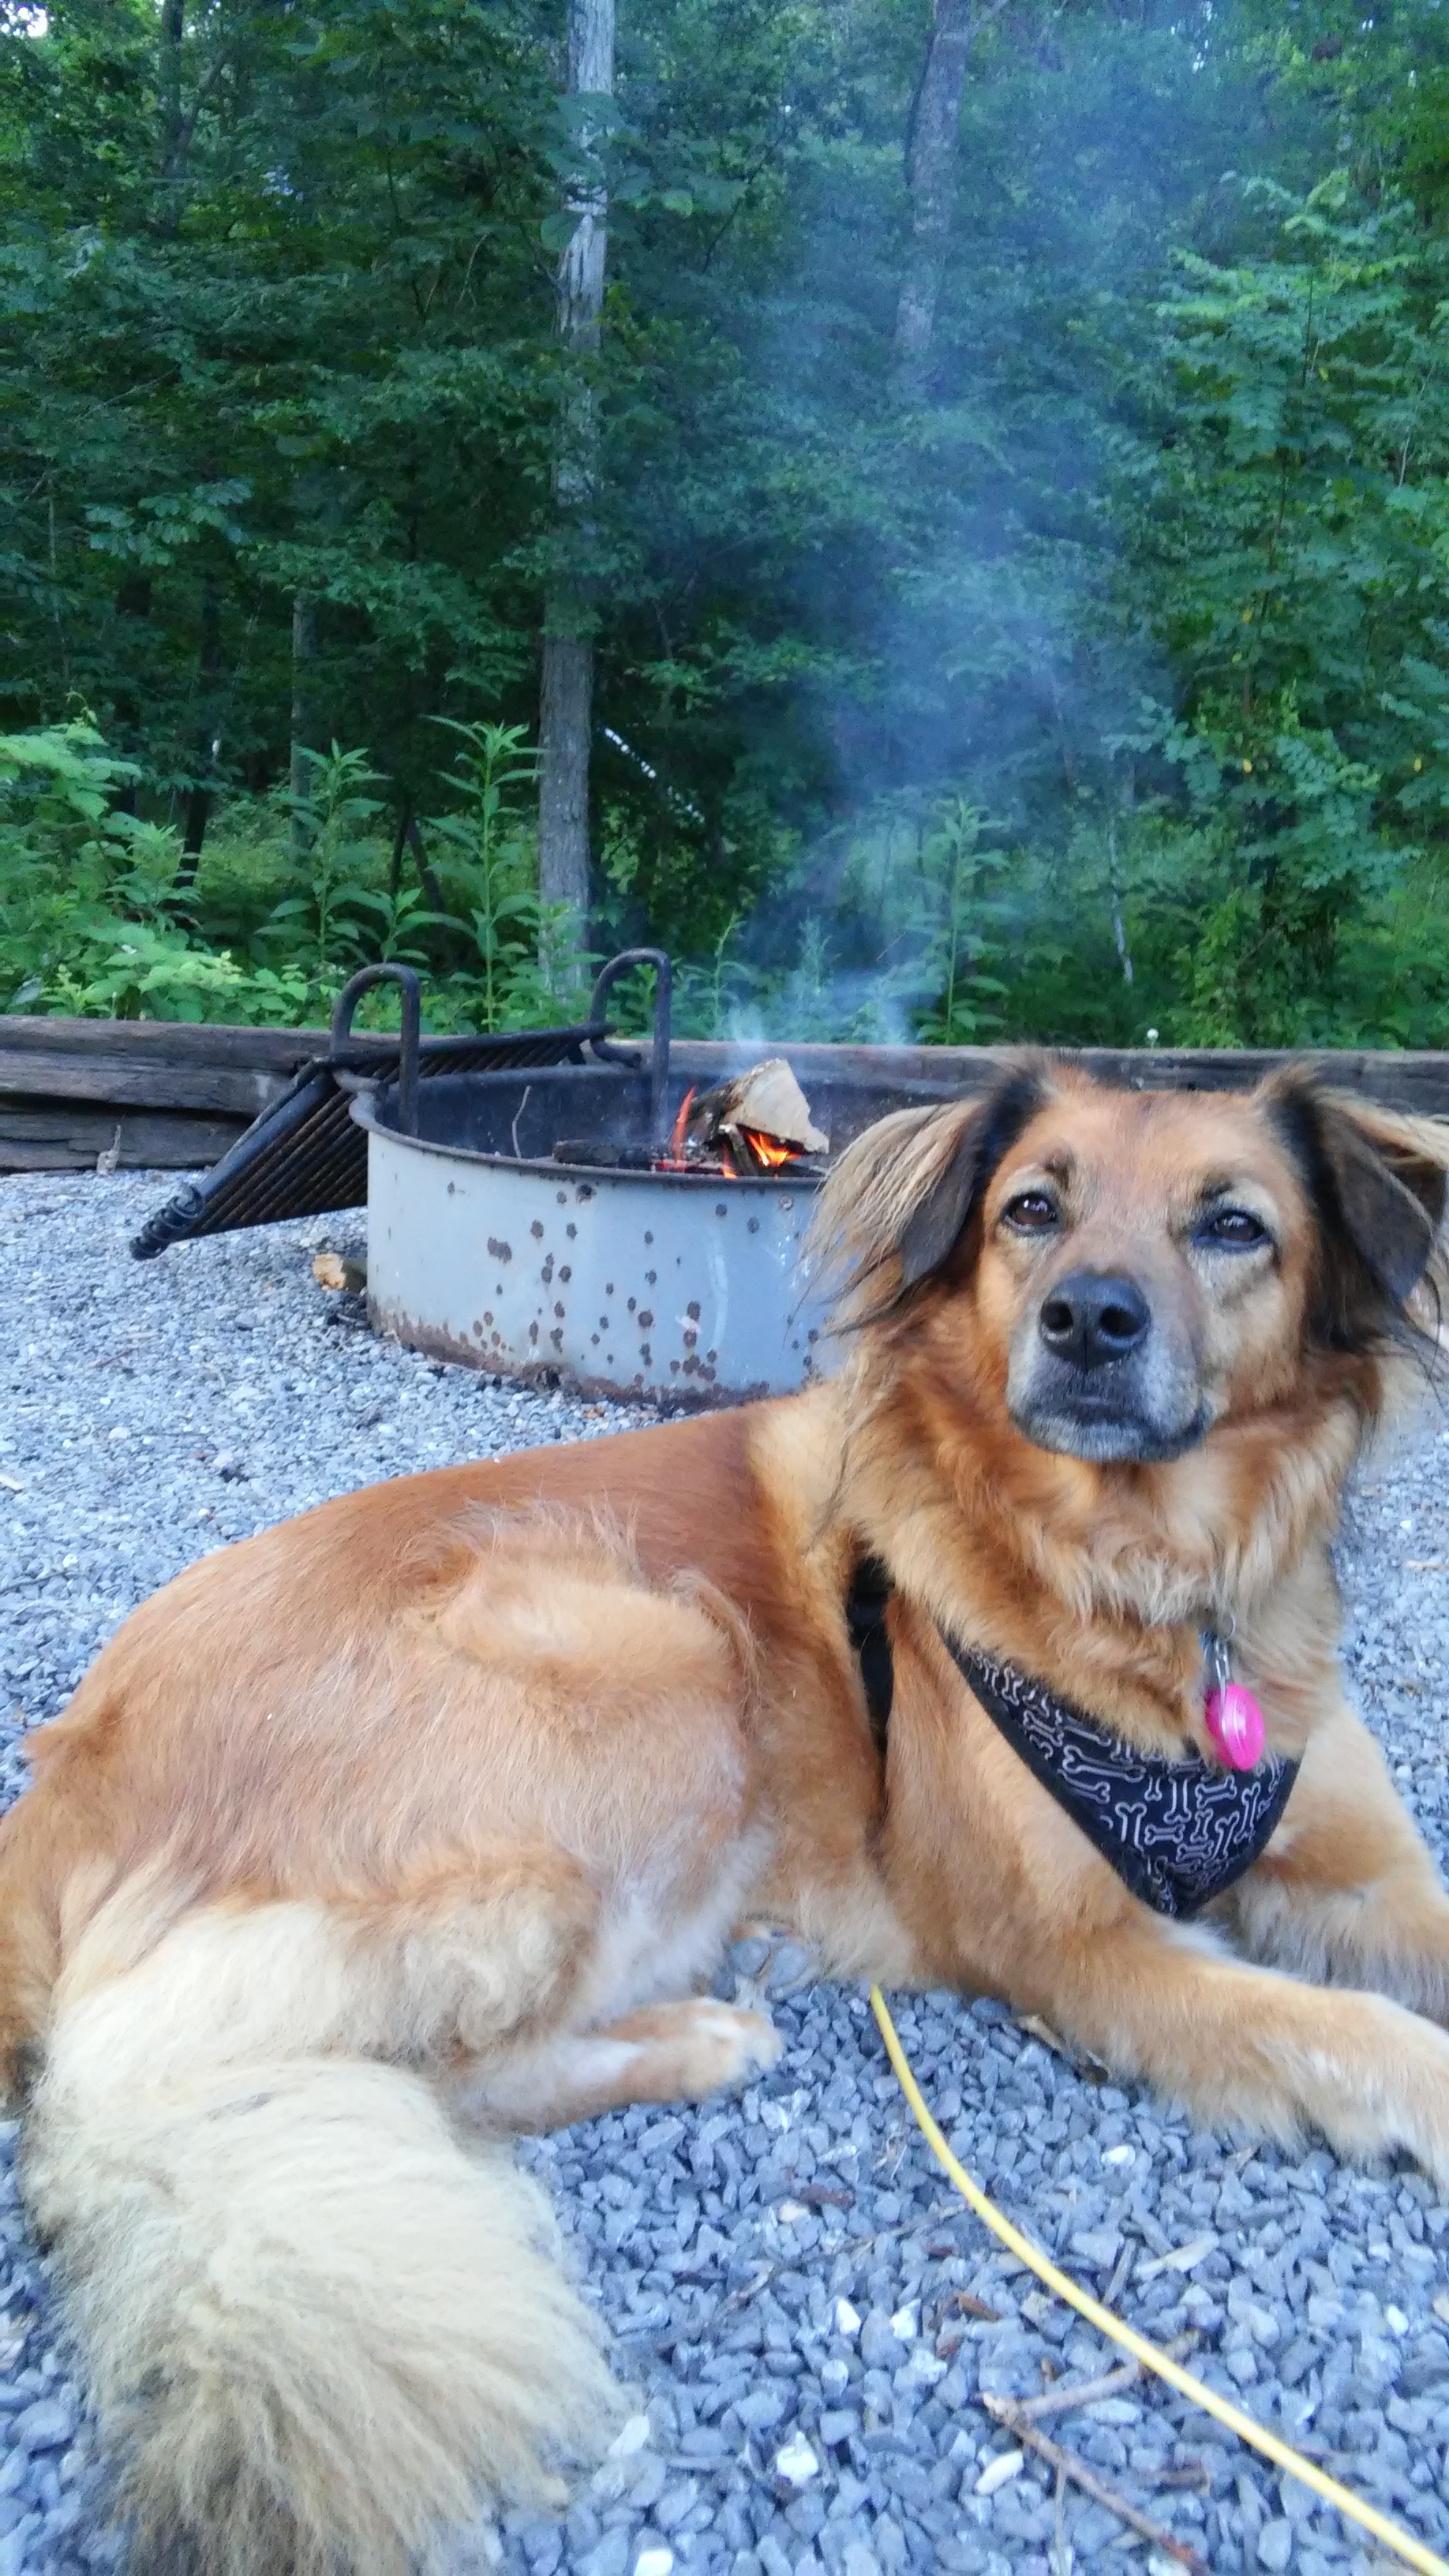
After much deliberation, we decided to head south into George Washington National Forest to spend some time in the mountains and hopefully see some awesome stars. Douthat State Park had a lot of recommendations and had hookups, RV friendly spots, and things to do with the dog. Luna was SUPER excited to come with us this time:
I was a bit nervous about driving through the mountains, but the route we choose was pretty straight and avoided the steep grades and switch-backs nearby.
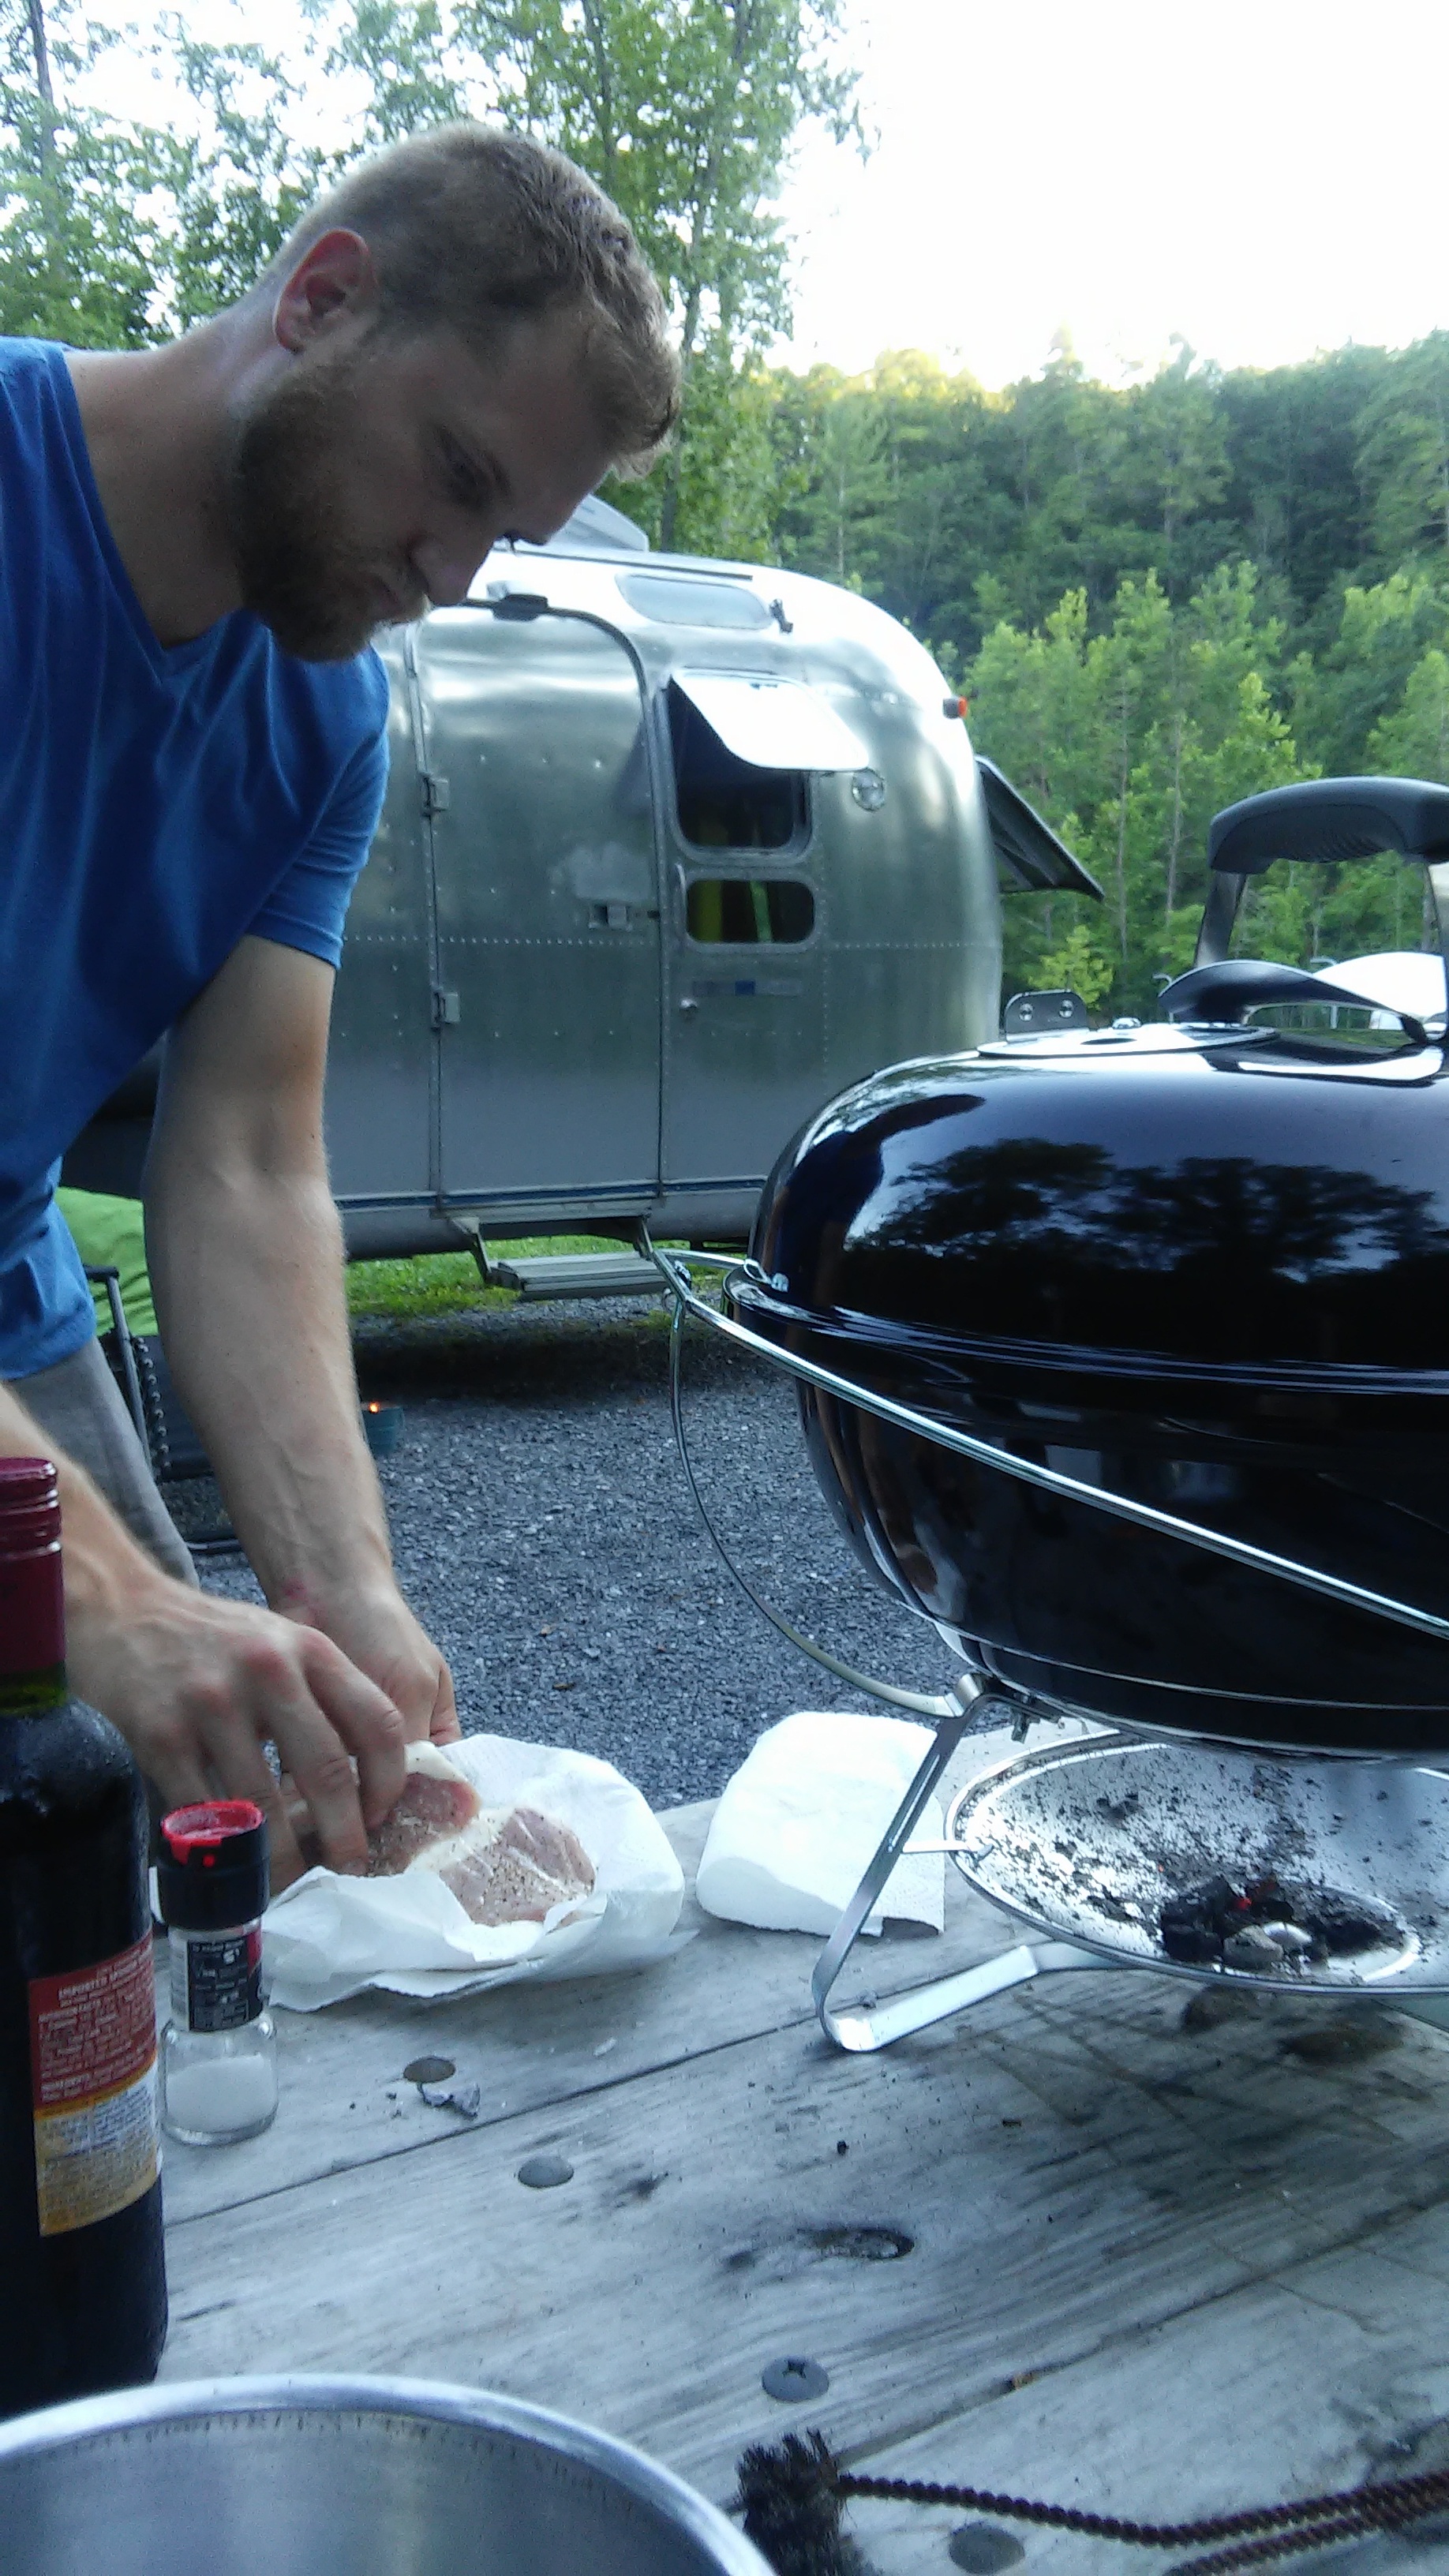
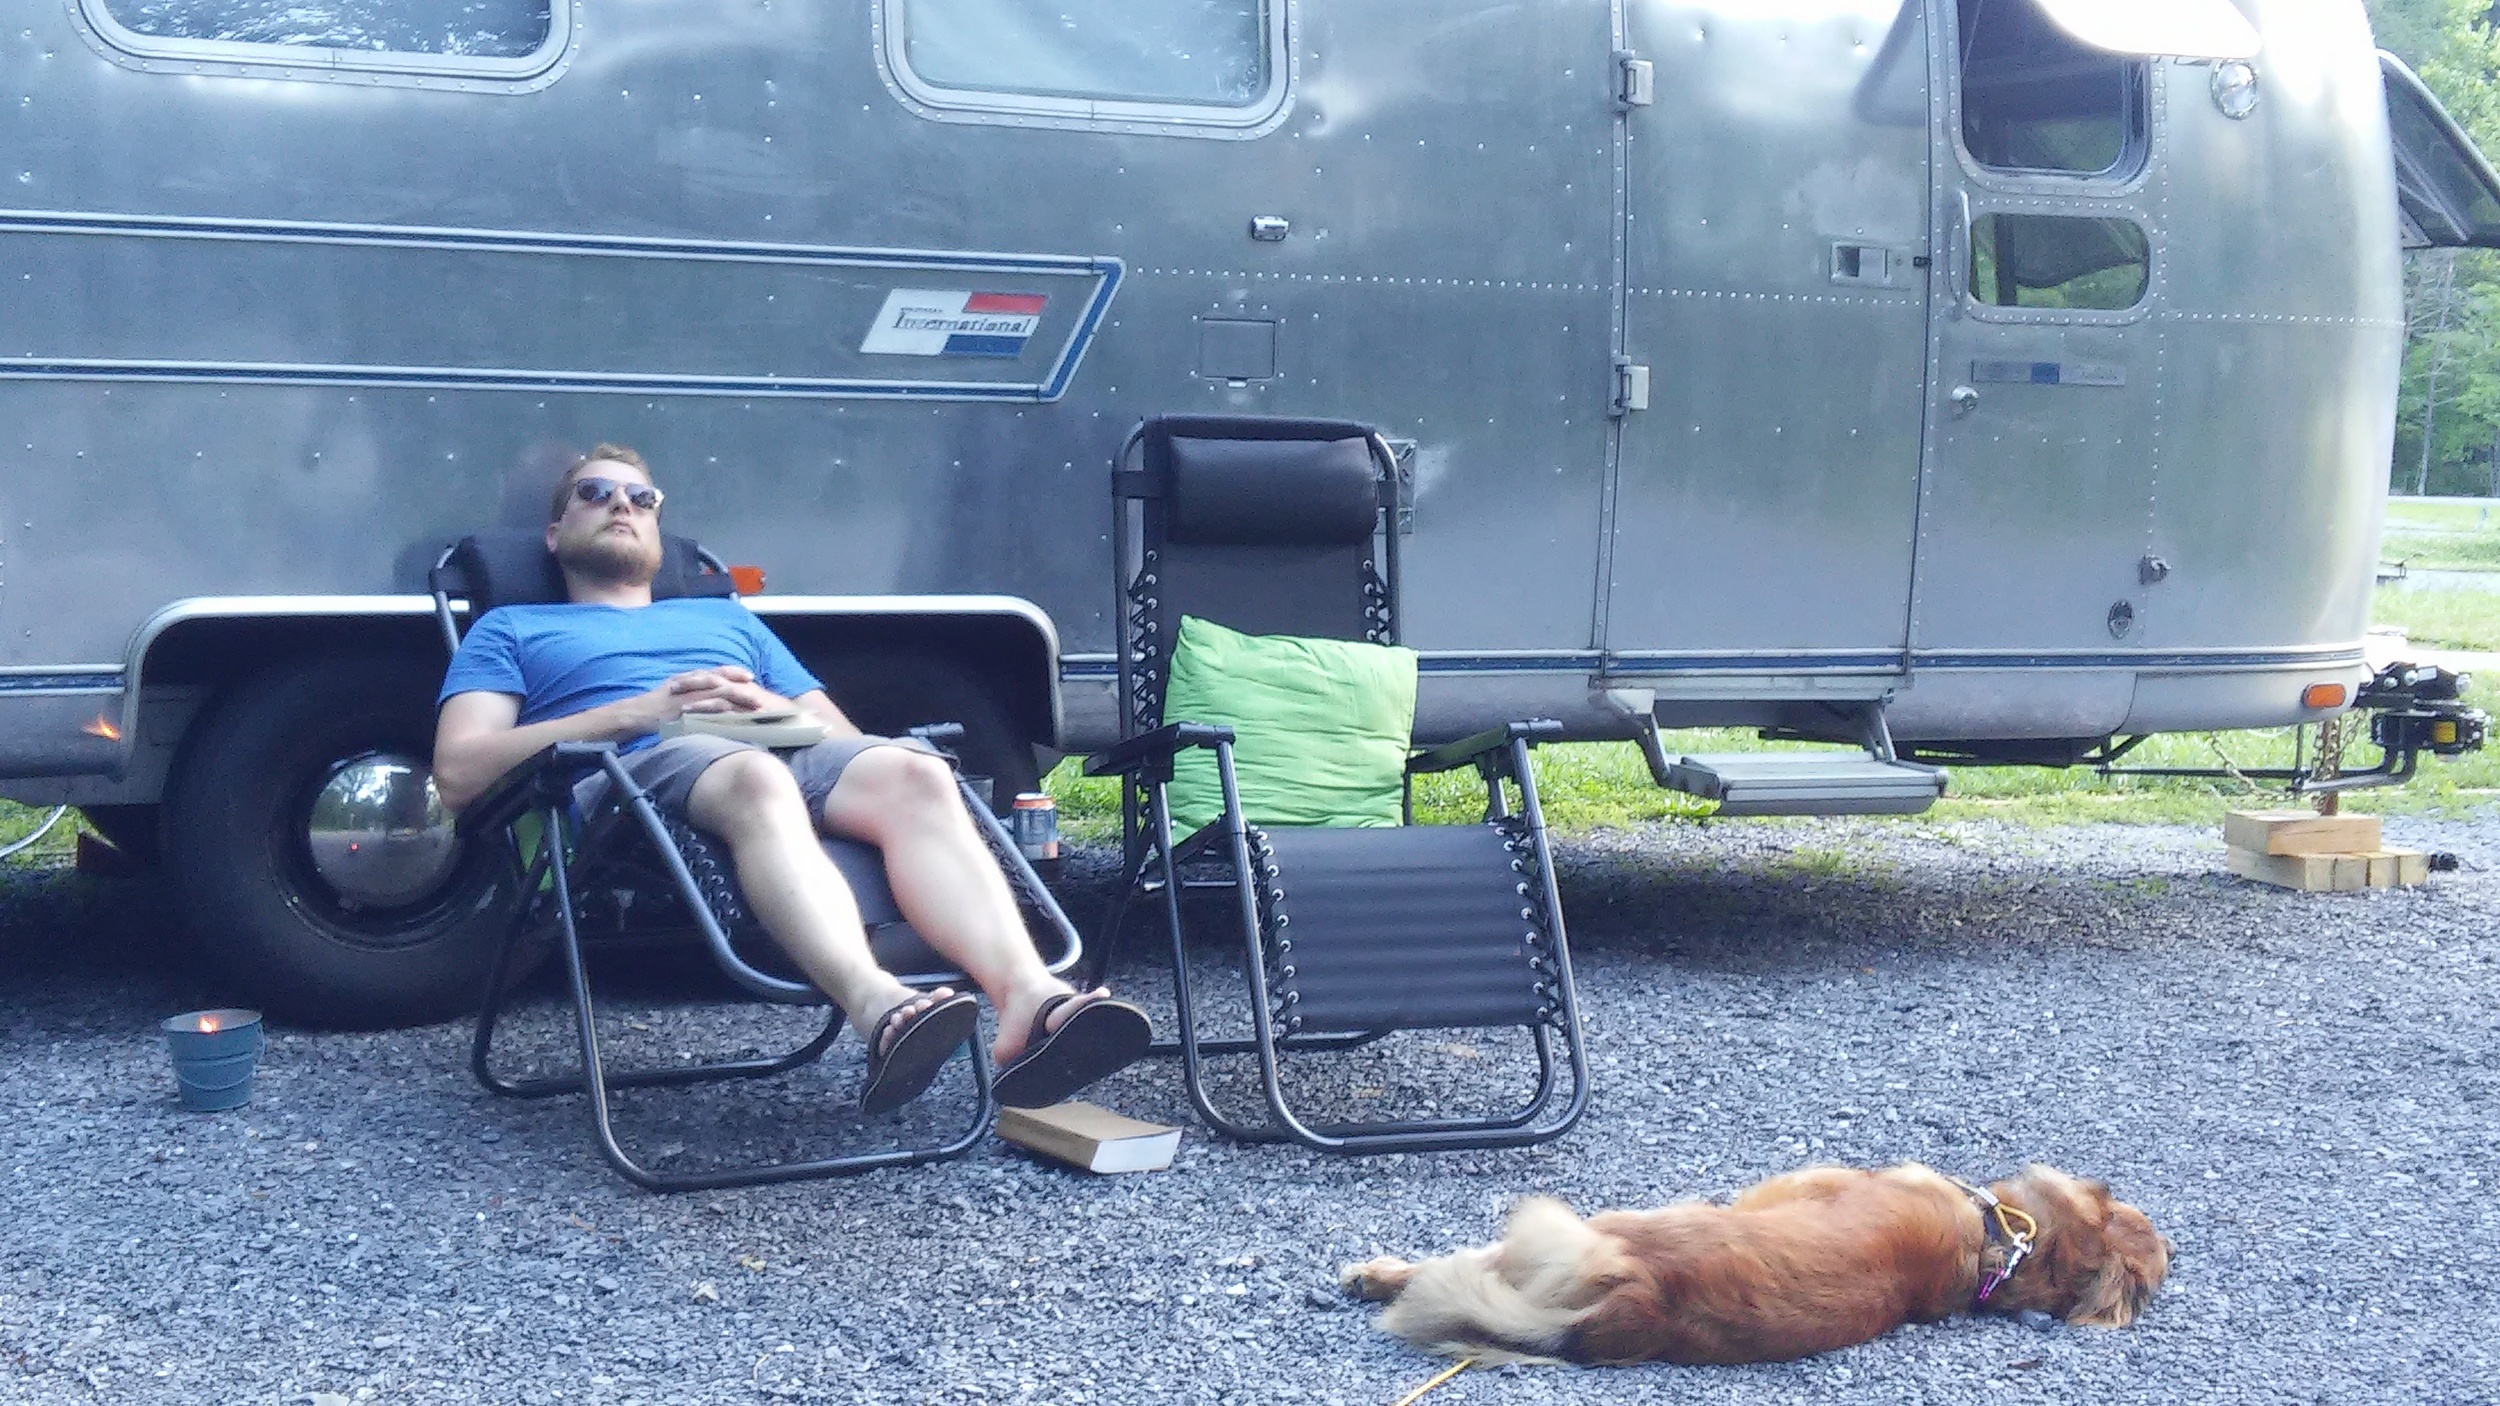
We were in the Whispering Pines Campground, which is far away from the rest of the park and other camping loops. All the sites were far from each other, with a large gravel pad, picnic table, and campfire ring. It was really quiet and peaceful.

We spent the week exploring the park, hiking trails, and relaxing.