We were originally hoping to do PaperStone countertops, and had gone as far as ordering samples and picking out a color. But the nearest distributor is in North Carolina, and we aren't up for making that trip at the moment. So, we went with our second choice, IKEA butcher block.
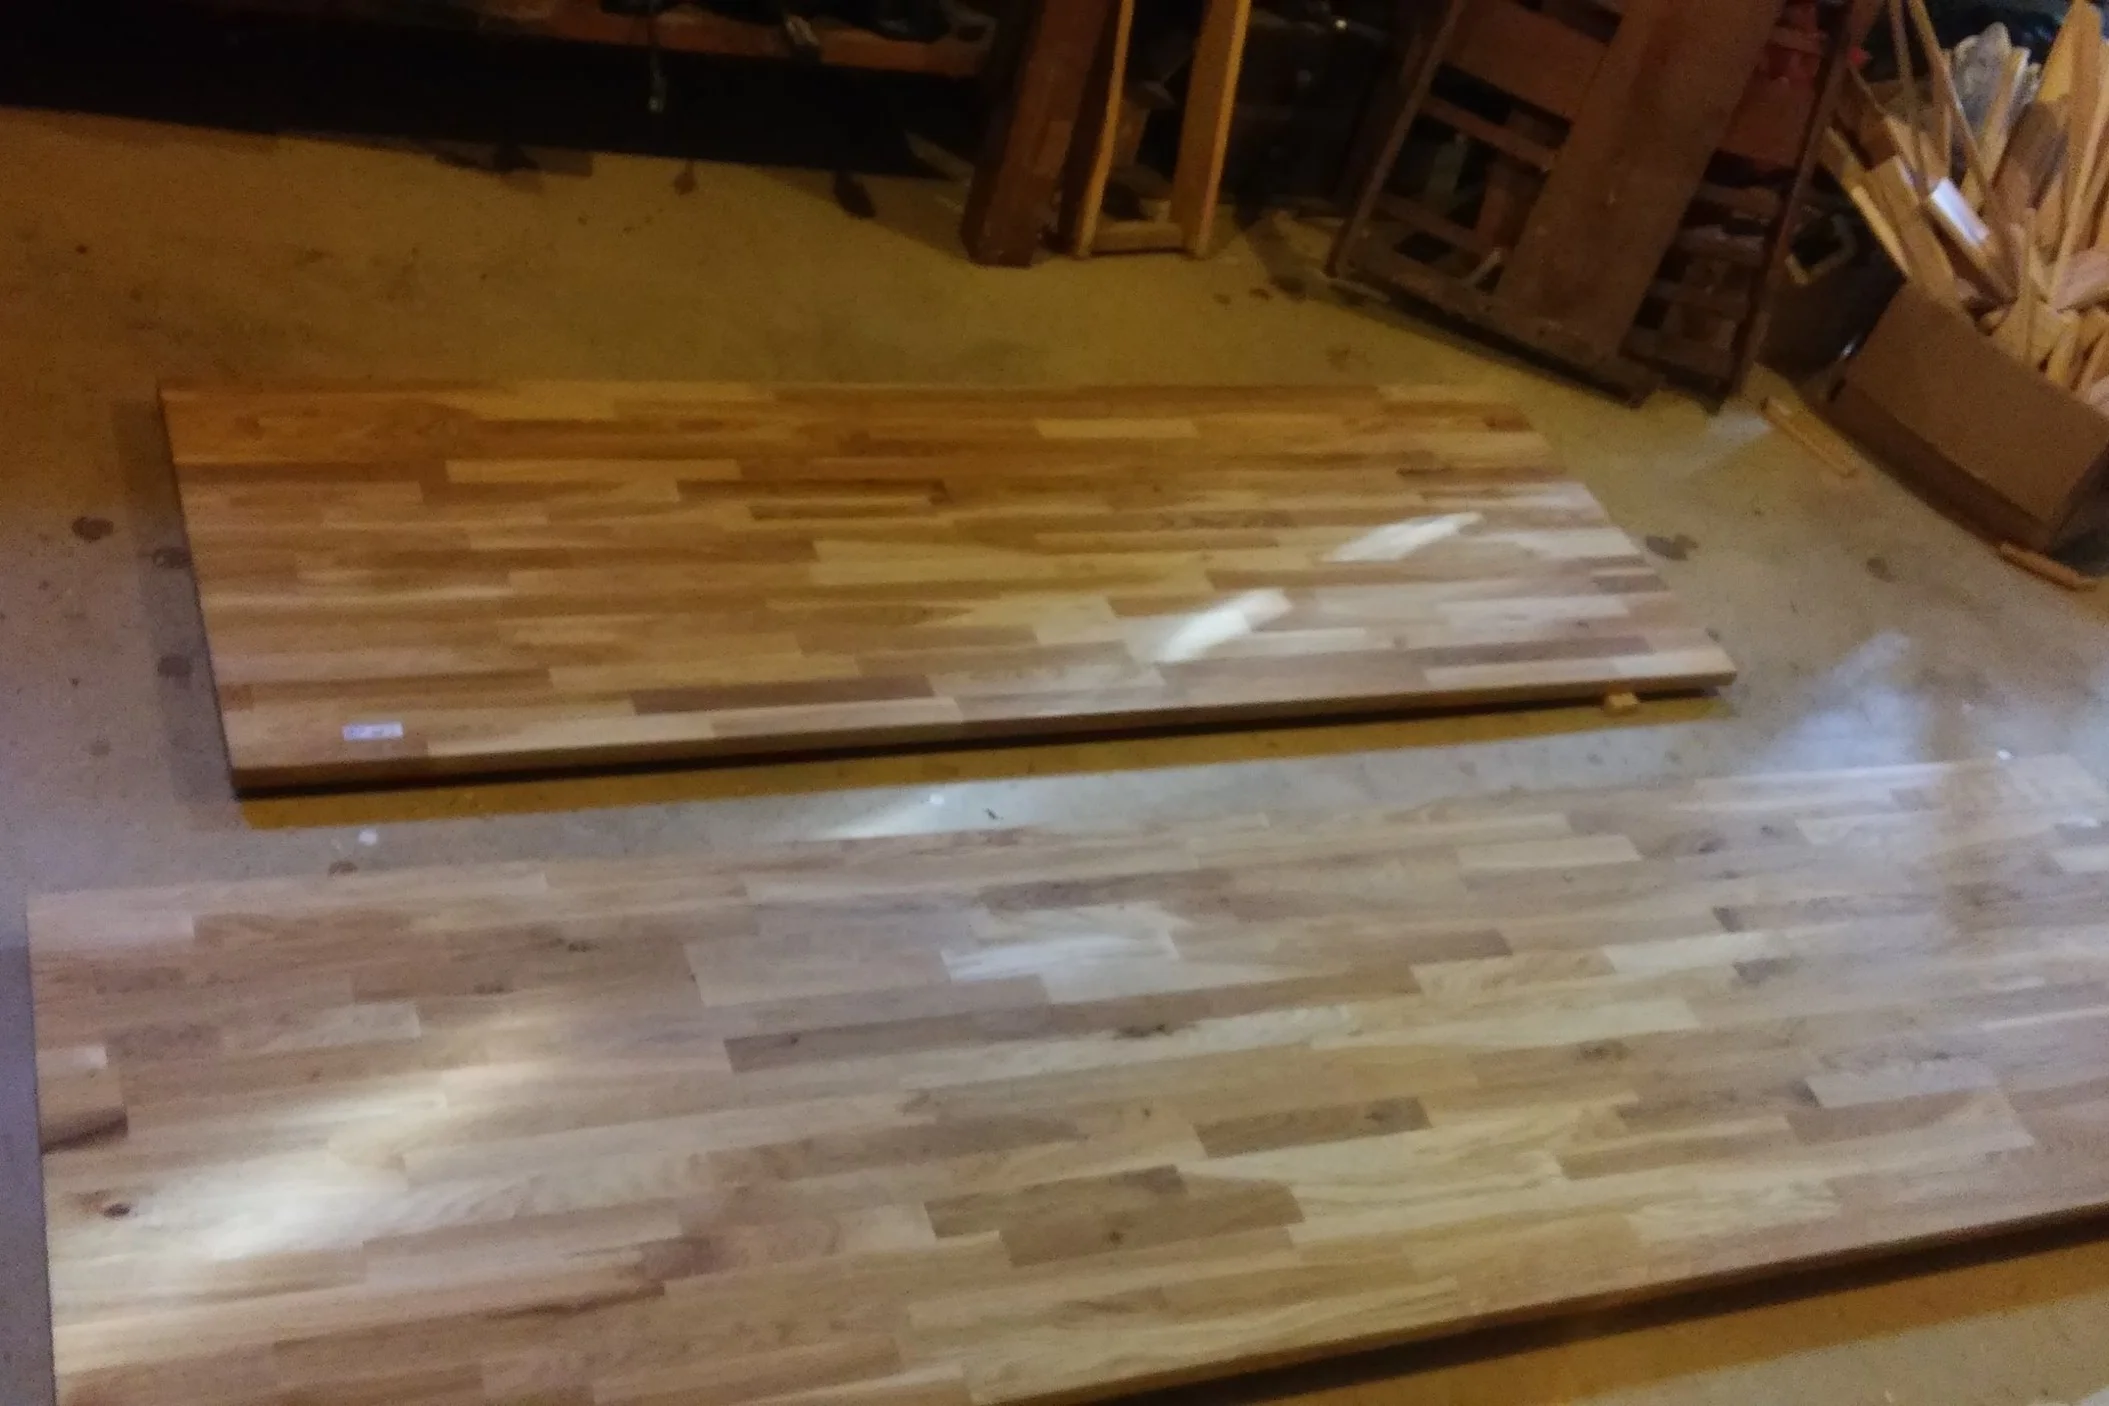
After a predictably frustrating trip to IKEA (these folks have very different ideas about what makes a good retail customer experience than I do), we came home with our two pieces of oak butcher block. I need to butt two pieces together since the longest piece is 96", and our countertop is nearly 12' long.
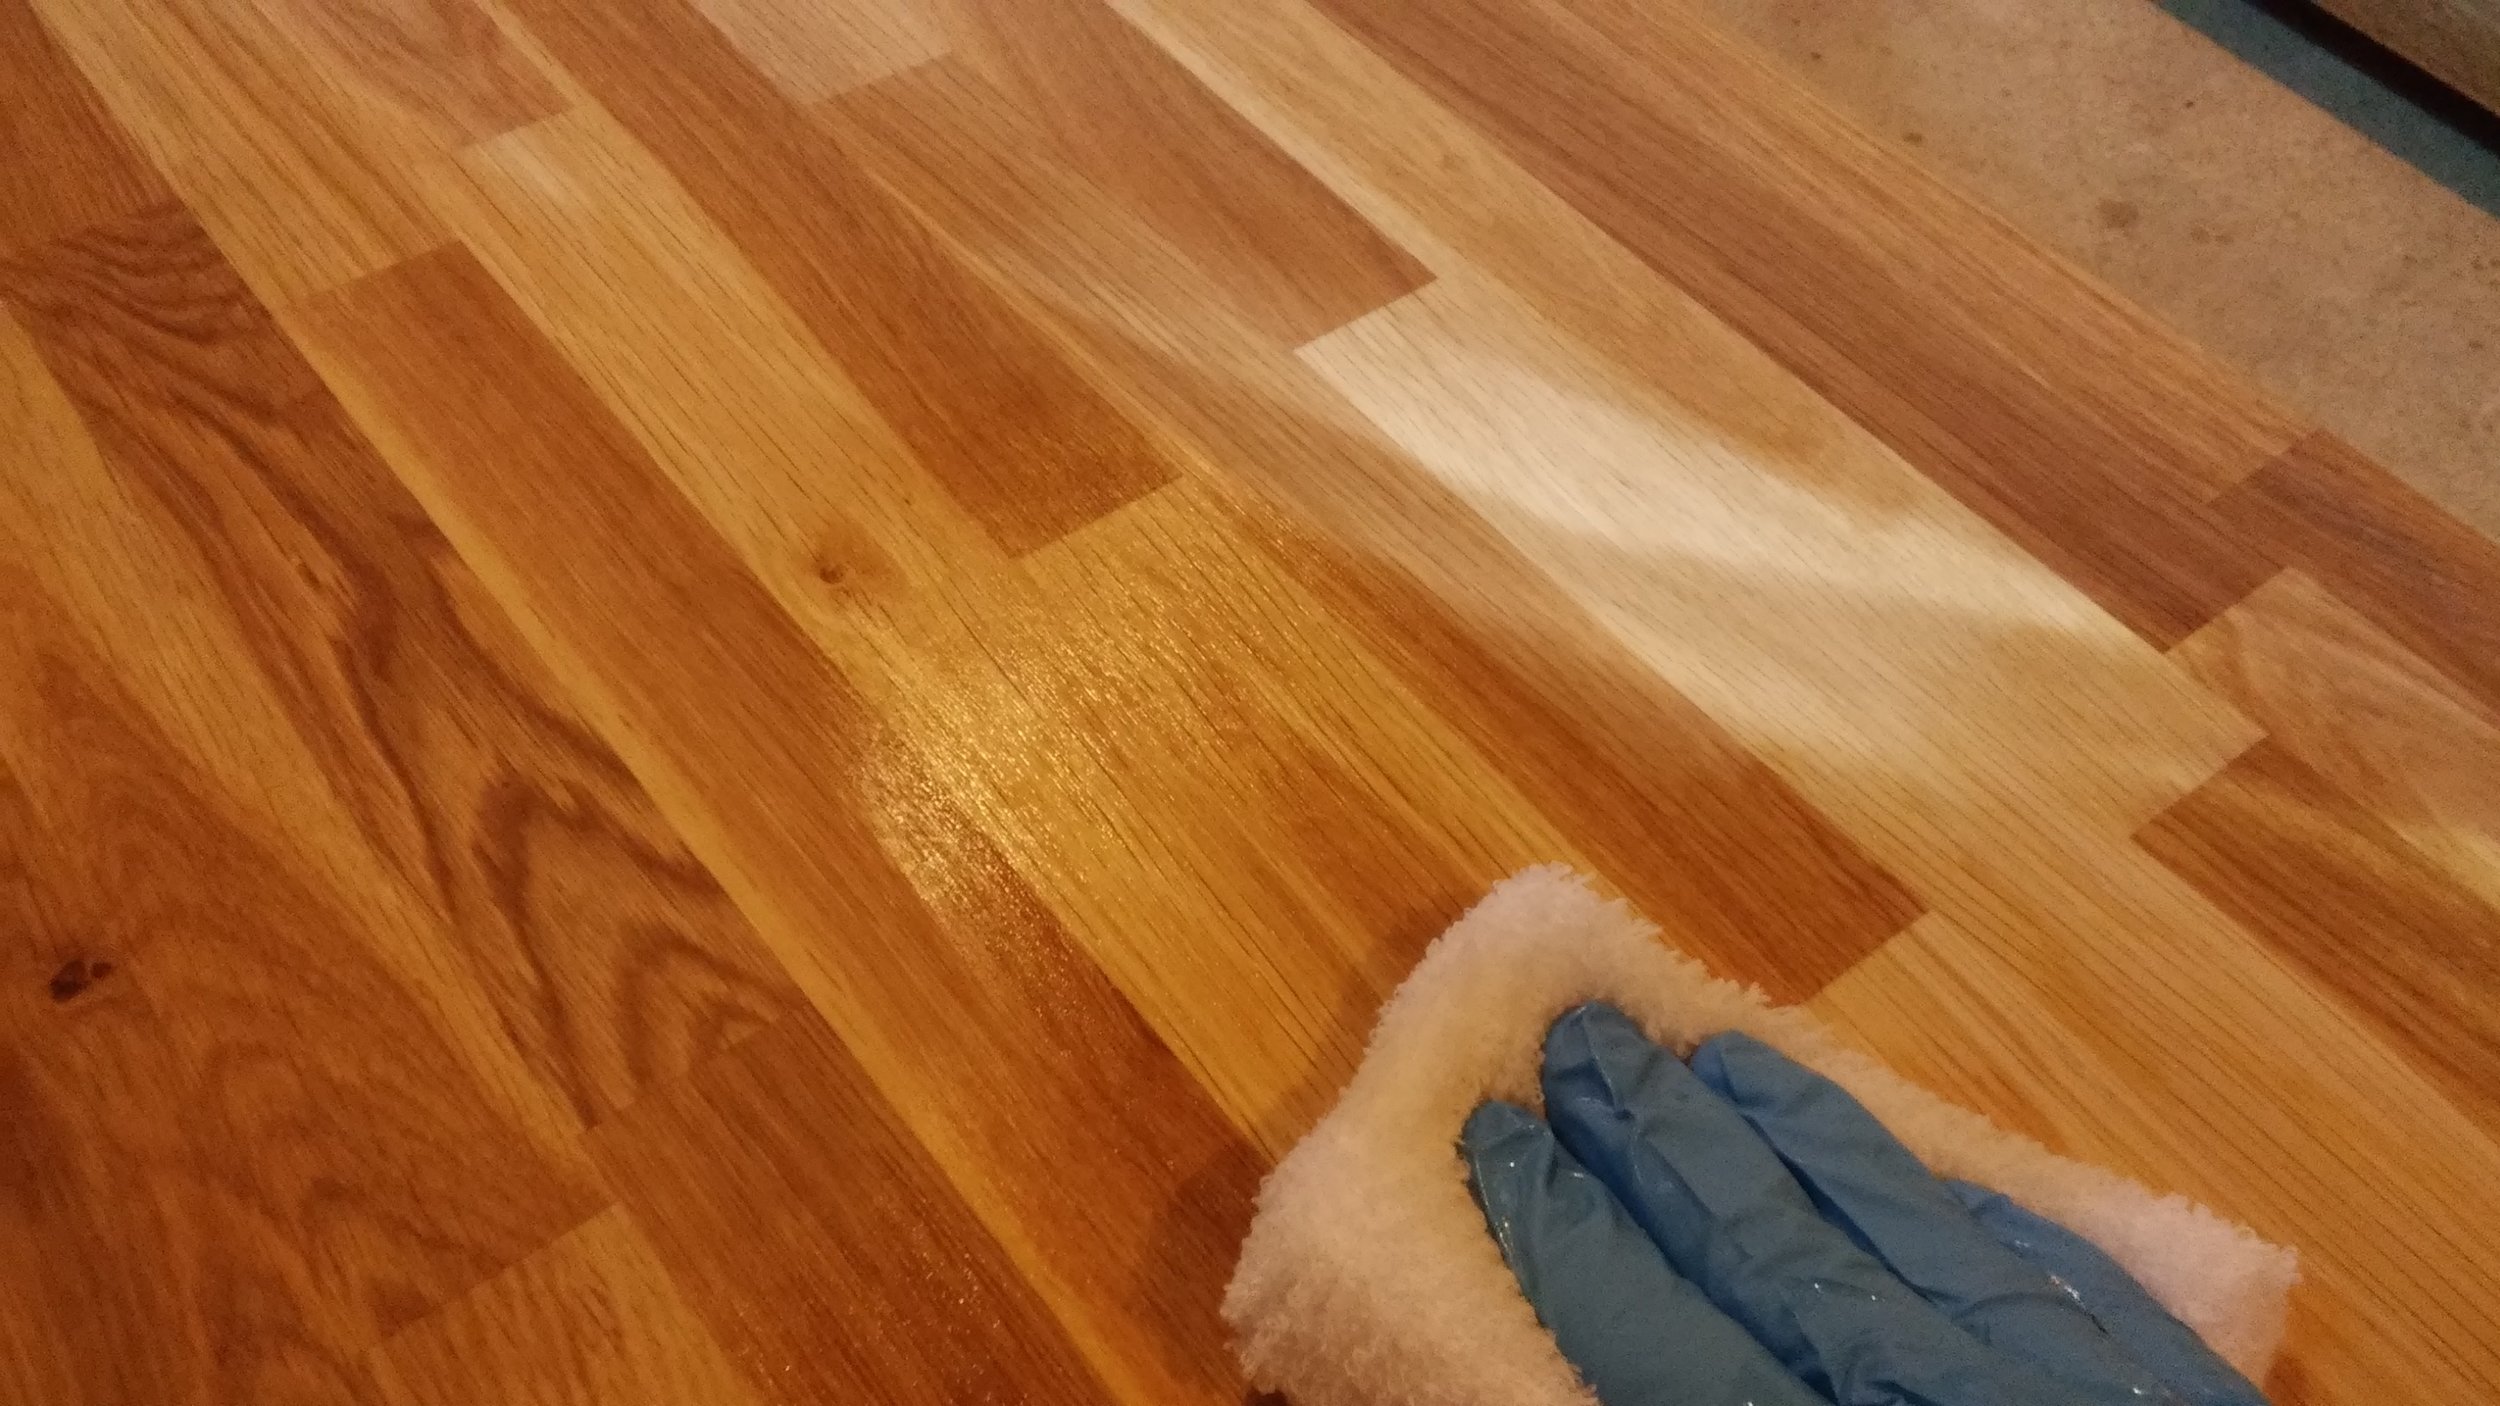
First, I want to get these sealed on both sides to prevent warping. If I were to install before sealing, it would be very difficult to seal the underside, which would cause my counters to warp as moisture moved in/out of the wood unevenly. After everything is cut to size, I'll re-seal the finished counter.
Some of these links are "affiliate links." If you decide to buy something based on our recommendation, it would be nice if you used the direct link from this page so that we can make a small commission for referring you (which doesn't cost you anything extra).
I'm using Formby's Low Gloss Tung Oil Finish. As previously noted, this is wiping varnish, similar to the Waterlox product that I could not find locally. It's not Tung oil, despite what the marketers want you to believe.

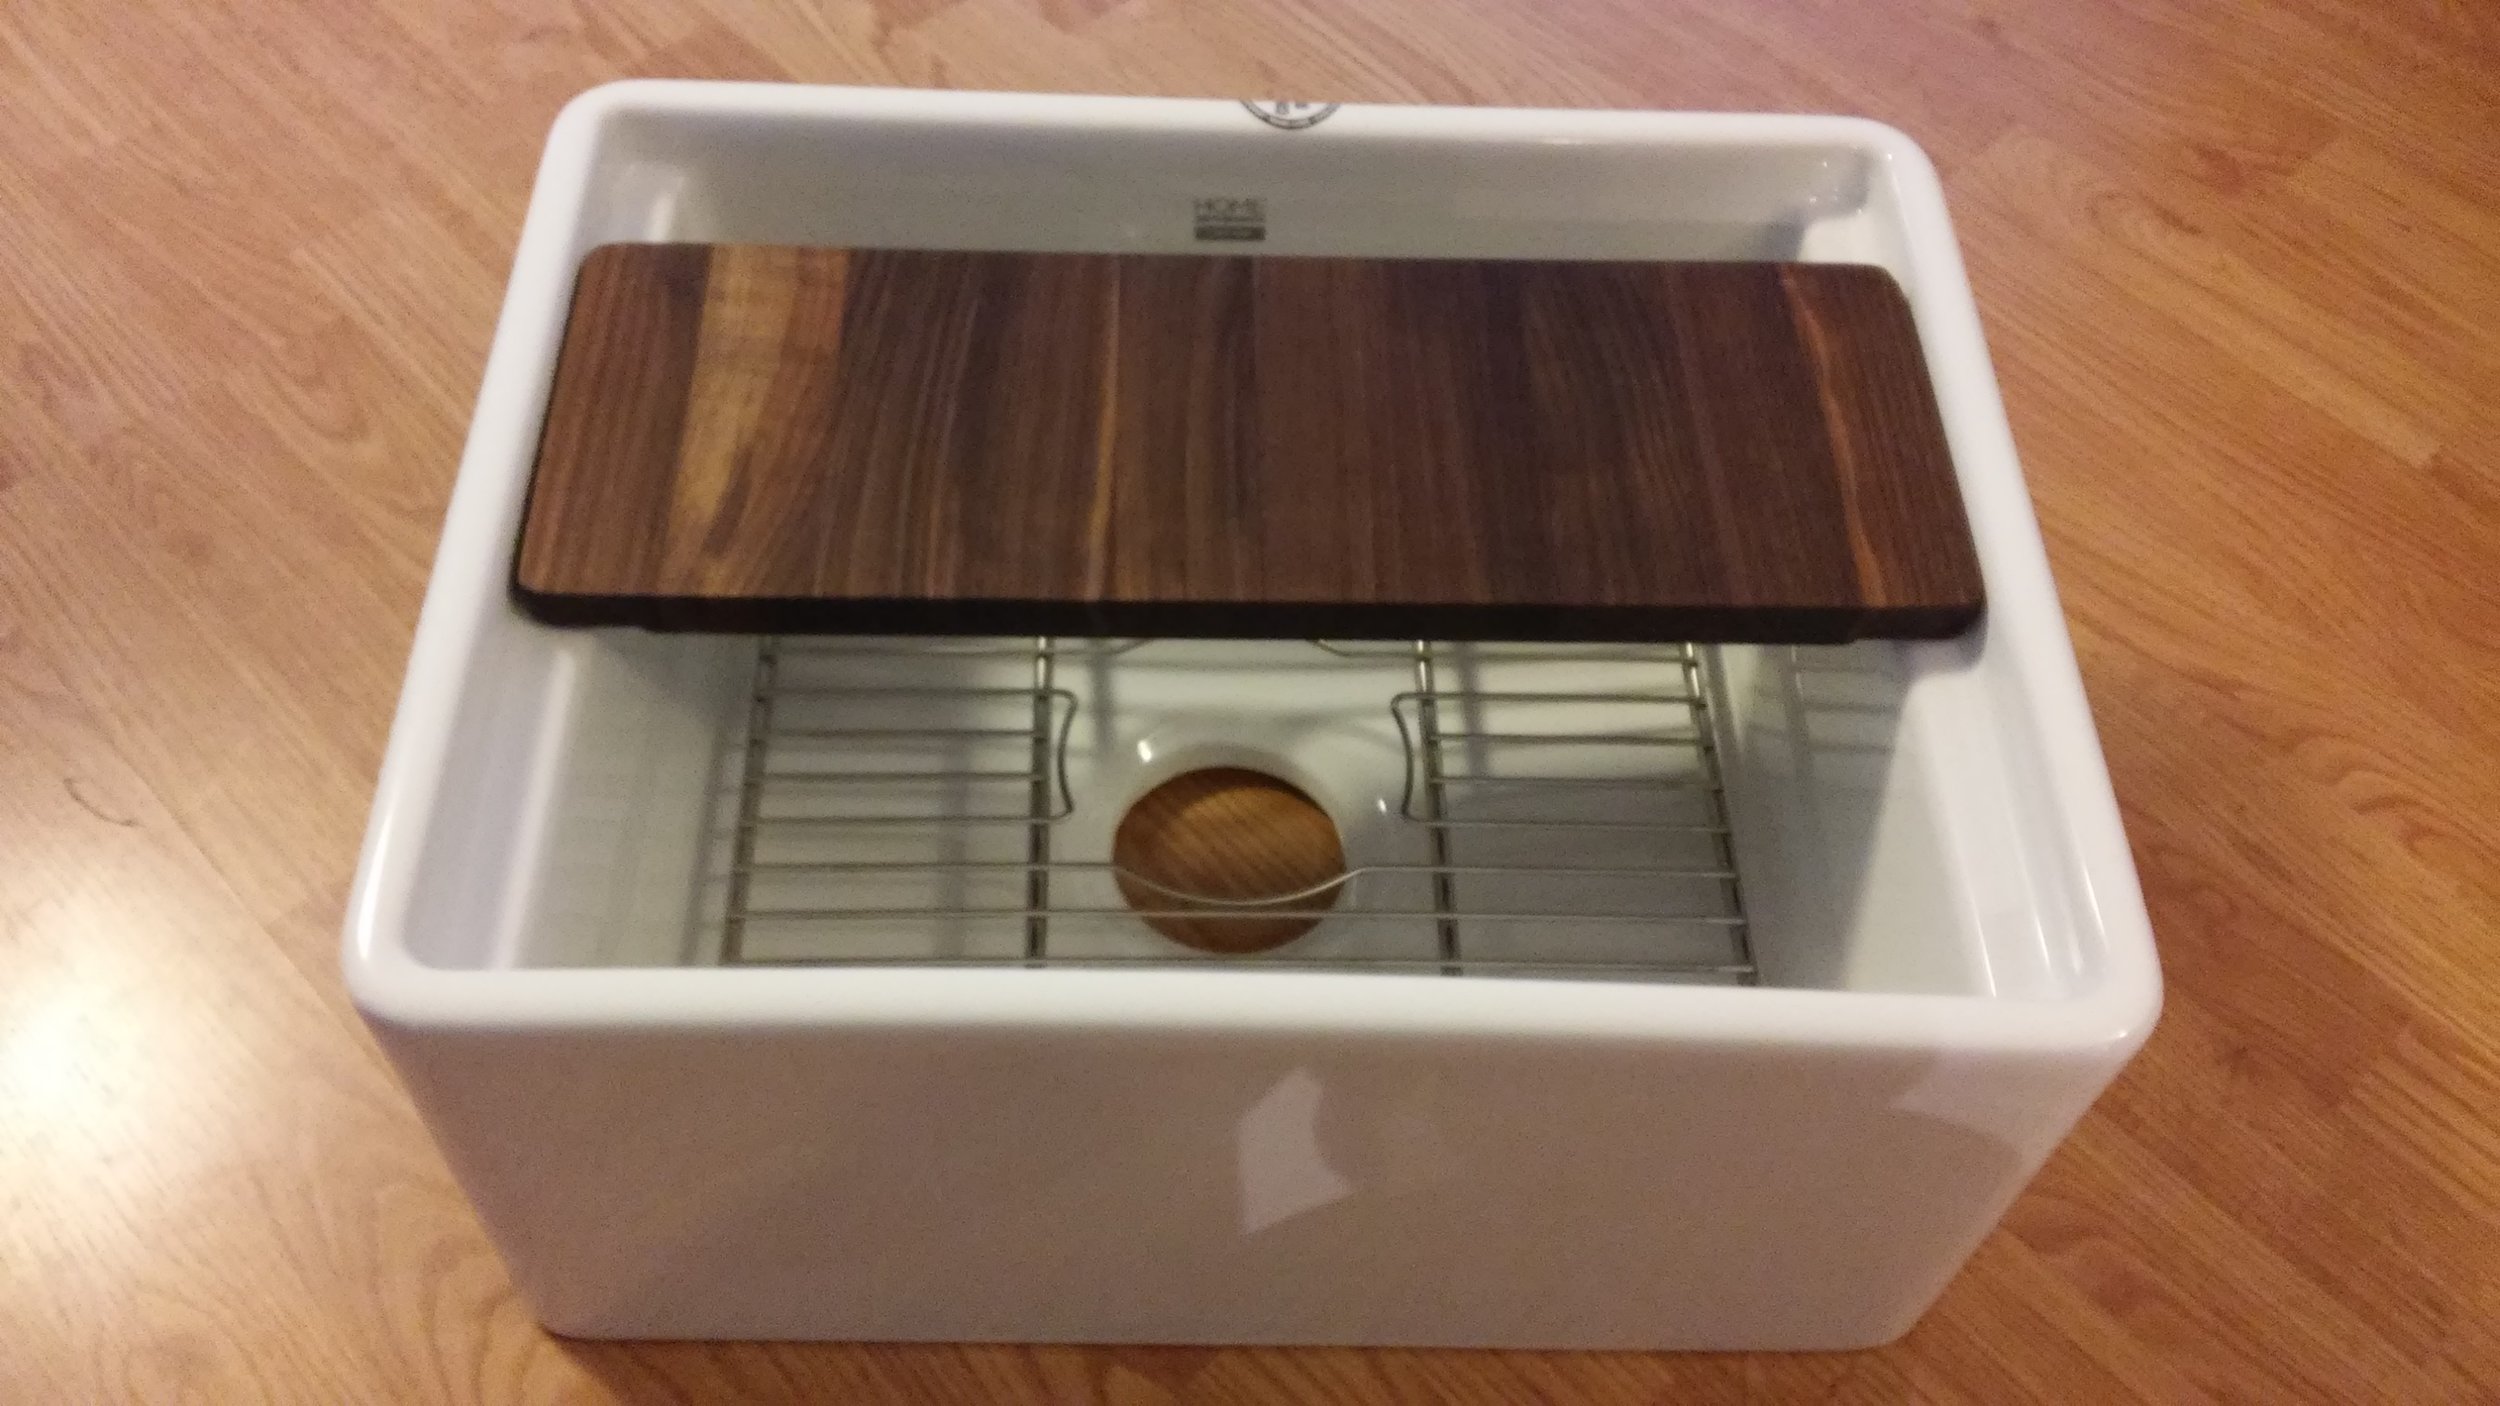
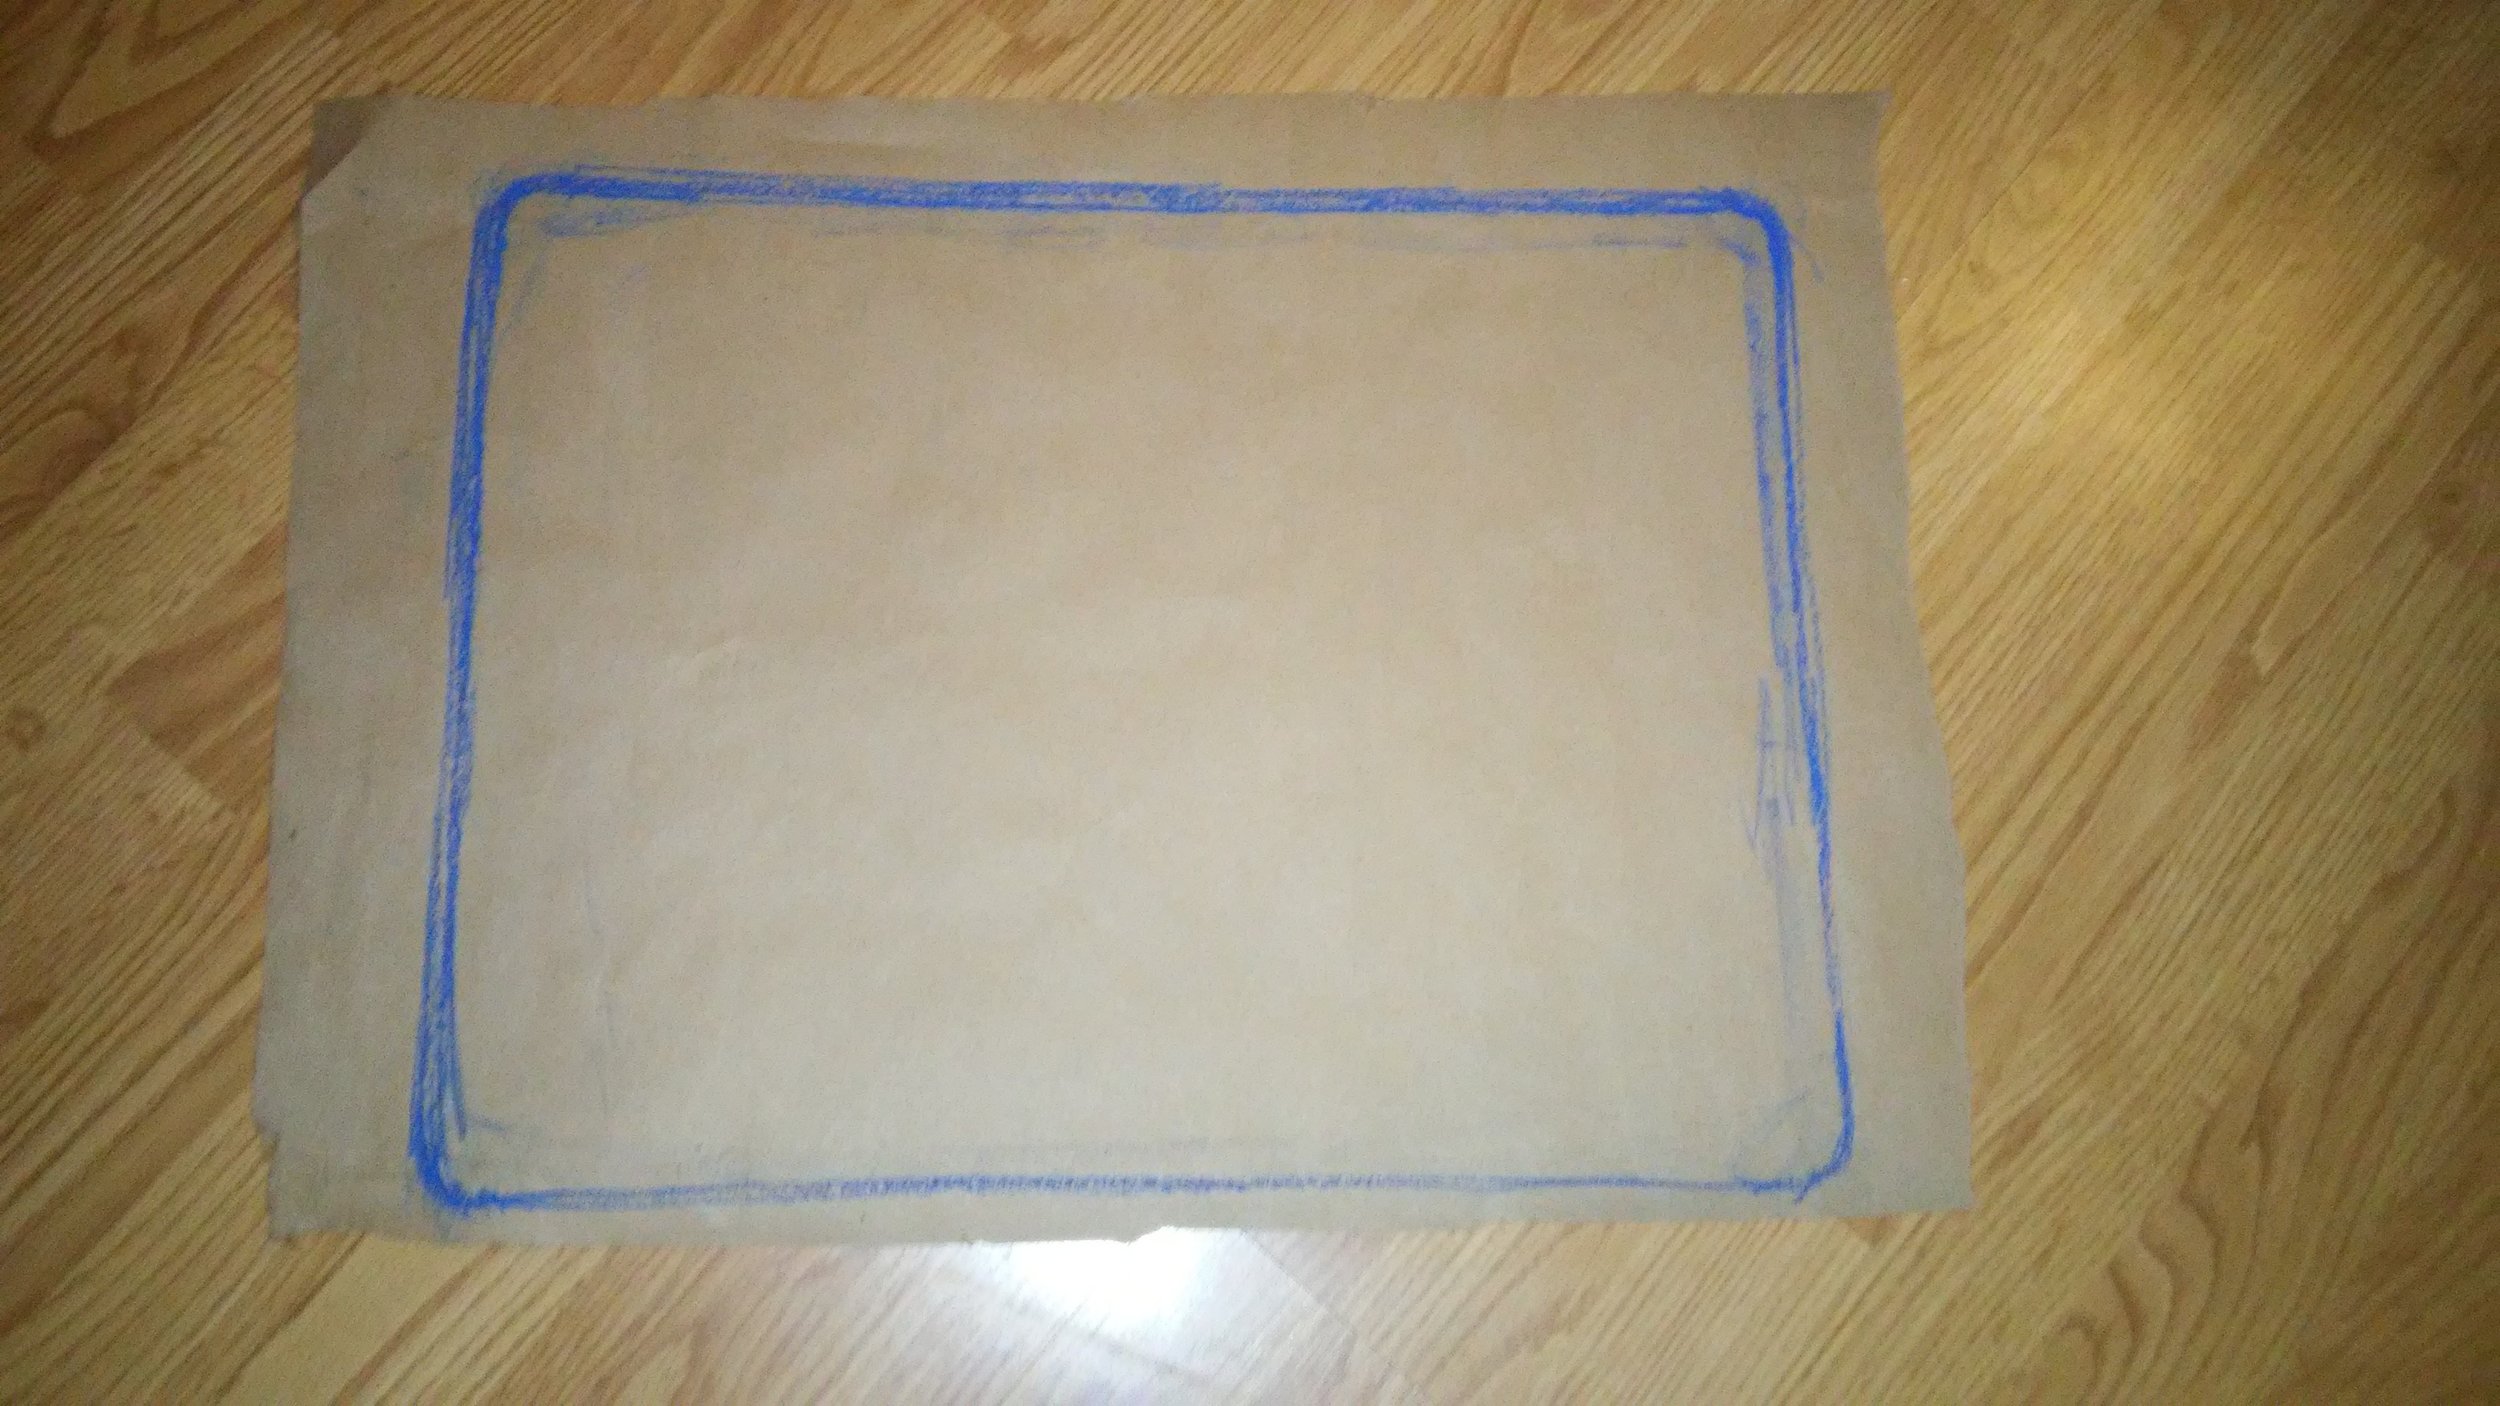
Now, I need to cut the hole for our farmhouse sink. It didn't come with a pattern, ostensibly due to the inherent variation in the dimensions of their fireclay sinks. So, I taped a piece of paper to the top of the sink and traced the inside rim of the sink with a crayon.

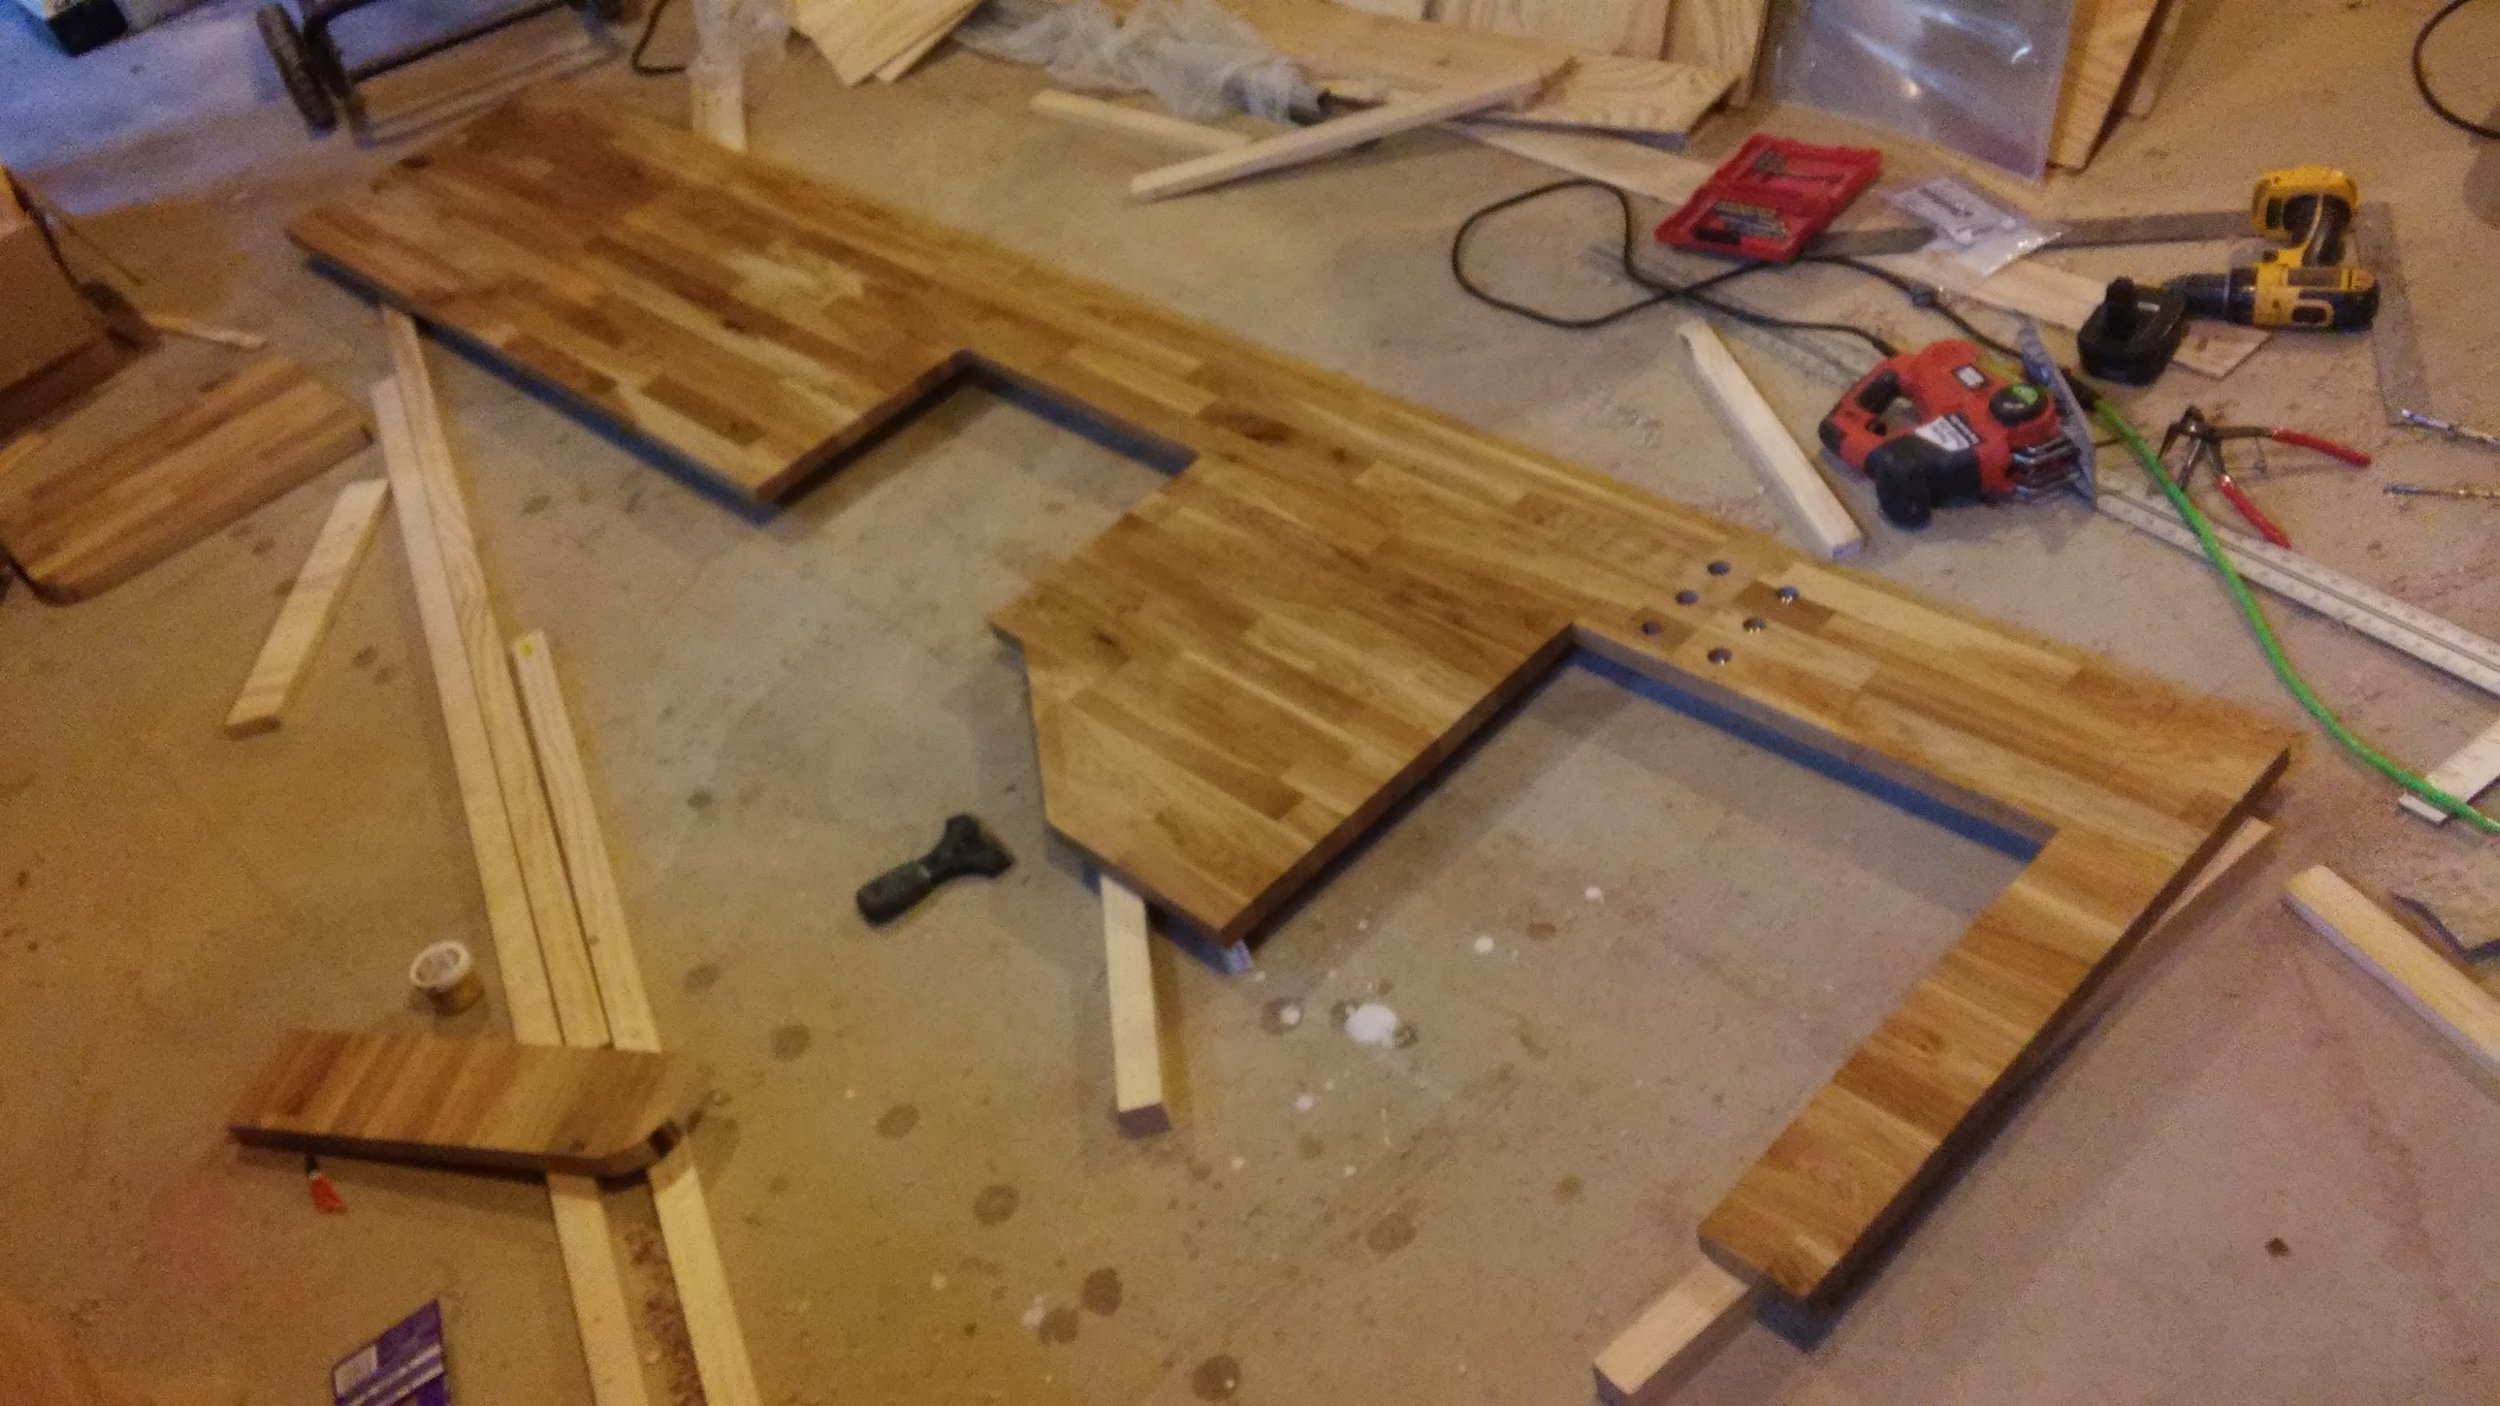
I made the cut along the length of the countertop with a router and a piece of wood screwed to the underside of the countertop as a guide. I was hoping it would make a cleaner cut than my scroll saw, but it ended up pretty rough. I cleaned up the cut with my block plane and a bunch of sandpaper, then used the scroll saw to cut out for the sink.
After cutting fresh ends on both pieces of butcher block and a quick test fit, I'm ready to glue my two pieces of butcher block together. The butt joint is going to be at the stove cutout, so I only need to glue the back 8" or so. I made a small relief cut in the remainder of the joint so that I can clamp the 8" I need to glue as tightly as possible. I used gorilla glue and three Tite-Joint Fasteners to secure the butt joint.


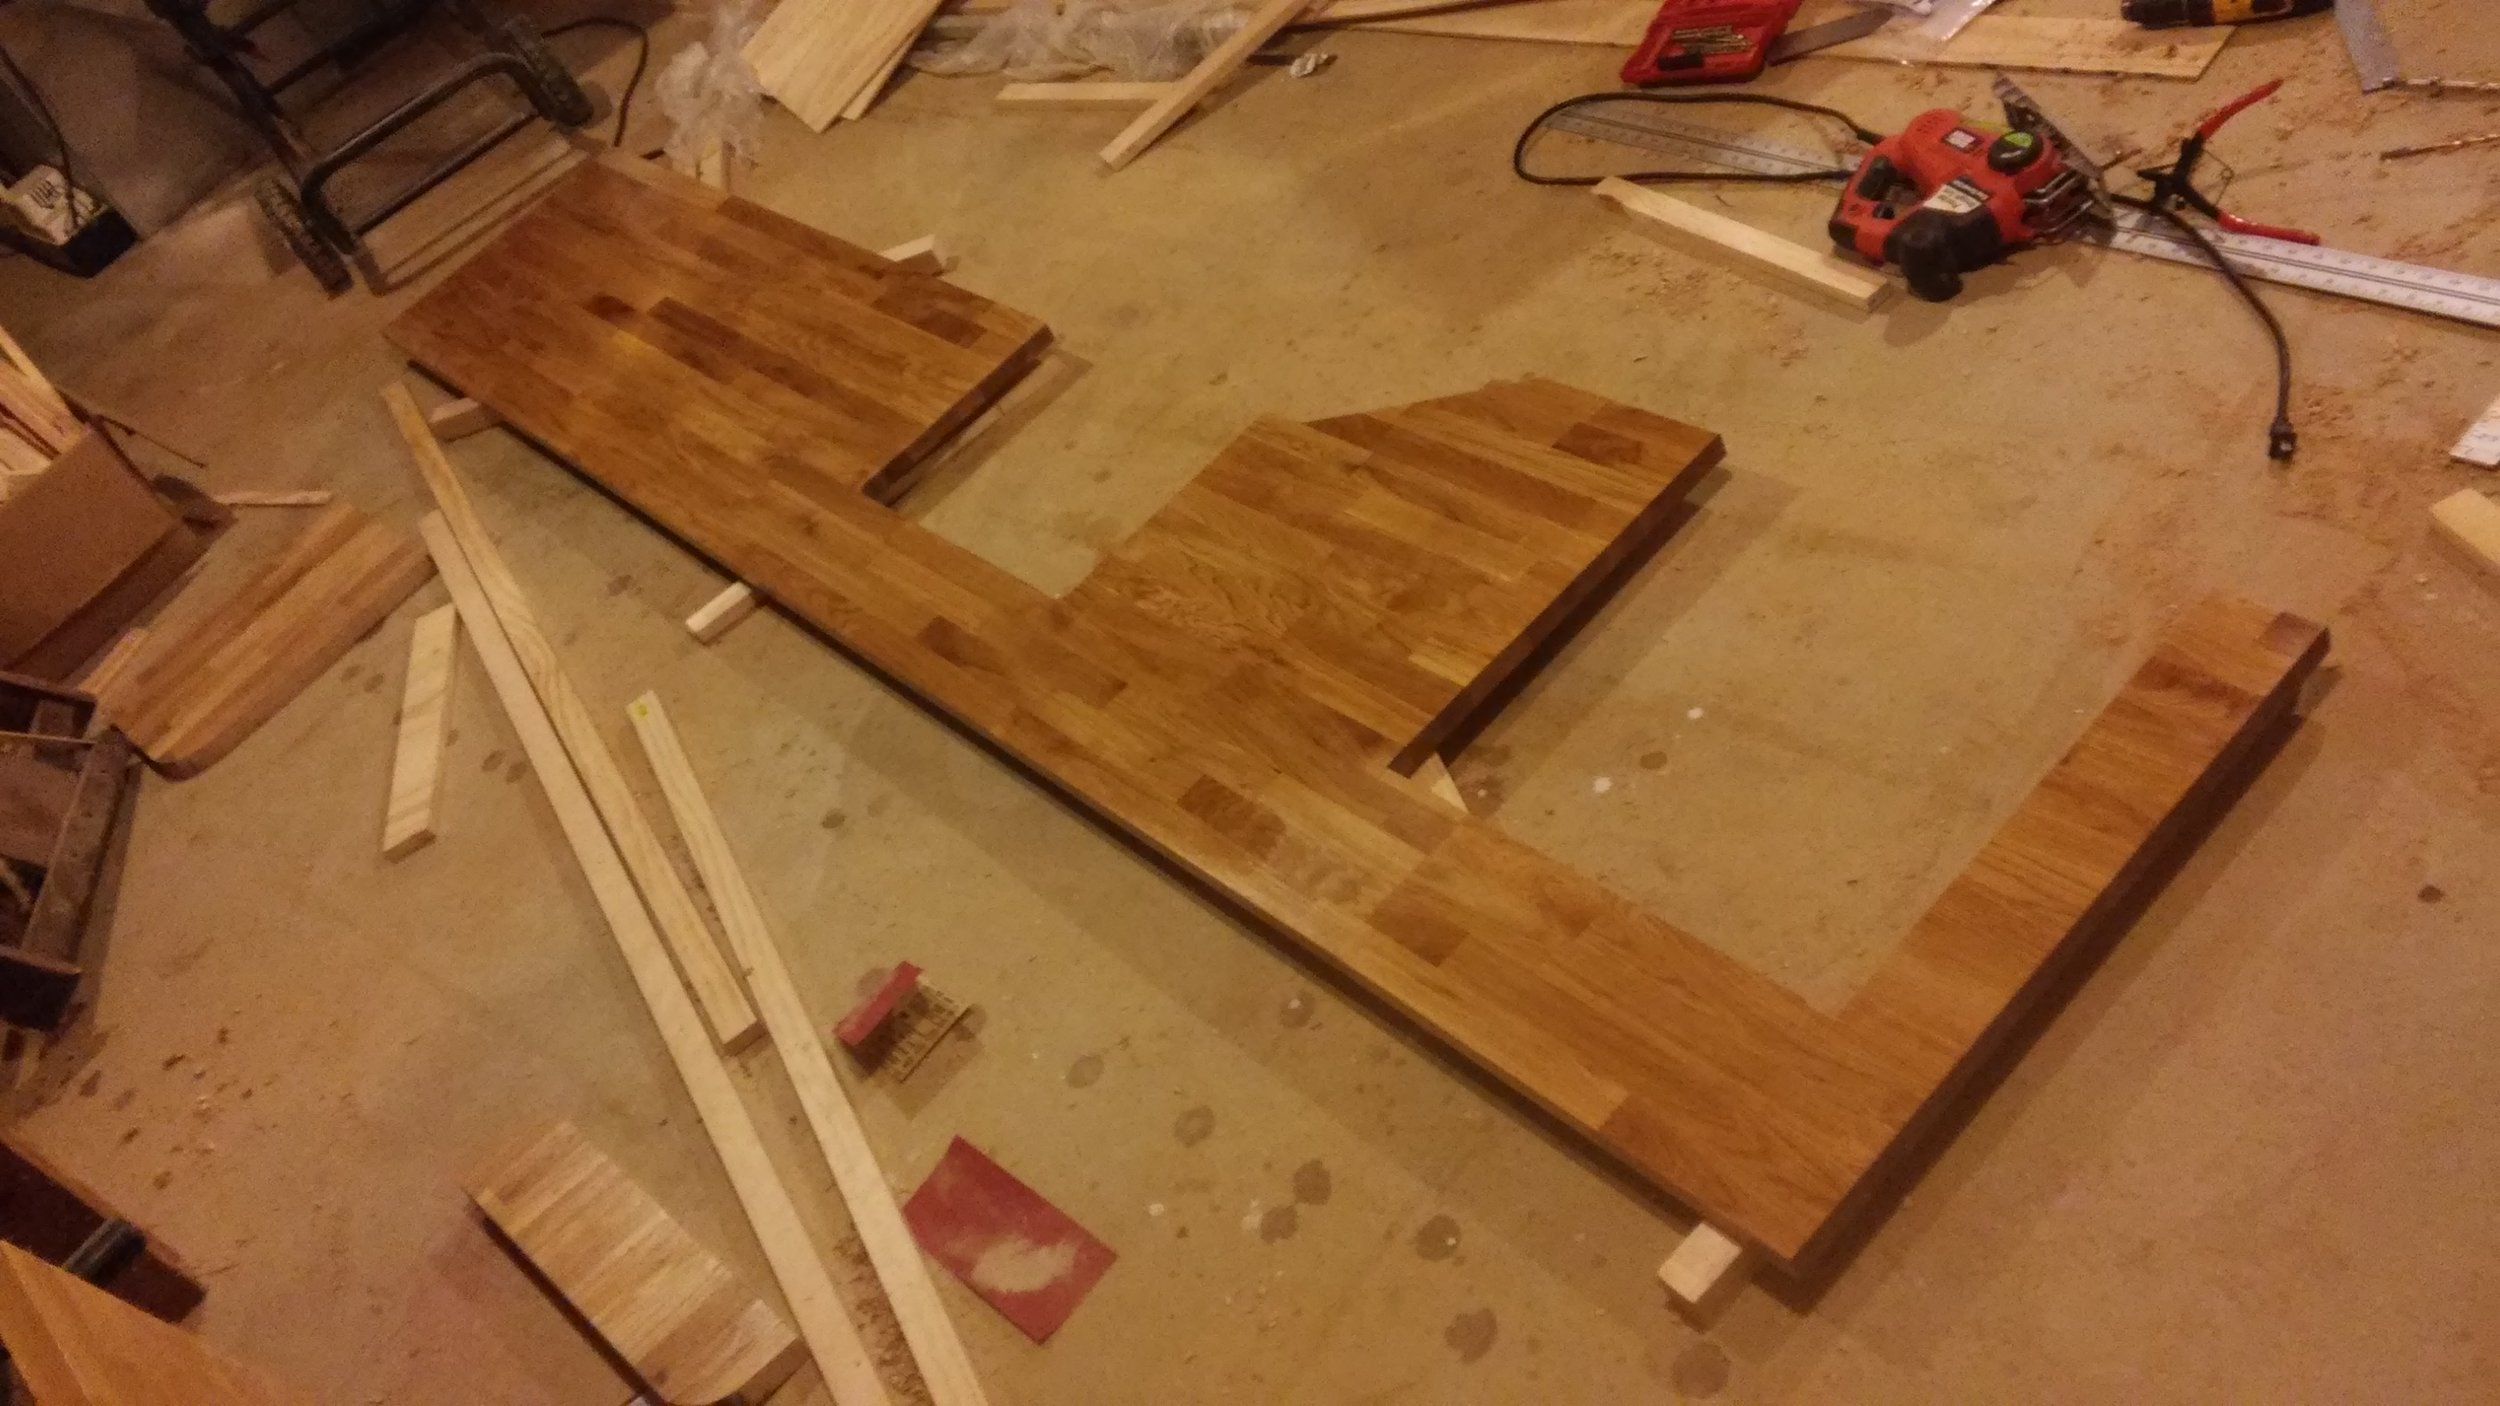
Once my glue was dry, I made the stove cutout with my scroll saw, sanded, and resealed all of the exposed wood. The picture to the left is upside-down, so you can see the three tite-joint fasteners. The picture to the right is right side up, ready for final sealing.
Here's the finished countertop with the appliances temporarily set in place.


With all the worrying I did that the 1-1/4" thick butcher block would be so much heavier than the 3/4" paperstone, I have to say, this piece of countertop isn't all that heavy. With the cutouts for the sink and the stove, and the thinner depth over most of its length, there just isn't all that much weight.