2018 update: The kits TinyWoodStove.com is currently selling are from a different manufacturer than the parts shown in this post, so the parts your receive will look a little different if you order them today. The single-wall pipe is black, roof mounting bracket is more substantial, and a gray silicone pipe boot is included in the kit instead of the bright orange one I used. You can find the equivalent 4" RV Stovepipe Kit here. That's an affiliate link, so if you purchase through it, I might earn a small commission for referring you.
We're installing the chimney pipe today. First, we need to get the hi-temp silicone Dektite gasket on to the insulated double-wall chimney pipe. I've got 5-3/4" diameter, so I've got a choice where to cut. I went with the smaller one.
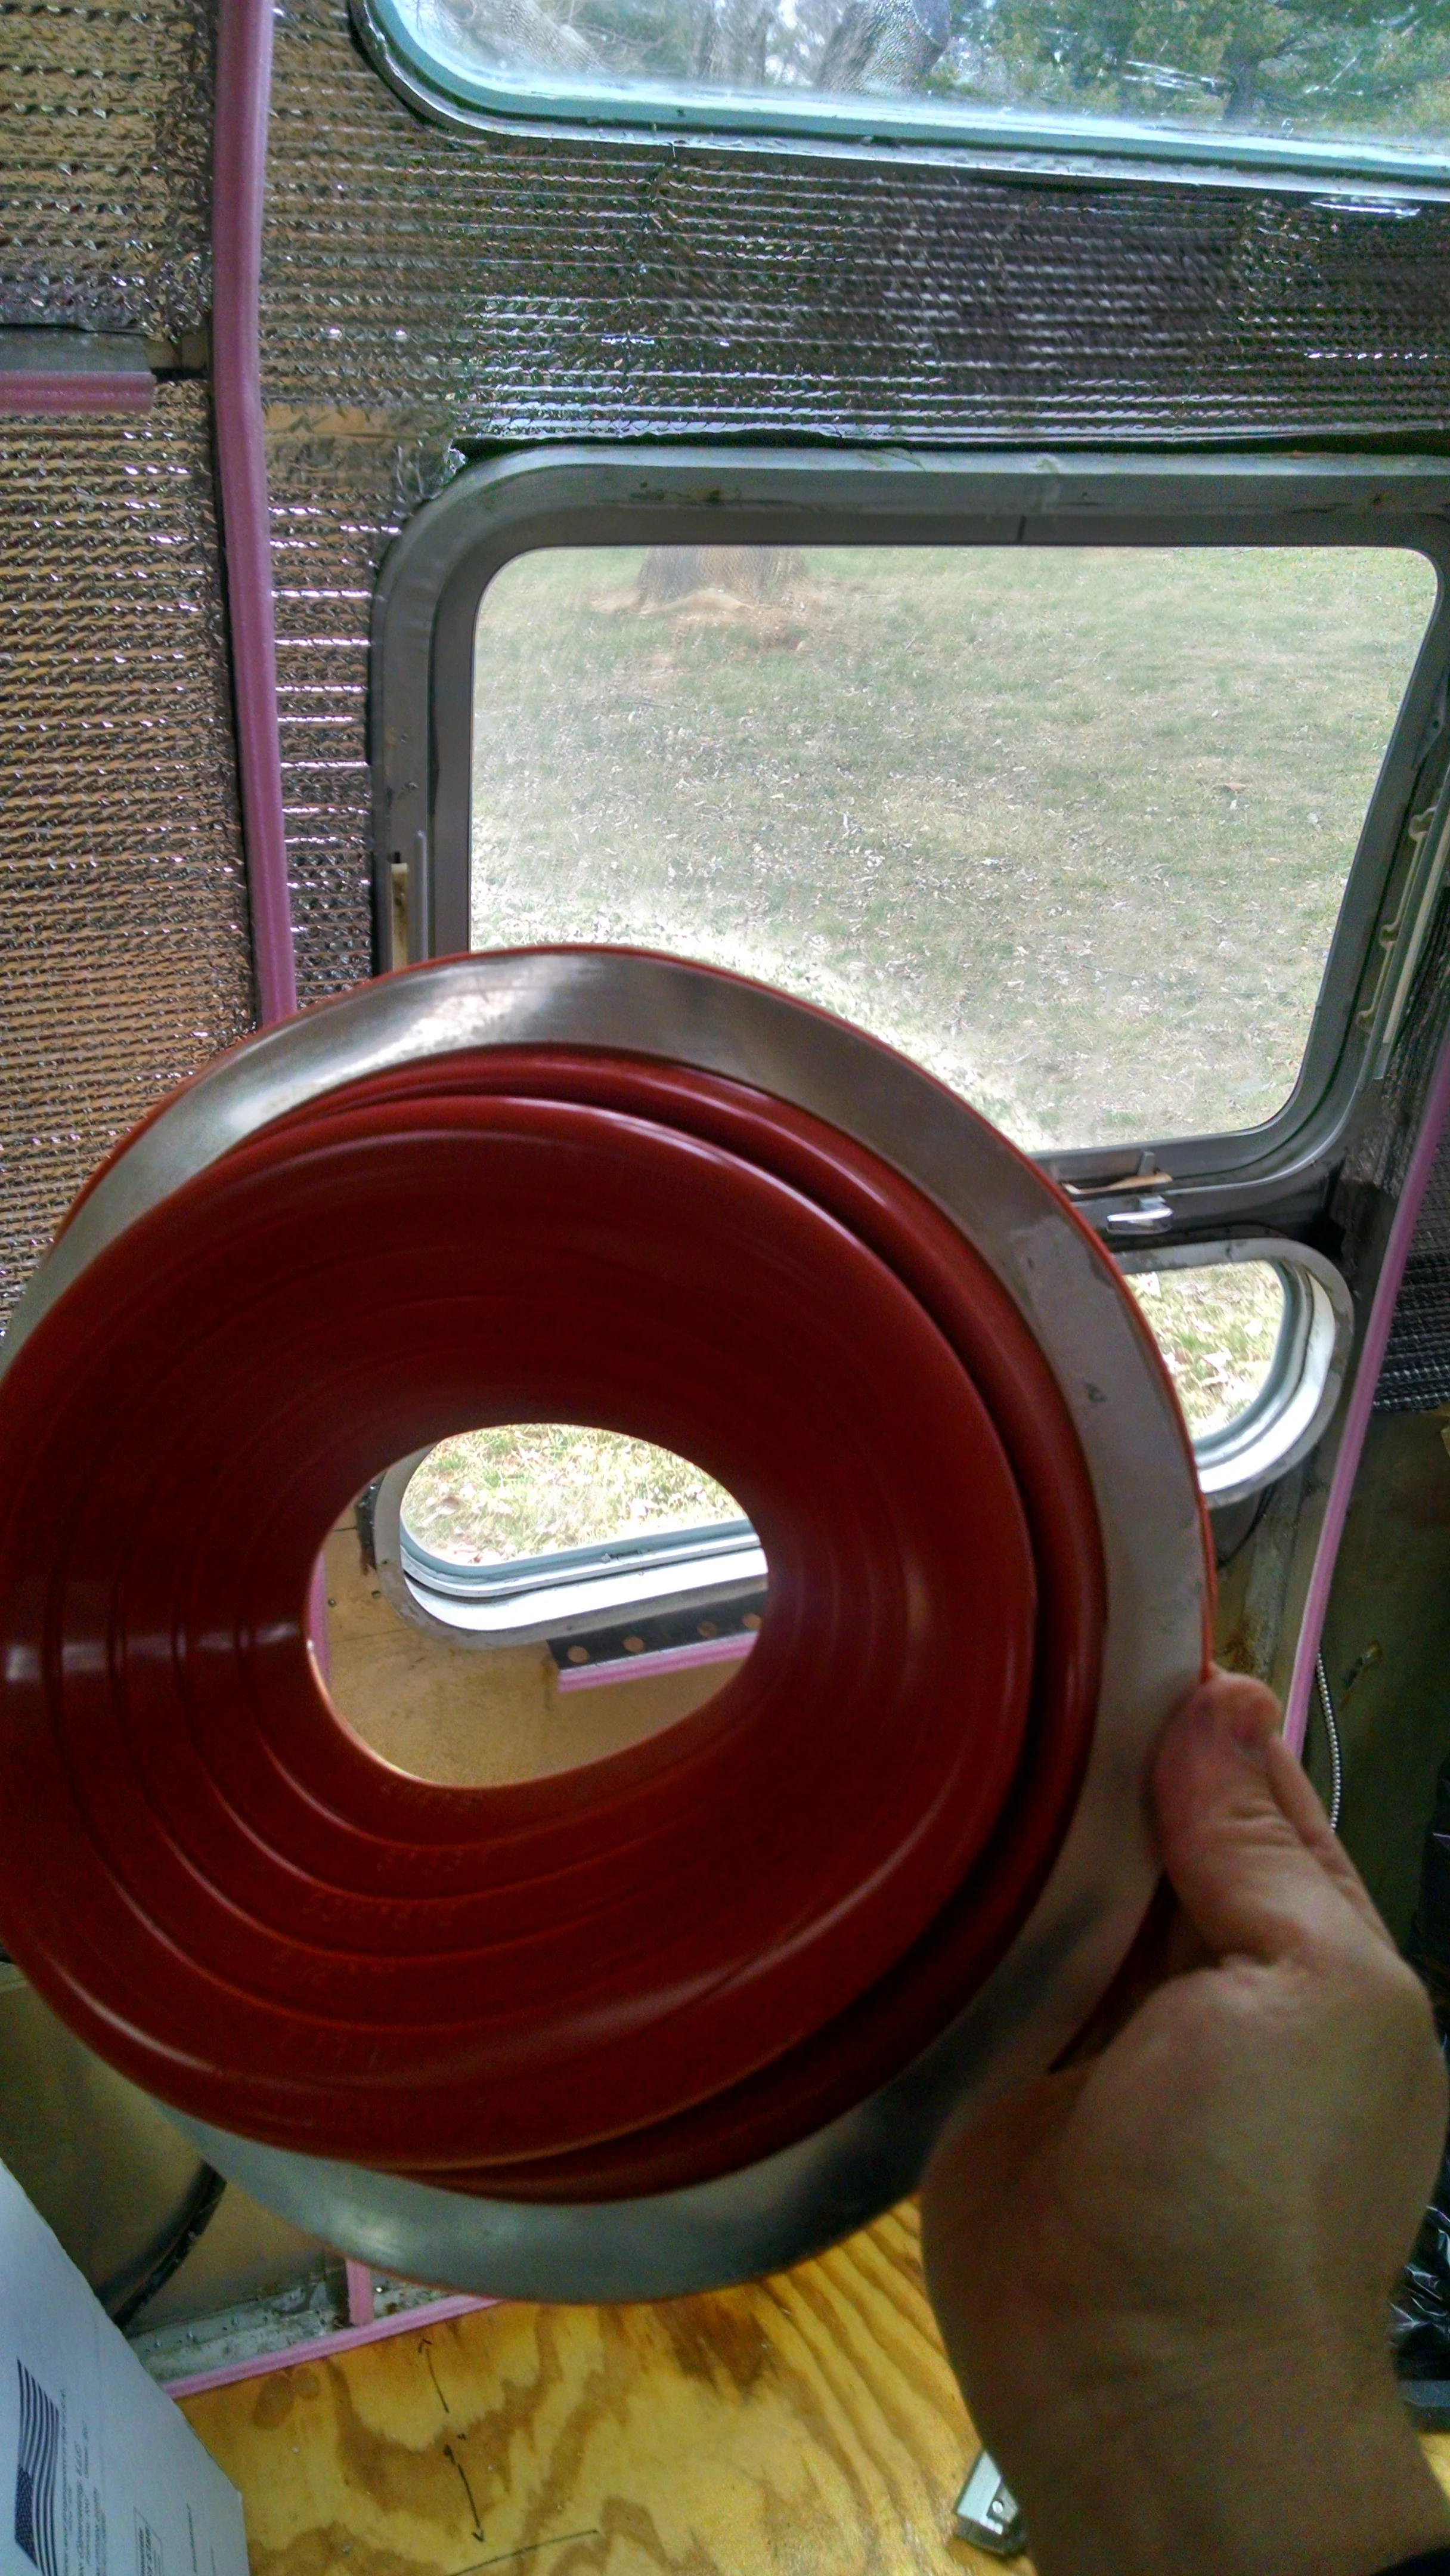


Fits nice and tight. Dektite says these things are warrantied for 20 years.

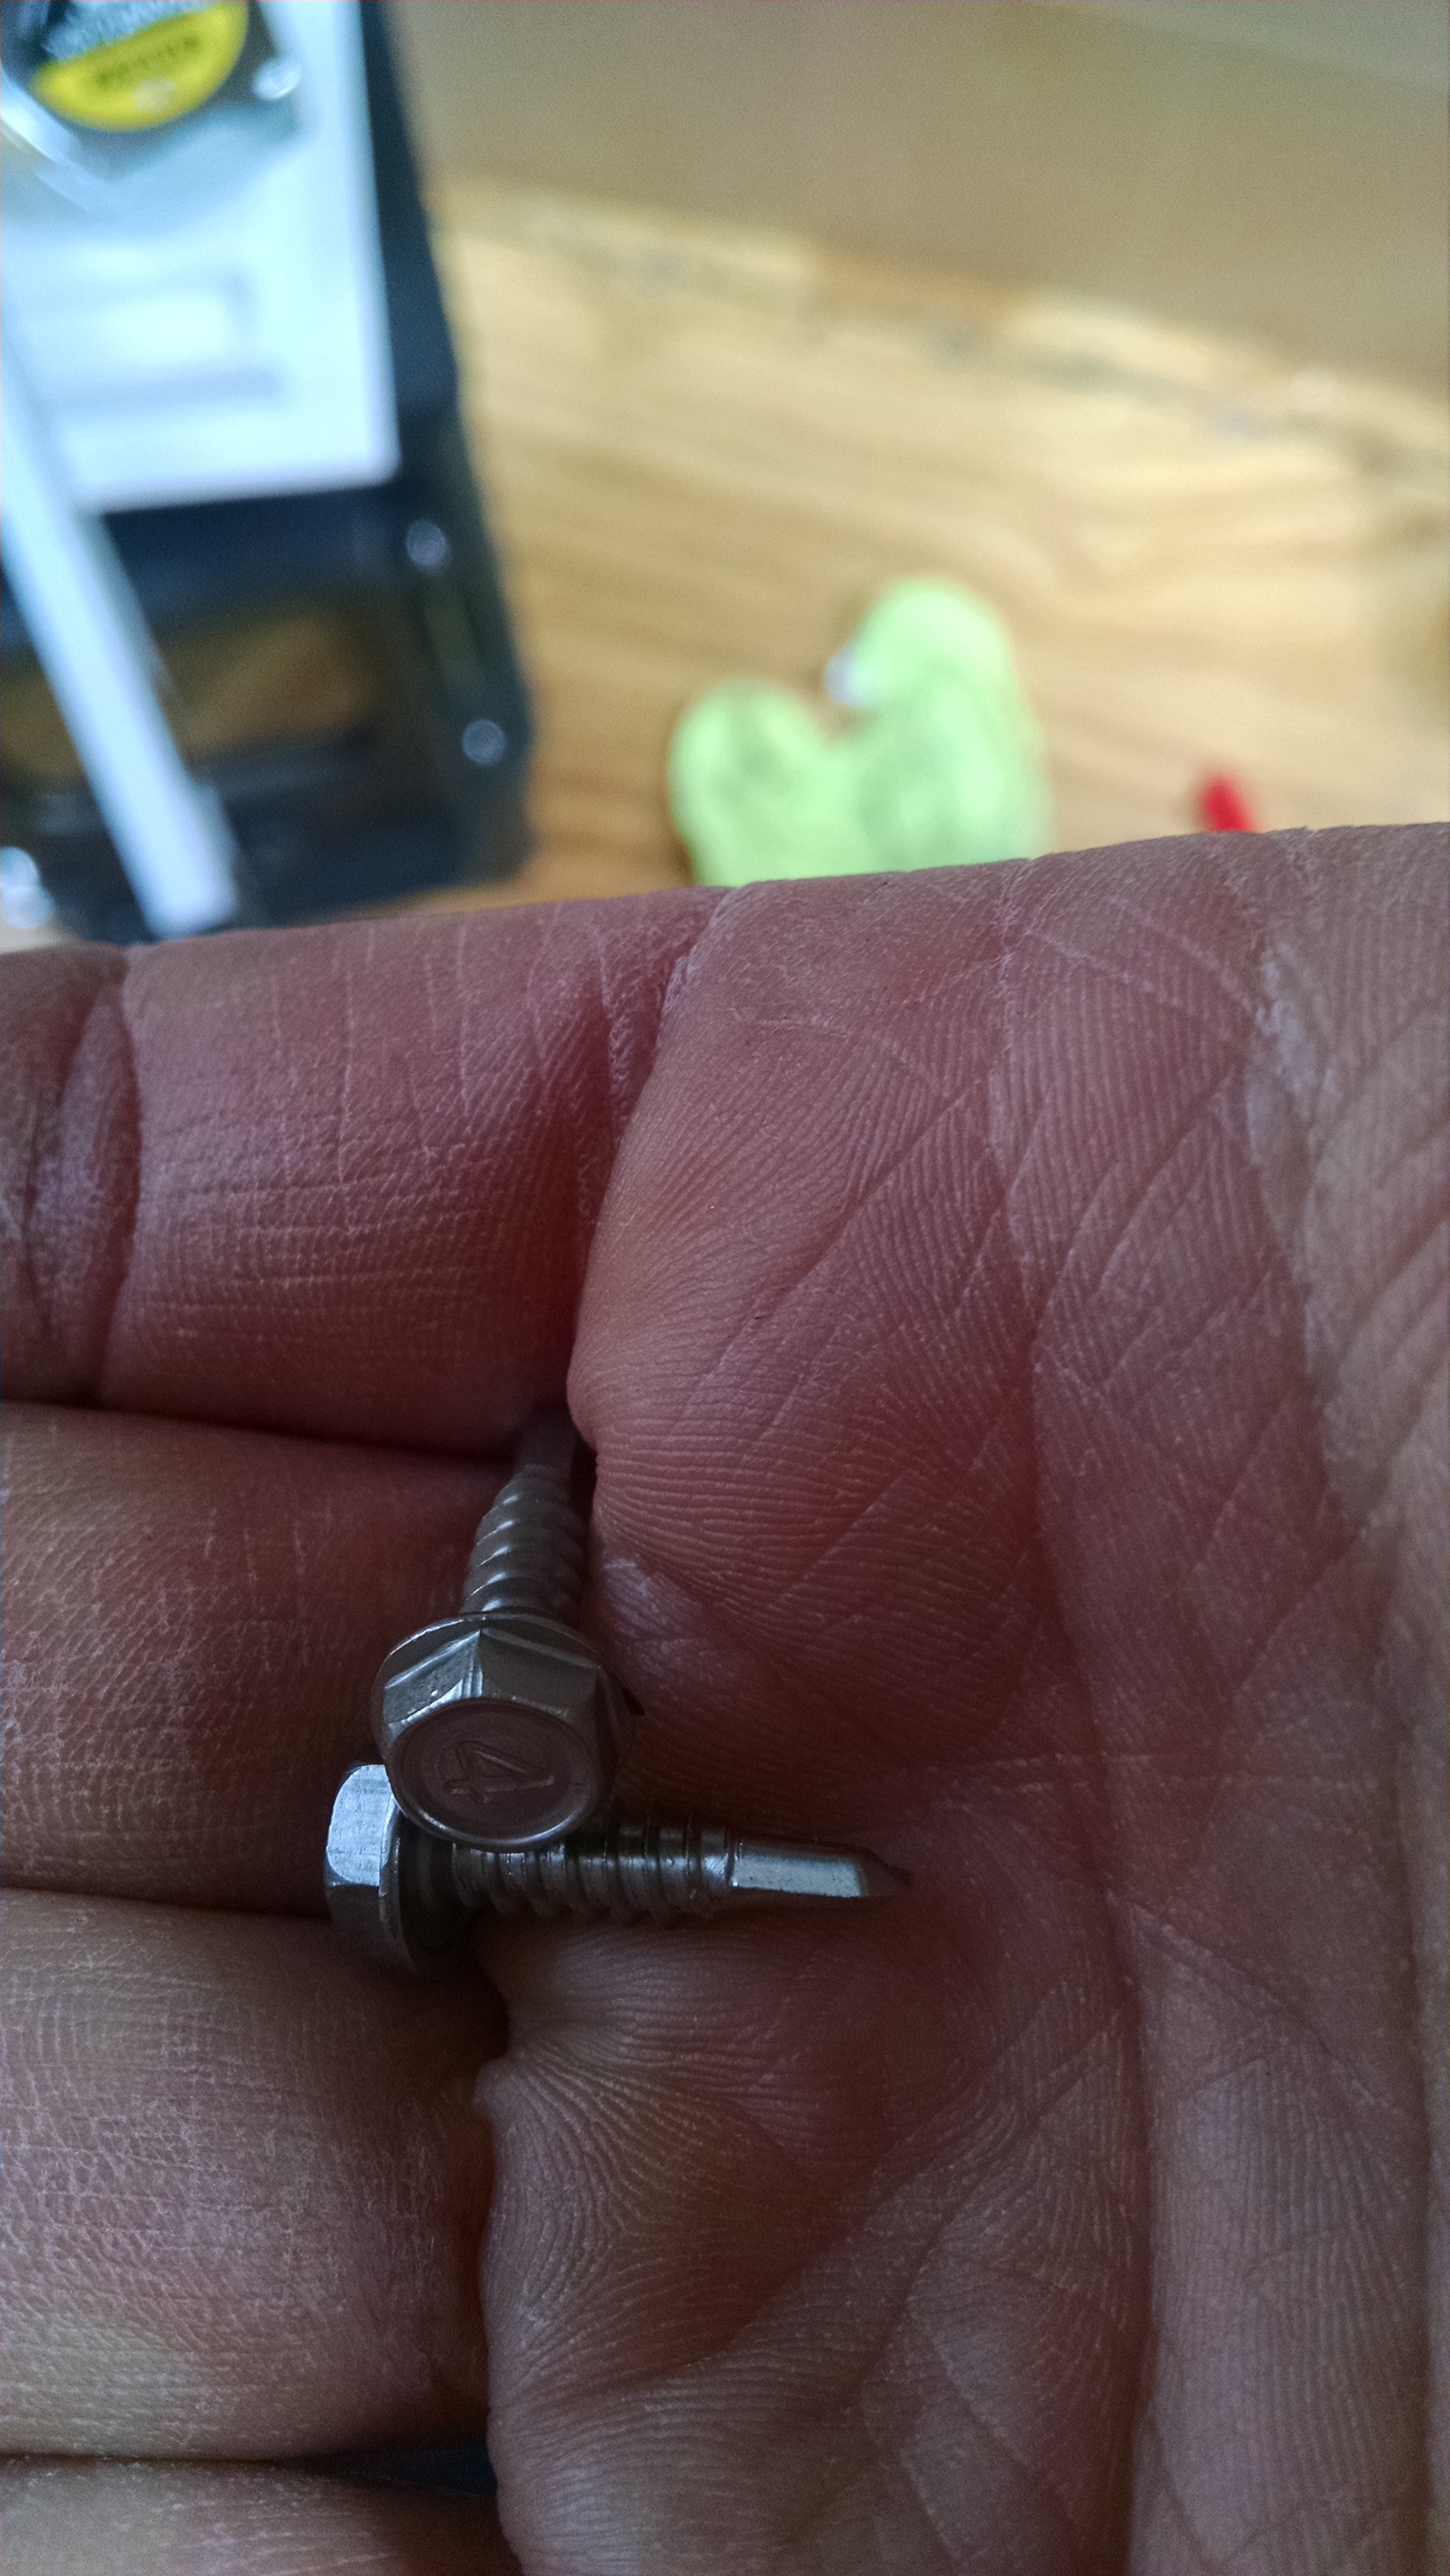
No directions for which way the mounting brackets go. Or maybe there were and I didn't read them. Looks like two screws on each side into the chimney and one screw into the Airstream. The other way would extend past the gasket and cause a leak, and would allow the chimney to tip over. Only two screws included in the kit, so it looks like I need to use my own.


Time to drill a giant hole in my roof. I get a kick out of all the "route the cable through your refrigerator vent to avoid drilling into your roof" instructions I come across in RV equipment. 6" hole saw, plus some Aviation snips to expand the hole to just the right size. Had a little more insulation to remove after this picture to ensure 2" clearance from the chimney.
Boy is it ever hard to screw into a stainless steel flue. My advice is to skip the self tapping screws and just drill a 1/8" pilot hole, being careful not to go through the inner wall.
P.S. My flue thinks it's Marilyn Monroe.


Cleco'd and trempro'd.


All riveted in with the help of my lovely assistant Leanne (not pictured).
While we're drilling giant holes in the Airstream, let's install the city water fill. This connects to the cold water plumbing after the water pump, so that we can run directly off city water when we have hookups. I'm not thrilled about the fact that this fitting is made of plastic, but it's the only model I could find that's recessed into the wall, it seems to be very popular as standard equipment, and it's manufactured by Pentair, which is a well known company. I've installed it with screws so it can be replaced without too much fuss when it fails.


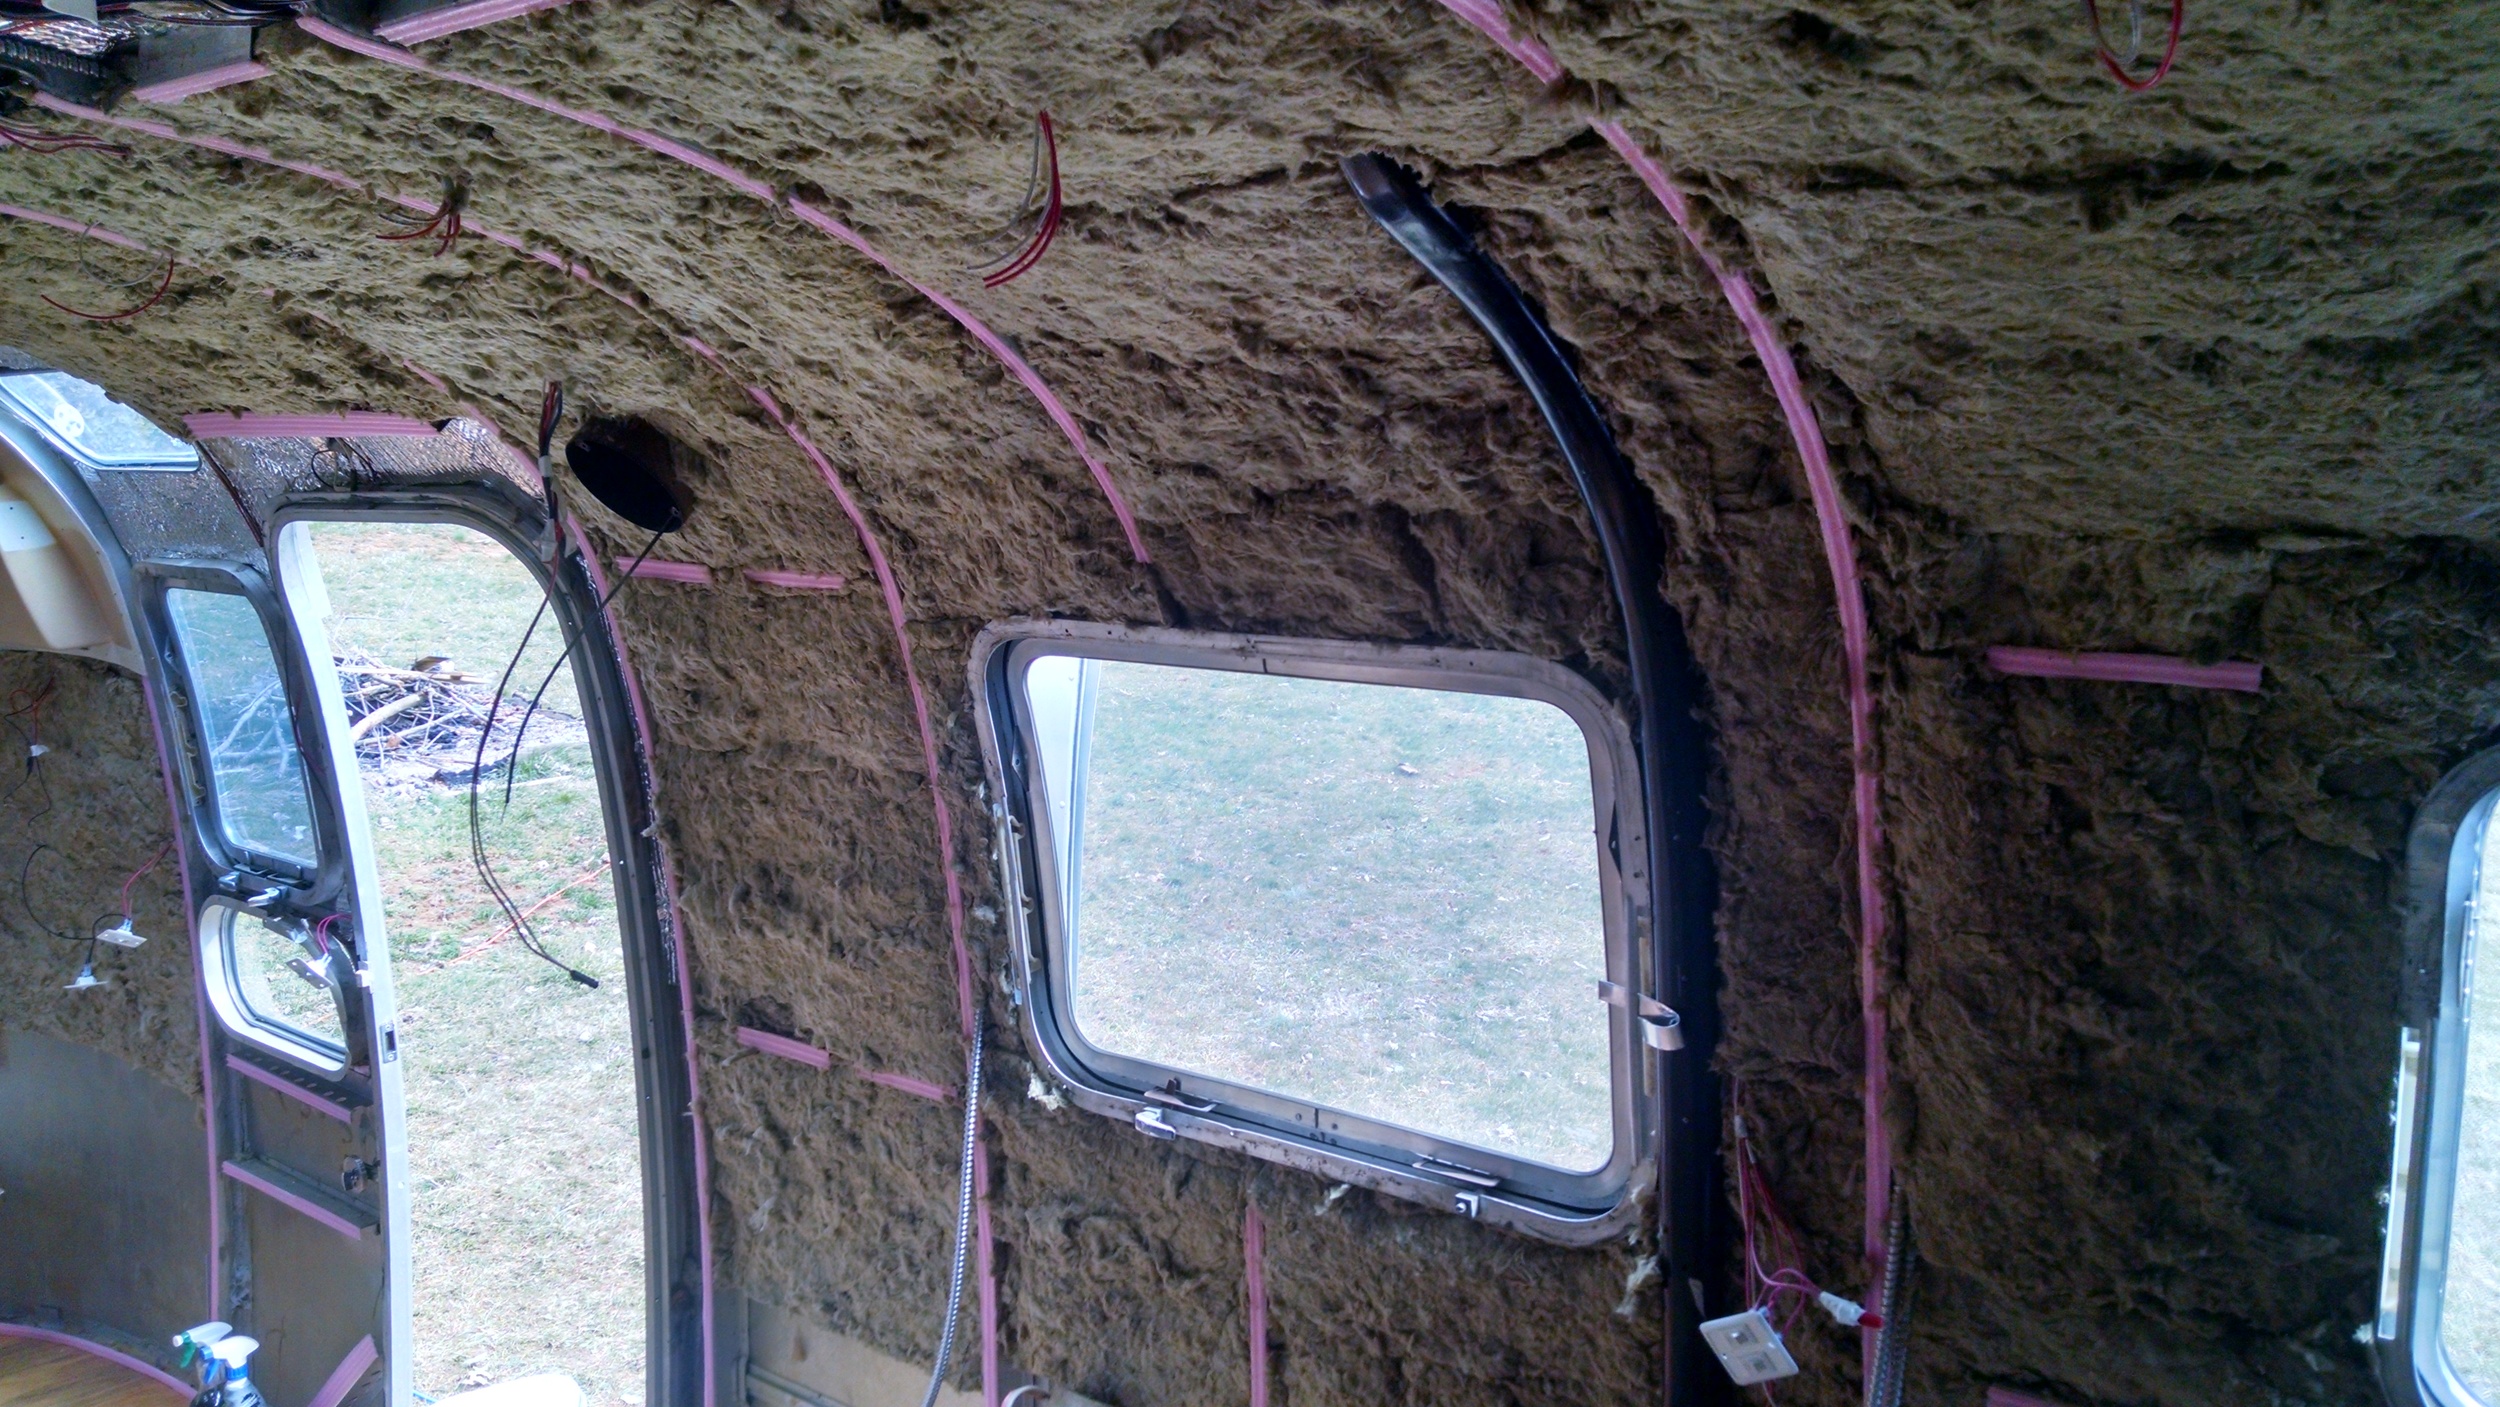
More insulation. I still have a little more work to do permanently securing the bolts in the c-channel at the bottom of the walls, so I'm holding off on the very bottom for now.


I've been hemming and hawing about what to do with the bottom rear section for months, but I need to address it now so I can close up the walls. There's a lot of corrosion and some holes in the skin under the belt line. The rivets in this area have failed, which means that although the c-channel is securely attached to the frame, the skin is not attached to the c-channel. Remember when I first reinstalled the shell and I had to jack up the ends of the frame to meet the skin? Well, I need this area to be solid in order to hold everything together.
I considered removing the rear access door and replacing the damaged panel entirely from the midpoint of the door and below, but getting it cleaned up and riveted back together appears to be a lot more trouble than you might think. I decided just to add an allclad sheet between the damaged section and the c-channel, remove all the rivets around the rear lower curve, jack the rear up to meet the shell, and re-rivet the entire line. All the damage will be under the belt line, so nobody will see it anyway. Unless, of course, someone were to post pictures of this on the internet.


This nearly completes my anti-floor-rotting modifications. Originally, the bumper compartment lid would have mounted on a sheet of aluminum that slid under the rear plywood panel and directed water straight into the bottom of the floor. By installing a panel at 90 degrees to the original one, I've created a dam instead of a ramp. In conjunction with the epoxy coating and the Protecto Wrap around the edge of the plywood, I'm hoping this redesign will prevent future floor rot. I intend to secure the bumper lid to a piece of aluminum angle.

