I need the Airstream to be safe and legal to tow for the honeymoon, which means I need to get the bellypan on. The brake wires penetrate the belly pan, so the belly pan should be in place before I hook up the brakes. I've also got some tanks and plumbing to do.
I'm replacing the entire belly pan from the belt line down with new aluminum with the exception of the banana wraps which are unobtainable. The old stuff is in pretty rough shape, has lots of extra holes, and I ripped a few pieces of belly pan in half when removing it.
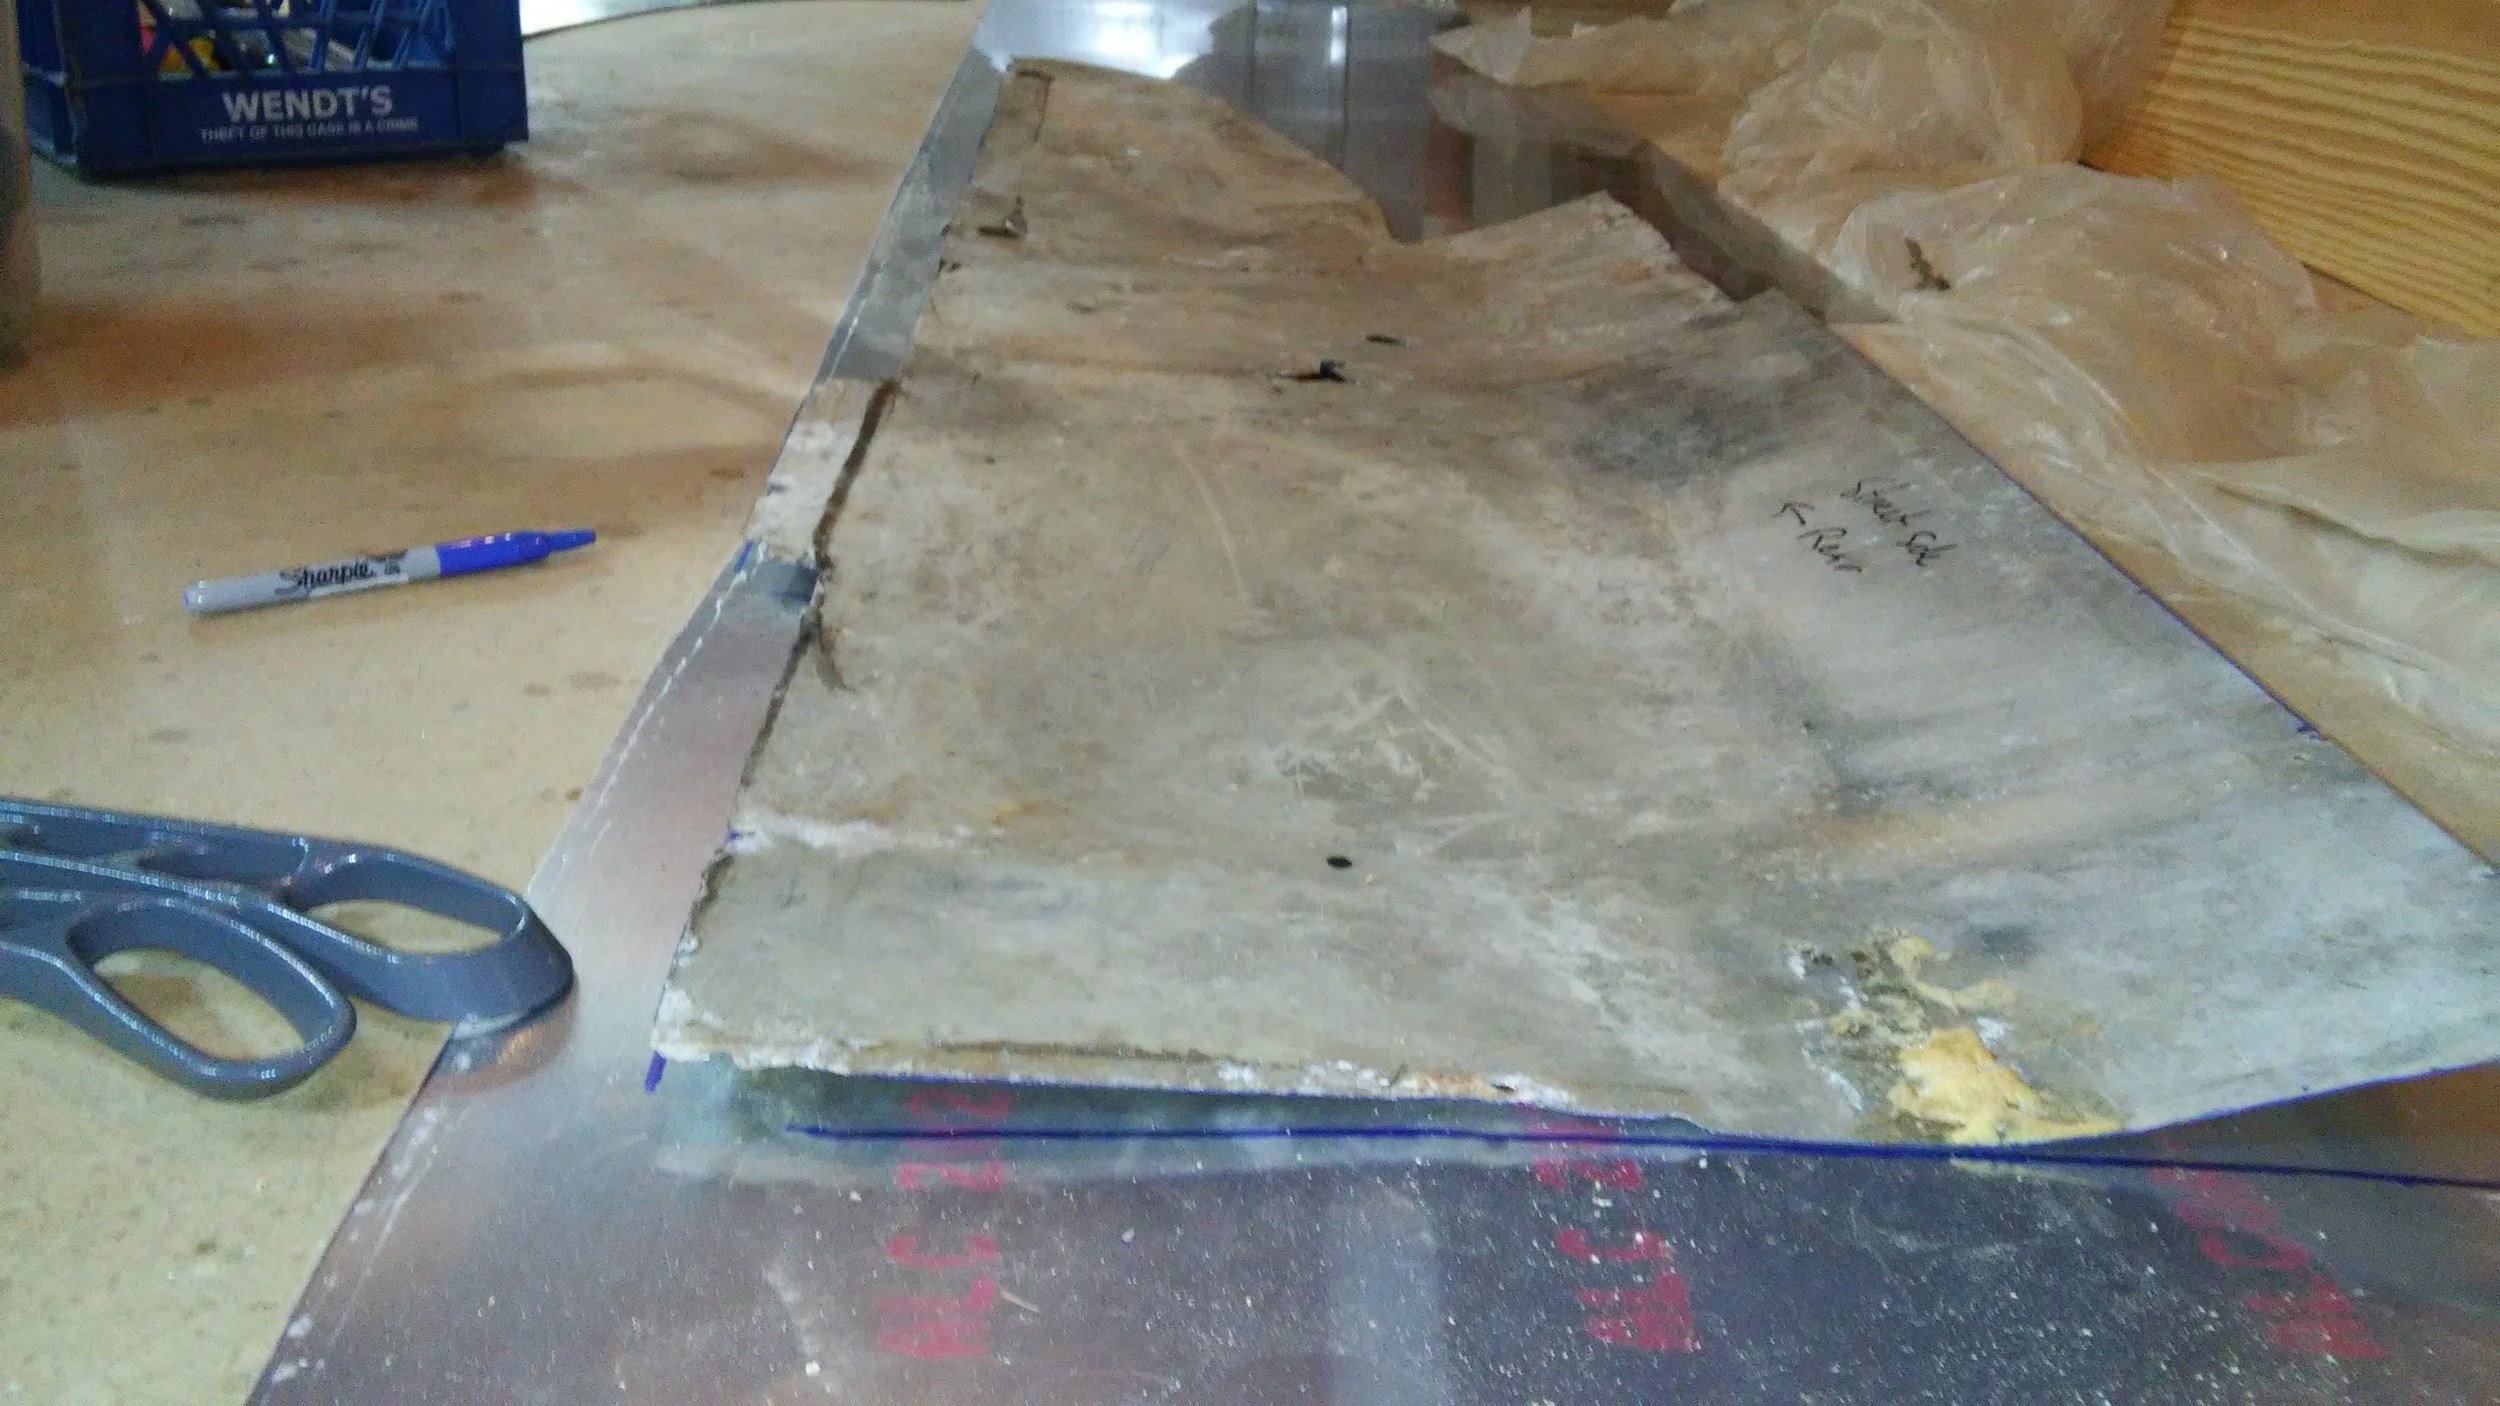
First order of business is to use the old lower curved pieces as templates for new aluminum.

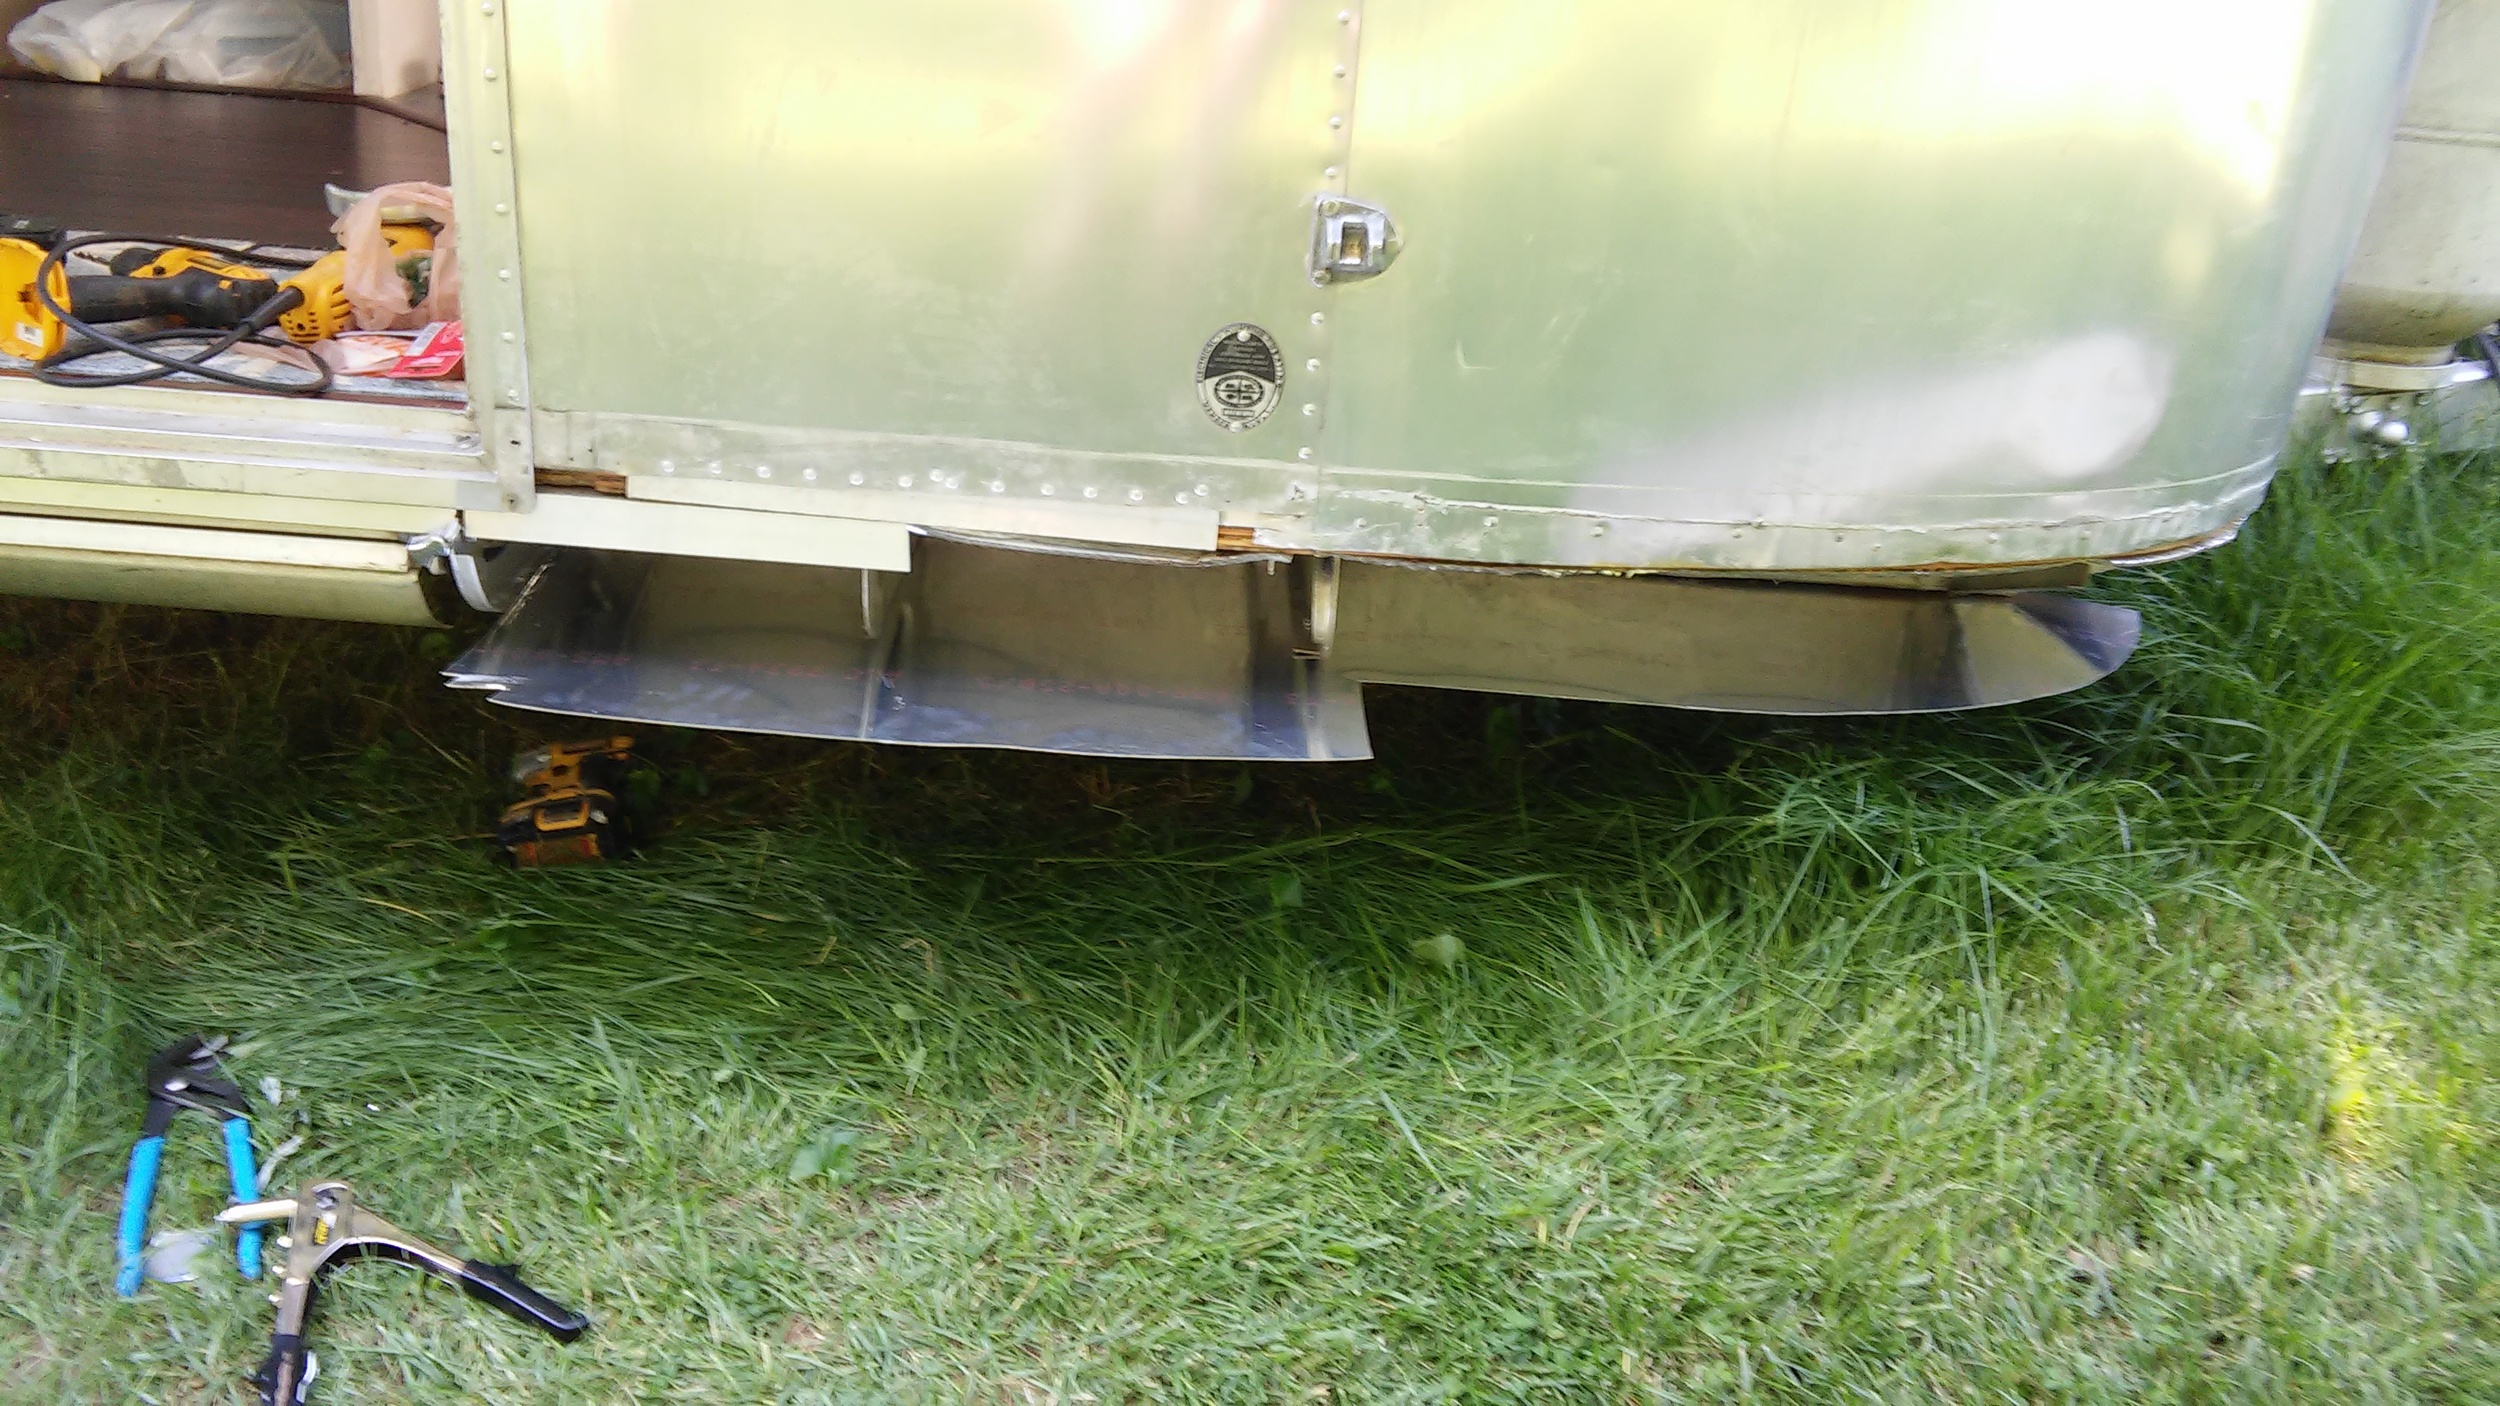
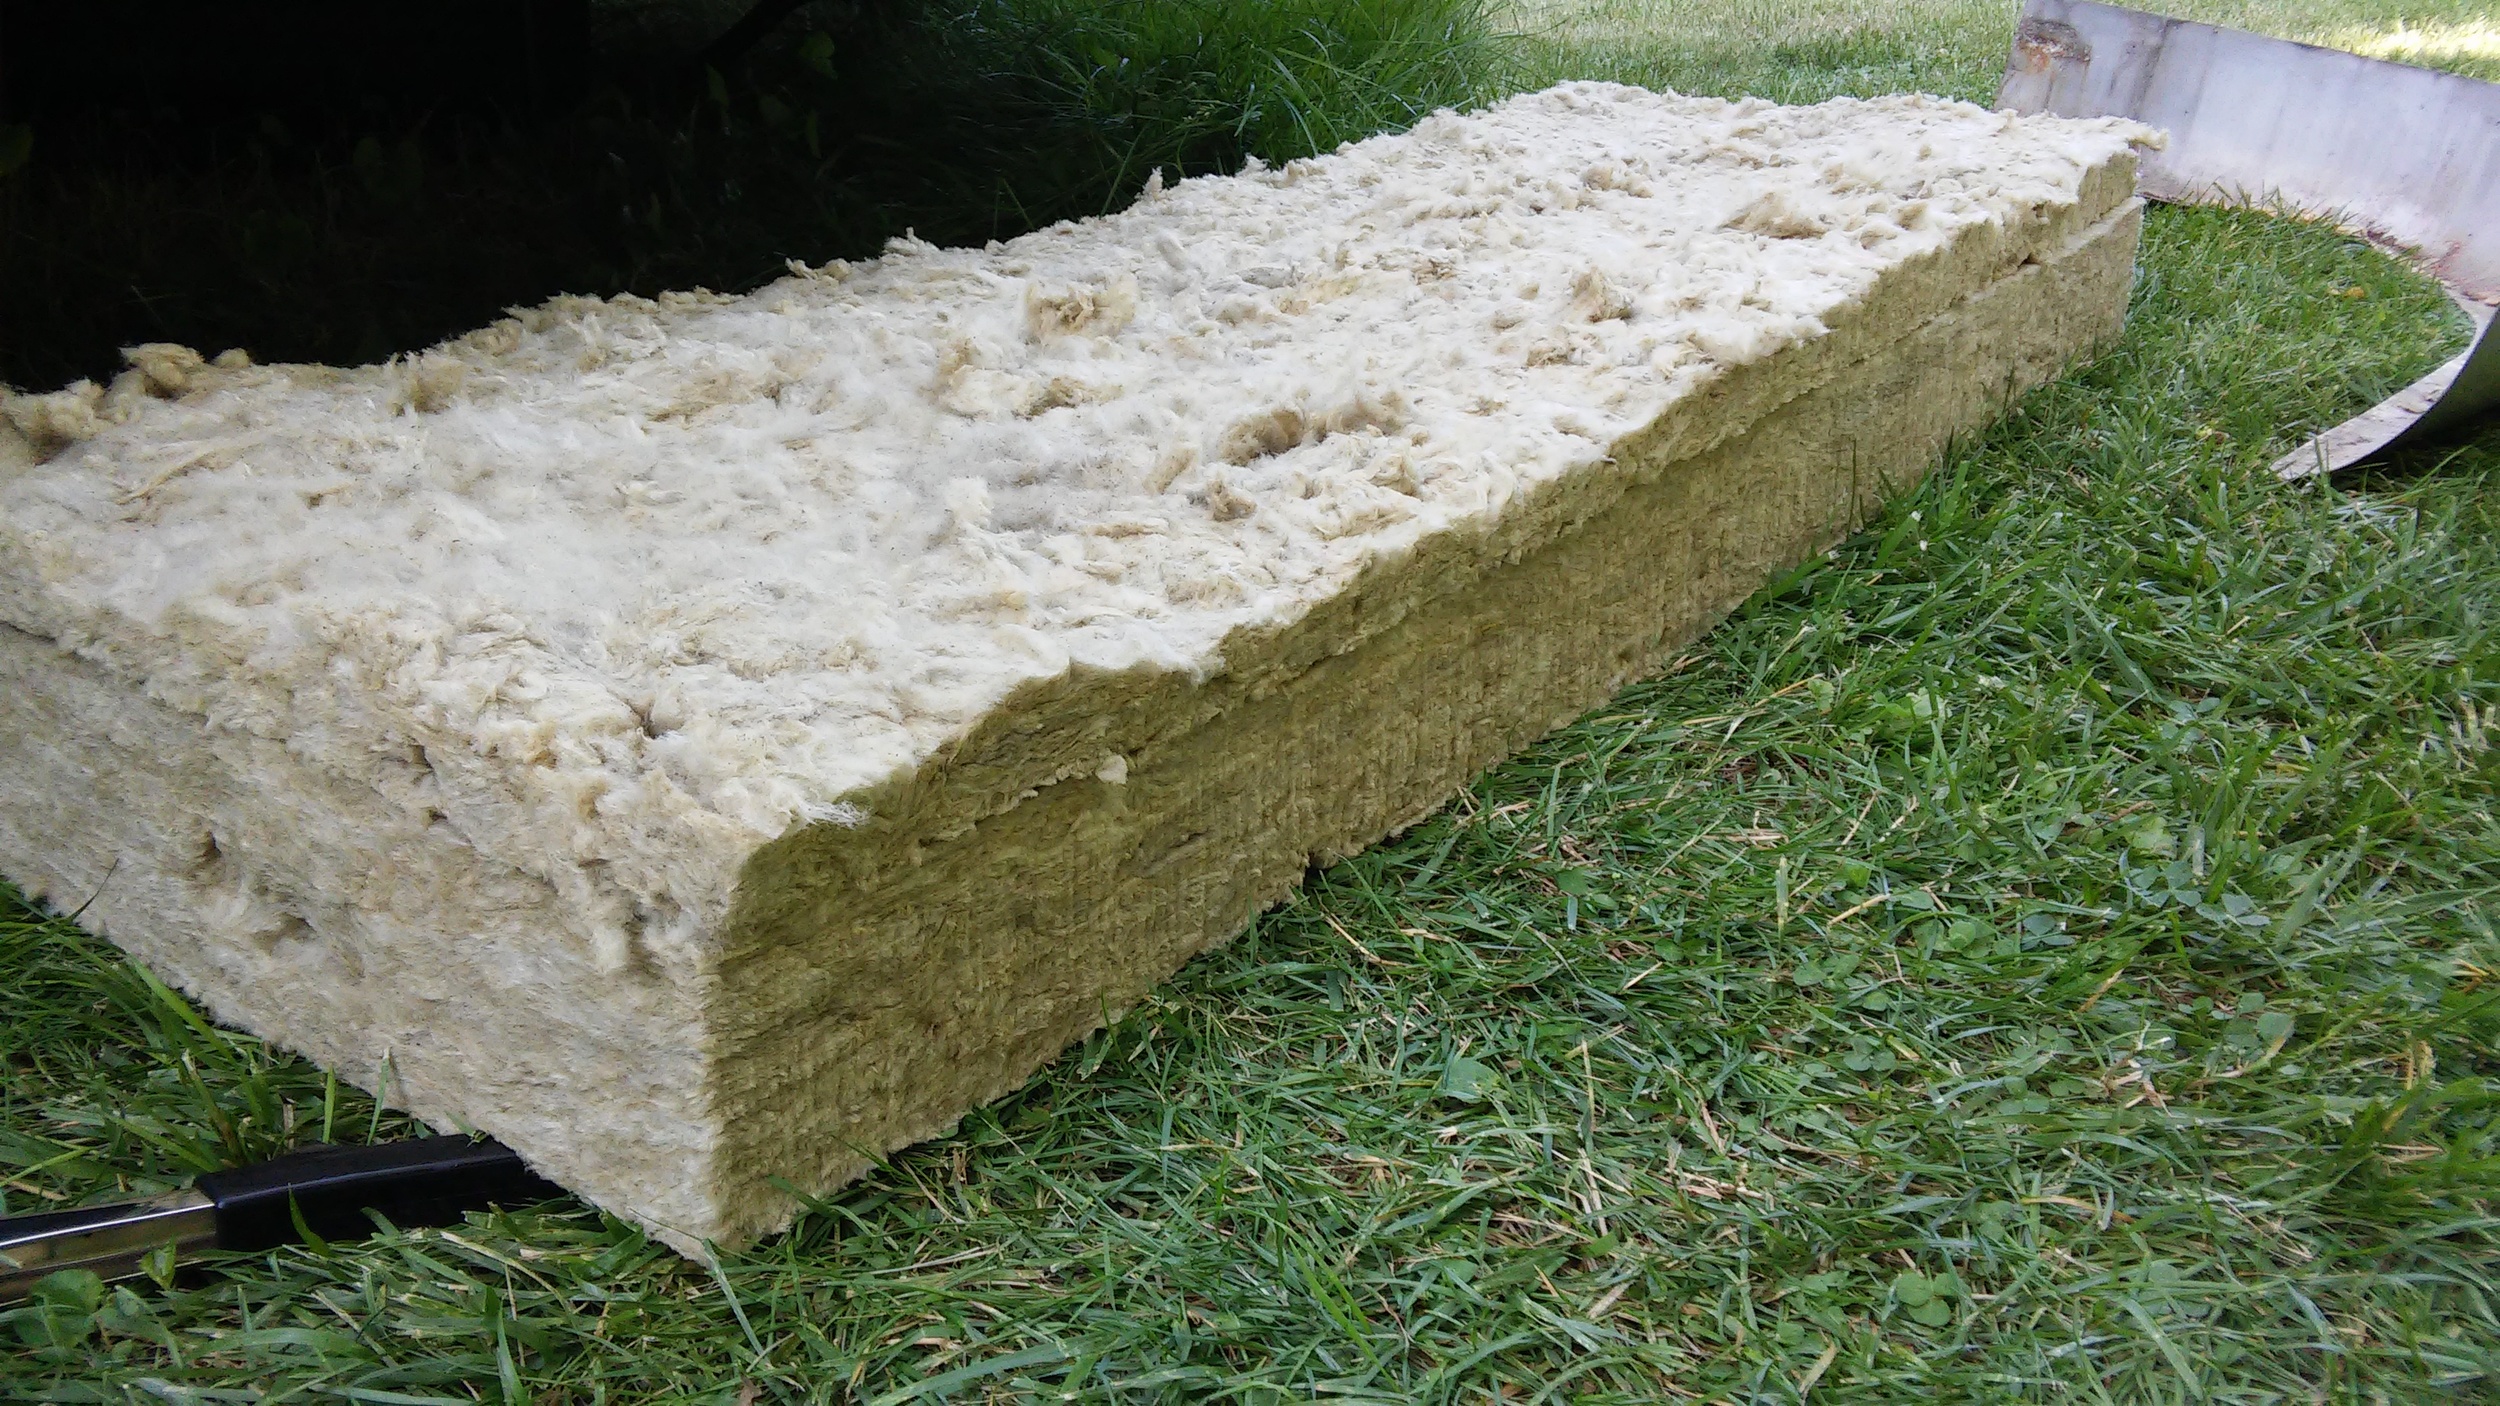
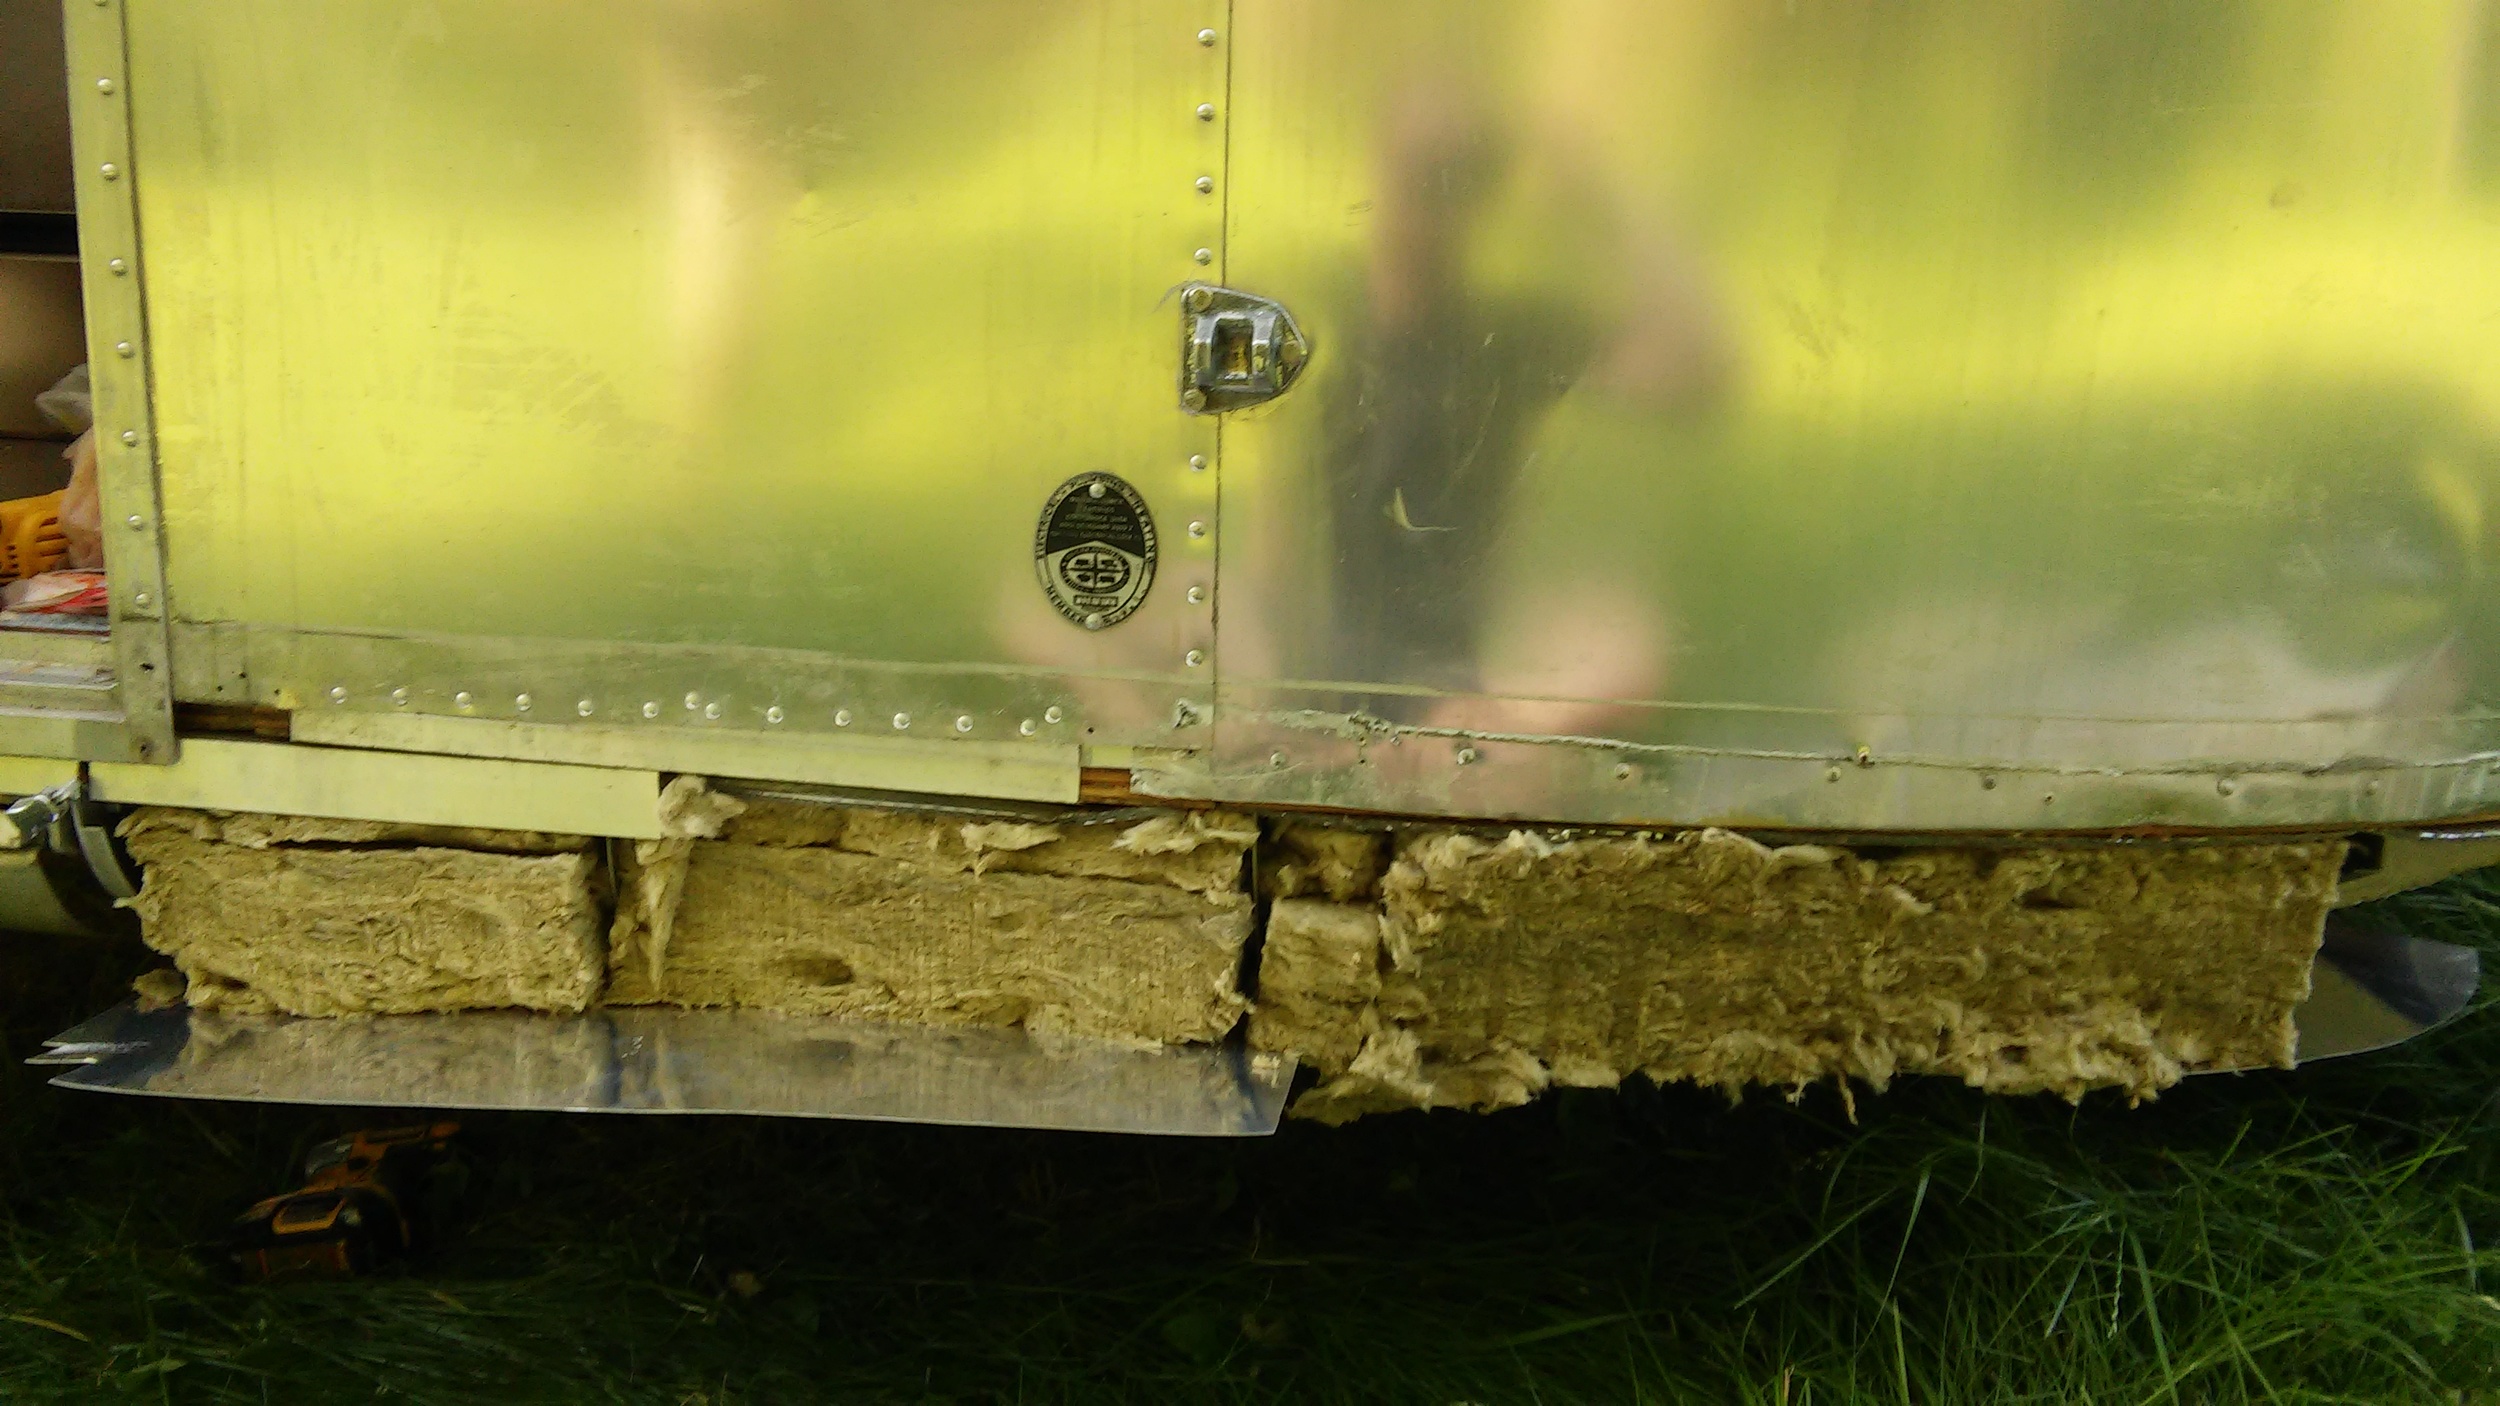
I started installation by lining up and riveting the lower surface of the curve to the frame. Then I cut rockwool insulation to fill the void. The width of a standard sheet of rockwool was a perfect fit for the width of the outriggers. I used 1-1/3 sheet to get the proper thickness.
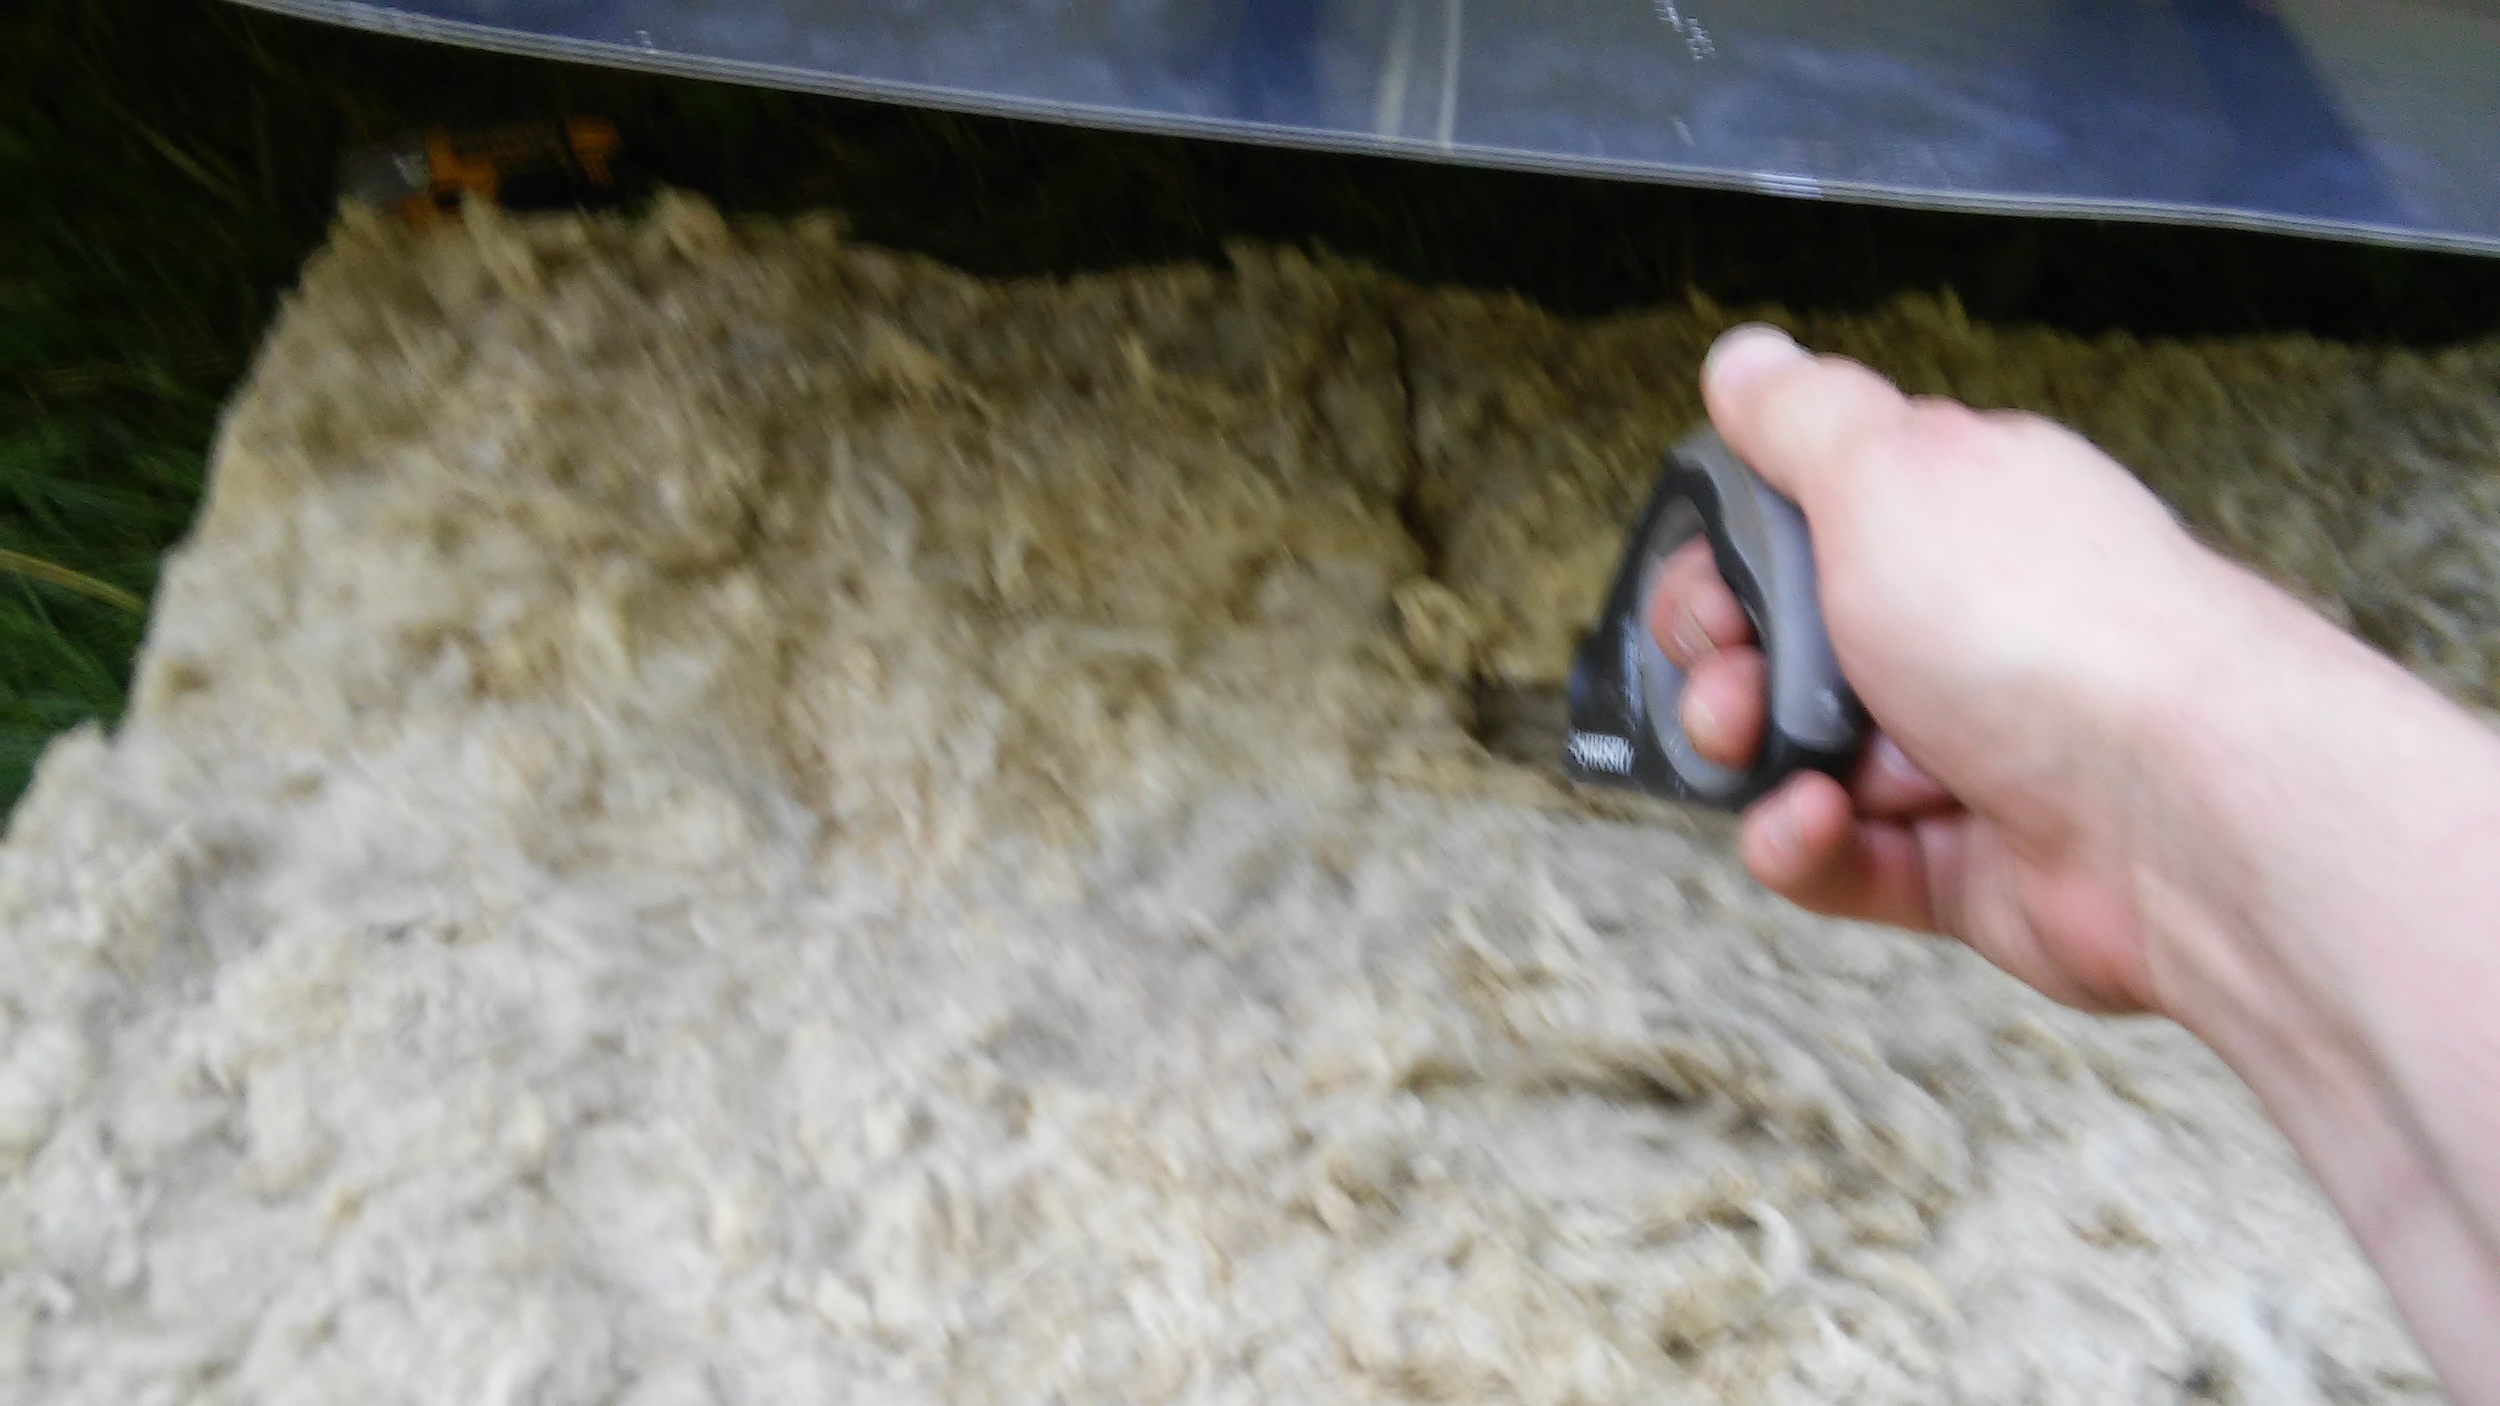
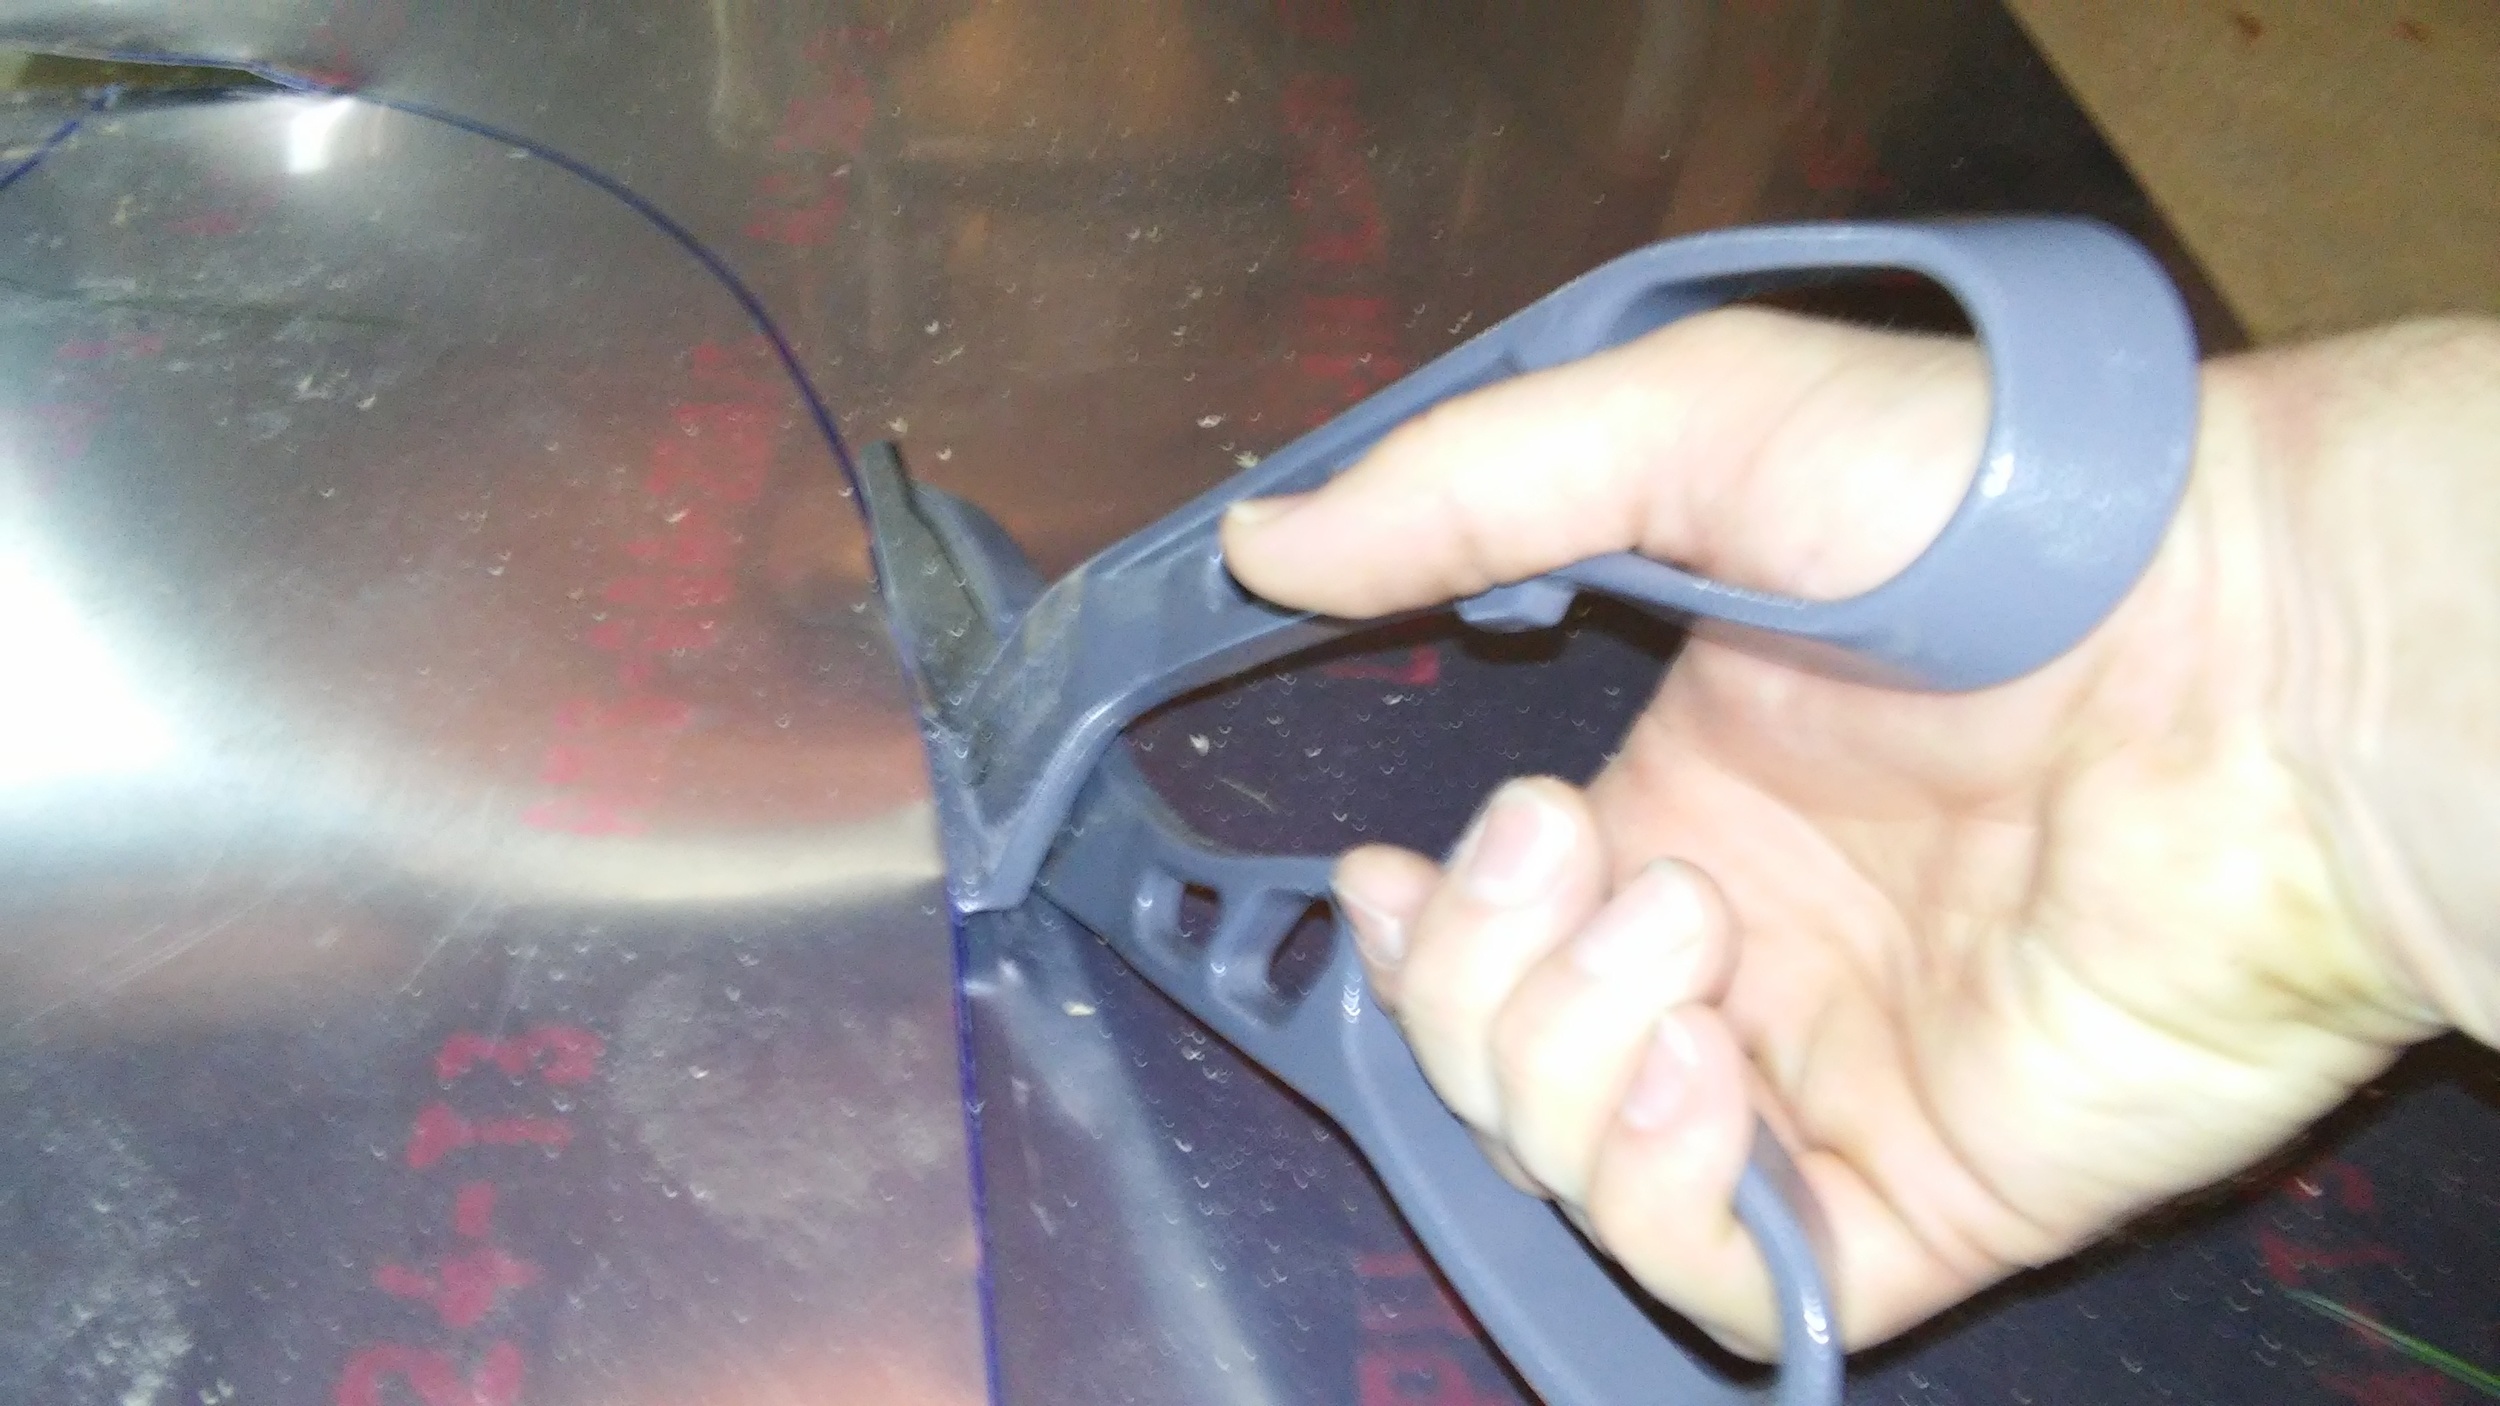
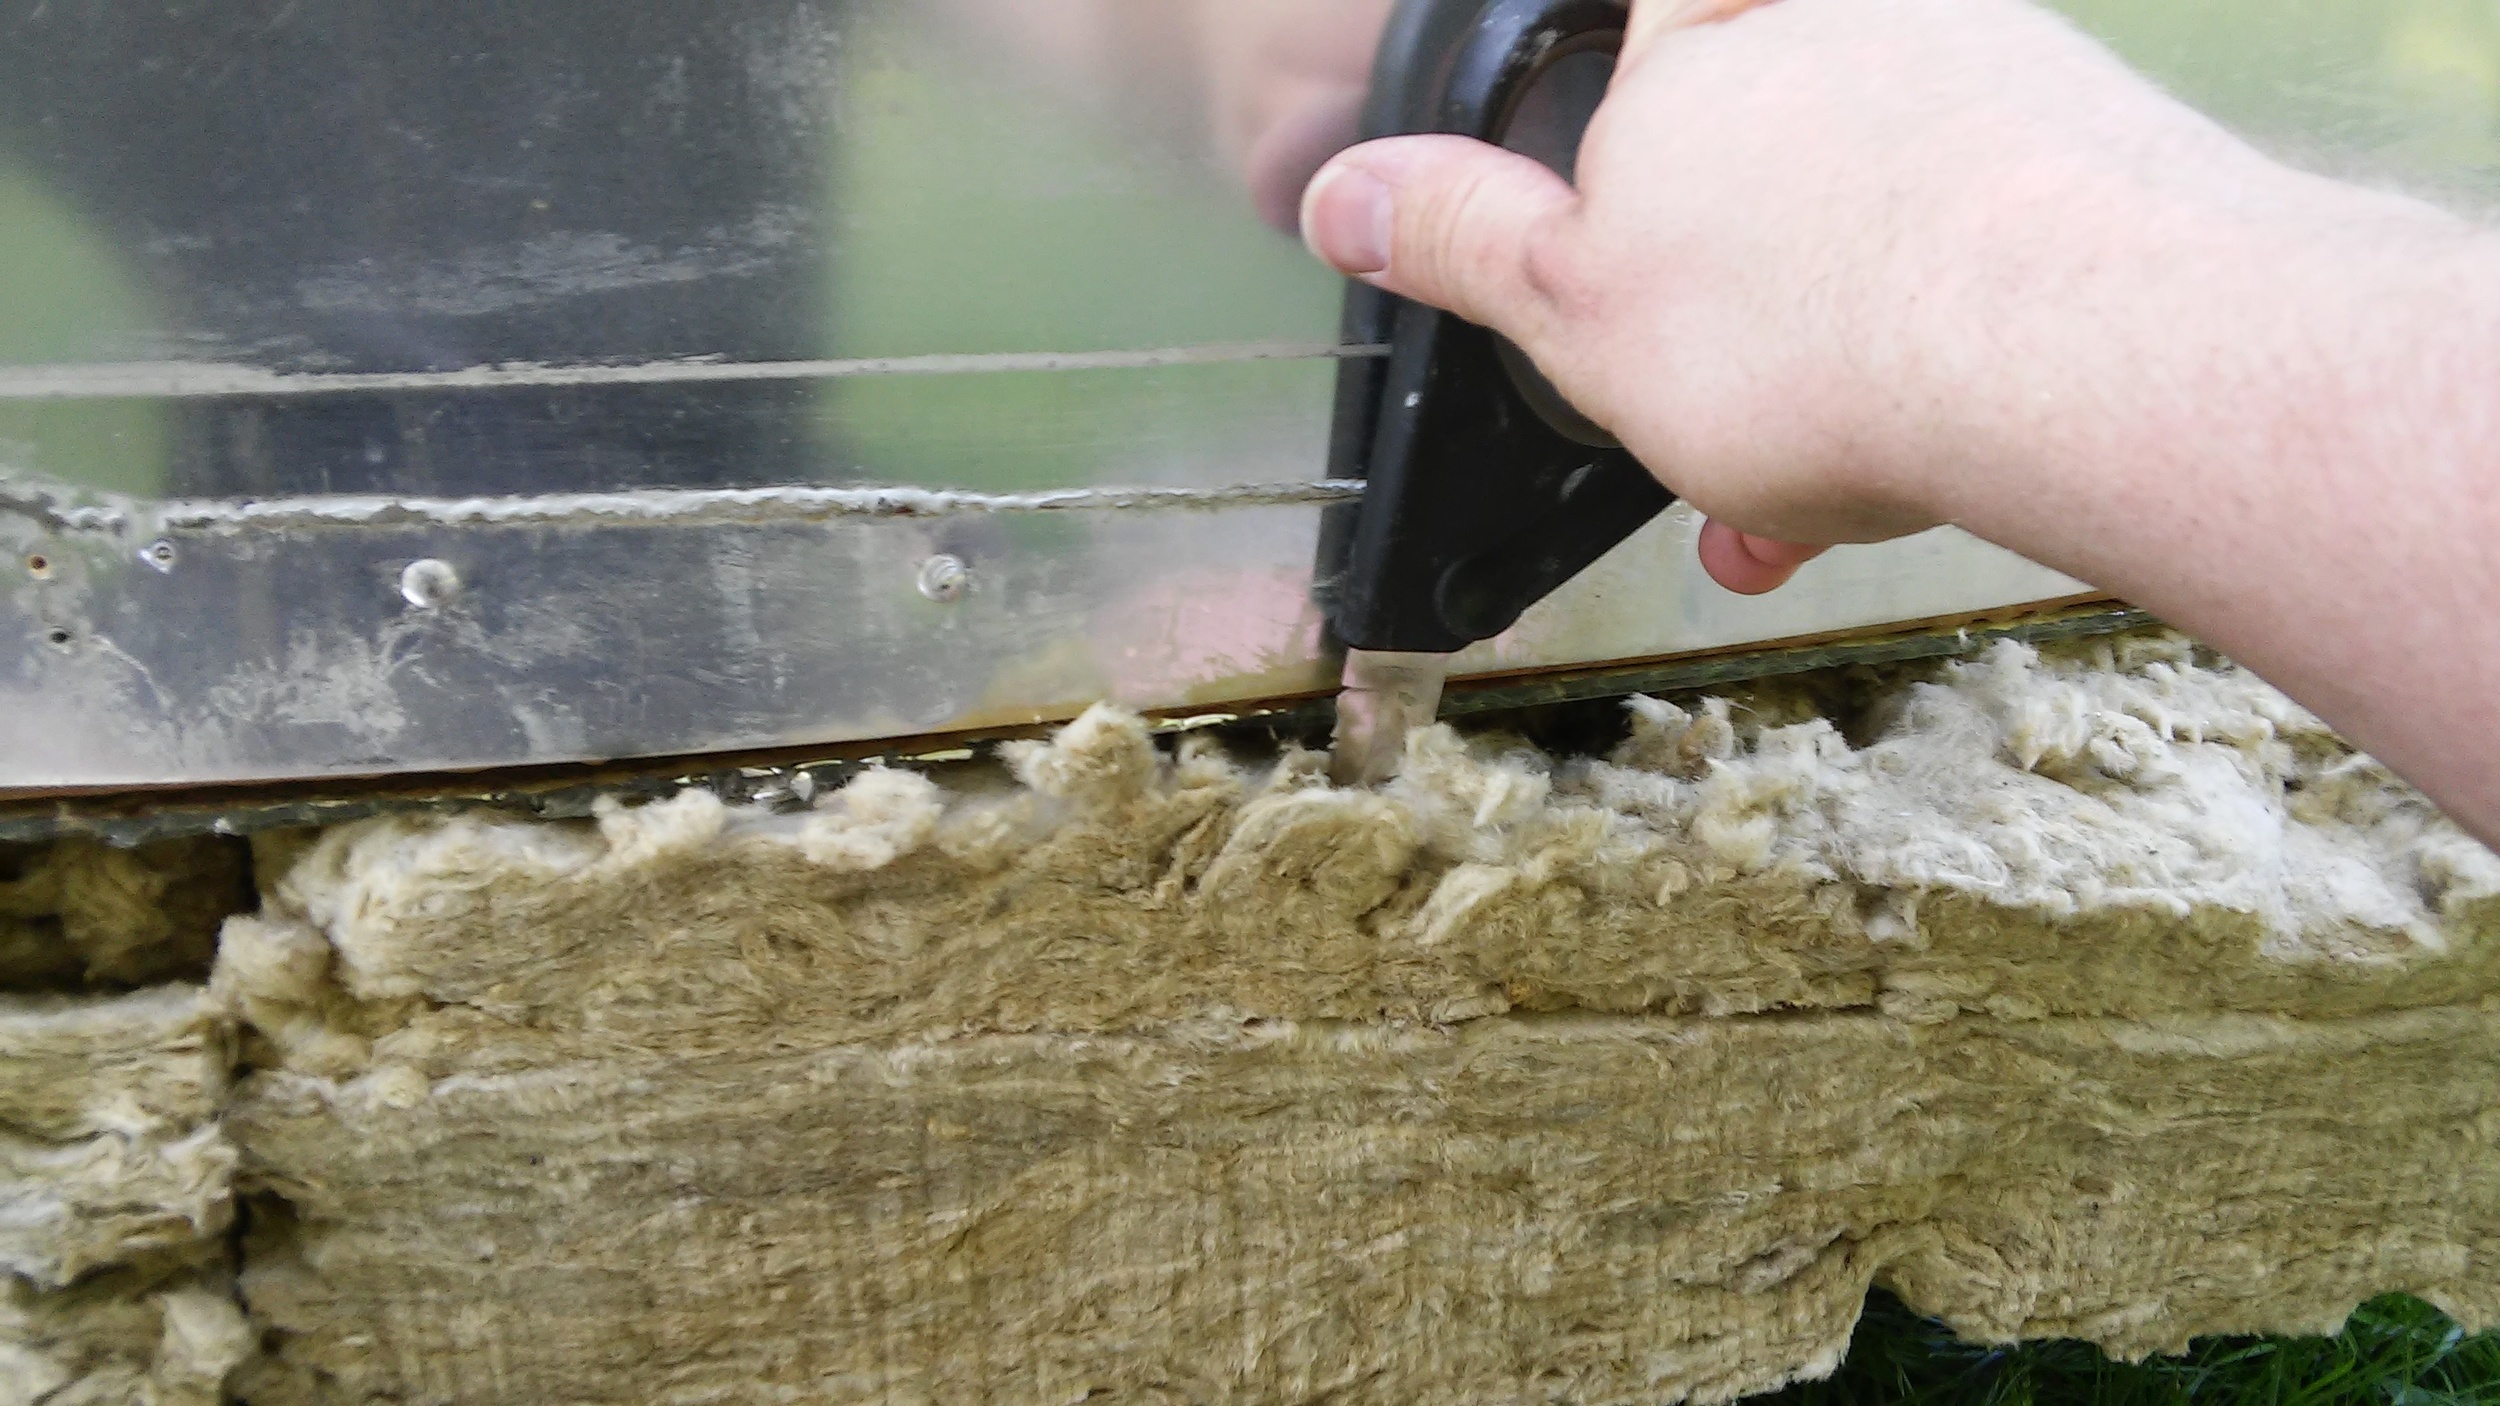
Used the insulation knife to trim the curve, then lift the middle of the panel and rivet into place. A few more rivets to secure the panel, and we're good to go.
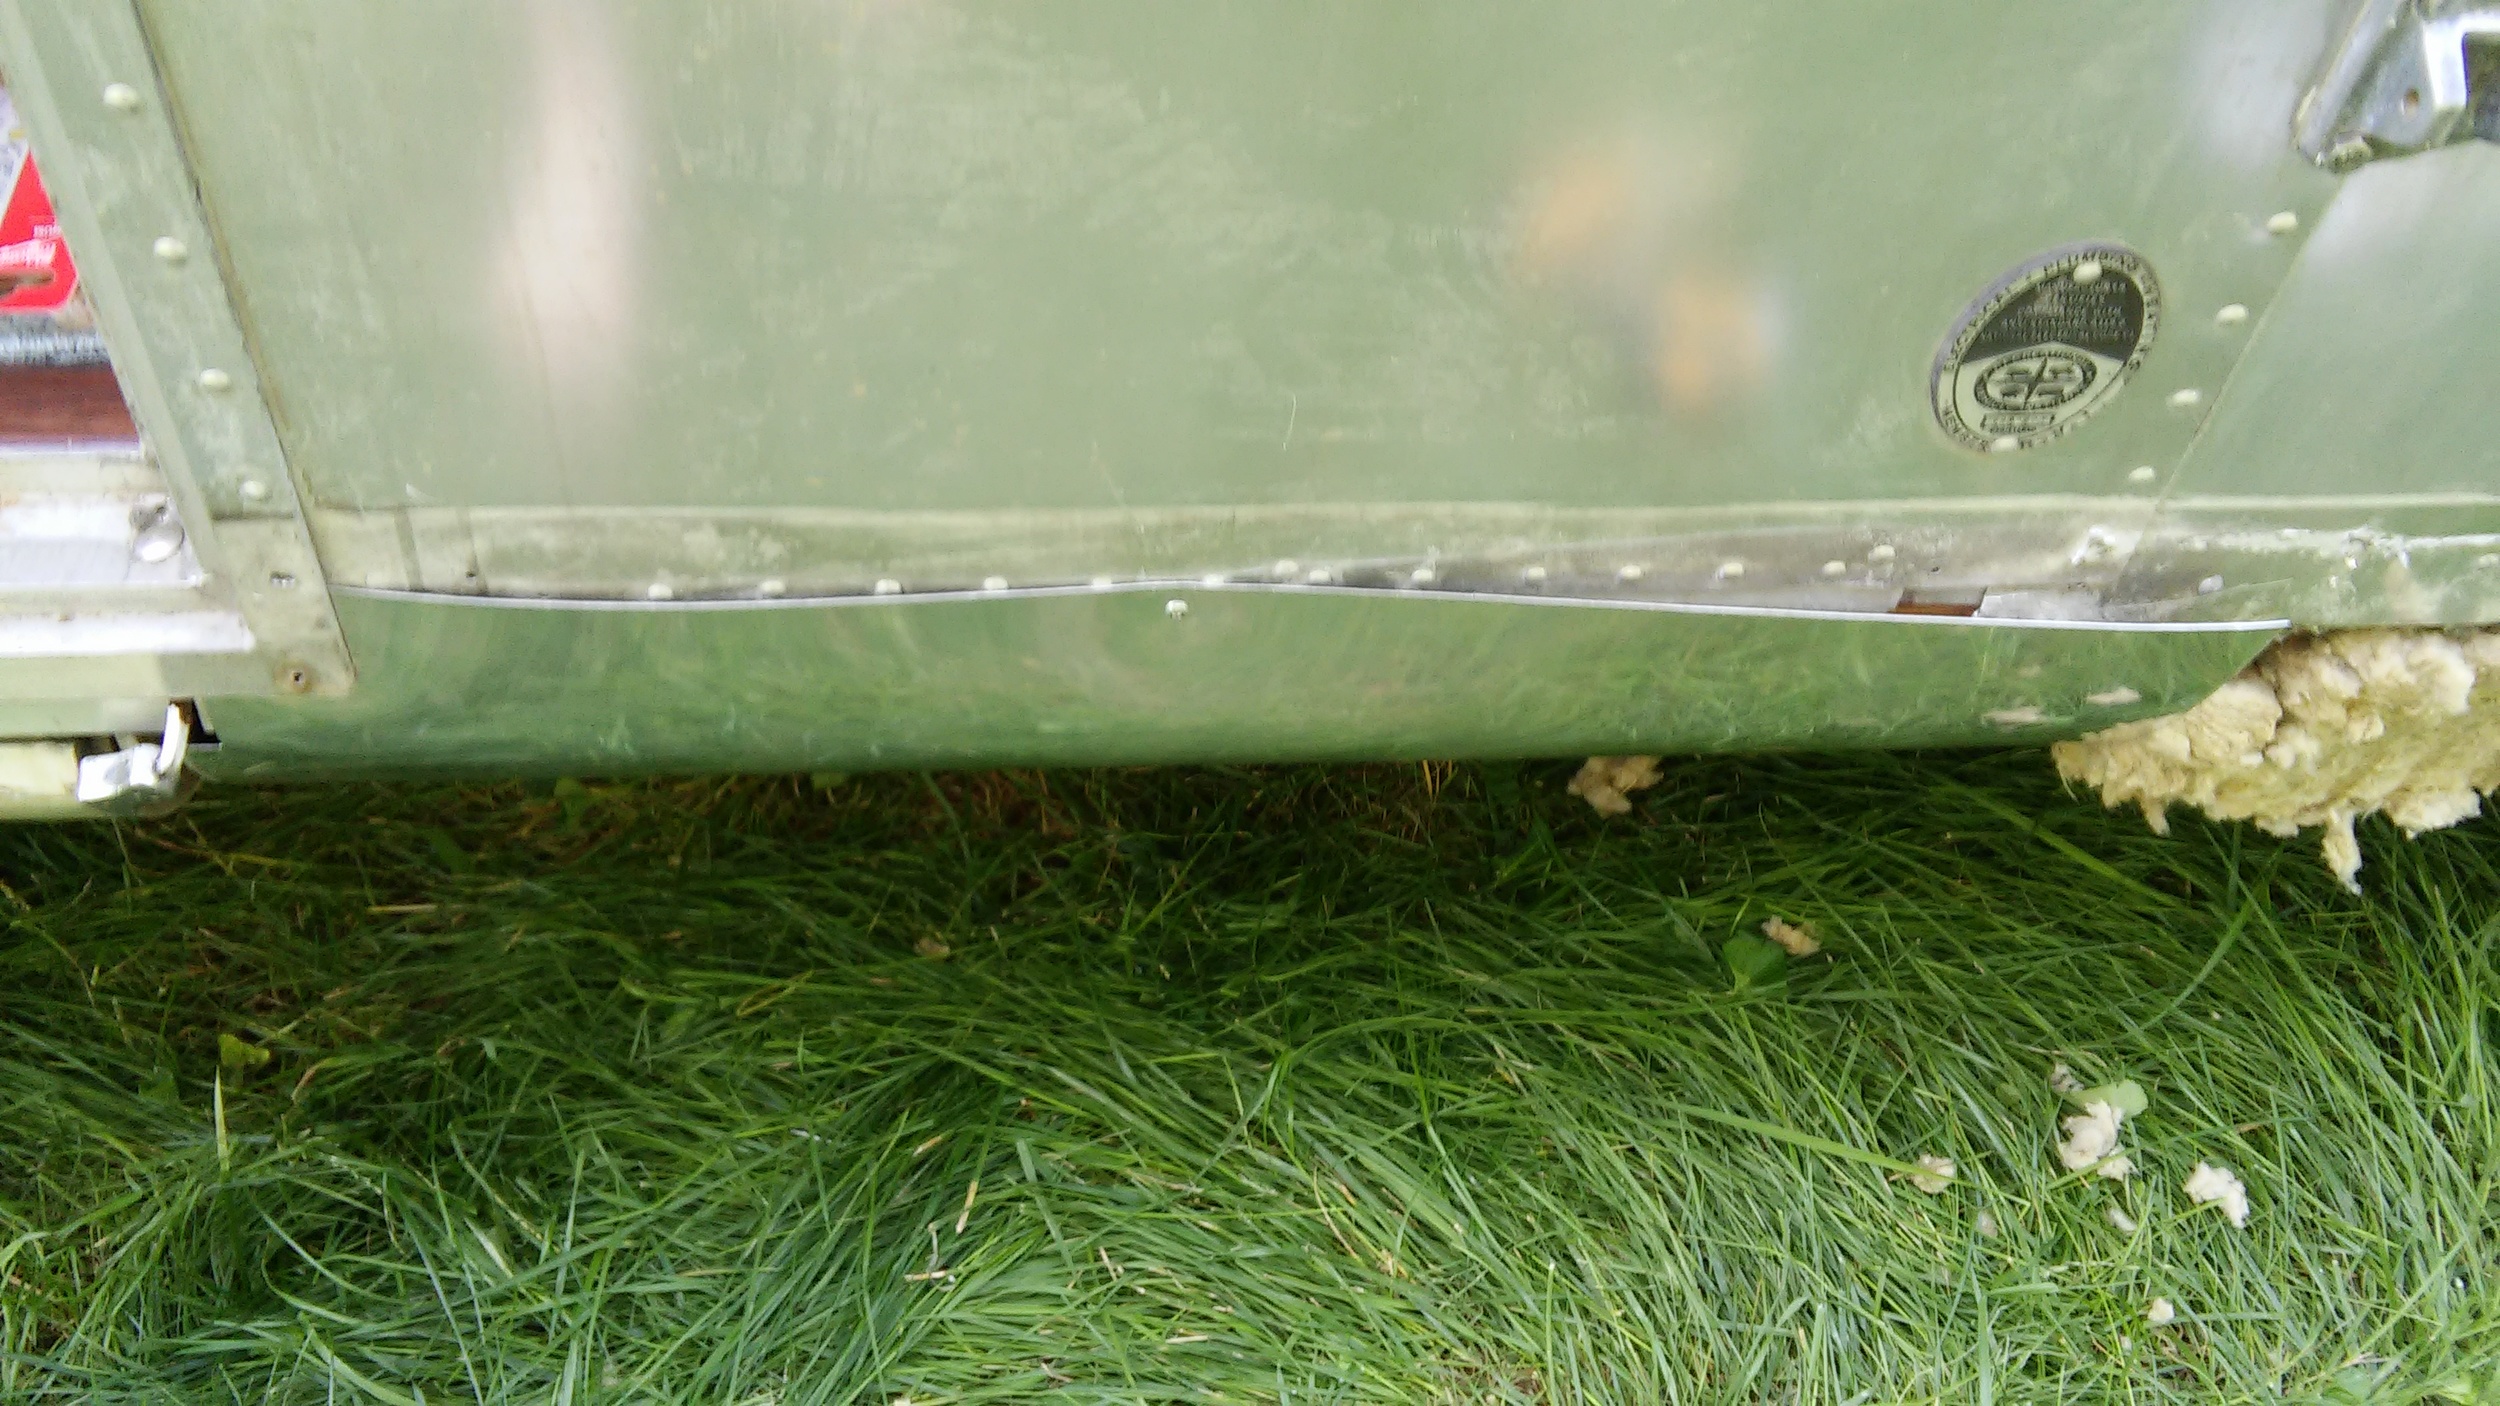
I applied a thick bead of TremPro in the gap prior to installing the belt trim. I'll add another bead on the top of the belt trim afterward.
Finally, set up a lawn chair to complete the 2/10 inspection. It looked good 2 beers in and 10 feet away, so we passed inspection.


Next, we need to complete a few more items before finishing up the underside.
My, what a handsome job I've done so far.

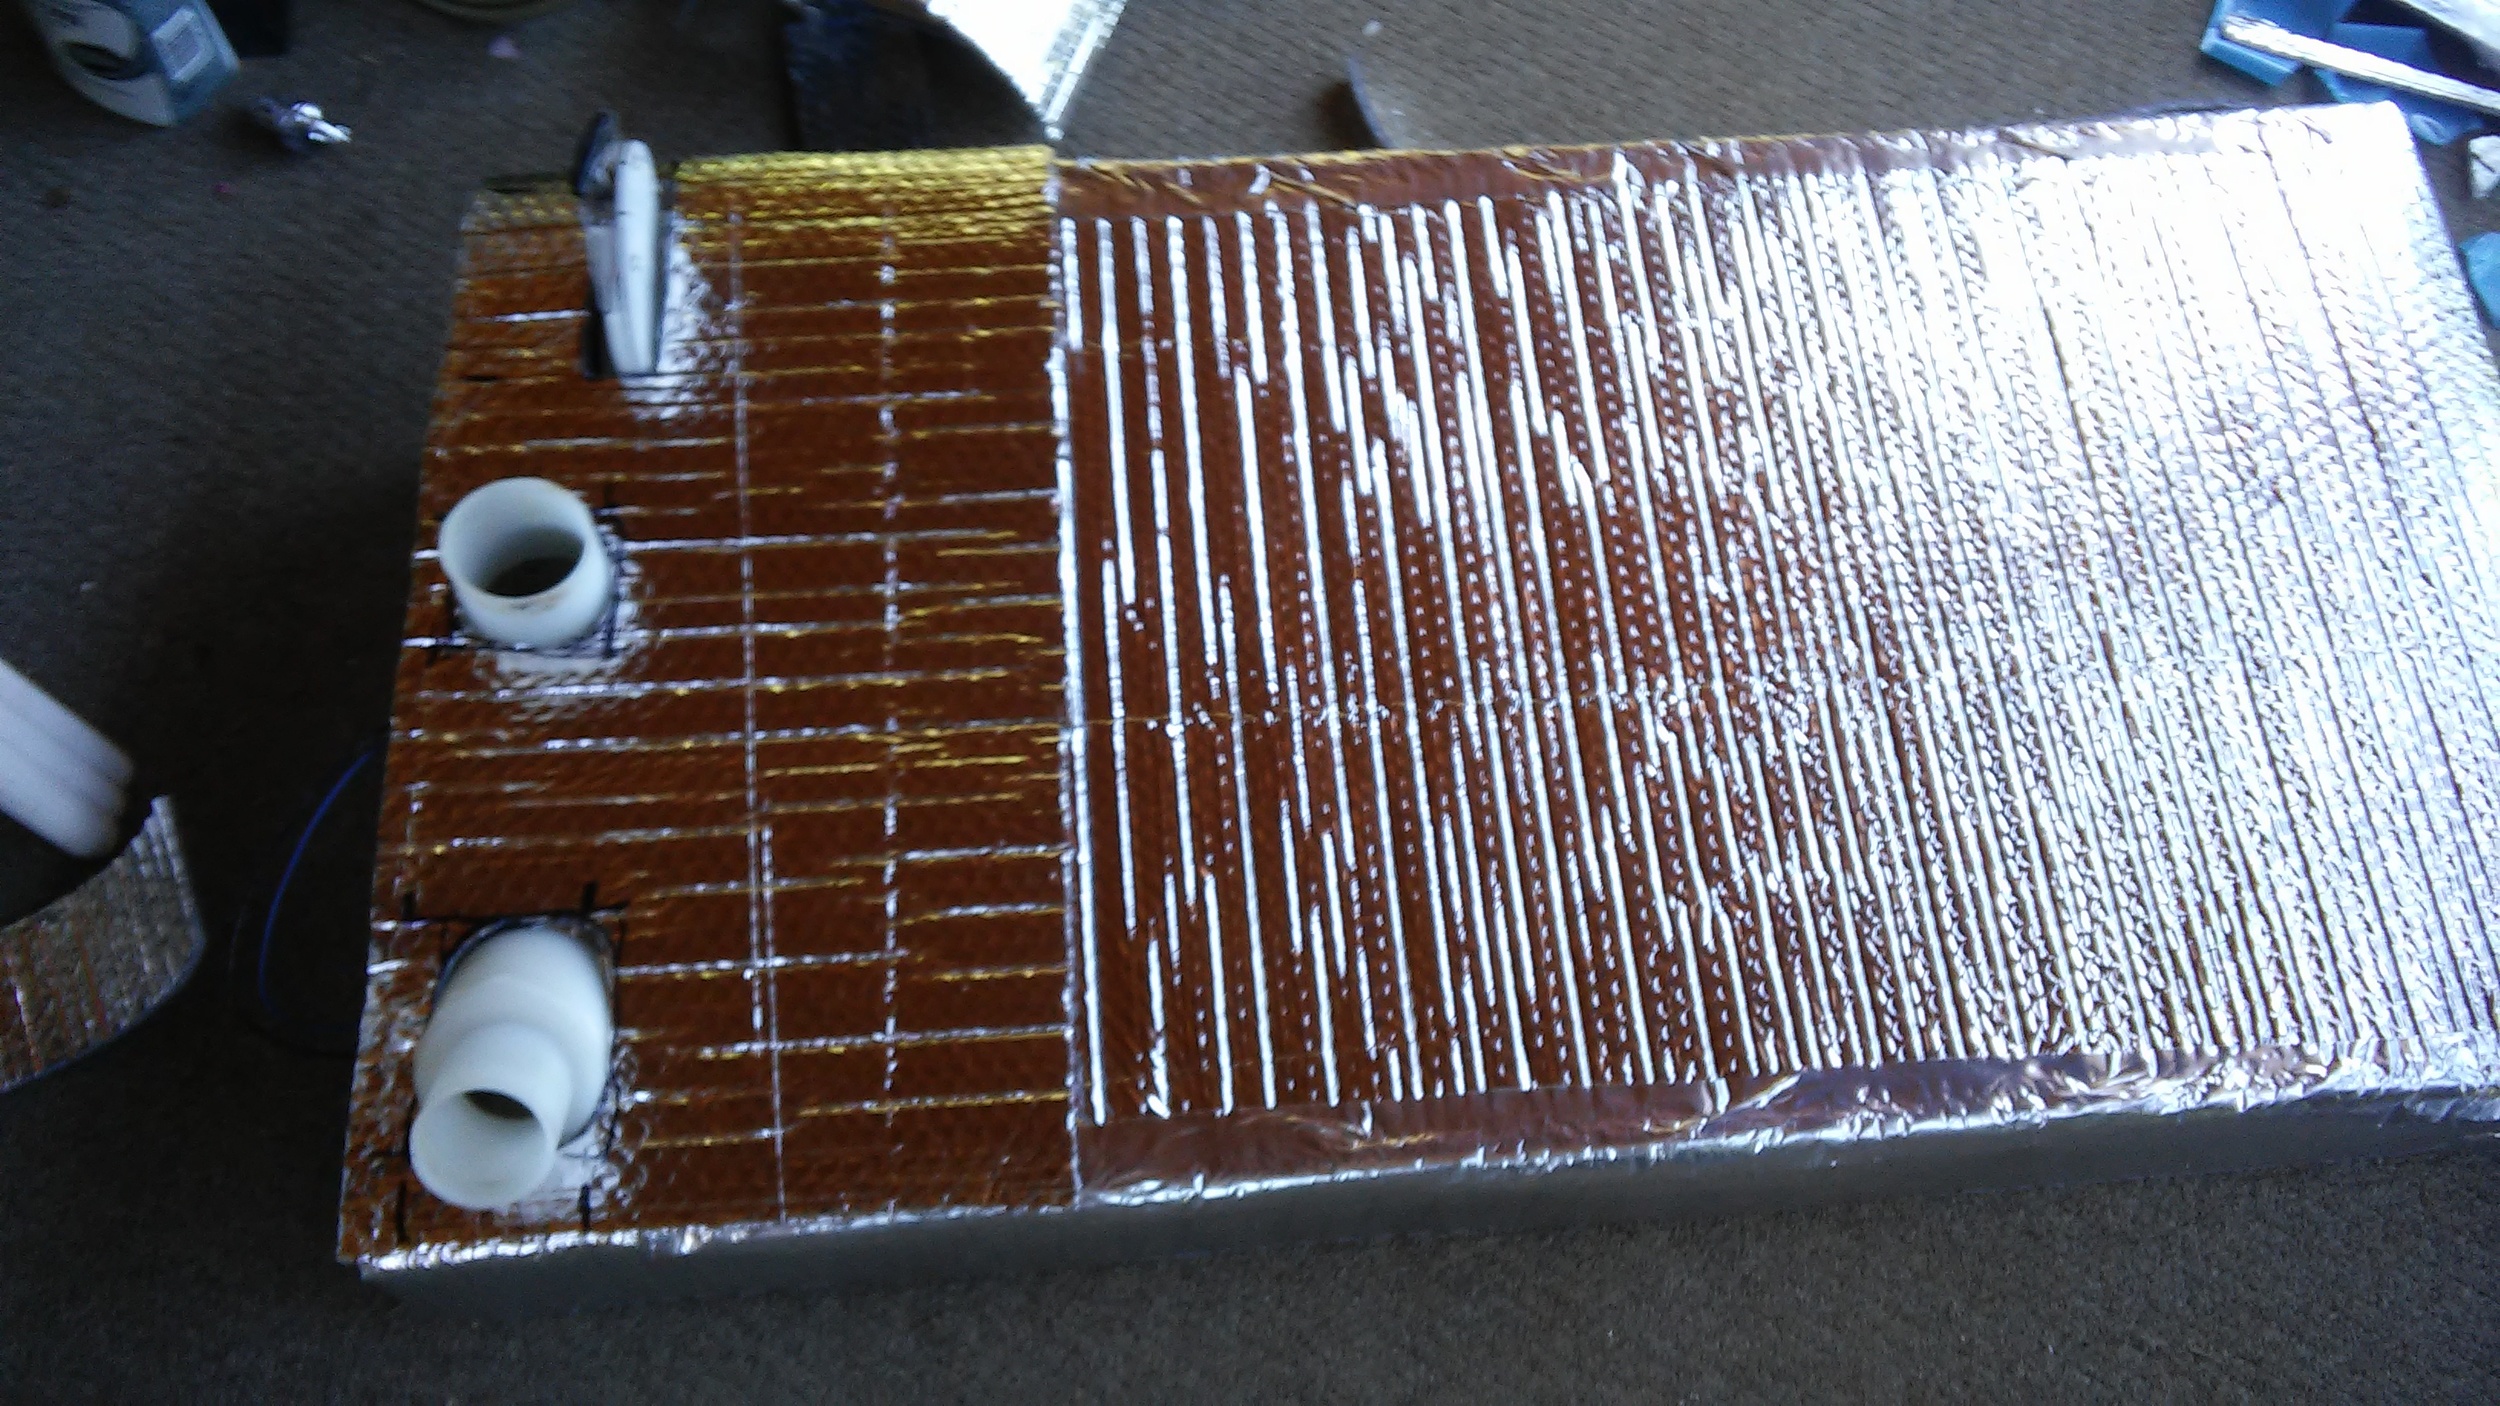
Original gray tank gets a SeeLevel junior sender (the shorter version), a heat pad, a new dump valve, and a bunch of insulation.
Fresh tank gets the same SeeLevel junior sender and heat pad, but not a lot of insulation since there isn't room. I am using PEX with the stainless crimp rings for the fresh plumbing. The lower white tubing will be my tank drain with valves accessible from inside the coach, as well as the low point drain for the hot and cold water fed from above. I could also use this same plumbing to add hot water to the fresh tank in case I needed to heat the tank while boondocking. The top white tubing is the tank vent. The blue tube is the fresh water suction to the water pump.
Finally, one of the auxiliary gray tanks gets the third SeeLevel junior sender. I brought the auxiliary gray tank plumbing back to the bumper compartment. I'll hook everything together inside the bumper compartment later -- I just need everything done inside the bellypan for now. I didn't bother hooking up valves to my low point drains on the auxiliary gray tanks, since I can do that later from the outside.

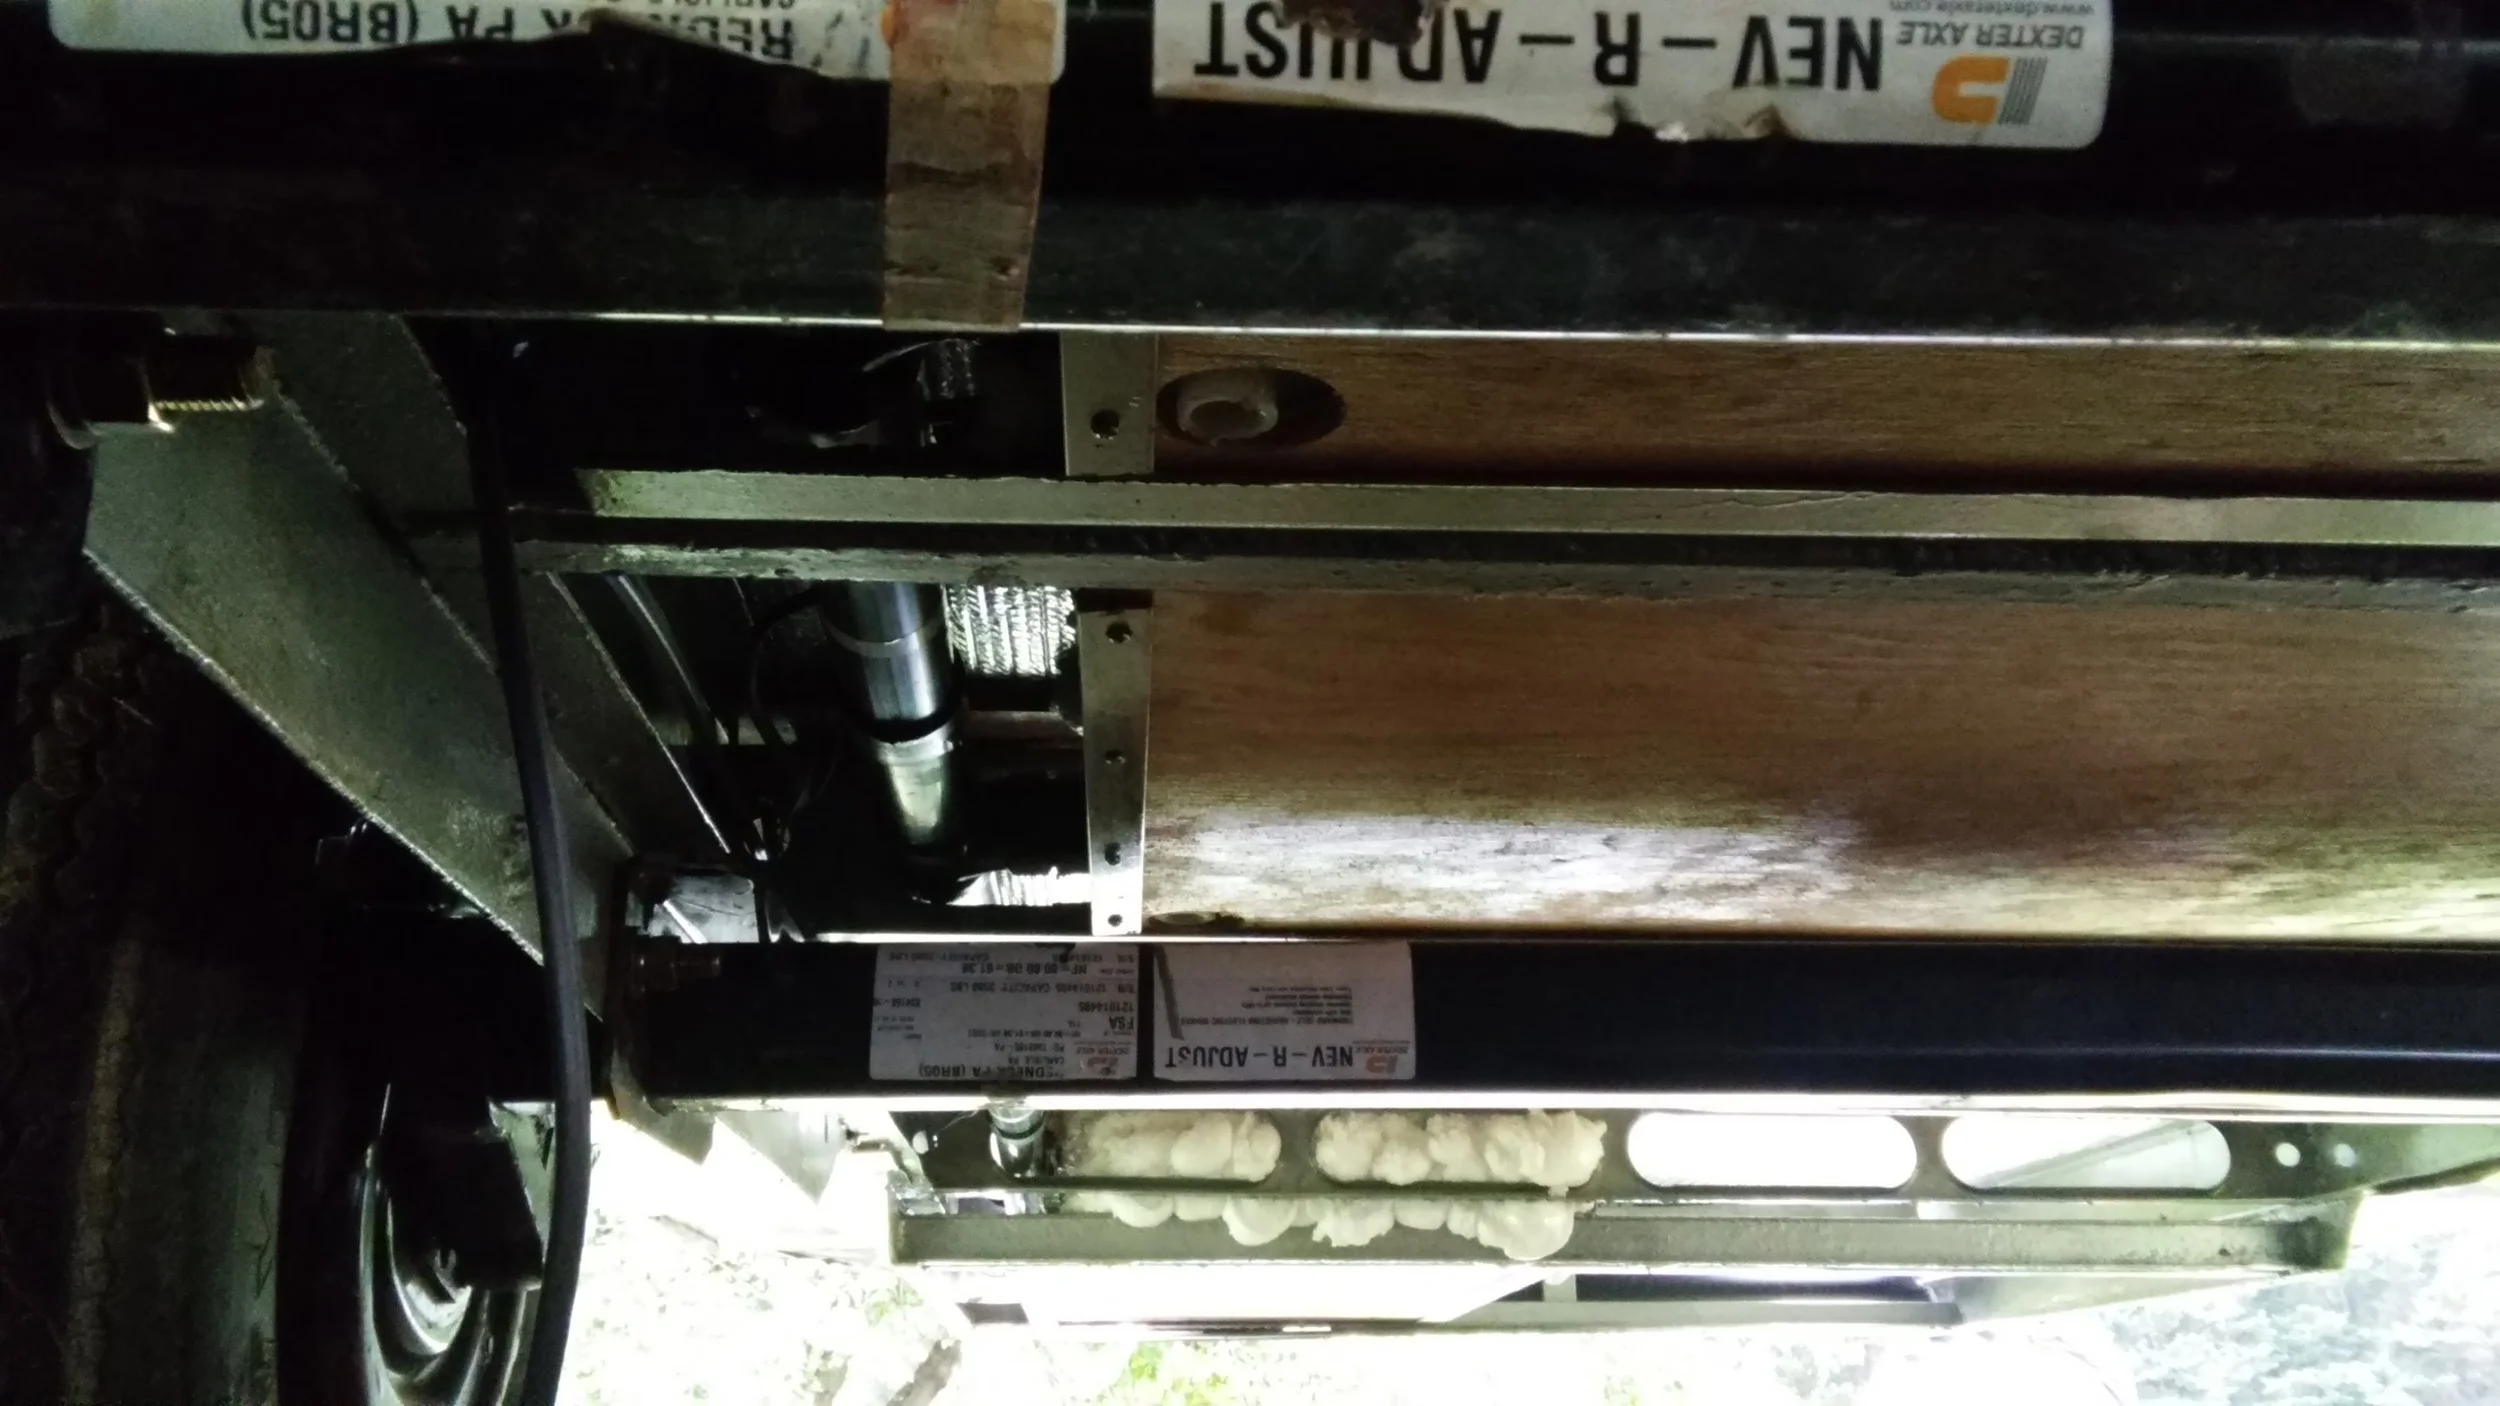
The original belly pan was a couple of pieces of aluminum running front to back. Pretty easy to install it that way if you have the frame upside-down and the axles off, like in the factory. Since I'm doing this on my back and working around already installed axles, I'm using 4' wide aluminum sections running side to side. Insulation in this area is also a standard sheet of rockwool with 1/3 of a sheet set on top of it to fill the void.


Rubber grommets around the brake wires, and shrink tube double crimp connectors to connect the electric for the brakes. Brakes worked perfectly the first try, which is good, because I finished this Thursday morning for my Friday inspection prior to the Saturday wedding.