What I was hoping would be a one weekend project turned into a three weekend grind thanks to the record-breaking heat and humidity this August. On the bright side, I know our Coleman Mach 8 Cub AC unit can handle anything we're likely to throw at it. If it got any hotter and we had a choice, we would be driving away somewhere cooler.
This week's -- er -- month's project is the propane lines. Our future kitchen range, the water heater, and fridge will all run on propane. We may also use a generator or a grill in the future that could be set up to run off our RV propane. I want to get the gas lines installed and tested before I can build the bathroom interior because I'll have much better access to the back of the water heater before I build the shower wall behind it.
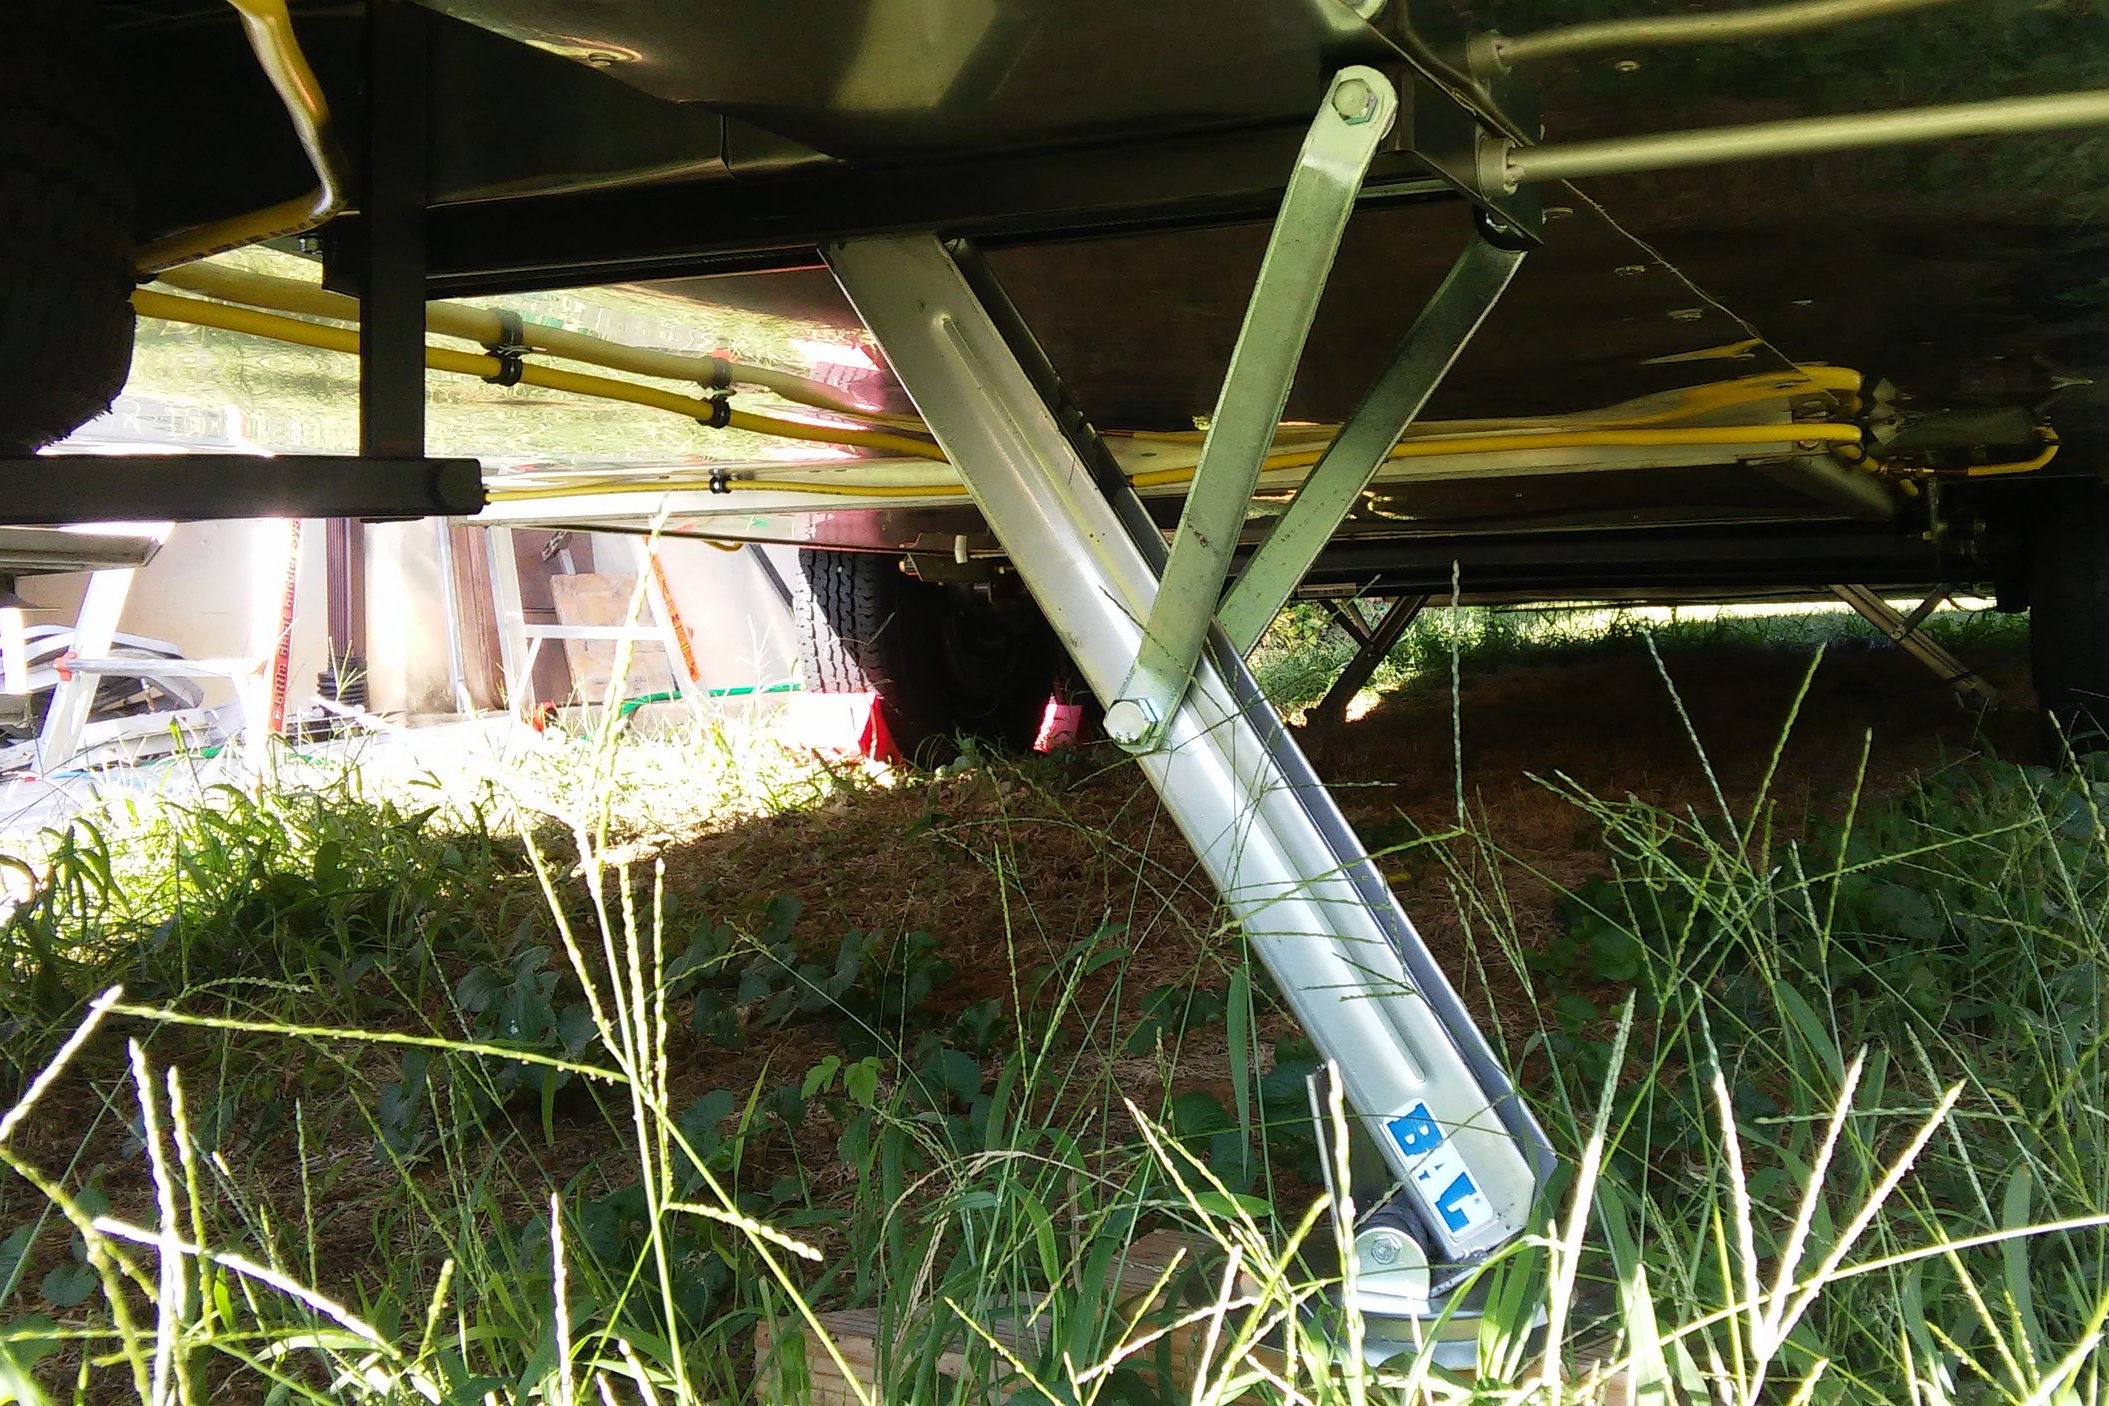
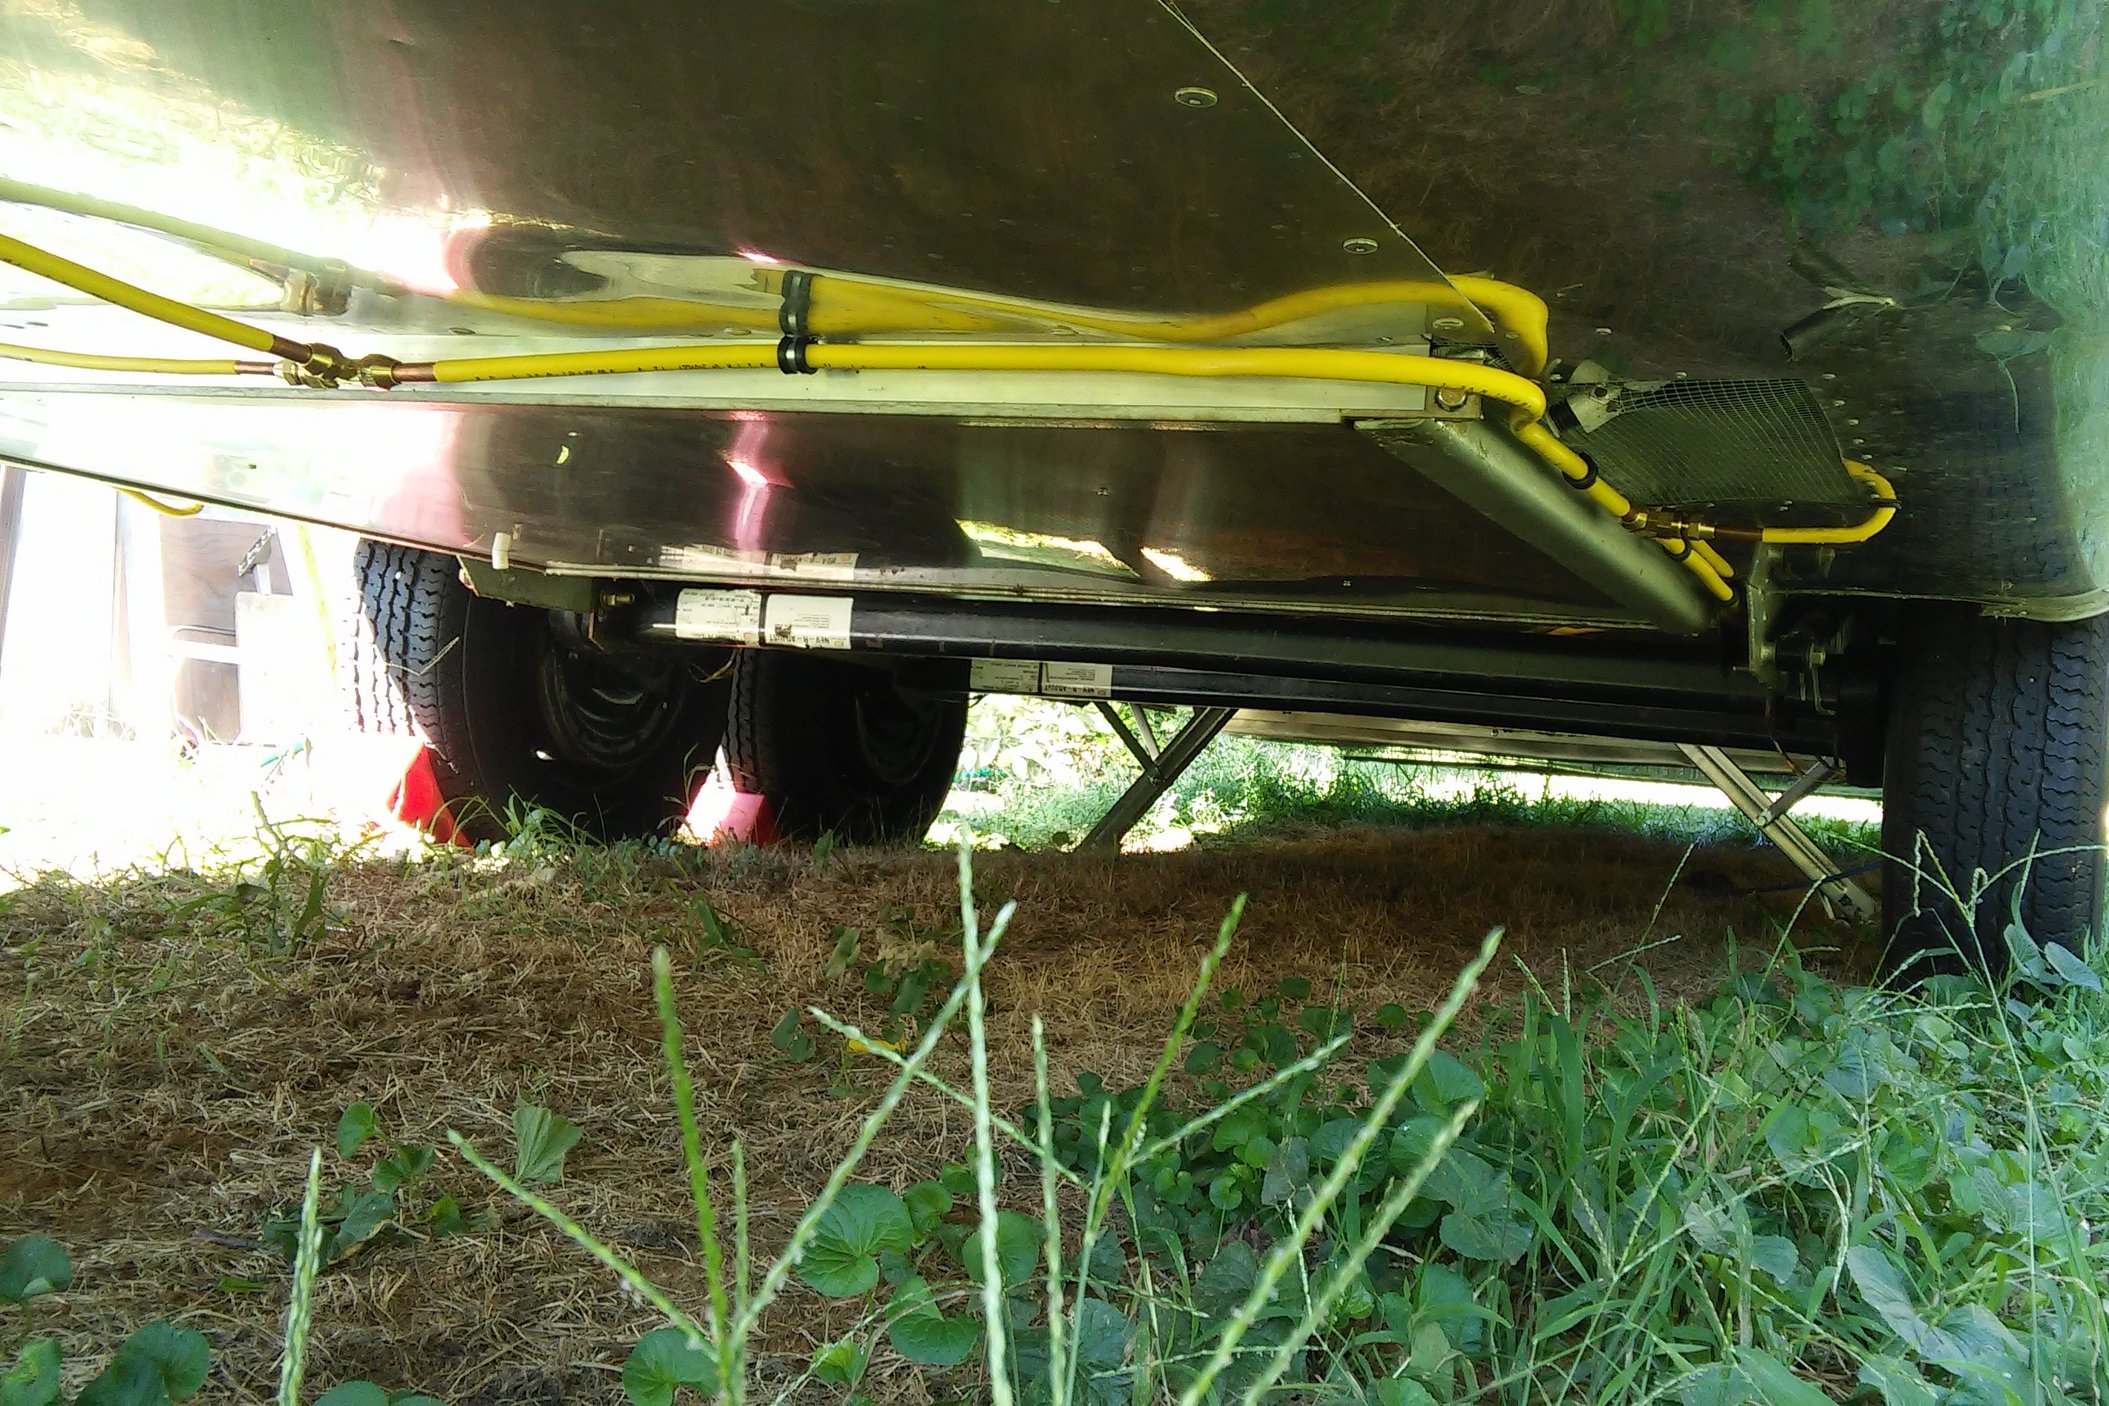
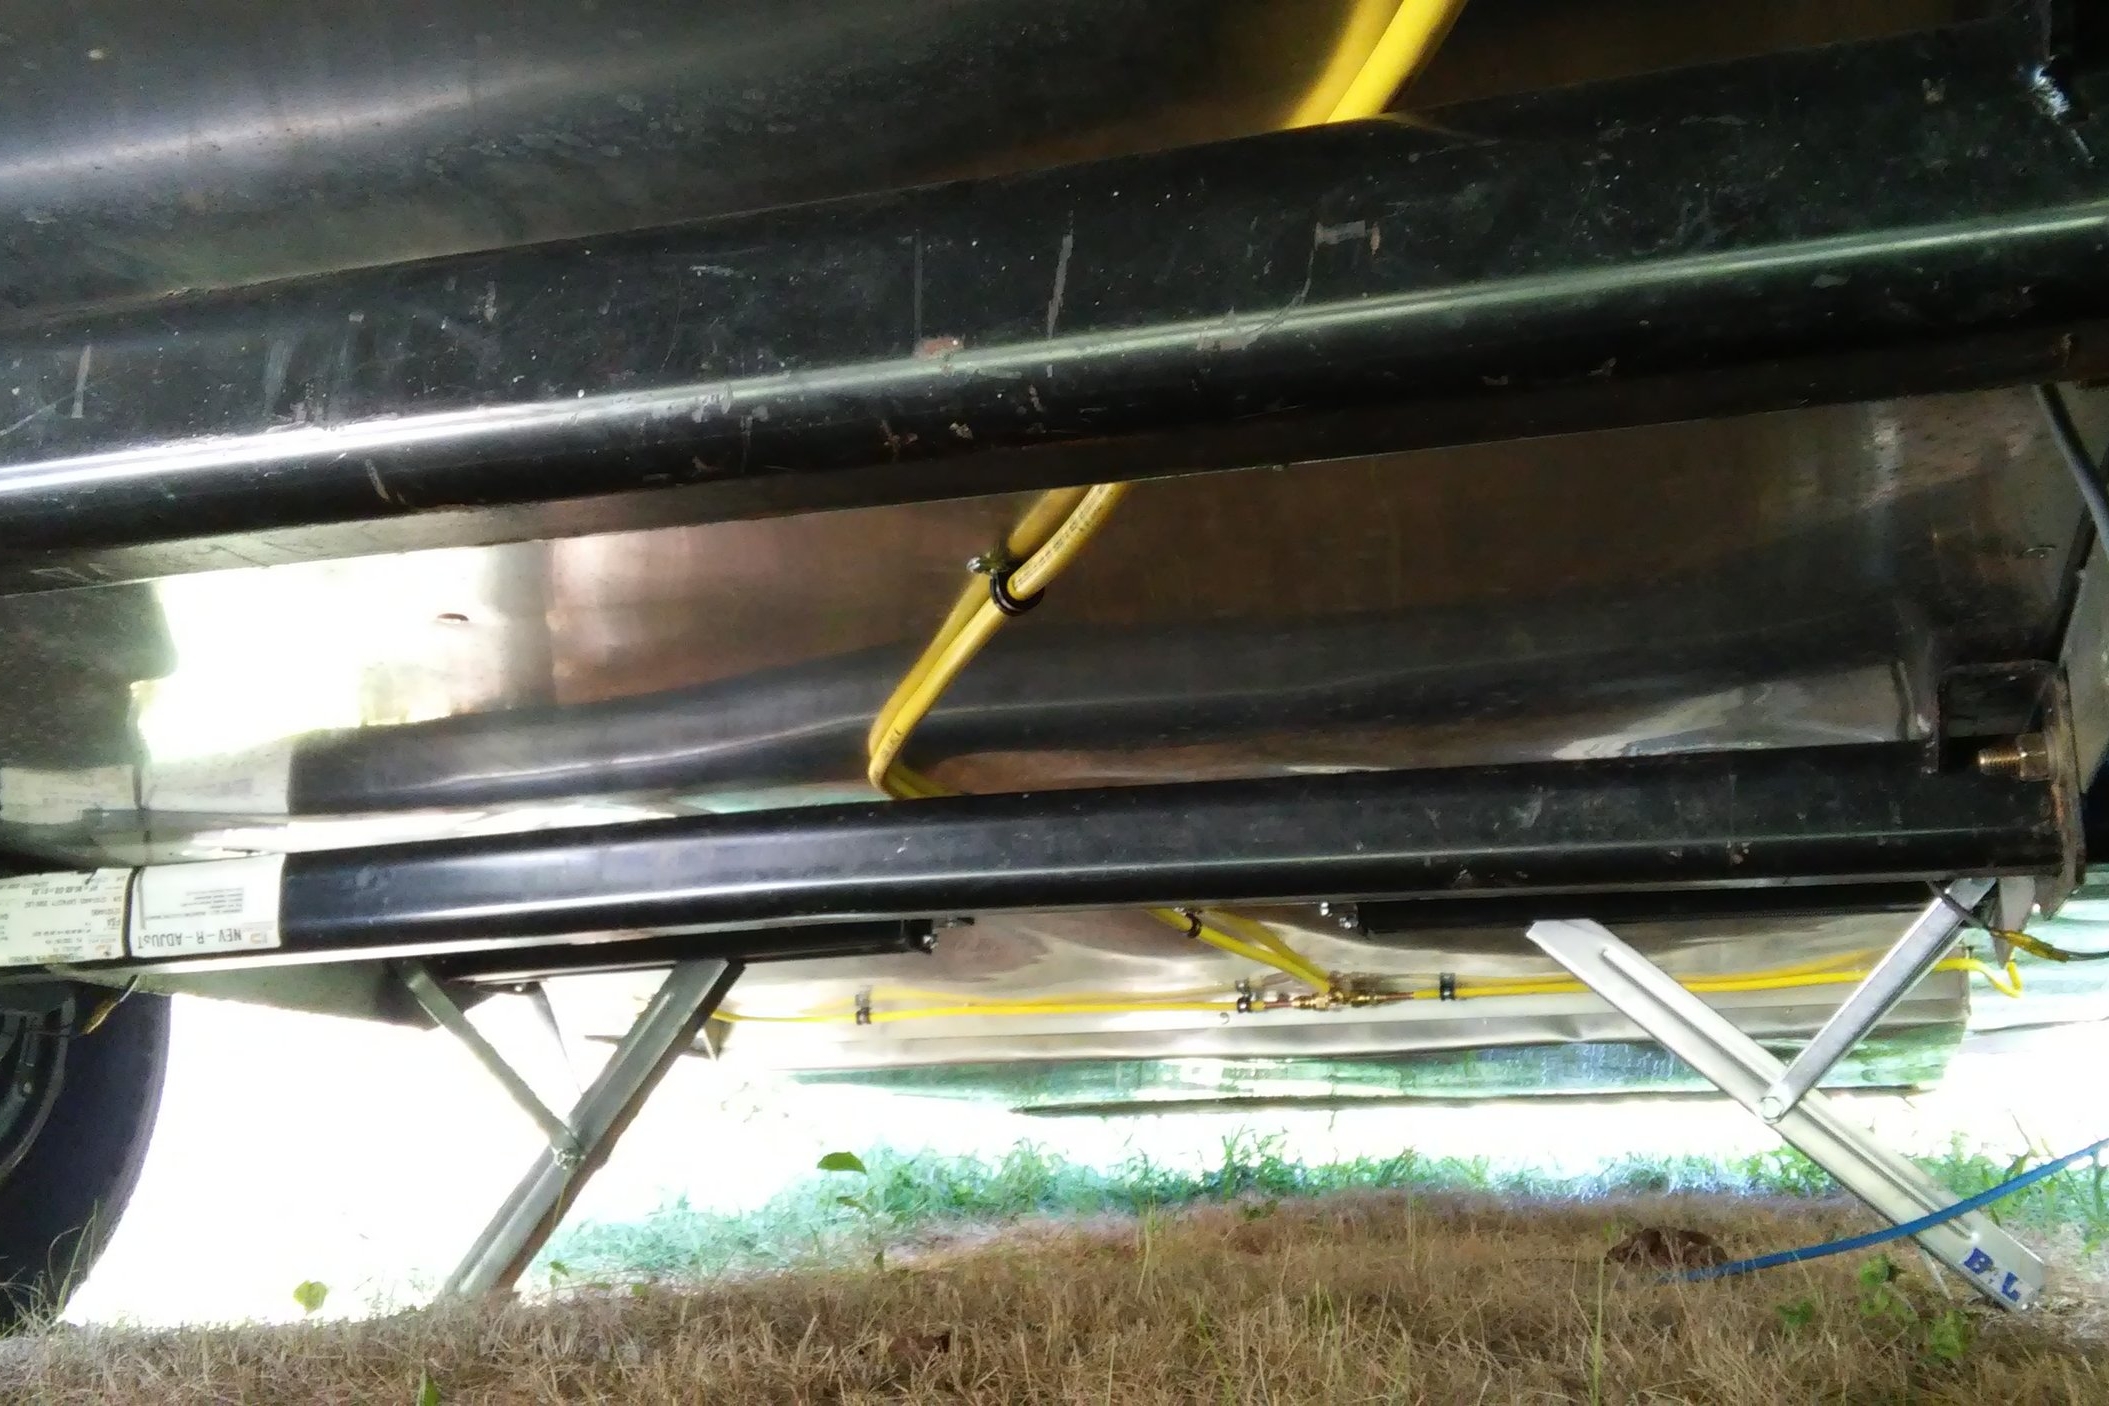
Propane lines are required to be run outside the coach. If there were a leak, it's far safer for it to leak outside than to potentially build up in an enclosed space until it finds an ignition source. You'd think it would be dangerous to run propane lines unprotected along the bottom of the coach. I envision an errant rock puncturing a propane line and causing a Michael Bay style explosion on the interstate. The truth is, if something were to cause a catastrophic leak from the propane lines outside of the coach, you'd just get a bunch of cold gas.
The pressure the system operates under is surprisingly low. The two-stage regulator maintains a pressure of about 11 inches water column, which is about 0.4 PSI. You could easily stop the flow of gas from an open tube by applying pressure with a finger. The regulator also has a fail safe to limit the flow of gas in the event of a catastrophic leak. The real danger here is gas building up in an enclosed space.
Some of these links are "affiliate links." If you decide to buy something based on our recommendation, it would be nice if you used the direct link from this page so that we can make a small commission for referring you (which doesn't cost you anything extra).
I used 1/2" tubing for the trunk and 3/8" tubing for the branches. Those links direct to 50' lengths, which was enough for the entire job with a good bit left over. 25' of either would not have been enough. The tubing I used is specifically designed for gas, encased in a protective plastic coating. The plastic coating is nice but not required. It is important that the tubing be rated for gas -- some of the tubing sold off the shelf is not.
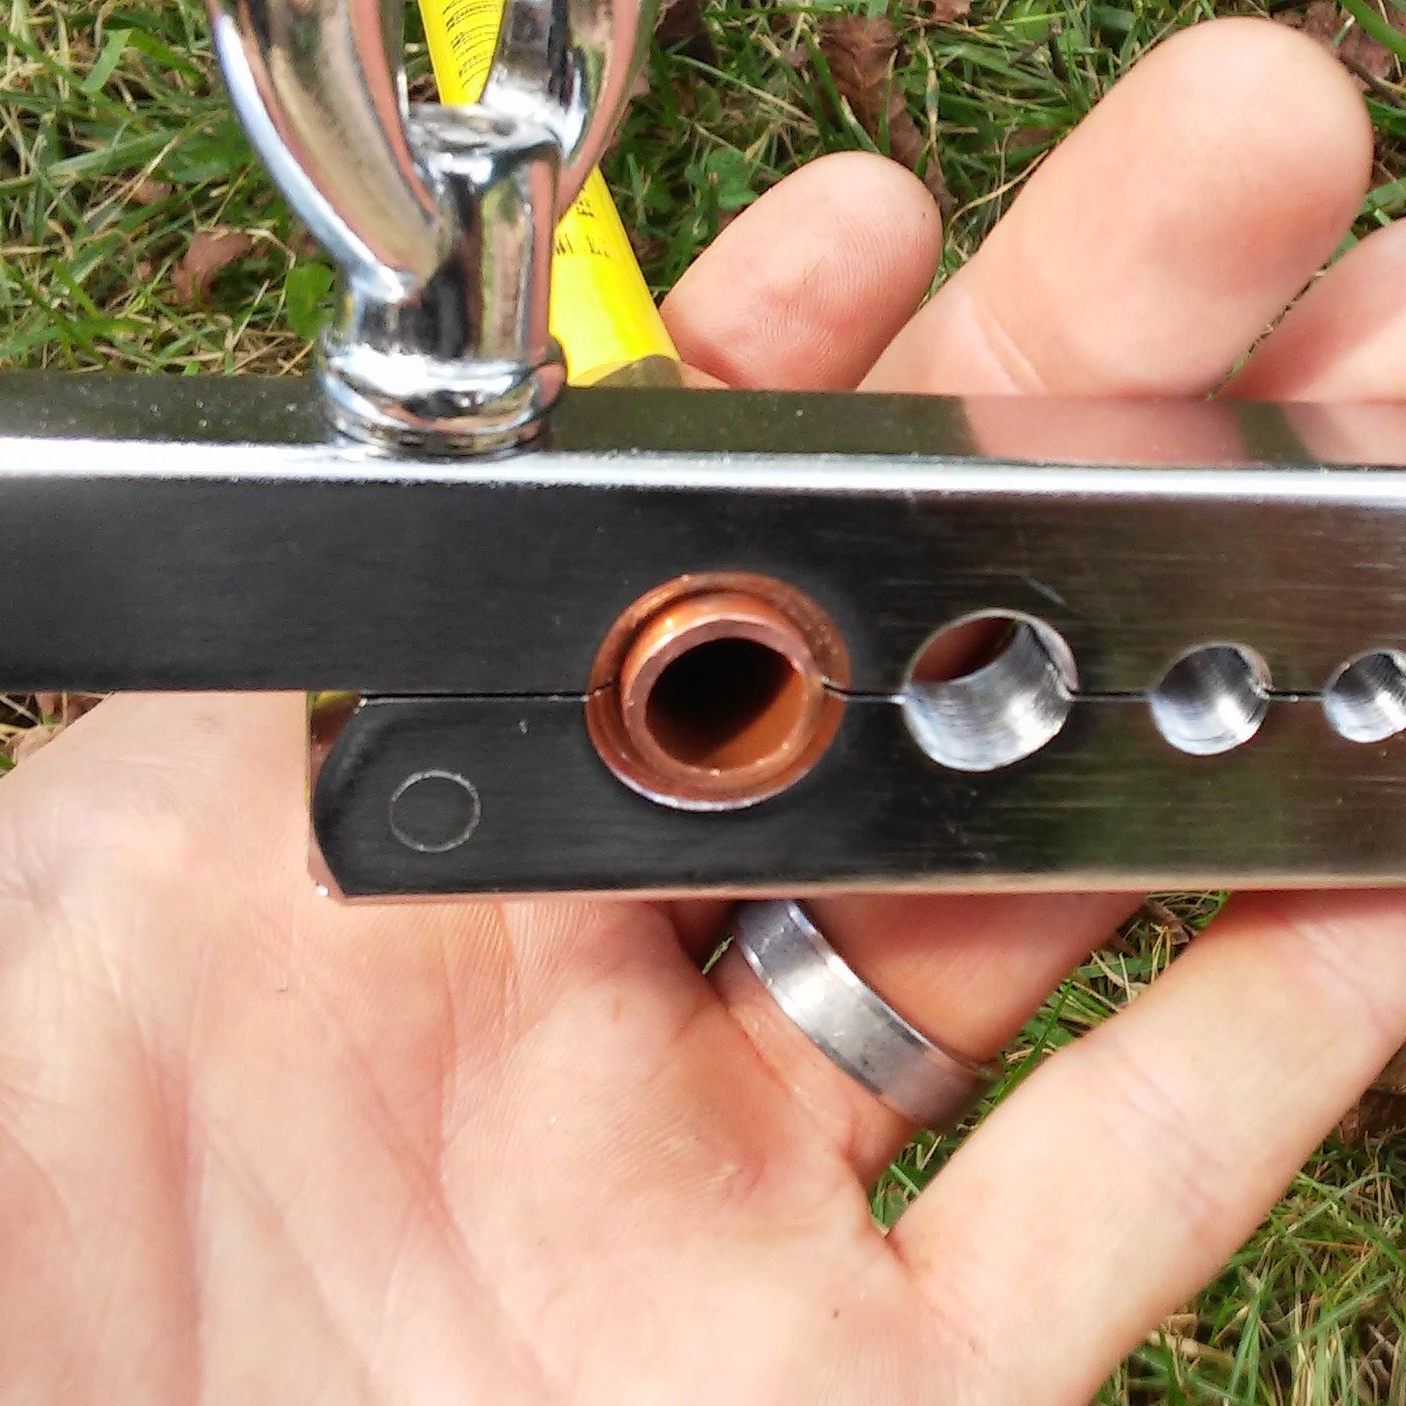
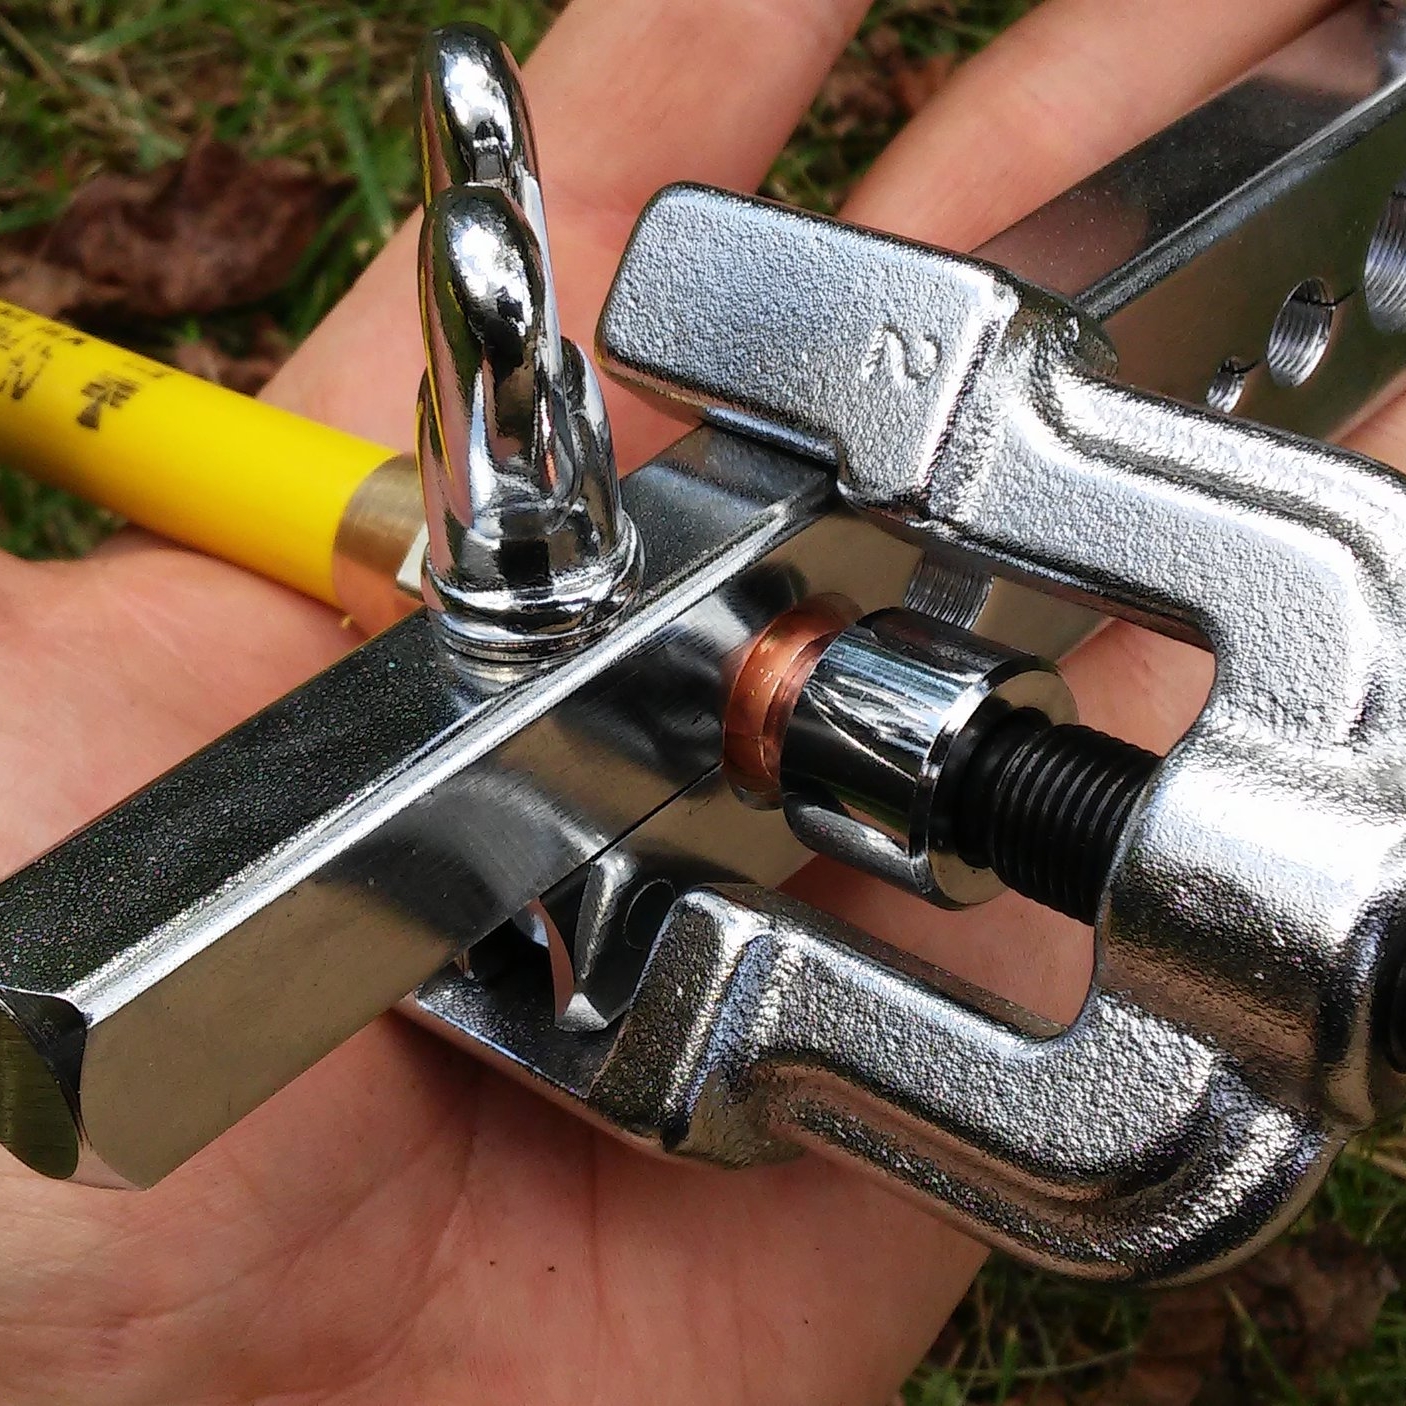
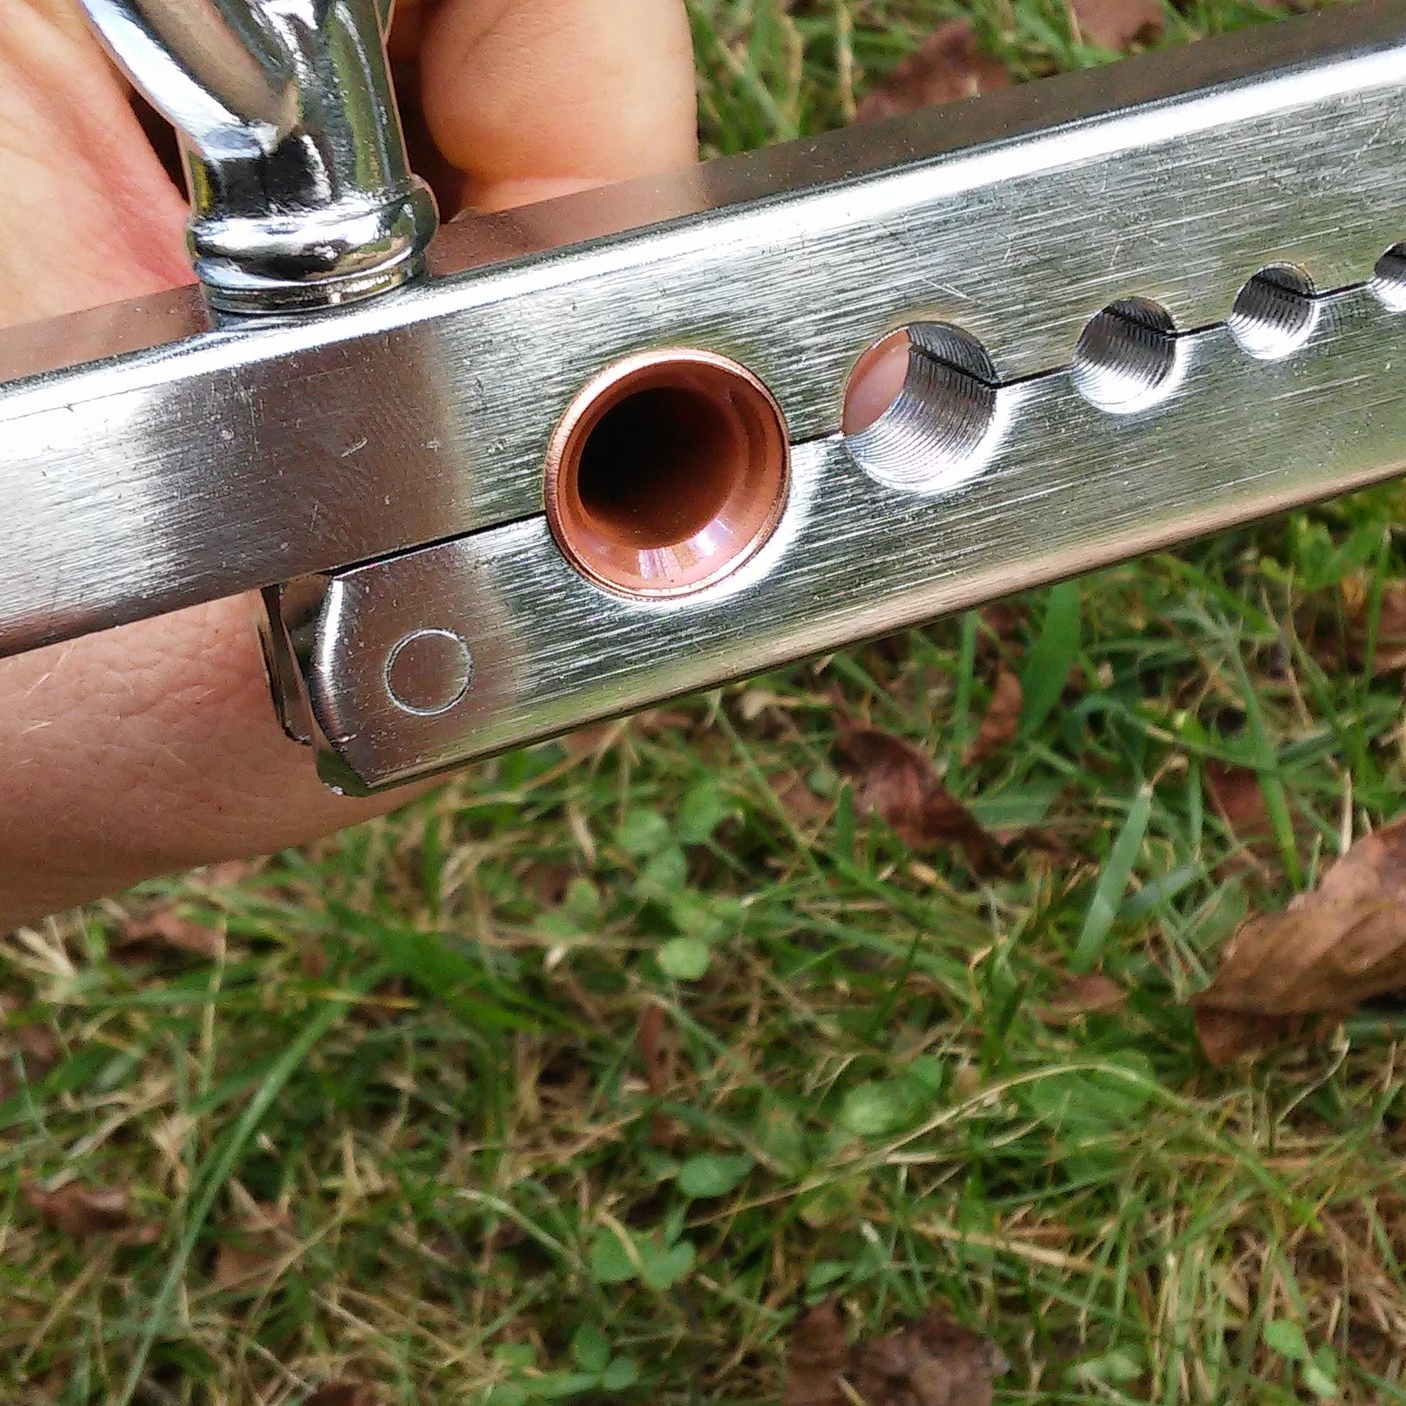
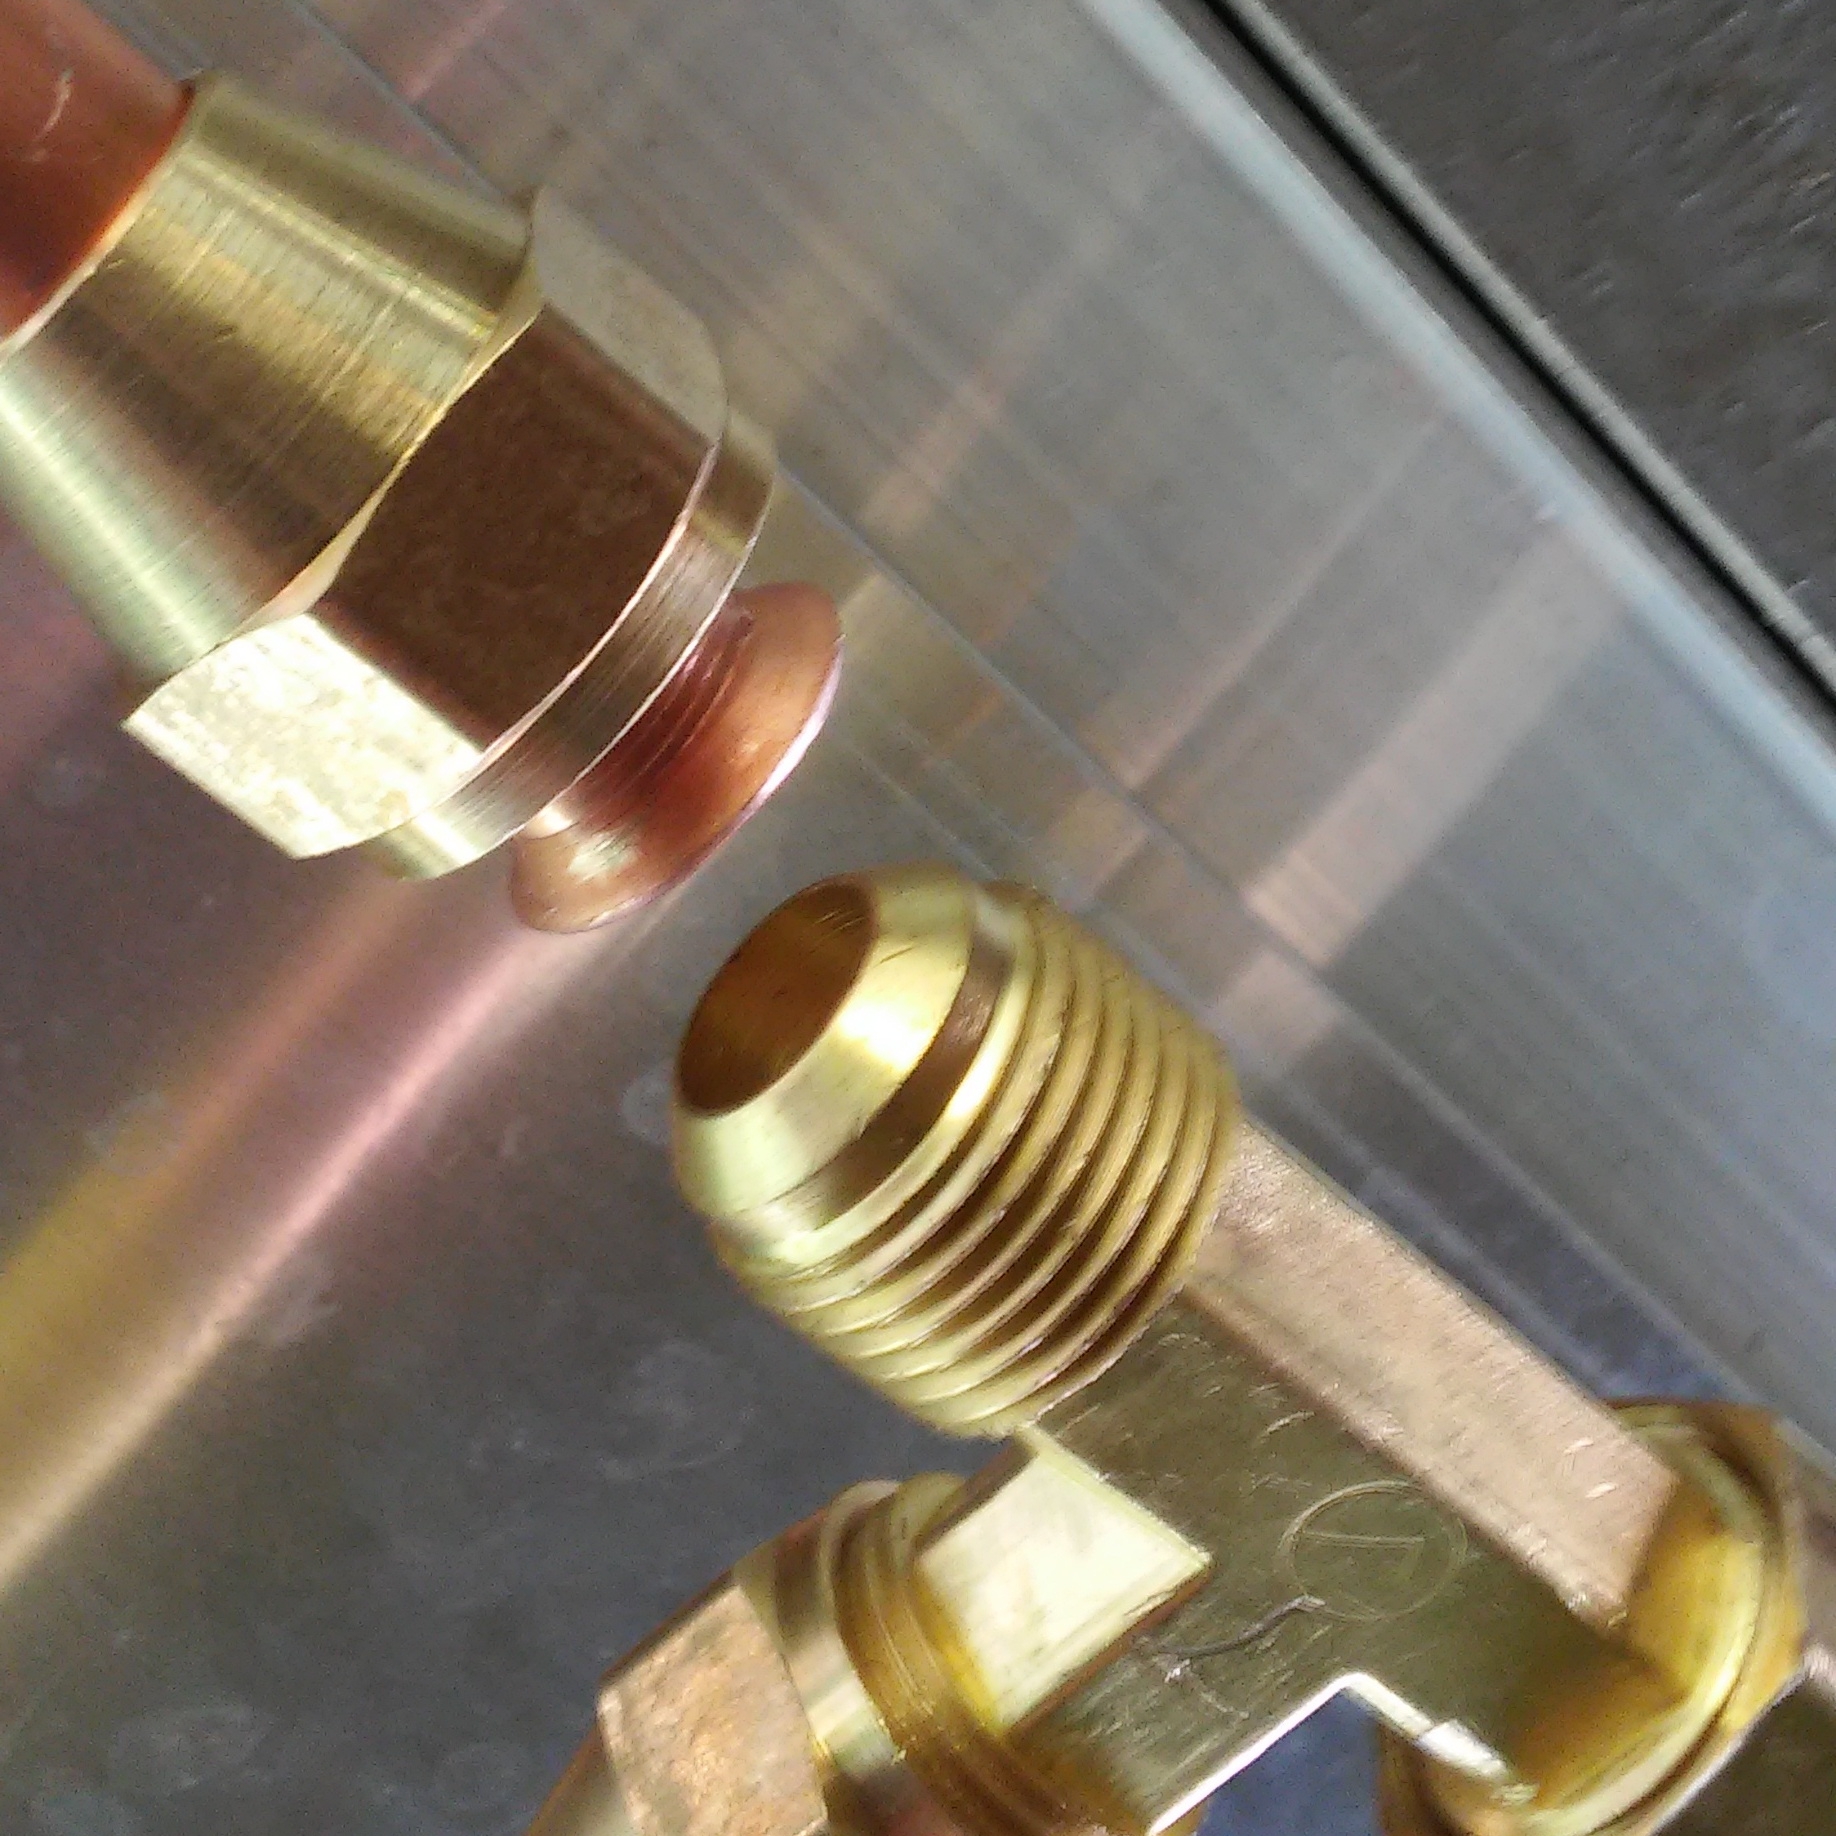
All connections were flare fittings. The seal is made by compressing soft metals together -- either two brass fittings or a flared copper pipe sandwiched between a brass nut and another brass fitting. No tape or pipe dope is used for these connections since the threads themselves are not what create the seal -- they just exert the pressure that holds the joint together. It helps to apply a little 3-in-1 oil to the threads before you assemble the fitting, which helps you get the joint tight enough to seal. It also helps to put the nut on the pipe before you flare the end. Ask me how many times I forgot that.
Come to think of it, don't ask me. I don't want to talk about it.
I used the brasscraft flaring tool from Lowes. The wingnuts on the tool started to seize up after a few fittings, but I applied a little 3-in-1 oil to the threads and cleaned them up, and it didn't give me any more trouble. I'd recommend applying 3-in-1 oil to the threads of your tool before you start.
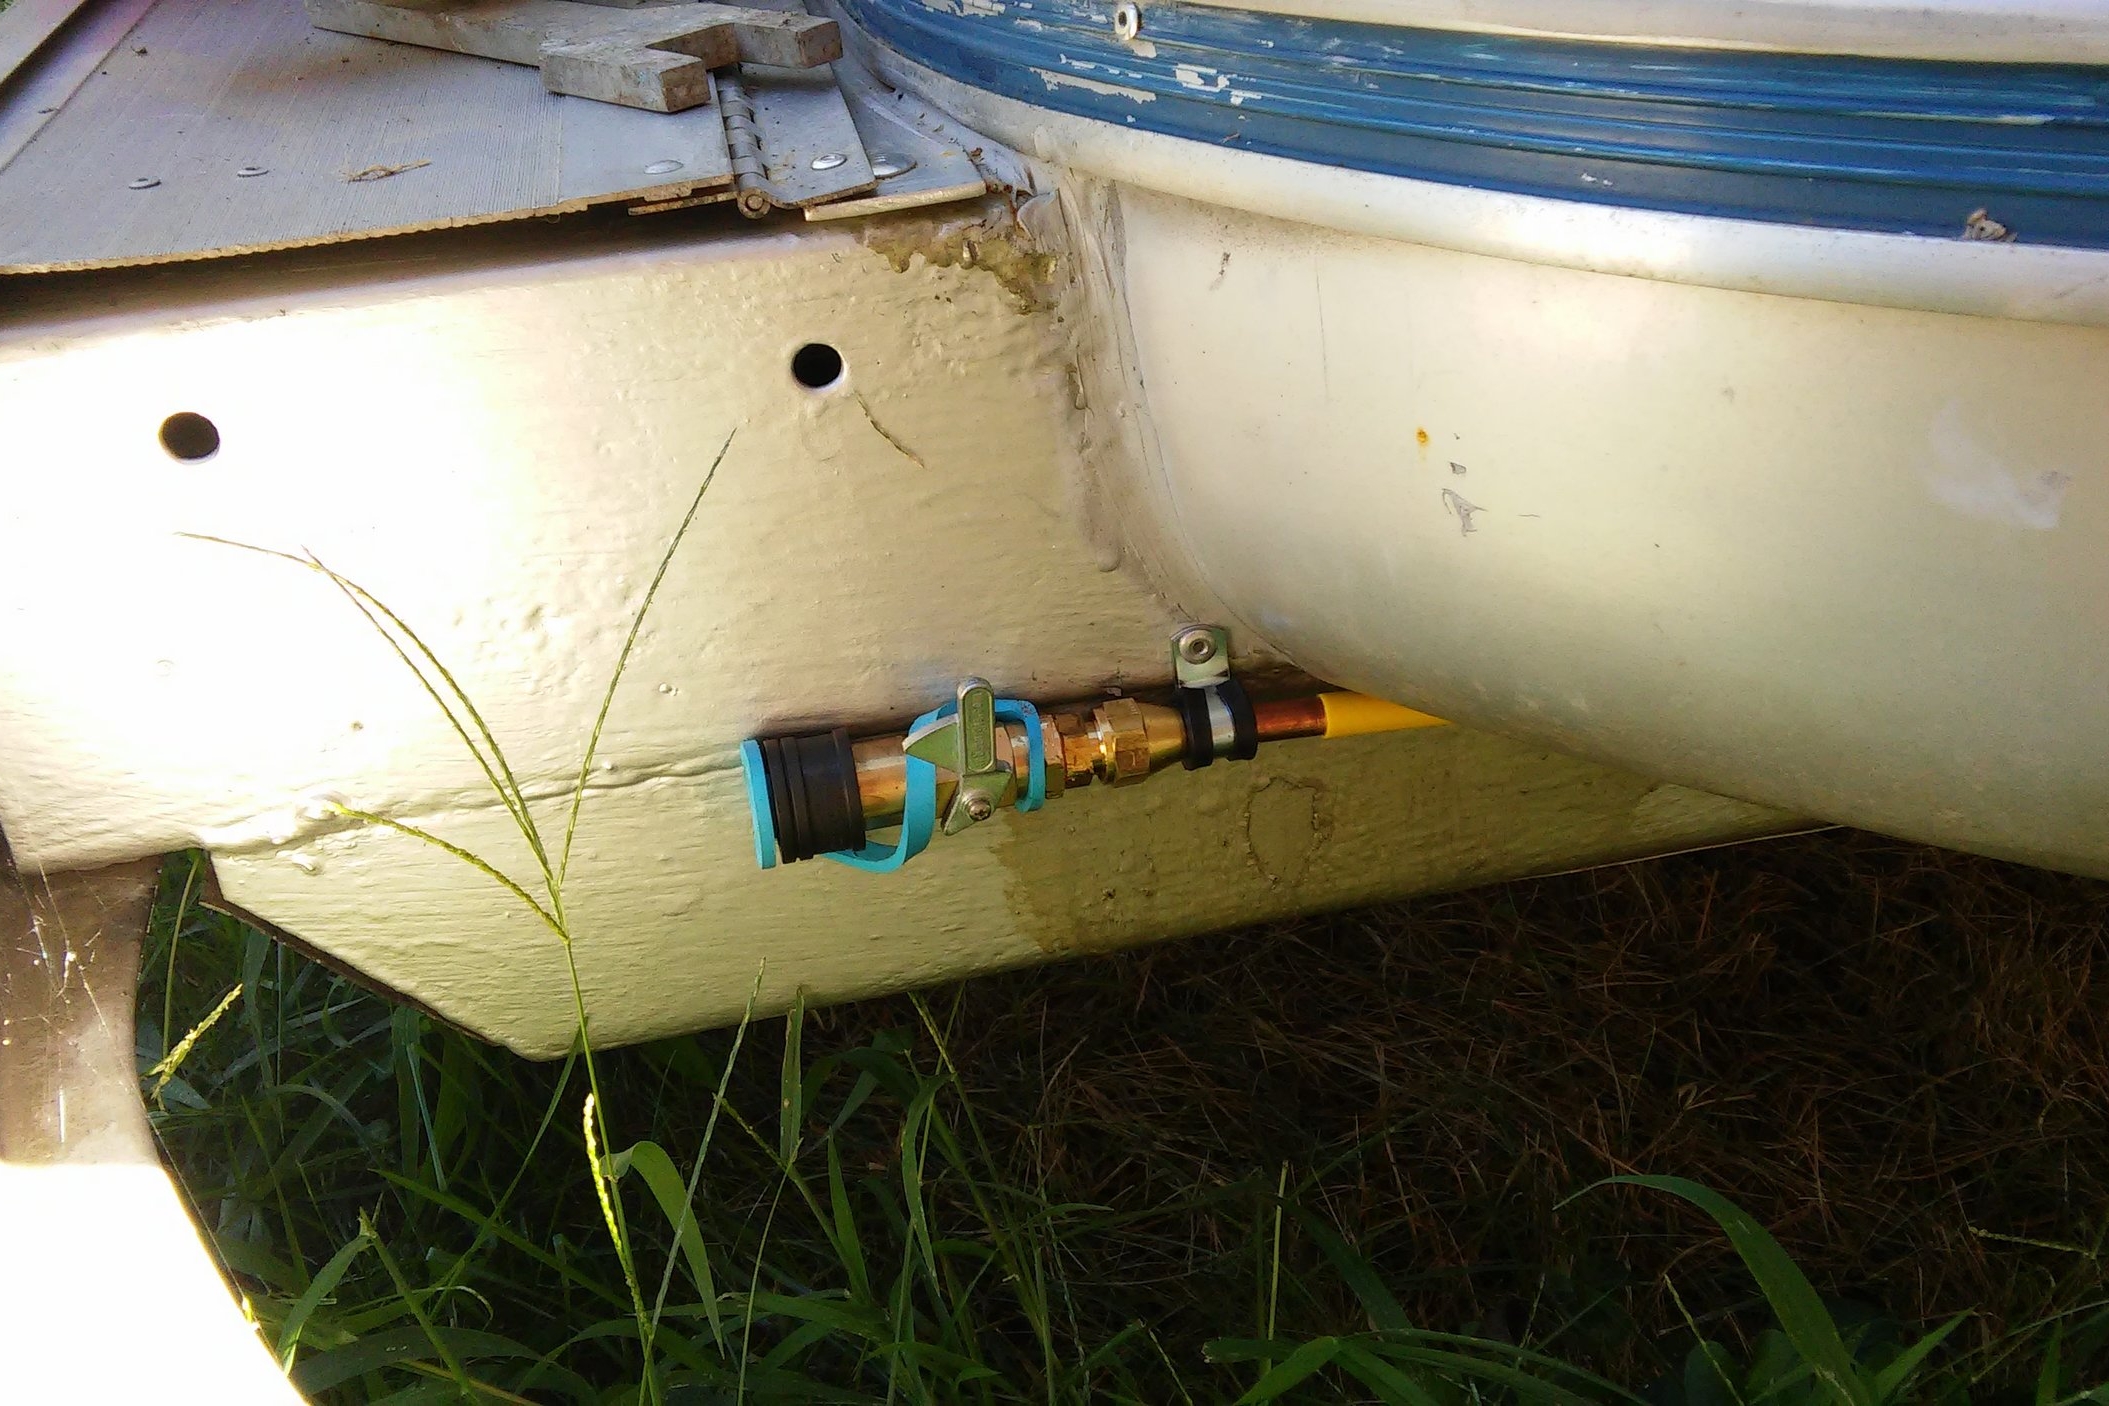
The propane lines are attached to the belly with 1/2" and 3/8" rubber insulated stainless clamps from the electrical aisle of the hardware store, and pop rivets. I added a 1/4" Quick-Connect fitting from Vintage Trailer Supply at the curb side bumper in case we want to run a generator or propane grill in the future.
Now we just need to test the pipes, hook up the regulator, get the new OPD valves installed, tanks recertified and filled, install the LPG detector, find and purchase a propane range without it getting destroyed en route, run the fresh water plumbing, build the kitchen, build the bathroom, rebuild the range hood, finish the dresser drawers, build the pantry, build doors for the upper cabinets, and build the couch. And build the wood stove heat shield. And polish the exterior. Easy peasy.
