Airstream Remodel

And now, for my next trick...

And then there were two

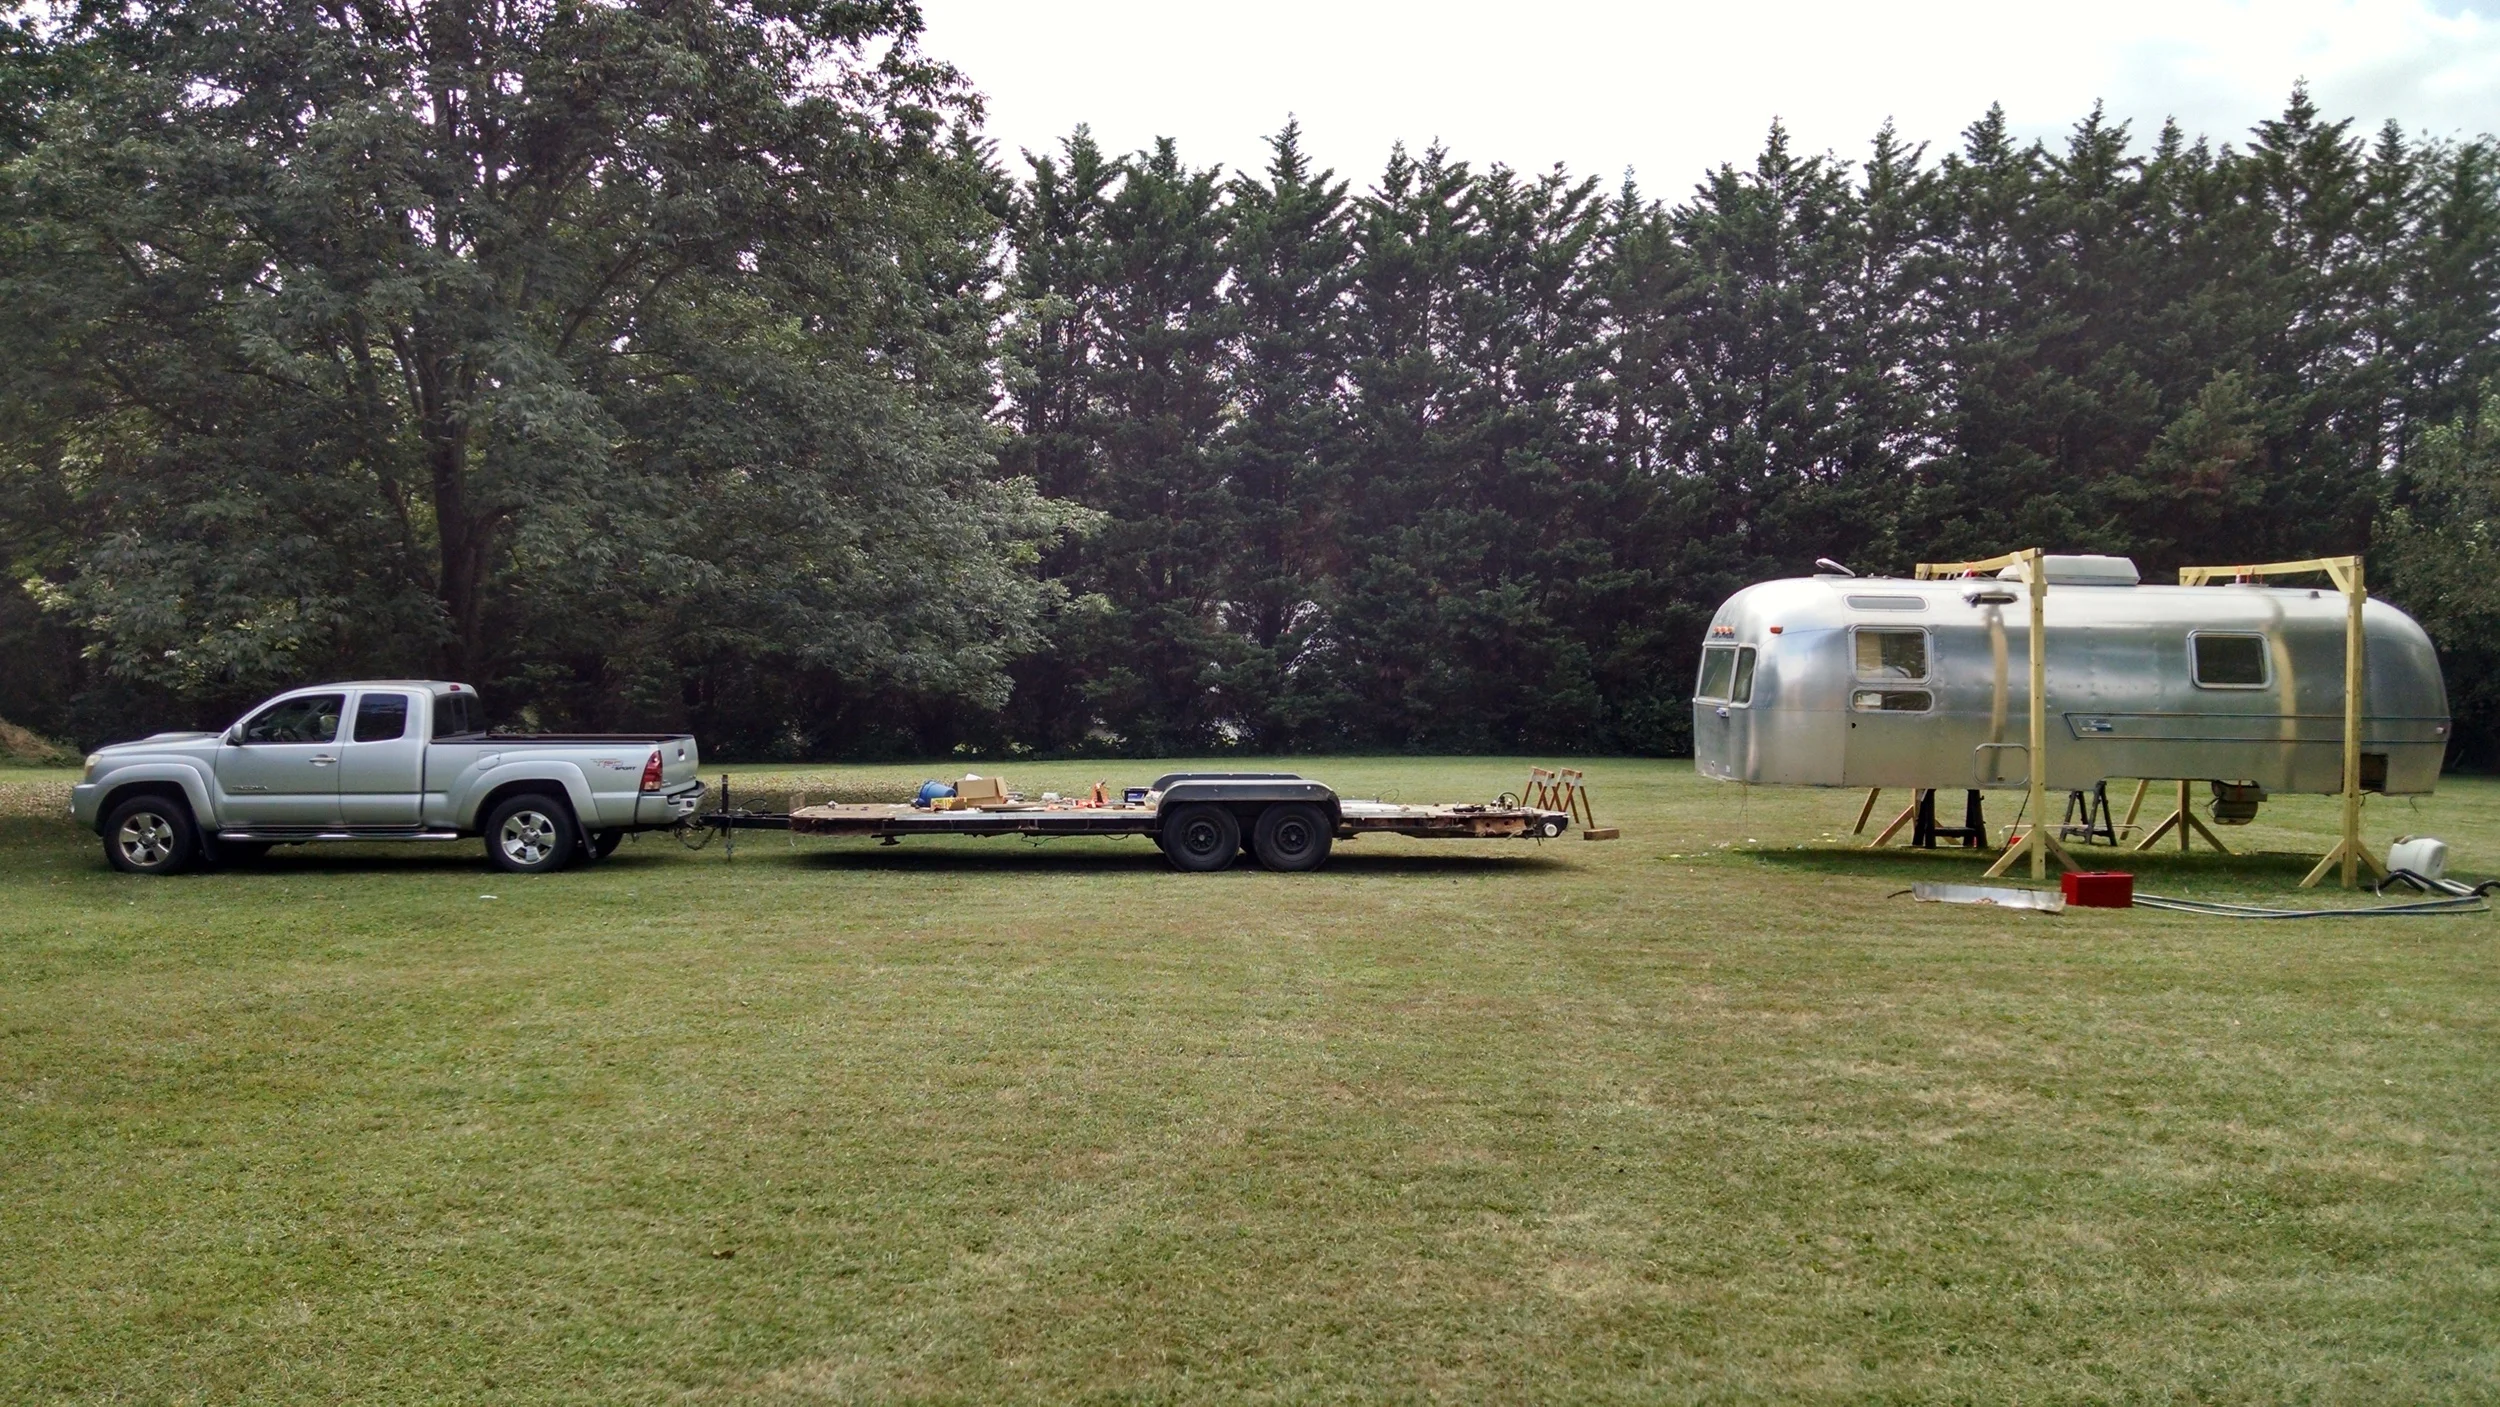
I'll pull the frame out right from under this Airstream! After a LOT of work and some help from my dad and brother, we got the frame out from under the shell.  

it's the hoverstream.

It's a hoverstream!  


Here's the frame after Dan took off the plywood floor, with the shredded mouse insulation, water tanks, pipes, and belly pan on the very bottom. 

An airstream basement.

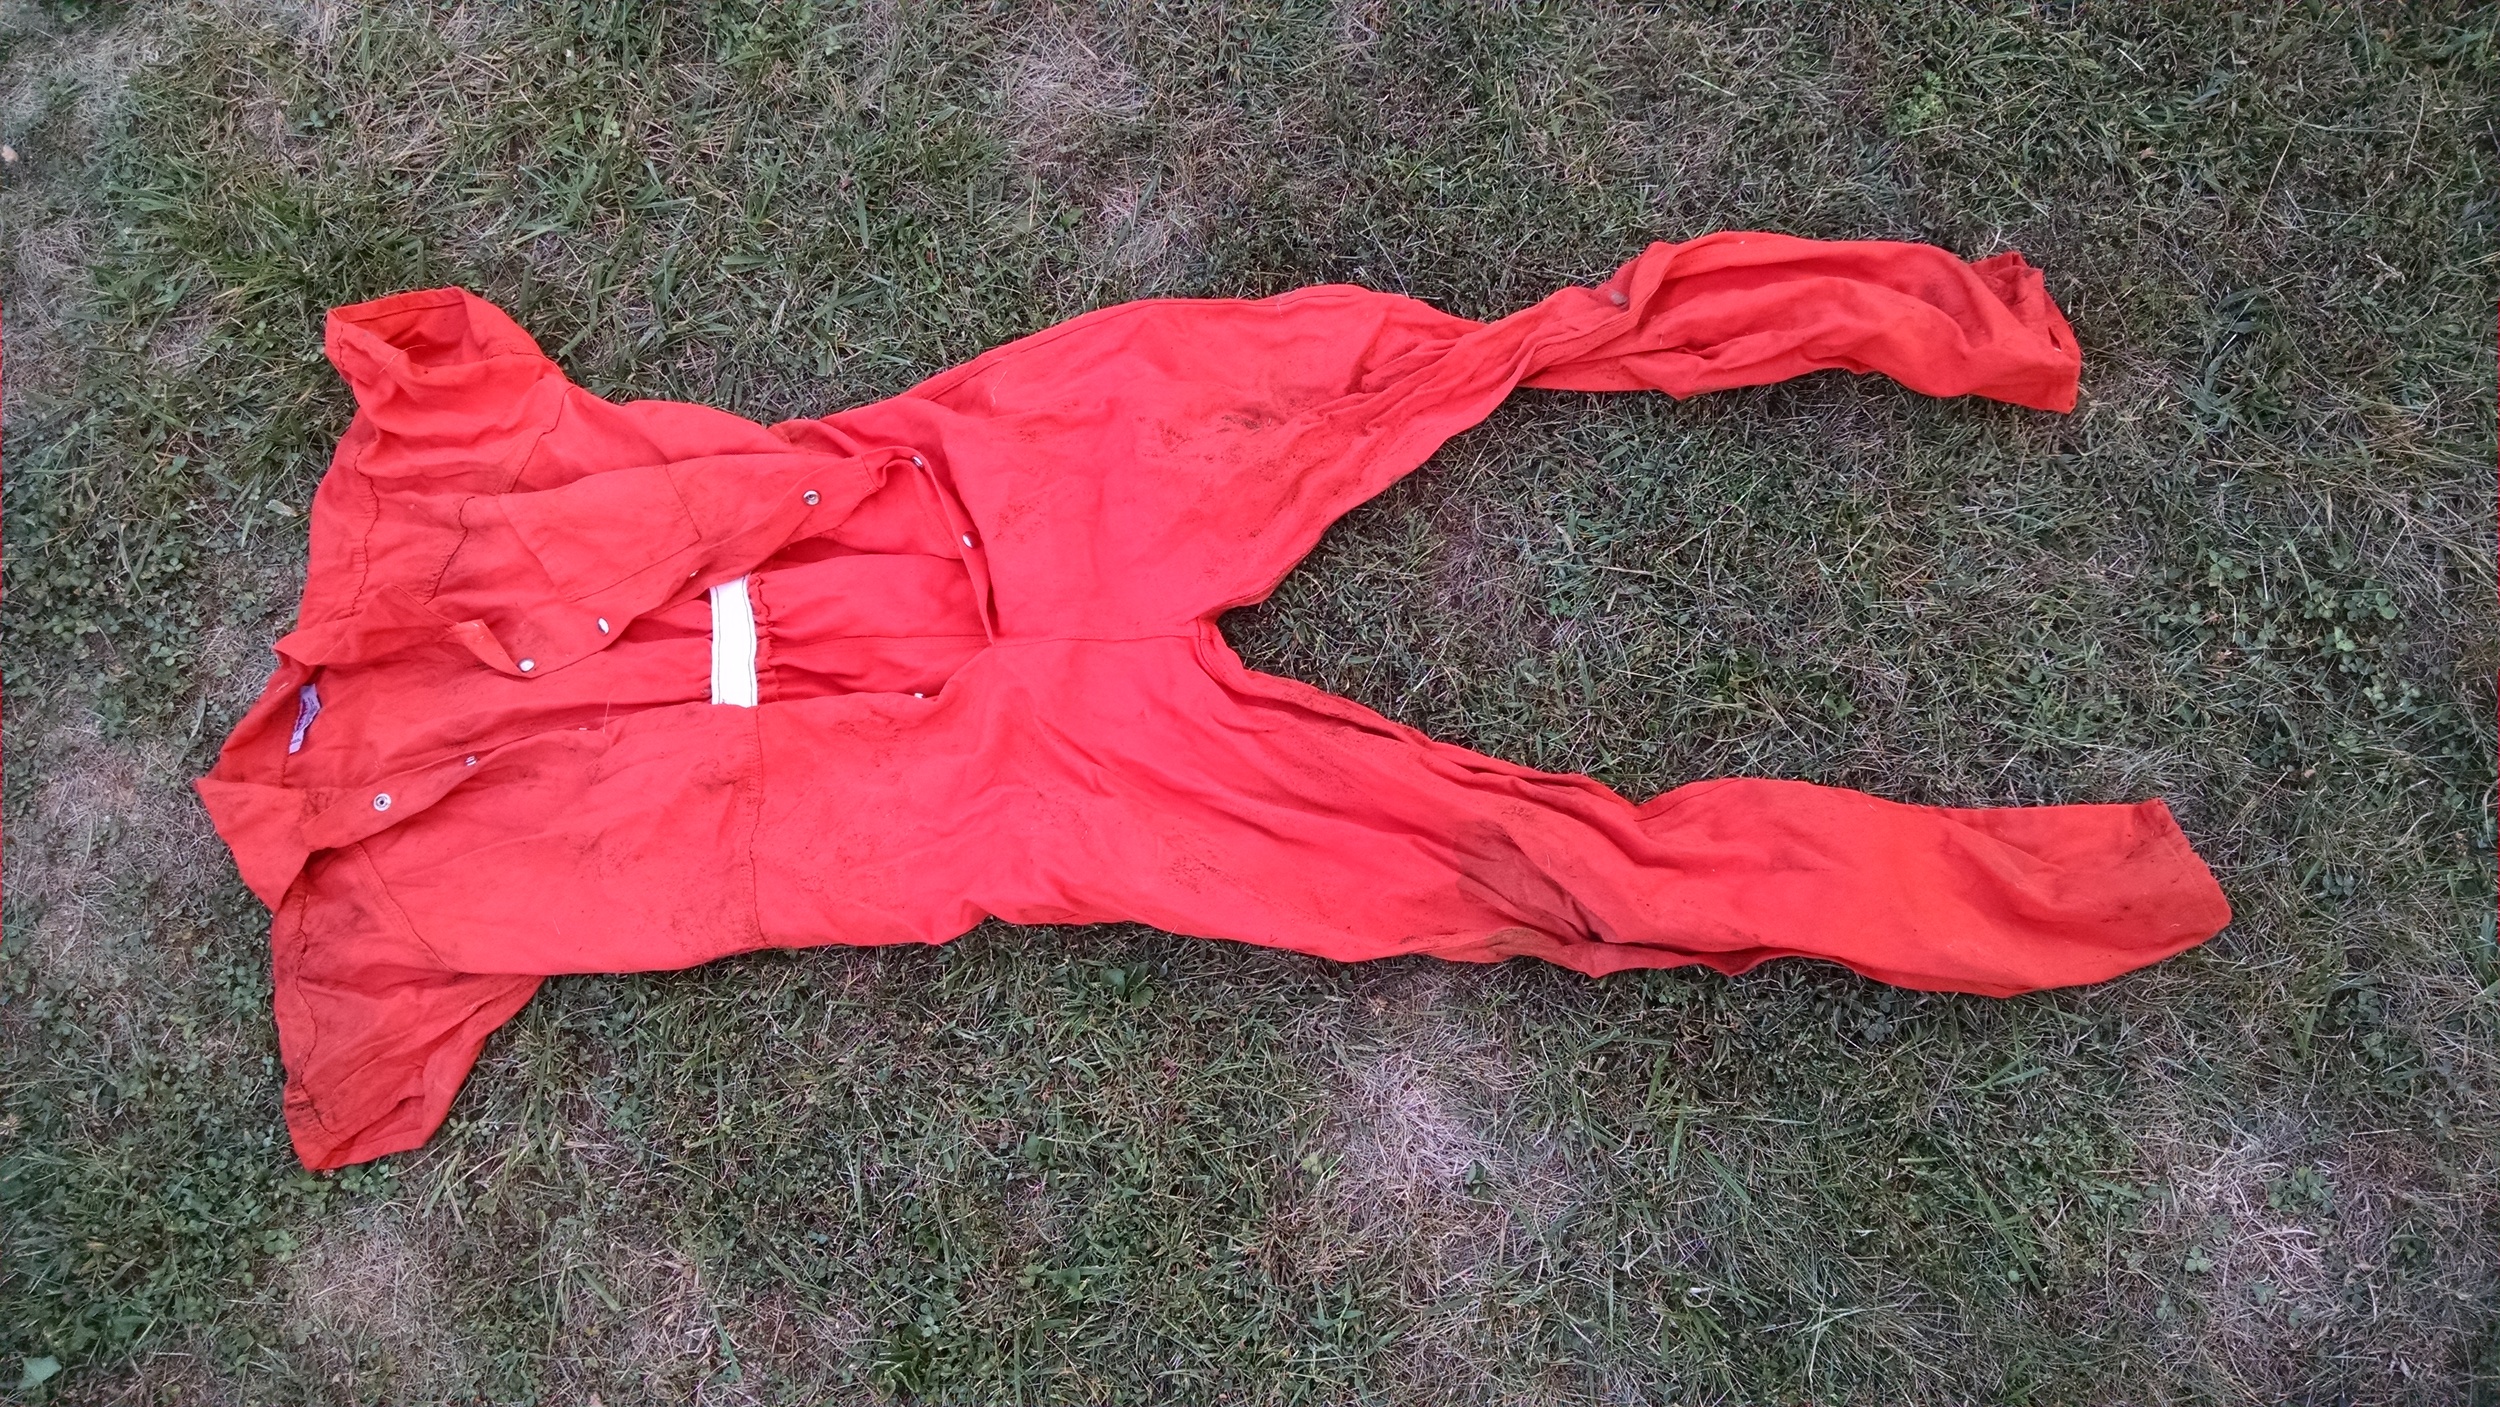
Because we need to take the frame into the welding shop for some repairs, everything else had to go.  Like cleaning out the cabin, the frame yielded some interesting artifacts from the last 40 years, most perplexing of which is this: 

umm...

Dan found this men's XL orange jumpsuit shoved down a hole in the floor.  It seems our home has an interesting past... or owners with questionable fashion and floor repair choices. 


Lots more airstream parts are on their way, including new outriggers, aluminum sheeting for the belly pan, and more rivets.  We also ordered our little woodstove, which should be arriving sometime in late October.  


Next stop: welding repair! 

Removing the Frame

The next step in the remodel is to get the top shell separate from the frame (the metal base attached the wheels).   Standing in the way are hundreds of rivets and a little thing called gravity.   

Dan built this gantry so fast, I just got this picture after it was all done! This wood frame will support the weight of the shell and allow us to raise it a few inches so we can pull the frame out from underneath.  

Dan used a angle grinder to slowly pry the frame off the shell and get it ready for lifting. That insulation sticking out is from under the floor in the belly pan along with the water tanks.  

Luna is suspicious and wonders where we put the mice. 

Here the frame is almost free, the shell is lifted just a few inches.  So close! 

Skins off!

Airstreams have a thin skin of aluminum sheeting that serves the same purpose as drywall in the cabin. We want to re-use these once we are ready to reassemble, so it took some time to un-rivet them from the walls.  

The insulation under the skins was in sad shape.  We need to remove it to re-wire and plumb anyway, so we'll be replacing it with better material.  Here's the mouse ant farm we found: 

We carefully carried the skins out and laid them flat on the grass.  They look so much bigger off the walls! 

Cleaning


How is there still this much stuff in there? 

Dan got most of the walls, cabinets, and other things out this weekend, which left a 40 year funk all over the walls in need of scrubbing off. eeeew. 

Thankfully, it came up easily with some soap, water, and elbow grease.  We plan to re-use the skins (the tan "walls") and paint them when we start putting things back together.