Propane Line Installation

What I was hoping would be a one weekend project turned into a three weekend grind thanks to the record-breaking heat and humidity this August.  On the bright side, I know our Coleman Mach 8 Cub AC unit can handle anything we're likely to throw at it.  If it got any hotter and we had a choice, we would be driving away somewhere cooler.

This week's -- er -- month's project is the propane lines.  Our future kitchen range, the water heater, and fridge will all run on propane.  We may also use a generator or a grill in the future that could be set up to run off our RV propane.  I want to get the gas lines installed and tested before I can build the bathroom interior because I'll have much better access to the back of the water heater before I build the shower wall behind it.

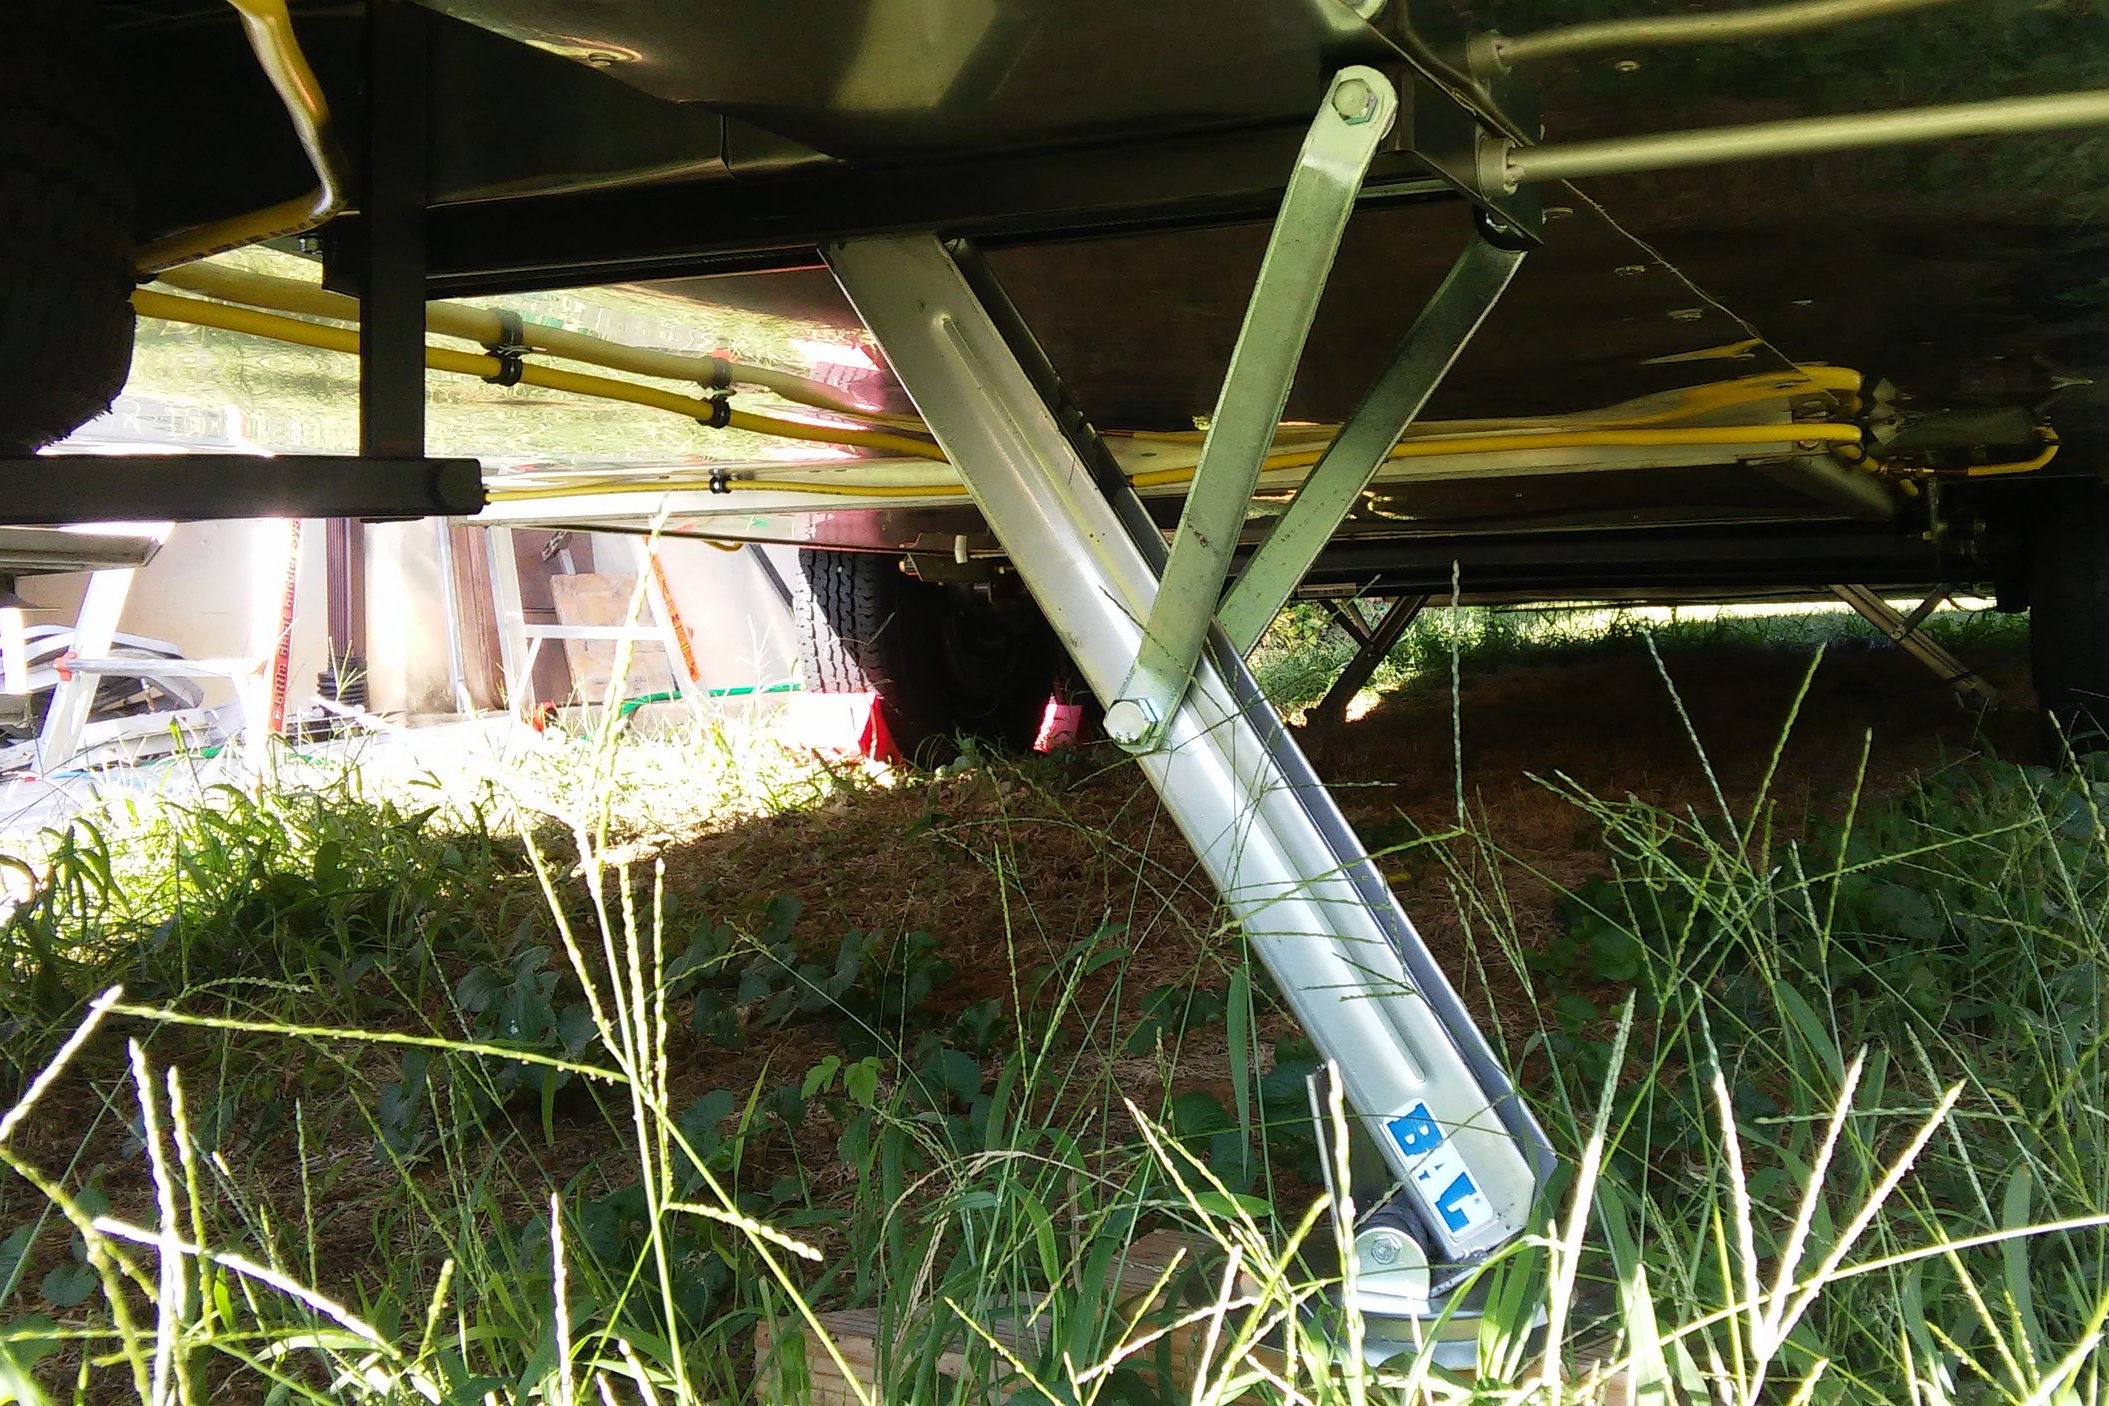
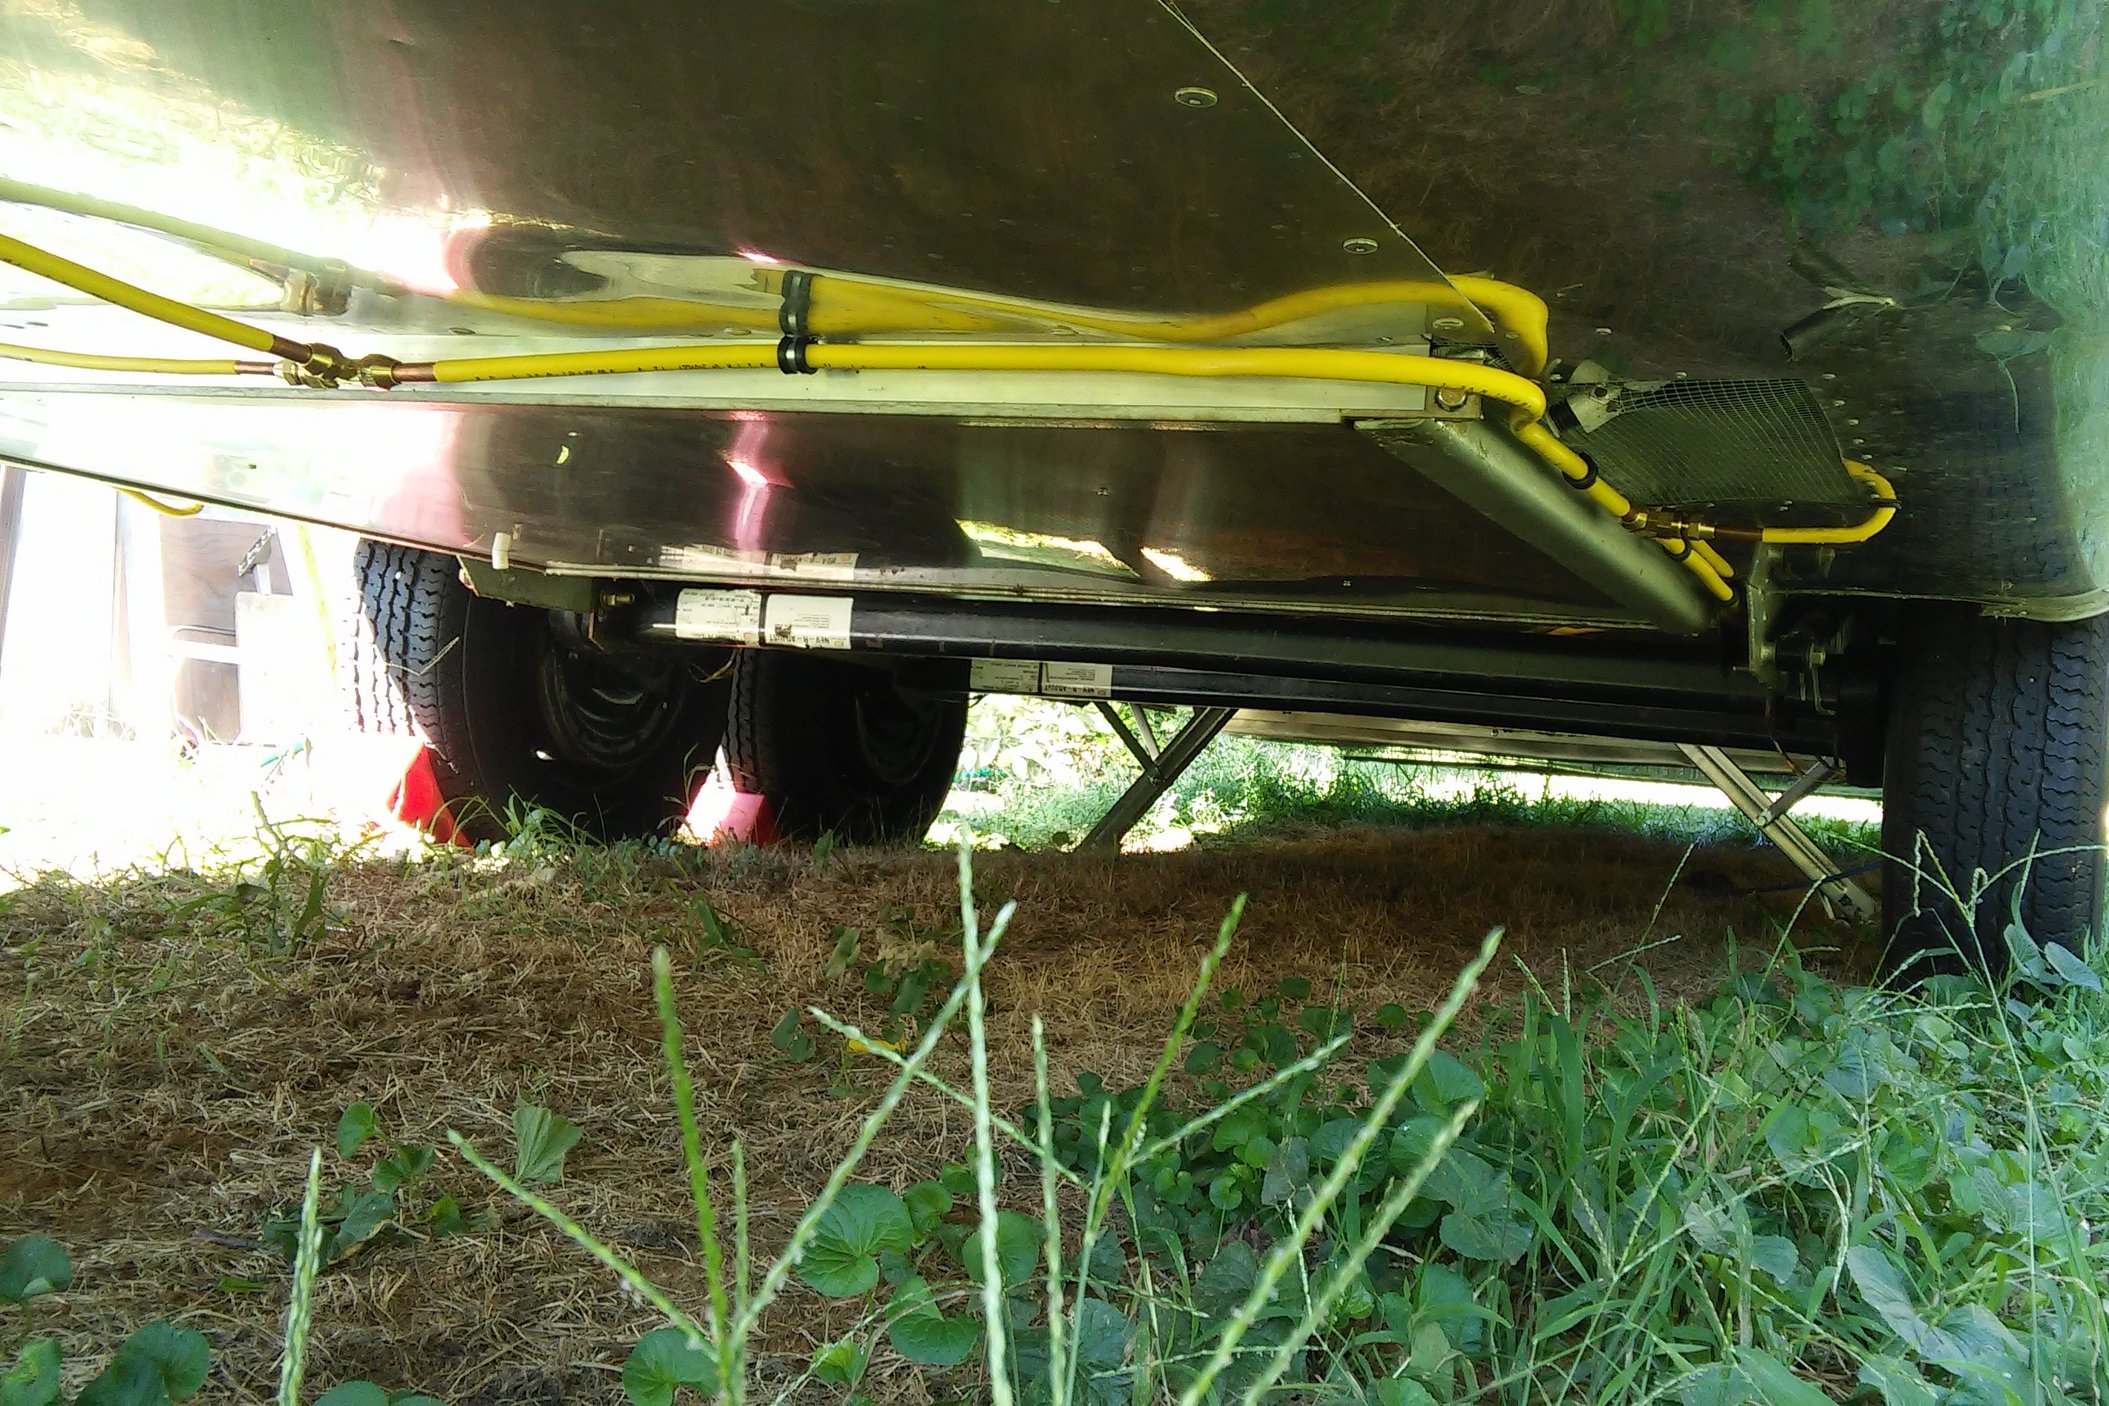
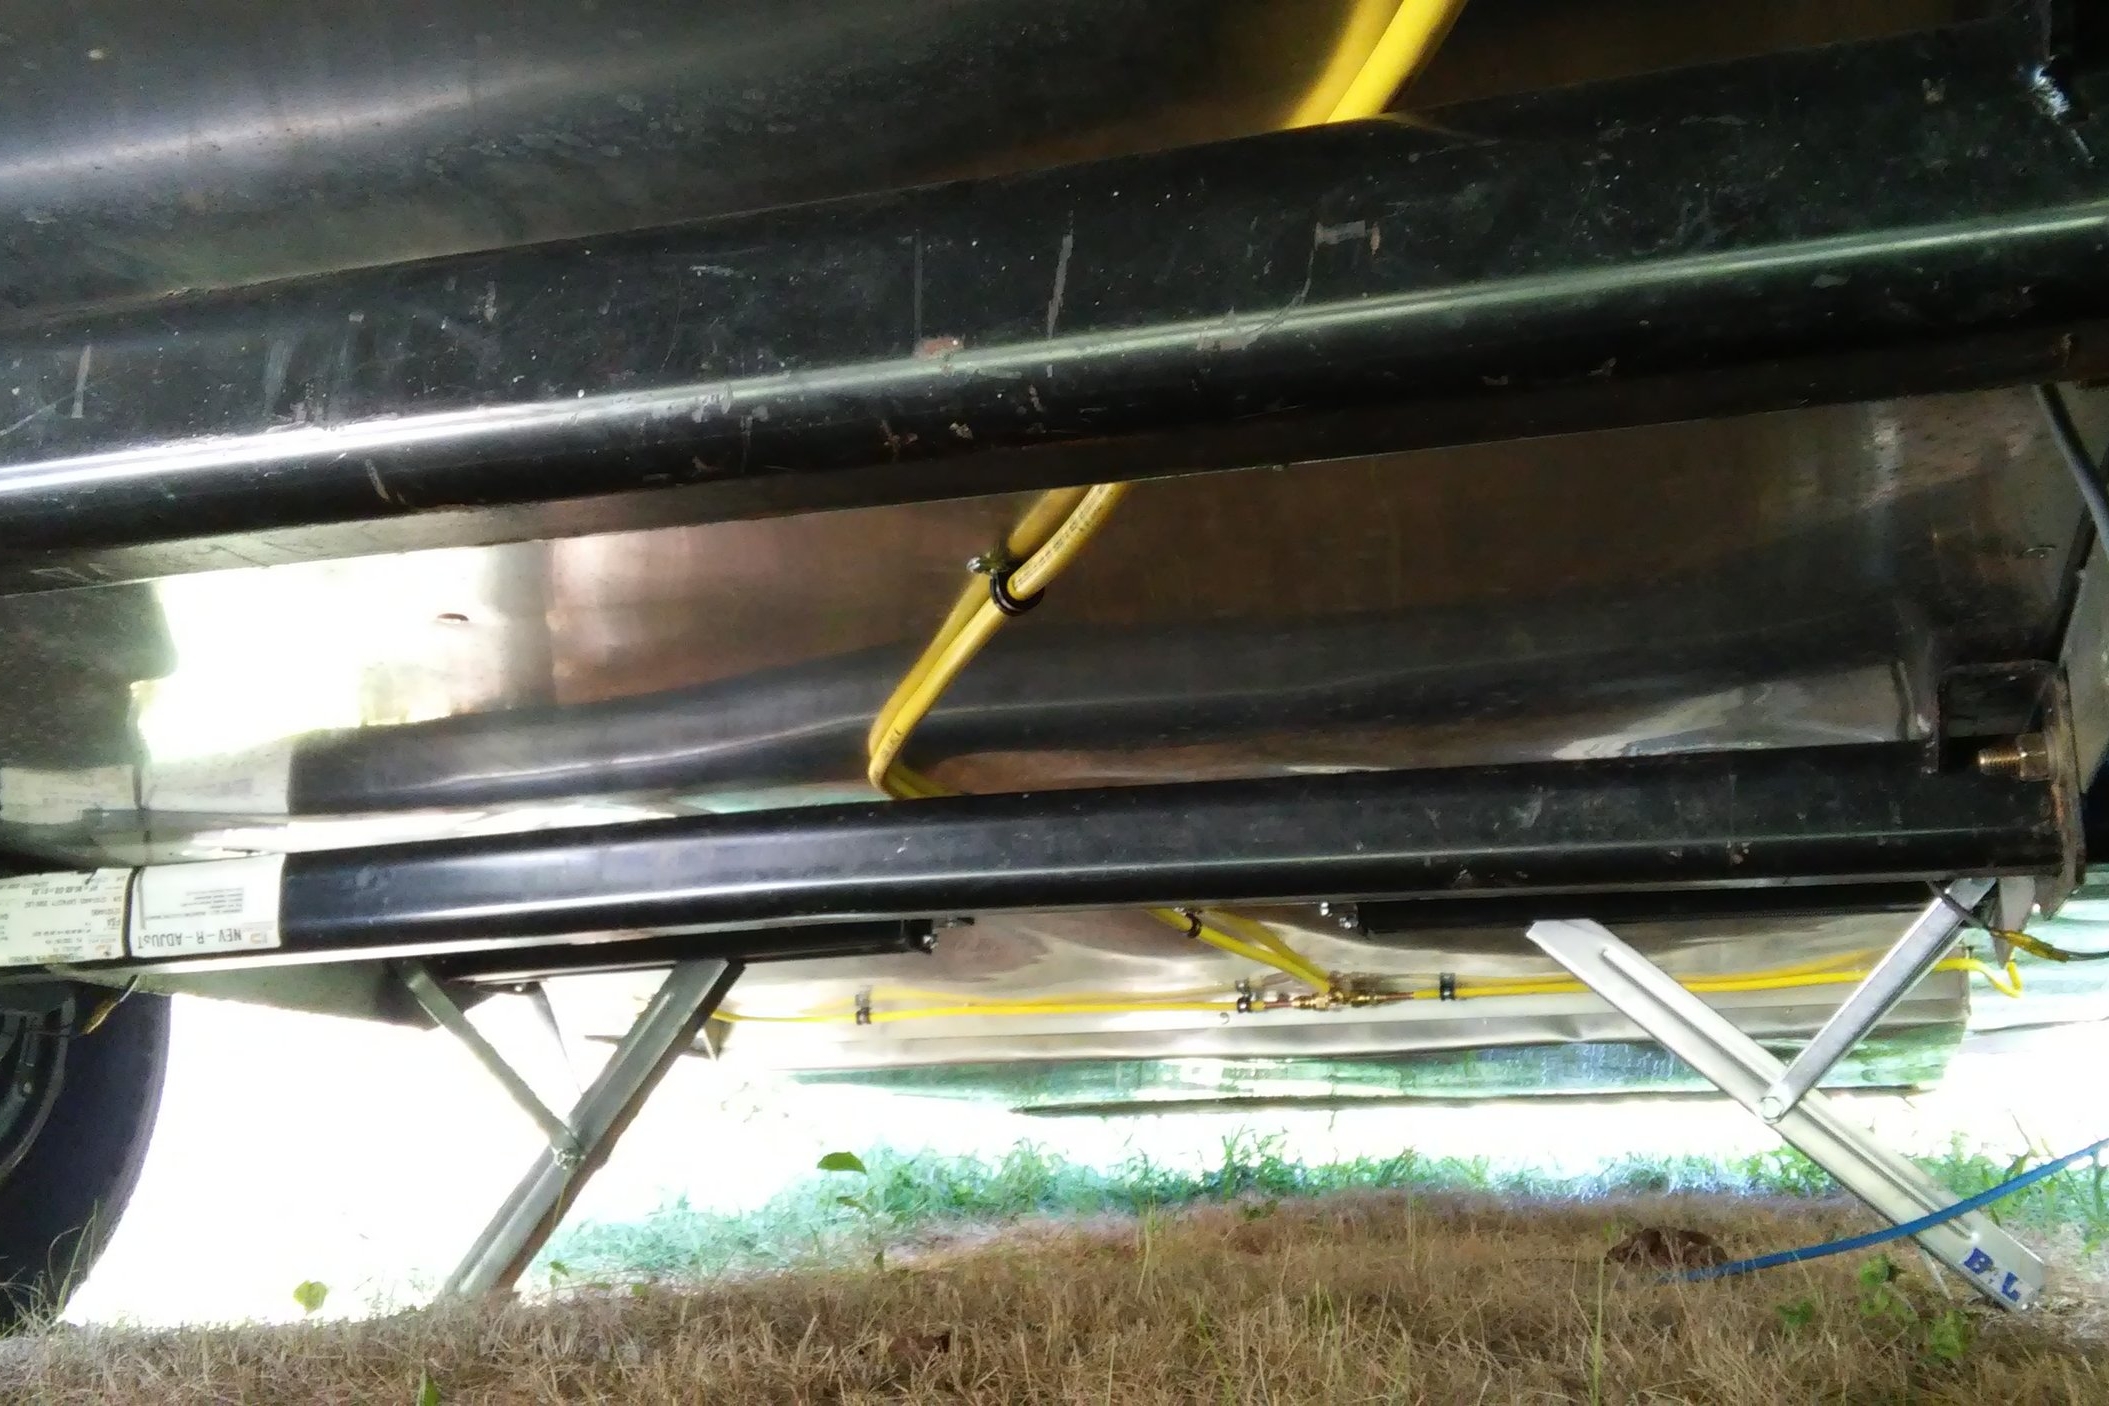
Propane lines are required to be run outside the coach.  If there were a leak, it's far safer for it to leak outside than to potentially build up in an enclosed space until it finds an ignition source.  You'd think it would be dangerous to run propane lines unprotected along the bottom of the coach.  I envision an errant rock puncturing a propane line and causing a Michael Bay style explosion on the interstate.  The truth is, if something were to cause a catastrophic leak from the propane lines outside of the coach, you'd just get a bunch of cold gas. 

The pressure the system operates under is surprisingly low.  The two-stage regulator maintains a pressure of about 11 inches water column, which is about 0.4 PSI.  You could easily stop the flow of gas from an open tube by applying pressure with a finger.  The regulator also has a fail safe to limit the flow of gas in the event of a catastrophic leak.  The real danger here is gas building up in an enclosed space.

Some of these links are "affiliate links."  If you decide to buy something based on our recommendation, it would be nice if you used the direct link from this page so that we can make a small commission for referring you (which doesn't cost you anything extra).

I used 1/2" tubing for the trunk and 3/8" tubing for the branches.  Those links direct to 50' lengths, which was enough for the entire job with a good bit left over.  25' of either would not have been enough.  The tubing I used is specifically designed for gas, encased in a protective plastic coating.  The plastic coating is nice but not required.  It is important that the tubing be rated for gas -- some of the tubing sold off the shelf is not.

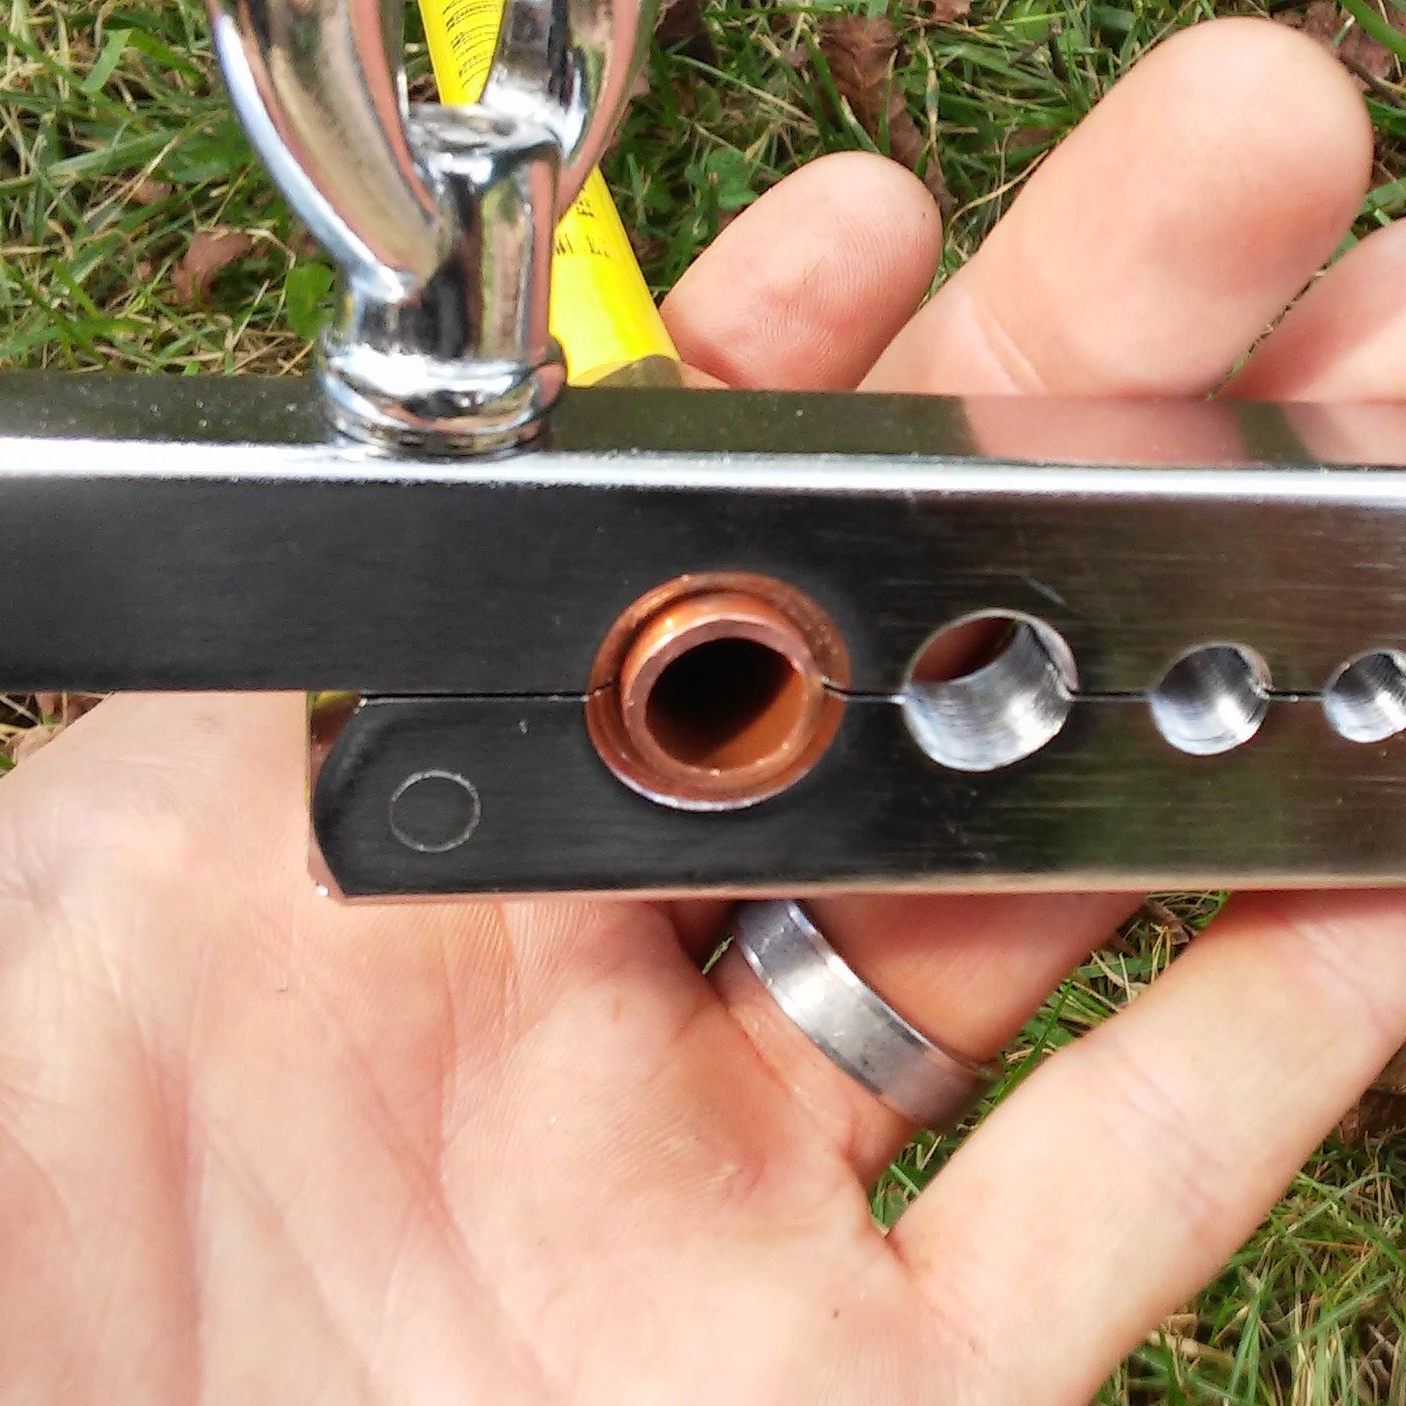
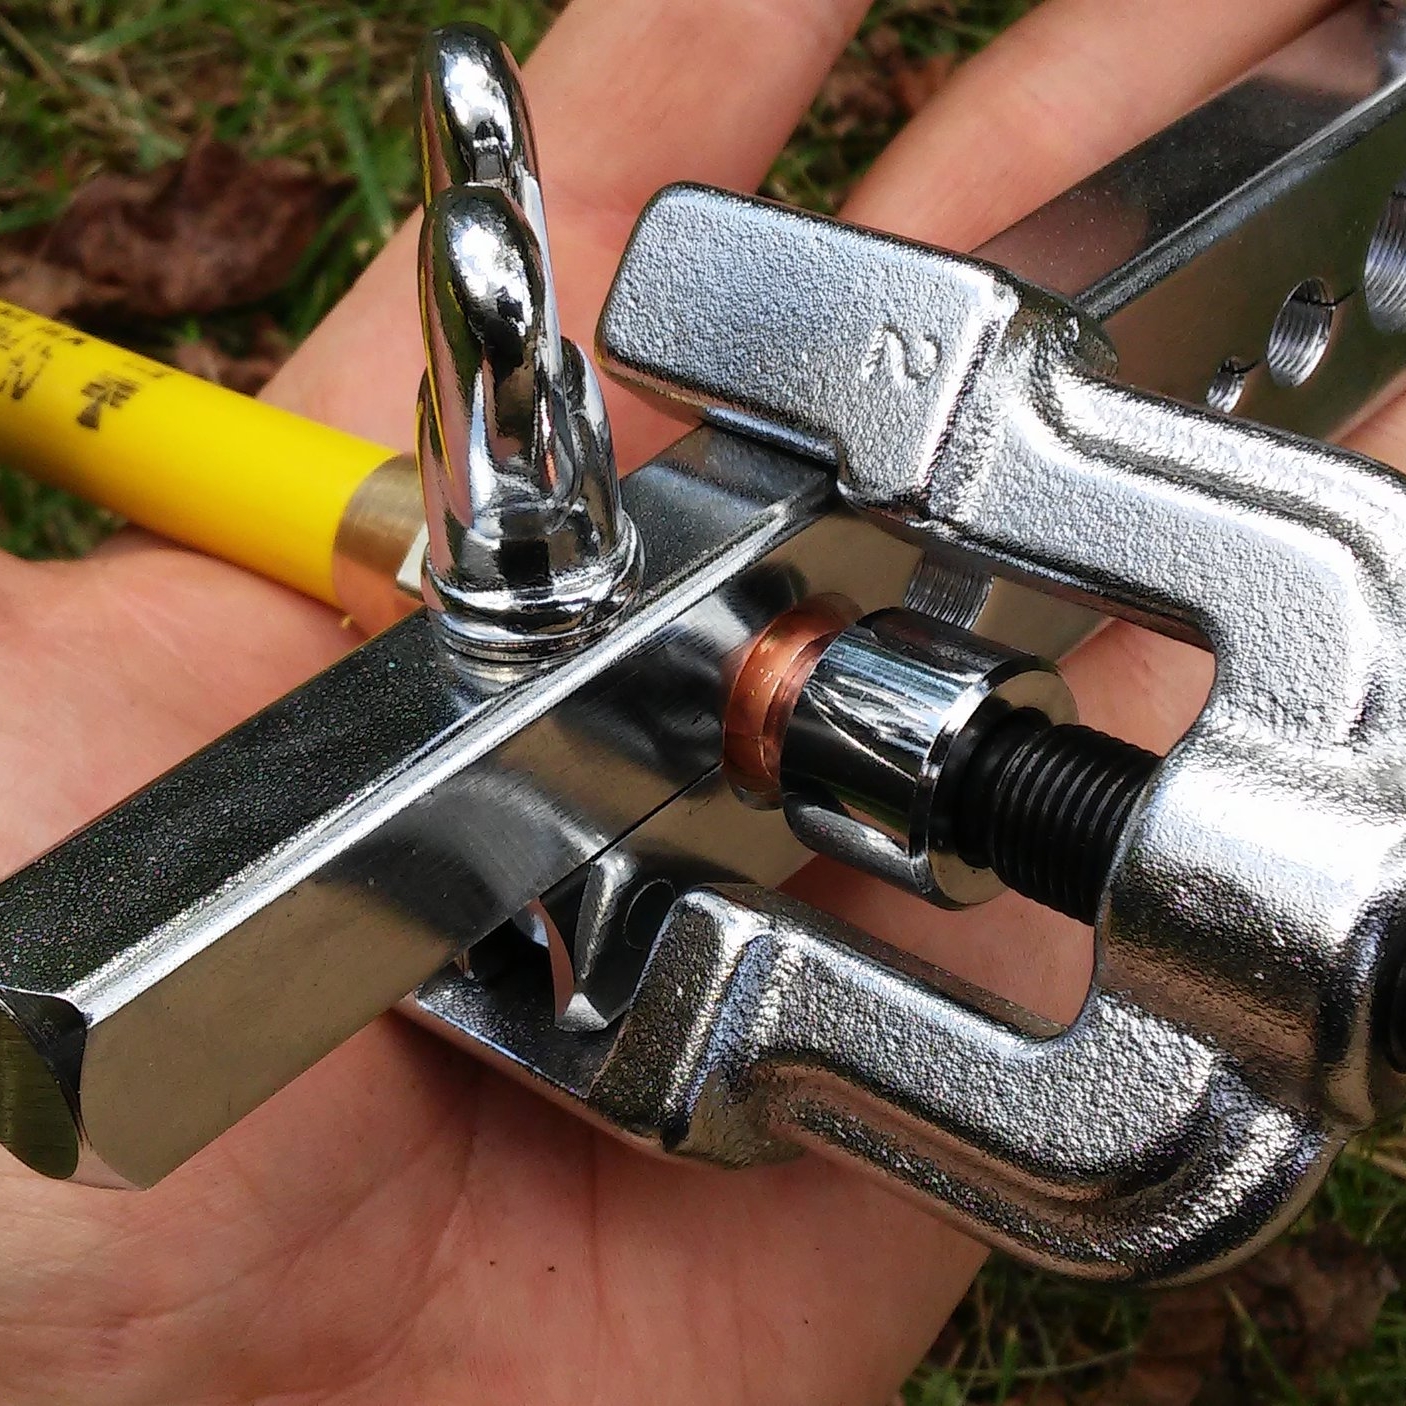
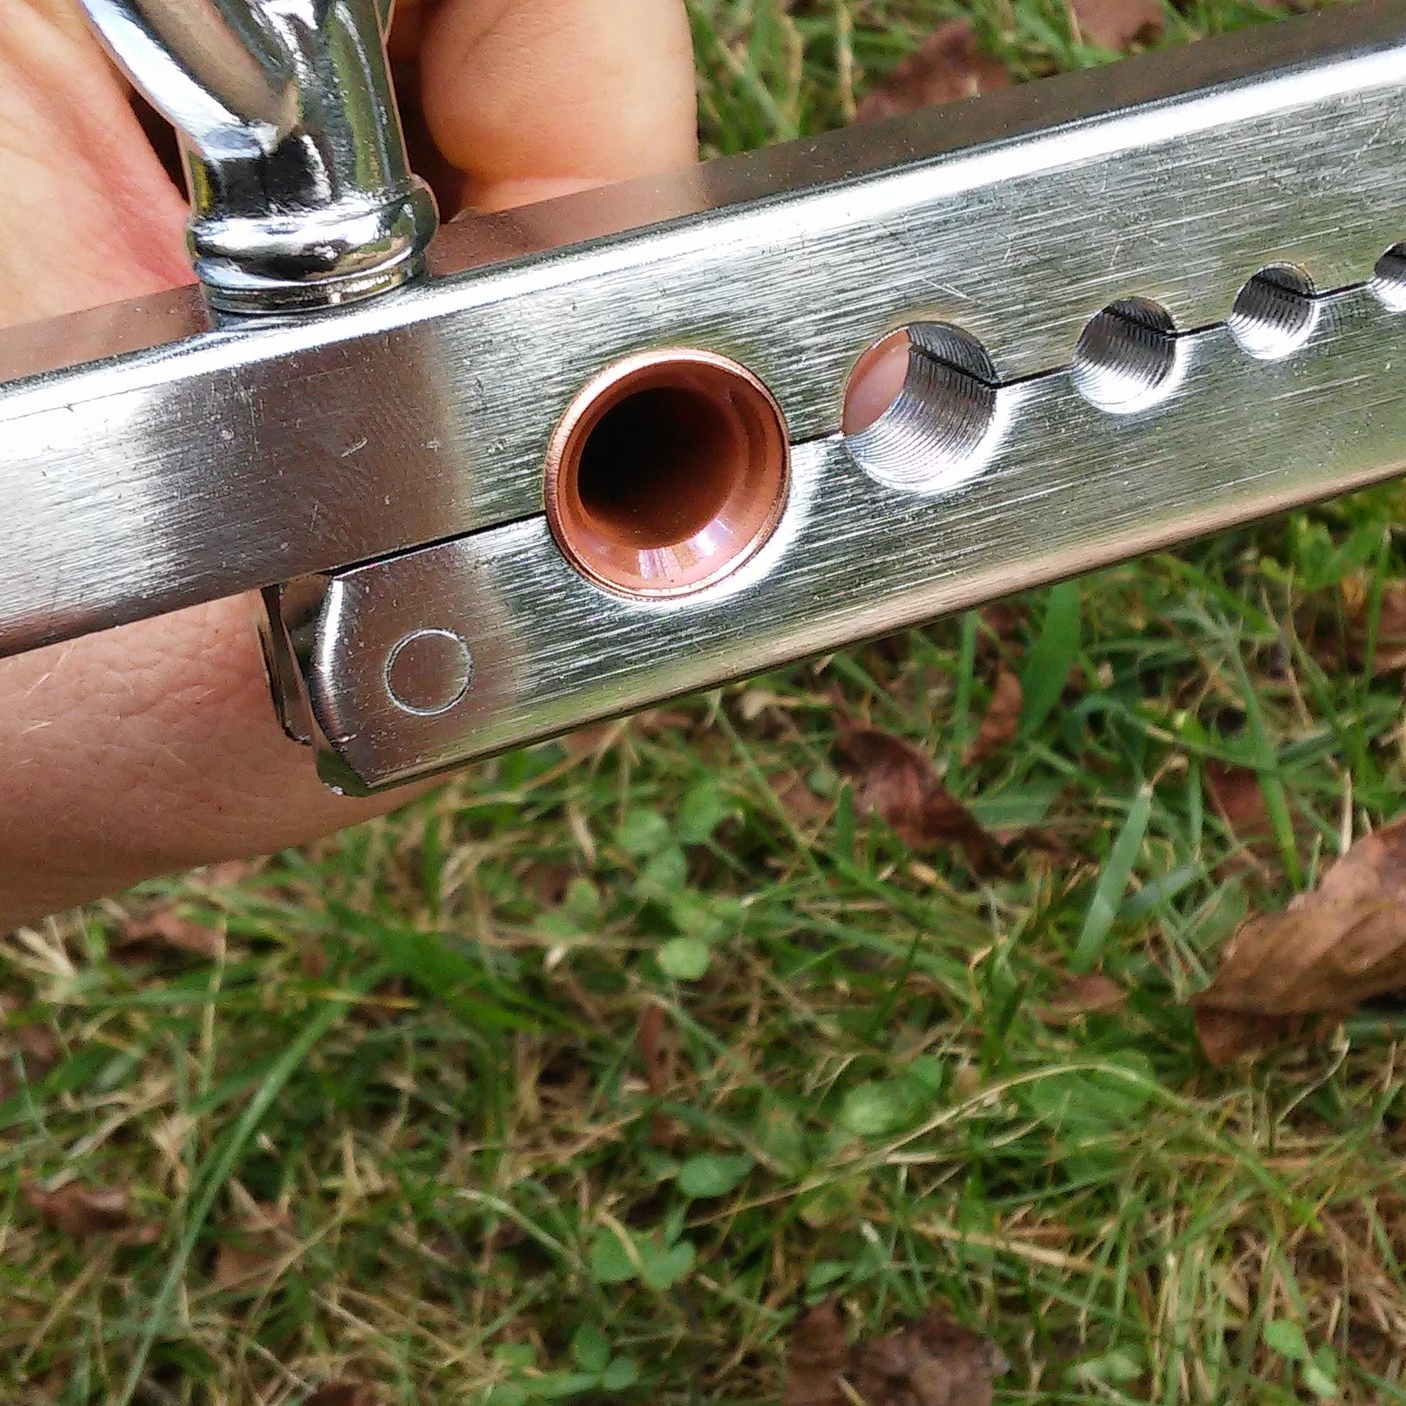
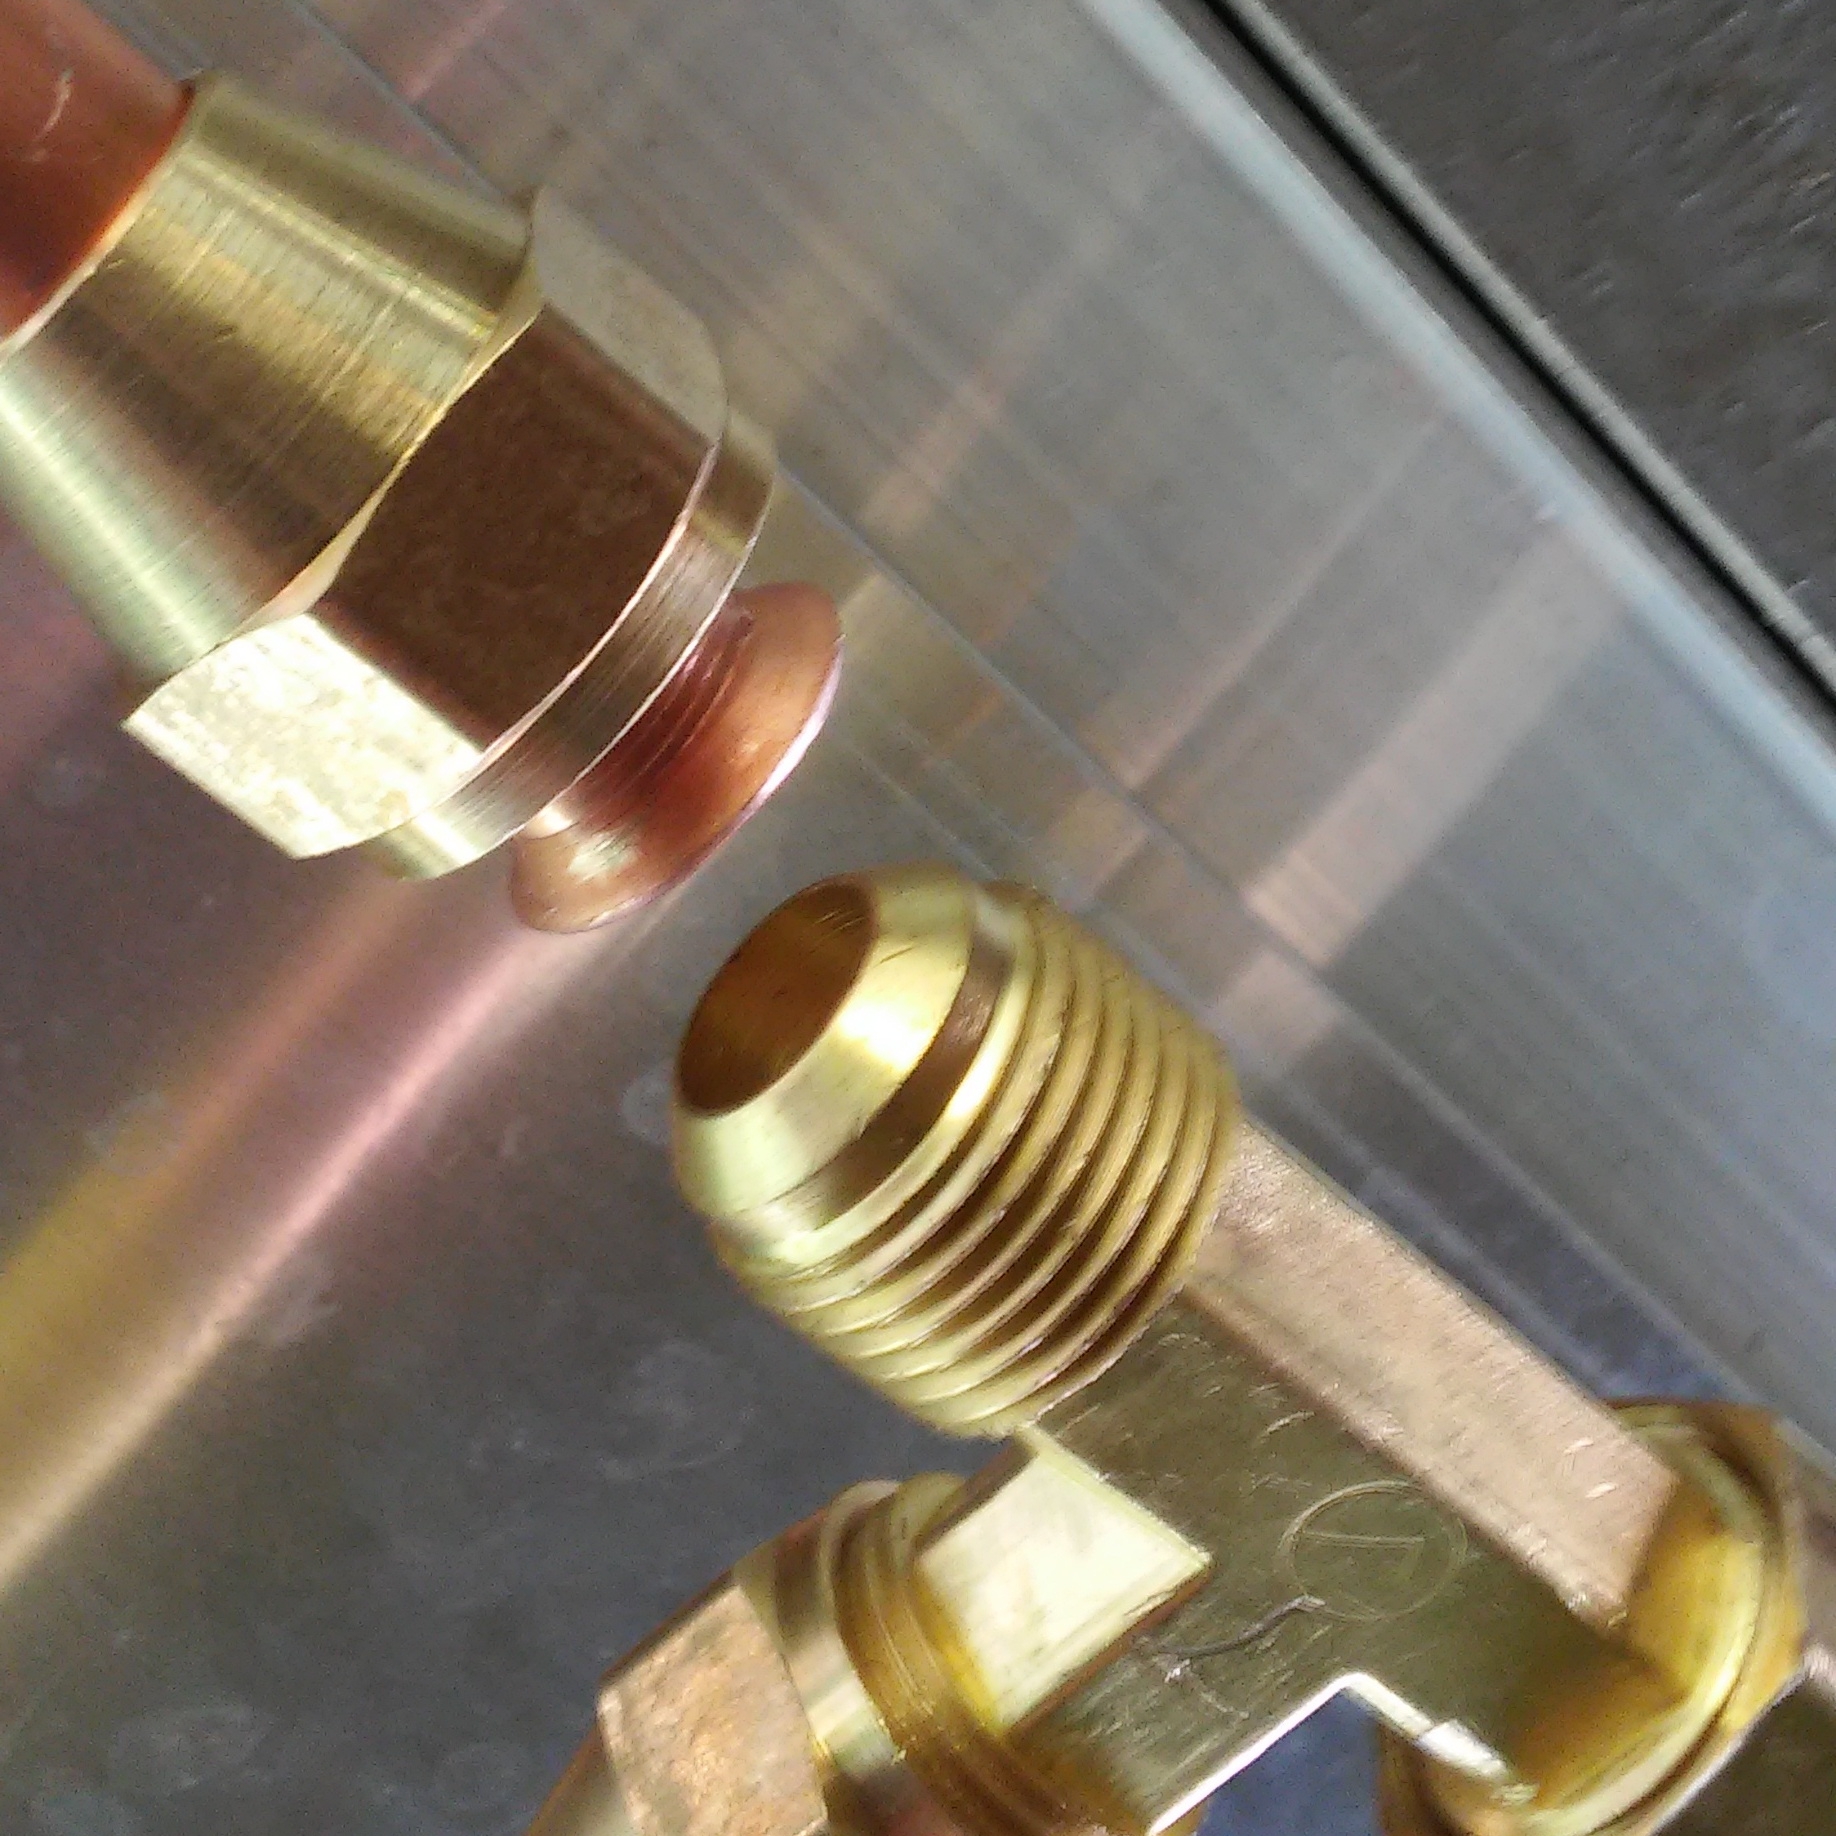
All connections were flare fittings.  The seal is made by compressing soft metals together -- either two brass fittings or a flared copper pipe sandwiched between a brass nut and another brass fitting.  No tape or pipe dope is used for these connections since the threads themselves are not what create the seal -- they just exert the pressure that holds the joint together.  It helps to apply a little 3-in-1 oil to the threads before you assemble the fitting, which helps you get the joint tight enough to seal.  It also helps to put the nut on the pipe before you flare the end.  Ask me how many times I forgot that.  

Come to think of it, don't ask me.  I don't want to talk about it.

I used the brasscraft flaring tool from Lowes.  The wingnuts on the tool started to seize up after a few fittings, but I applied a little 3-in-1 oil to the threads and cleaned them up, and it didn't give me any more trouble.  I'd recommend applying 3-in-1 oil to the threads of your tool before you start.

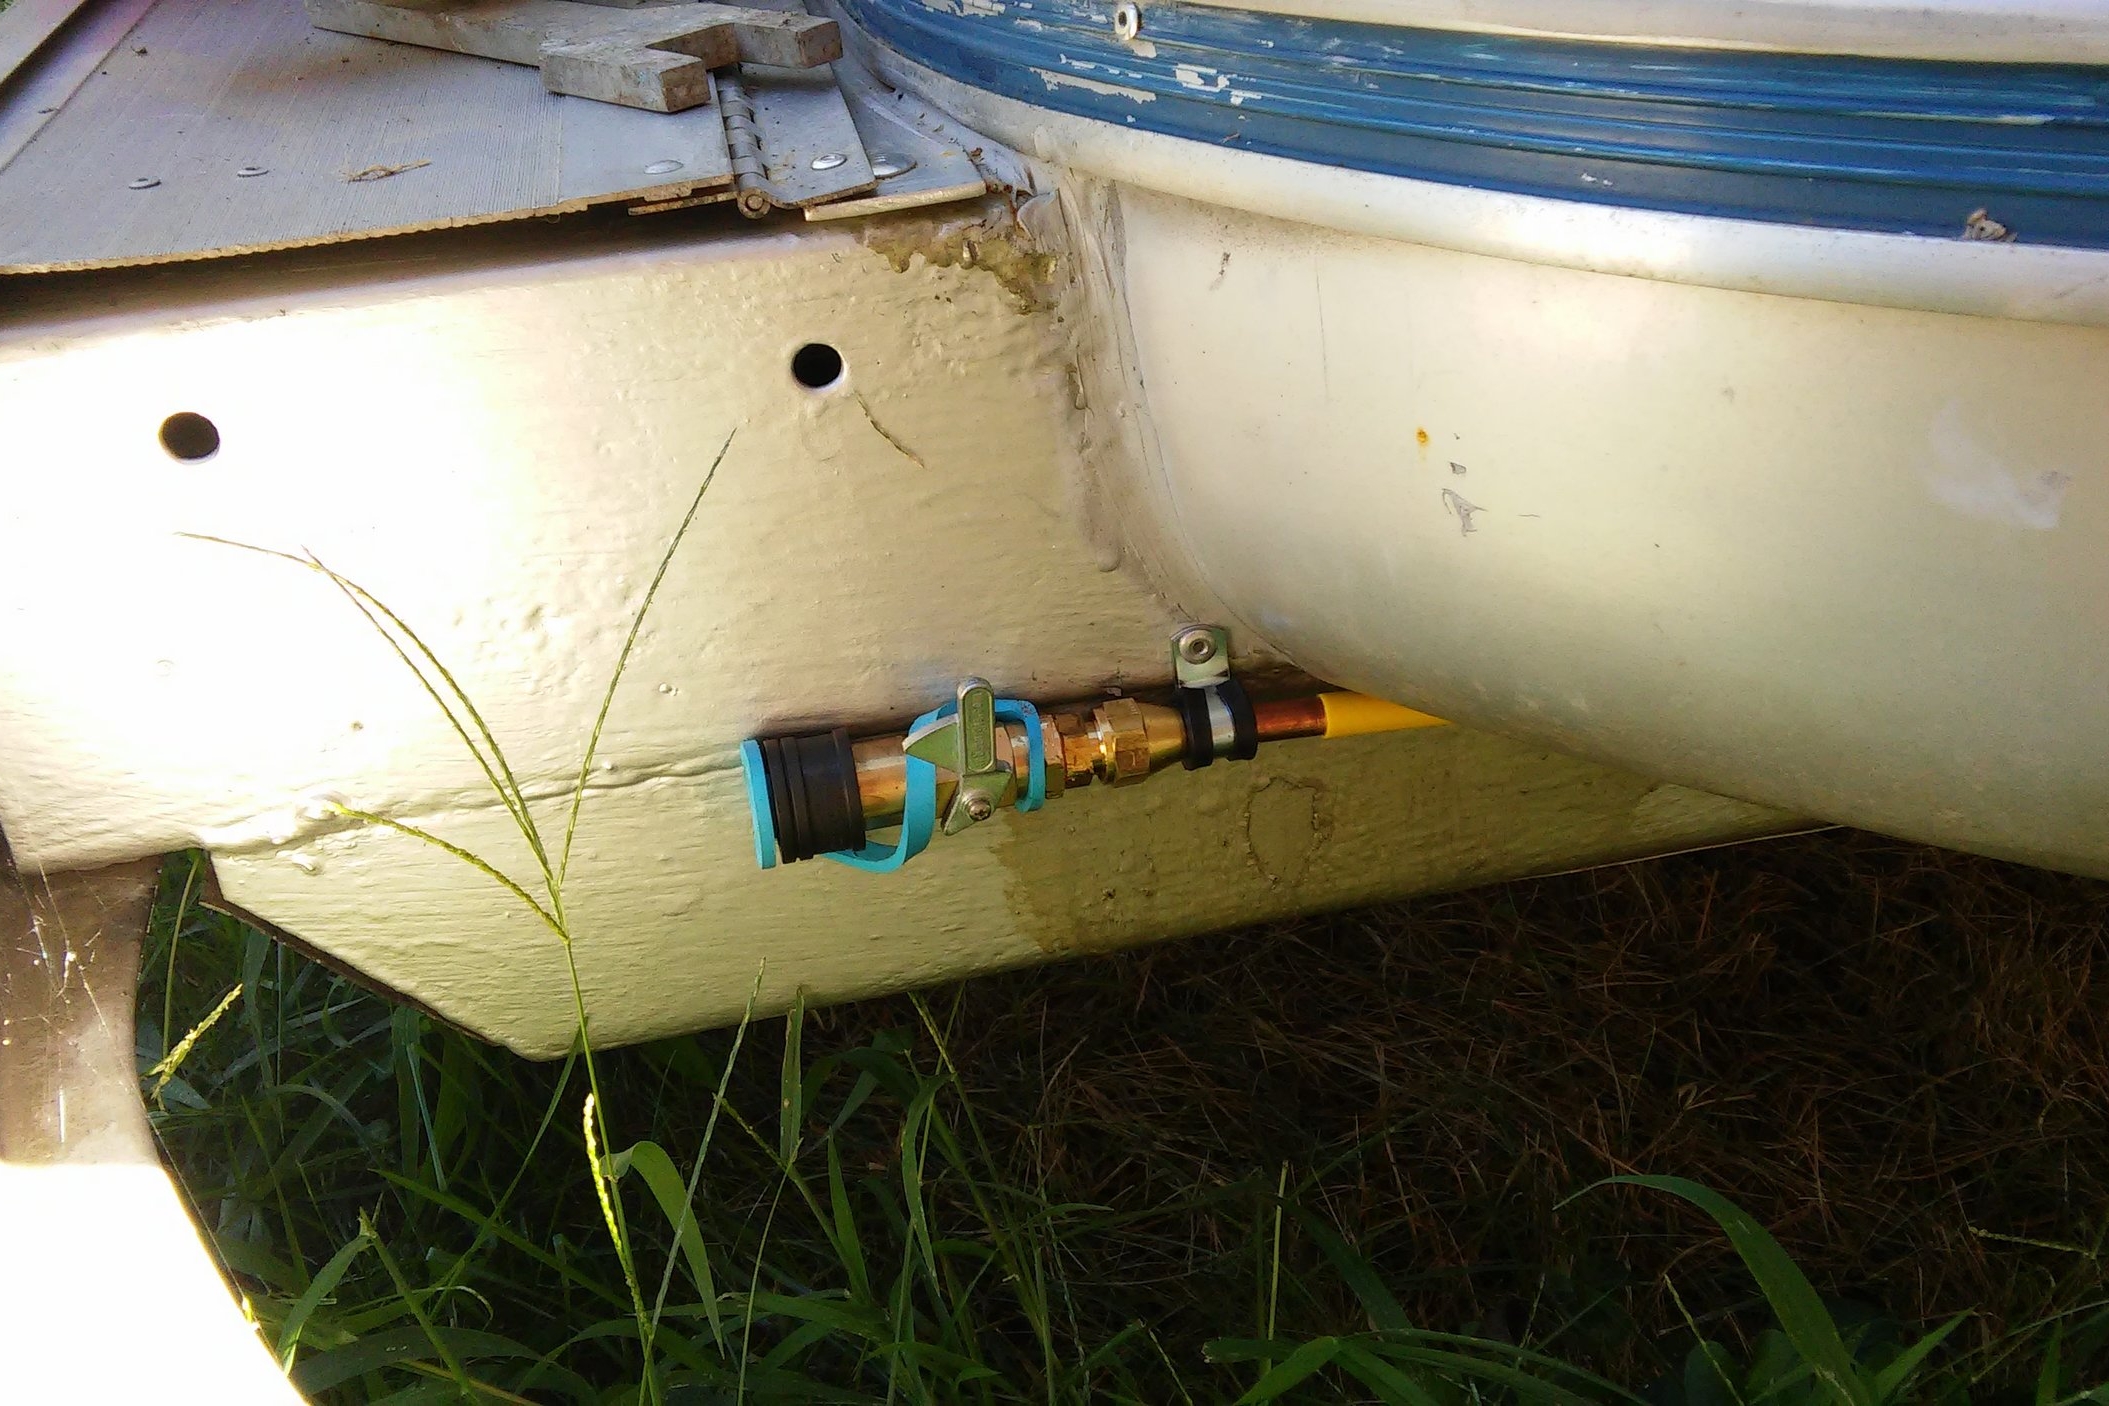
The propane lines are attached to the belly with 1/2" and 3/8" rubber insulated stainless clamps from the electrical aisle of the hardware store, and pop rivets.   I added a 1/4" Quick-Connect fitting from Vintage Trailer Supply at the curb side bumper in case we want to run a generator or propane grill in the future.

Now we just need to test the pipes, hook up the regulator, get the new OPD valves installed, tanks recertified and filled, install the LPG detector, find and purchase a propane range without it getting destroyed en route, run the fresh water plumbing, build the kitchen, build the bathroom, rebuild the range hood, finish the dresser drawers, build the pantry, build doors for the upper cabinets, and build the couch.  And build the wood stove heat shield.  And polish the exterior.  Easy peasy.

Tufted Headboard

Now that we have our sliding barn door in, we need a separate headboard to allow the door to open and close without moving the pillows out of the way.

I roughly followed this DIY tufted headboard guide.  Warning: sarcastic rant follows. Isn't it amazing that she made that tufted headboard for only $44?  Step one of making a DIY tufted headboard on the cheap -- start with any old headboard you have laying around.  Check your privilege, DIY lady.  Some of us don't have a cache of free headboards in our basement.  New career idea: start dating someone who works at a sawmill, take up woodworking, and make a mint selling furniture on Etsy built from beautiful pilfered live-edge hardwood.  OK, rant over.

My actual cost for this was around $200 in materials.  I custom built the headboard out of pine 2x2's and 1/4" plywood.  The street side had to curve very slightly to match the Airstream wall.  I used a compass to transfer the curve on to the headboard and then cut the curve with a jigsaw.

Fabric from the local craft store is 2 yards of charcoal linen, bought on sale.  I couldn't find actual egg crate mattress toppers anywhere.  The craft store had egg crate foam, but it wasn't cheap.  I ended up buying a cheap queen sized foam mattress cover from Walmart for $12, which was just enough to cover the front of the headboard three times, and put batting over the whole thing to smooth it out.

I didn't have as thick of foam or use as much excess fabric as the lady whose guide I was following, so I got a much smoother look.  Took some creative folding to avoid raw edges peeking out the sides. 

Barn Door

Leanne had installed a few vintage stained glass windows in her house that she found in a salvage shop in Baltimore.  They were pulled out of a 100 year old pub in England.  That stained glass is one of the things she misses about her house, so we wanted to incorporate it into the Airstream if possible.

We thought about putting up some stained glass window film on one of the windows, but it's not really any substitute for the real thing.  Real stained glass is far too fragile to use in an exterior window, but I thought I might be able to build a space on an interior wall that would both keep it safe and properly display it.

We stopped by the same salvage shop where Leanne had found her original stained glass windows, and sure enough, they still had some.  We snapped up our favorite one.

Some of these links are "affiliate links."  If you decide to buy something based on our recommendation, it would be nice if you used the direct link from this page so that we can make a small commission for referring you (which doesn't cost you anything extra).

I was also working on how to build a door to the bathroom.  Having a real hinged door would be nice, but the bed occupies some space in the doorway, so it would have to swing in or it would hit the bed.  Our bathroom is a good size for an RV bathroom, but there isn't quite enough room to maneuver around a hinged door.  The original door was a pocket door, but I've never met a pocket door I liked.  The mechanism is never smooth, and the latch is always fiddly.

I found this barn door hardware kit and it all came together.  Nice and smooth operation, takes up minimal space, lets light from the rear window filter through the stained glass, and the glass is still visible even when the door is open.

Tuft and Needle Mattress Review

Leanne and I were looking for a full size foam mattress for the Airstream.  A friend recommended Tuft and Needle, so we thought we'd give them a shot.  Tuft and Needle has a bunch of reviews saying the mattress is too firm, but that's a pretty subjective thing.  Different people will like different mattresses.  Besides, they have a 100 night guarantee, so we'd be able to try it out for a while and return it if we weren't happy.

We bought our mattress on May 22nd for $500, plus $30 tax, free shipping.  Super cheap for a mattress.  It shipped on the 23rd and arrived on the 25th.  Super fast turnaround time.

The mattress is 3" of soft foam sitting on top of 7" of firm foam.  Out of the box, it feels cushy like any other foam mattress.  Sleeping on it was the real test.

I'm a side-sleeper, and I woke up several times throughout the first night with dead arms.  I'm no mattress expert, but it seems to me that the top layer is too soft and the bottom layer is too firm.  I sink straight through the top layer, and the firm bottom layer cuts off blood circulation to my extremities. 

Leanne, I should note, thought the mattress was just fine.

We kept using it hoping either it would "break in," or my body would get used to it.  Didn't happen.  I would have to force myself to fall asleep laying on my back, and would wake up multiple times every night when I've rolled over in my sleep and strangled one arm or the other.  Even my hips would get sore from sleeping on my side.

On June 6th, I received an email from Tuft and Needle asking, "how likely are you to recommend Tuft and Needle to a friend?"  The only content in the message was a 1 (not likely) to 10 (very likely) scale.  I clicked on 1, and explained that the mattress was uncomfortable.

On June 7th, I received this email:

Hi Daniel,

Thanks a bunch for reaching out! We're really glad to be hearing your feedback. I'm so sorry that the mattress has been feeling too firm for your needs, and we are happy to help you return. 

The mattress does "break in" after about two weeks of use, during which time the foam becomes a lot less stiff as your body gets used to it, so we'd recommend trying it out for those two weeks to see if it helps. Thank you for continuing to give it a chance!

As a solution to firmness, mattress pads are recommended for extra padding and comfort, but keep in mind that they tend to generate heat while sleeping. 

If you would like to consider a topper to soften the mattress, I went ahead and refunded your order $75.00 off your total purchase price so that you can try one and see if it helps. Feel free to check out the receipt for that here. You'll see the credit return to your purchasing card in 3-5 business days!

Here are some we recommend: 

[link] Pinzon Basics Overfilled Microplush Mattress Topper
[link] Extra Plush Fitted Mattress Topper

If the topper doesn't help with the discomfort you're experiencing and you'd still like to return your mattress, we'd be happy to help you with that per our 100 night sleep trial. Keep in mind that for your return, we'll only be able to refund you the remainder of your purchase price $455.00.

Also, please hang on to your topper purchase information just in case you need to return that through Amazon as well. And remember that Amazon's return policy is 30 days from the day you receive your topper. :)

If you'd prefer to simply return your mattress, we would love to help with that as well. To return, we help you donate your mattress to a local charity or non-profit, and then, once you have a donation receipt, just email us a photo of it. Once we have that photo, we’d process your refund in full!

Please let us know how you would like to move forward- we're here for you!

Warmest,

Kendall Davis

I bought the more expensive of the two recommended mattress toppers, but it didn't help.  It added some fluff on the top, but didn't fix my problem with my arms falling asleep.

We decided to go ahead and return the mattress.  The "return" process requires you to find a local charity that would accept mattresses (there aren't many).  Then you have to haul it over there yourself.  It's nice that we were able to donate to a local charity who could match it up with someone who needs it (hopefully not a side-sleeper).  But as far as "returns" go, it was a hassle, and would have been worse if we didn't have a pickup truck.

On July 17th, I send a copy of my donation receipt. I received the following email on July 18th:

Hi Daniel,

Thanks for donating your Tuft & Needle Mattress to the Wider Circle center! Sorry it did not work out for you but I am glad it went to a good cause. The receipt image you've provided is perfect.

I just processed your refund in full and it will return to the account in 3-5 business days. Sometimes banks do hold up the refund process, so if you do not see it back in your account within 5-7 business days then please contact your financial institution.

You're all set! Let us know if you have any other questions or comments. 

Best,

Freddy L

So, our search for a mattress continues.  Overall, Tuft & Needle has great customer service.  They were proactive about making sure we were happy, and did what they said they would.  I'd love to encourage you to buy from them, but I didn't like the actual product.  If you're not a side sleeper, or if you share body-types with Leanne, Tuft & Needle might be worth a shot.

Follow our quest to find a better mattress here.

Honeymoon Week Three: Greenville Farm and Family Campground

For our last week, we wanted to stay pretty close by, as we had some local errands to take care of.  Greenville Family Campground looked promising, and so off we went! 

Greenville Family Campground is situated on a working dairy farm.  There were quite a few other campers there -- some contractors staying locally for work, some families vacationing, and some travelers just passing through.  There are tent sites, 30A RV sites, and full hookup sites with 50A and sewer.  The scenery is beautiful with wooded campsites and trails, rolling farmland, ponds, and a resident blue heron.

We were surprised at how few of the sites were occupied.  There are clues around the campground that suggest a much busier past, such as the pedestals for electronic gates with the arms removed, laundry facilities with half of the appliances out of order, and showers that have a rod for shower curtains, but no actual curtains.

The pool, however, was well maintained.  We spent one afternoon swimming with some resident frogs before shuttling them down to the pond where they would be happier.

Frog friends.

Frog friends.

Releasing the frogs we abducted ... er ... rescued from the pool.

It is surprisingly difficult to take a picture of a heron.

It is surprisingly difficult to take a picture of a heron.