Like the hat?

Maxxfan Deluxe vents installed -- one in the front living room area, and one in the rear bedroom area. These vents lay relatively flat against the roof in the closed position, but keep the rain out in the open position.
The Airstream roof curves, but the plastic vent doesn't. This puts stress on the vent and can cause damage and leaks over time. My solution to this is to attach the fans through two strips of aluminum angle on the inside of the skin -- one on the front and one in back -- which will take the stress of flattening out the curve instead of the plastic fan frame. This is a pretty easy modification to do now, but it would be a lot harder if we hadn't already removed the interior skin.

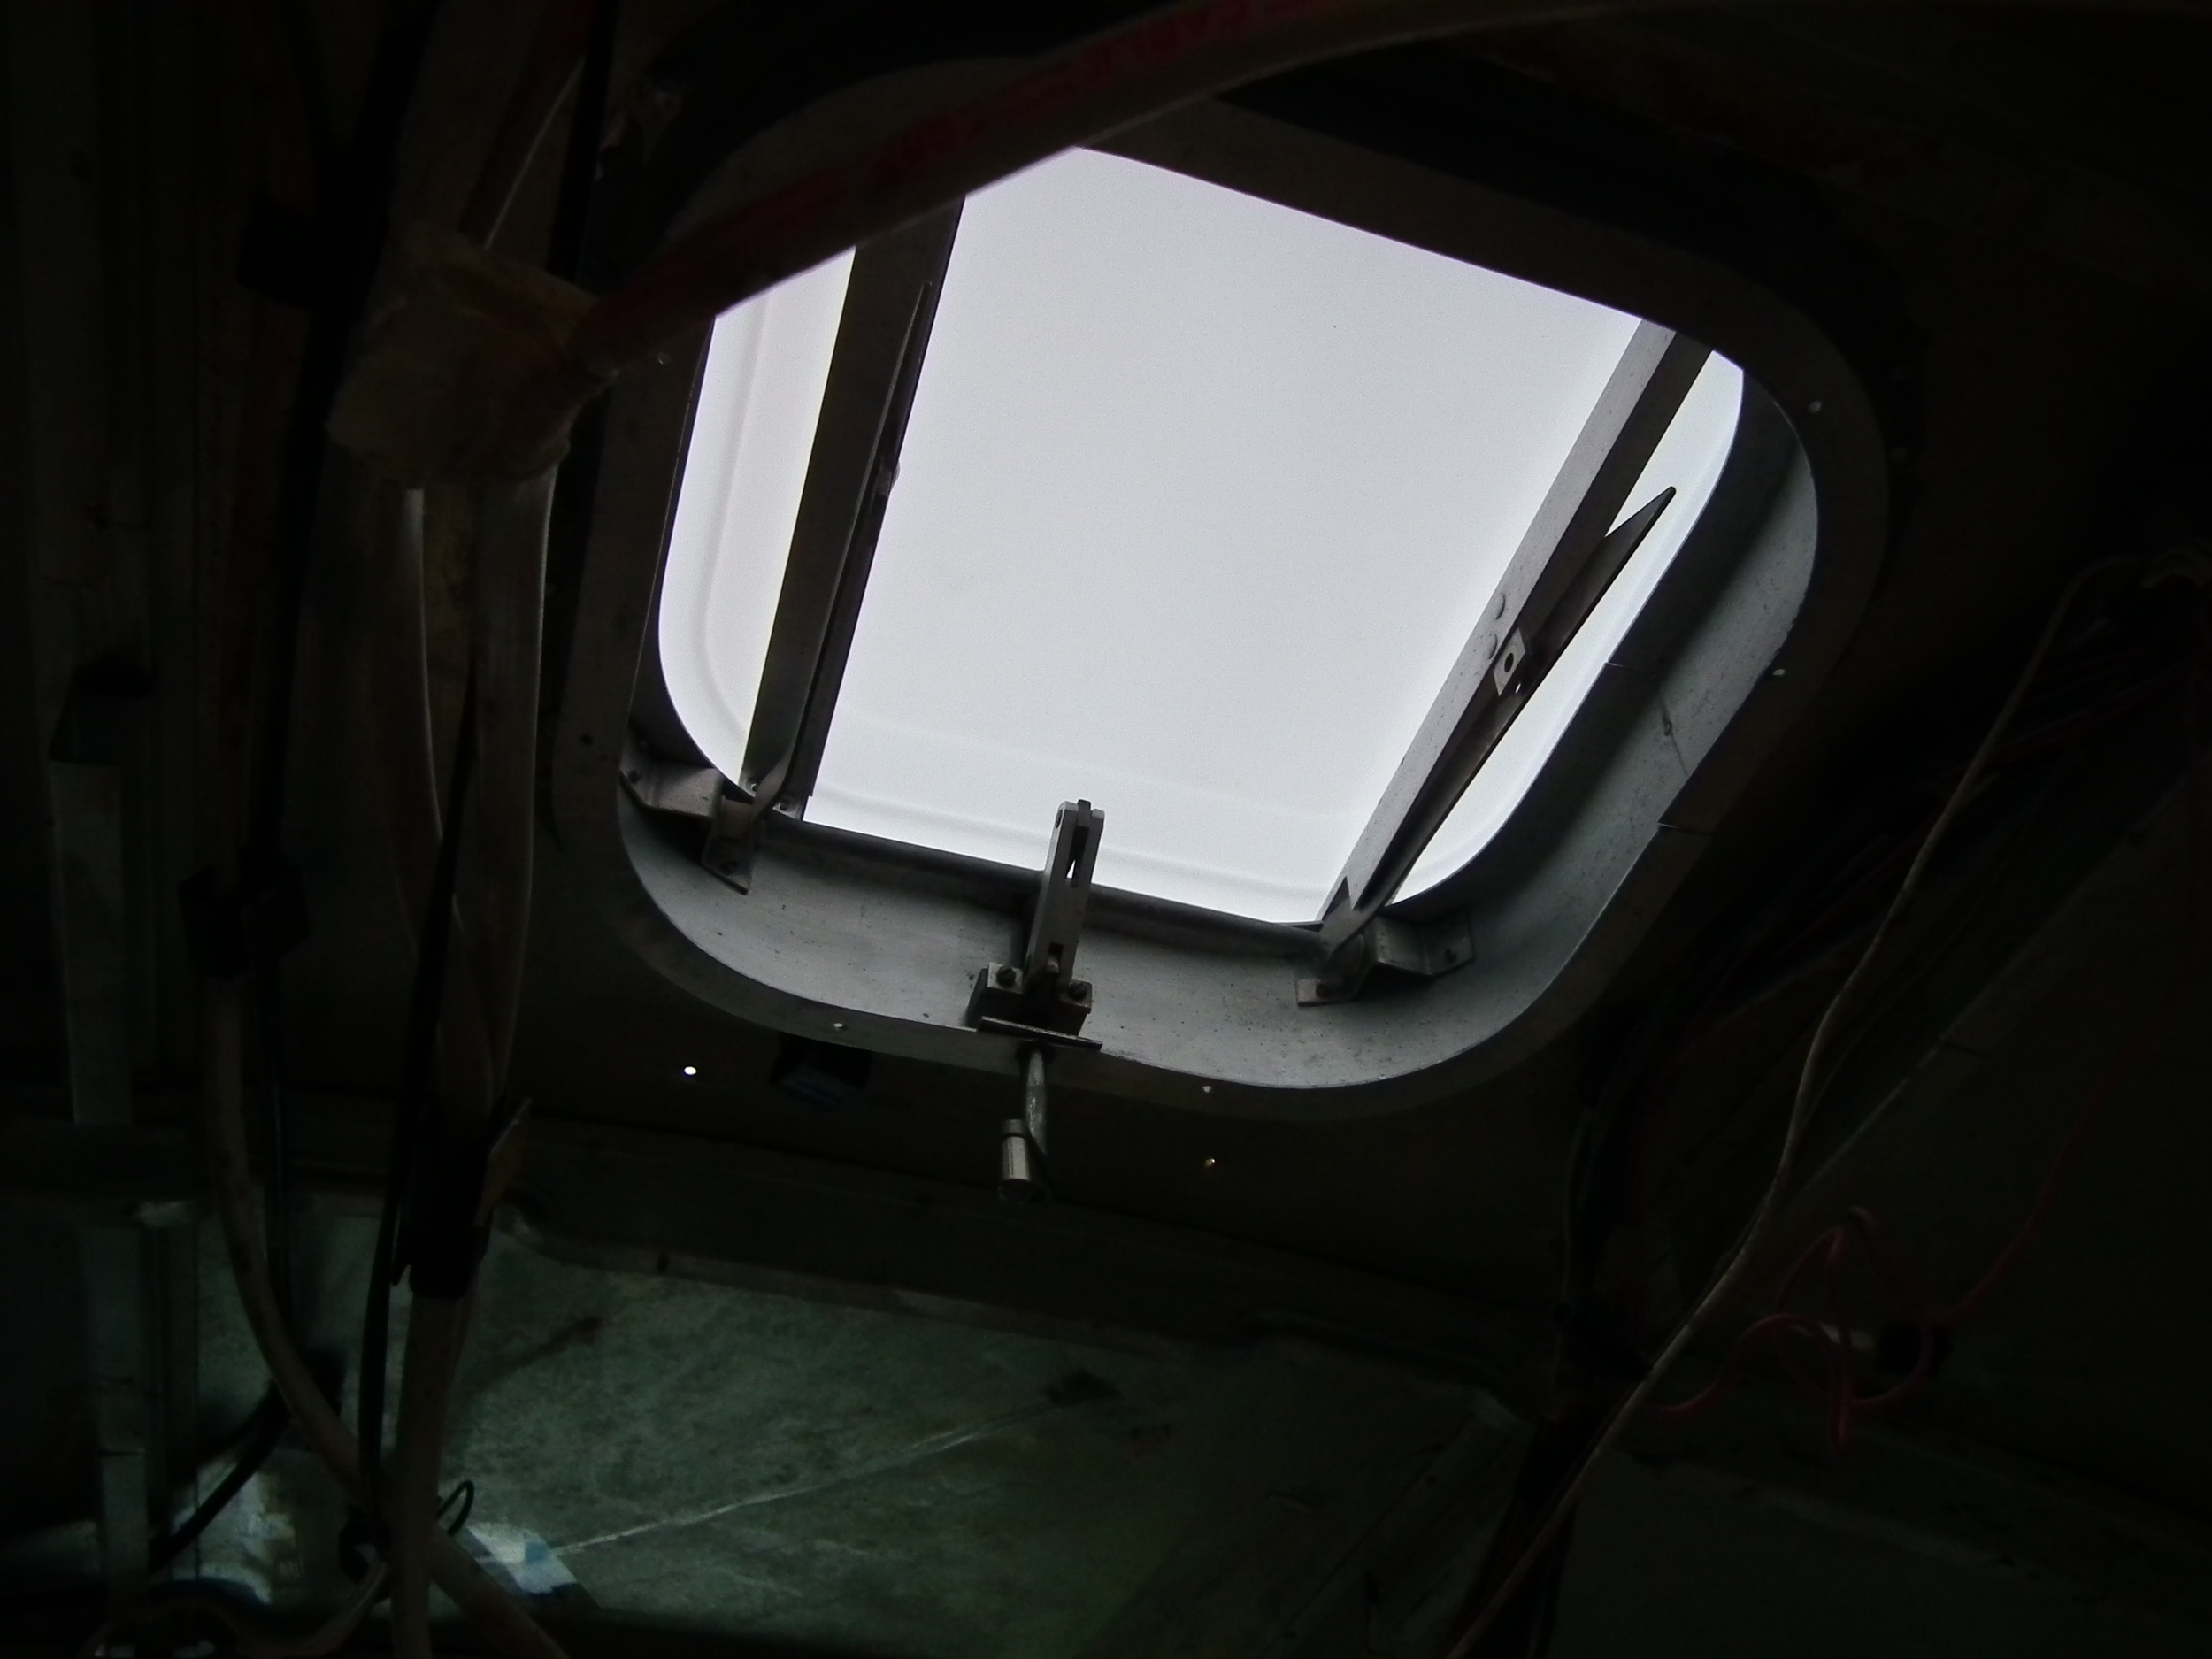
This is one of the original vents that I reinstalled using a new translucent Lexan lid. It's in the center kitchen area just ahead of the air conditioner. I had considered removing this vent entirely and sealing up the hole, but after seeing the skylights in the newer Airstreams, we thought it would be nice to have a little more natural light.
This is the Maxxfan in the rear bedroom area. This one is a slightly different model than the fan in the front because it operates via remote control. We'll be able to raise/lower the fan, turn it on/off, change the thermostat setting or fan direction, all without getting out of bed.

This is where the AC goes. The new AC attaches to the roof with four bolts. There is a metal plate inside the coach that pinches roof to hold the AC in place. Since the roof is .032 aluminum, I needed to build out some framing to give the plate something to grab onto. Most people use wood for this, but I went with 1" square aluminum tube.
I also had to deal with the curved roof/flat AC issue. The front of this opening is about 1-1/2" away from a rib, so I had to remove a couple of rivets and add some aluminum shims to flatten out the roof.
