We're getting down to the wire, so I've been neglecting the blog while I try to get as much done as possible. The wedding is June 18th, and I've moved the goalposts for Airstream construction from "done in time for the honeymoon" to "safe and legal to tow." We're going to be doing some aluminum tent camping, which will be just fine by us.
Some of these links are "affiliate links." If you decide to buy something based on our recommendation, it would be nice if you used the direct link from this page so that we can make a small commission for referring you (which doesn't cost you anything extra).
Here's the stuff I managed to take pictures of over the last month.
Once the paint was up, I was able to permanently attach the lights, like so:


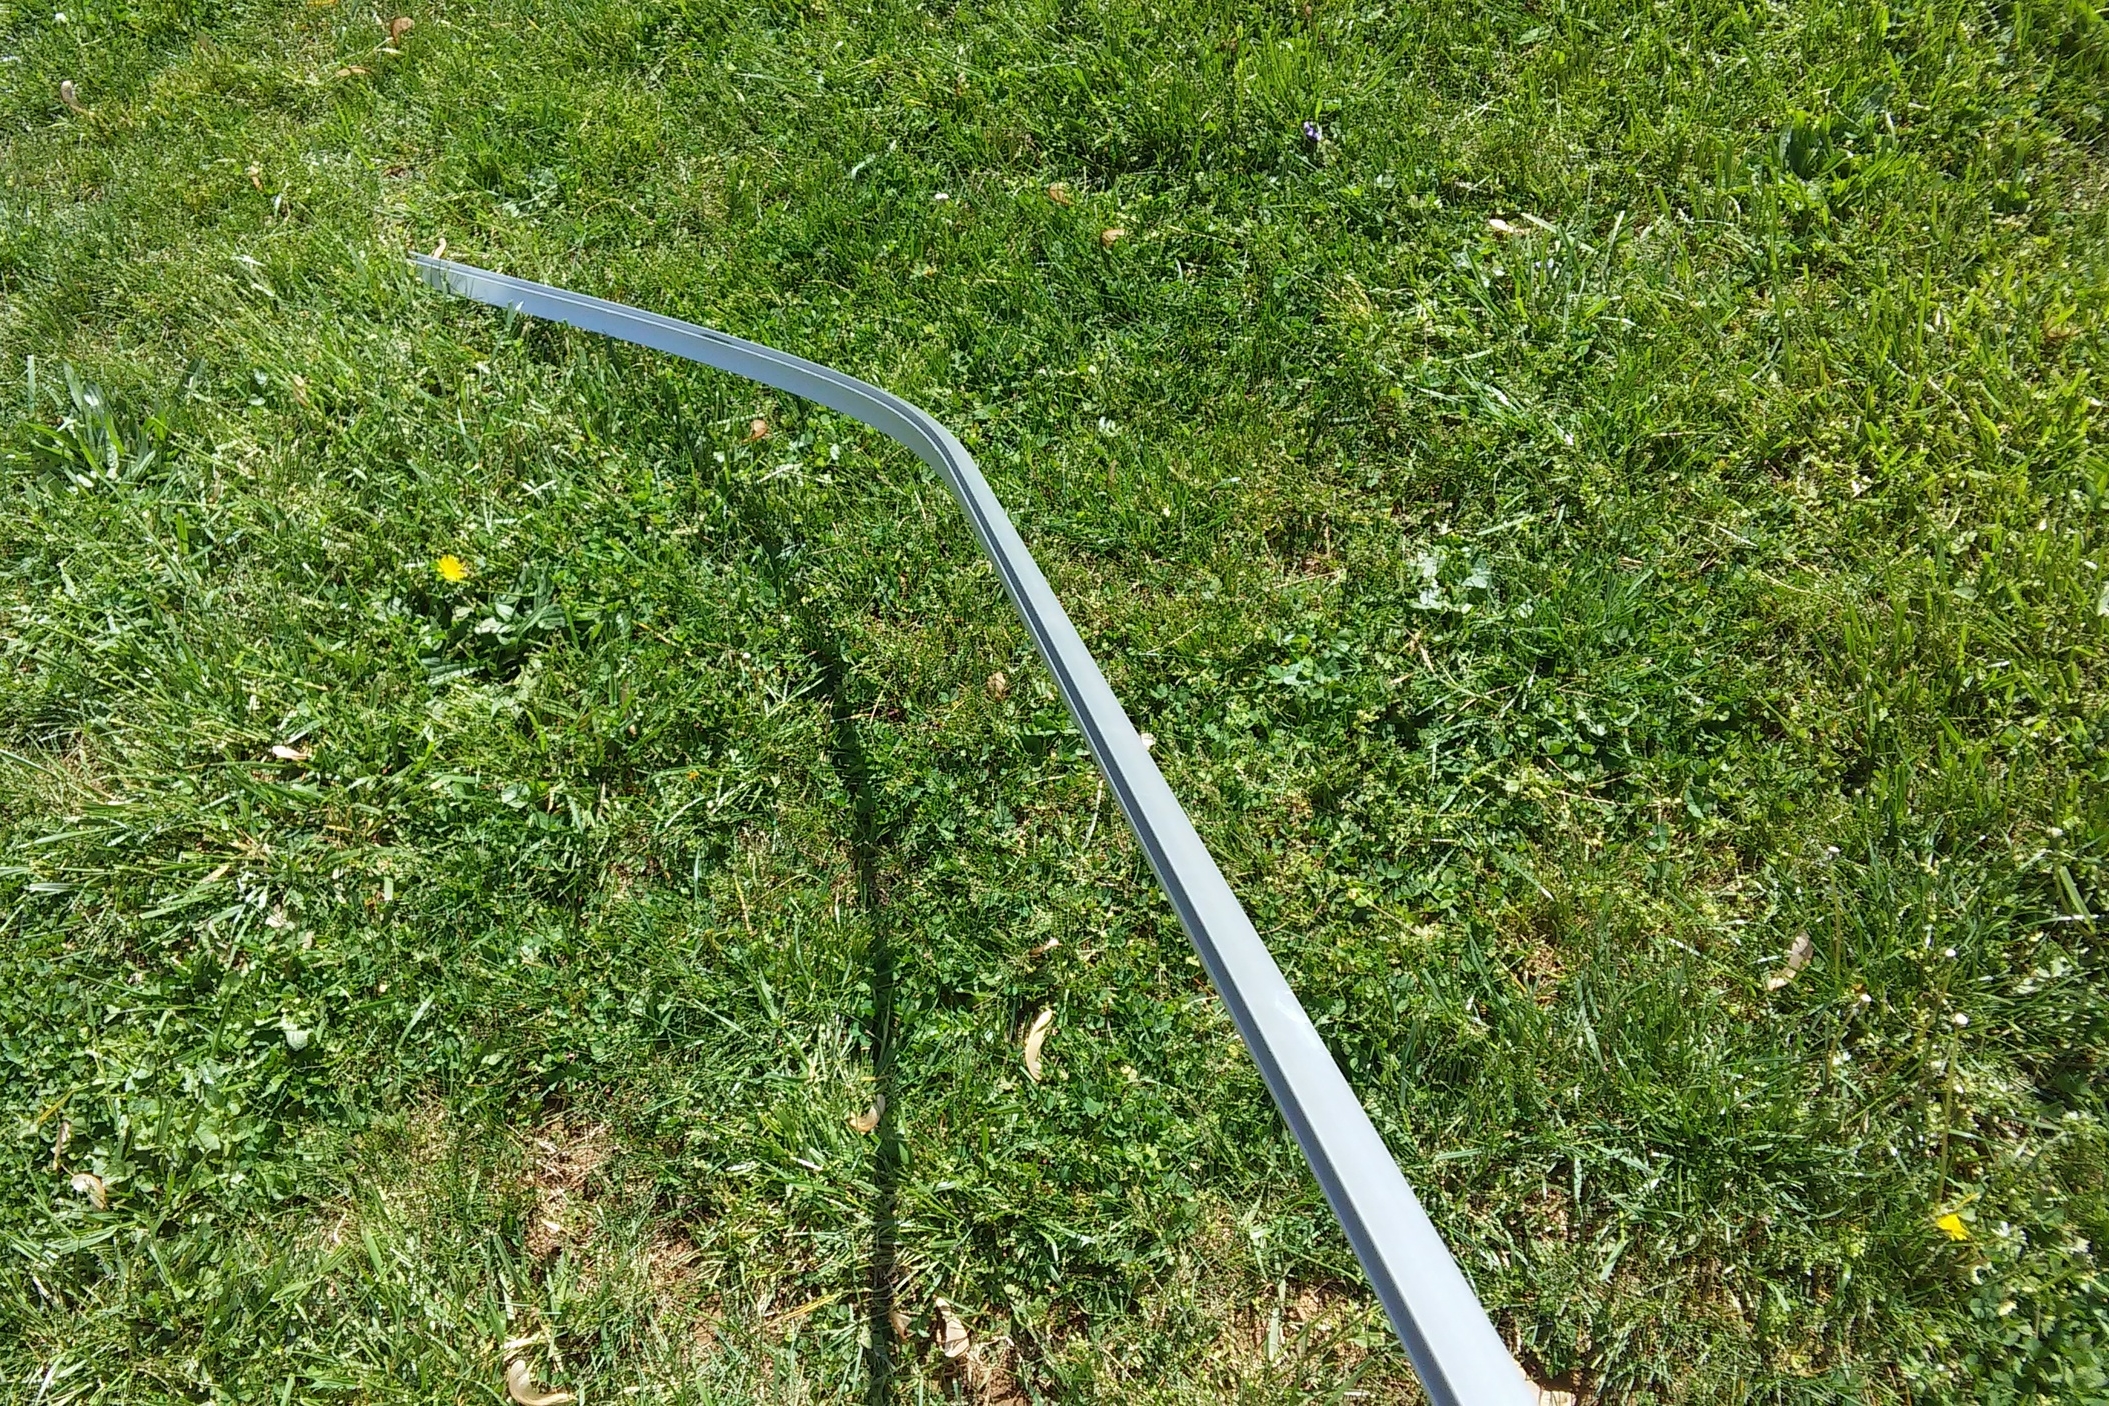
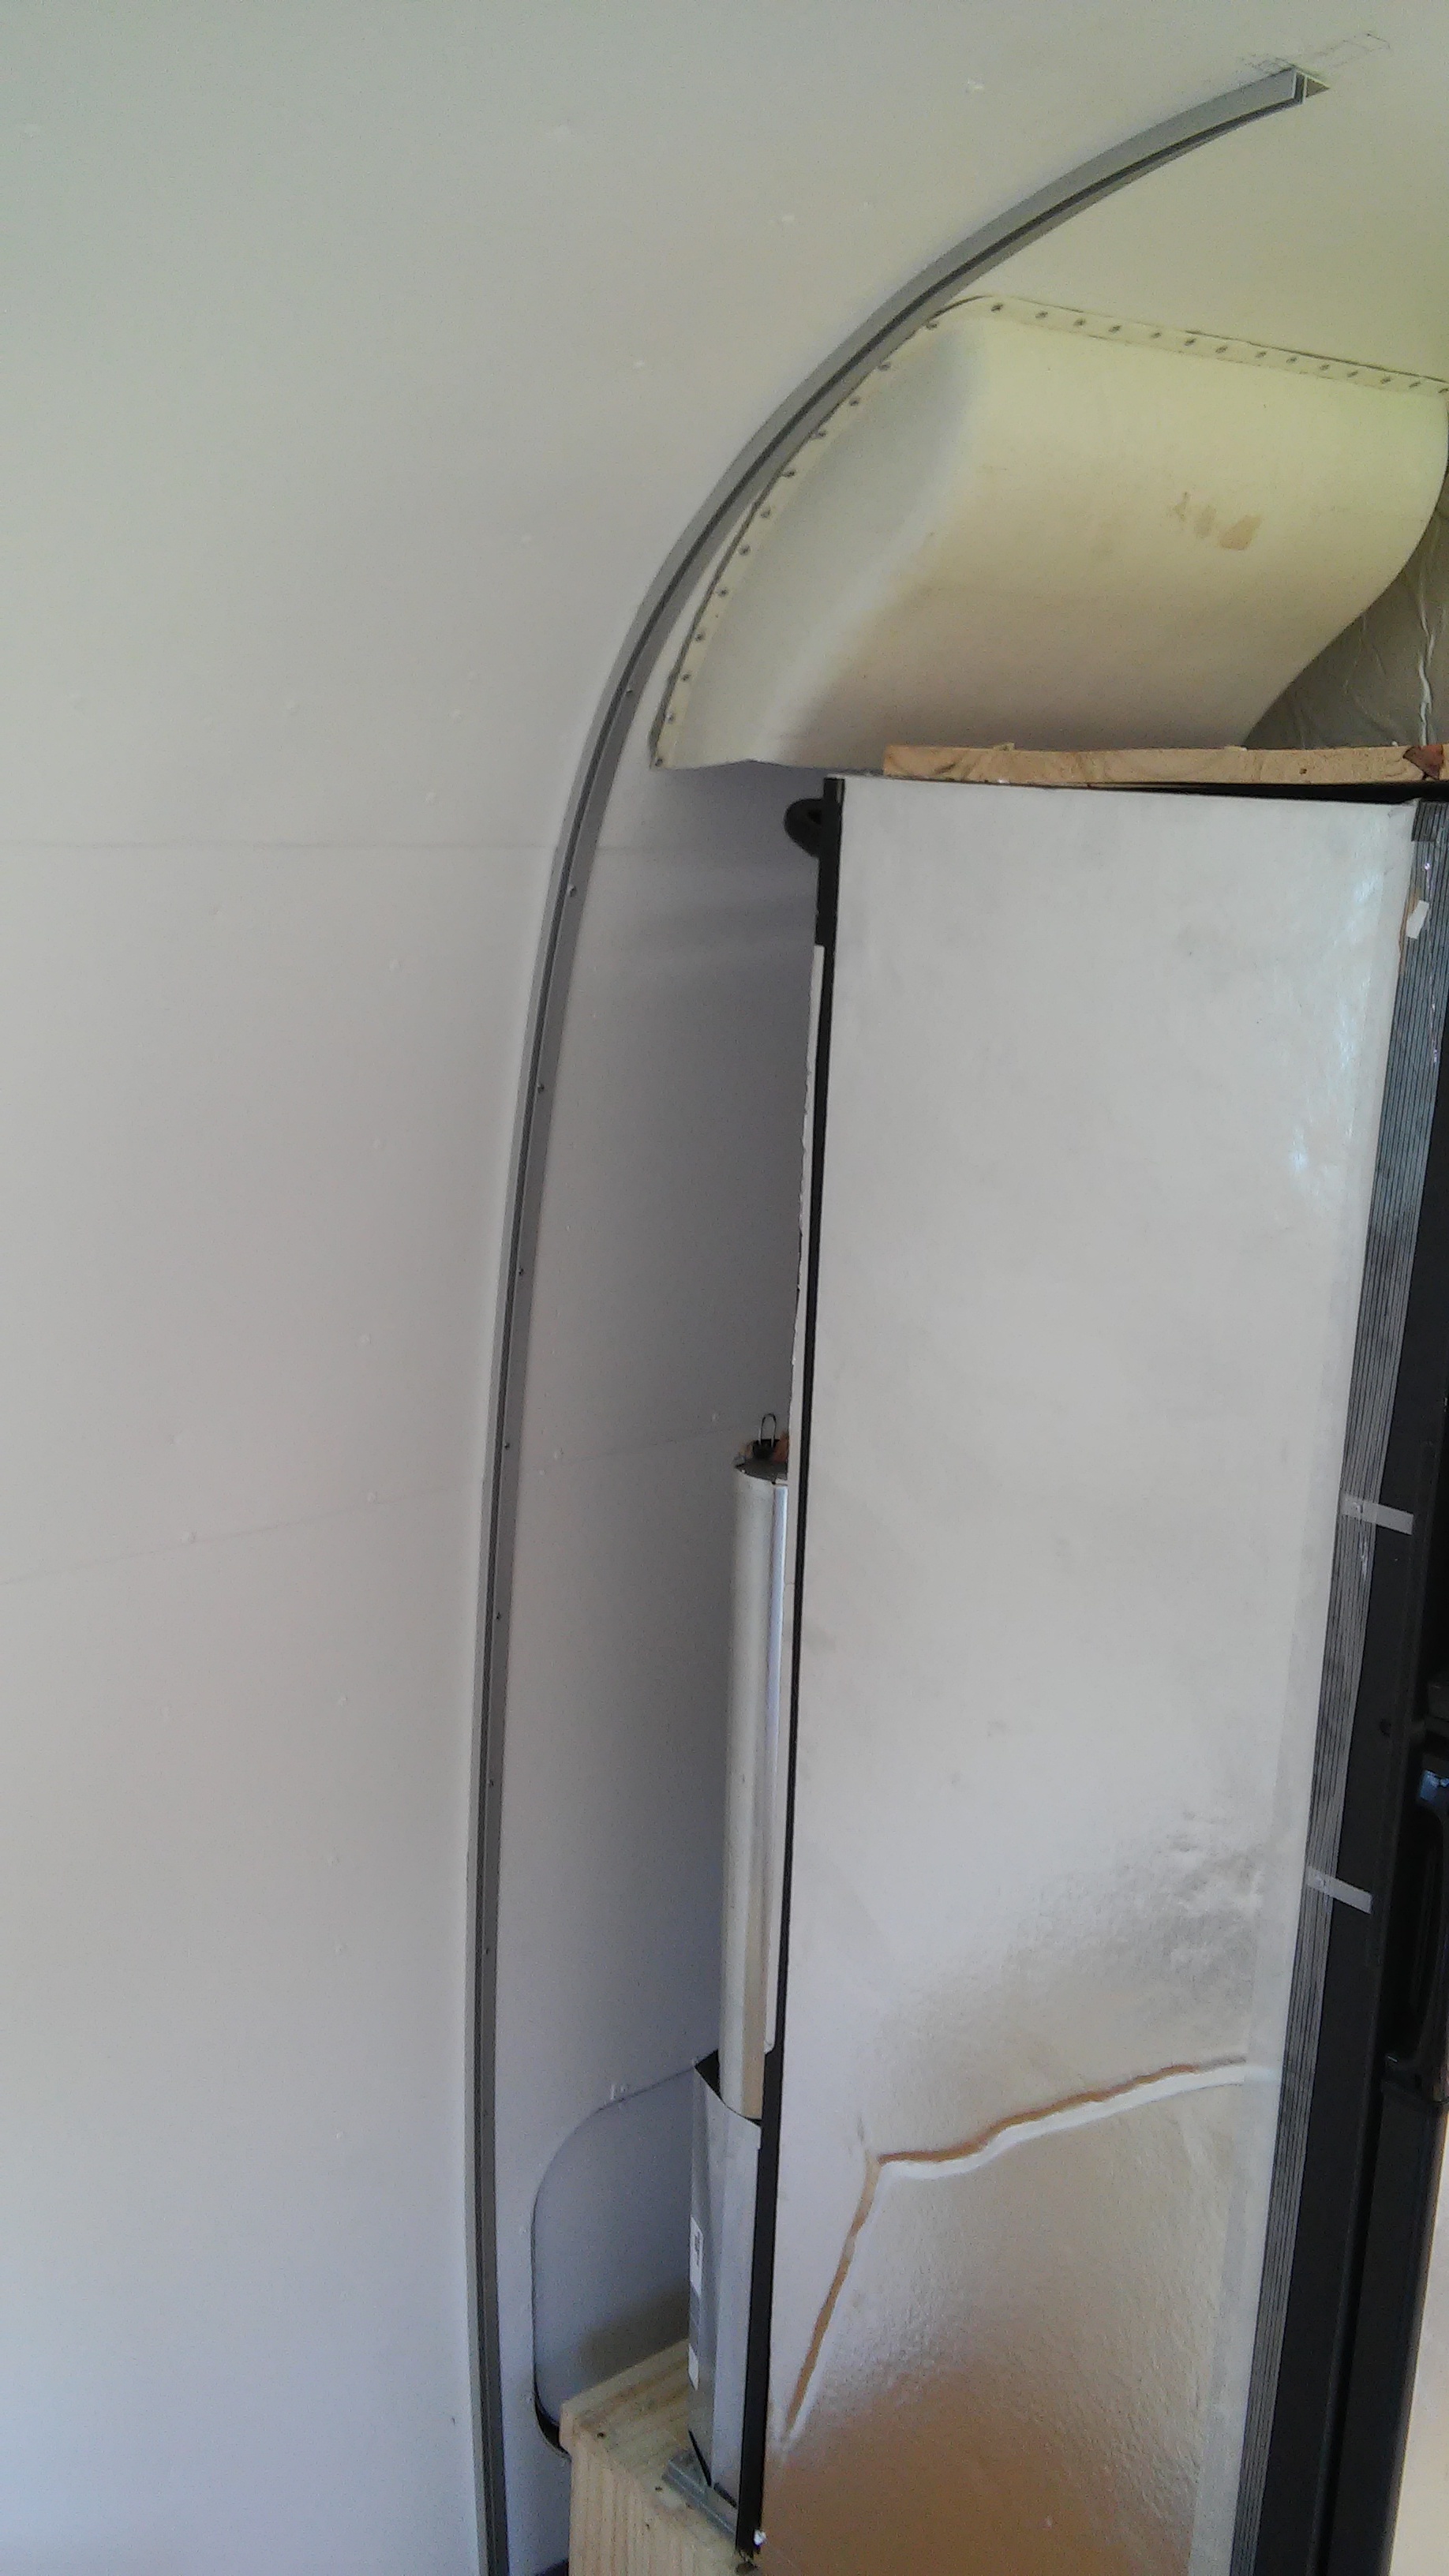
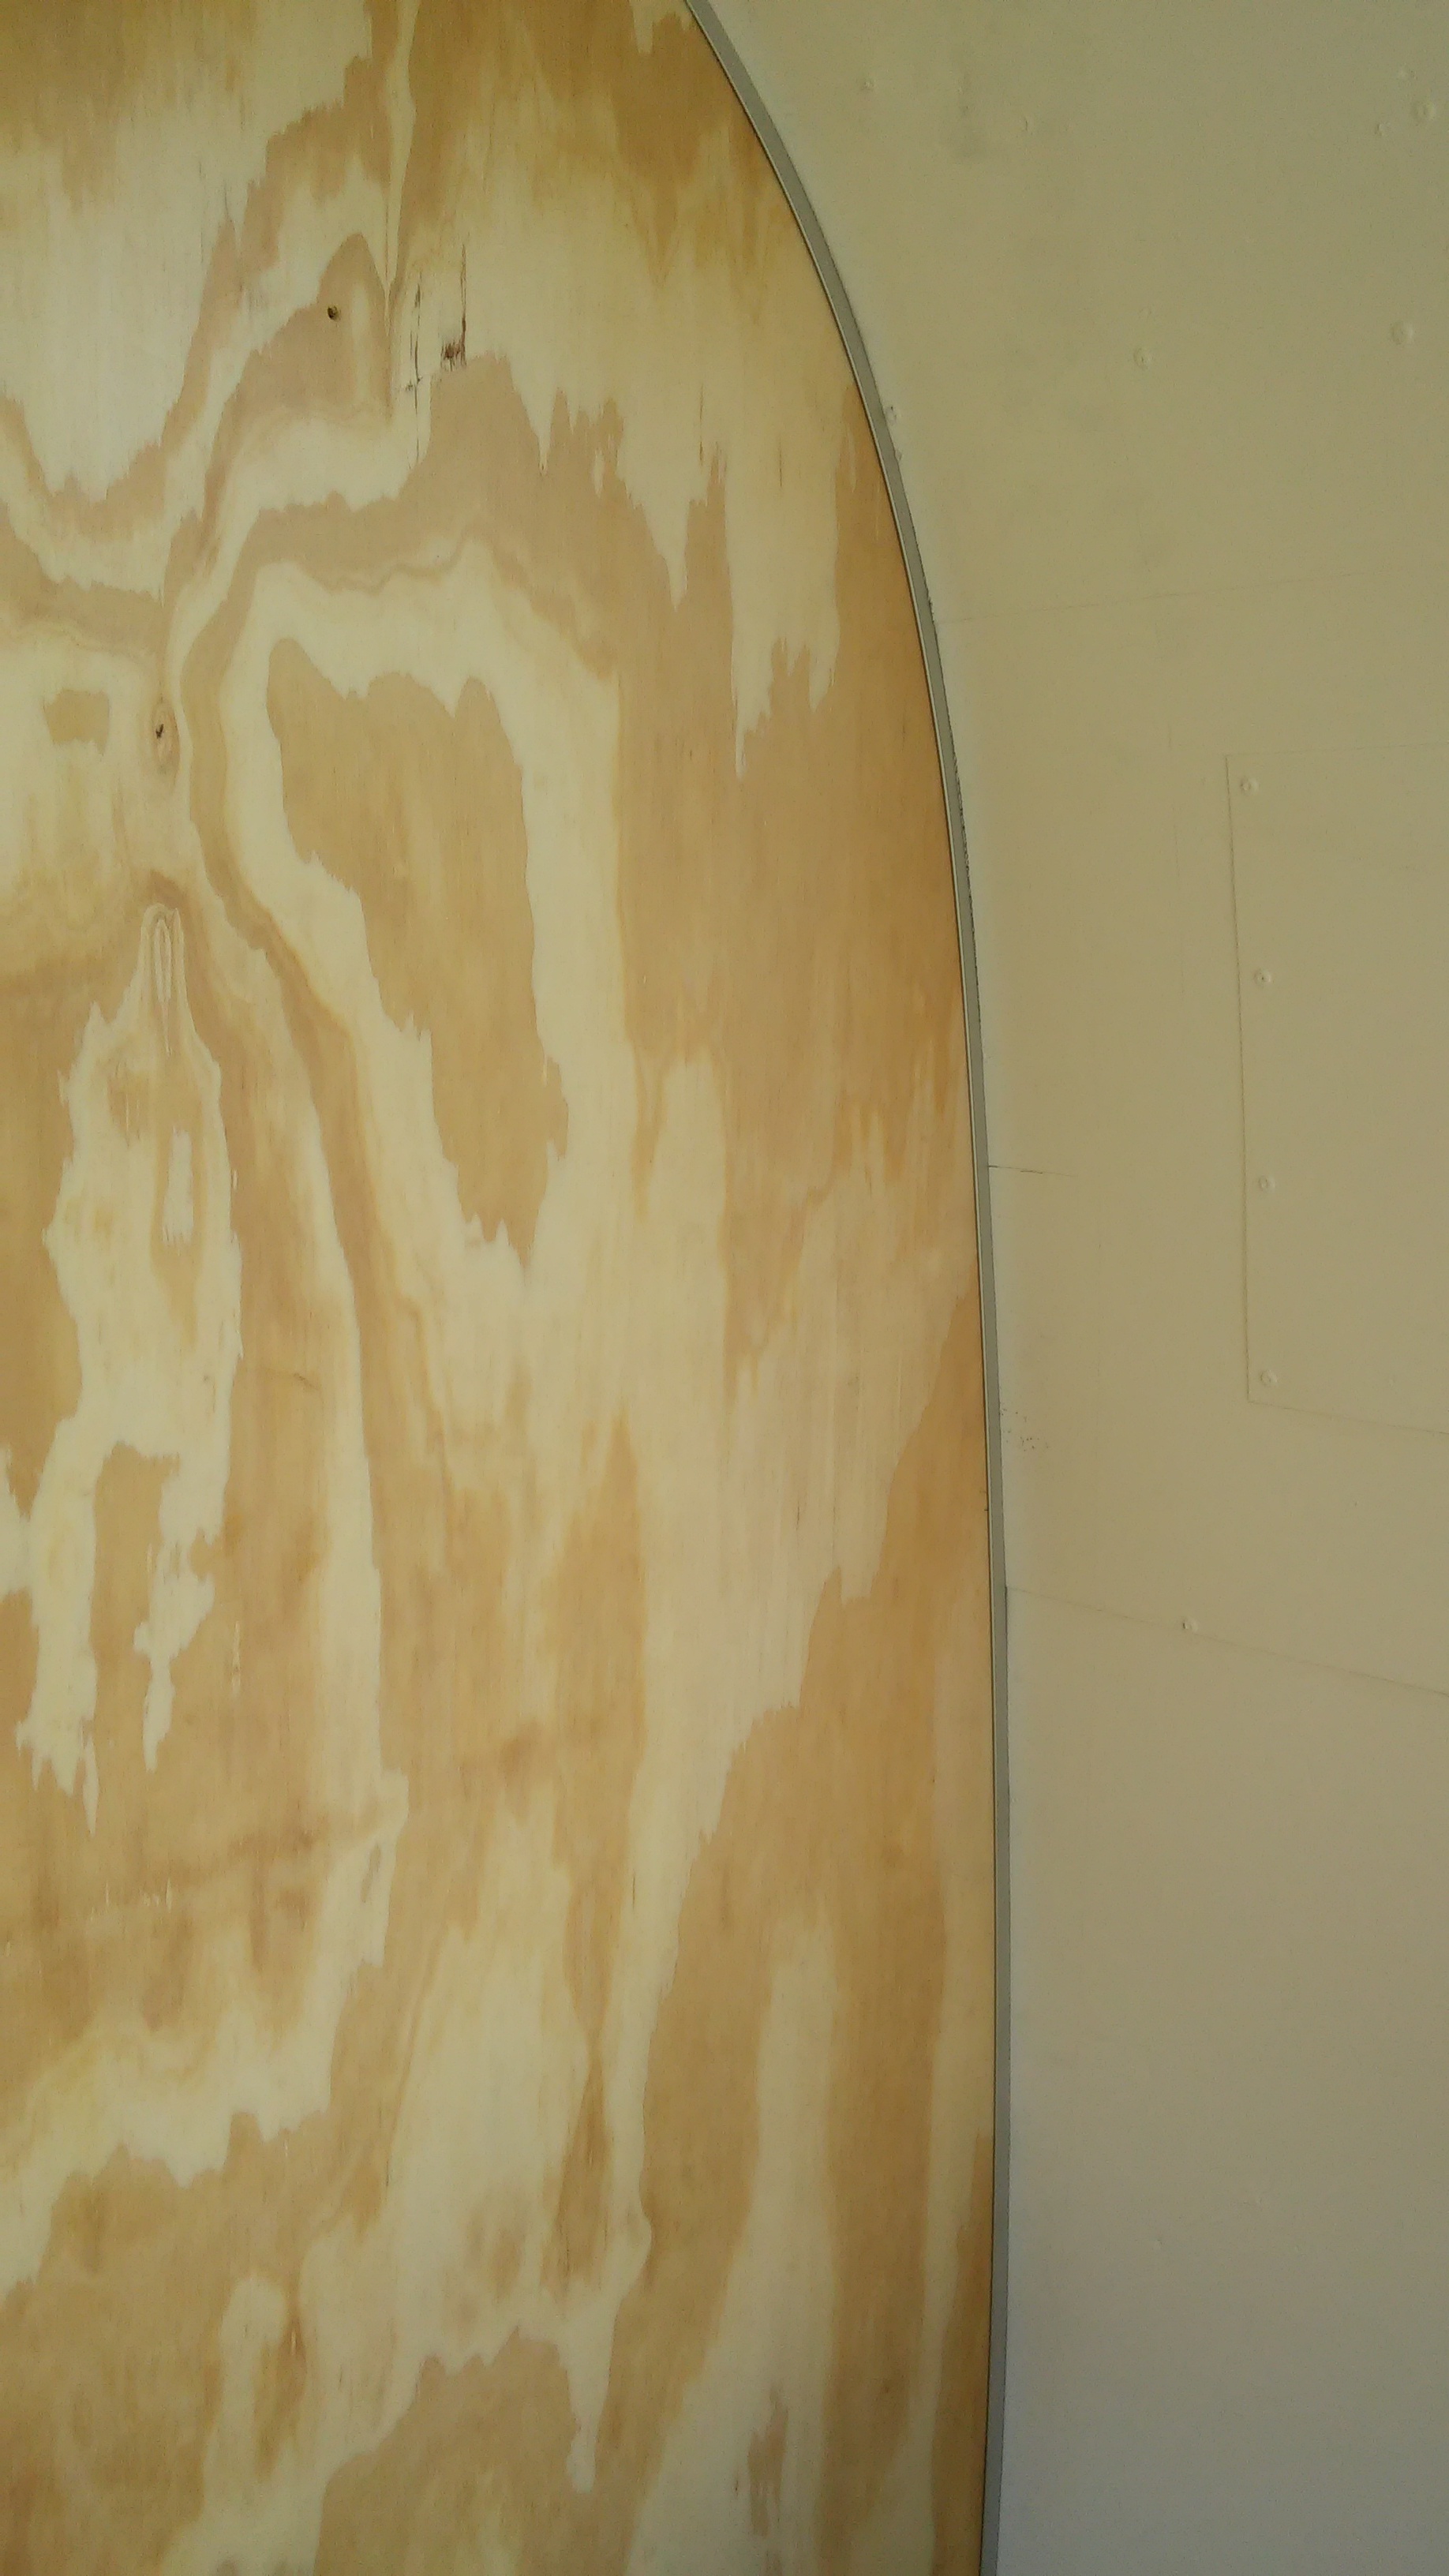
Next, I need to build the fridge enclosure. I bought this aluminum extrusion from VTS for attaching a 1/4" plywood wall to the interior skin. Lots of people (including me) seem to have a problem bending this stuff to fit the interior curve. Photo evidence:
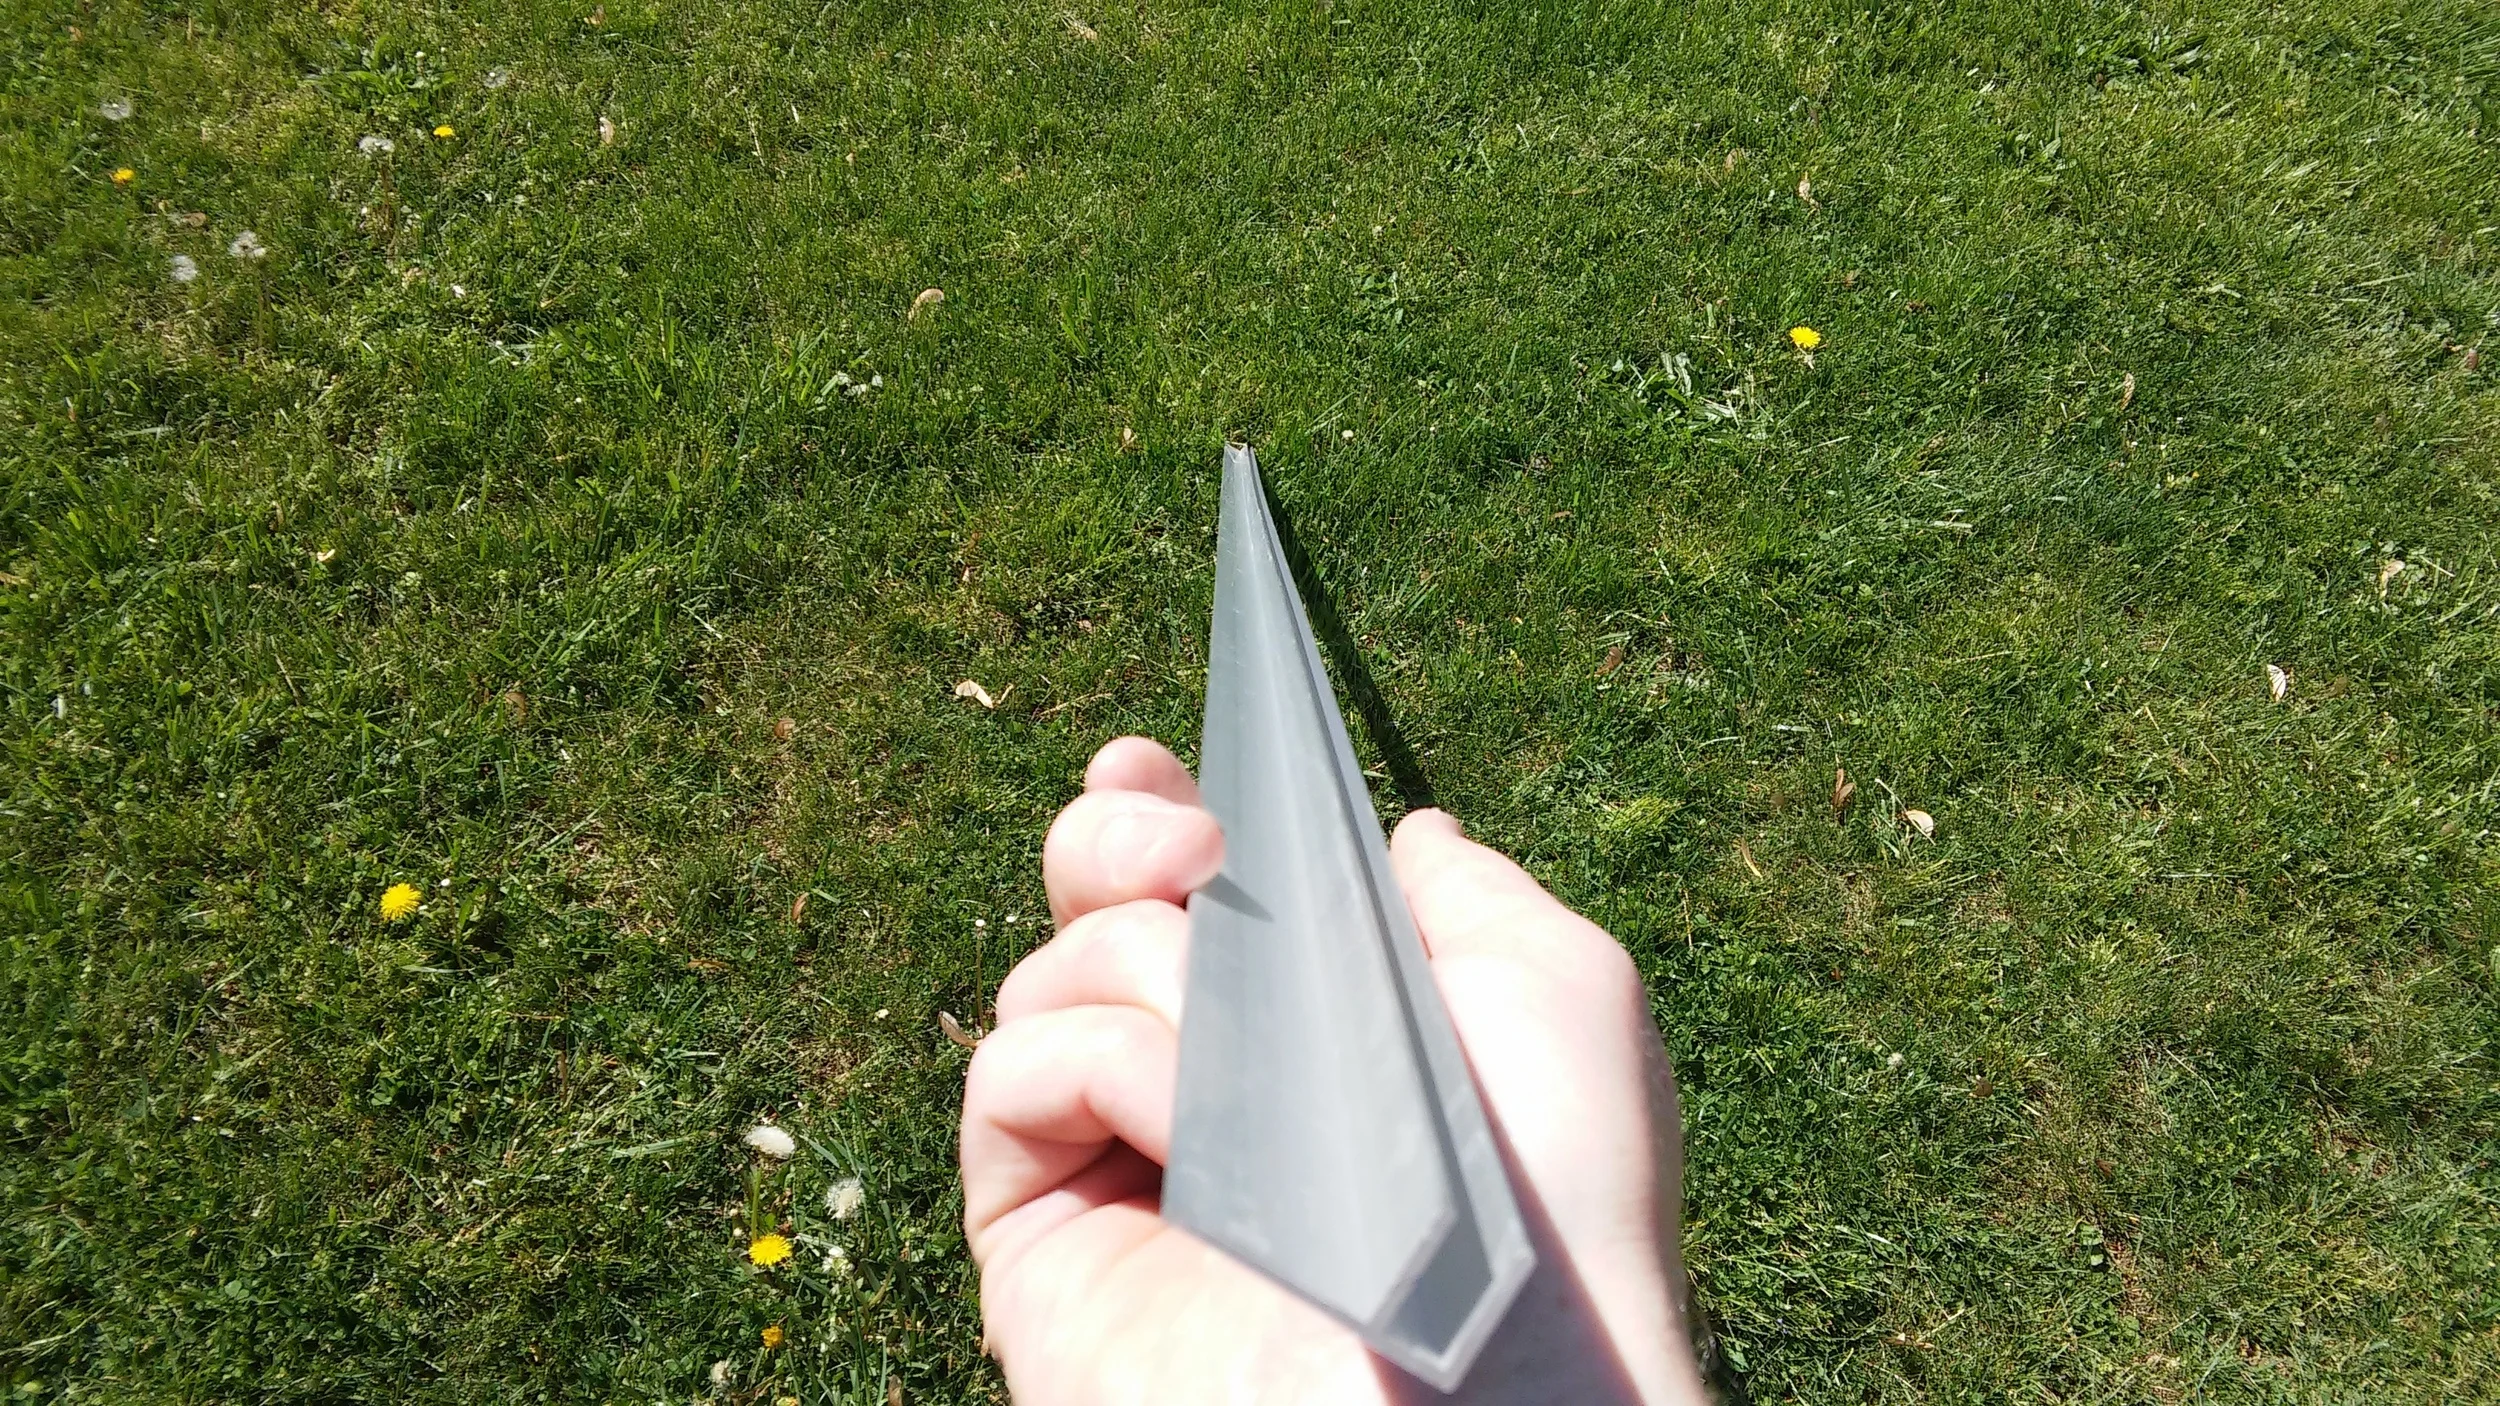
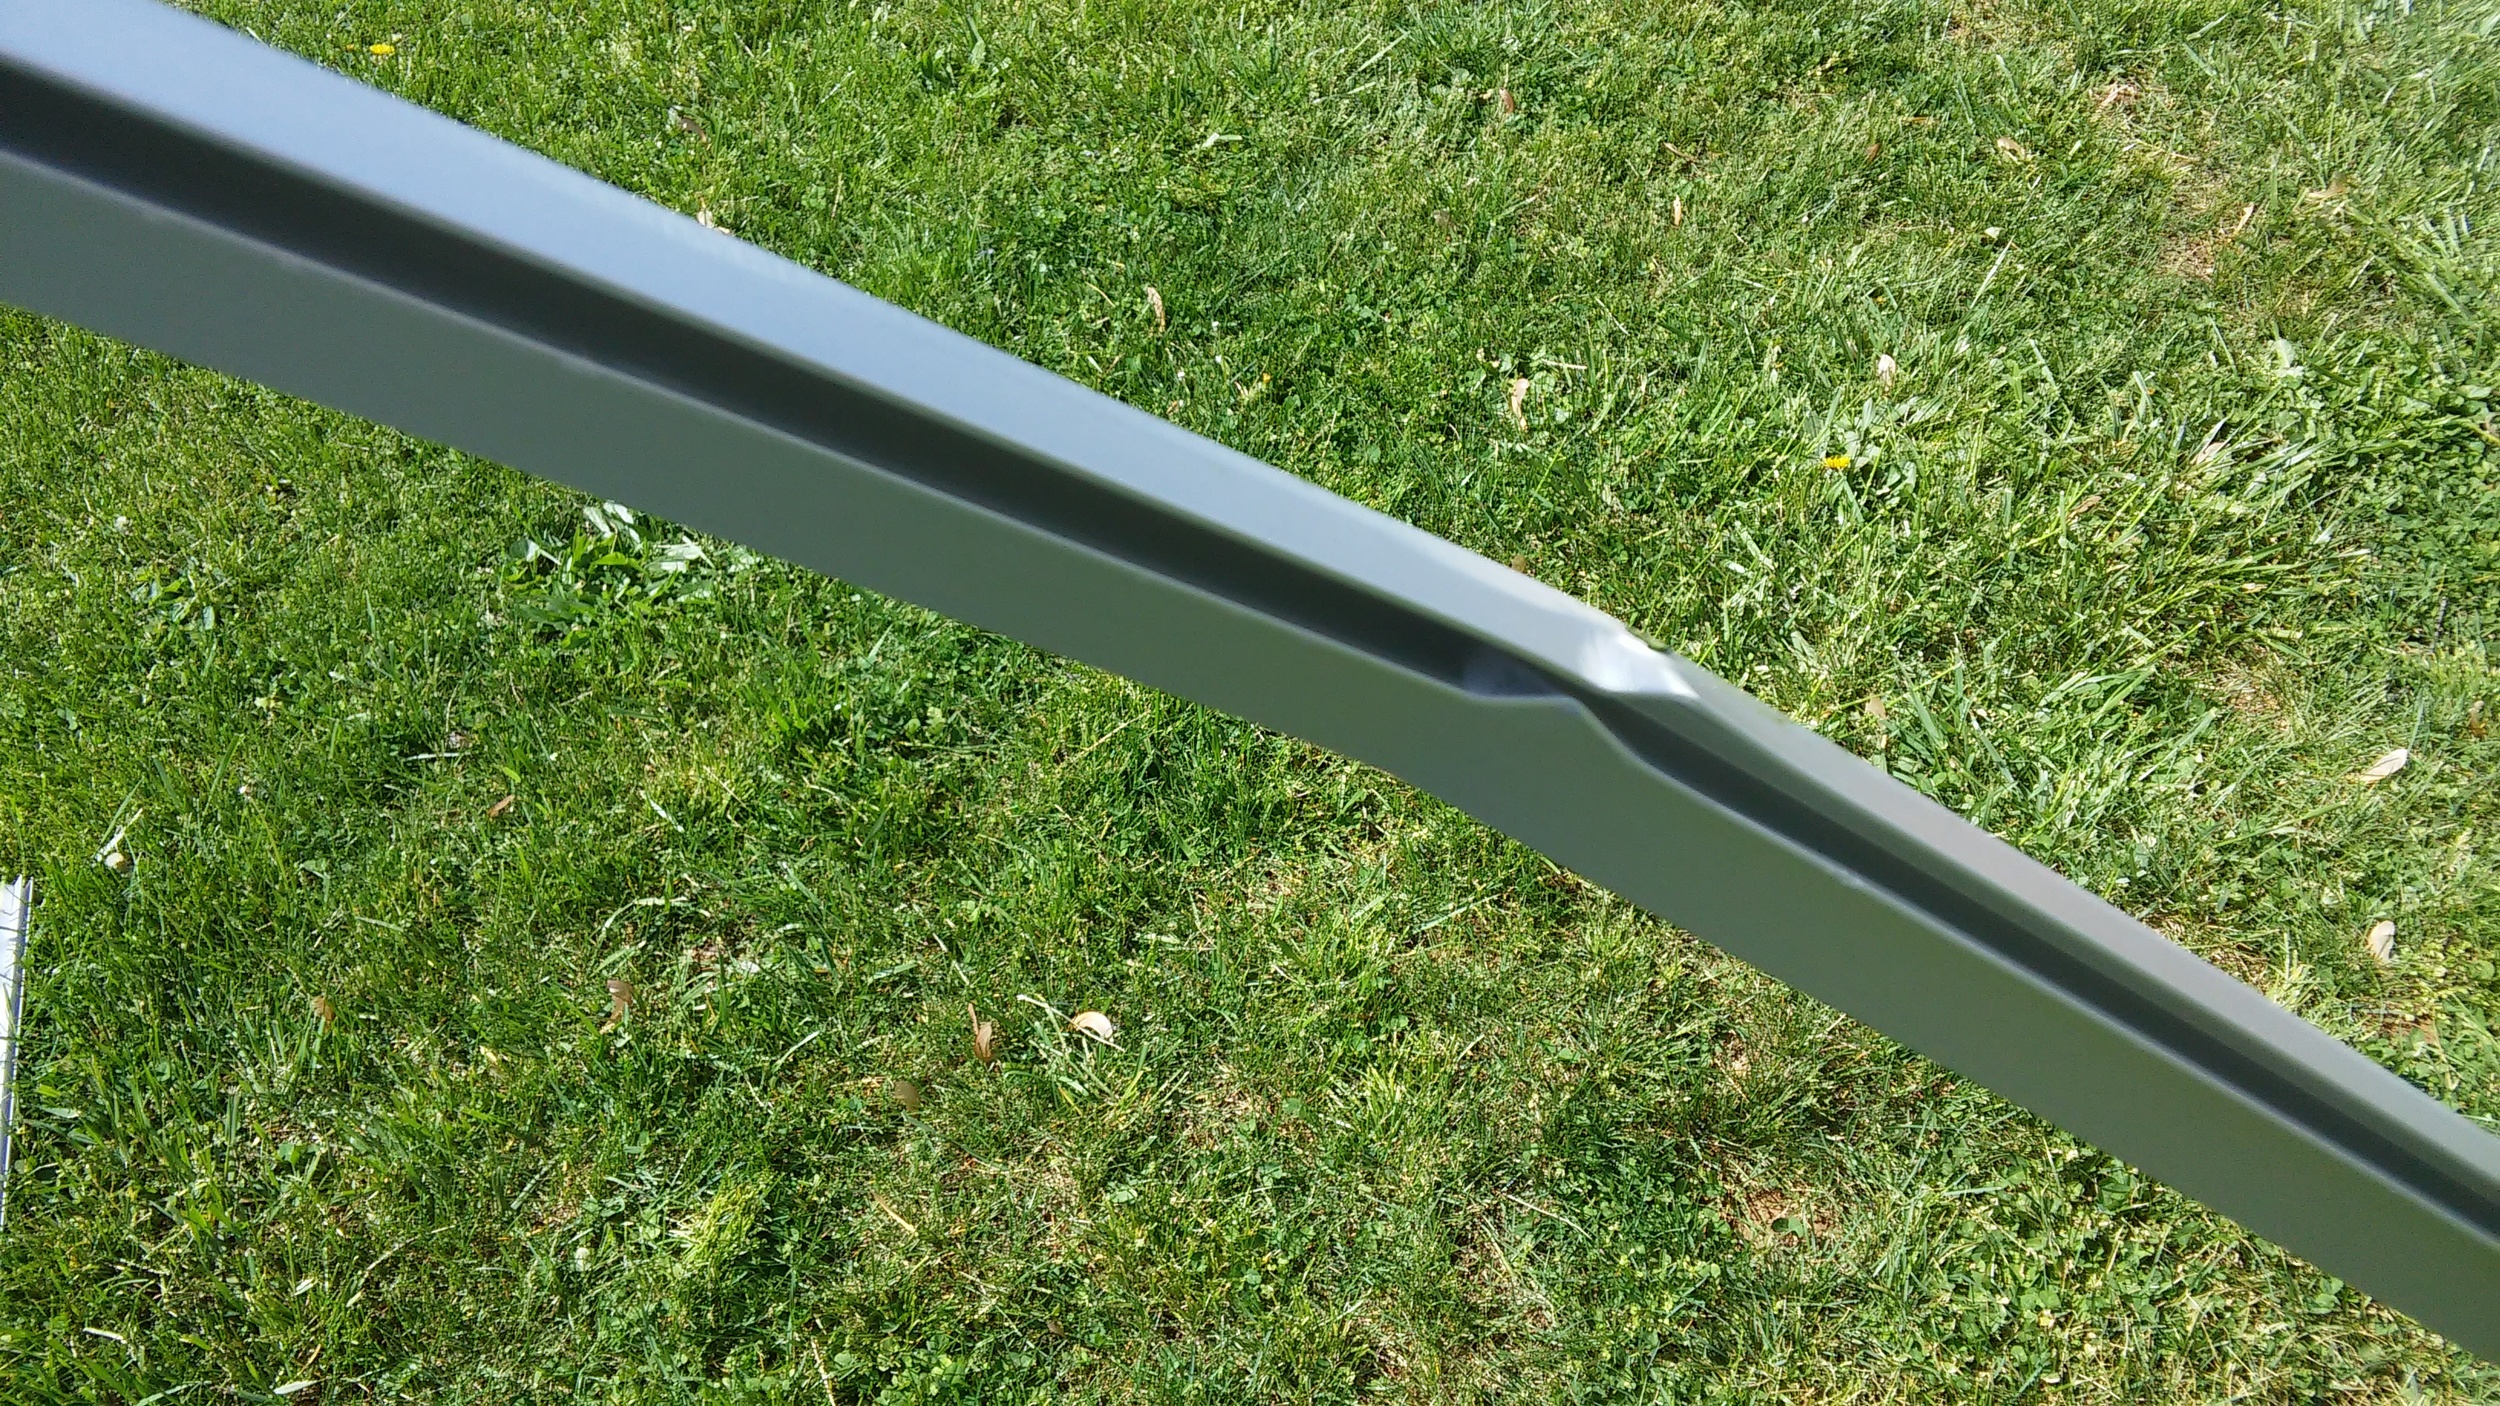
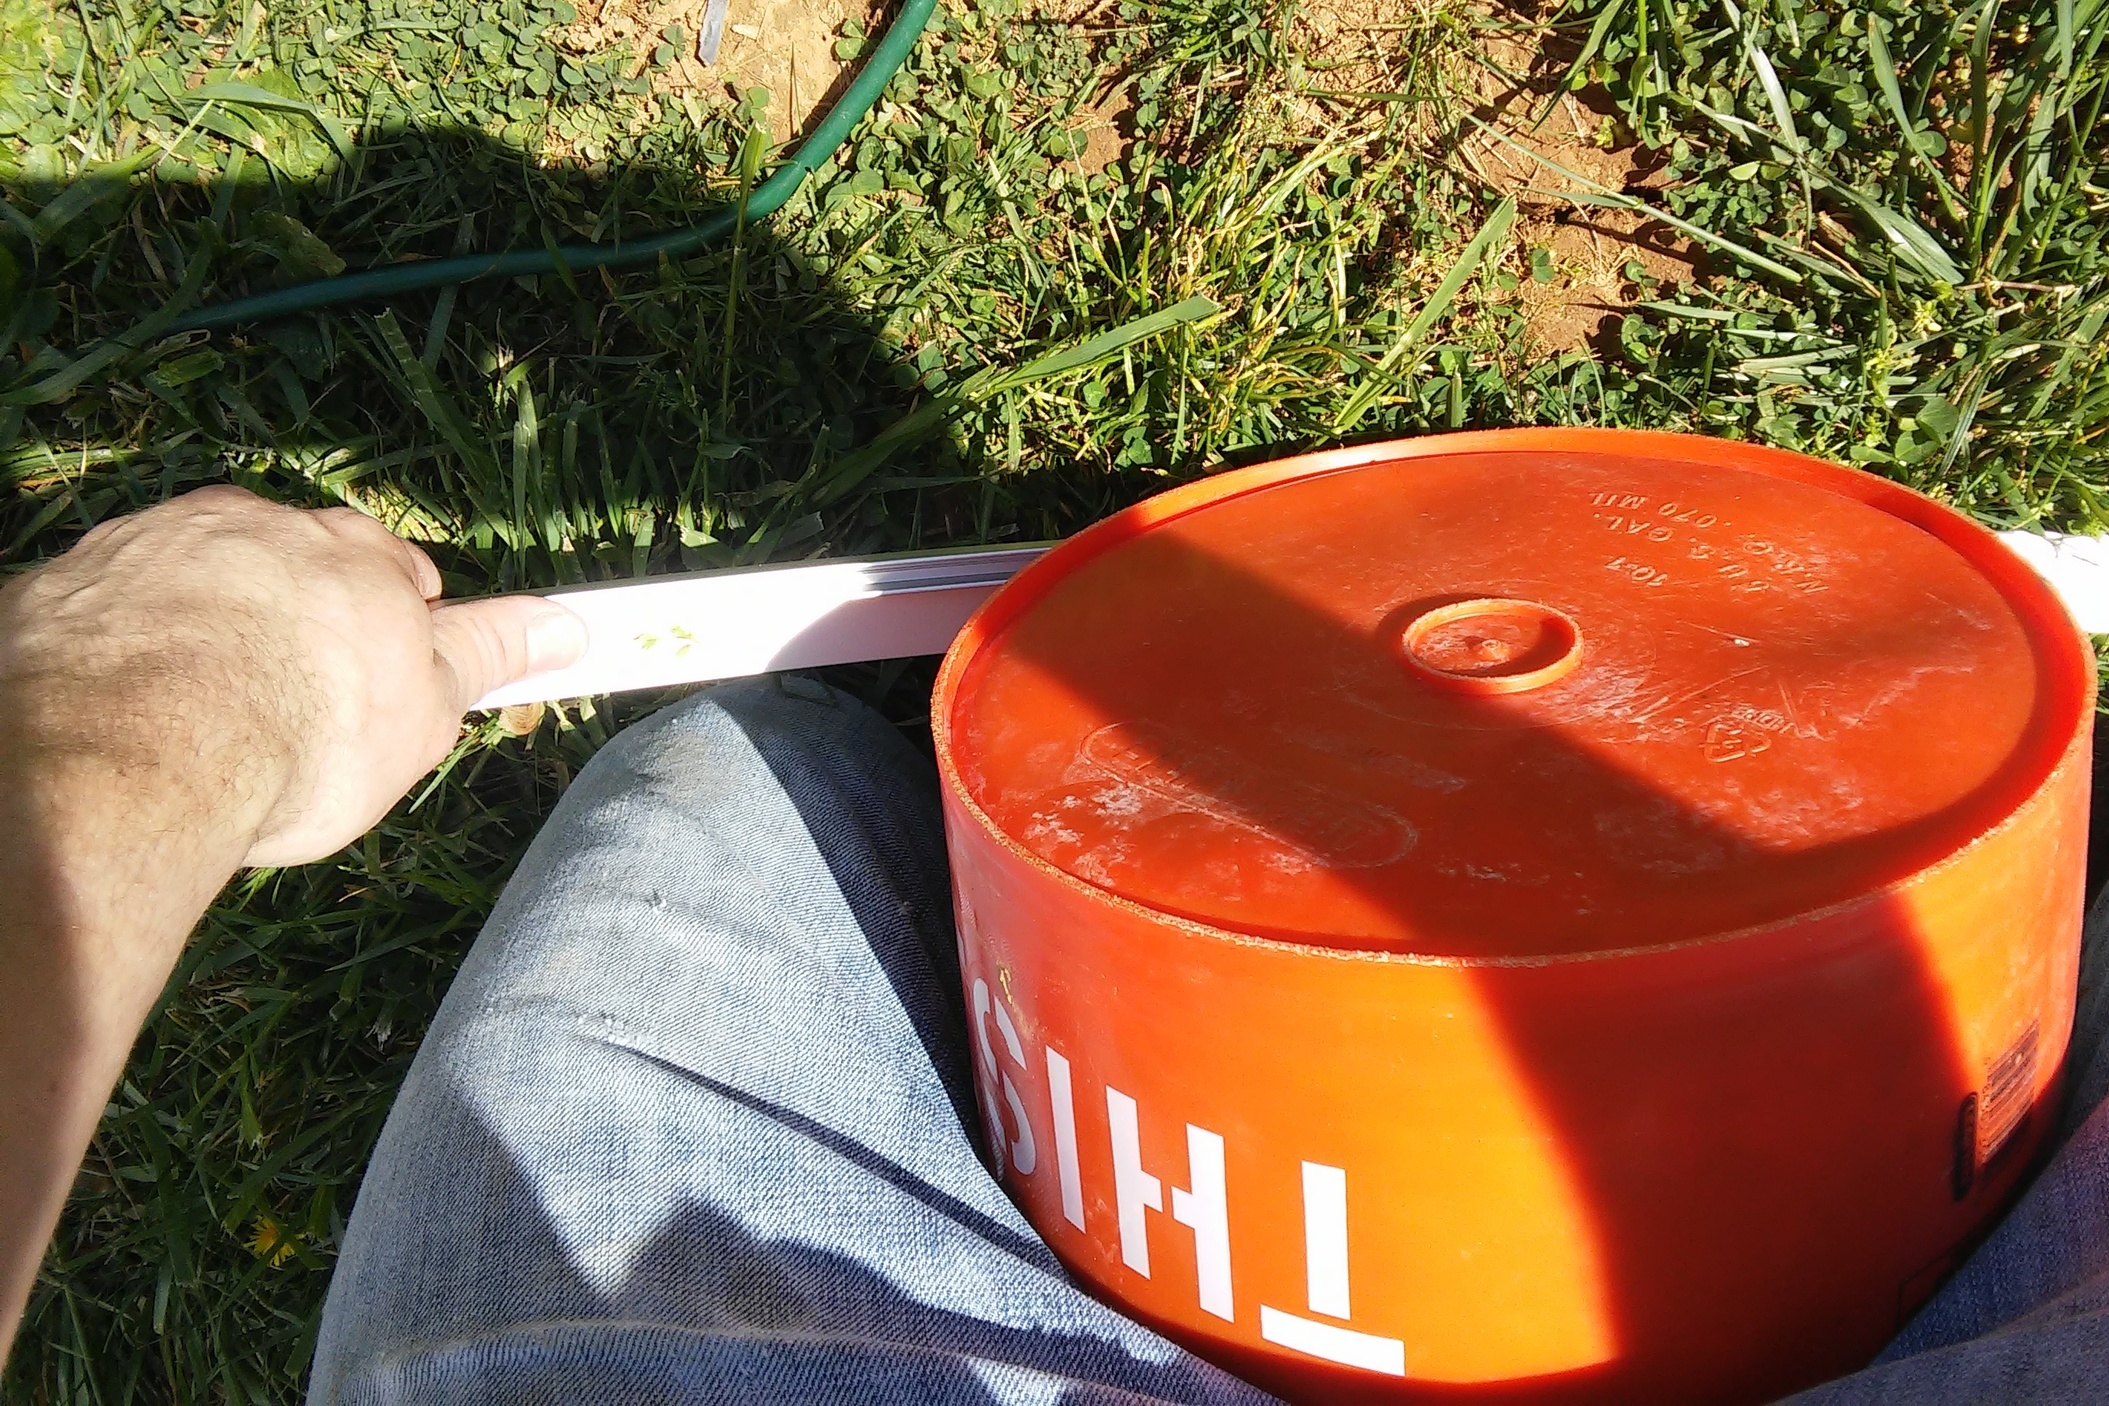
The problem is that it's too easy to bend it too far. If you're bracing it against something that'll allow it to kink, it will. My solution was to bend it against a 5-gallon bucket held between my legs. Bend a little, move a few inches, bend a little again, rinse and repeat. Worked out very nicely. I recommend bending a little less than you need since it's easier to push the middle of the bend into the wall than to bend a free end back toward the wall.
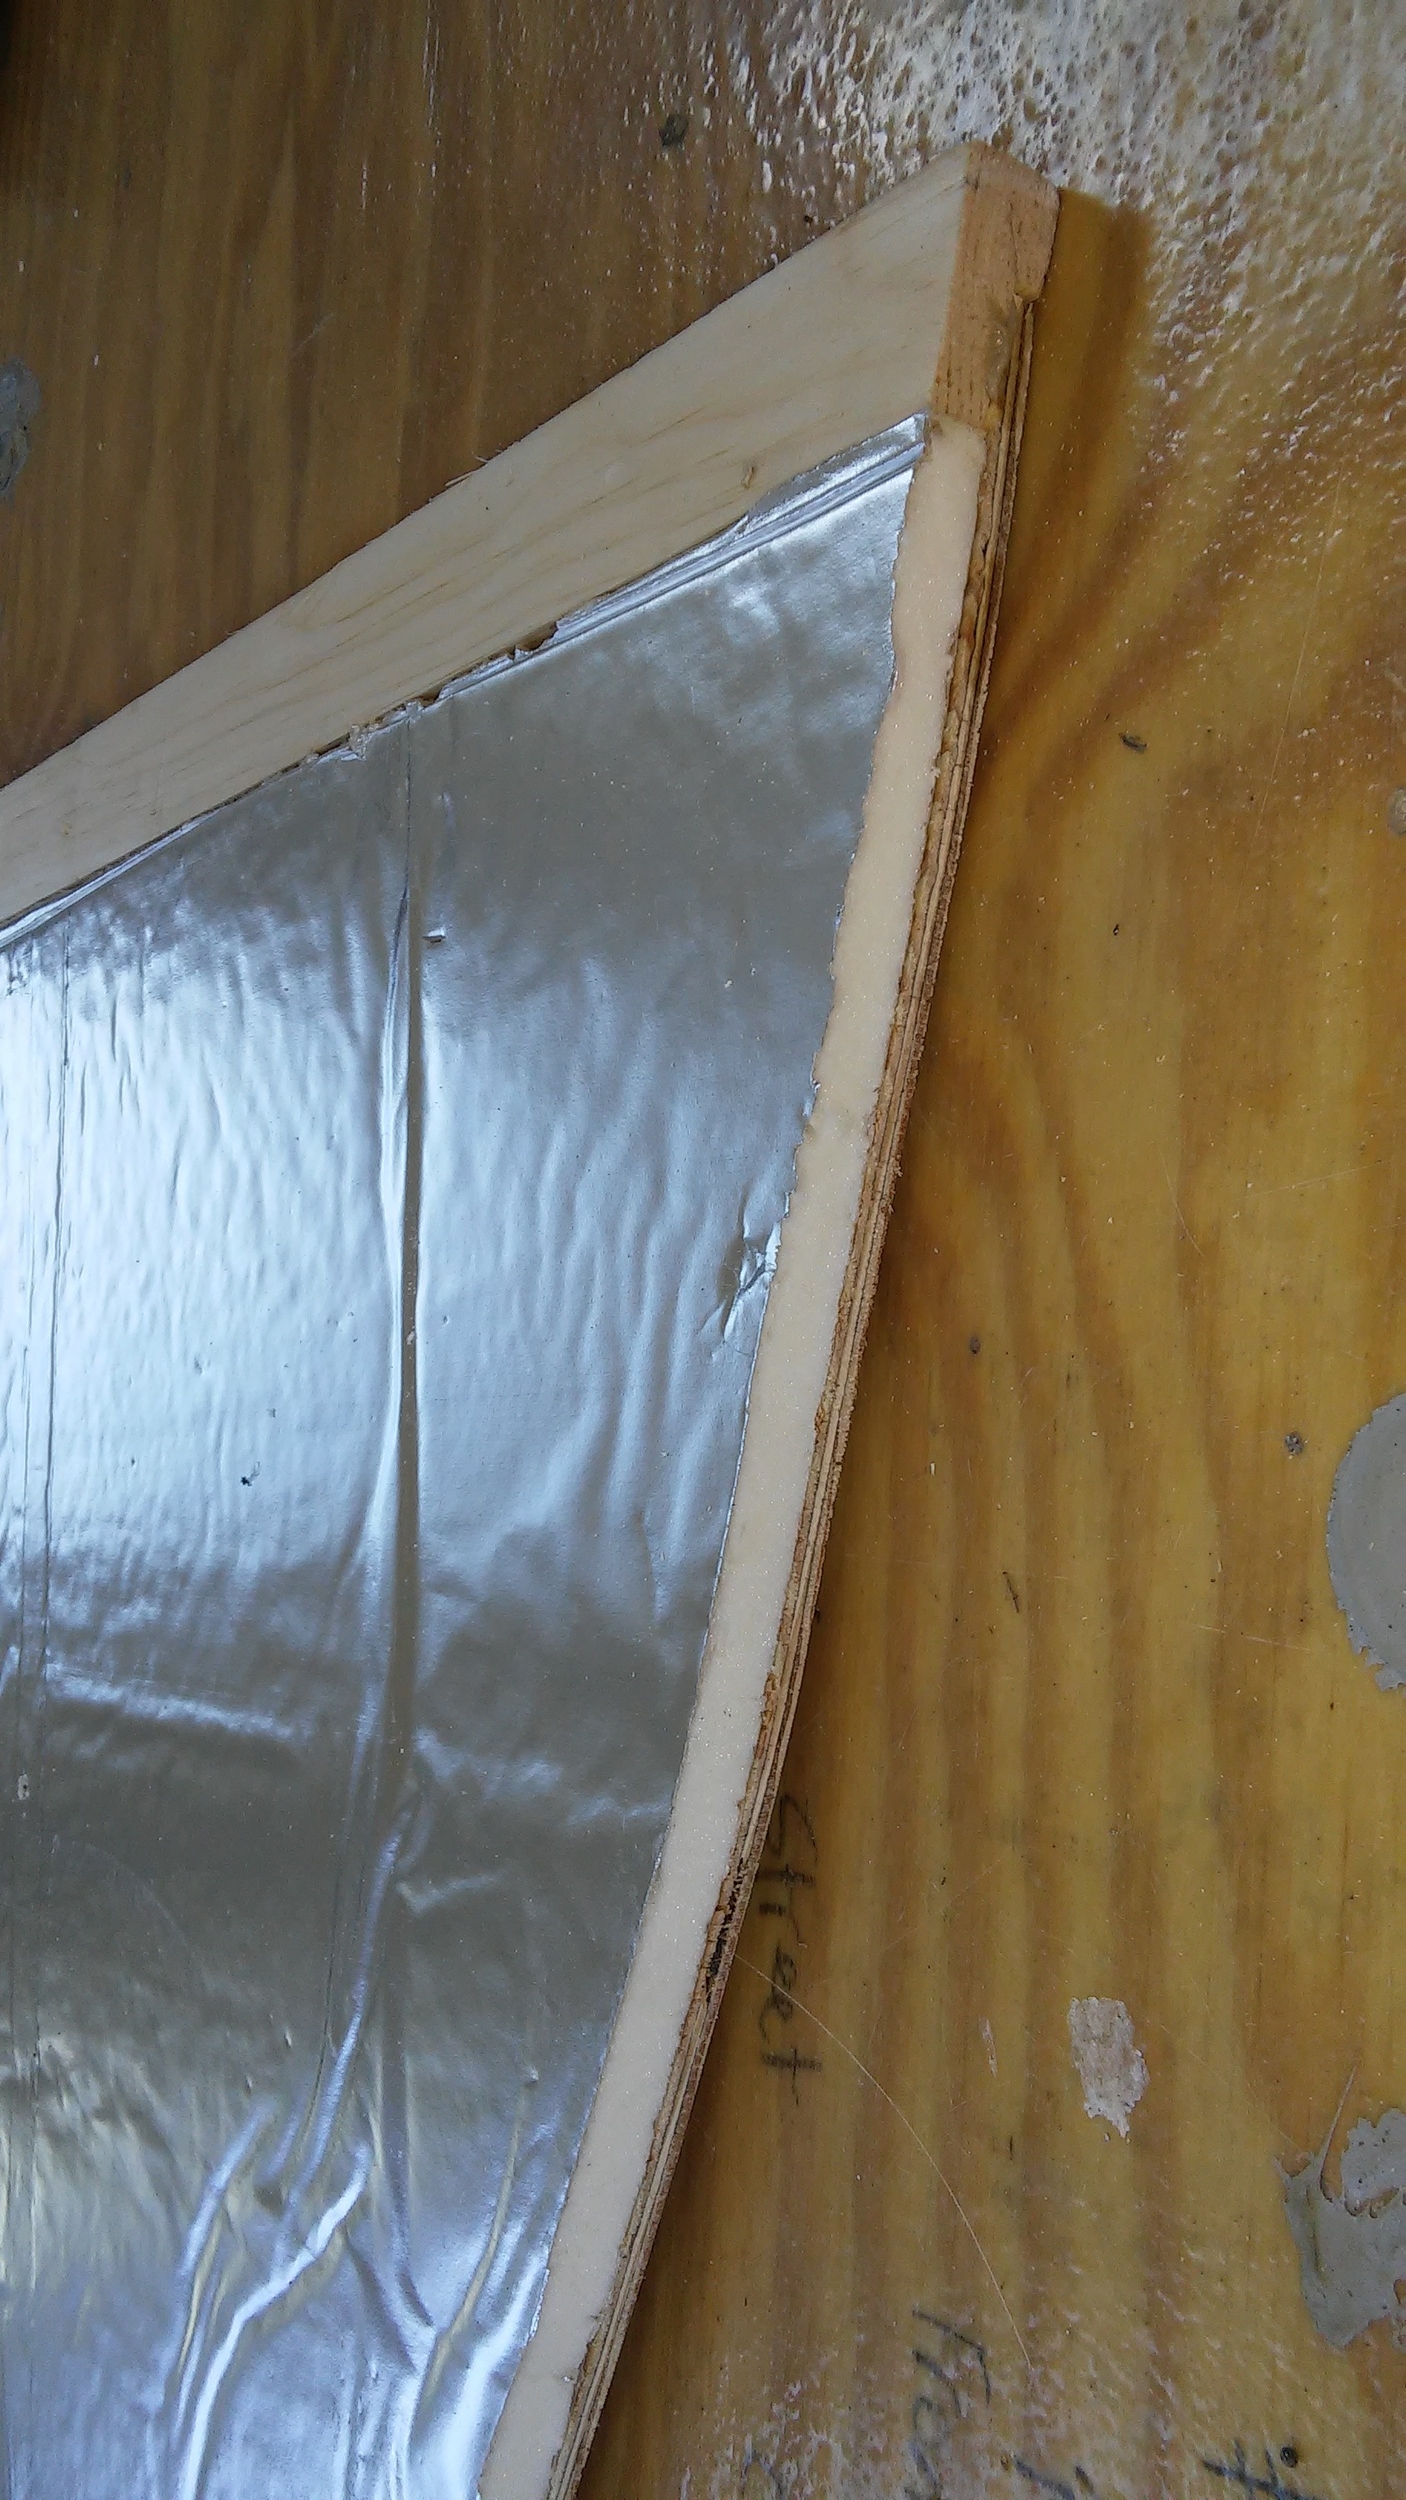
Walls for the fridge enclosure are 1/4" plywood glued to 1/2" rigid foam insulation from Lowes. This should give me a little extra insulation since the back of the fridge is technically outside. I made a 1/4" dado cut in a 3/4" thick pine board for the edge of the wall and attached the plywood in the groove then glued the insulation to the plywood. Lots of test fits and trimming to get the board to fit in the aluminum extrusion. Attached the top of the wall to a shelf I cut for the top of the fridge, and attached the bottom to a platform I built to raise the fridge up 10" and make space for a drawer.
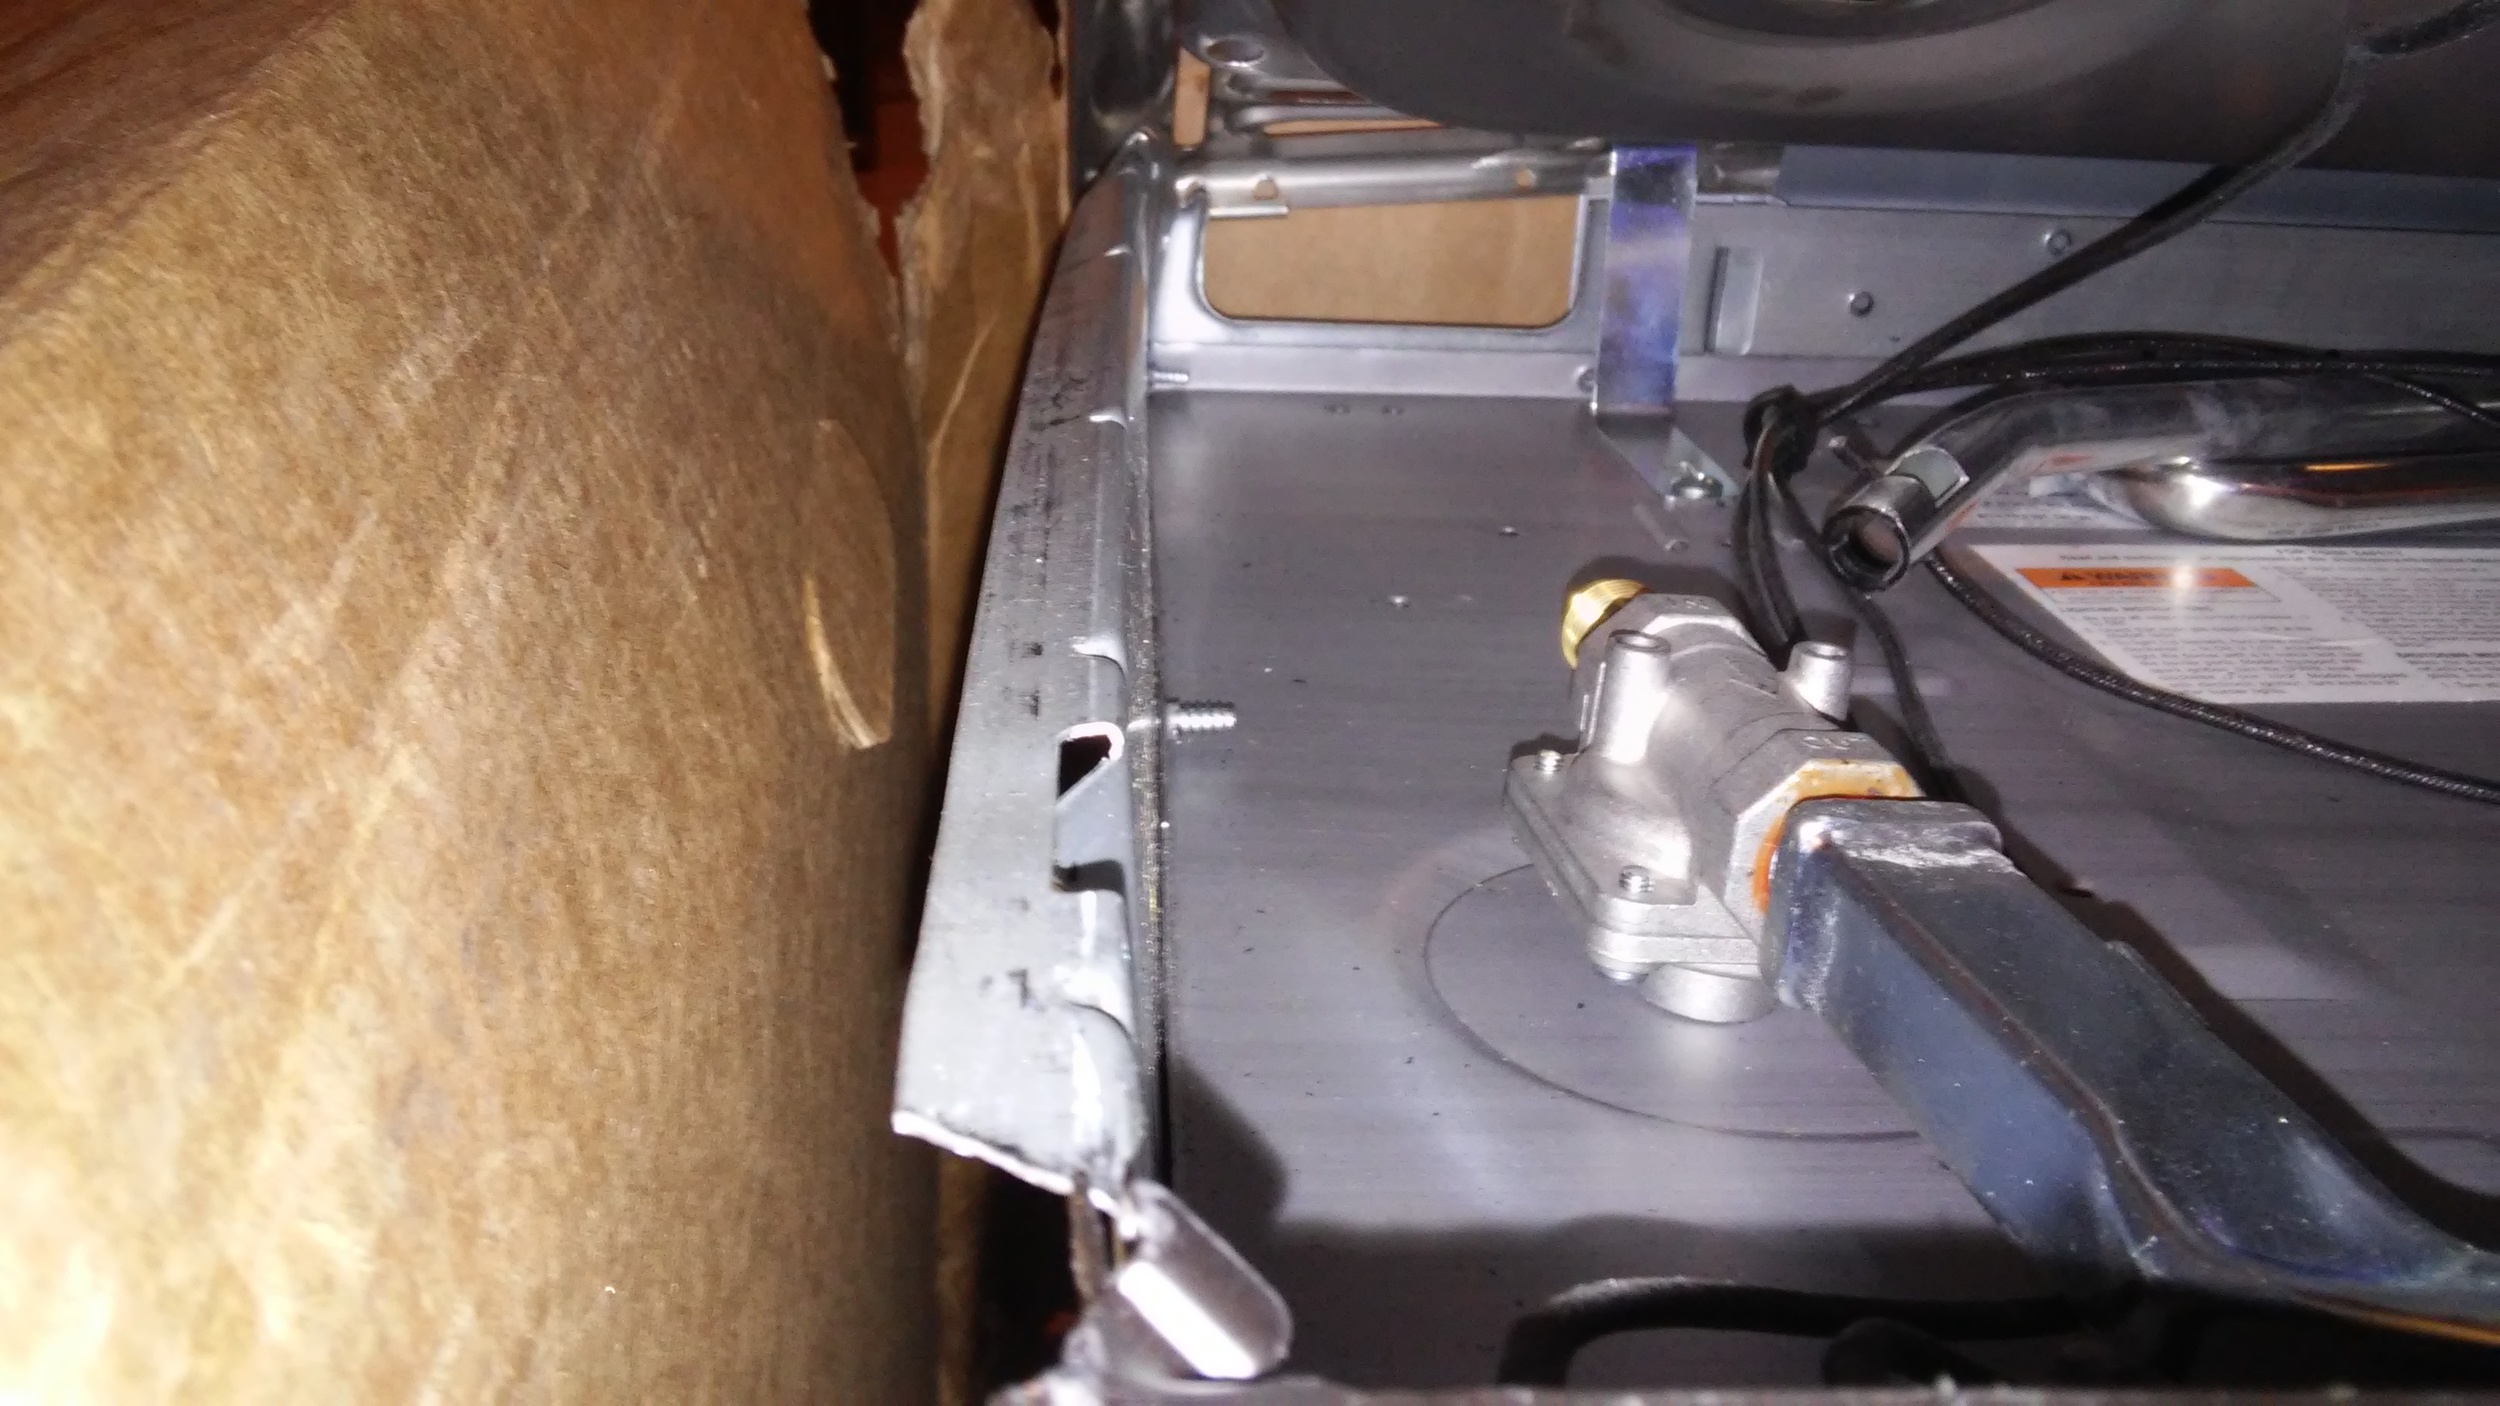
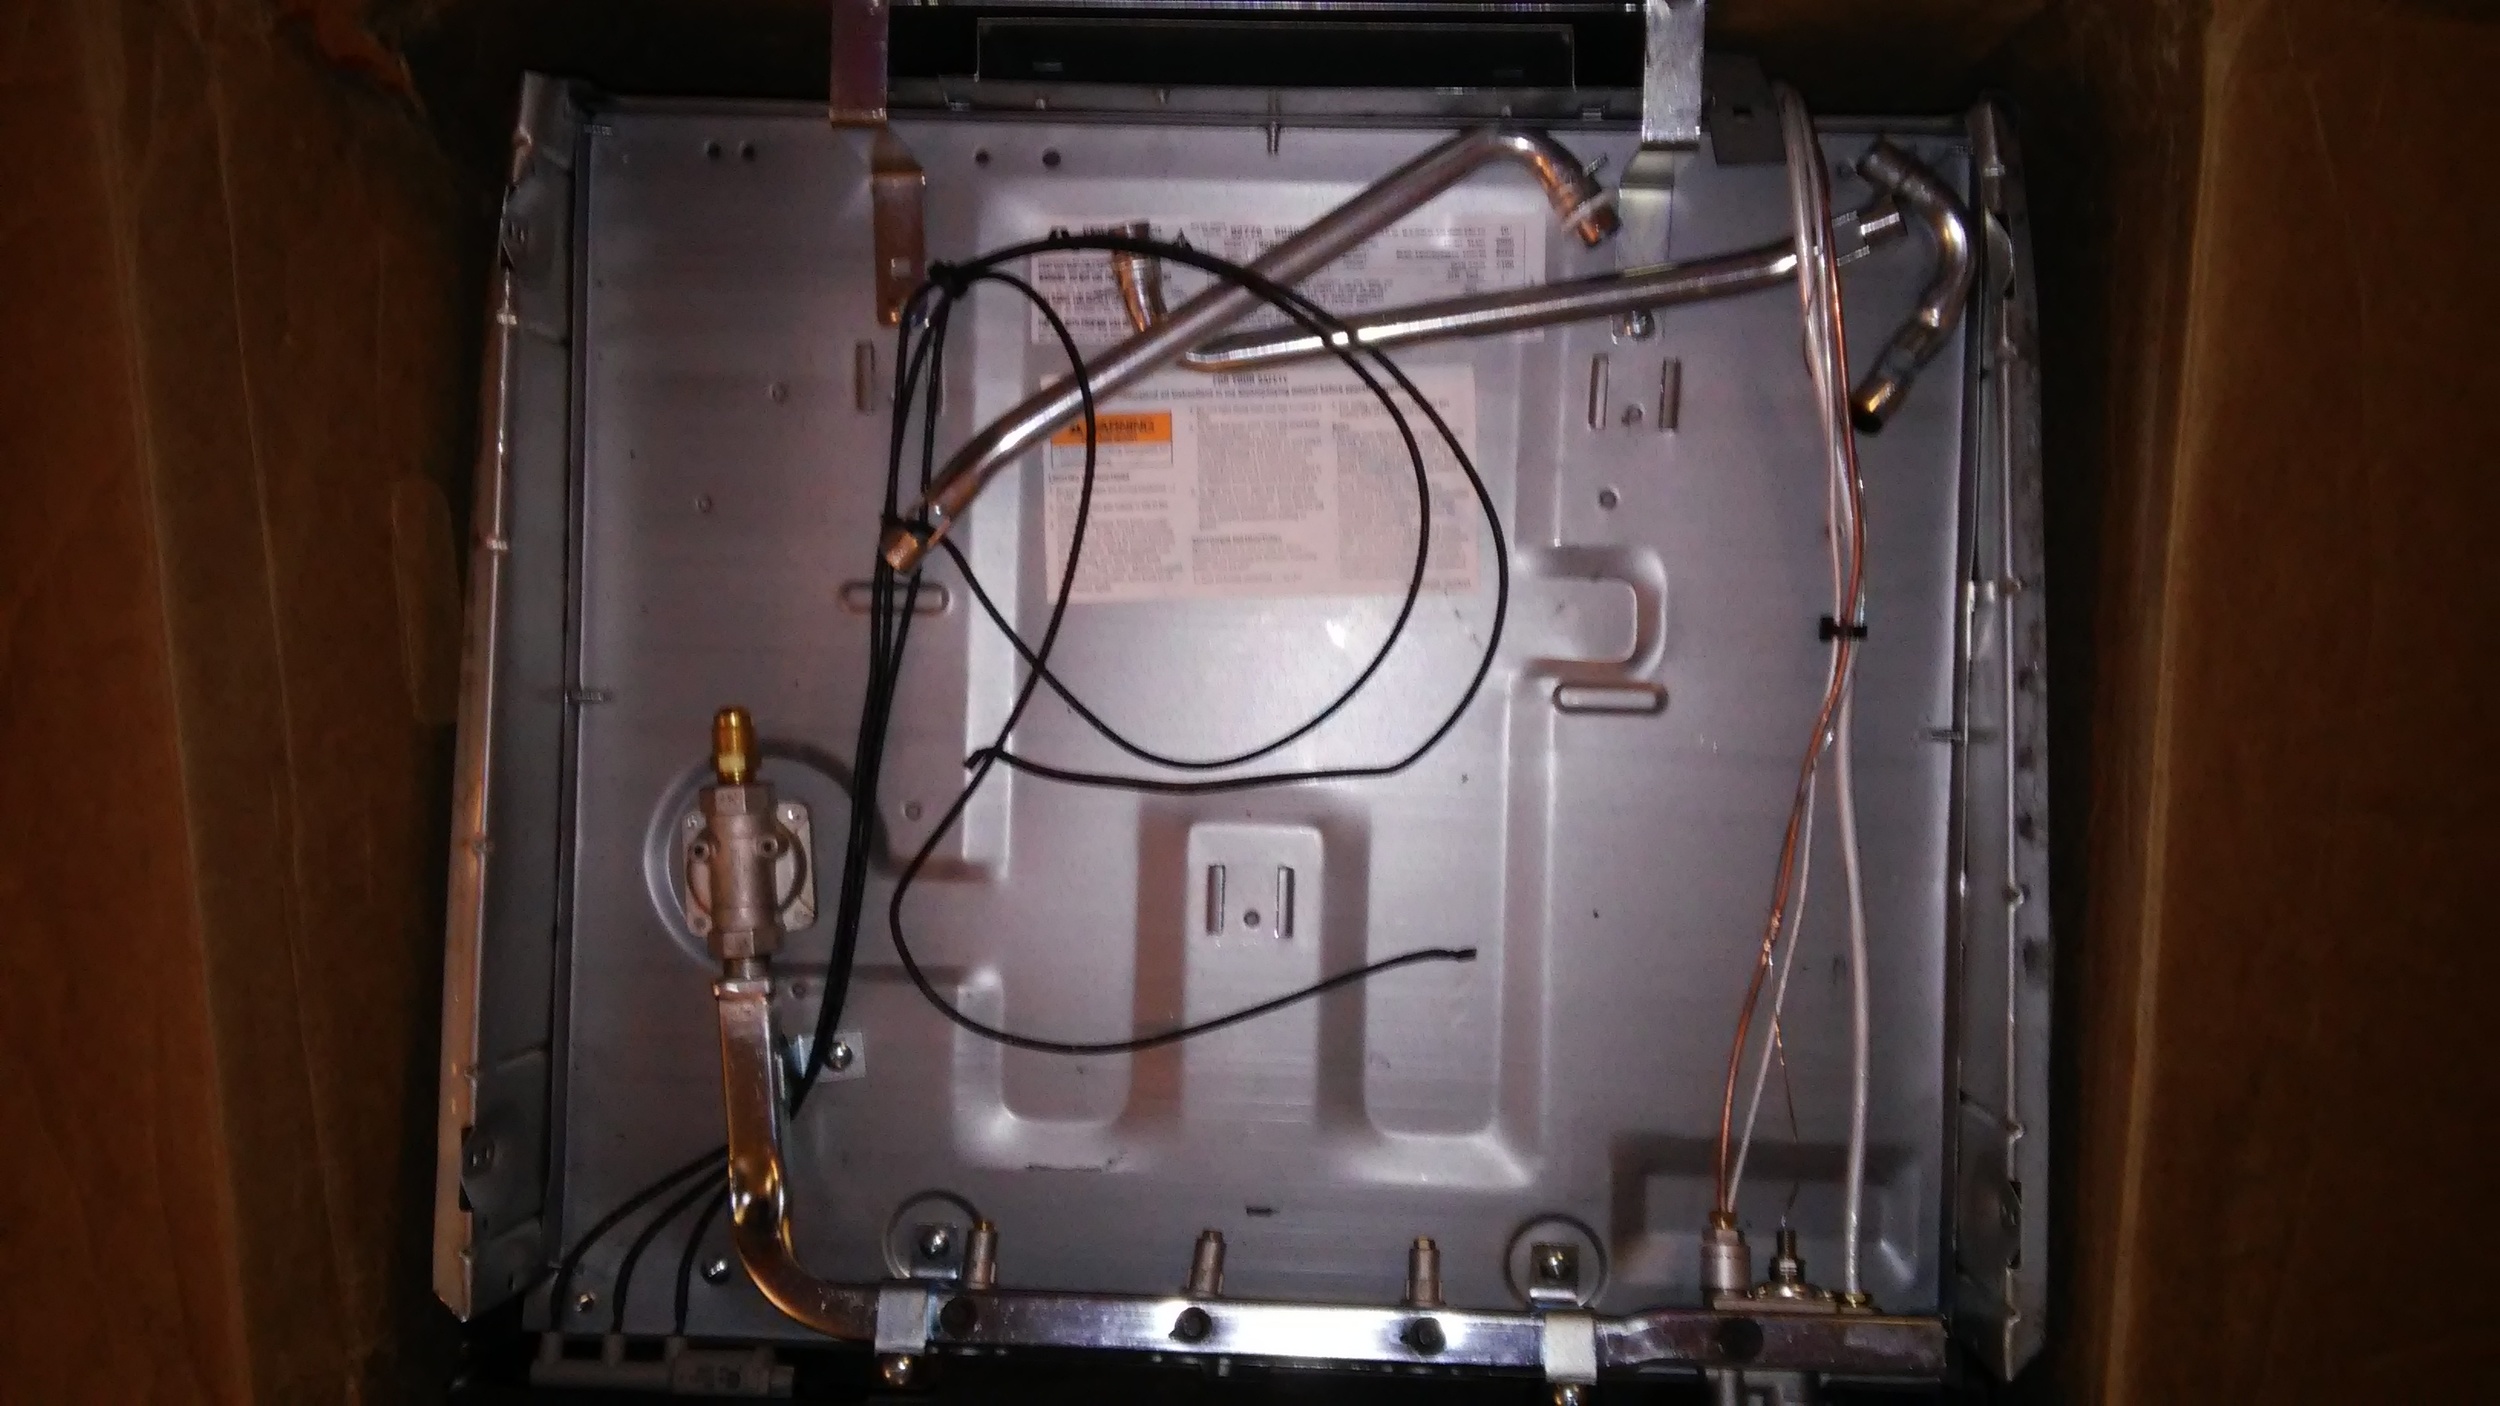
I received my second busted-beyond-repair stove from PPL Motorhomes (#72-4121 Stainless 17" Atwood Range). The first one was sent via UPS ground even though I paid for freight, and it arrived in a retail box with no attempt at protective packing. There was no bubble wrap or packing peanuts, and the loose metal parts were allowed to bounce around and get scratched up. The edges of the stove and the oven door were busted and warped beyond repair. UPS ground is not gentle, especially on heavy items like a stove. Apparently PPL is getting these drop-shipped directly from Atwood or their distributor, who apparently doesn't care whether their merchandise arrives in decent condition. I sent the first one back and requested another one sent via freight. Well, they sent it via UPS ground again. I give up. I cancelled my order and will be looking into buying a marine stove instead. Regardless, this isn't going to be done by the honeymoon.
To his credit, Ron Hunt at PPL motorhomes was great to work with. He was very responsive over email, and did his best to resolve my concerns. I would absolutely buy from him again, just not anything that was getting drop-kicked ... er ... drop-shipped from that particular distributor.
Next, flooring installation. I used 3/8" engineered hardwood click-lock flooring, installed over Pergo Gold underlayment. It's a floating floor, so it goes in before the bed and the kitchen cabinets, which will sit on top the floor and attach to the walls.
I like the Pergo underlayment because it has some thickness to it which provides a little r-value and helps smooth out some irregularities in the subfloor. I promise, it's not just because it's shiny.
I used about 7 boxes of flooring, so my added weight here is 200 lbs.

Recommended tools for this procedure include a carpenter's square for marking 90 and 45 degree angles, and a compass for transferring the curves of the wall onto the boards. I used a jigsaw with a relatively fine blade to make the curved cuts. There was a little chipping, but all the curved cuts are going to be hidden anyway, so I didn't bother trying to prevent it. Remember: measure n+1 times, cut n times.
I'm very happy with the way the flooring turned out. Pergo makes some nice products that might be more practical for this application, but they all feel like plastic to me. The real wood floor just feels nicer. And it looks fantastic. As I was installing the wood floor, I kept pulling boards out, looking at the grain and saying, "wow, that is a beautiful piece of wood."
Leanne approves, too. Looks like she's already started to move in.

Finally, now that the weather has turned, I bet you're thinking I'm glad to have that nice new AC on the Airstream. Well, allow me to burst your bubble. Compressor won't kick on. Heat works, fan works, but no compressor.
I made multiple email requests to Airxcel for assistance in troubleshooting, and was ignored. No response at all. I went so far as to try to contact the CEO via Linkedin. No luck.
After some tinkering on my own, I identified the problem as a bad thermostat on my ceiling assembly. It calls for heat regardless of its position or the temperature. I've now hotwired my AC to work by reversing position of the heat and cool wires. Now the AC kicks on and it cools, but it won't heat, and it won't turn off the compressor when it gets to the set temperature. My settings are now OFF - FAN - FAN - MORE FAN - ICEBOX - END SCENE OF THE SHINING.
I contacted Camping World (where I ordered the ceiling assembly in the first place) hoping to source a replacement thermostat -- warranty or not, I just need a working part so I can honeymoon at a reasonable temperature. Camping World says they won't help me because I'm past their return policy, and I have to contact Airxcel directly. Awesome.
Half hour later, Derek Hicks from Airxcel (who I had copied in the email to Camping World) replied that I could call them with the model number of the ceiling assembly and model, serial number, and date of purchase of the AC unit, and they would send me the part at no cost. I called 316-832-4357 and spoke with a technician who was happy to send me the replacement thermostat along with a selector switch just in case.
I guess the lesson here is don't bother trying to reach Airxcel via email. A phone call directly to the tech service line got me what I needed fairly quickly, but email took five separate tries to get someone to acknowledge me.