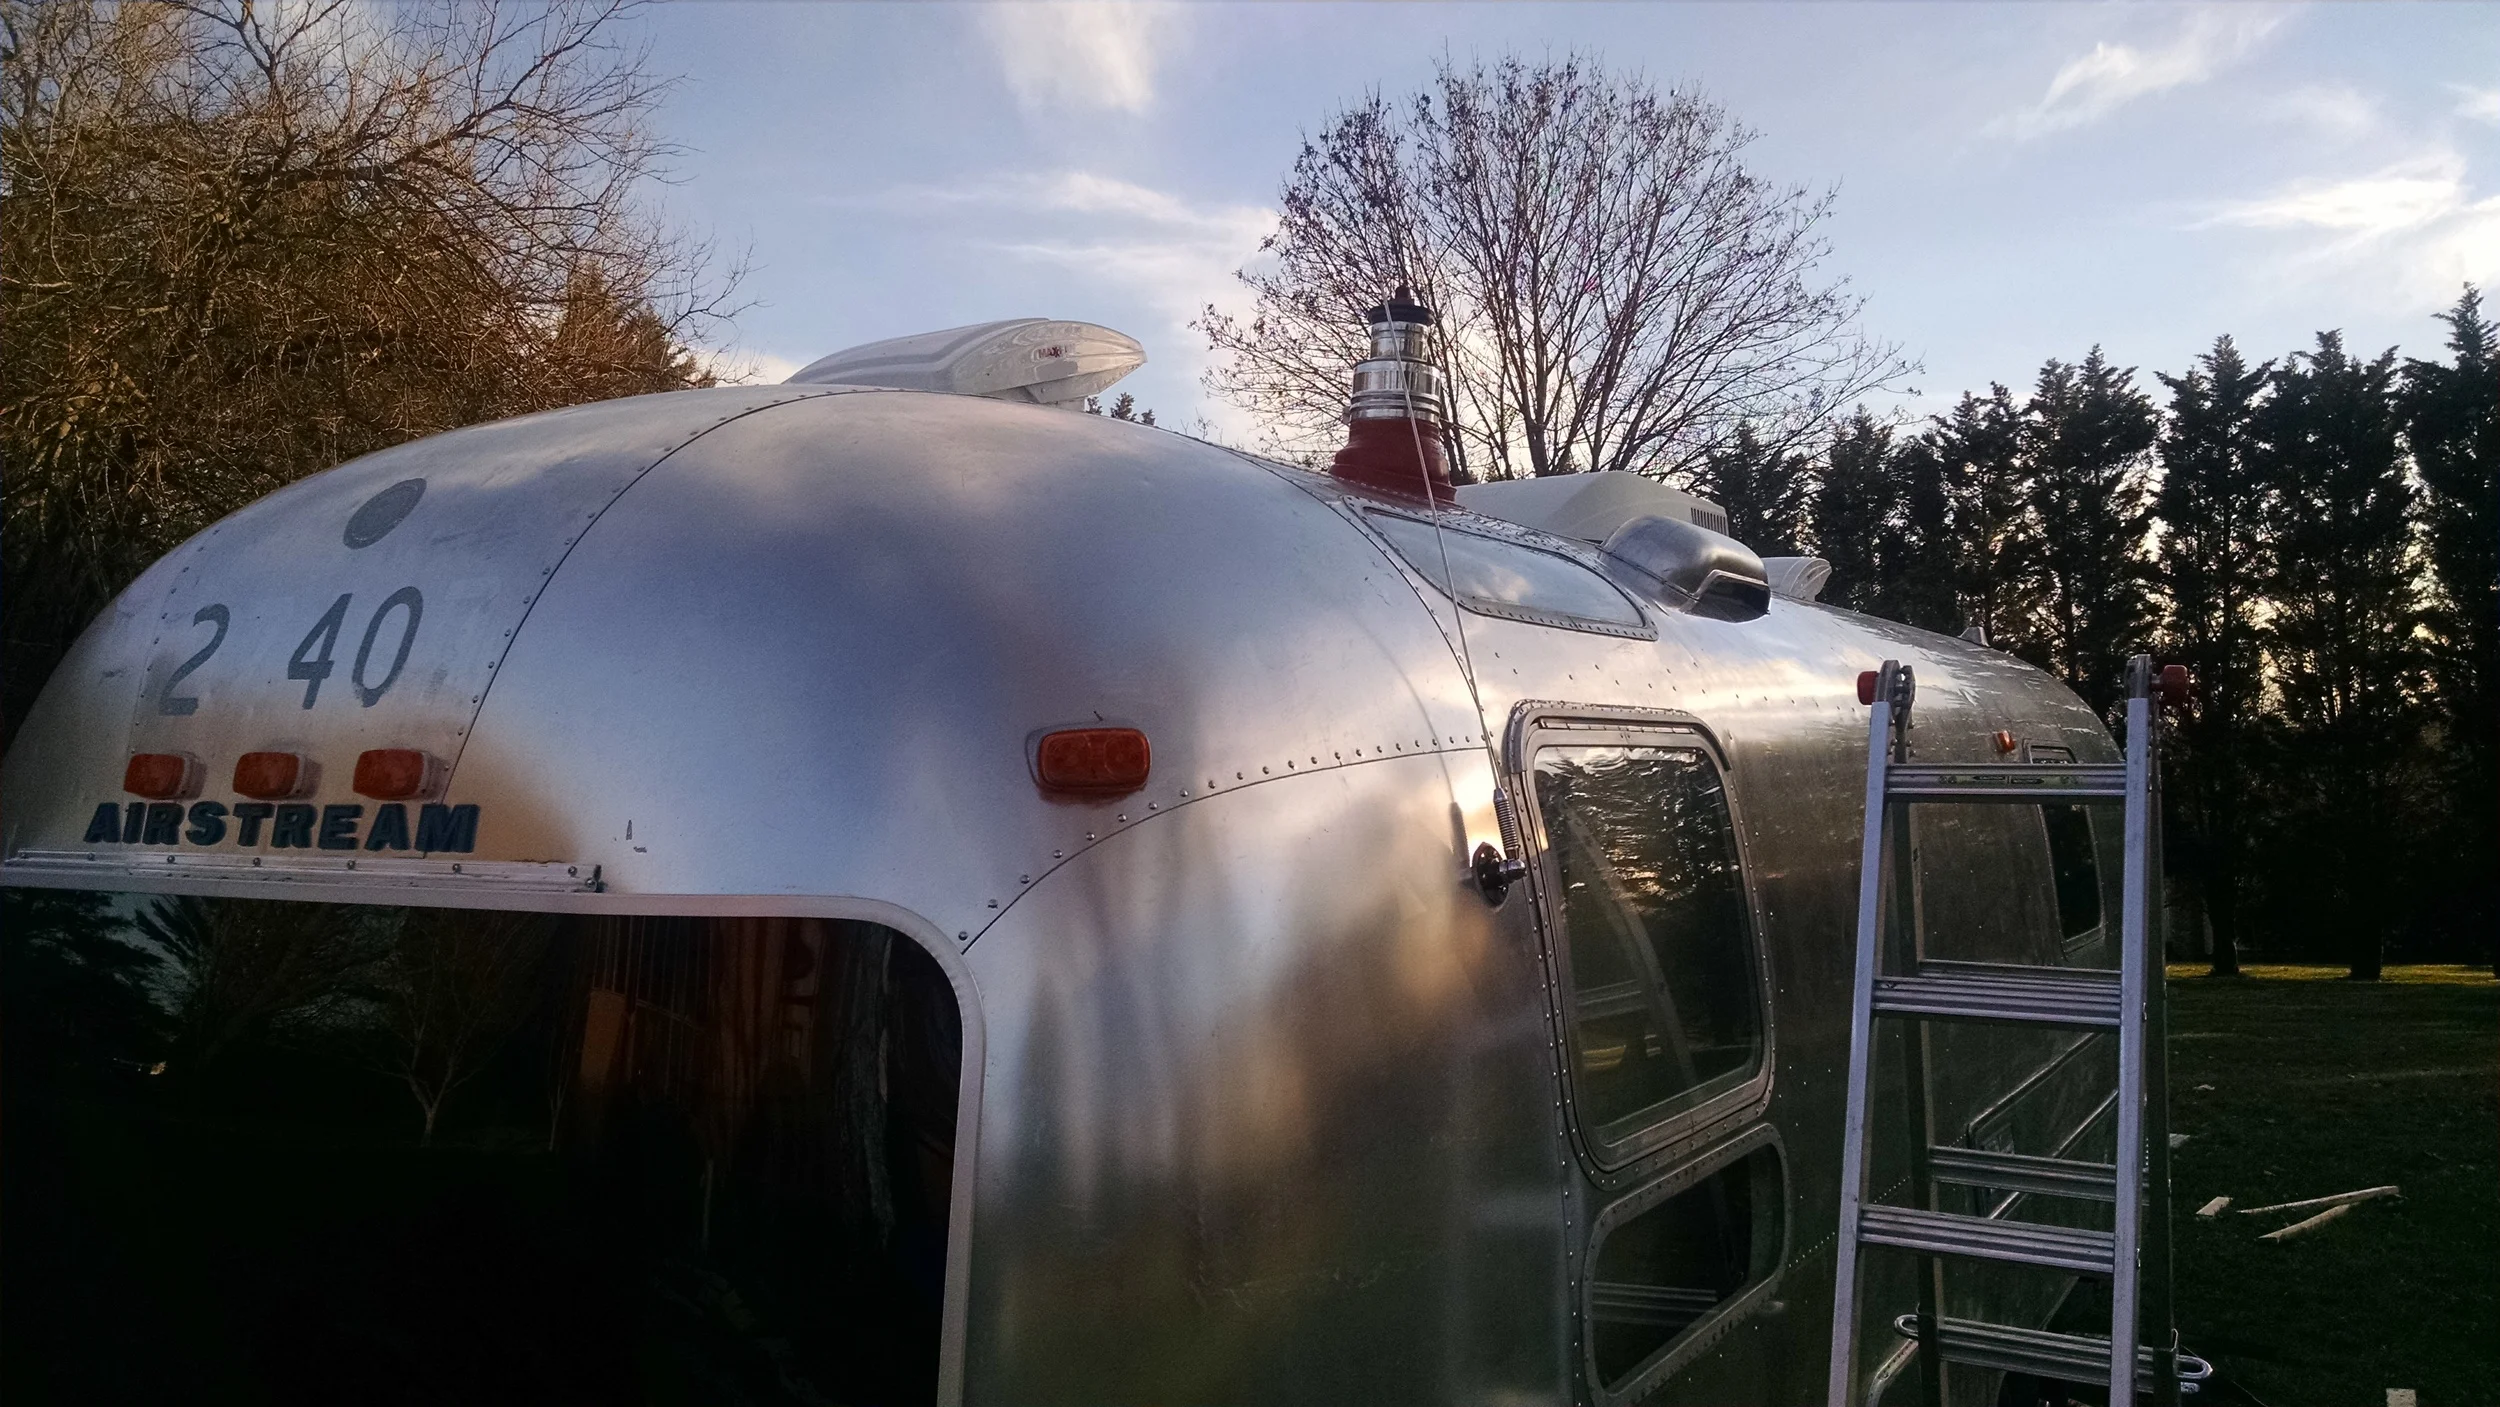
Some of these links are "affiliate links." If you decide to buy something based on our recommendation, it would be nice if you used the direct link from this page so that we can make a small commission for referring you (which doesn't cost you anything extra).
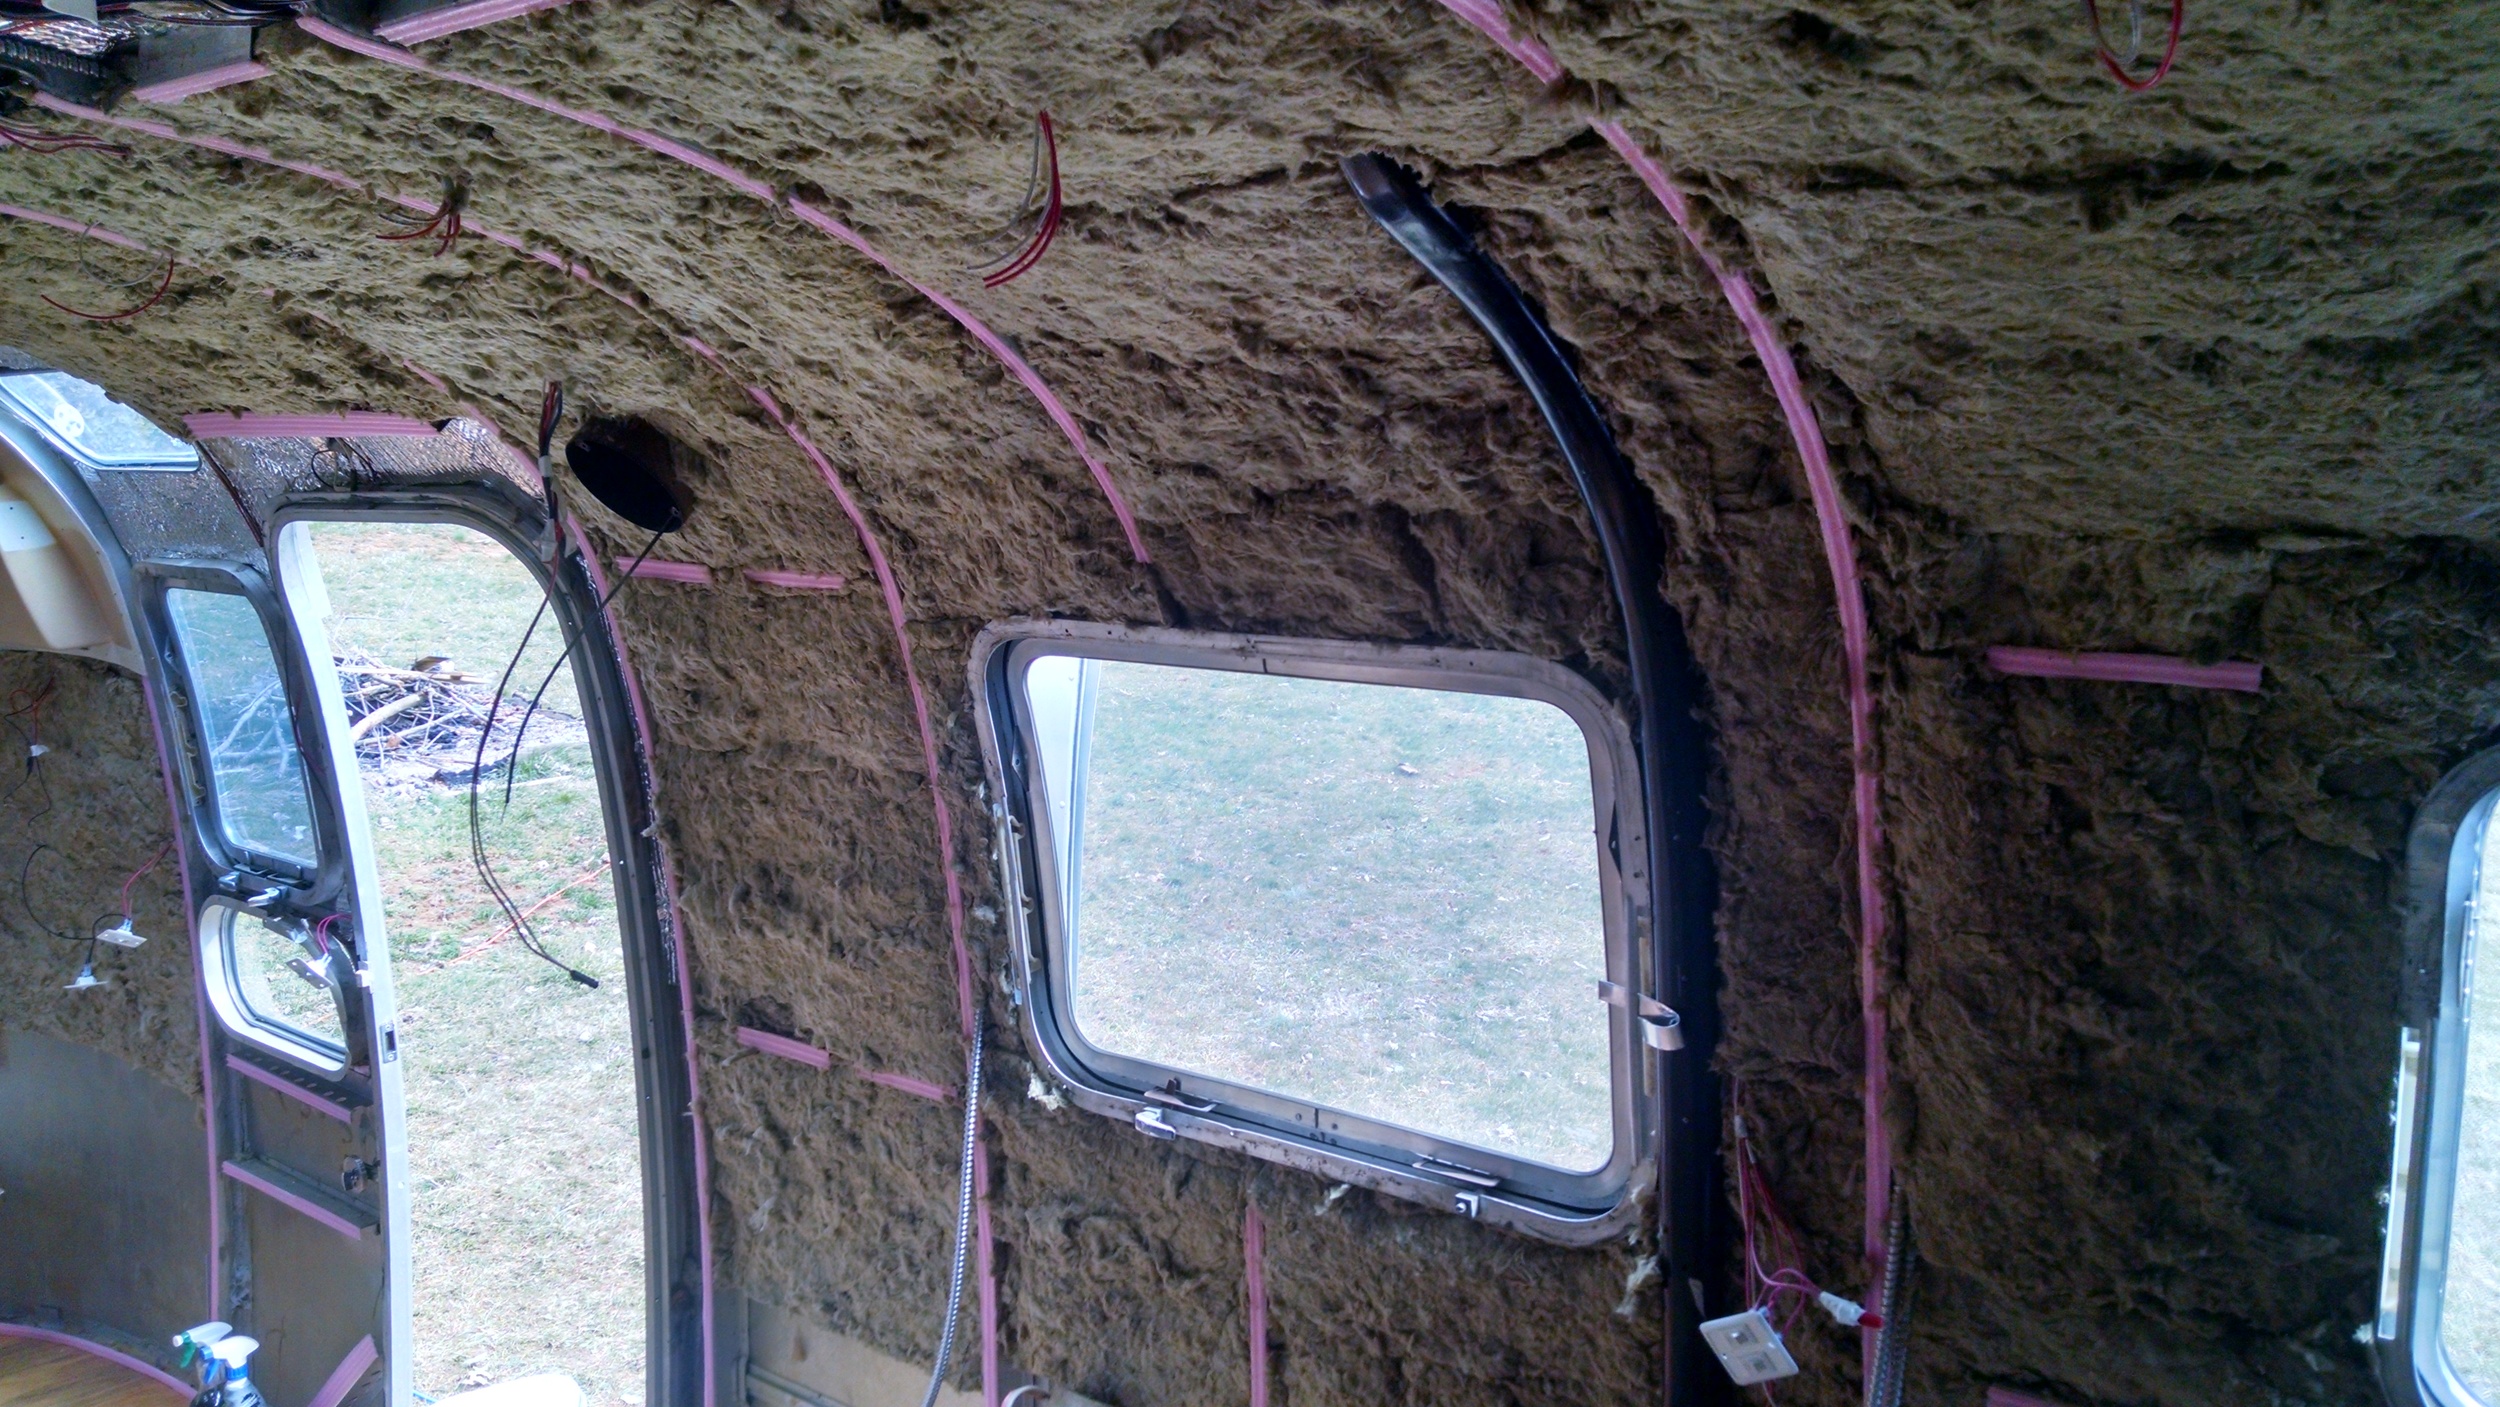
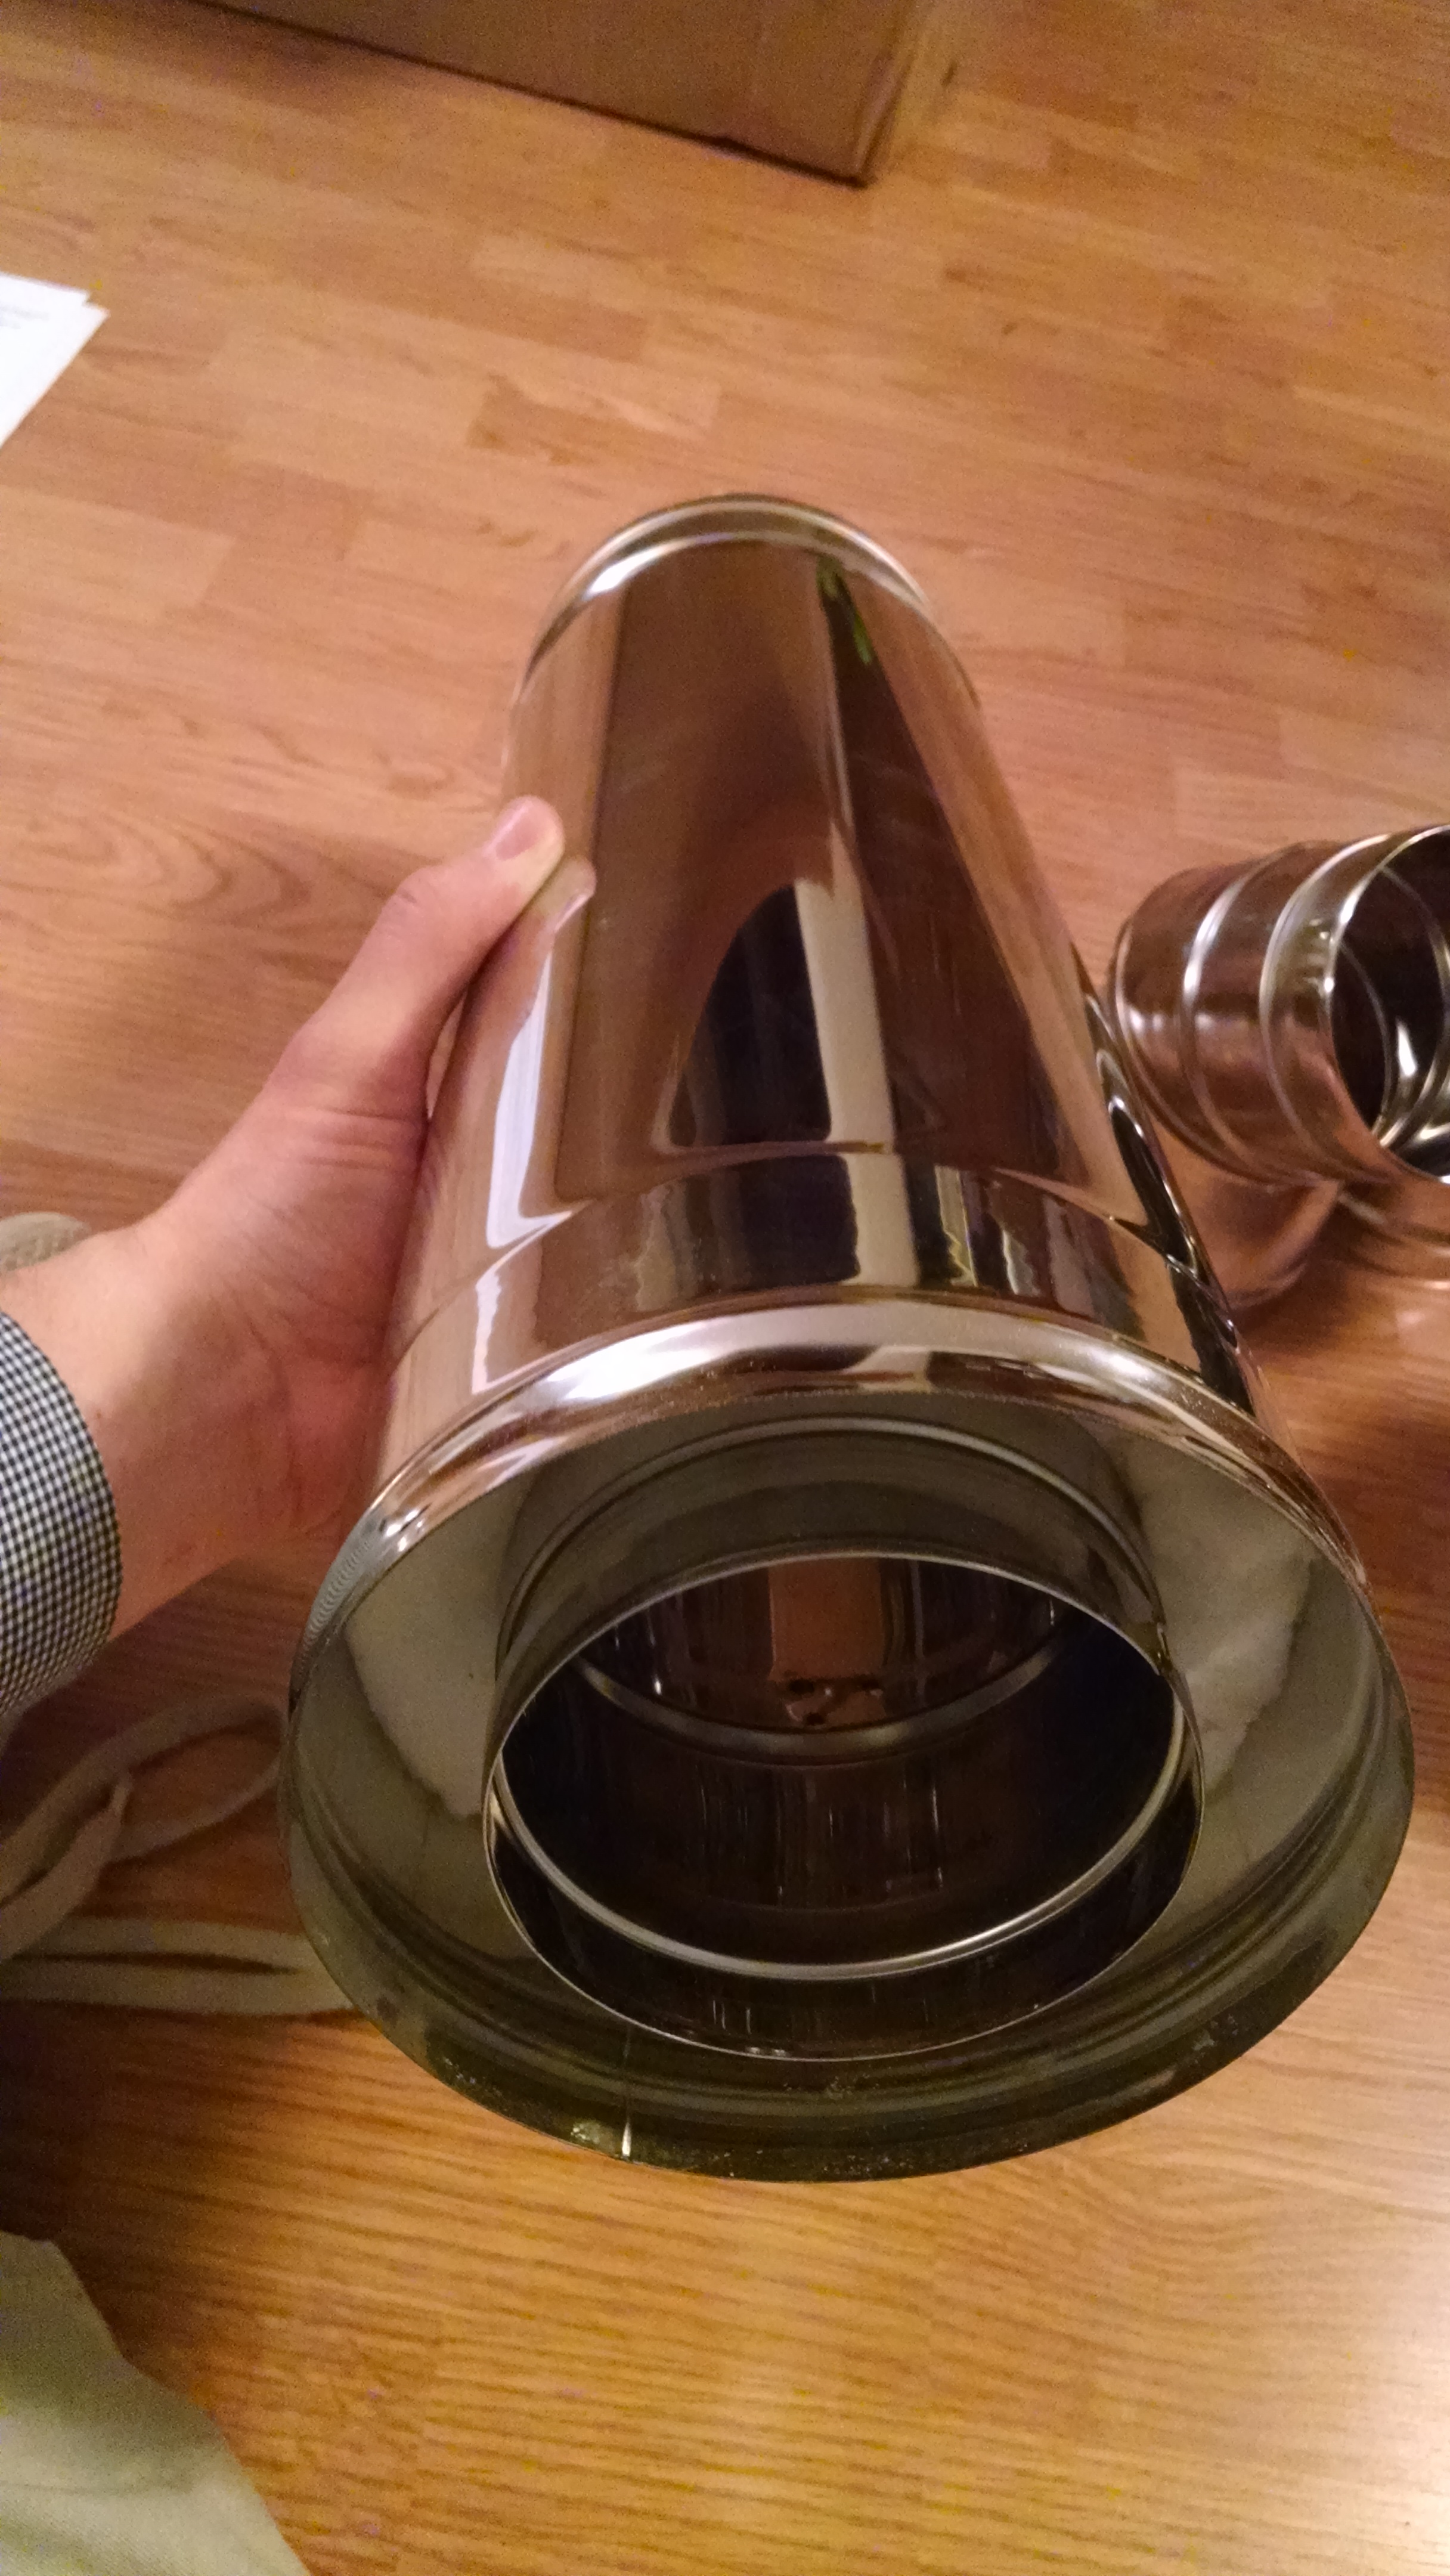
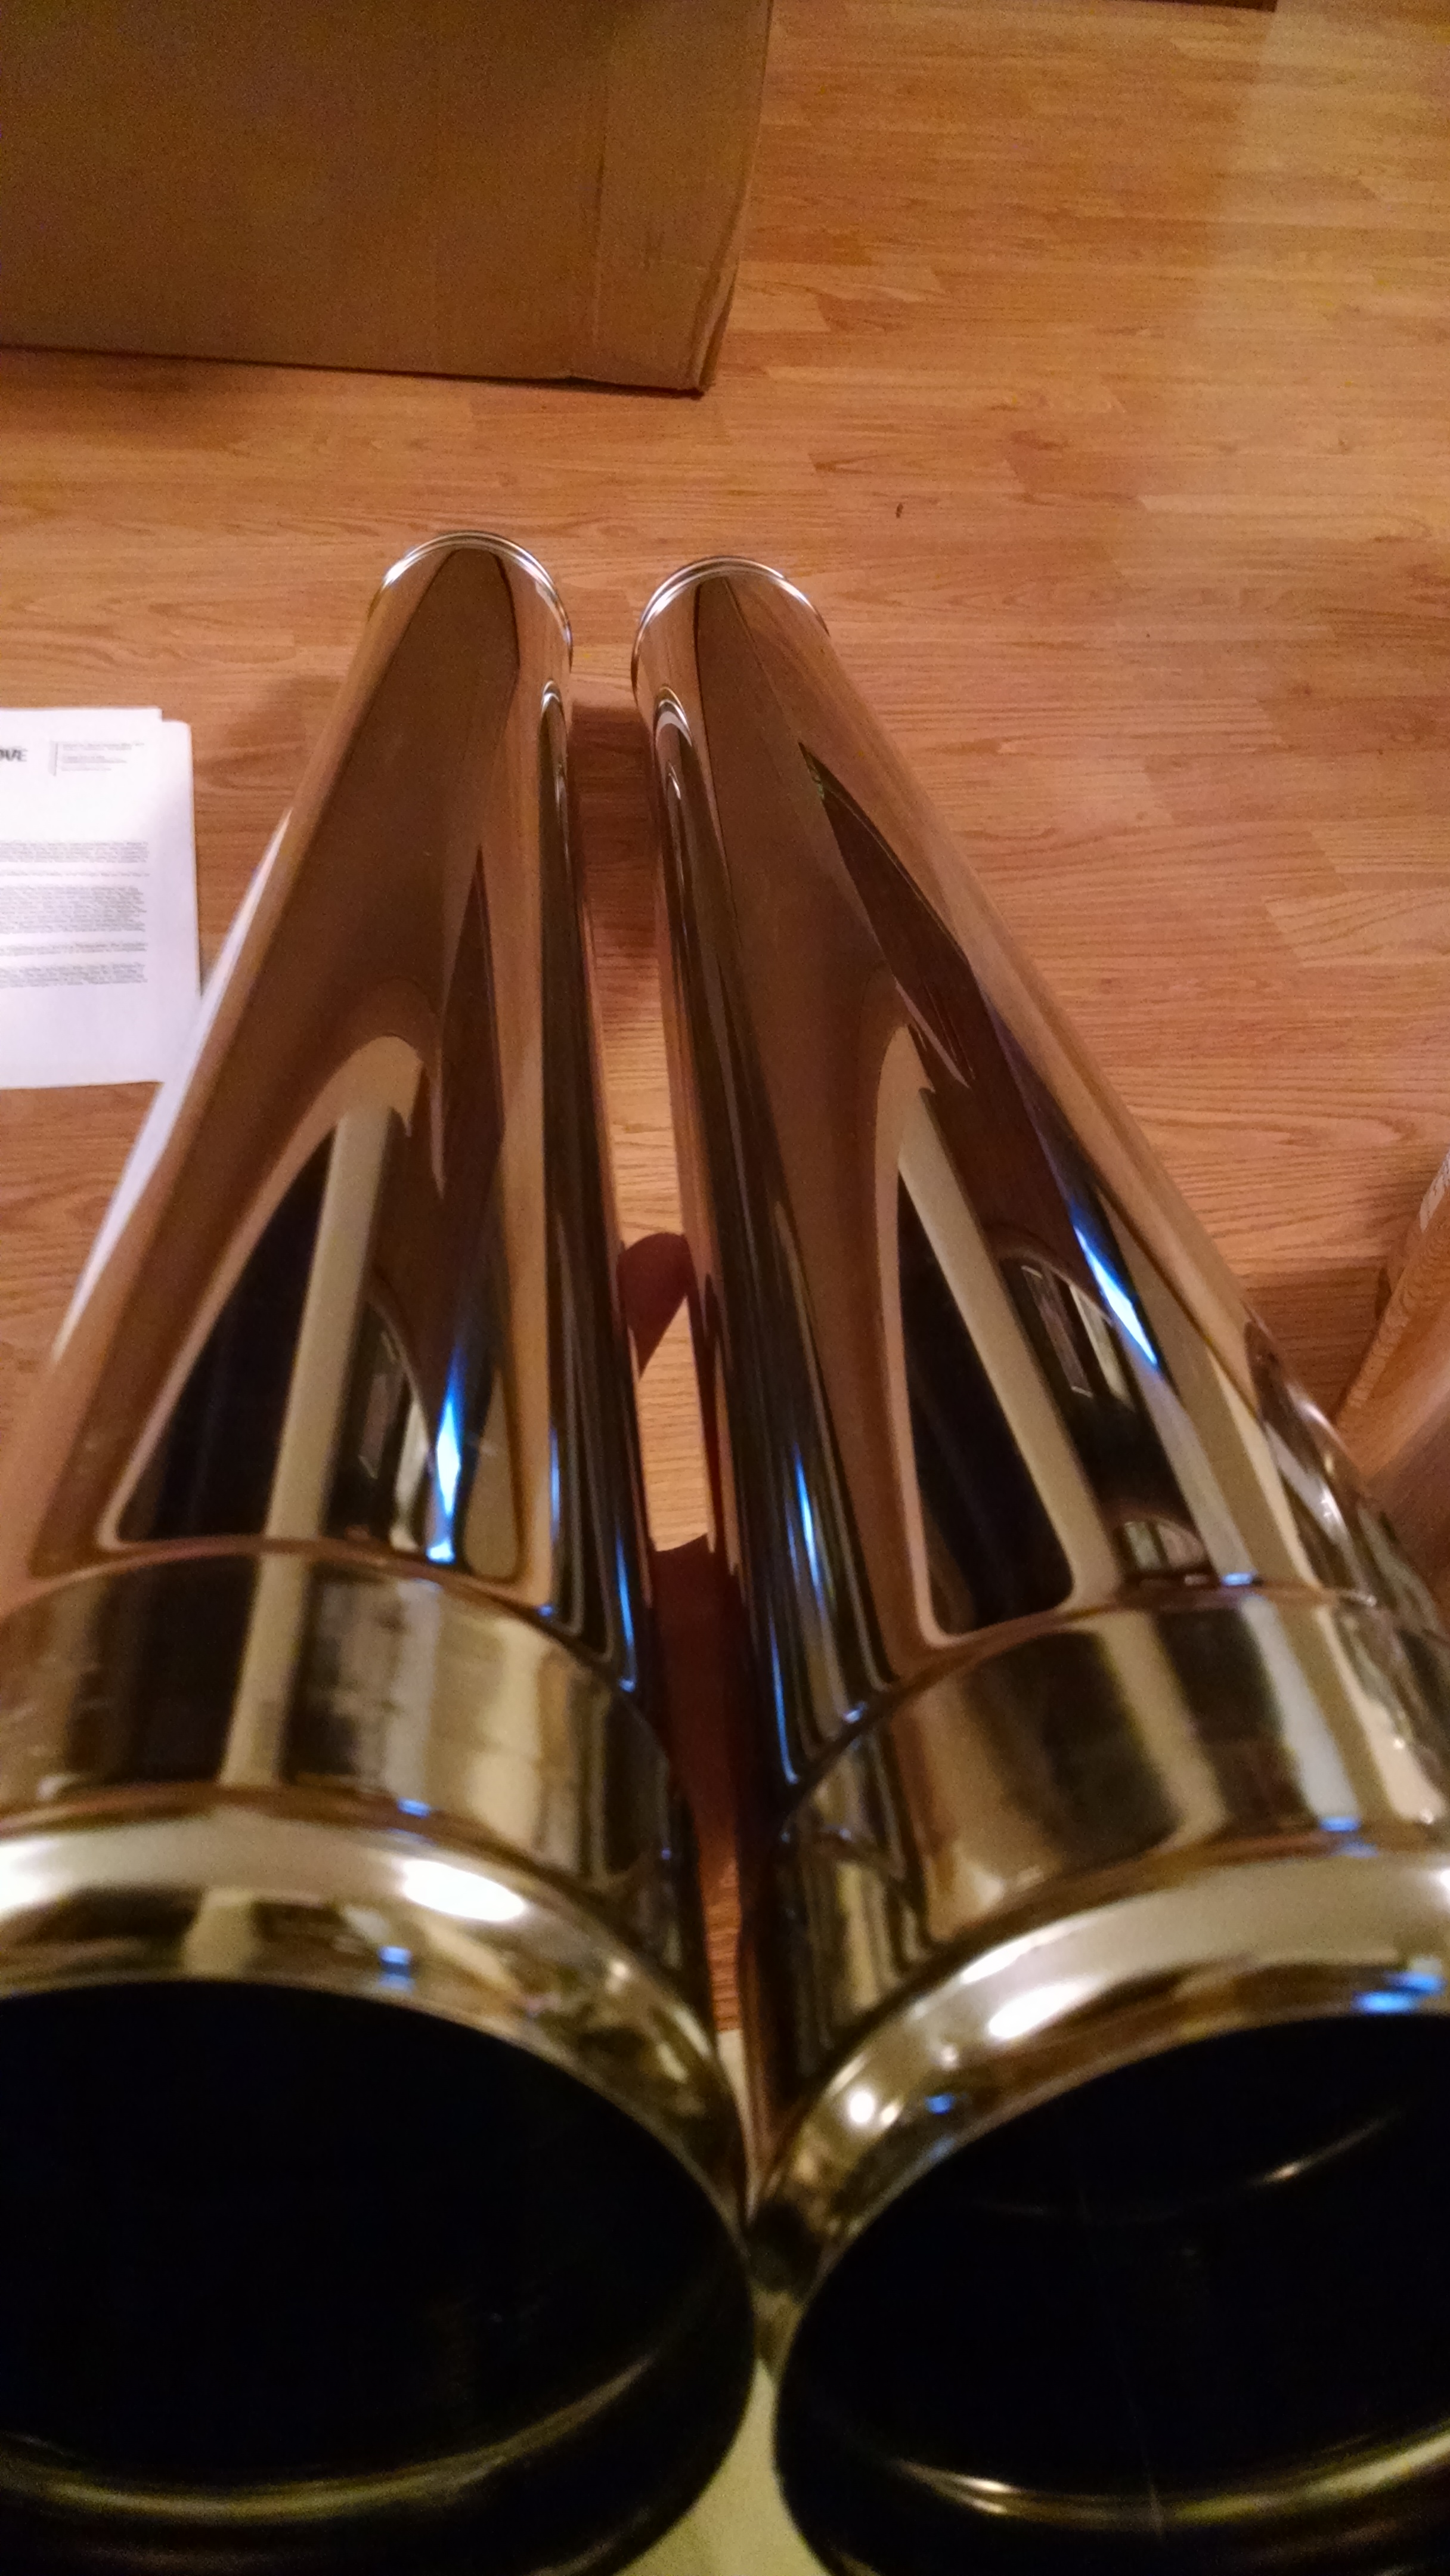
I'm using these 12V LED recessed lights made by Dream Lighting for the main lighting in the Airstream. I was originally intending on using these from VTS, but they've been out of stock for months, and it turns out the Dream Lighting ones are nicer. They have a nicer chrome finish (the VTS ones look kind of chintzy), are recessed instead of surface mounted so they fit more flush to the ceiling, have a frosted lens so you can't tell they're LEDs, they cost less than half the price of the VTS lights, and they were IN STOCK.
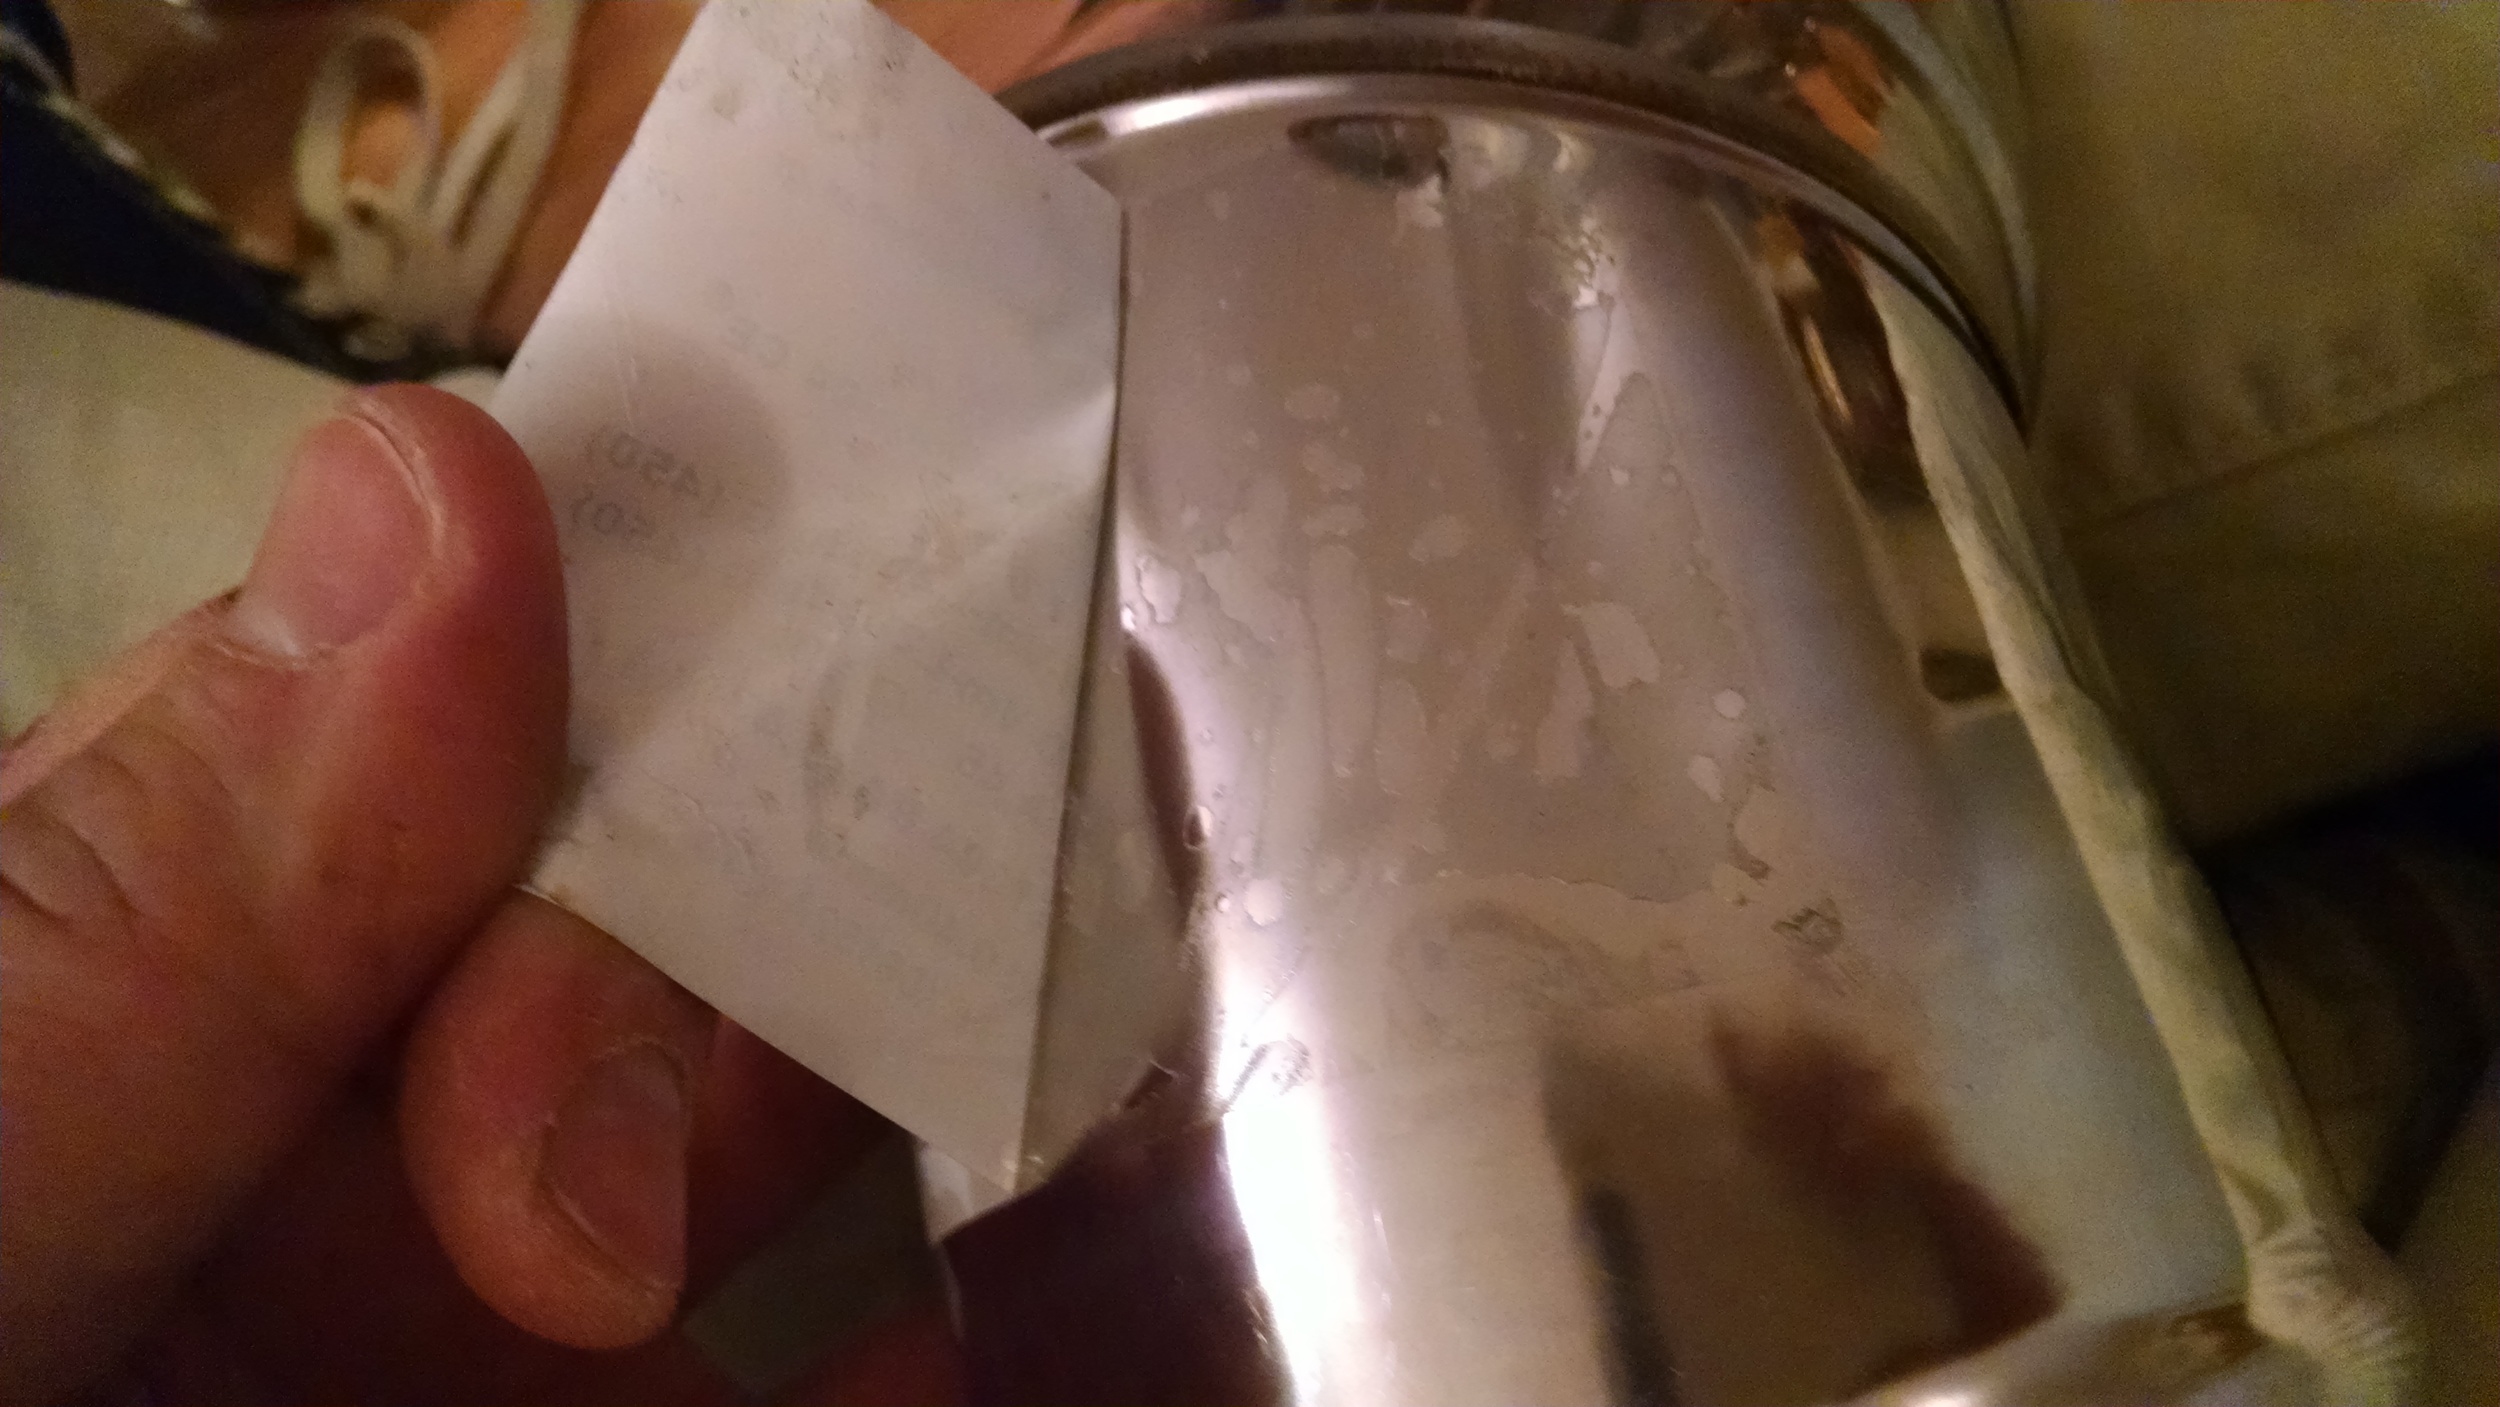
To install these lights, I need to drill a perfect 2-1/8" hole in the interior skin. I don't want to use a pilot bit on the hole saw because I don't want to risk drilling out the top of the Airstream. I also can't use the tile cutting method of starting the hole saw at a 45 degree angle because ... well ... I tried that and it skipped all over the place. So, here's what I did:


Drill a hole in a piece of wood using the same hole saw I'm using to drill the ceiling. Mark the center line so I can line it up precisely with my marks on the ceiling where I want the lights to go. Mark a reference line so I can get them all exactly the same distance from the edge of the panel. Clamp in place and fire away.
The process for the bathroom lights was a little different. I was able to do it freehand by spinning the hole saw backward, which still cut the plastic endcap, but didn't grab it so strongly that it skipped out of control.


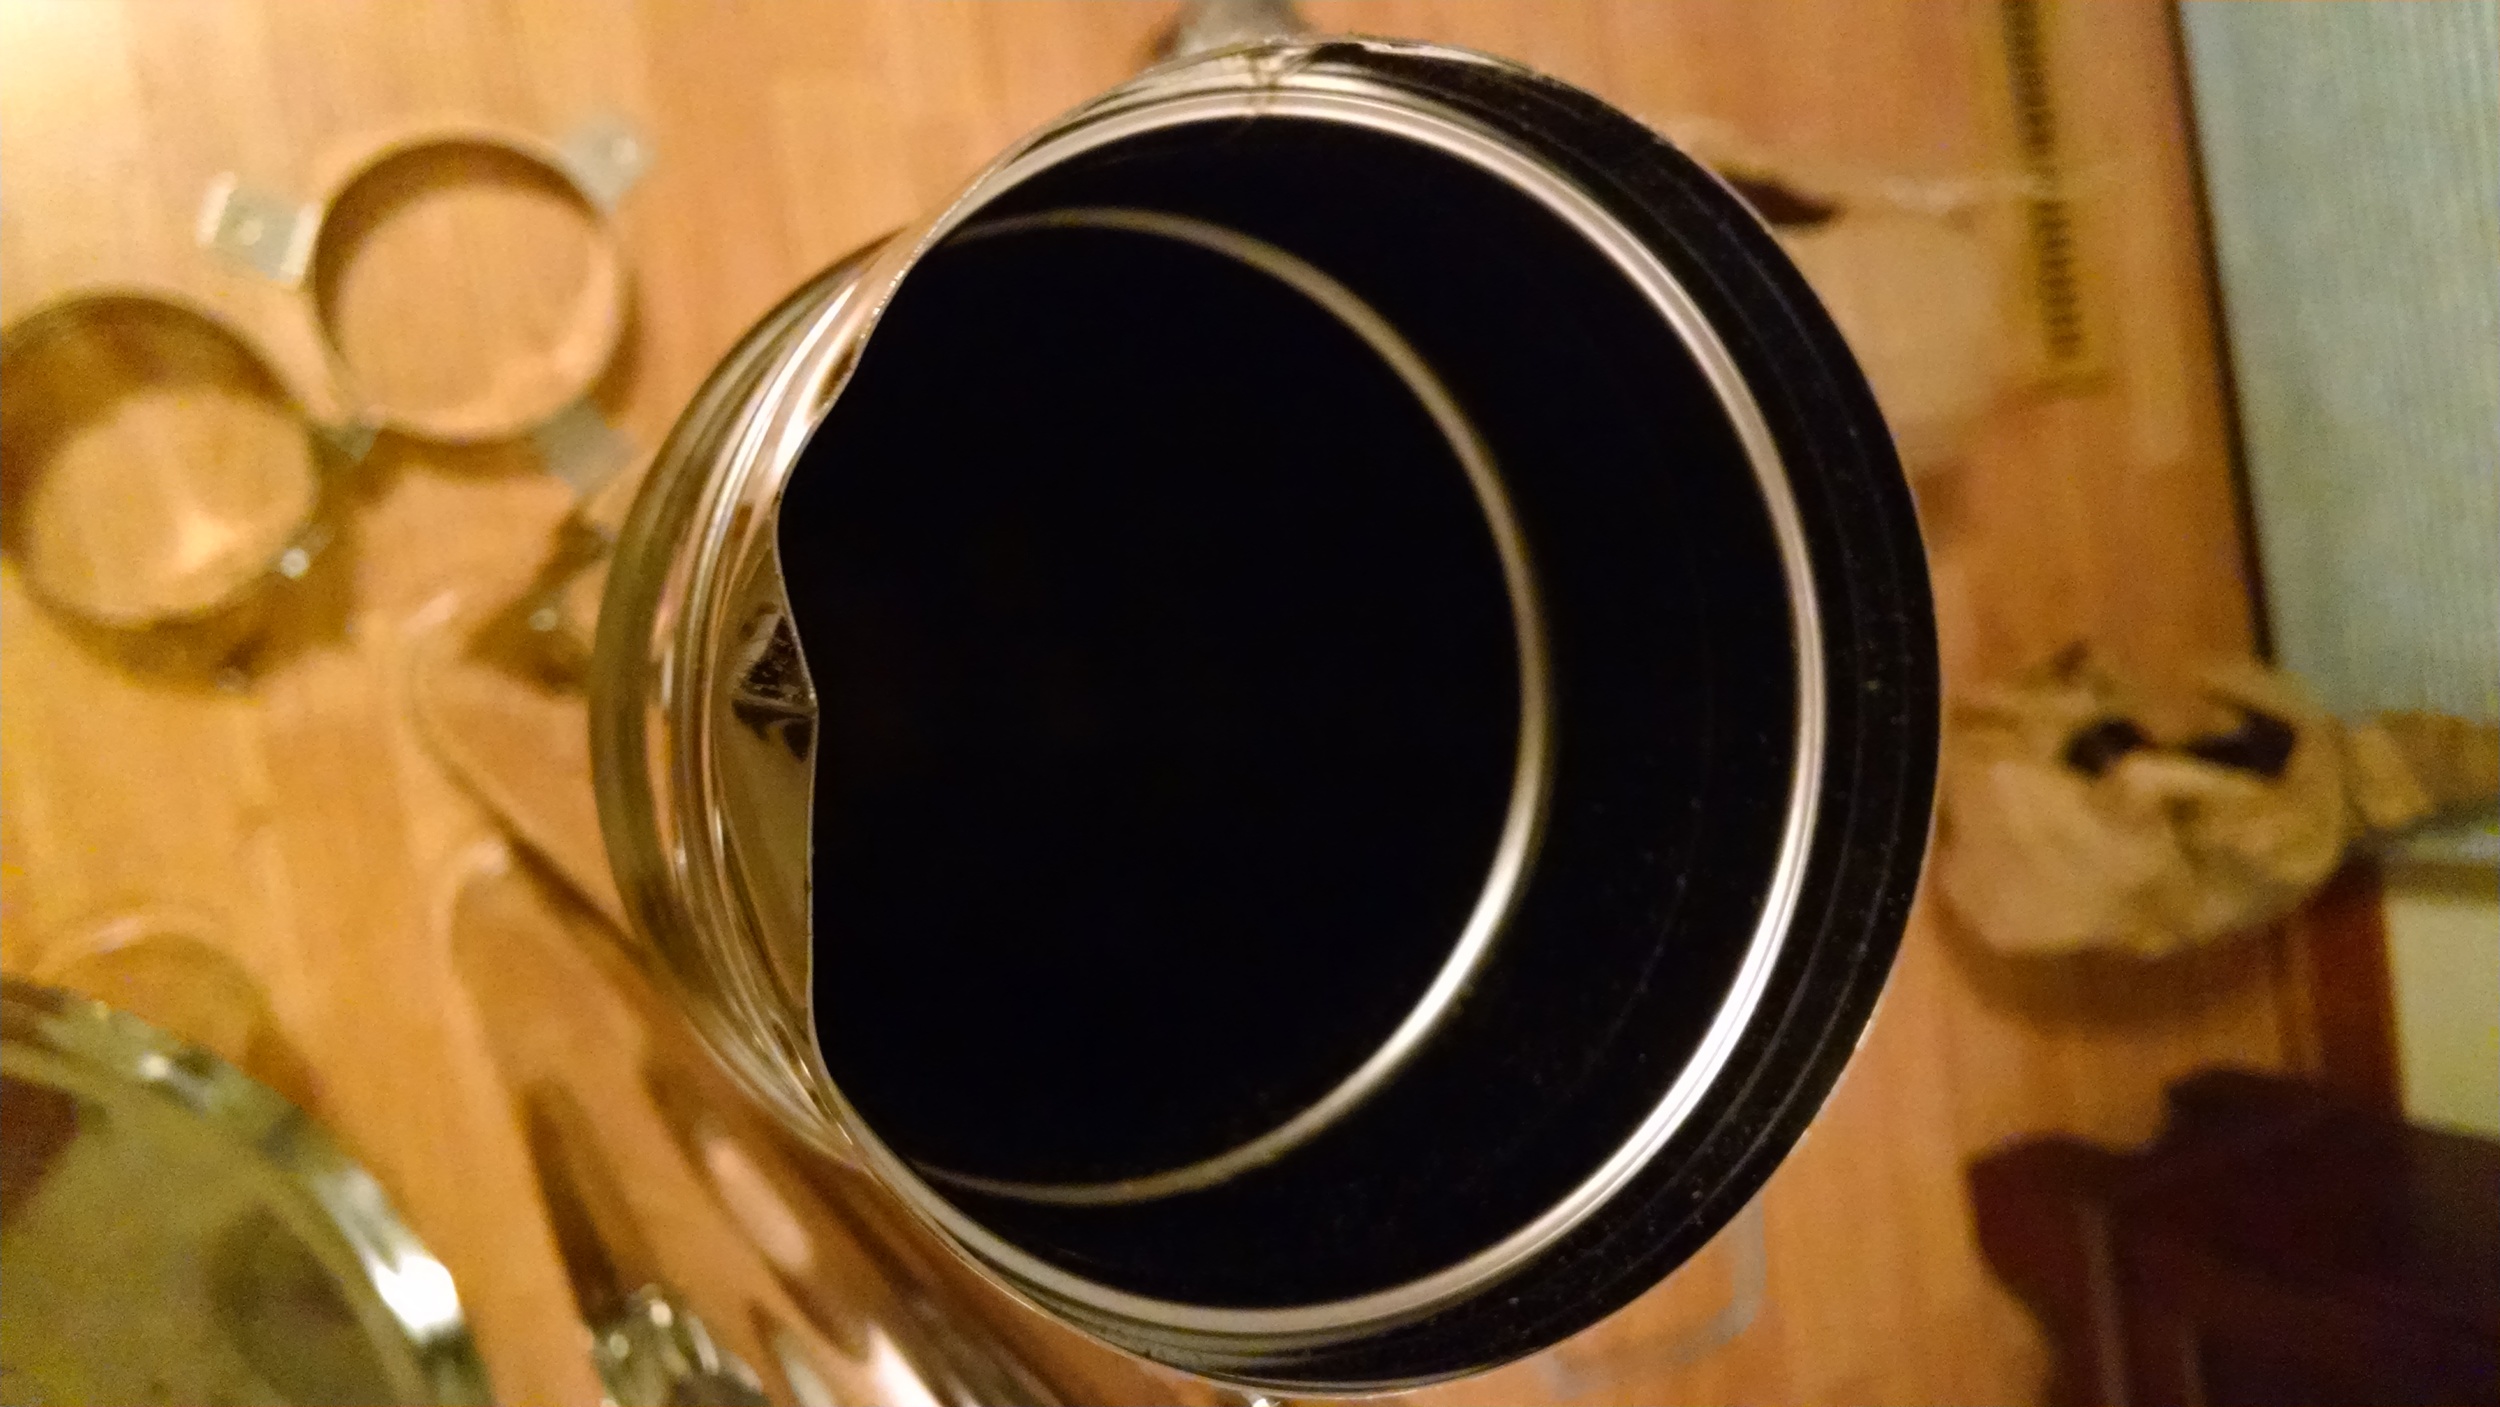
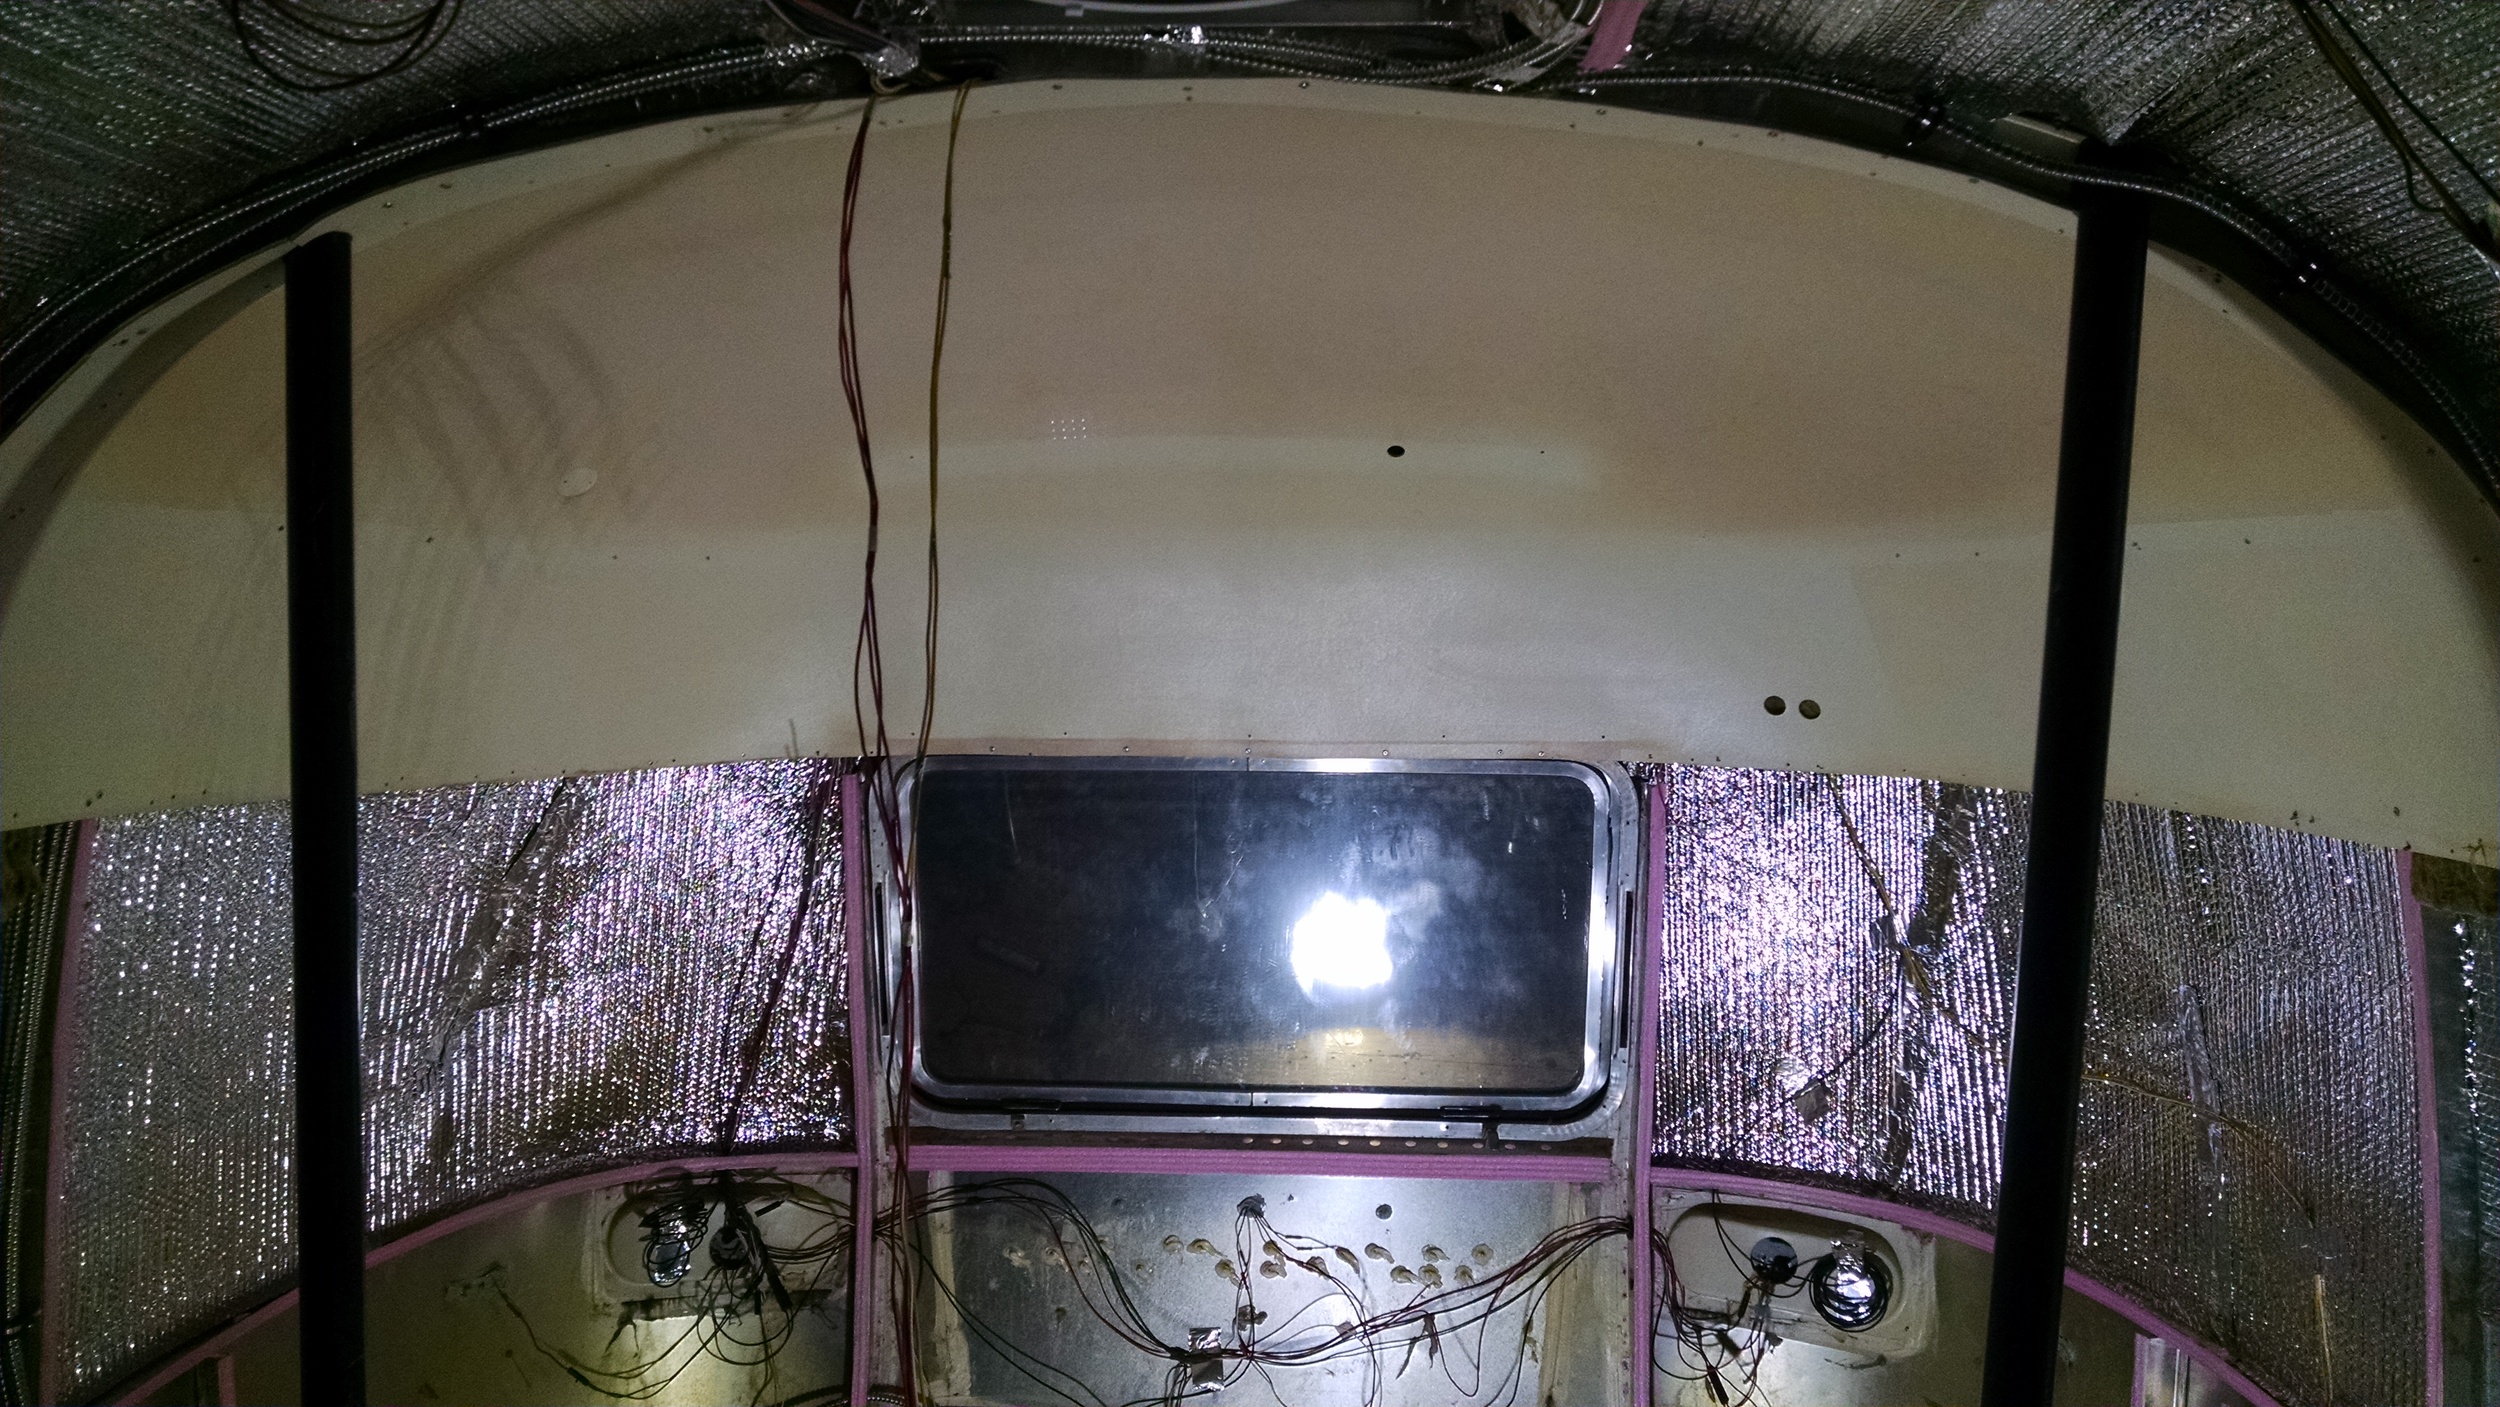
The lights are just clipped into the holes now, which is not enough to hold them securely. Once the skins are painted, I'll either screw or rivet them in. Each light has small screw holes underneath the removable cover.