Mach 8 Cub Mounting and Interior Install

Now that we have the interior skins in, I'm ready to complete the AC install.  If you've been following closely, you may have noticed that I've already installed and removed the interior ceiling assembly a couple of times before this point.  The AC unit works as long as the wires are plugged in, so I've been using it to heat the Airstream while I'm working on cold days. 

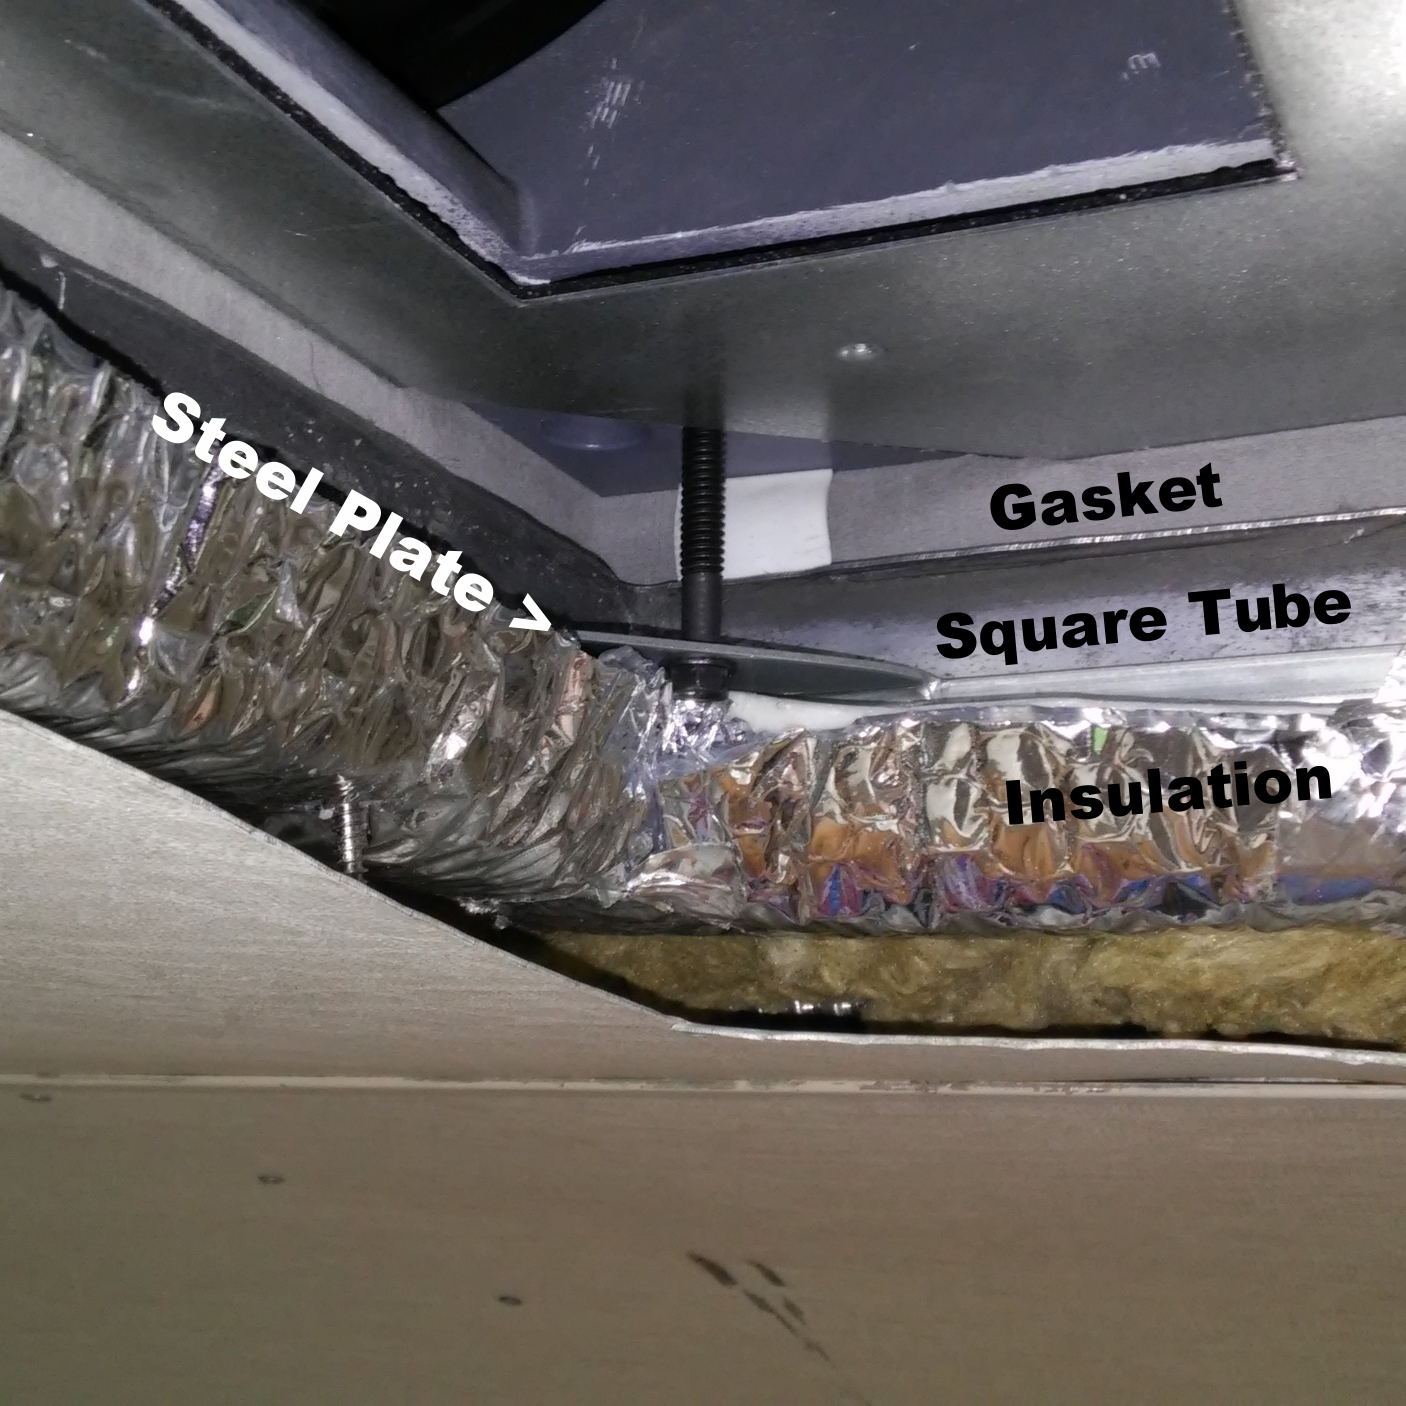
Before we get too far along here, let's review.  Back in January, I added some 1" square aluminum tube around the perimeter of the roof opening for the AC to flatten out the area and provide something for the mounting hardware to grab.

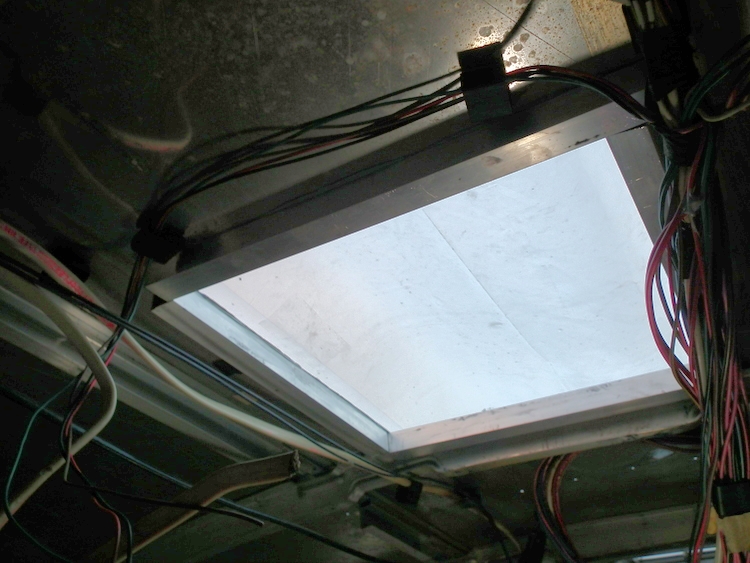
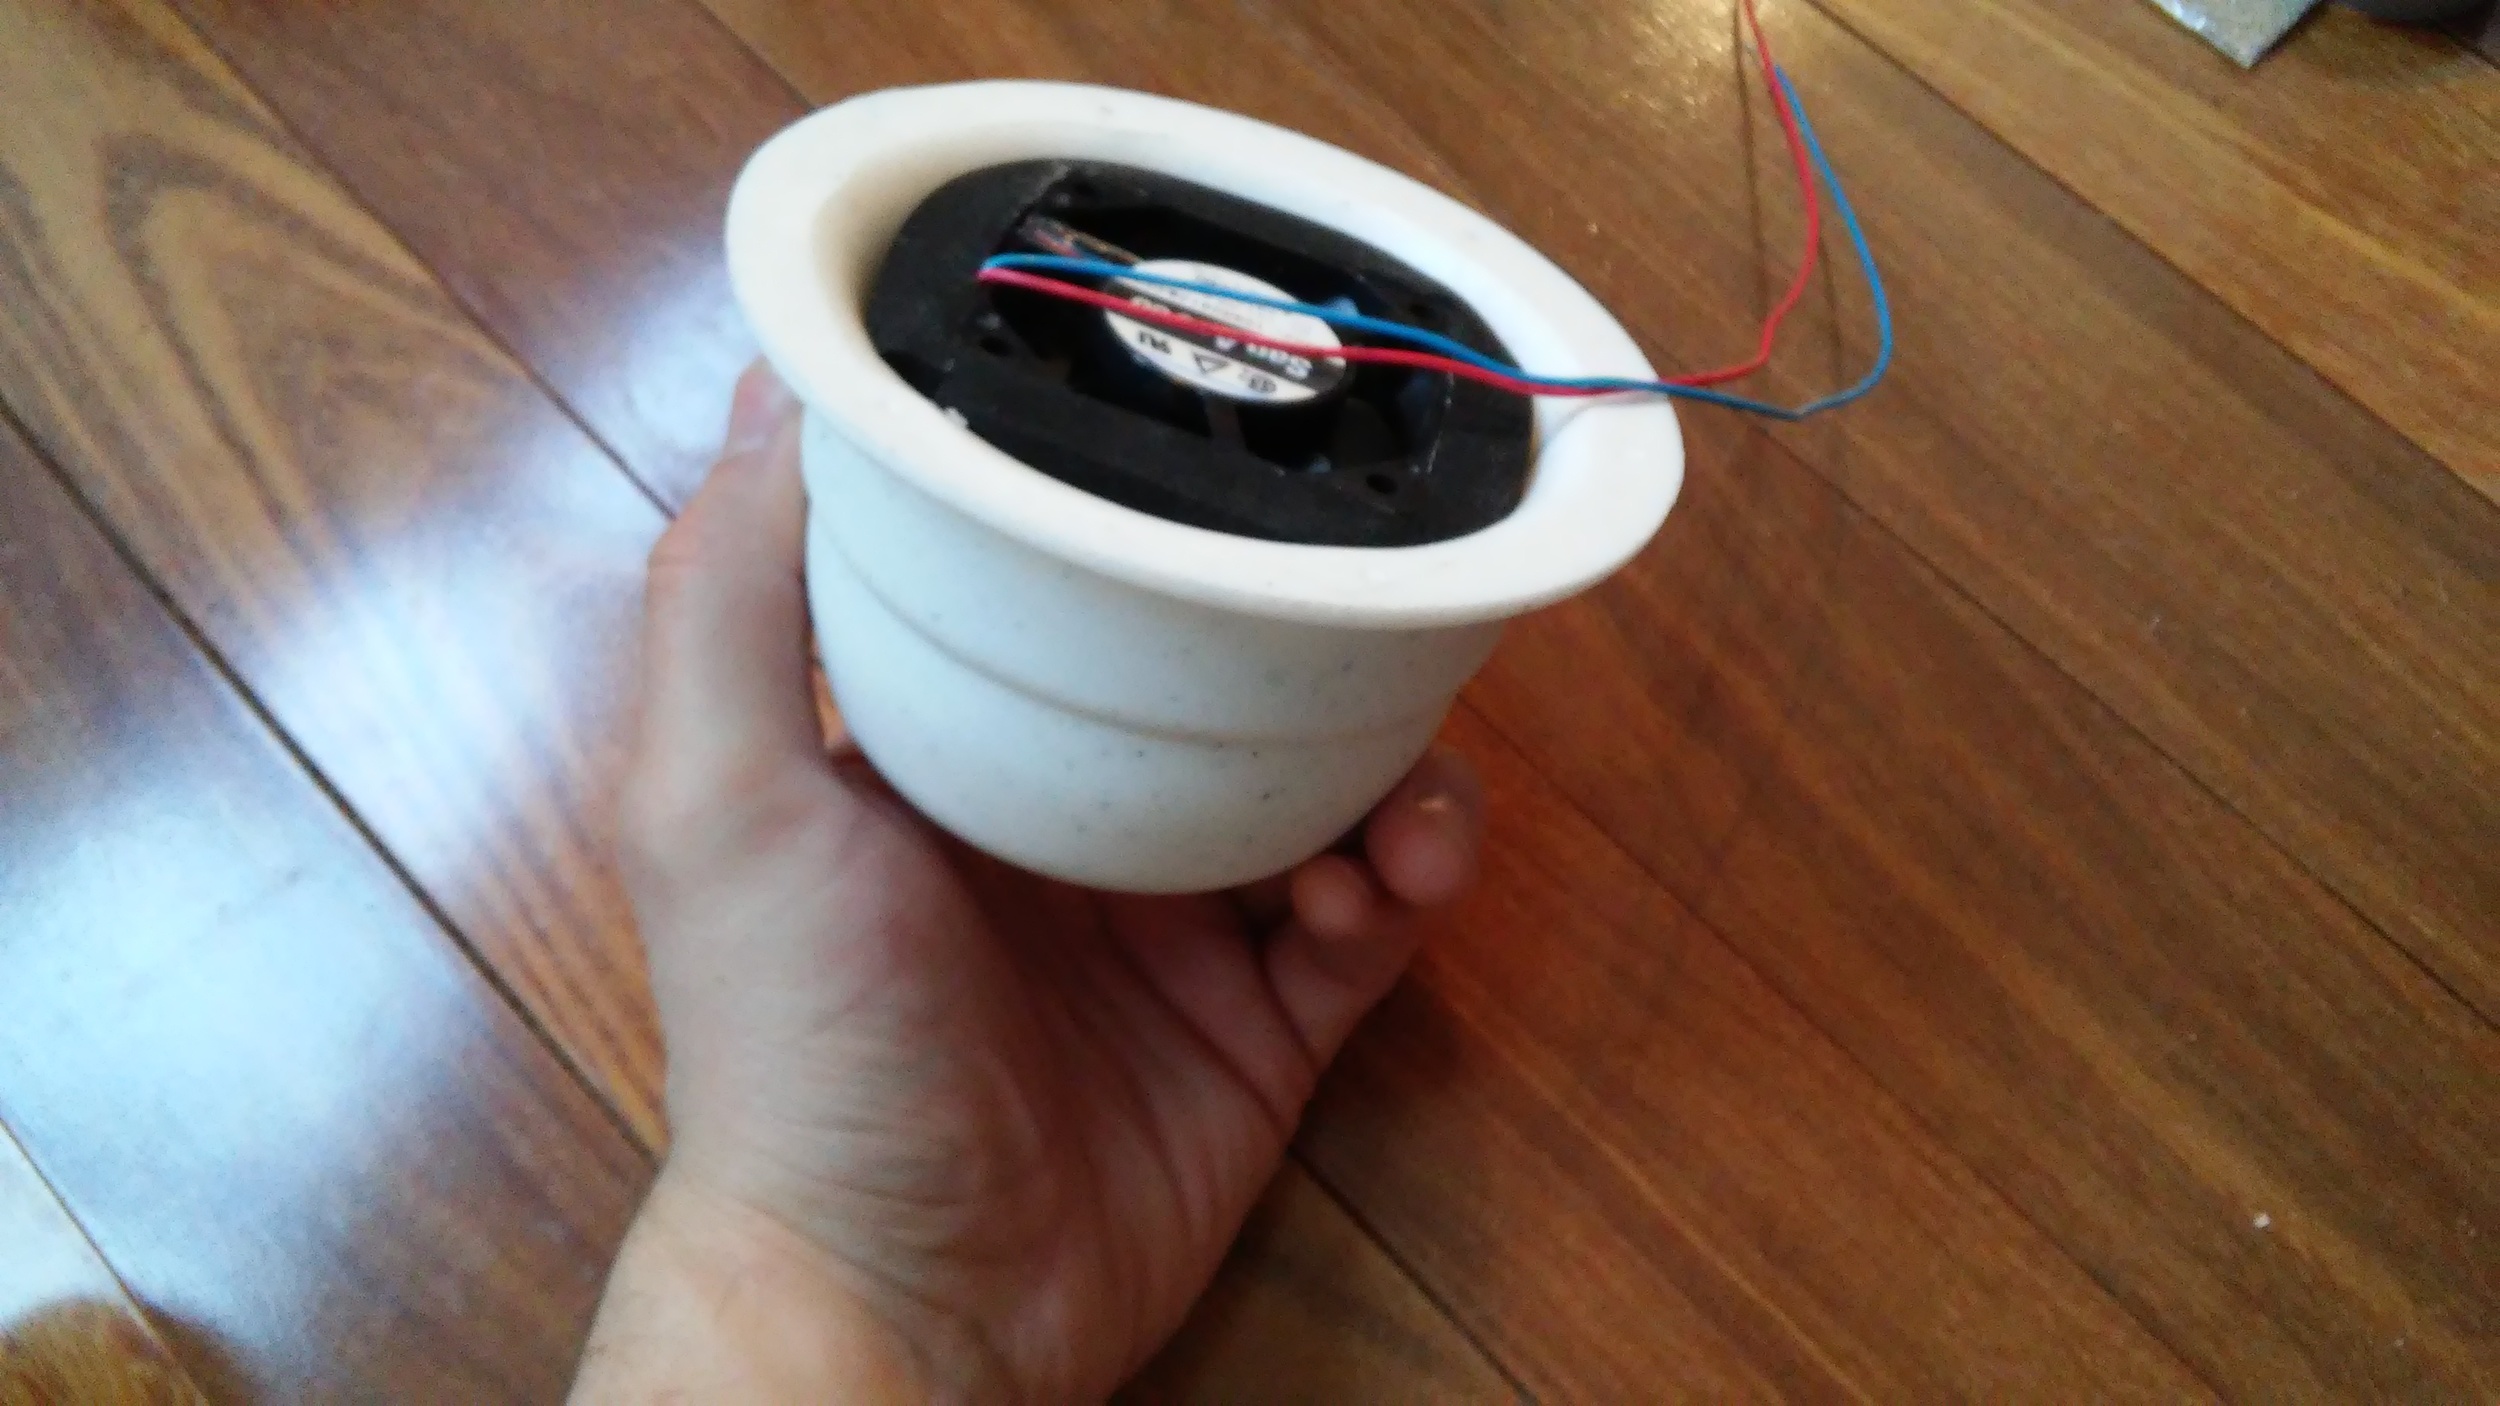
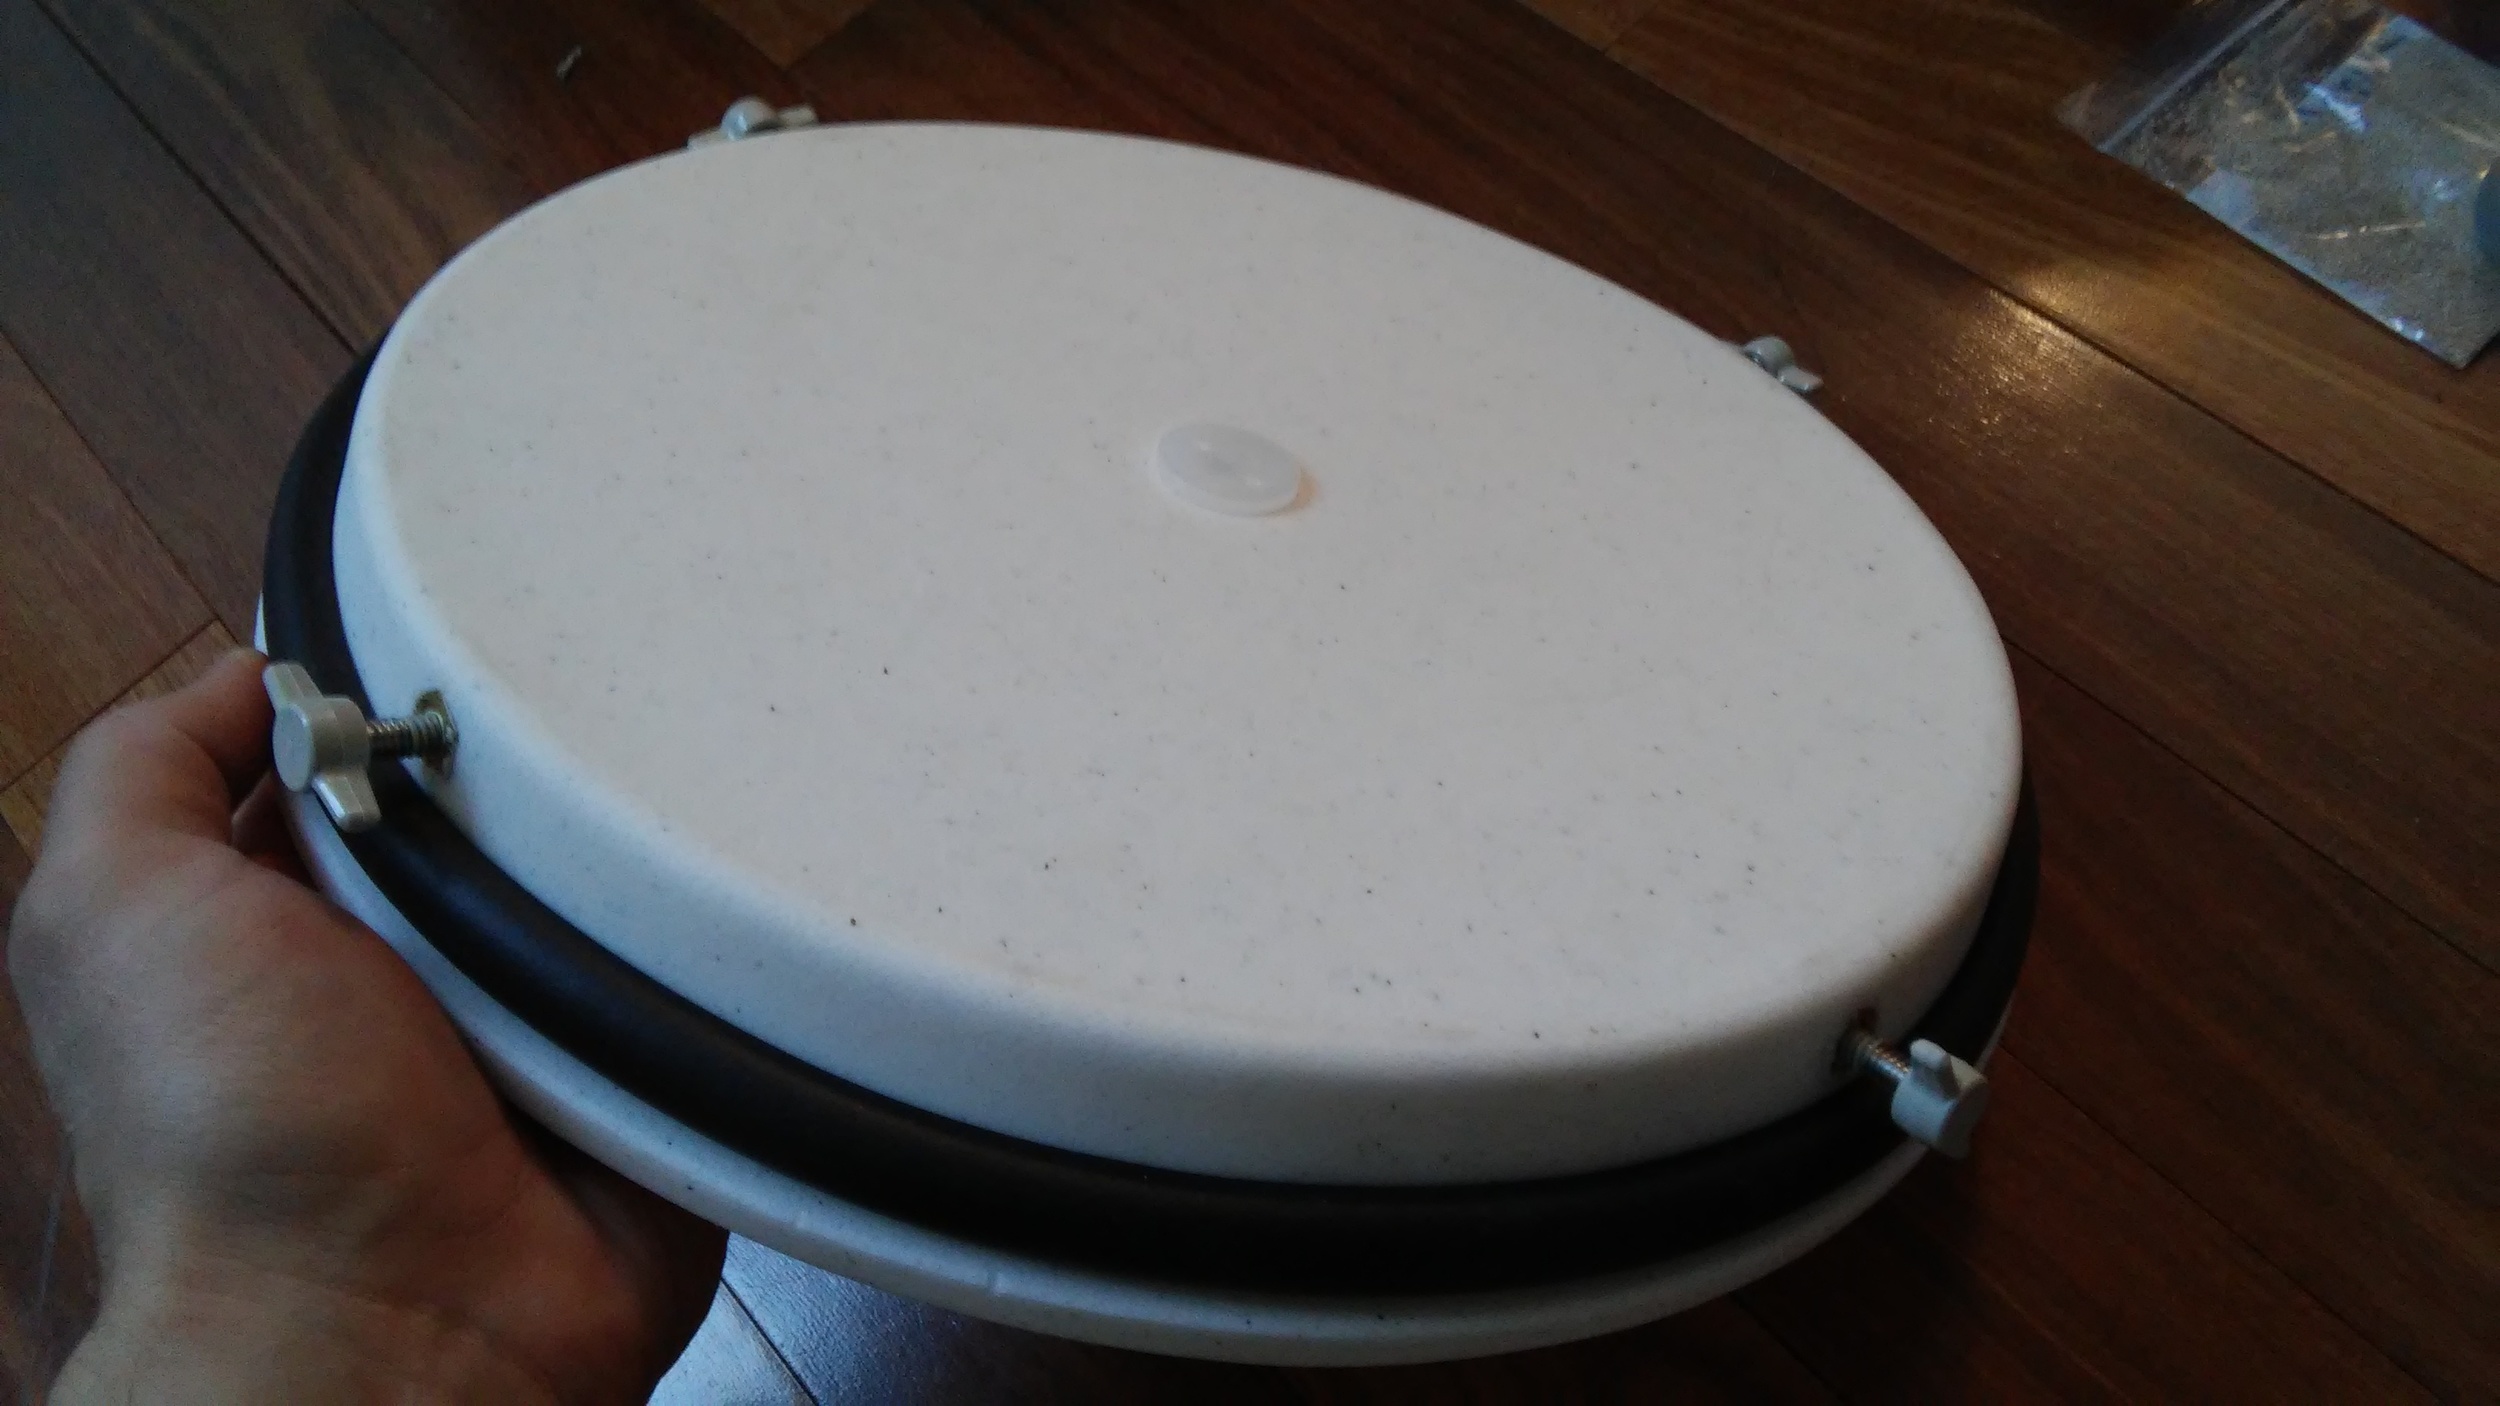
Remember this photo from the previous Mach 8 Cub assembly post?  This is the bottom of the rooftop AC unit.  That foam gasket compresses against the roof opening to make a water tight seal.  There is a white rectangular depth indicator at each corner to use as a reference point for the proper compression of the gasket.

Some of these links are "affiliate links."  If you decide to buy something based on our recommendation, it would be nice if you used the direct link from this page so that we can make a small commission for referring you (which doesn't cost you anything extra).

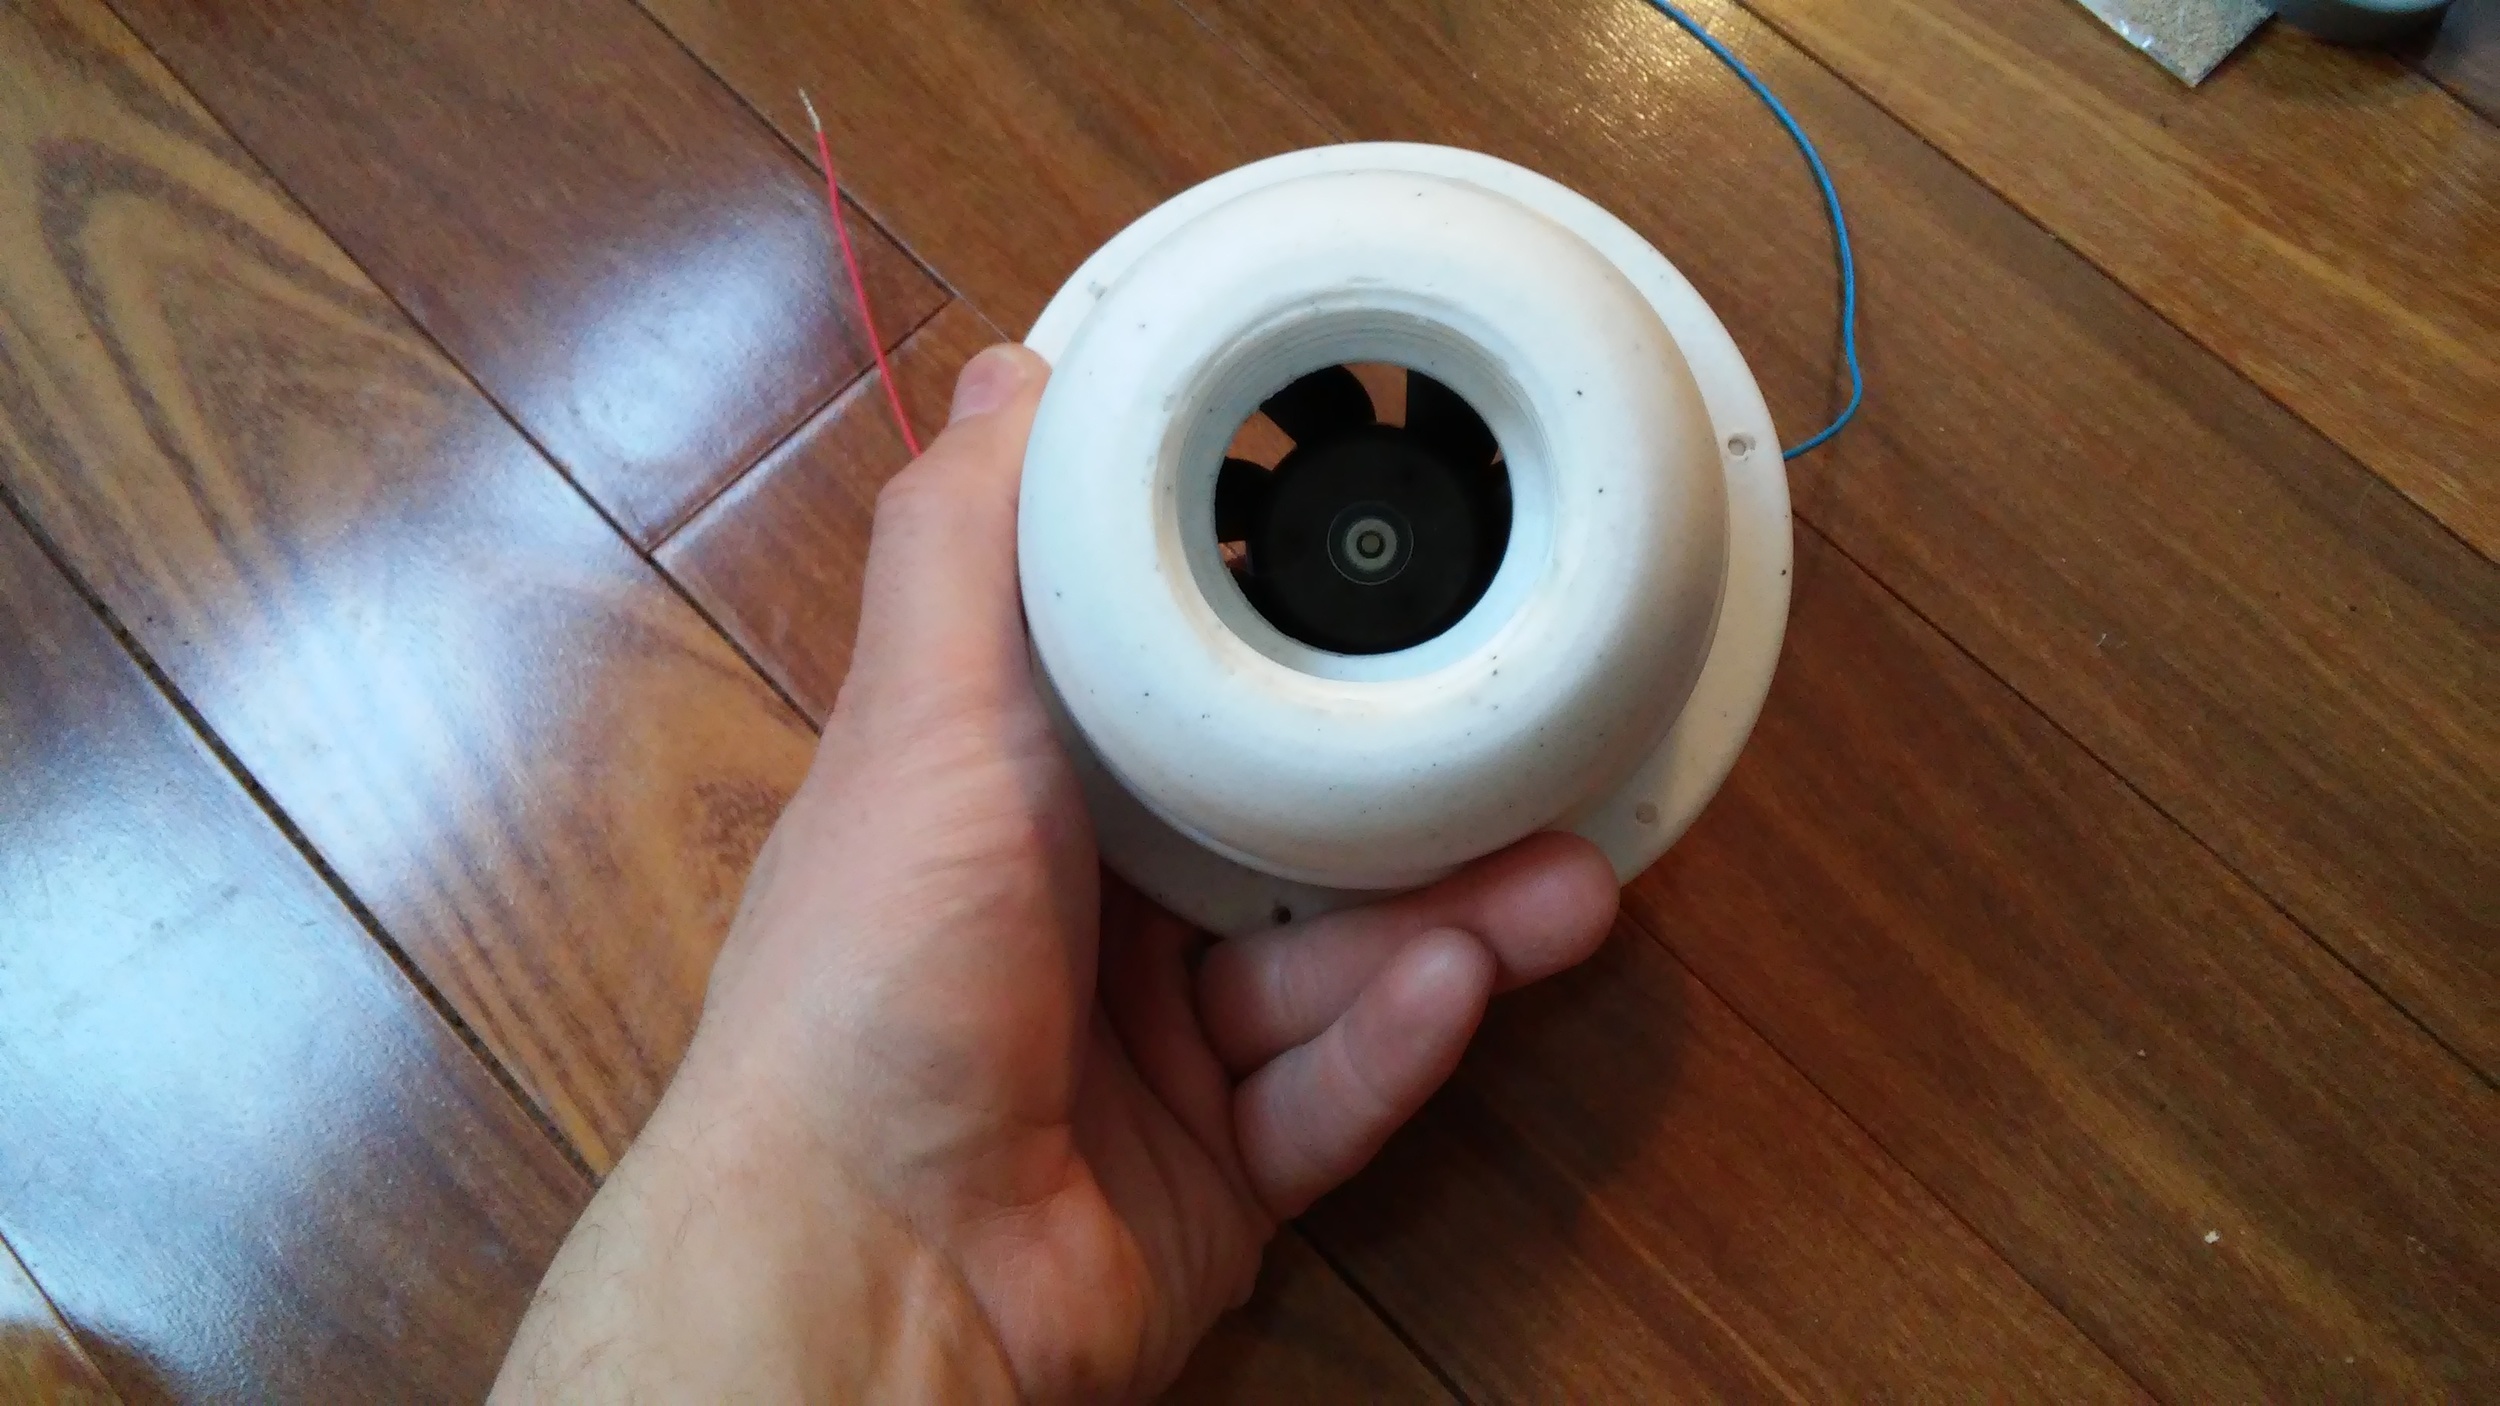
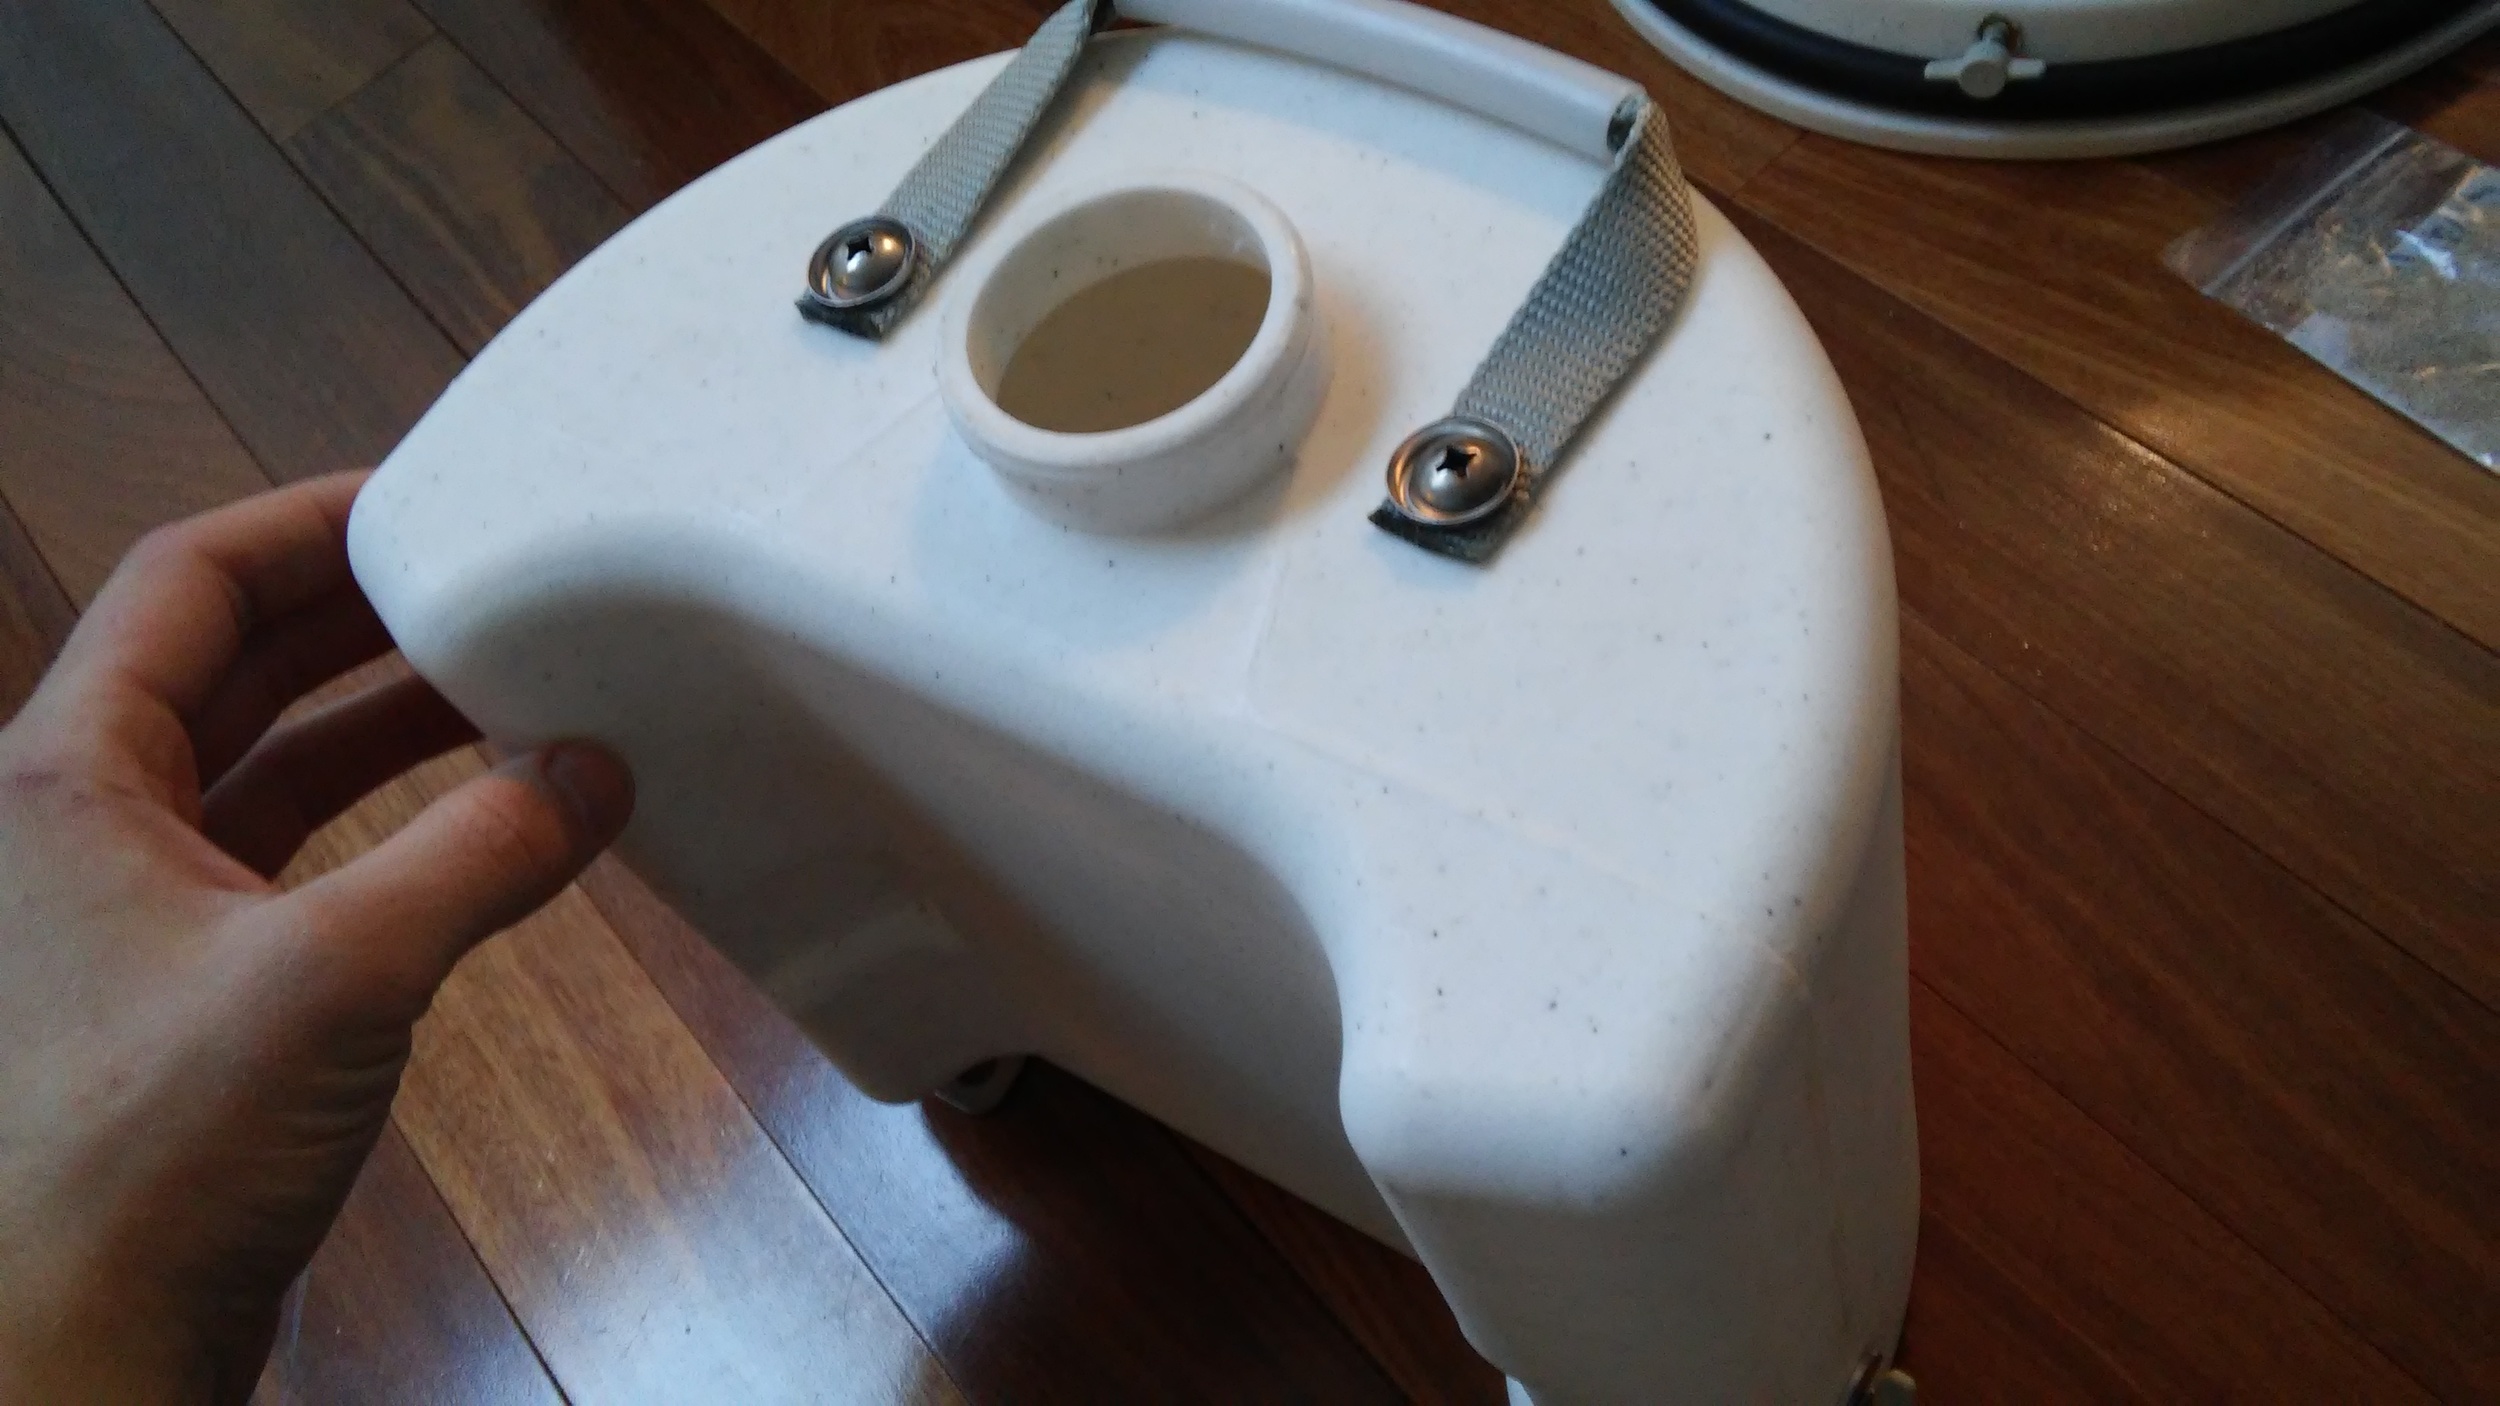
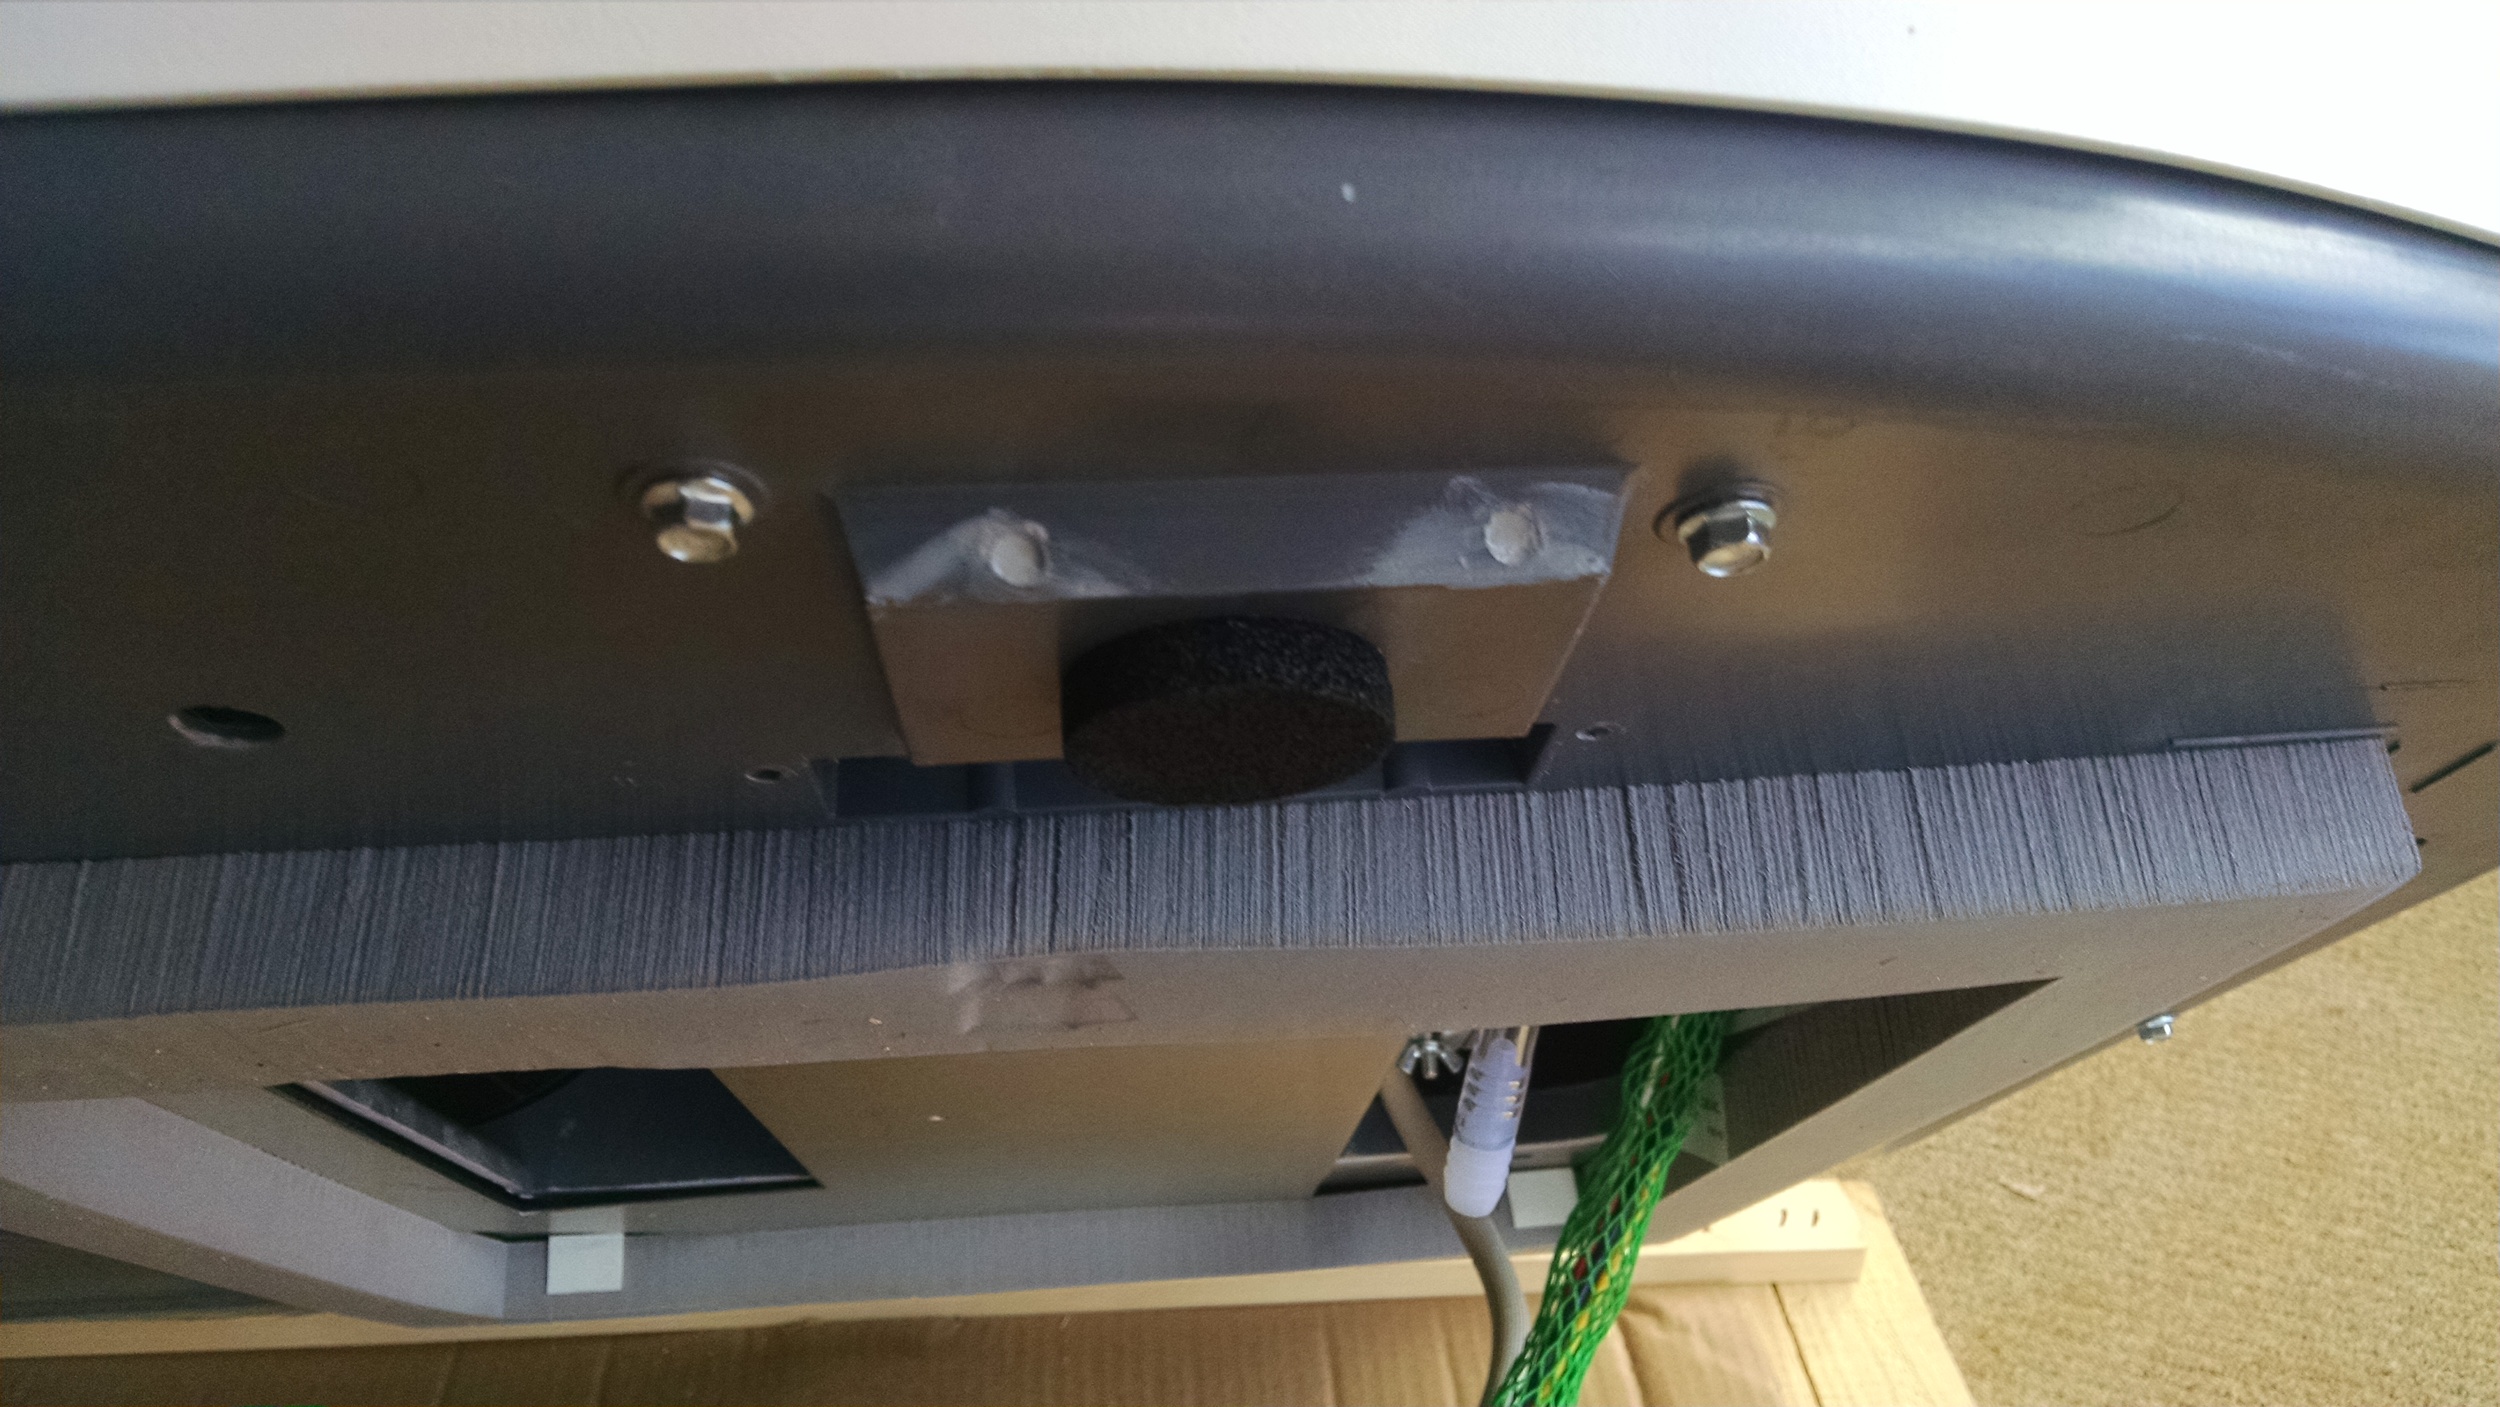
Now, here's the same view from the interior of the coach after the rooftop unit has been installed.  There is a steel frame plate included that pinches the roof to the rooftop unit using four bolts -- one at each corner.  You can just see the edge of the frame in these pictures at the head of the bolts.  To attach the rooftop unit, you just have to get it in place and tighten down each of the four bolts until the white indicator just touches the roof.  Simple.  No need for sealant, and no need to double up on gaskets (I'm looking at you, Penguin).

As with any radial bolt pattern, you want to tighten these bolts evenly, together.  So, get a little tension on one bolt, then put the same amount of tension on the bolt across from it, then do the other two before putting a little more tension on the first and repeat.  Same as when you change a tire.

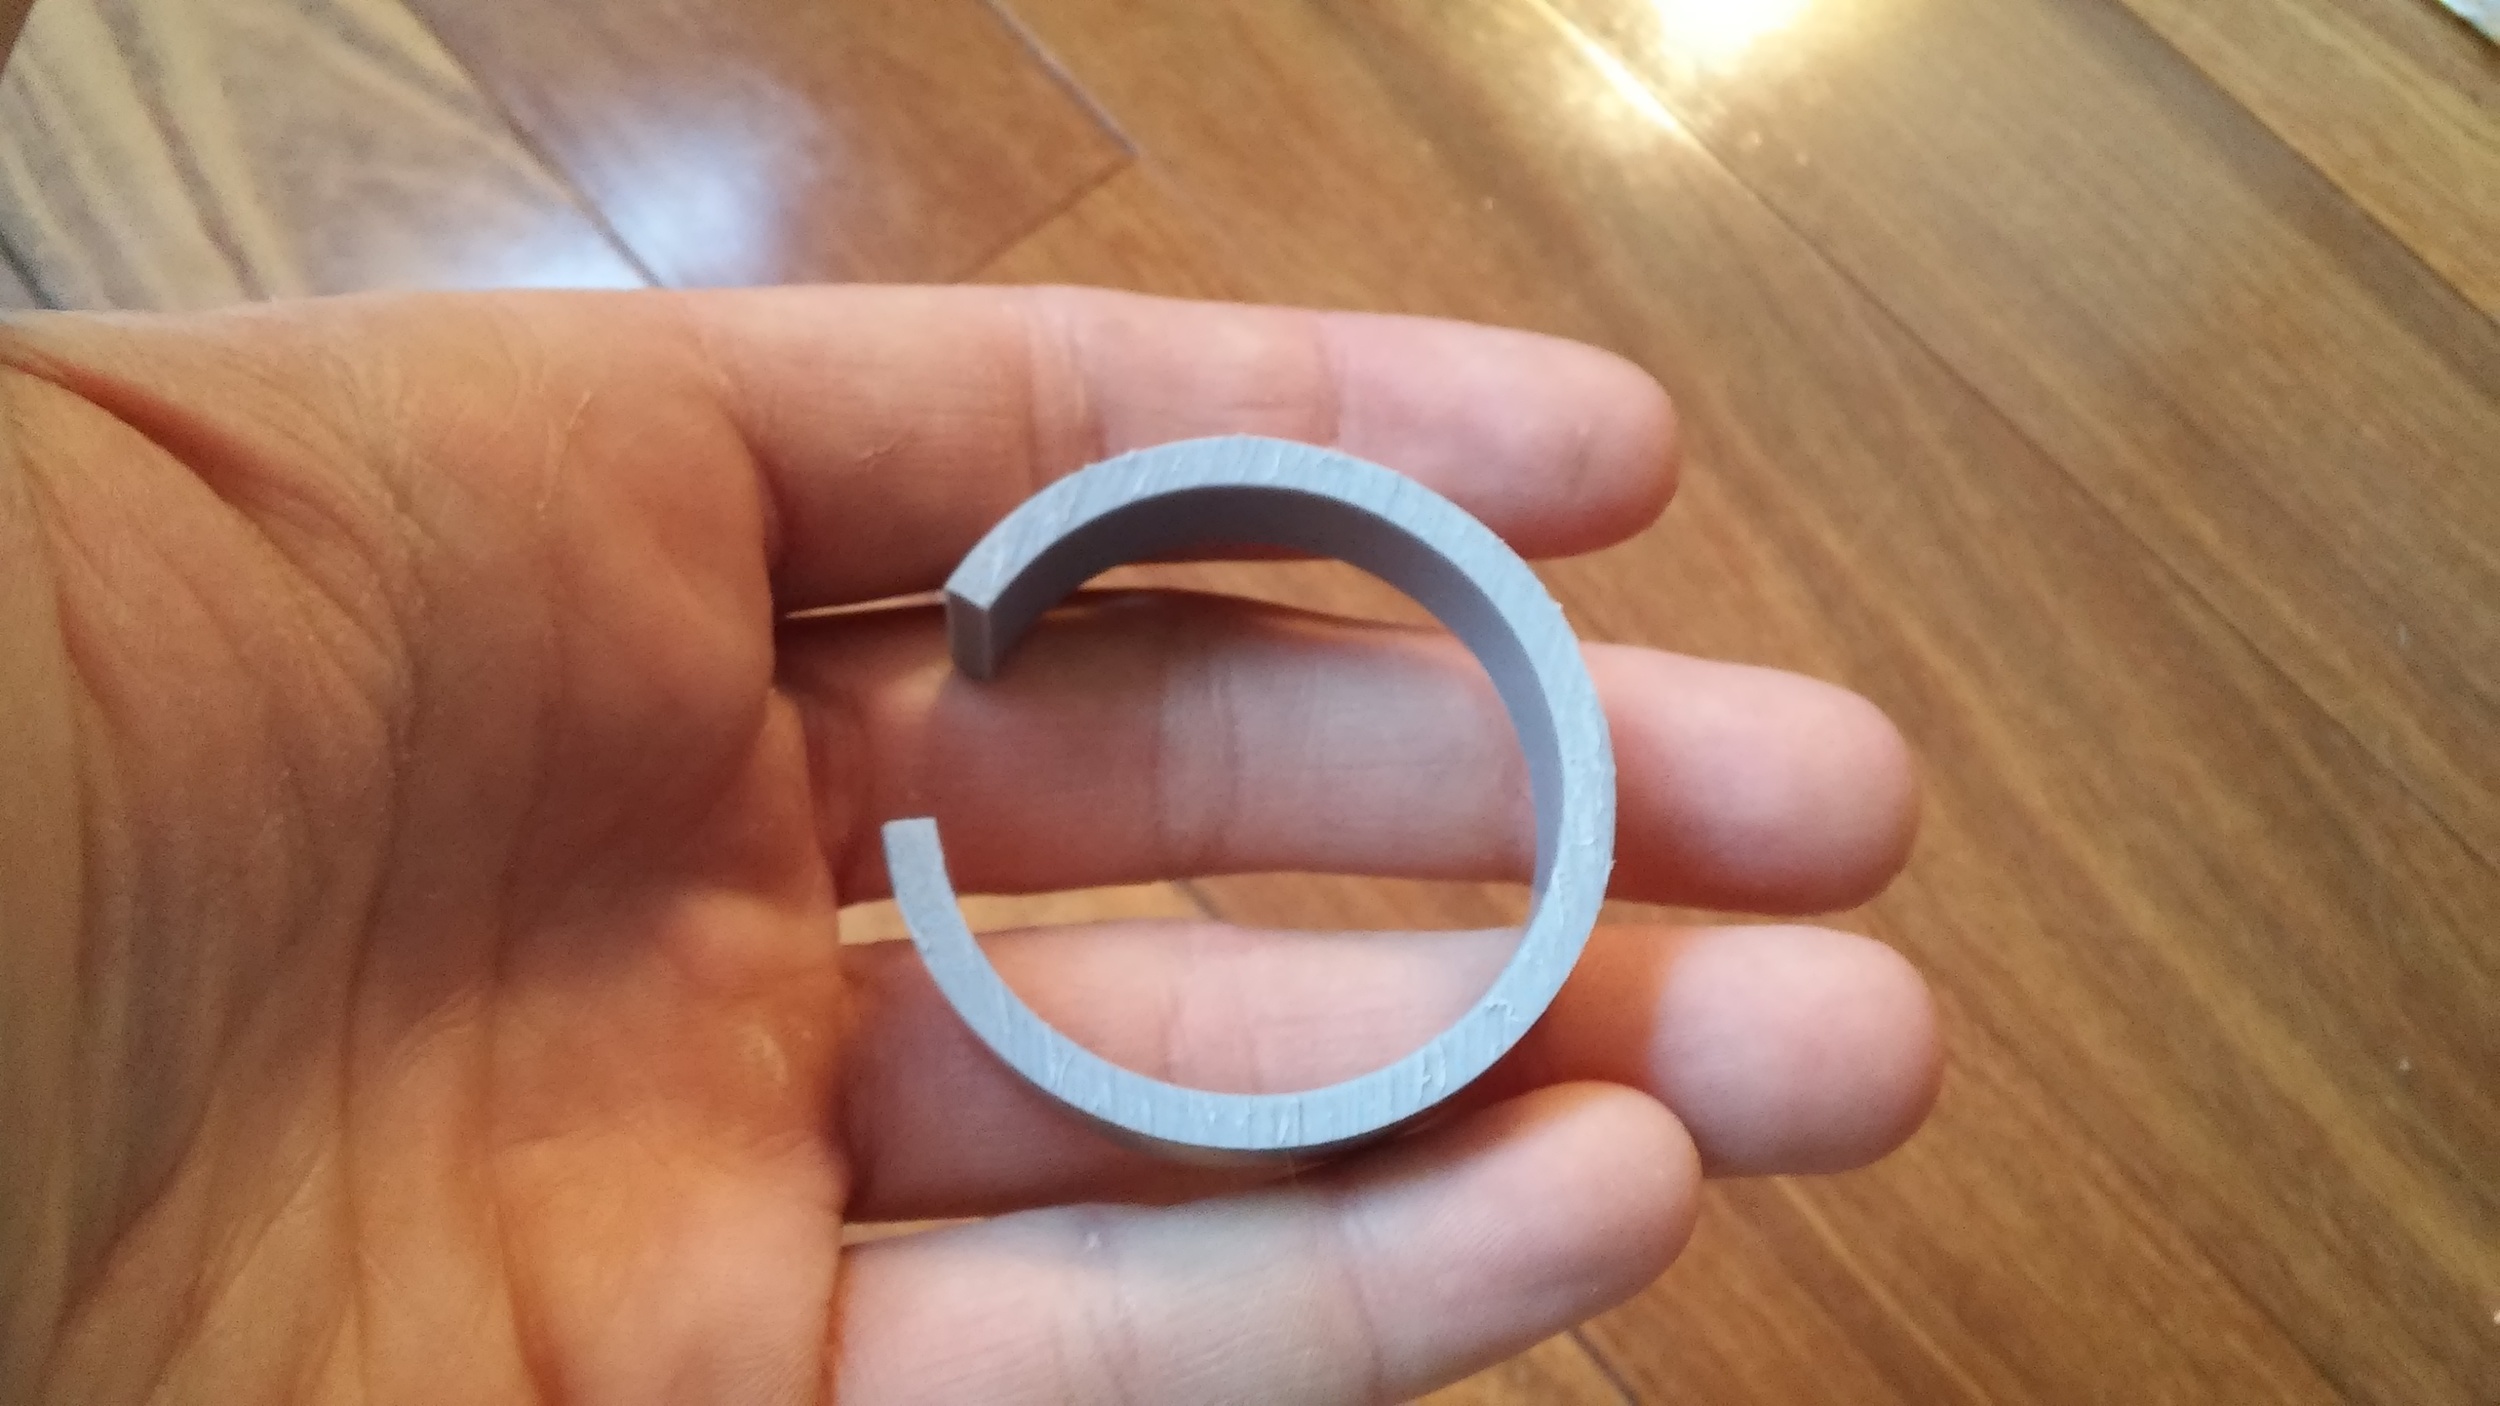
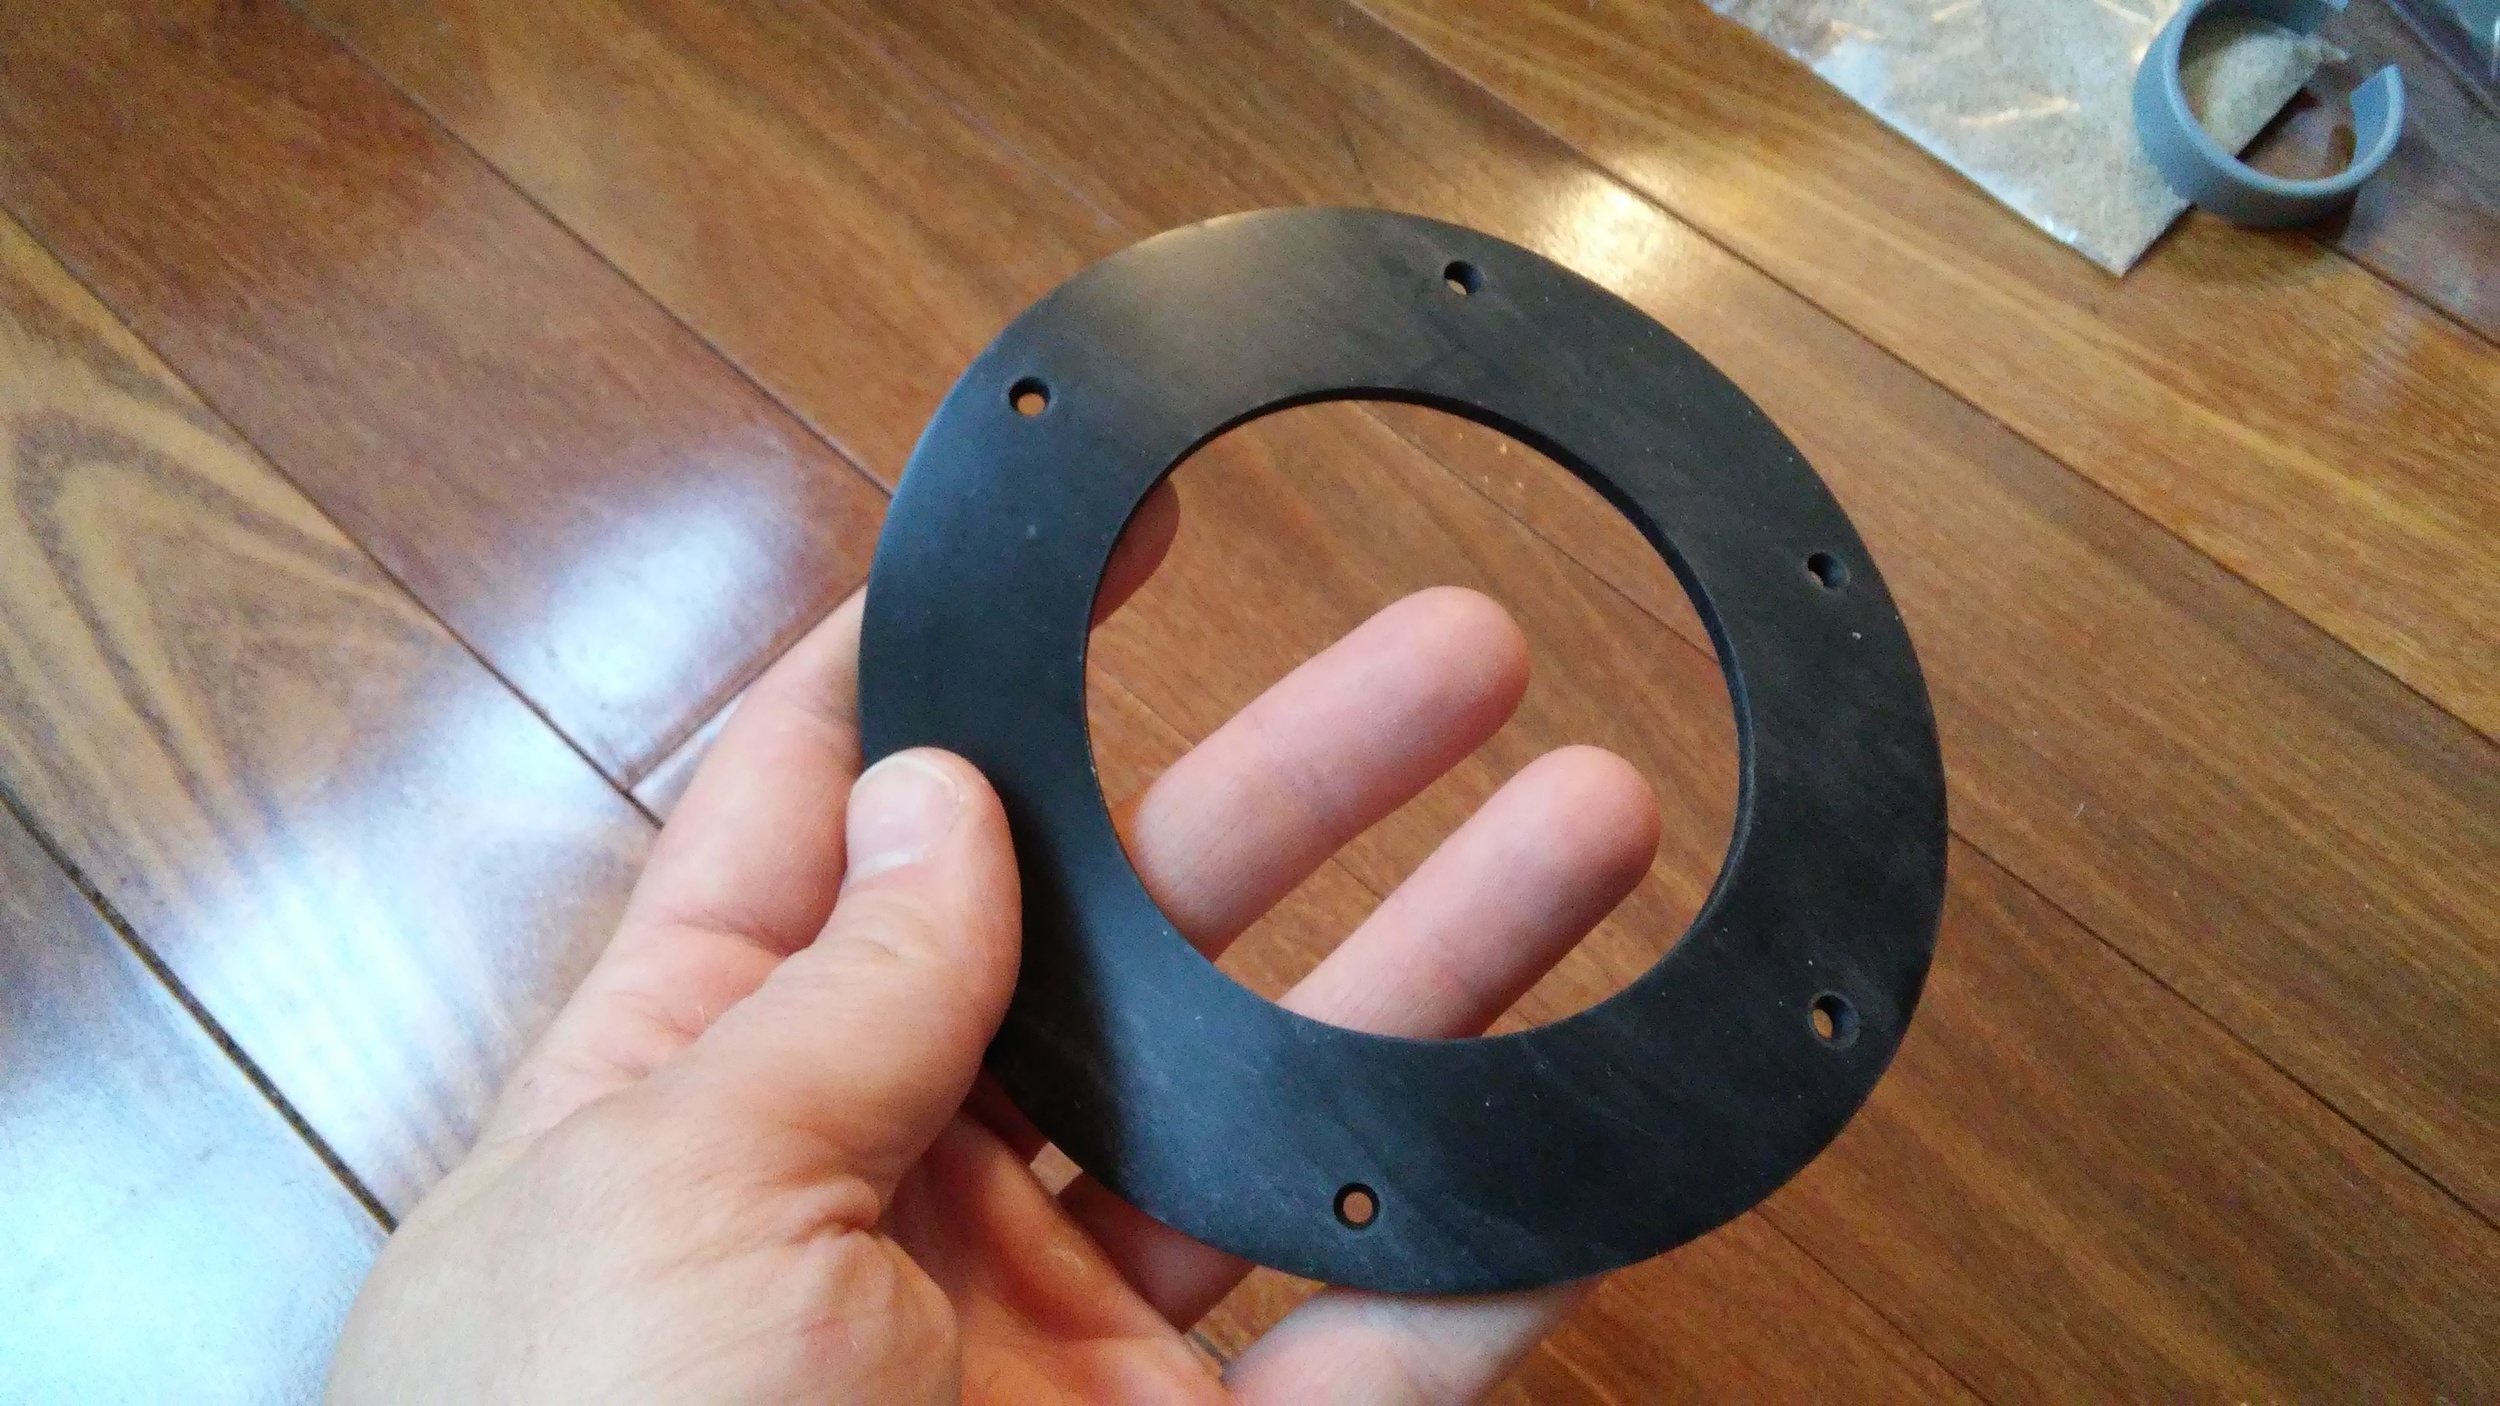
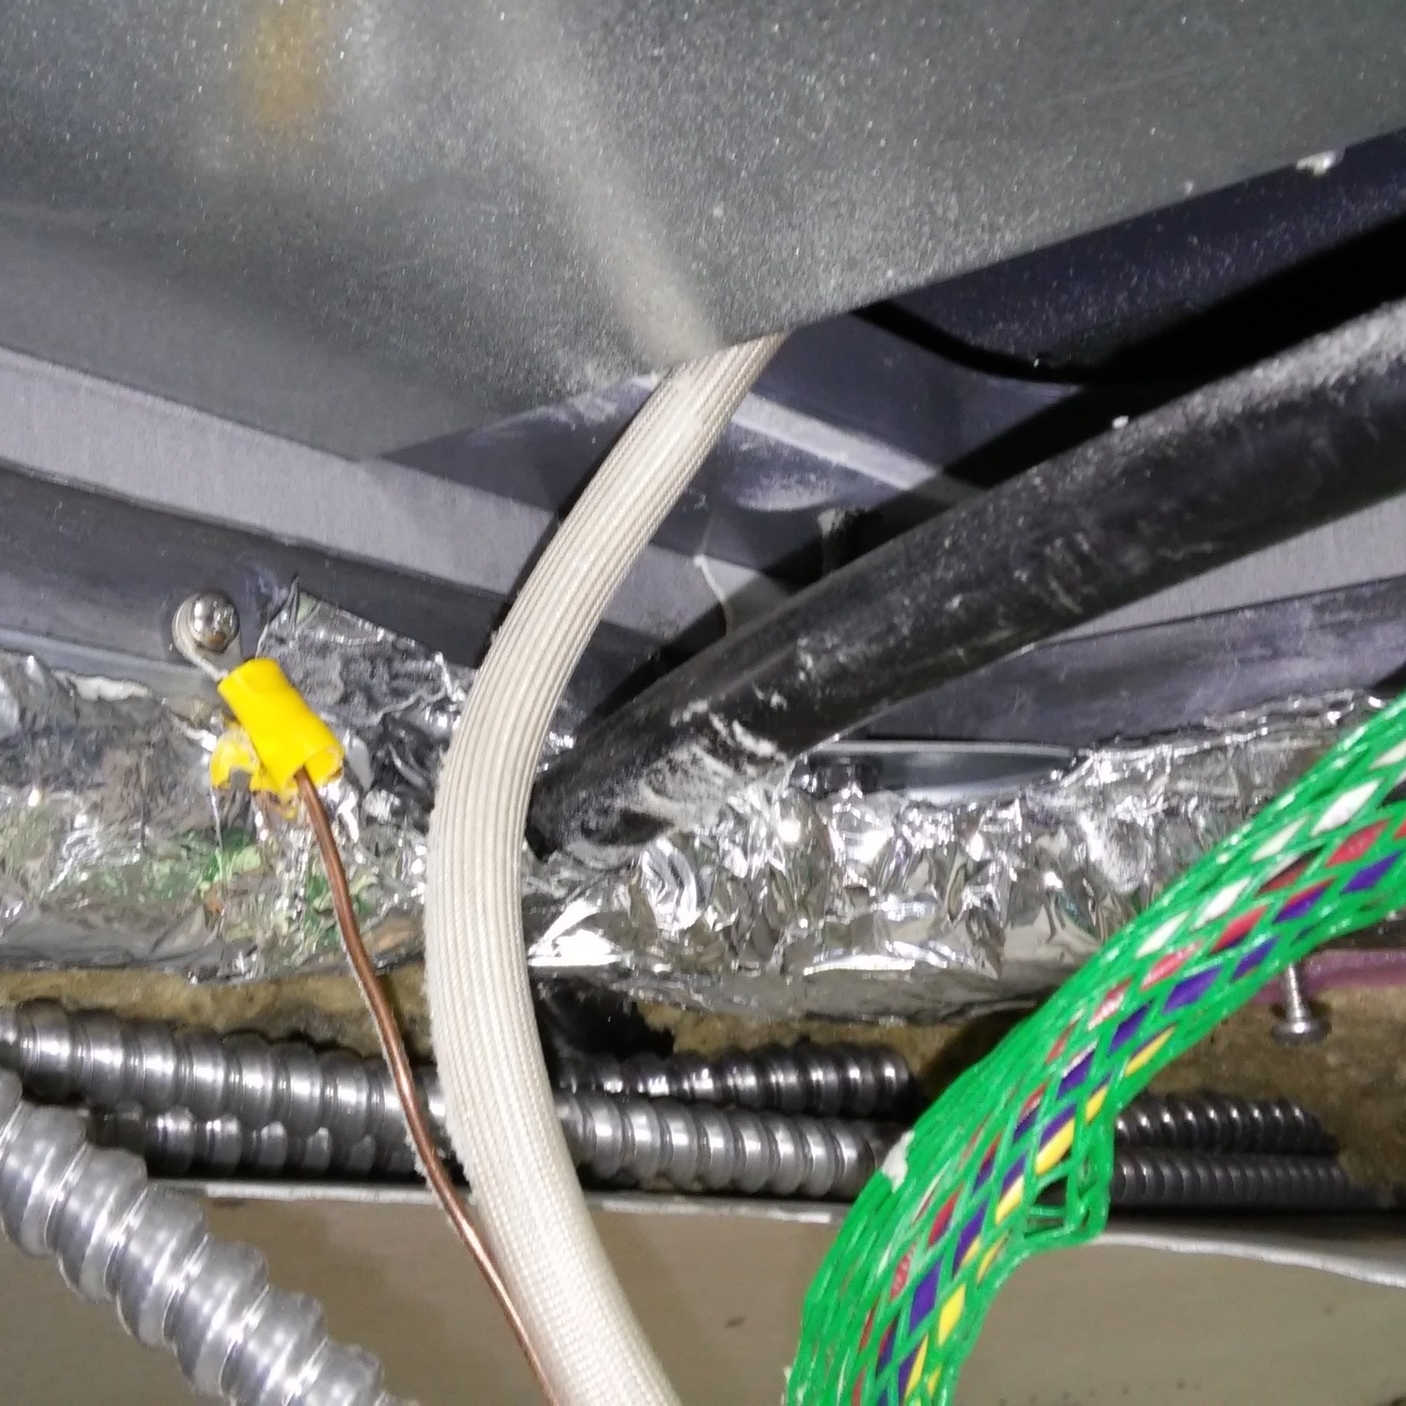
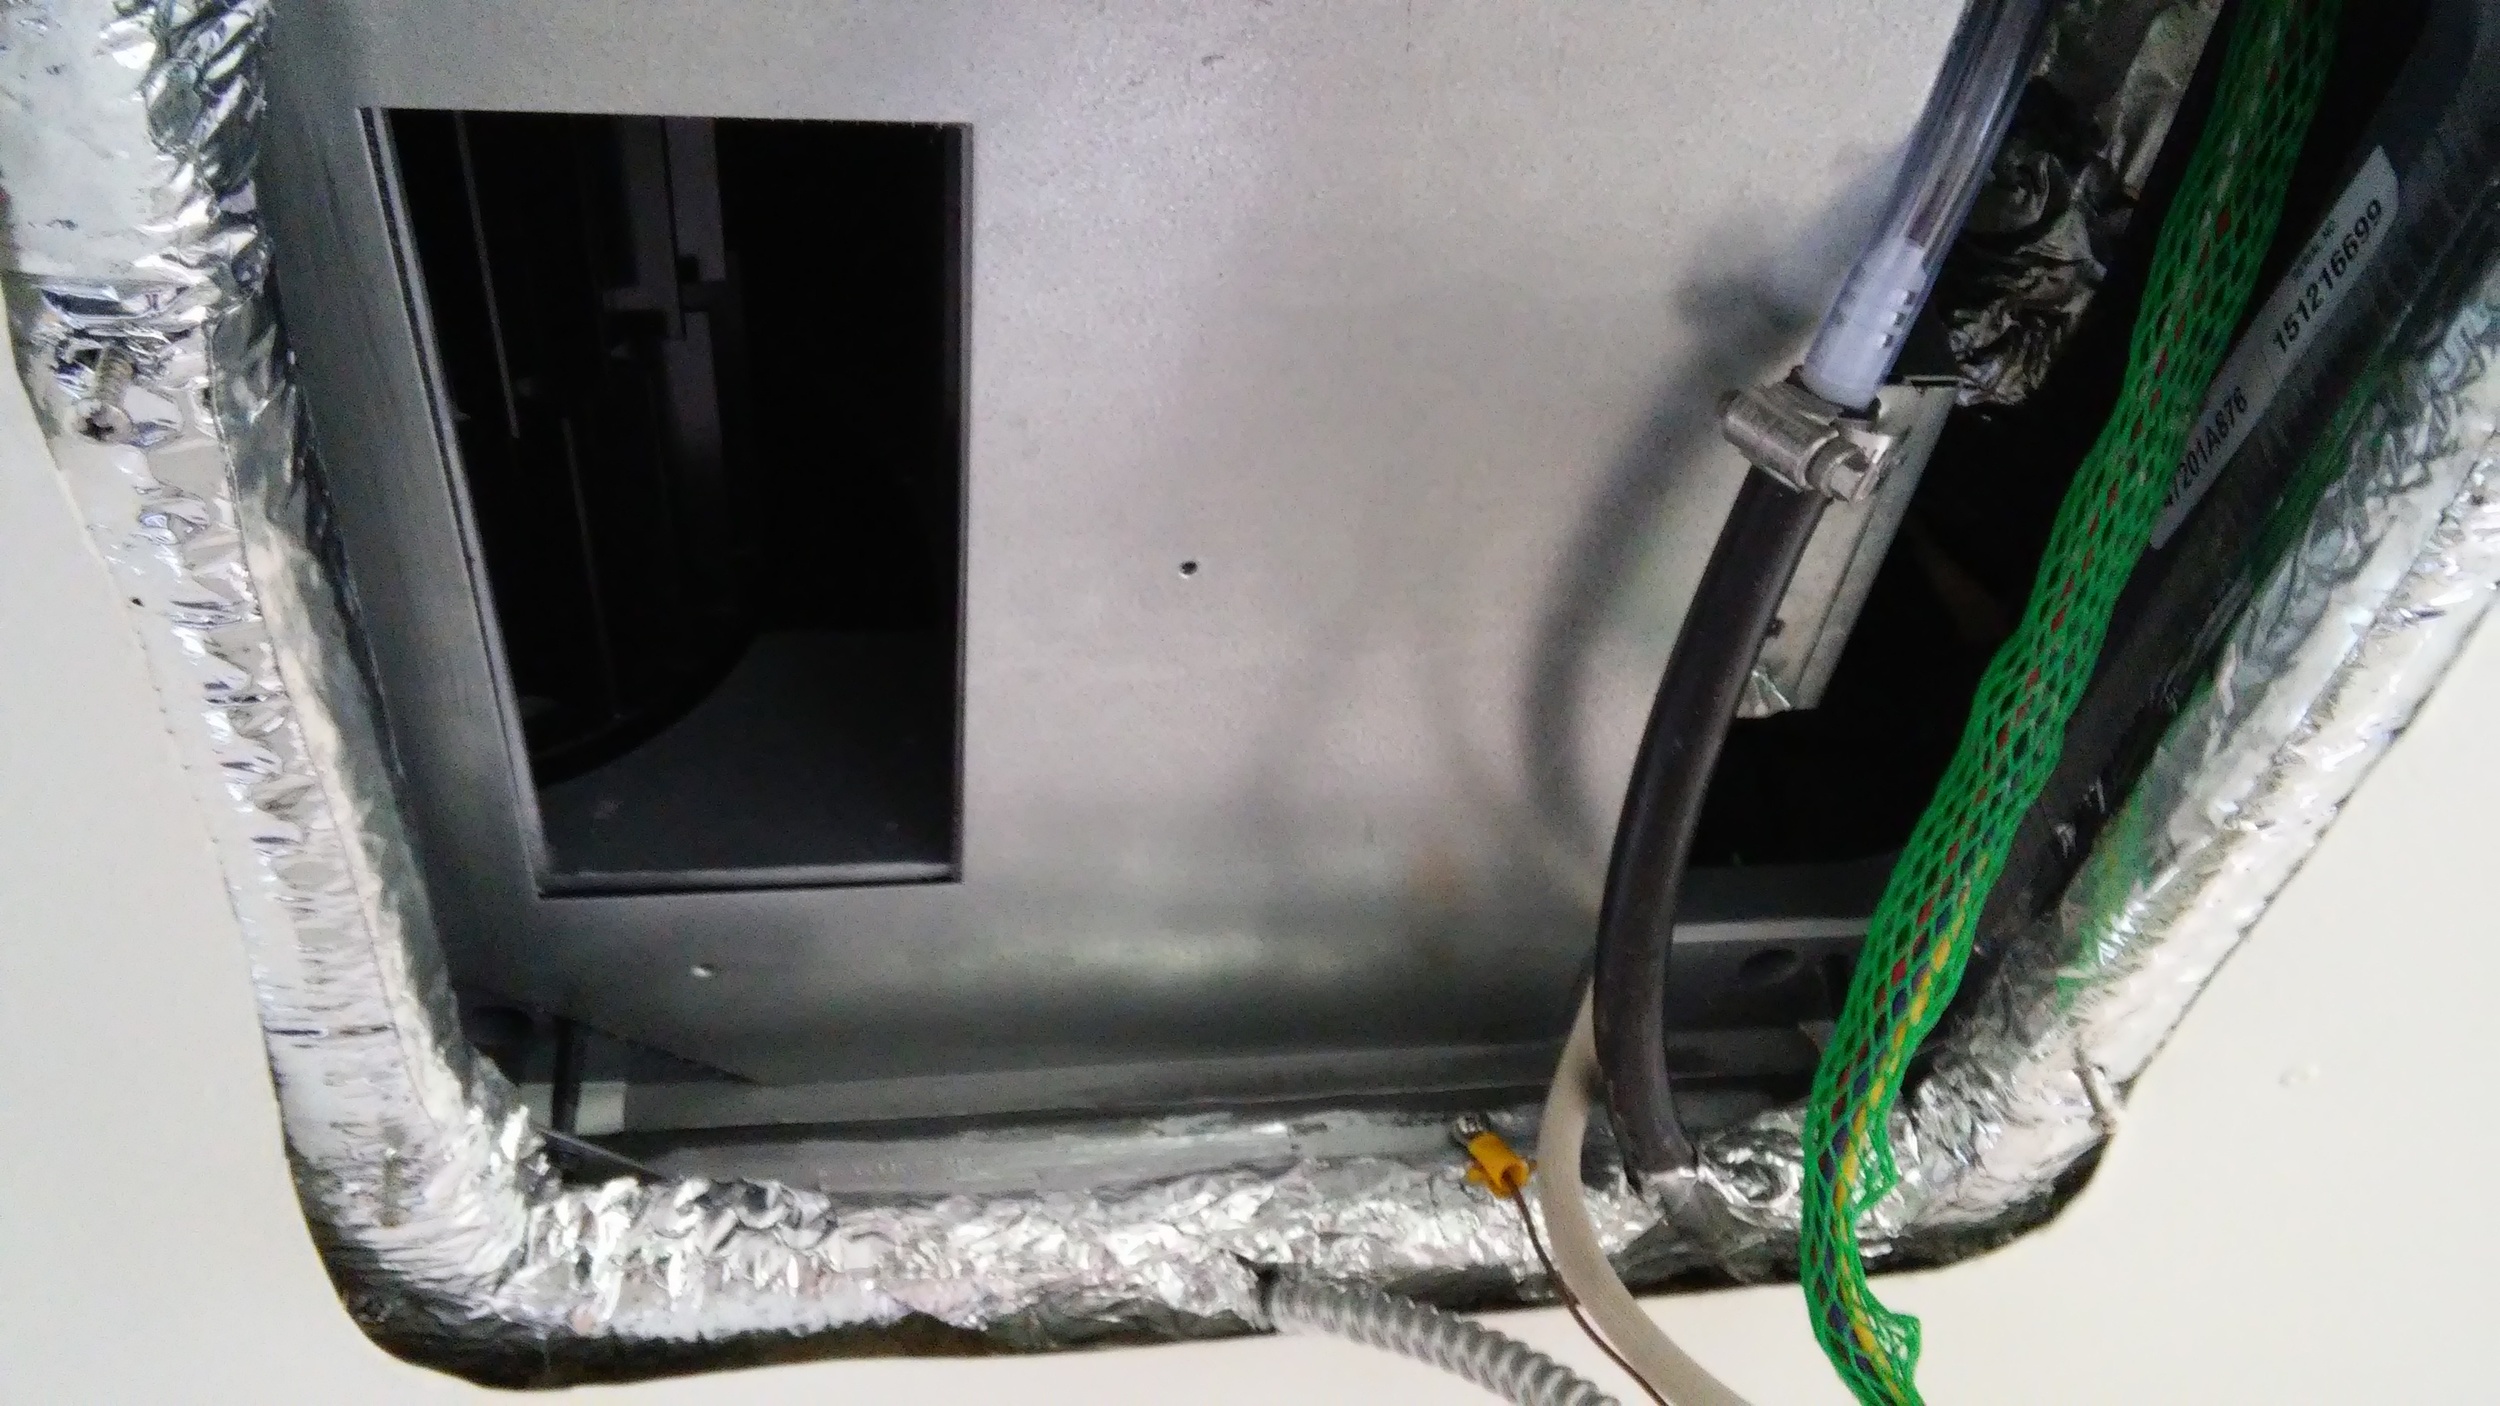
Technically, the steel plate is supposed to go below the ceiling inside the coach, not inside the ceiling.  But I reinforced the opening with 1" square aluminum tube and not 1-1/2" tube to match the ceiling thickness, and I wanted to put the steel plate directly against the reinforcement for stability.  So, I put the plate inside the ceiling and added some rigid foam insulation and a layer of Reflectix below to fill out the additional space.  I'm happy with this choice because I was able to notch out the insulation to route the drain and electric through, rather than having to drill holes in the reinforcement tube.  It does mean I need longer screws to attach the ceiling assembly because the ceiling assembly is meant to attach to the metal plate.

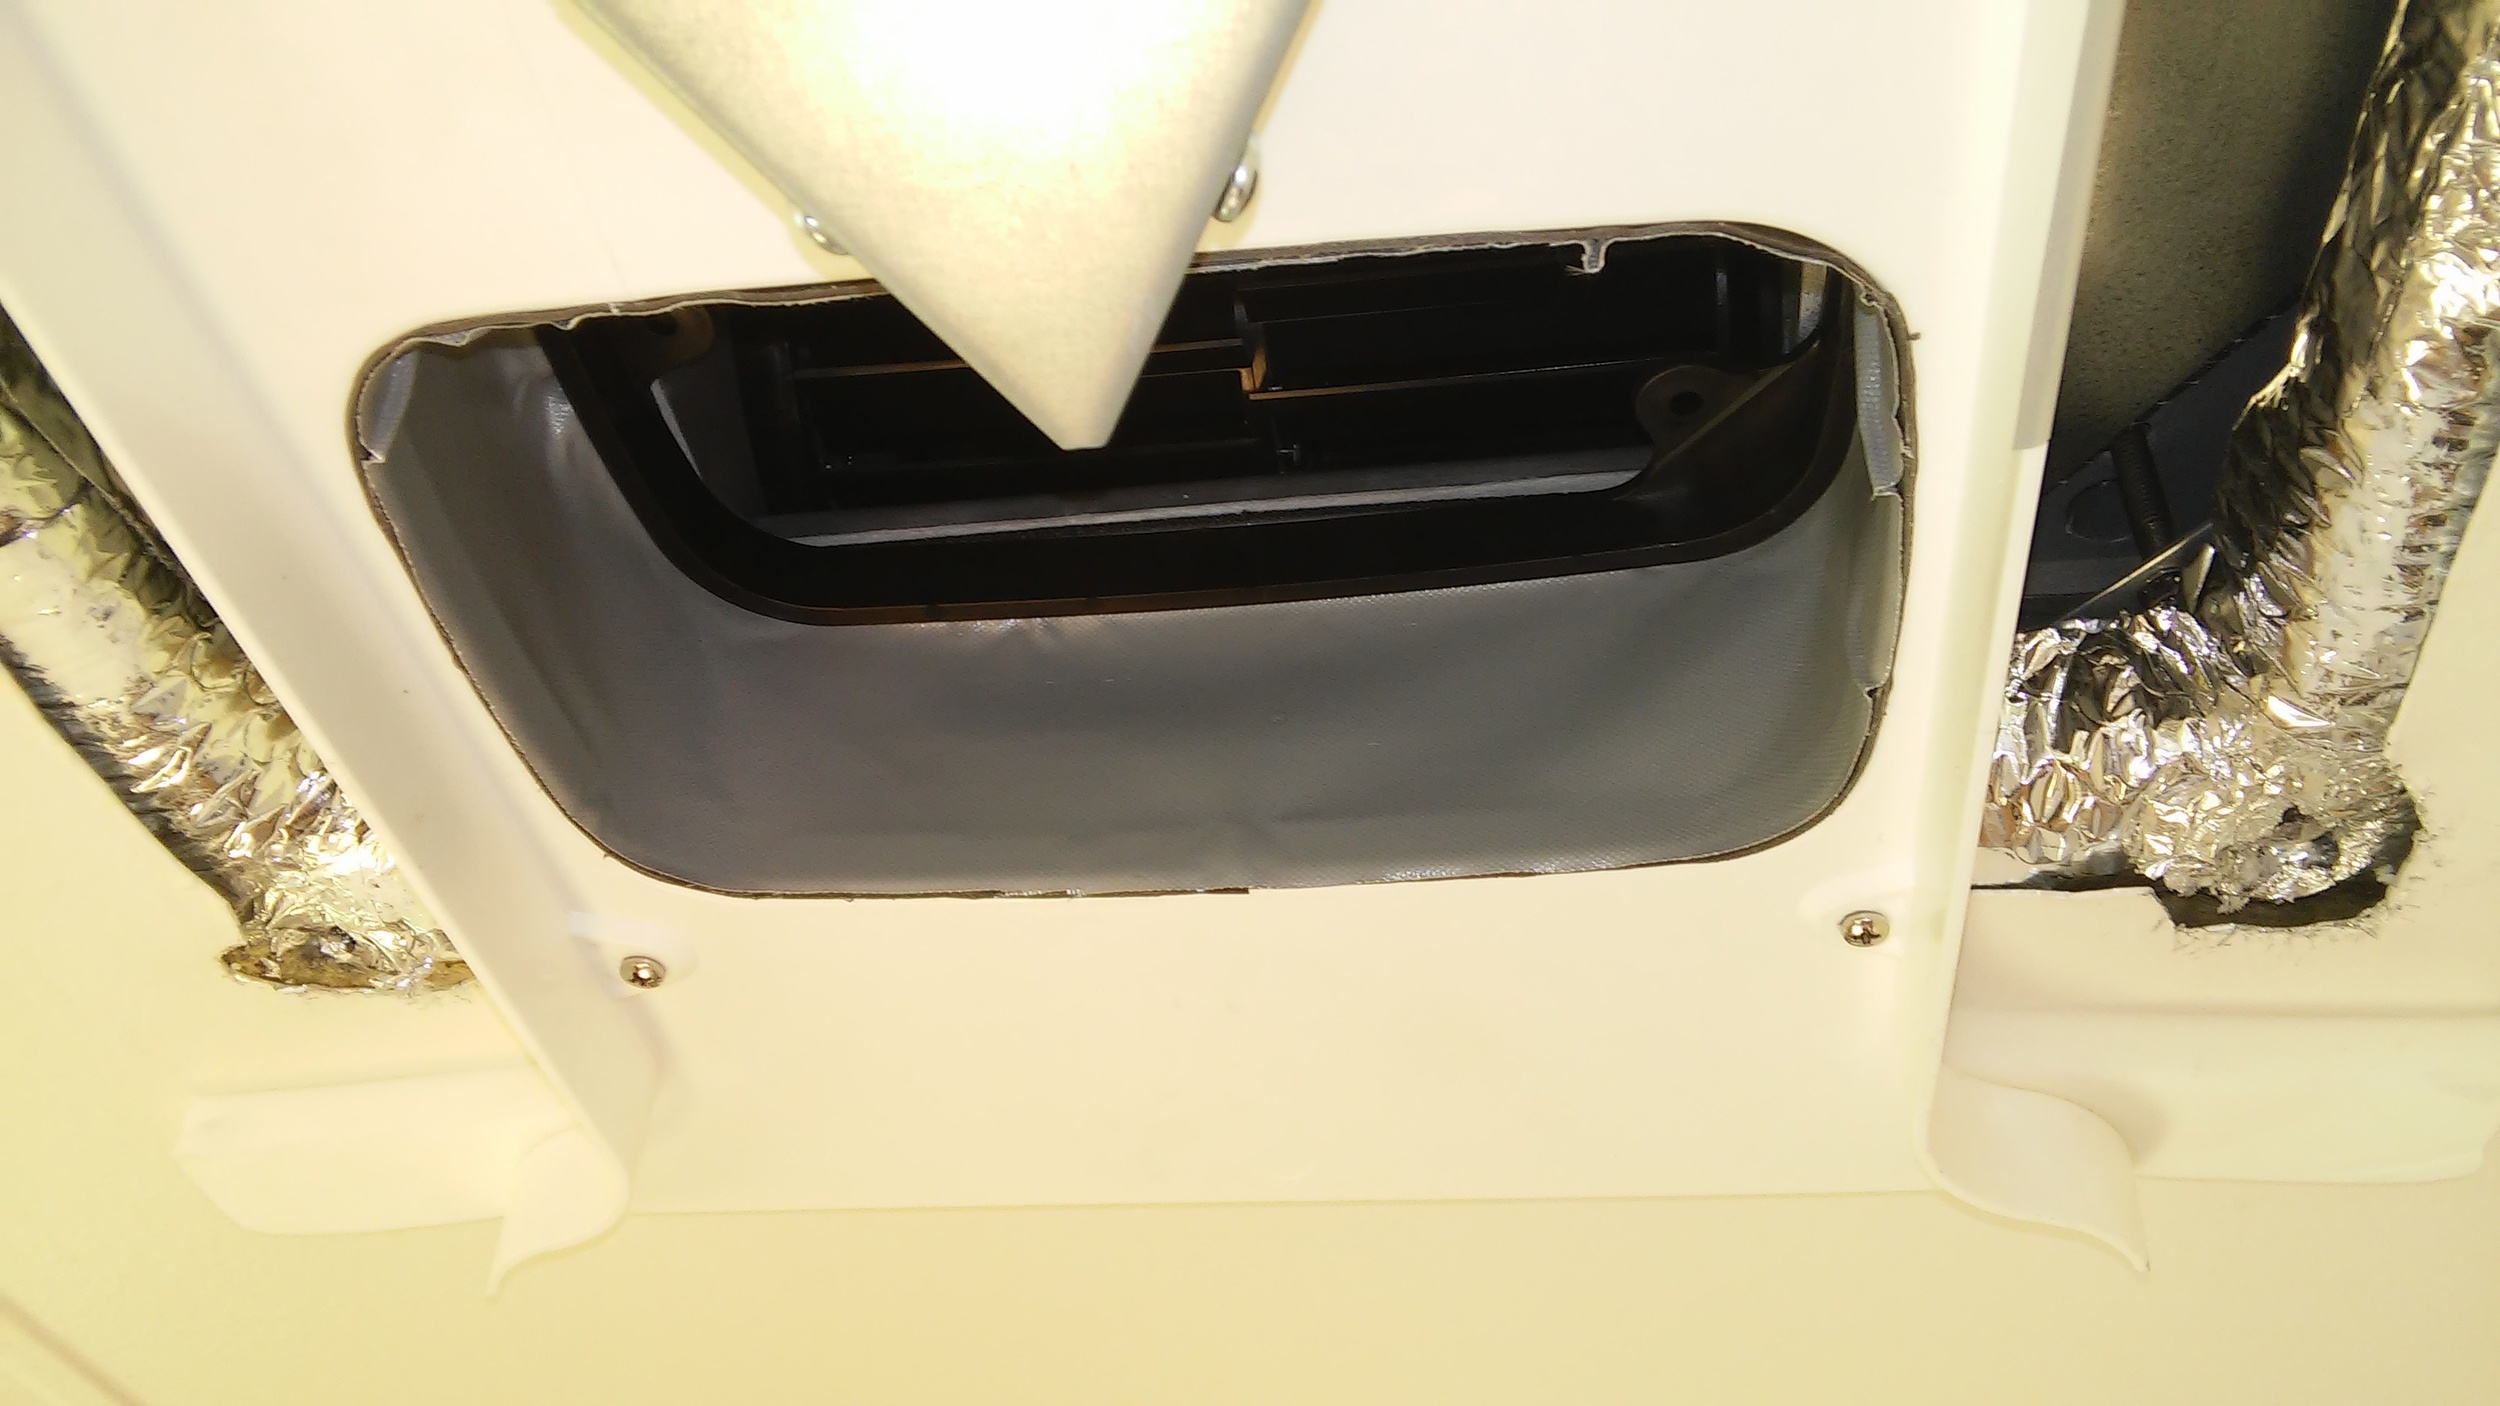
Now that we're all caught up, here's where we're at: interior ceiling assembly installation.

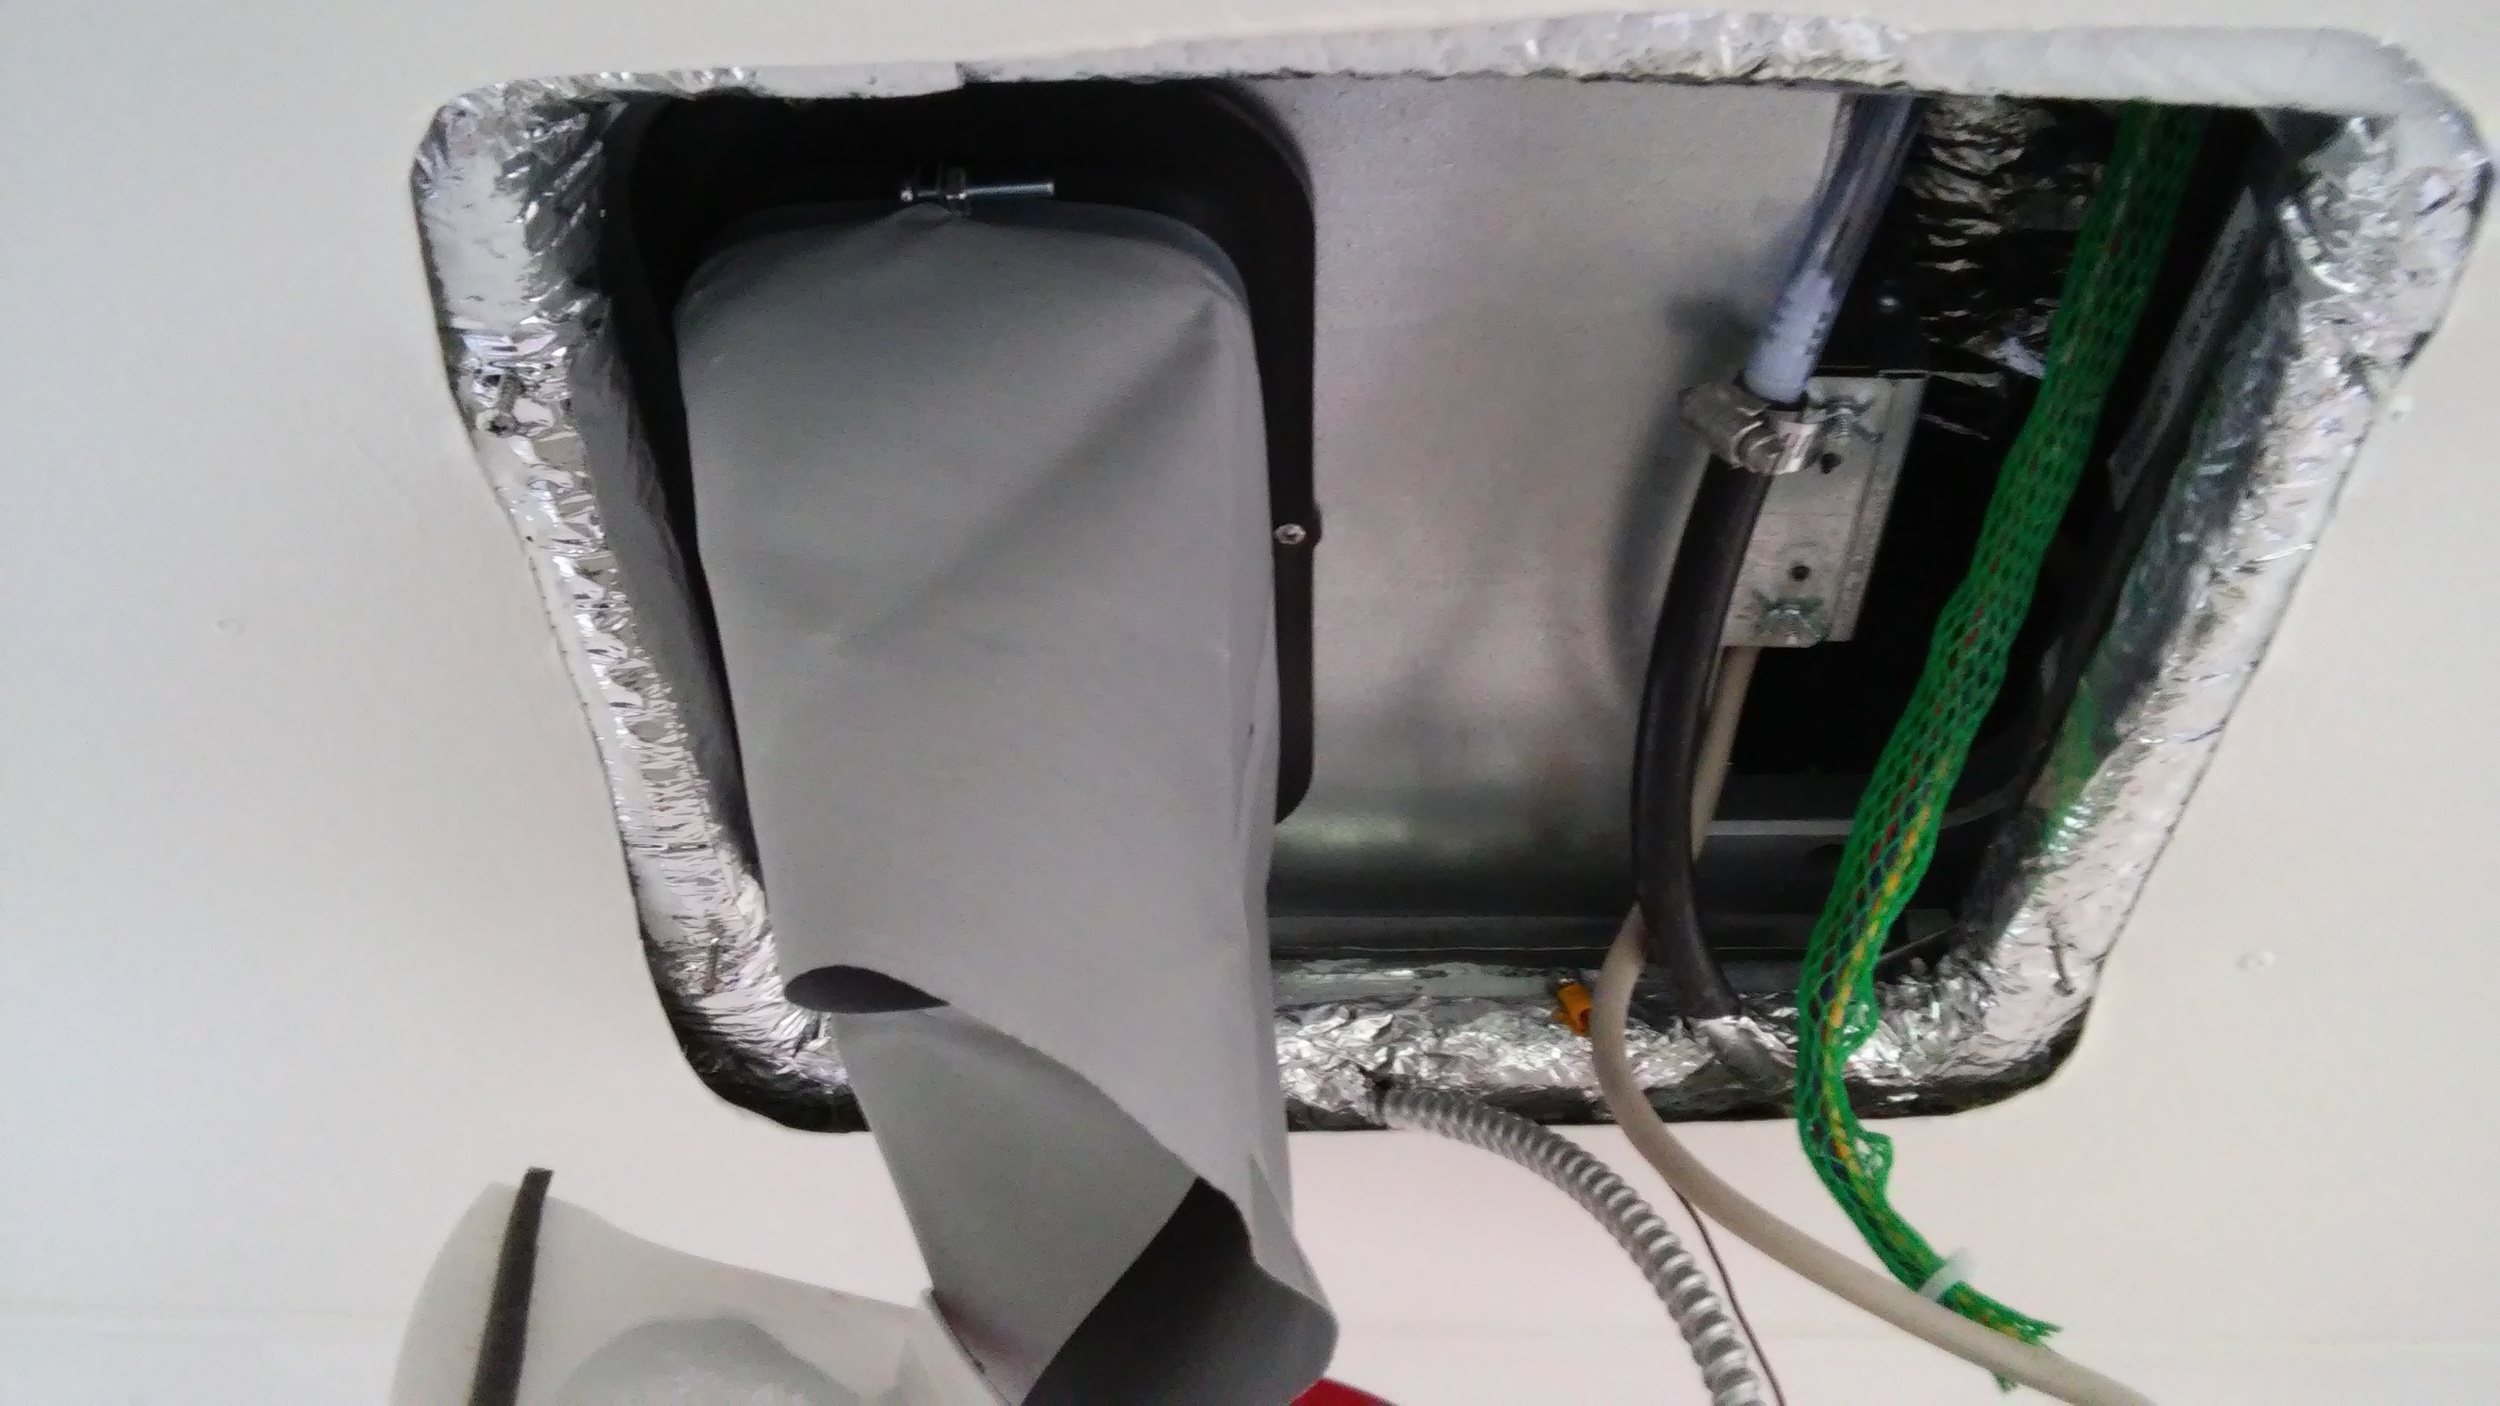
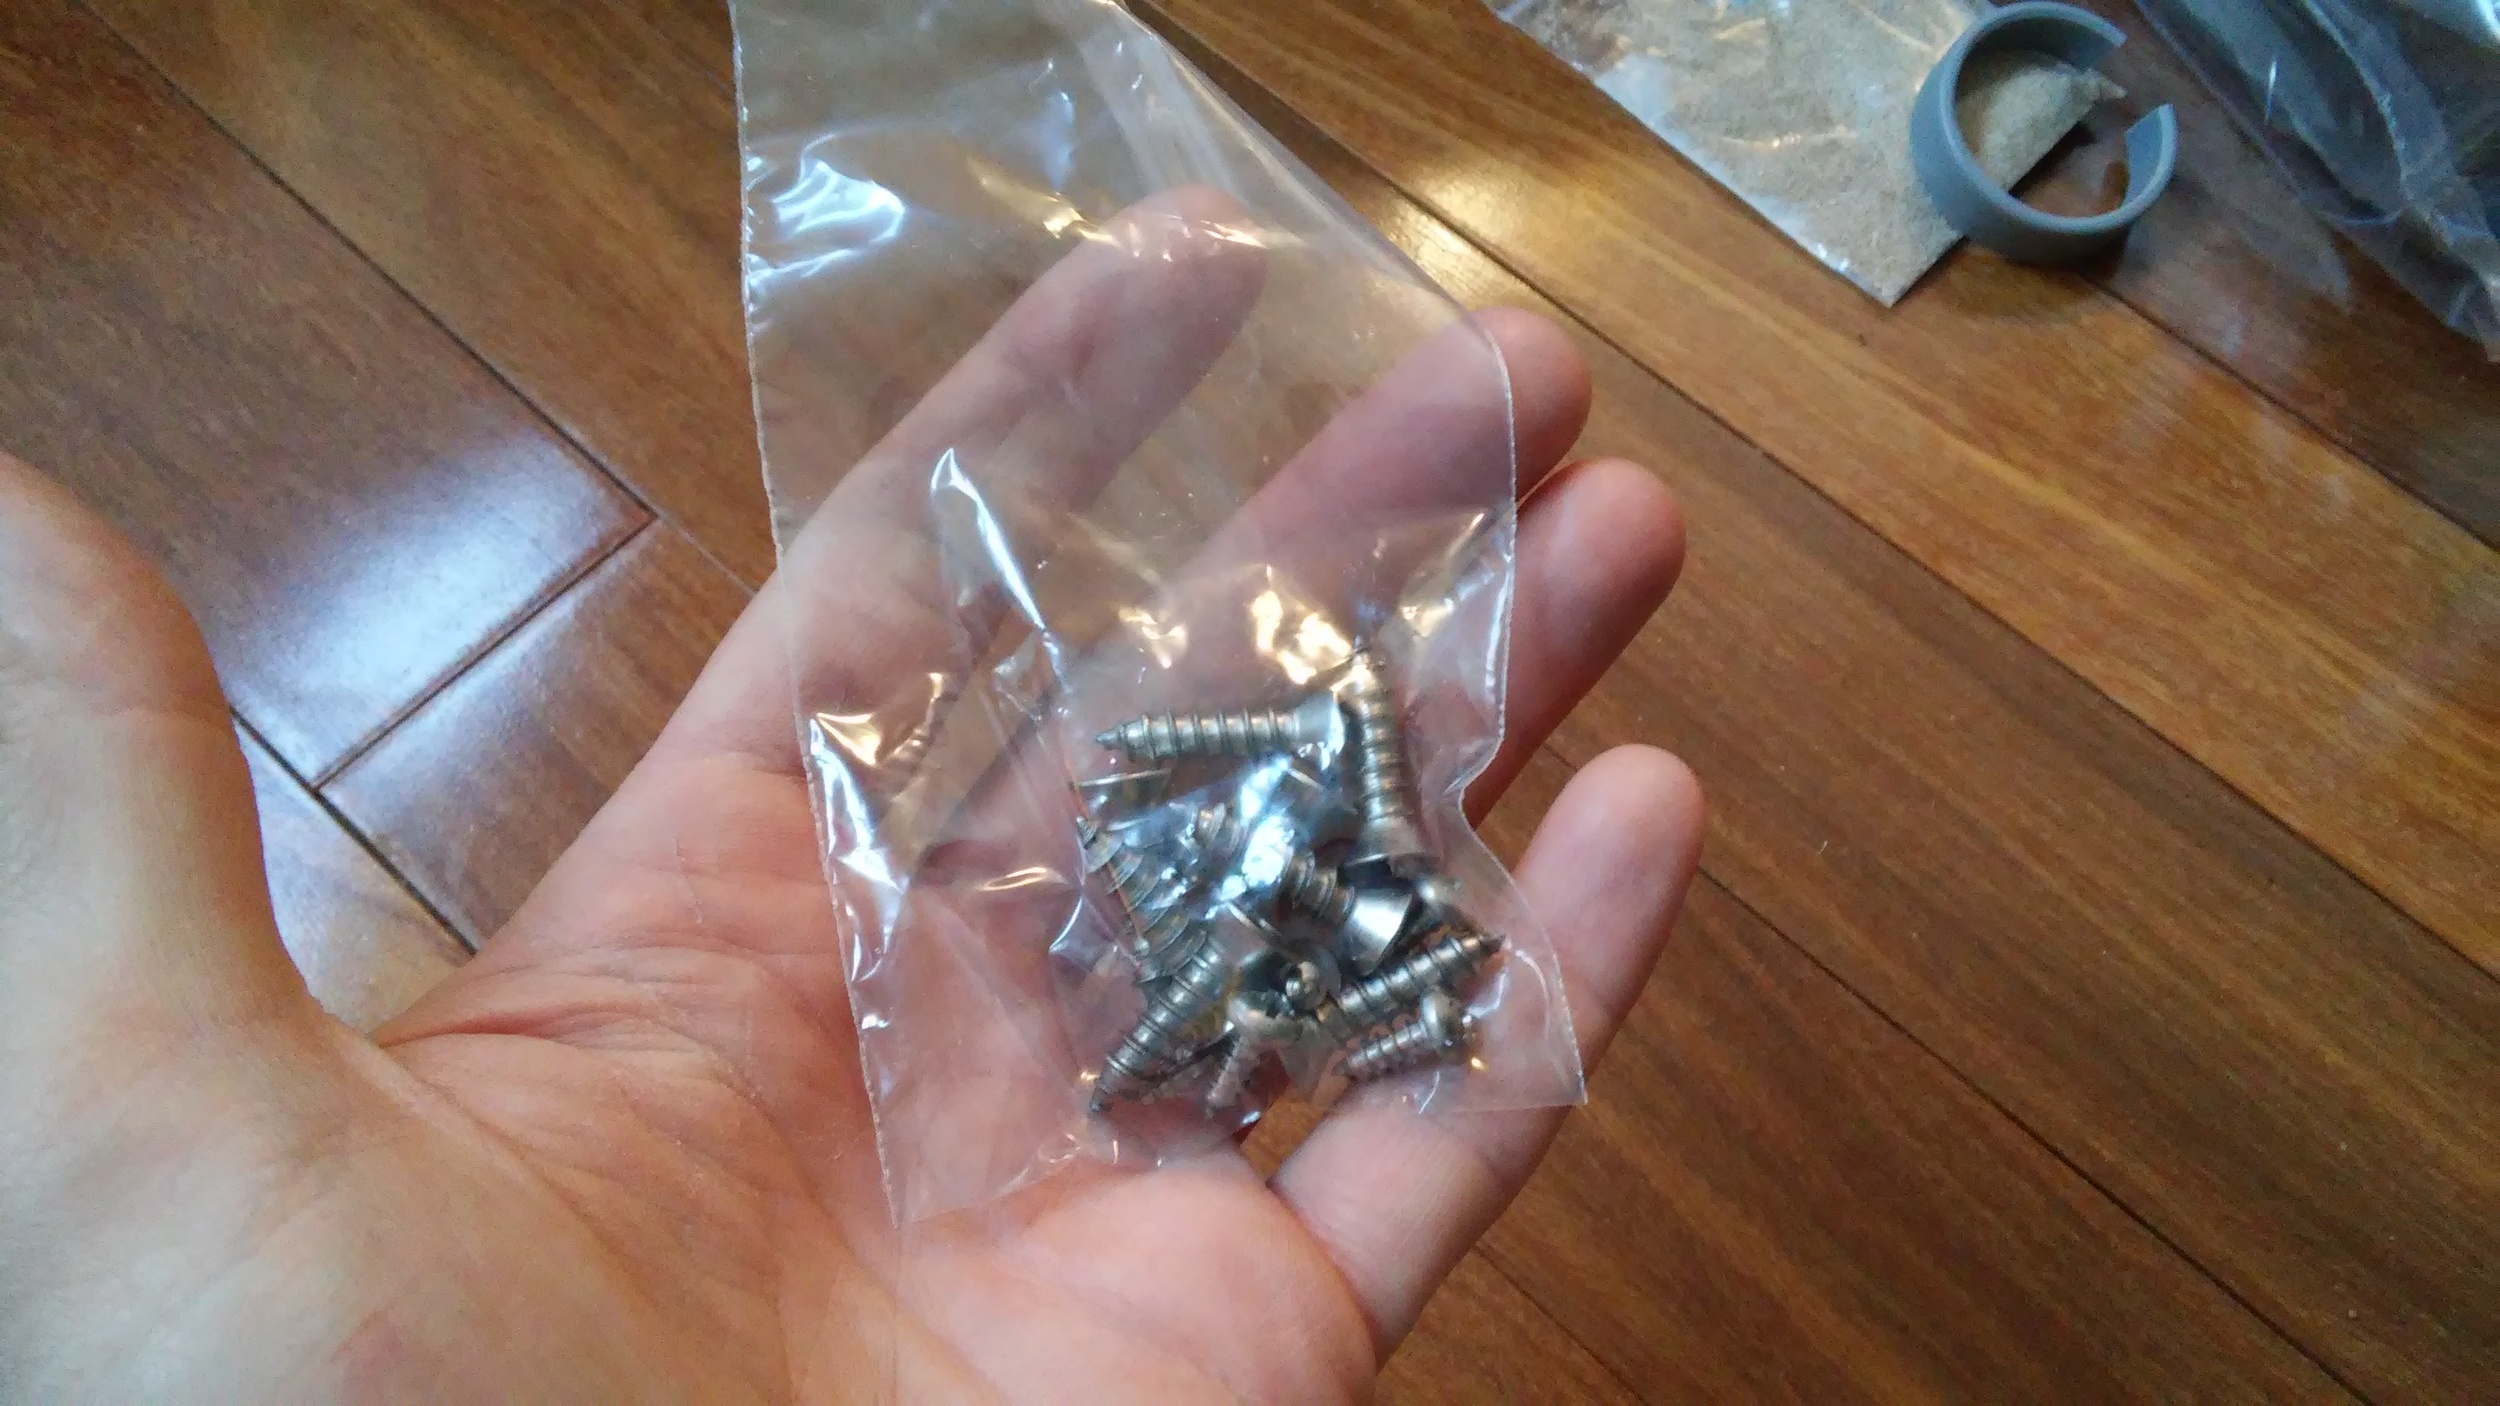
Now, before we permanently attach the duct to the ceiling assembly with the 3M VHB tape, I want to test-fit the rest of the ceiling assembly.  That revealed that I need the inner part of the ceiling assembly to stand off the roof about 1/2" to accommodate the convex curve of the ceiling.  So, I got some 2" #8 SS screws and some white high density rubber foam strips from the local orange box and installed it above the ceiling assembly like so:

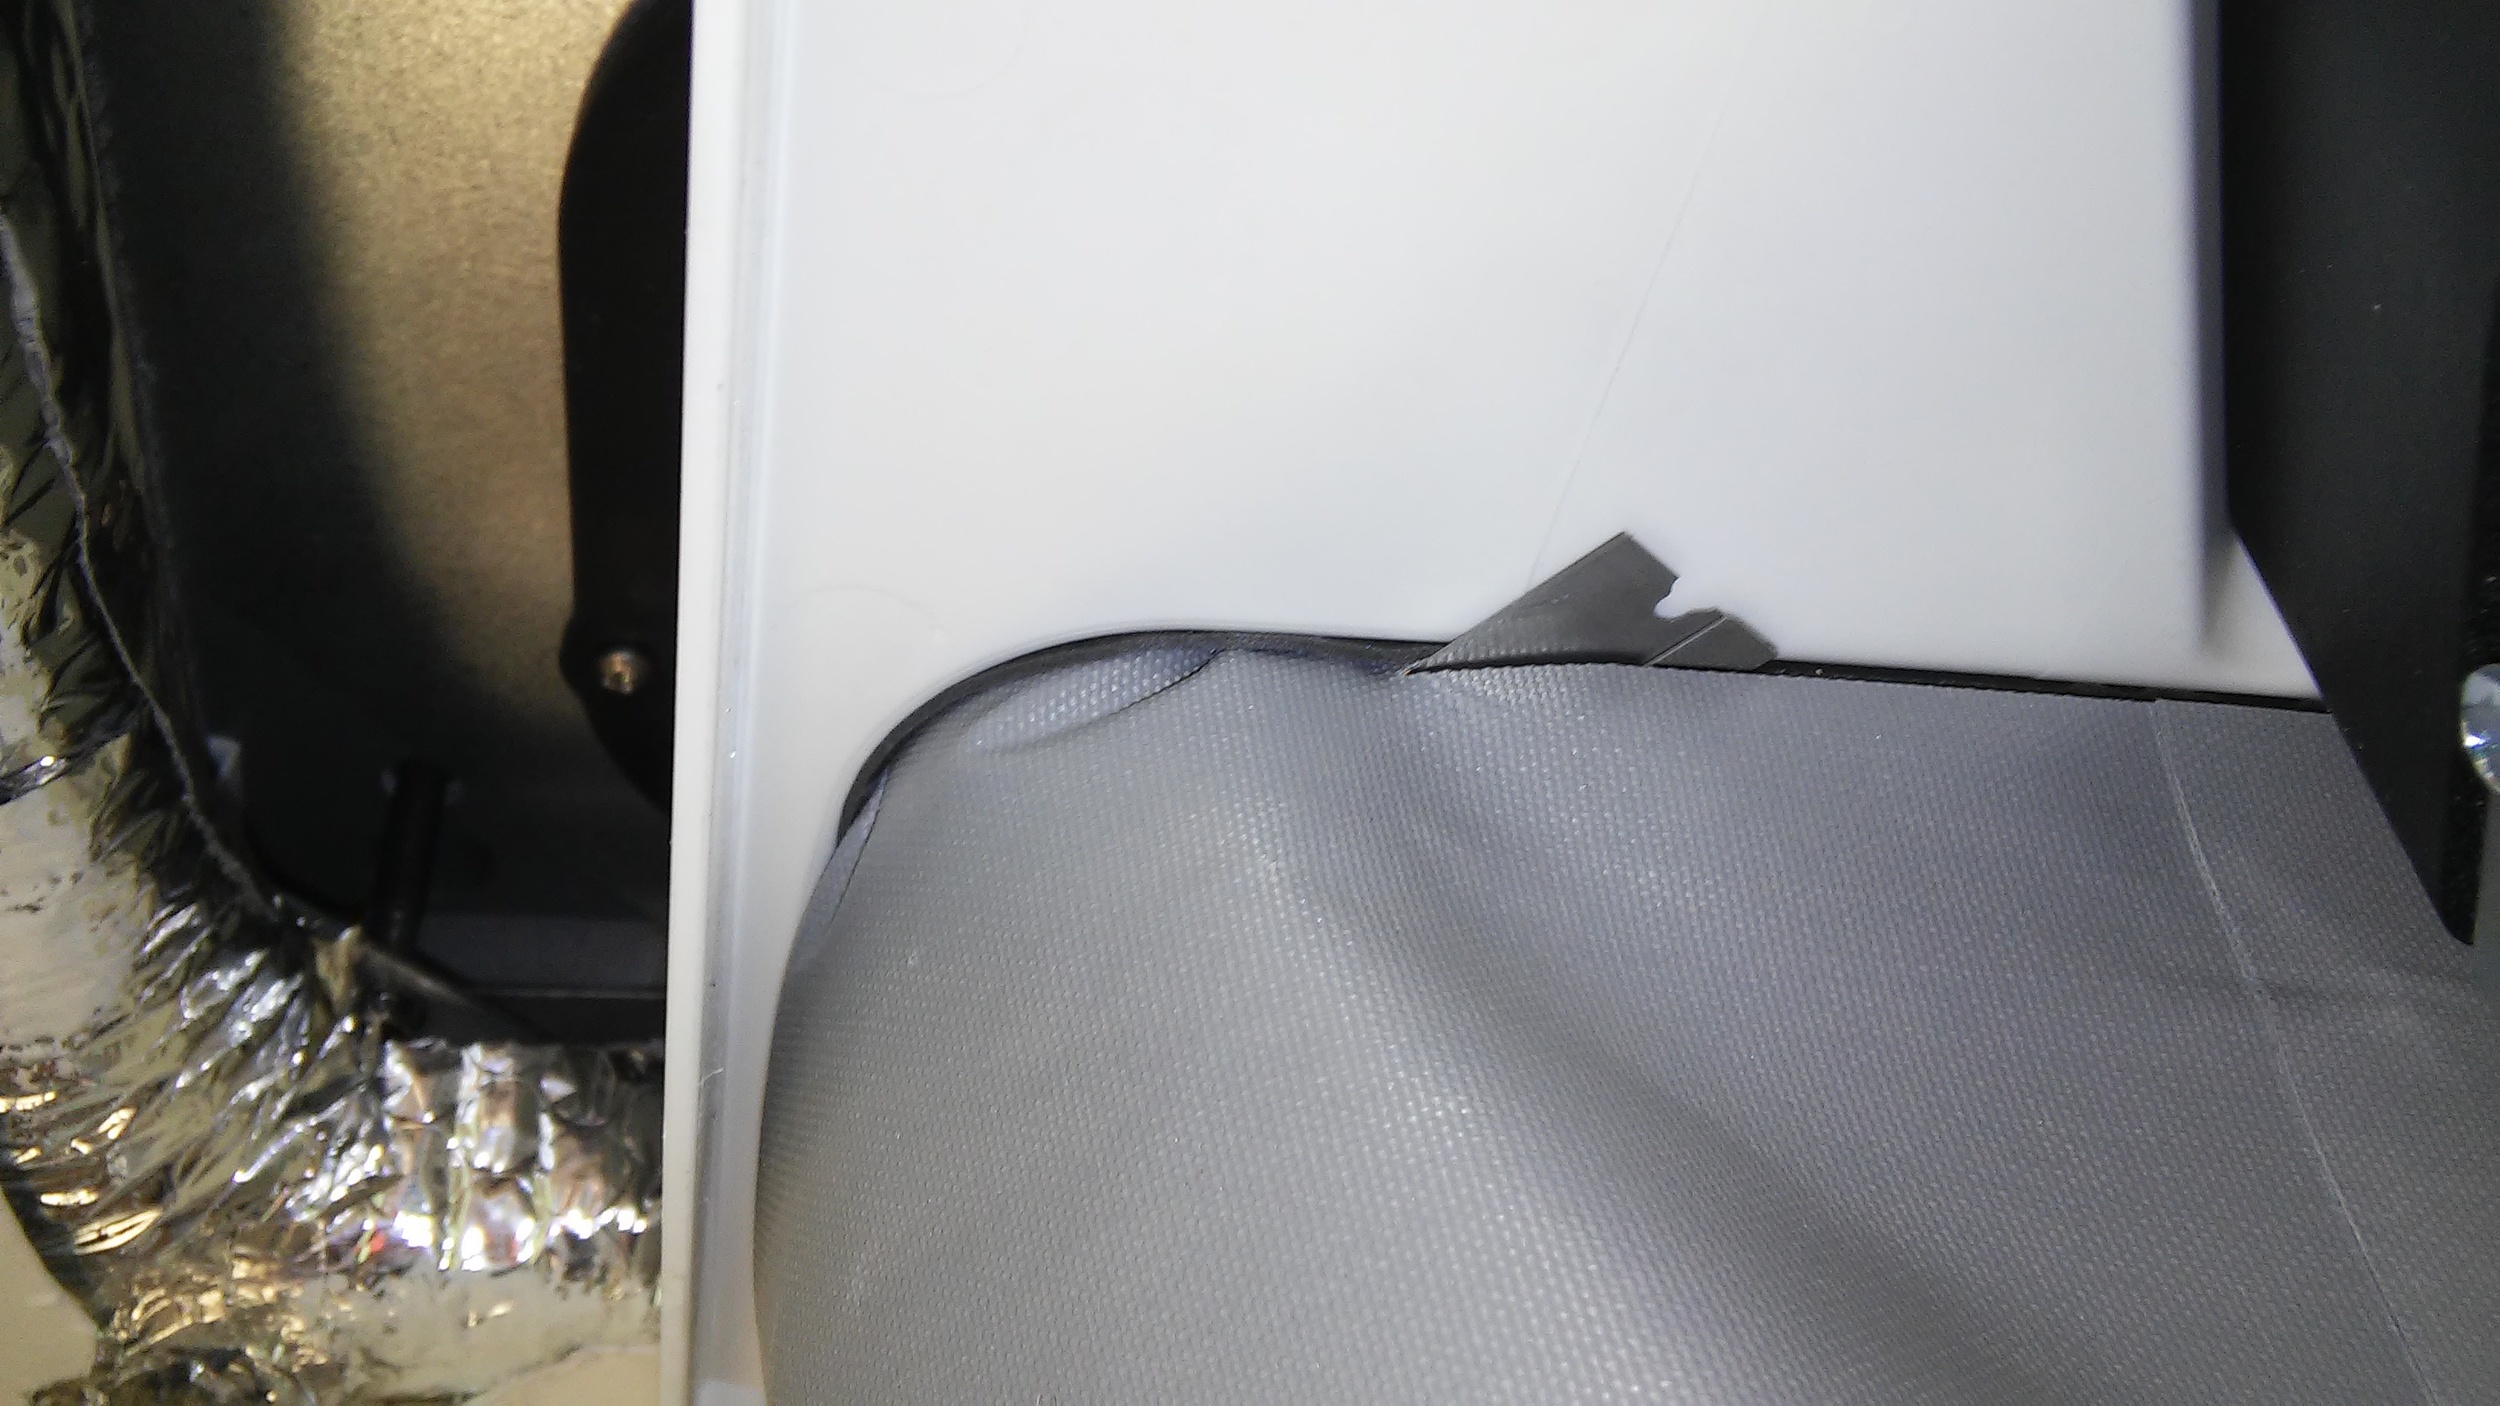
3m VHB tape exposed, duct adhered, excess trimmed.

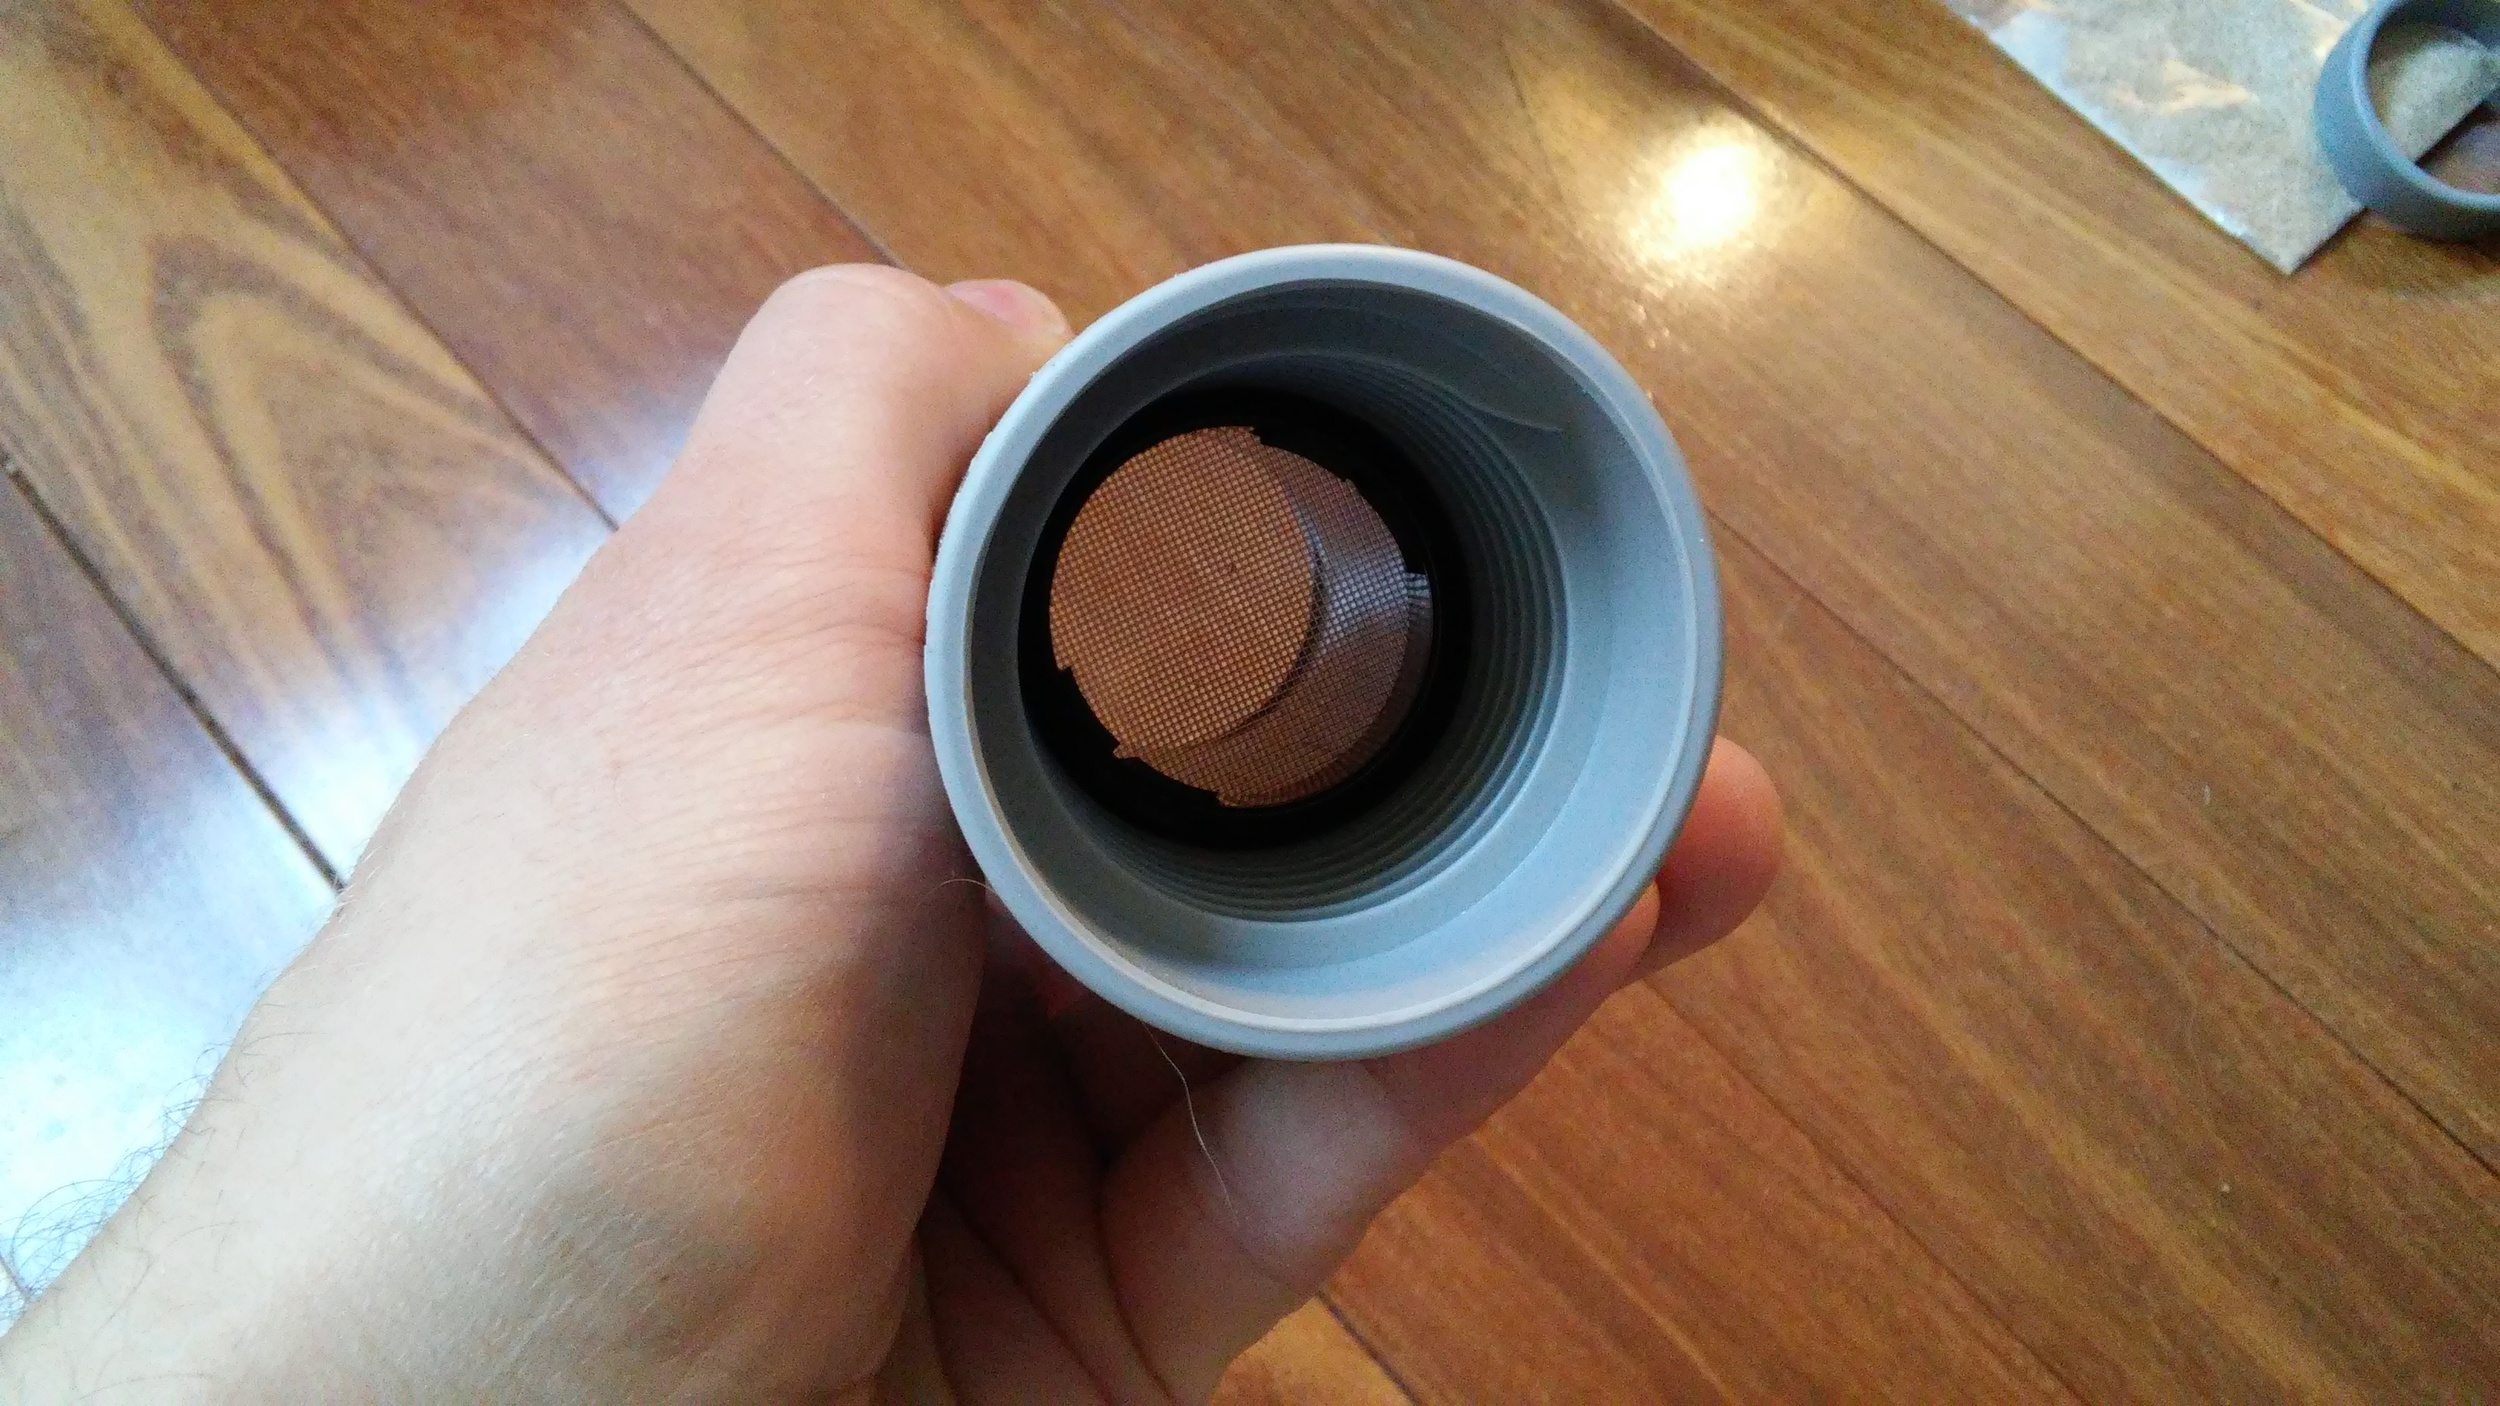
Lower ceiling assembly screwed in place.  I had a heck of a time finding the correct holes.  Remember, these screws attach to the steel plate that is now about 1" deep into my ceiling, so it takes some digging to get to the screw holes.  Once the four screws are in, filters snap in, and covers snap on top.   Temperature knob goes aft, fan speed goes forward.  Make sure to use the knob that came in the heating coil box that says LOW HEAT instead of the one that came with the ceiling assembly that says LOW FAN twice.

Final result.  Not bad.

Update for 2018: Coleman has released a new version 47201B876 Mach 8 Plus Cub rooftop unit.  The Mach 8 Plus has a redesigned outdoor fan to reduce outside fan noise and improve heat transfer across the condenser coil.  Find the new Mach 8 Plus Cub rooftop unit on Amazon here. The same ceiling assembly, heat kit, and condensate pump will fit.

Airhead Composting Toilet Unboxing

We don't want a black tank in our house.  Something about carrying around a talk full of raw sewage inside our house just doesn't seem like a good idea.  We wanted a liquid diverting system, and were initially looking at the Nature's Head after watching a video from The Wynns and seeing Snowmads install the same one.

The main reason for choosing the Airhead instead is that it has a standard type toilet seat that you can lift and lower, while the Nature's Head has a seat that's molded into the base.  Nature's Head lists the molded seat as a feature: "Durable! Easy to Clean! Never needs replacement!"  I sure hope it's easy to clean if you can't lift it, 'cause you're going to be cleaning it a lot.

I also like that the liquids tank in the Airhead is opaque except for a viewing window.  I don't see any reason to put the liquids on display.

First impression is that it looks like a quality product.  Reasonably well thought-out construction, moving parts feel pretty sturdy, and it has a functional household size.  I'll have more feedback on function once it's installed and in use.

One note on composting.  My reading of the Nature's Head documentation seems to imply that solids compost in a matter of days or weeks.  Airhead's documentation is clear: it takes three months for composting to occur.  In a full-timing situation, we're not going to be hanging on to the contents of the solids tank and waiting for it to decompose so that we can use it as compost on ornamental plants.  While the solids will be much less offensive to deal with than the contents of a black tank, they're still going to need to be disposed of carefully.

Do Your Best, Caulk the Rest

The big news for this weekend comes courtesy of our brothers.  Leanne's brother Russell helped me over Easter weekend with removing and re-riveting the lower vista view windows to address some leaking Olympic rivets.  I'd show you pictures, but it looks exactly the same as when we started.  Then, this weekend, my brother Tim helped me finish installing the interior skins.  I'm happy to report that all of the skins are in, and we've started priming the walls.

Boy am I ever glad we have those Maxxfans installed.  Kilz oil-based primer is some nasty stuff to work with, but it sticks like crazy to anything, which is exactly what we need to coat these skins.  And Leanne's skin, apparently. 

The Airstream is looking much nicer just with the coat of primer. All the yellowed and faded bits are starting to blend together. 

Installing the upper interior skins can be maddeningly difficult.  You've got a long flat aluminum sheet that wants to bend and bow, and you have to hold it over your head  to fit a curve while someone else clecos it in place, all while it's flopping over on the parts you can't reach.

This would probably have been much easier if I didn't add insulation to the ribs, which covered all the original holes and changed the geometry enough to throw everything off.  But as it is, it's nearly impossible to avoid ripples along the edges of the upper skins.

Installing the center ceiling panel did help flatten out the ripples somewhat.  The center panel consists of two long strips of aluminum extrusion that are riveted to the ceiling (total width of 25.5"), and then the center aluminum sheet is snapped into place between the strips.

Once the first coat of primer is dry, I'll hit all the seams with latex painter's caulk, which should help the imperfections blend.  Then, sand everything with 220 grit, another coat of primer, and then paint.

Spare Tire Carrier

Our Airstream is designed from the factory to accept this tire carrier.  There are two threaded fittings built into the frame to attach it.  I wasn't able to find a good diagram of where/how the front attaches, so here are some pictures.  The install instructions look like the bracket attaches to the A-frame, but it doesn't.  The bracket bolts onto the bottom of the front hold-down plate.

See the ~1/2" space between the top of the handle and the bottom of the A-frame?  When I supported the fittings from below to line everything up, I had the handle touching the A-frame.  When I installed it, it dropped about 1/2".  That space is just the extra "wiggle" in the fittings.  If I had known that, I would have installed the mounting bracket a little higher so I could get the carrier as far off the ground as possible.  The instructions say to install the bracket an inch from the bottom, but they don't say whether that's the bolt hole or the bottom of the bracket.  Not a big deal, but now I have 1/2" less clearance than I would otherwise have.

Speaking of clearance, I'm not thrilled about how little clearance I have between the tire carrier and the ground.  It's a factory design, so it must work OK, but I'm concerned about scraping when going over a hump in the road.  I considered trimming the end off the handle so it didn't hit the A-frame, which would get me another inch or so of clearance, but then I realized that would be a very bad idea.  If I do bottom out on the tire carrier, I want the handle to hit the frame, not the tire to hit the plywood floor above it. 

You can see here how much clearance I'm losing.  The grass is kind of high and the tongue is dropped quite a bit because I'm parked on a slope, but nevertheless, it's a significant loss of clearance.

0405161808a.jpg

I've seen folks post on airforums that the geometry of the tow vehicle and trailer makes it nearly impossible to scrape the tire carrier, so I'll leave it there and see how it goes.  It definitely does limit how low I can drop the tongue to level the trailer on an uneven surface.  But, it's reasonably easy to access, and it avoids having to store the tire in the tow vehicle. 

Good News, Bad News

Bad news first?

I have multiple leaks.  A couple in the front couch area, one on the side by the vista view, one in the rear bathroom area.

The good news?  The only worse time to find a leak would be any time after now.  I'm behind schedule for the month and this is going to set me back at least another week, but better now than any time in the future.  I thought I had all the leaks sealed up, but it looks like stuffing the walls with Rockwool has helped make them more visible.  Rockwool repels water, so it goes straight to the floor where I can see it.  If I had fiberglass insulation, I might not have found all of these.

After finding a leak in the bottom corner of the curb side wing window, I checked the street side, and sure enough, that's leaking too.  Looks like I just didn't seal everywhere I should have when I reinstalled the wing windows.  I need to seal up the bottom corners of the window frame.  The leak on the side looks like it's mostly coming from the fiber optic turn signal fitting, which I missed sealing up entirely.  It also looks like one of the Olympic rivets around the street side lower vista view window is leaking, which means I probably should remove and re-rivet that window and the one opposite with buck rivets.  The rear leak looks like it's coming from the seal around the rear access door, which won't be too much trouble to re-seal.

I've made some progress on installing the interior skins and the 12V lighting (currently running off my motorcycle battery hooked up to the battery tender), but it looks like most of this work is going to have to wait until it stops raining so I can re-seal the leaks I found.