Airstream Remodel

Adding Gray Water Storage

Some of these links are "affiliate links."  If you decide to buy something based on our recommendation, it would be nice if you used the direct link from this page so that we can make a small commission for referring you (which doesn't cost you anything extra).

I'm adding 32 additional gallons of gray water storage so that, combined with the factory 14 gallon gray tank, I have enough gray water storage to match my 45 gallon fresh water storage capacity.  I purchased two 16 gallon gray water storage tanks from Vintage Trailer Supply and had them add three fittings -- a 1-1/2" drain/fill on the starboard side aft, a 1/2" low point drain on the bottom at the same corner, and a 1-1/2" vent on the port side top, centered on the edge of the tank.

I was expecting these to arrive in some sort of box.  Nope, they just slapped a UPS label on them and chucked them in the truck.  No damage, but I thought that was weird.

VTS offers some slightly larger tanks to fit inside the frame of mid-70's Airstreams, but they would hit the gussets (the strips of plywood under the subfloor that support the spot where two pieces of plywood meet), and even if they didn't, there wouldn't be any extra room for supporting them from below.

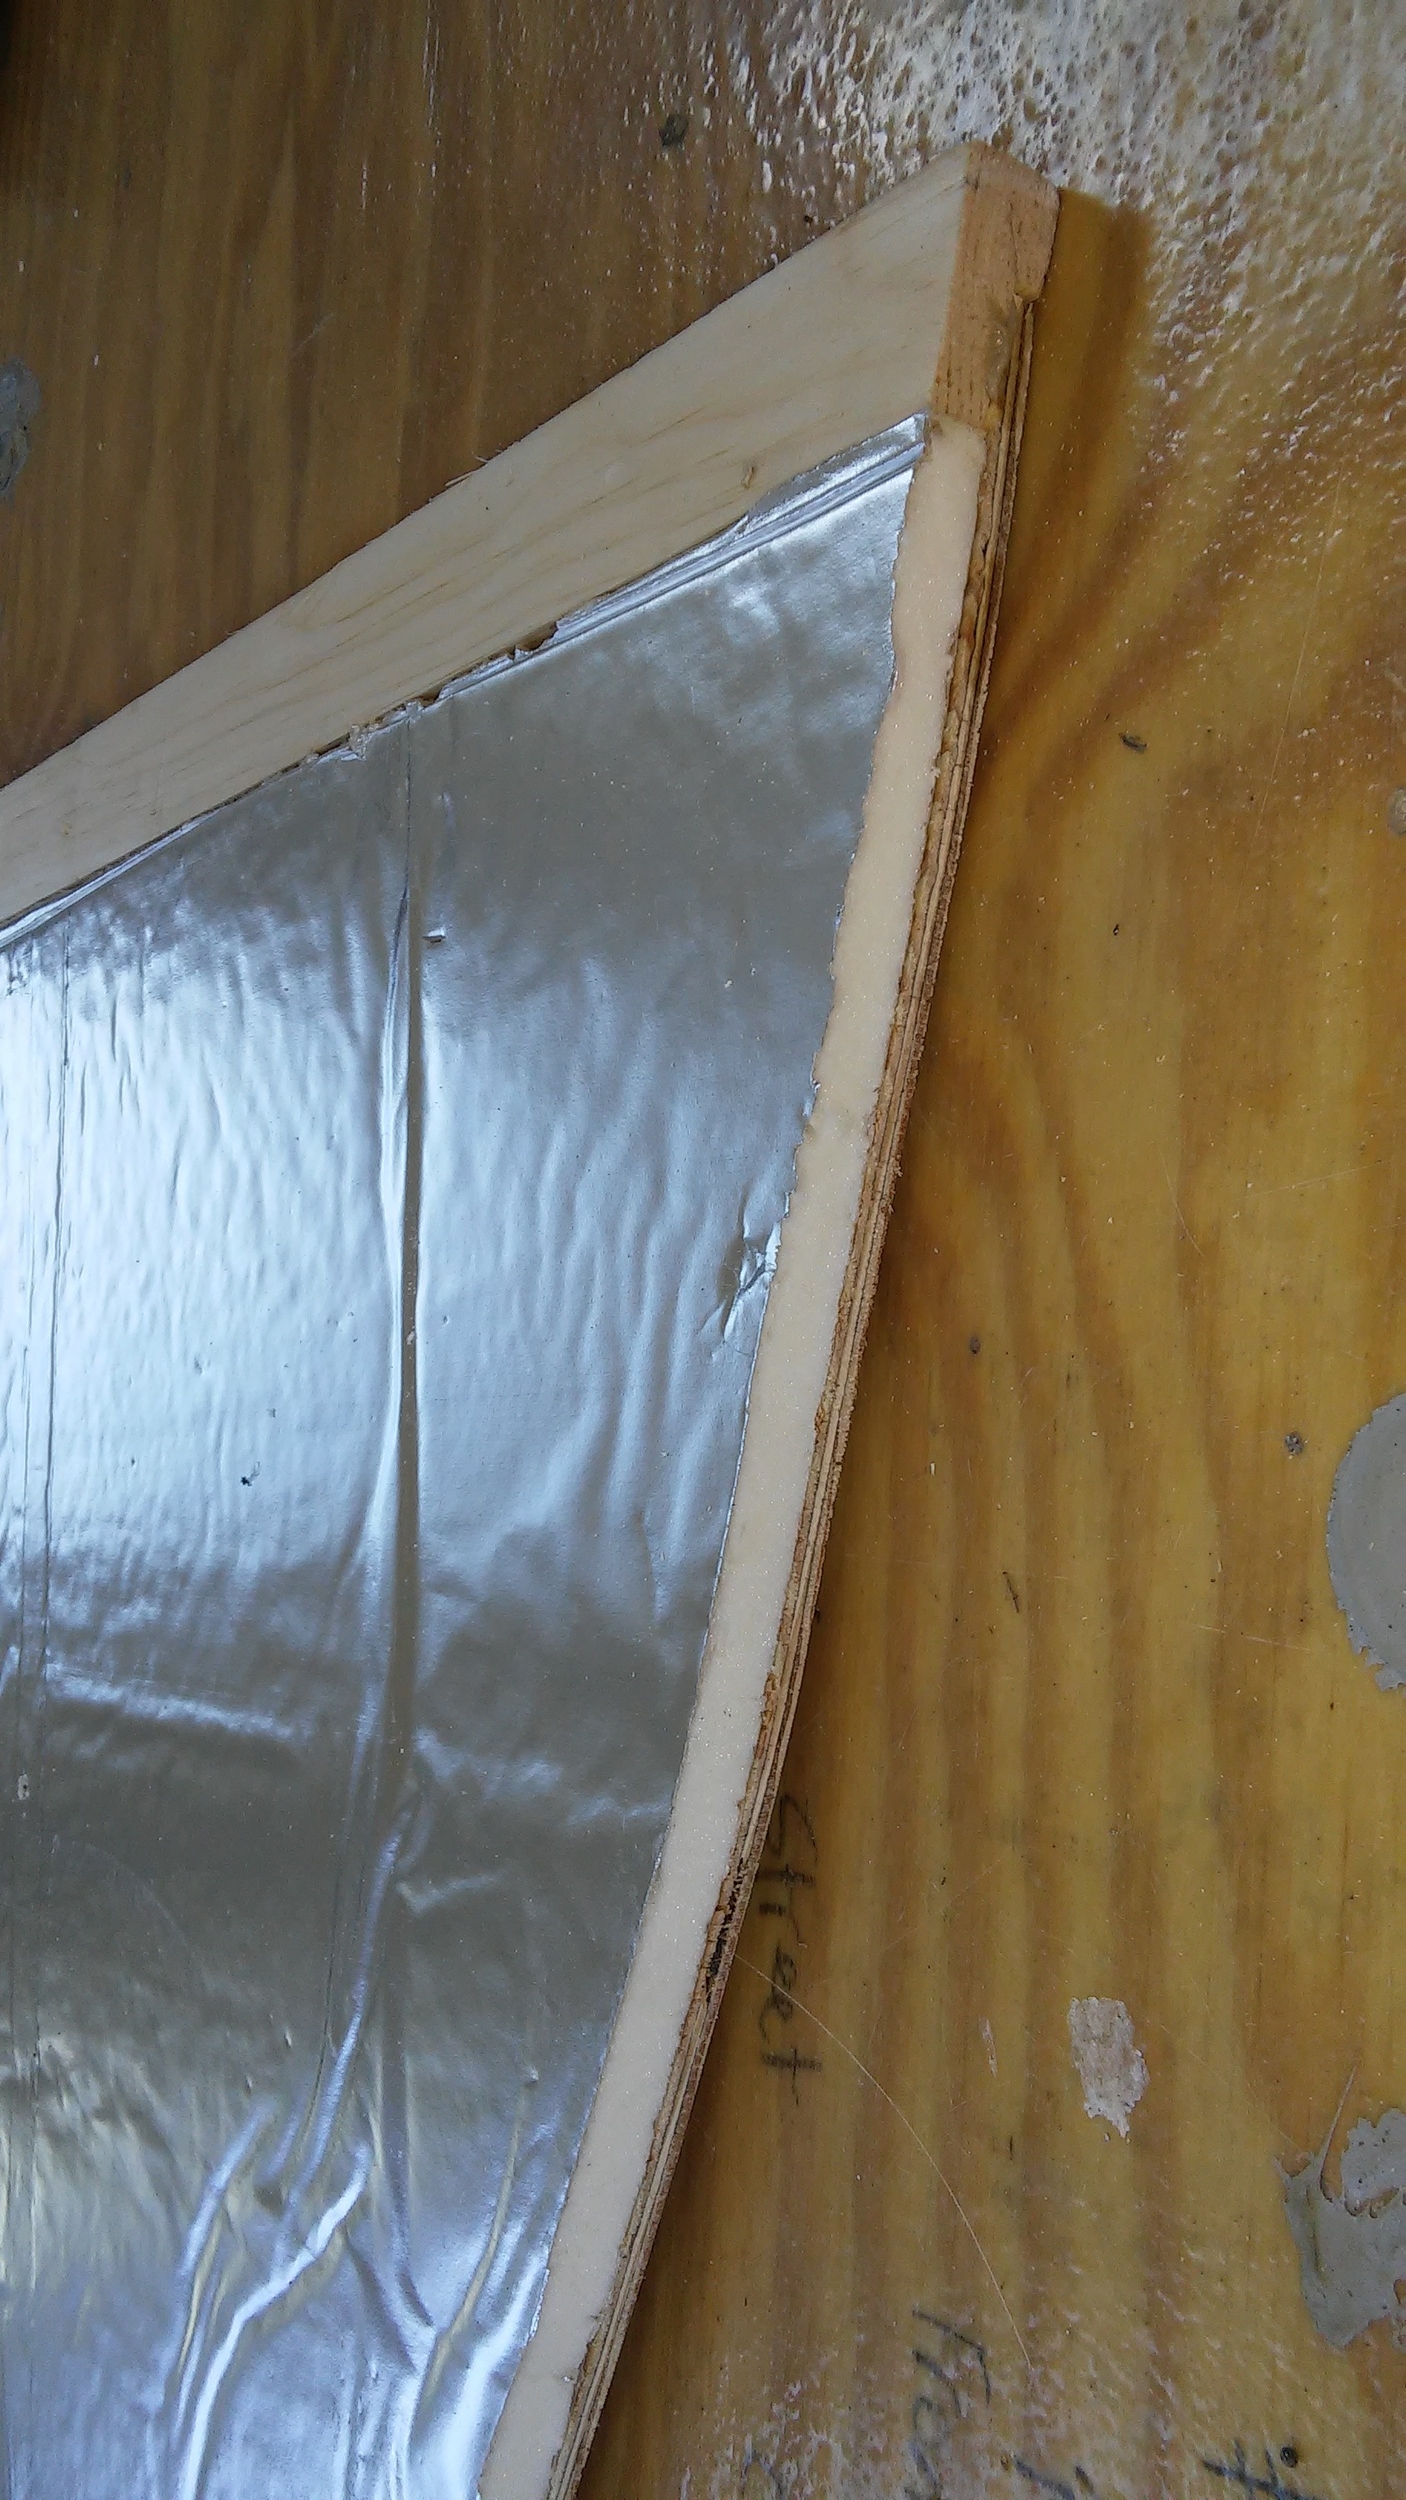
The tanks themselves weigh very little, but the 16 gallons of water they each hold weighs 134 lbs.  The sidewall isn't strong enough to support that weight, so they have to be 100% supported from below.  I've seen people try to install these with just a couple straps running underneath, and that's asking for trouble.  I chose to support them with 1/2" plywood.

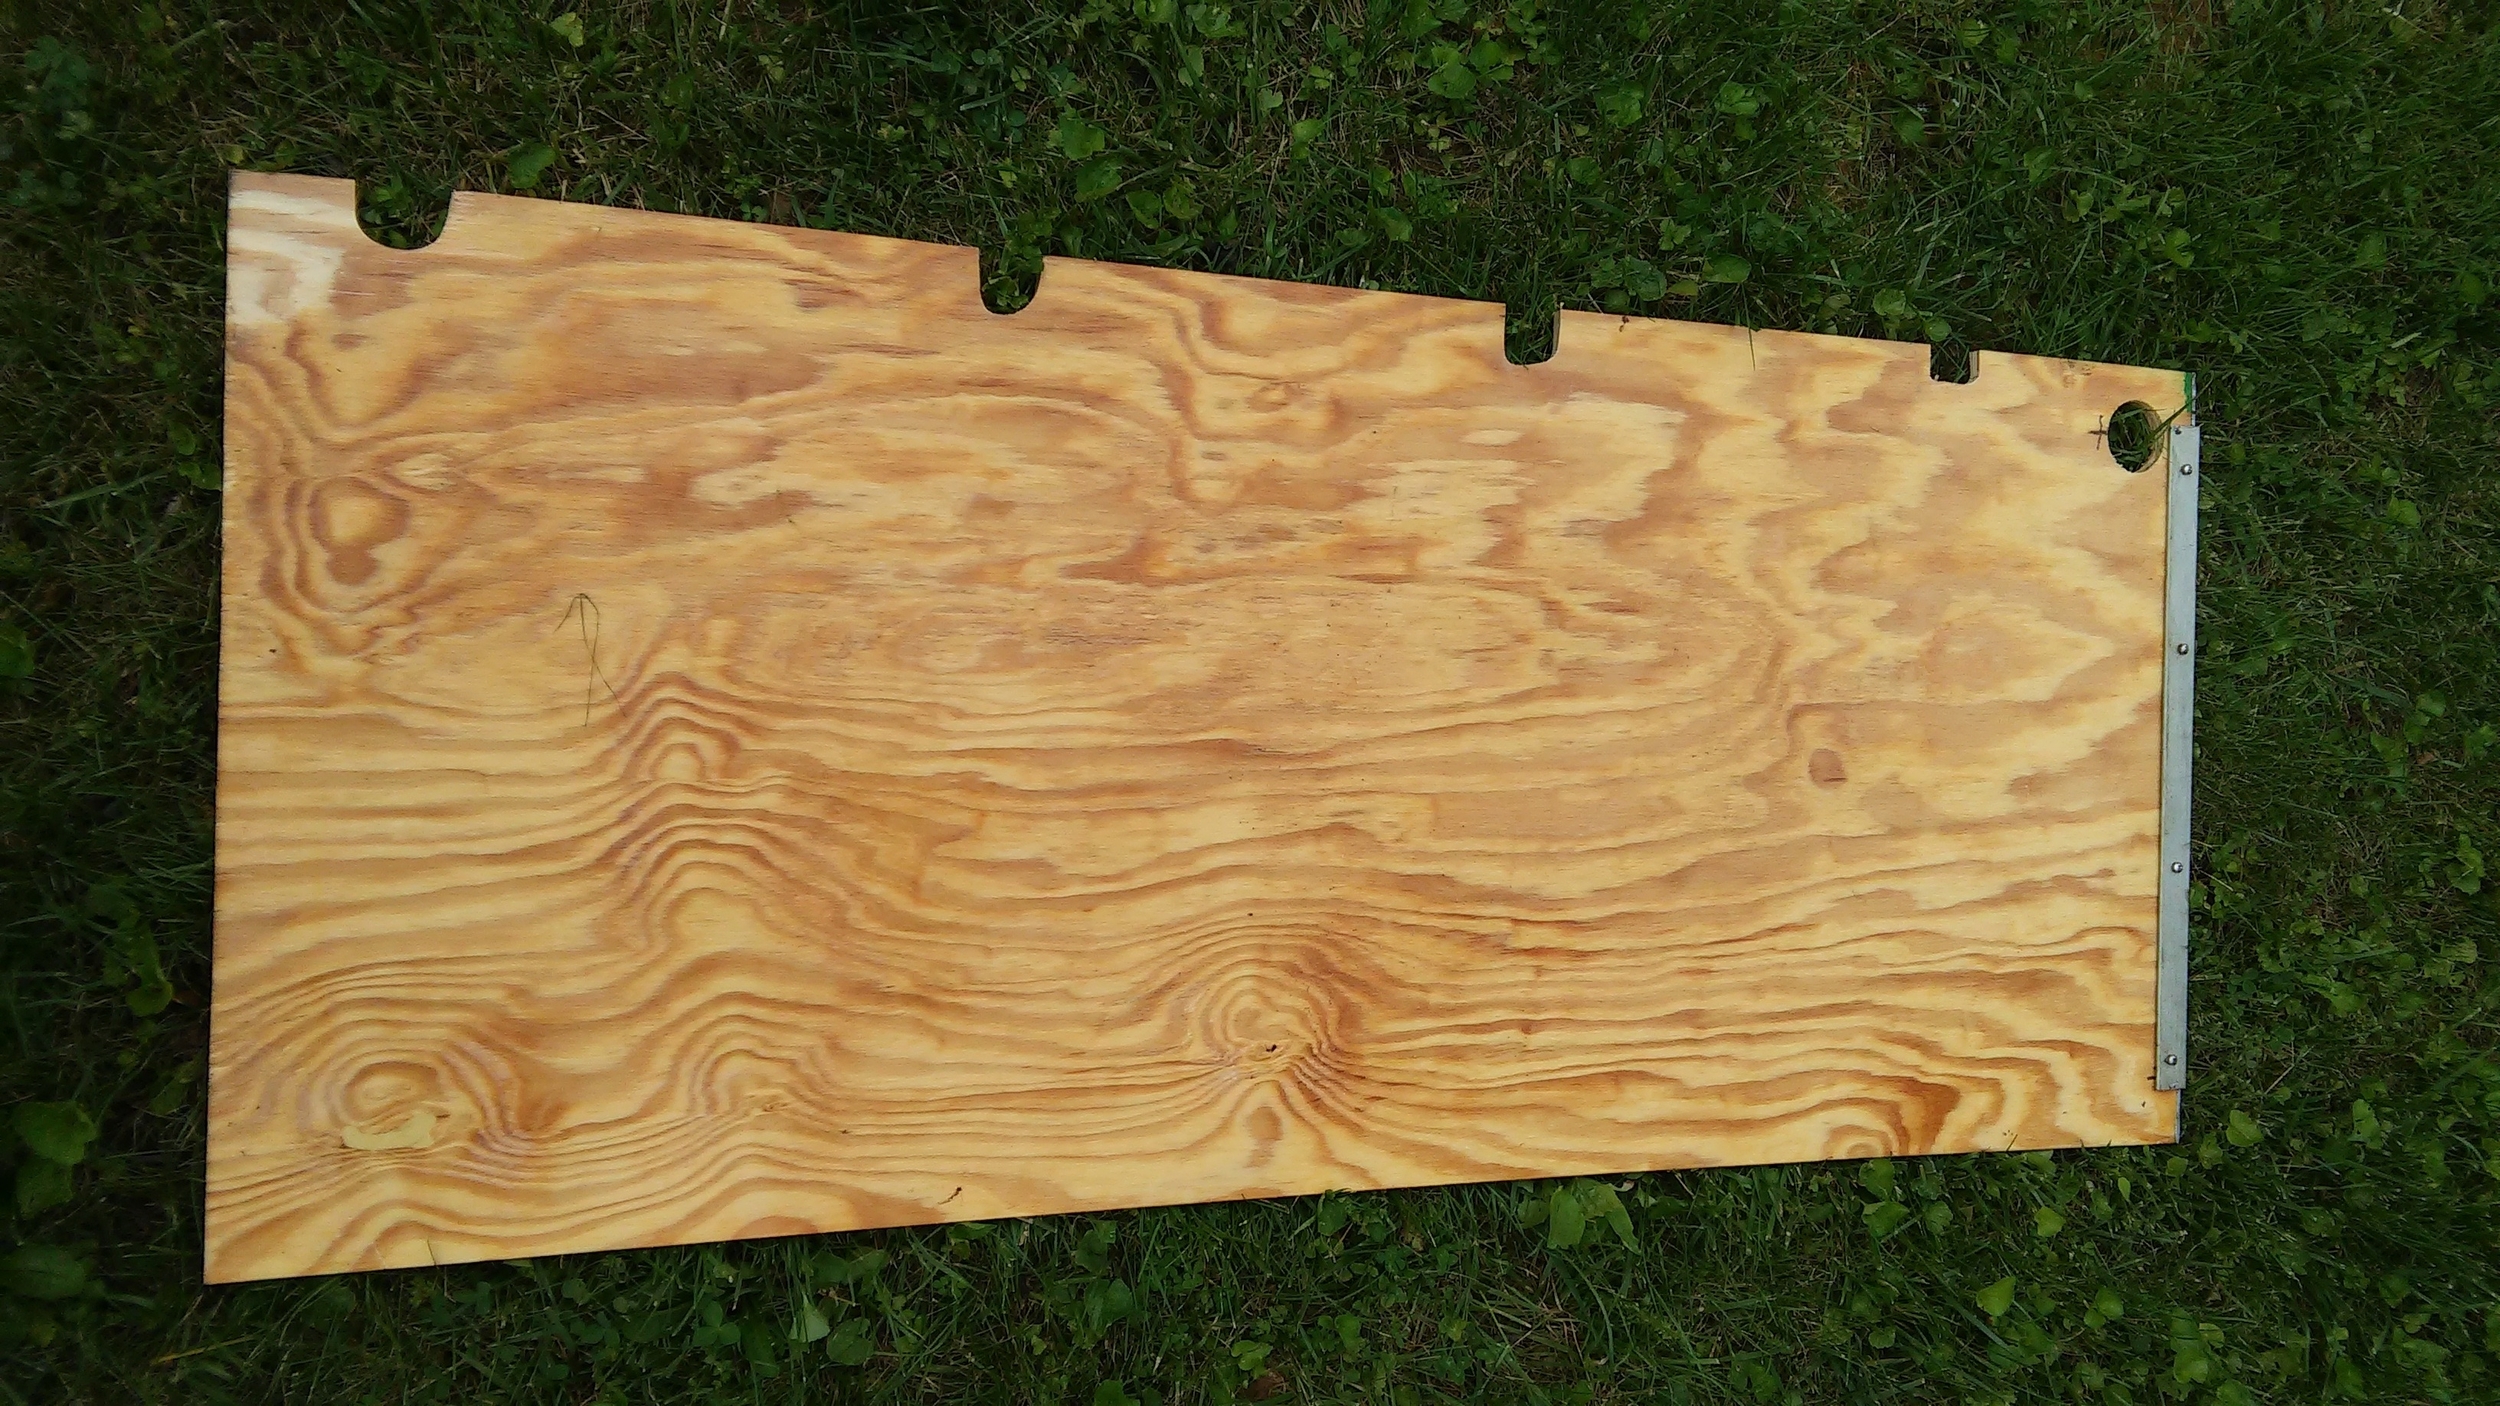
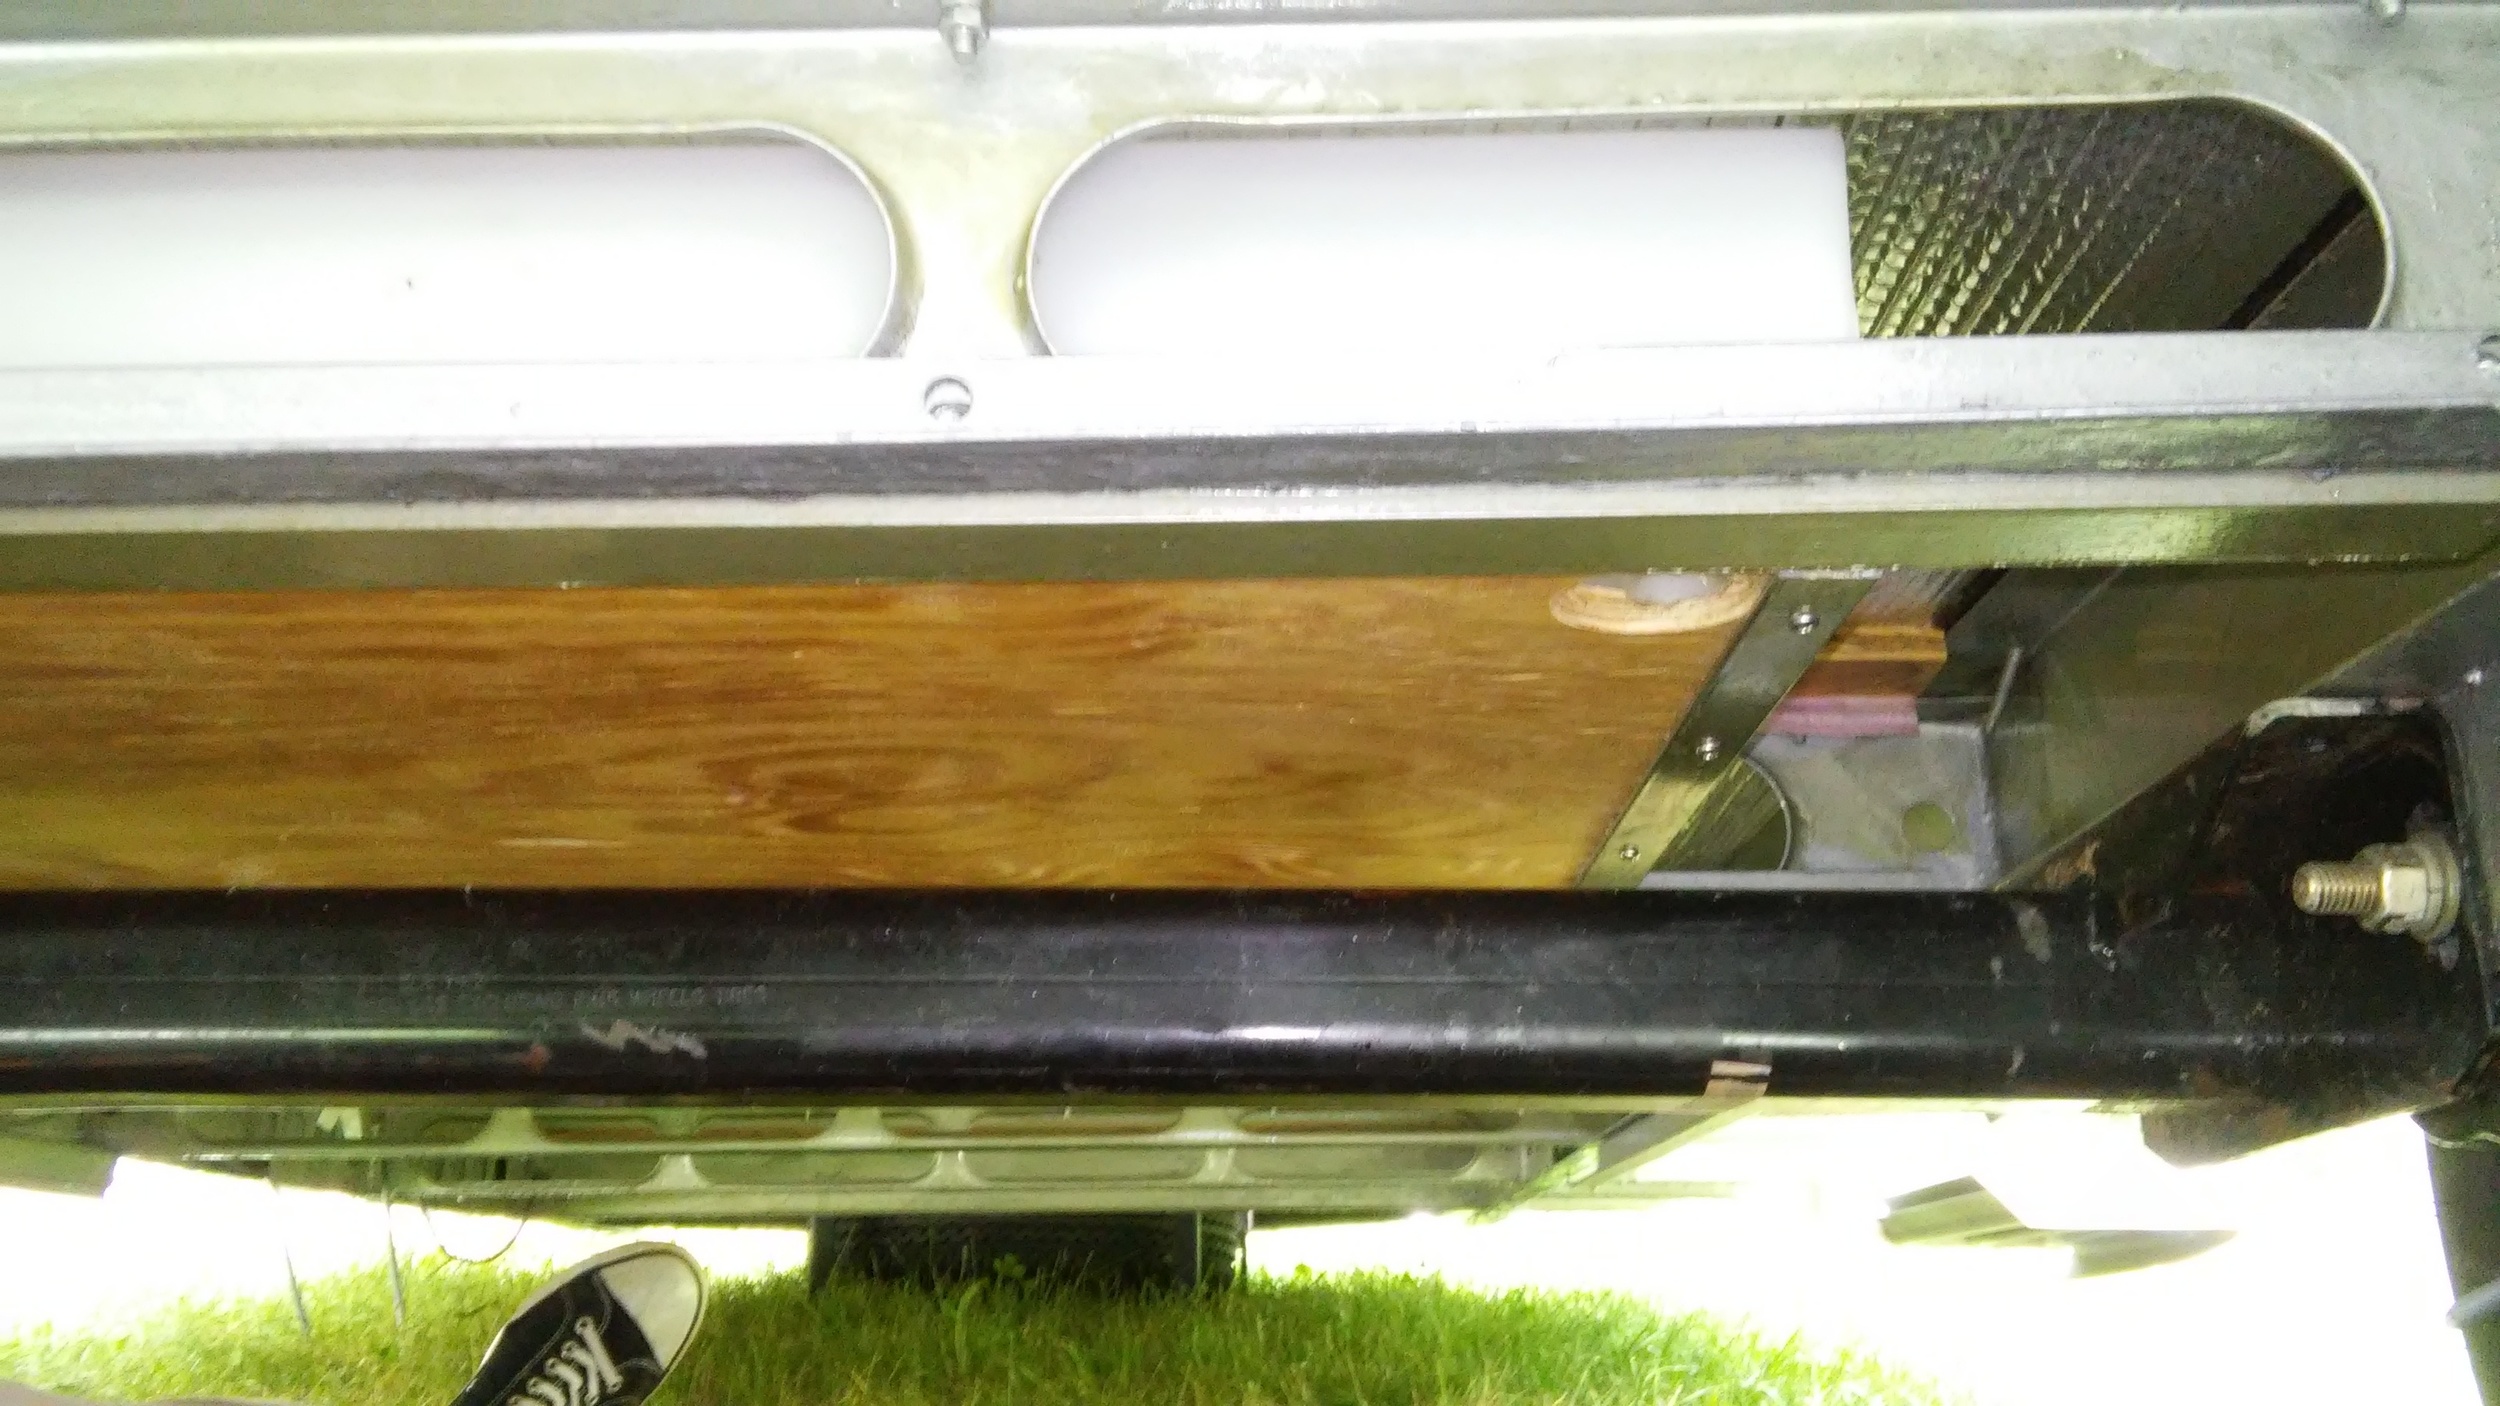
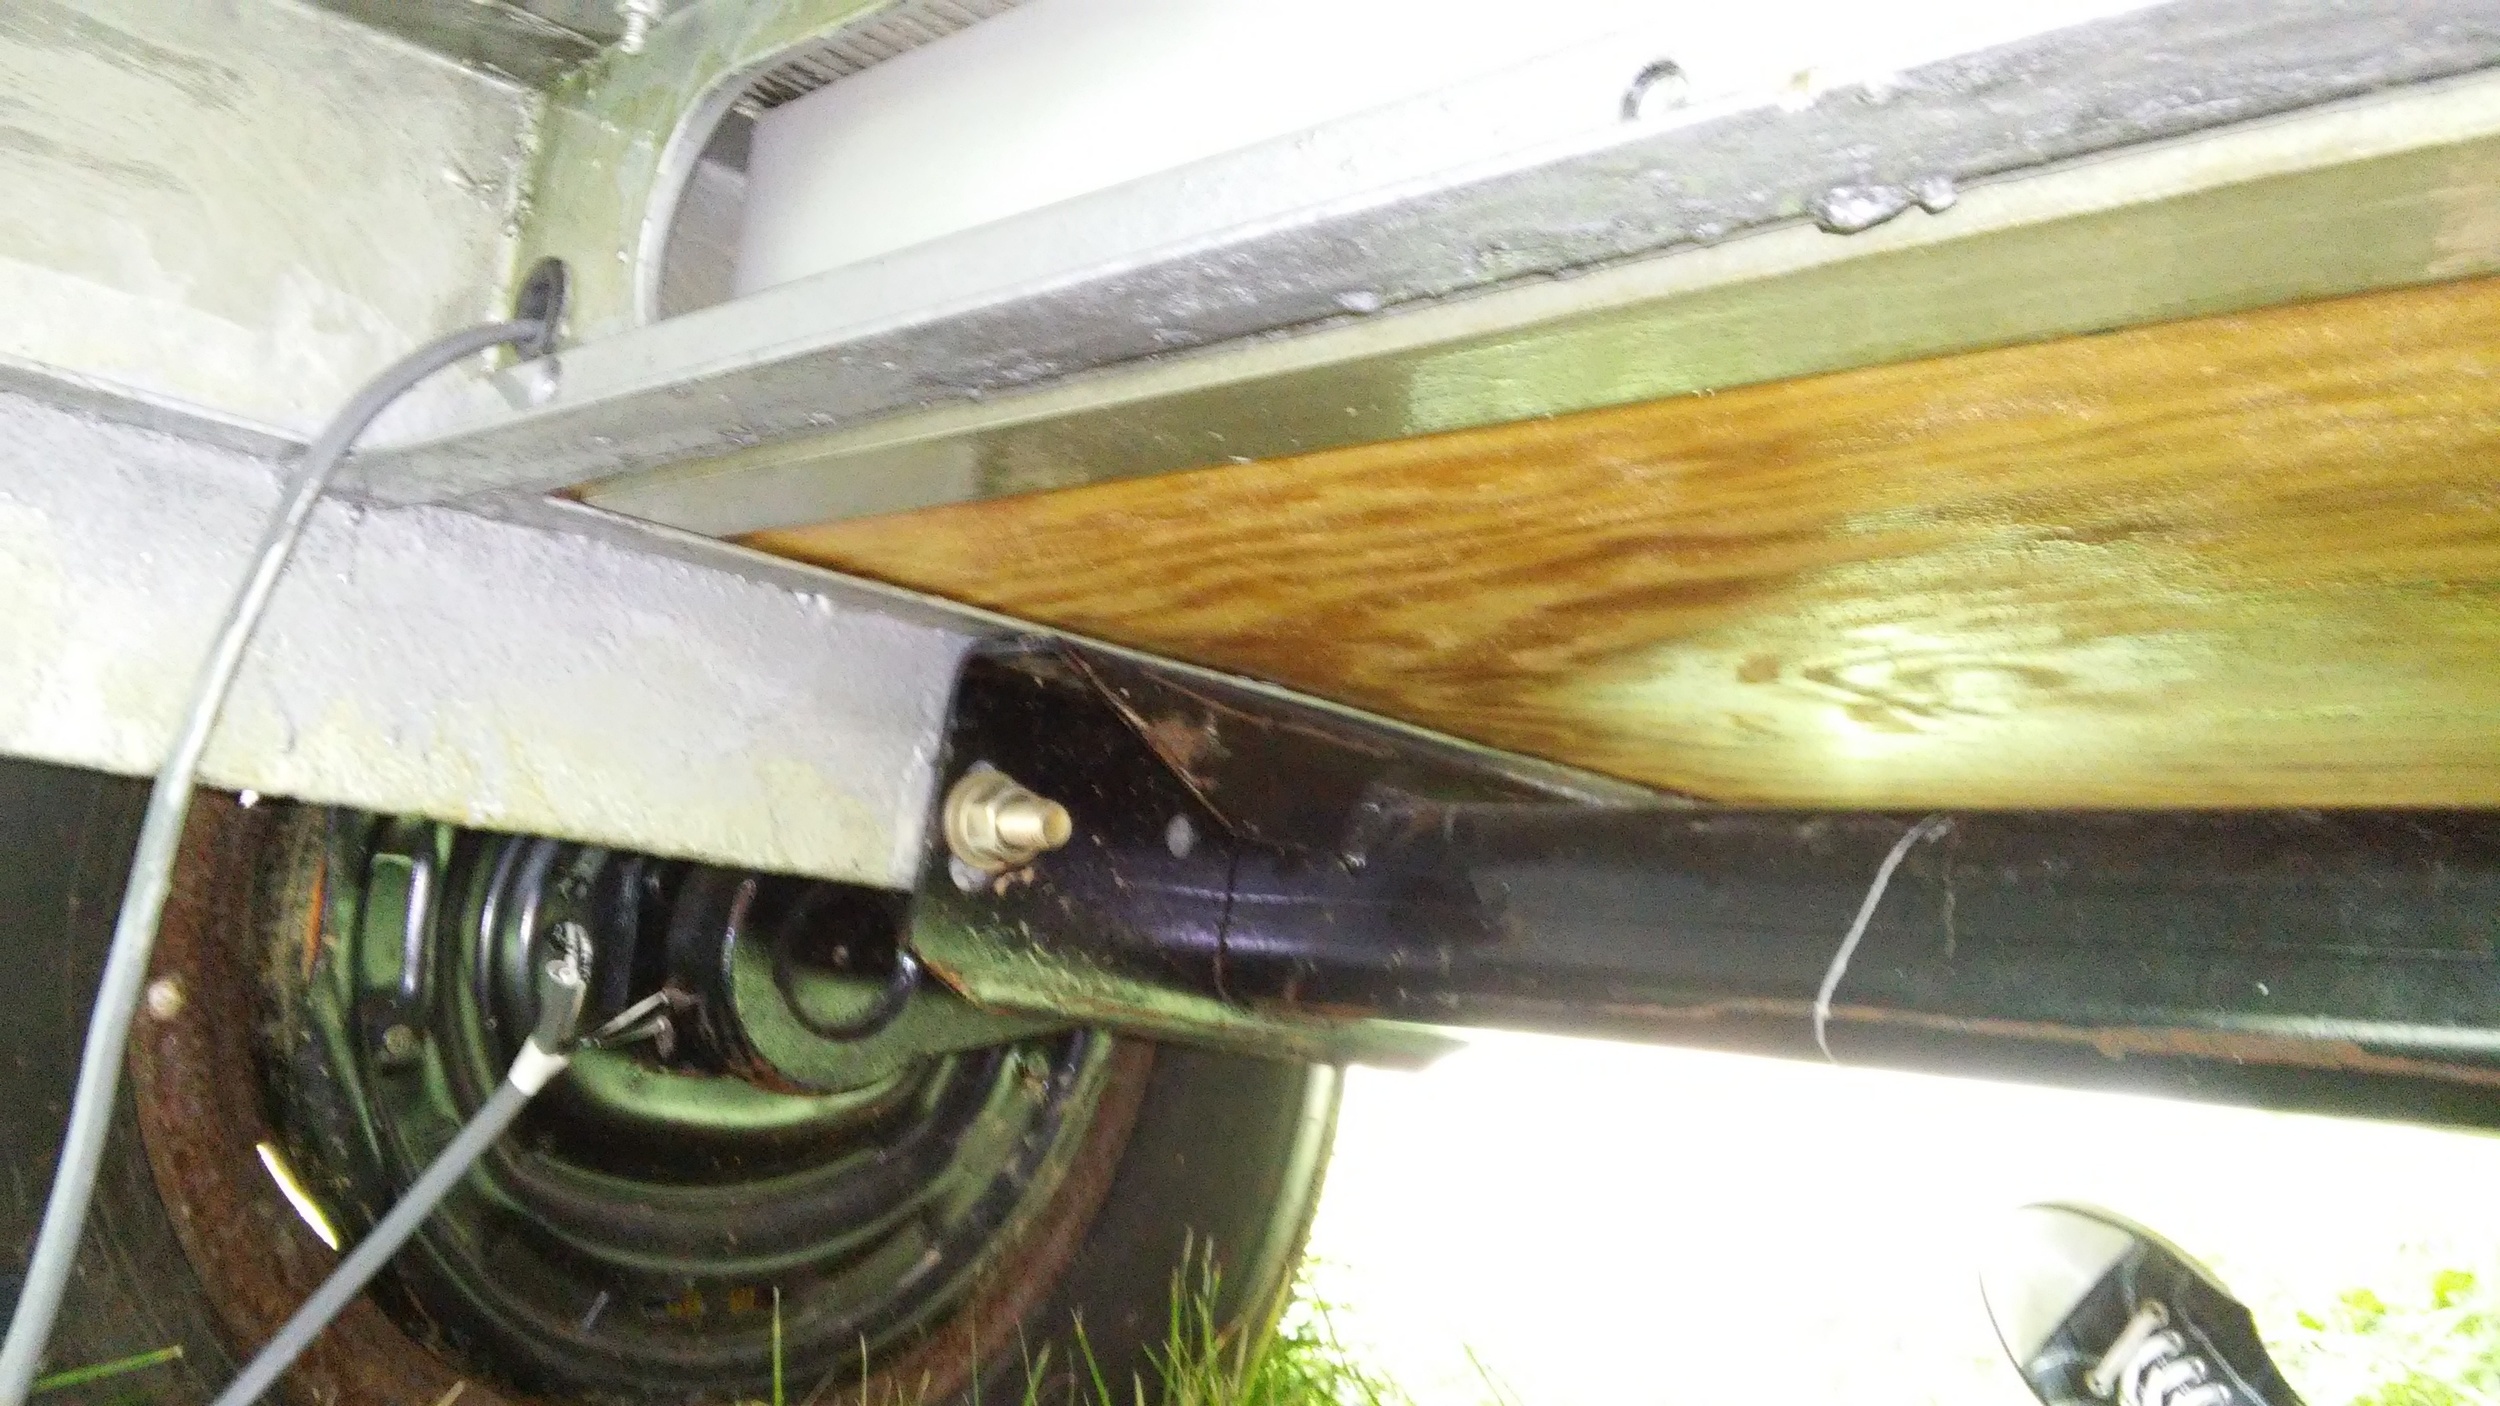
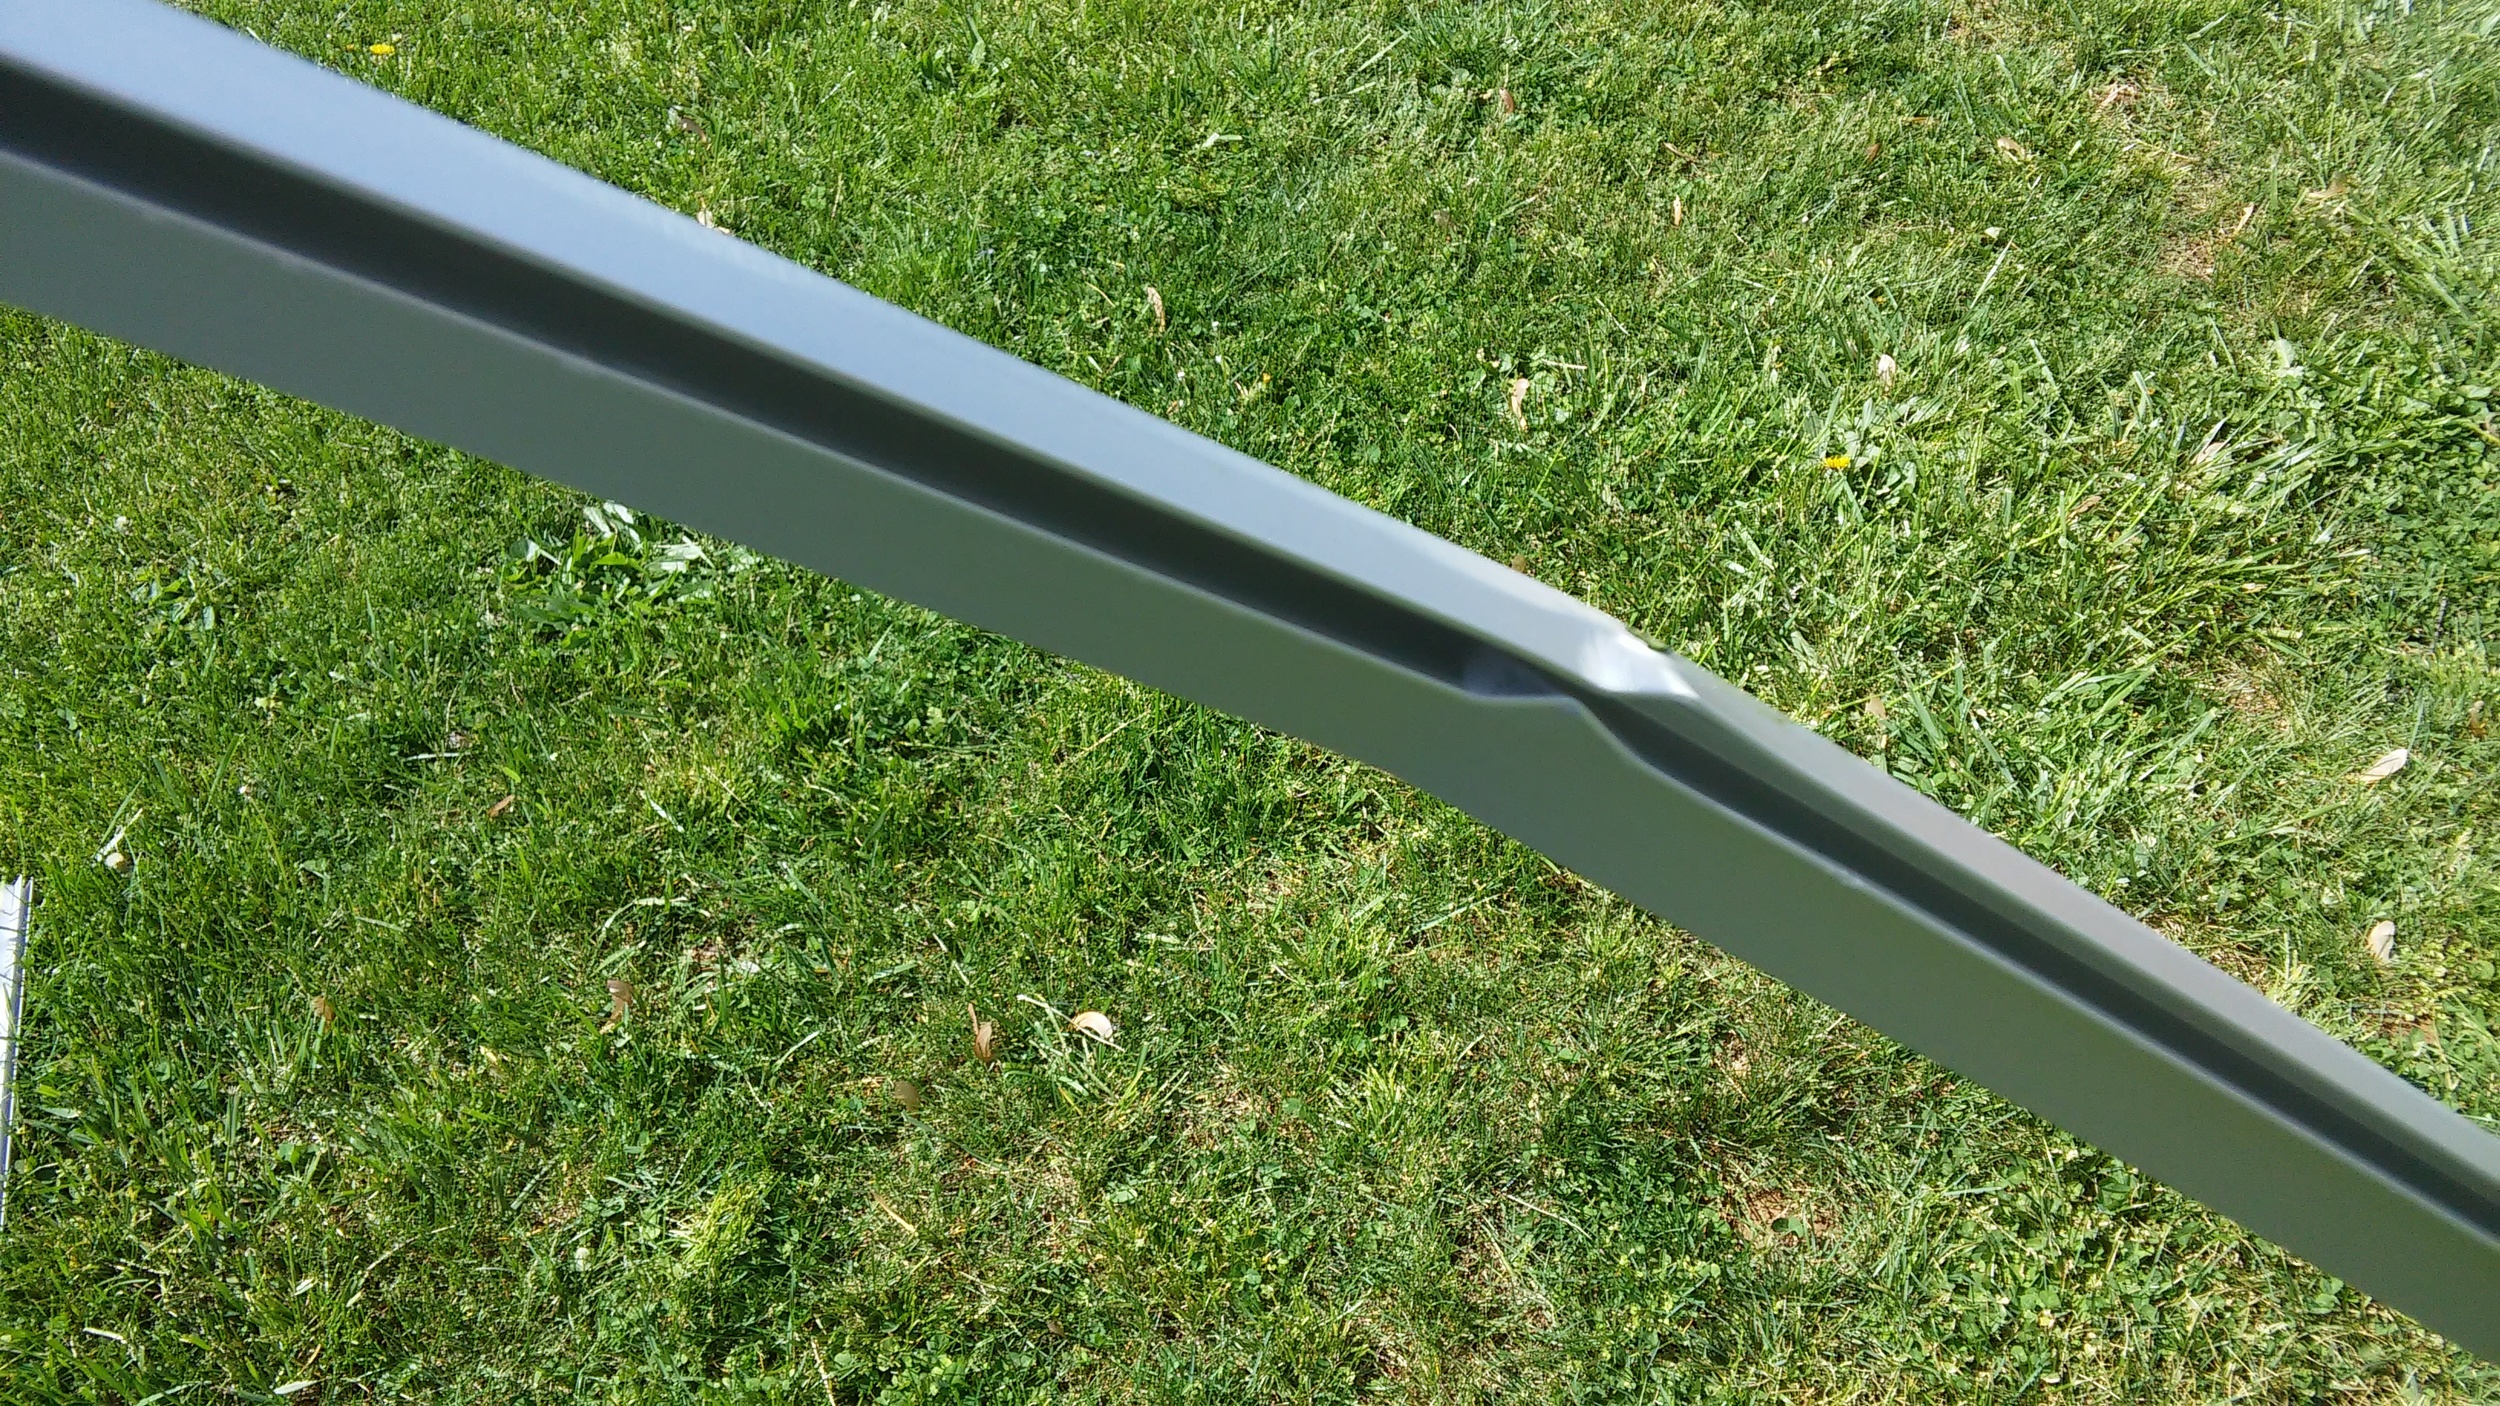
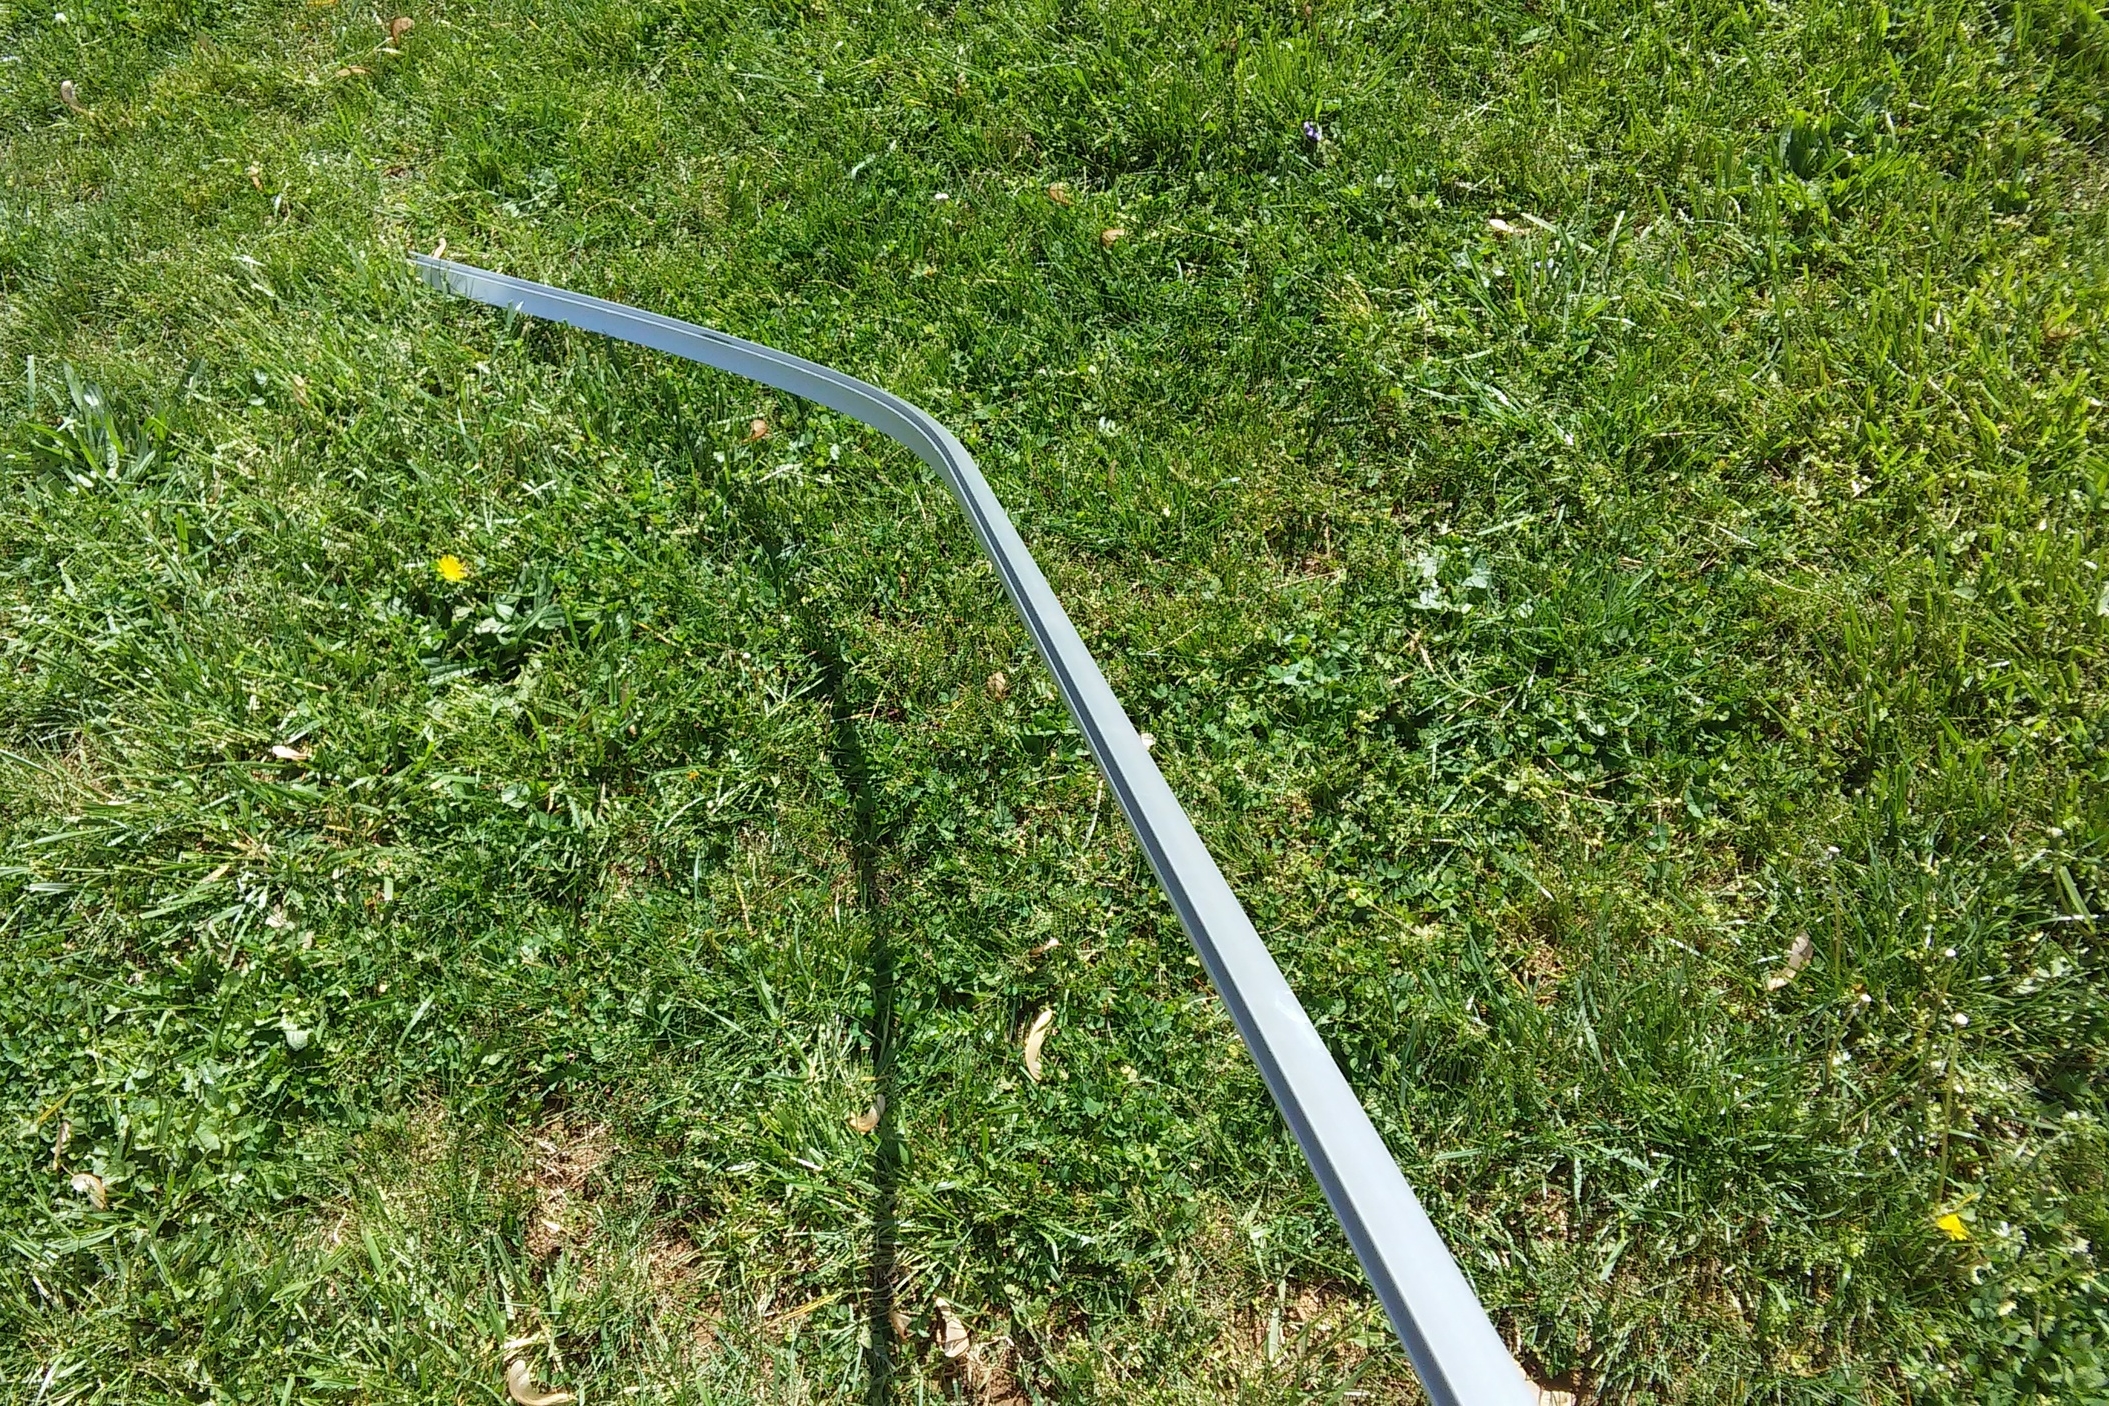
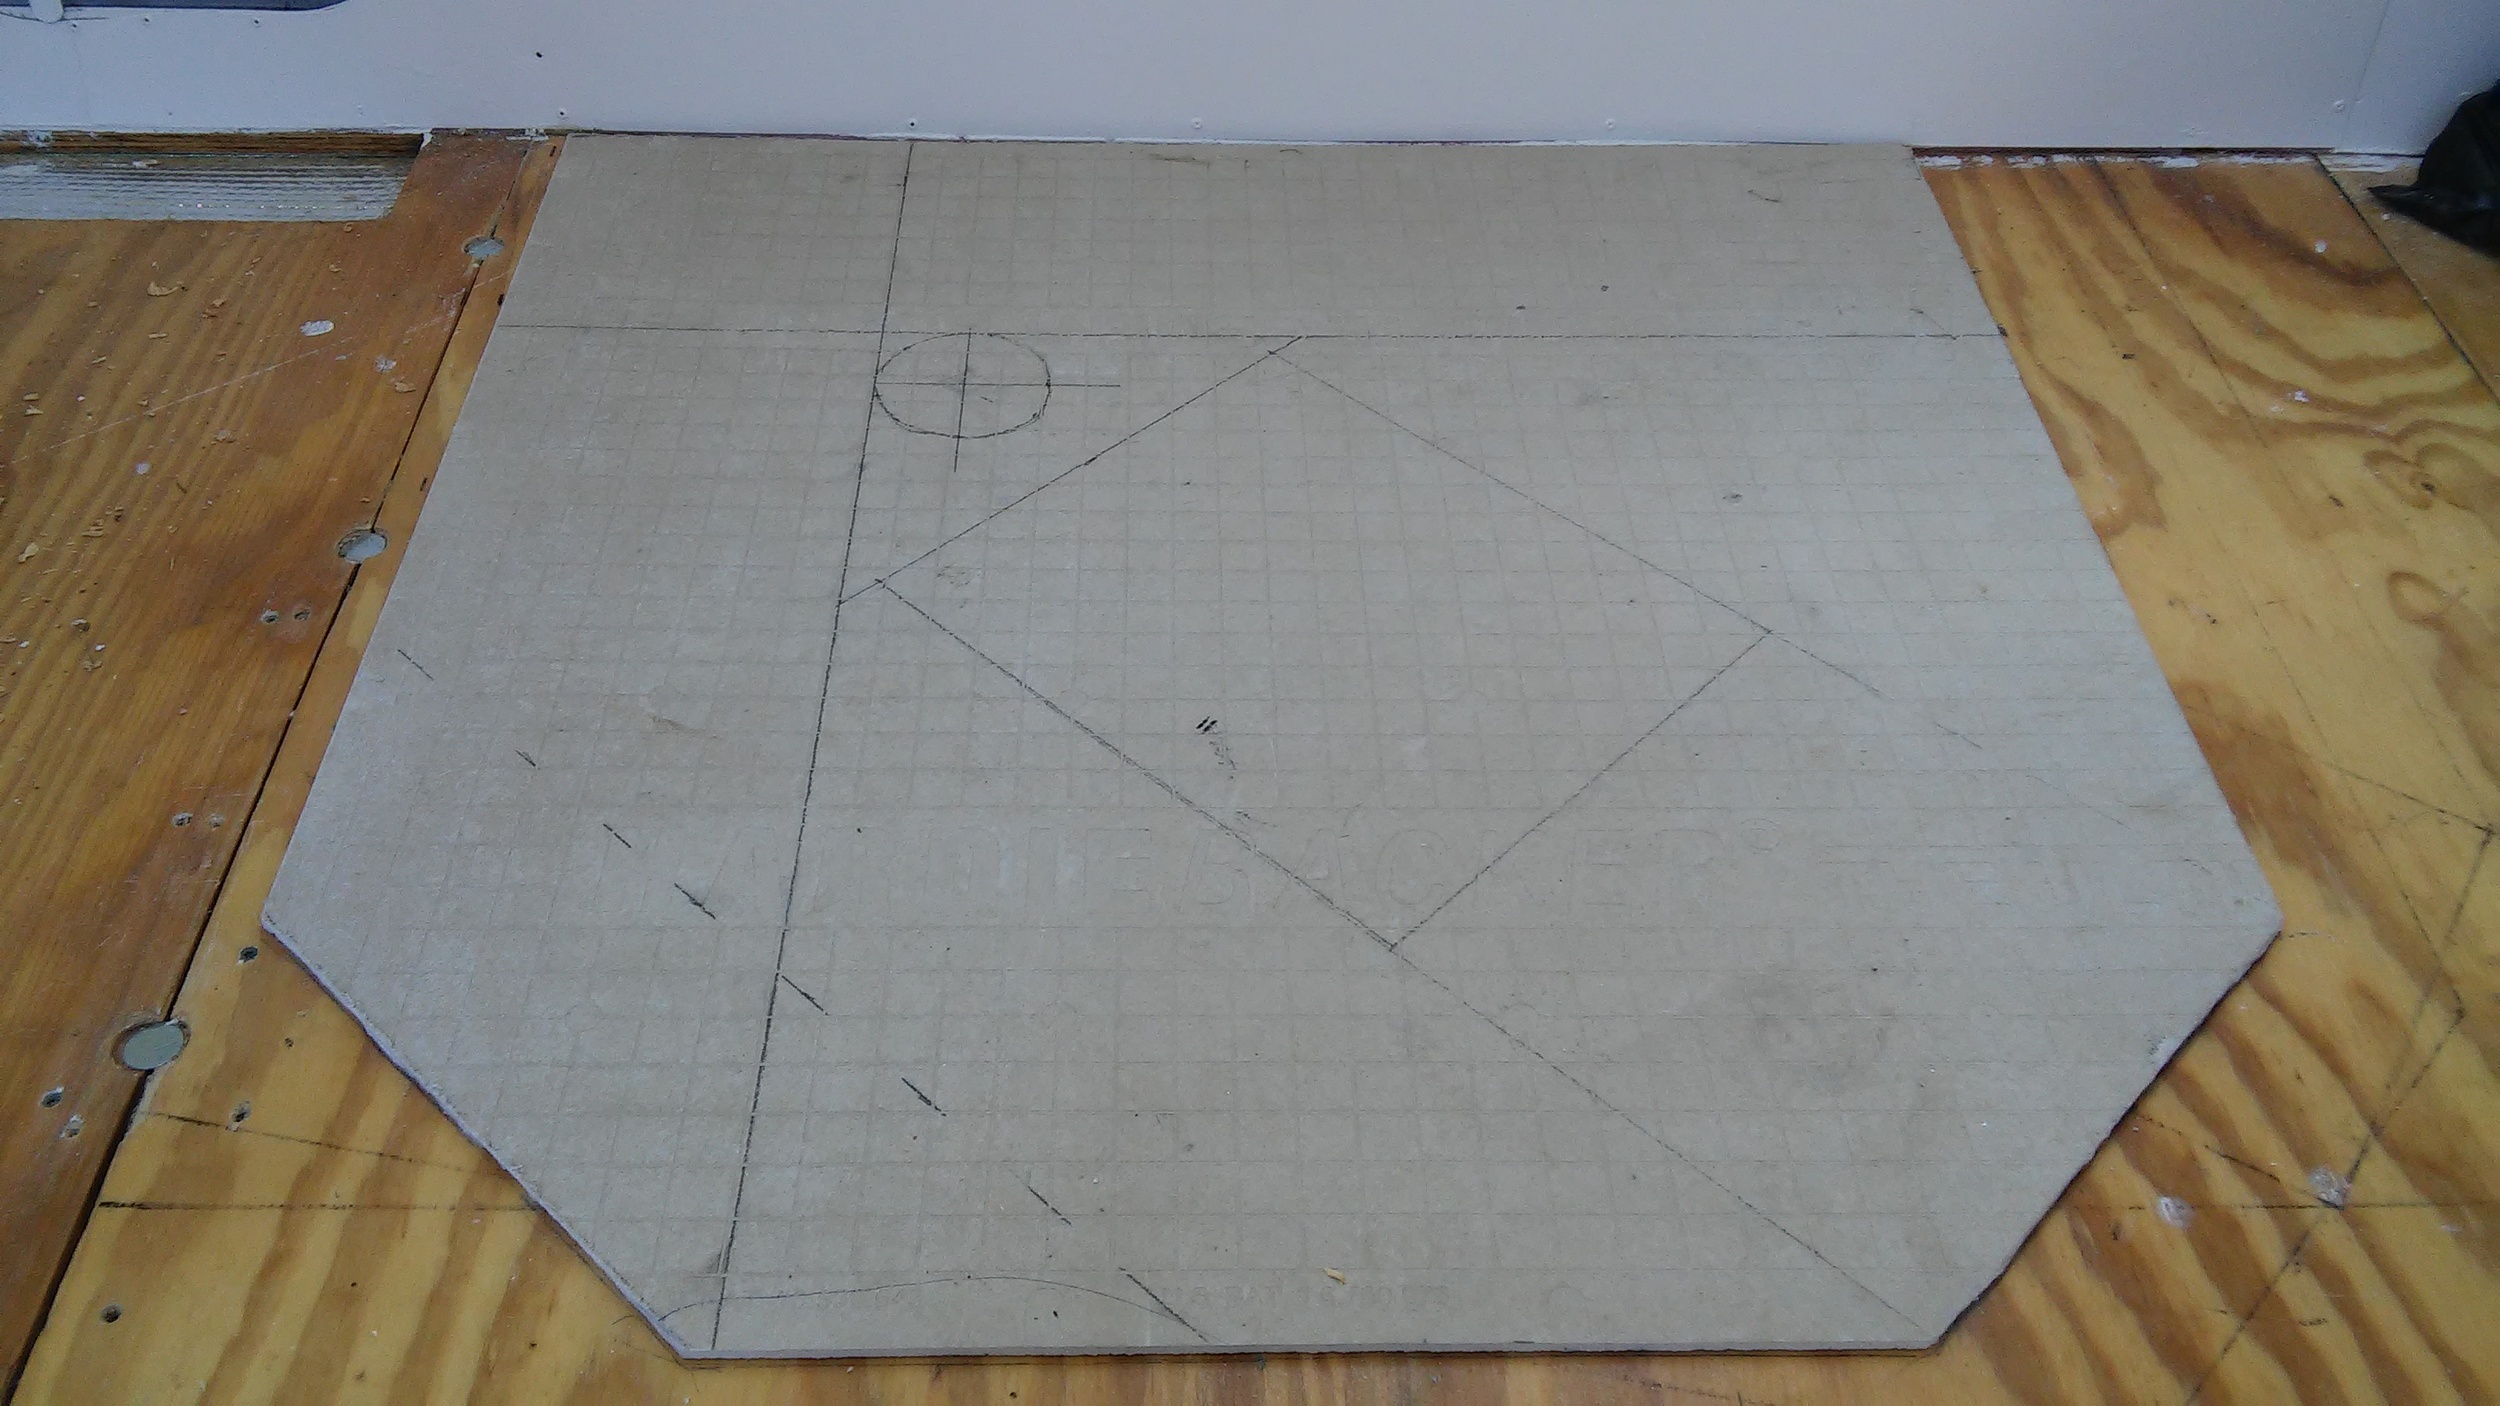
I welded a 1-1/2" steel angle to the bottom of the cross-member forward of the tank.  I used the lip already present on the steel frame to support the street side, and I screwed a piece of 1-1/4" angle to the curb side of the plywood to prevent it from flexing.  The aft side of the plywood is supported by another 1-1/2" steel angle, but this one is bolted into place so it's possible to remove in the future.  I notched out four spots in the side of the plywood support to provide clearance for inserting the bolts, and cut a hole to accommodate the low point drain.

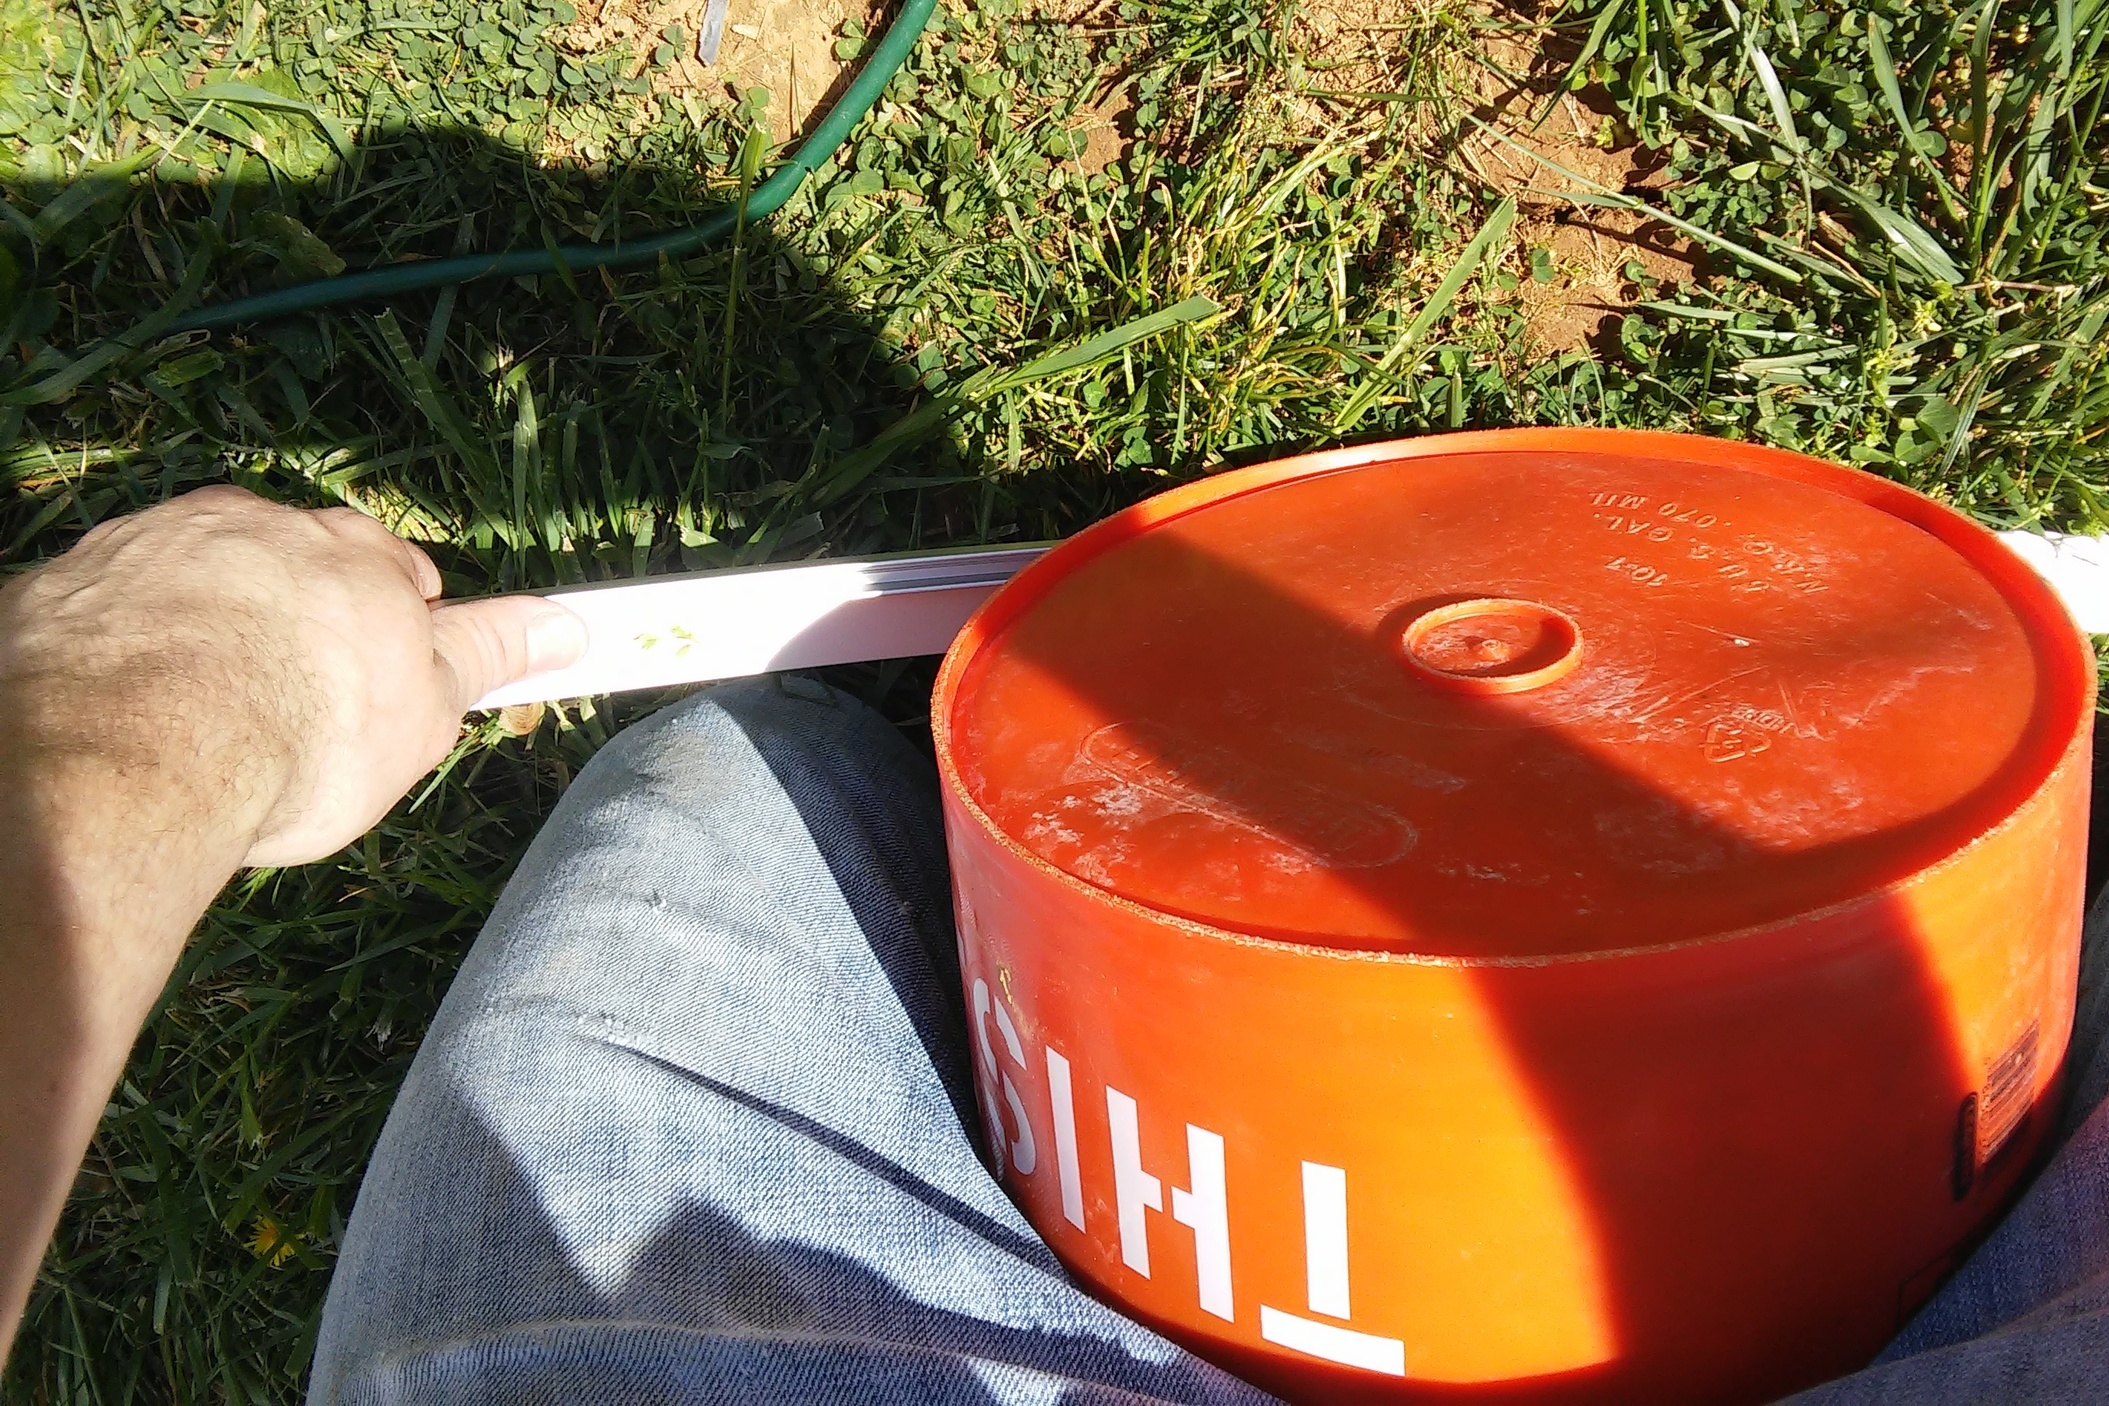
Once in, the tanks don't have much room for movement, but I shot a bunch of spray foam in the voids to help prevent things from shifting around, and to provide a little bit of insulation.  I'm getting to like this Tite Foam product from Loctite.  It's a lot more dense than your typical spray foam.  That means a can doesn't go nearly as far, but it also makes me feel better about its capacity to stop air movement and hold its shape.

More Work, Less Blogging

We're getting down to the wire, so I've been neglecting the blog while I try to get as much done as possible.  The wedding is June 18th, and I've moved the goalposts for Airstream construction from "done in time for the honeymoon" to "safe and legal to tow."  We're going to be doing some aluminum tent camping, which will be just fine by us.

Some of these links are "affiliate links."  If you decide to buy something based on our recommendation, it would be nice if you used the direct link from this page so that we can make a small commission for referring you (which doesn't cost you anything extra).

Here's the stuff I managed to take pictures of over the last month.

Once the paint was up, I was able to permanently attach the lights, like so:

Next, I need to build the fridge enclosure.  I bought this aluminum extrusion from VTS for attaching a 1/4" plywood wall to the interior skin.  Lots of people (including me) seem to have a problem bending this stuff to fit the interior curve.  Photo evidence:

The problem is that it's too easy to bend it too far.  If you're bracing it against something that'll allow it to kink, it will.  My solution was to bend it against a 5-gallon bucket held between my legs.  Bend a little, move a few inches, bend a little again, rinse and repeat.  Worked out very nicely.  I recommend bending a little less than you need since it's easier to push the middle of the bend into the wall than to bend a free end back toward the wall.

Walls for the fridge enclosure are 1/4" plywood glued to 1/2" rigid foam insulation from Lowes.  This should give me a little extra insulation since the back of the fridge is technically outside.  I made a 1/4" dado cut in a 3/4" thick pine board for the edge of the wall and attached the plywood in the groove then glued the insulation to the plywood.  Lots of test fits and trimming to get the board to fit in the aluminum extrusion.  Attached the top of the wall to a shelf I cut for the top of the fridge, and attached the bottom to a platform I built to raise the fridge up 10" and make space for a drawer.

I received my second busted-beyond-repair stove from PPL Motorhomes (#72-4121 Stainless 17" Atwood Range). The first one was sent via UPS ground even though I paid for freight, and it arrived in a retail box with no attempt at protective packing.  There was no bubble wrap or packing peanuts, and the loose metal parts were allowed to bounce around and get scratched up.  The edges of the stove and the oven door were busted and warped beyond repair.  UPS ground is not gentle, especially on heavy items like a stove.  Apparently PPL is getting these drop-shipped directly from Atwood or their distributor, who apparently doesn't care whether their merchandise arrives in decent condition.  I sent the first one back and requested another one sent via freight.  Well, they sent it via UPS ground again.  I give up.  I cancelled my order and will be looking into buying a marine stove instead.  Regardless, this isn't going to be done by the honeymoon.

To his credit, Ron Hunt at PPL motorhomes was great to work with.  He was very responsive over email, and did his best to resolve my concerns.  I would absolutely buy from him again, just not anything that was getting drop-kicked ... er ... drop-shipped from that particular distributor.

Next, flooring installation.  I used 3/8" engineered hardwood click-lock flooring, installed over Pergo Gold underlayment.  It's a floating floor, so it goes in before the bed and the kitchen cabinets, which will sit on top the floor and attach to the walls. 

I like the Pergo underlayment because it has some thickness to it which provides a little r-value and helps smooth out some irregularities in the subfloor.  I promise, it's not just because it's shiny.

I used about 7 boxes of flooring, so my added weight here is 200 lbs.   

Recommended tools for this procedure include a carpenter's square for marking 90 and 45 degree angles, and a compass for transferring the curves of the wall onto the boards.  I used a jigsaw with a relatively fine blade to make the curved cuts.  There was a little chipping, but all the curved cuts are going to be hidden anyway, so I didn't bother trying to prevent it.  Remember: measure n+1 times, cut n times.

I'm very happy with the way the flooring turned out.  Pergo makes some nice products that might be more practical for this application, but they all feel like plastic to me.  The real wood floor just feels nicer.  And it looks fantastic.  As I was installing the wood floor, I kept pulling boards out, looking at the grain and saying, "wow, that is a beautiful piece of wood."  

Leanne approves, too.  Looks like she's already started to move in.

Finally, now that the weather has turned, I bet you're thinking I'm glad to have that nice new AC on the Airstream.  Well, allow me to burst your bubble.  Compressor won't kick on.  Heat works, fan works, but no compressor.

I made multiple email requests to Airxcel for assistance in troubleshooting, and was ignored.  No response at all.  I went so far as to try to contact the CEO via Linkedin.  No luck.

After some tinkering on my own, I identified the problem as a bad thermostat on my ceiling assembly.  It calls for heat regardless of its position or the temperature.  I've now hotwired my AC to work by reversing position of the heat and cool wires.  Now the AC kicks on and it cools, but it won't heat, and it won't turn off the compressor when it gets to the set temperature.  My settings are now OFF - FAN - FAN - MORE FAN - ICEBOX - END SCENE OF THE SHINING.

I contacted Camping World (where I ordered the ceiling assembly in the first place) hoping to source a replacement thermostat -- warranty or not, I just need a working part so I can honeymoon at a reasonable temperature.  Camping World says they won't help me because I'm past their return policy, and I have to contact Airxcel directly.  Awesome.

Half hour later, Derek Hicks from Airxcel (who I had copied in the email to Camping World) replied that I could call them with the model number of the ceiling assembly and model, serial number, and date of purchase of the AC unit, and they would send me the part at no cost.  I called 316-832-4357 and spoke with a technician who was happy to send me the replacement thermostat along with a selector switch just in case.

I guess the lesson here is don't bother trying to reach Airxcel via email.  A phone call directly to the tech service line got me what I needed fairly quickly, but email took five separate tries to get someone to acknowledge me.

Hearth Install

The hearth for the stove needs to meet some minimum requirements for thickness and clearance dimensions listed here.  We used 1/4" thick HardieBacker for the backer board and 1/4" thick glass tile for the finish.  The hearth doesn't bridge any joints in the plywood subfloor, so I'm pretty comfortable that the 1" square tile should be OK, even with a moving coach.  Heck, Hoffman Architecture regularly constructs entire bathrooms in tile.

Once I had the outline of the board ready, I sanded the subfloor with some rough sandpaper to give the thinset something to bite on to.  Remember, the subfloor is covered in waterproof epoxy, so it's not exactly a porous surface anymore.

Mix up a few pounds of thinset and apply with a 1/4" square trowel.  All the lines need to be parallel -- no swirls!  This is important.  Note that I avoided the elevator bolts.  I want them to be able to wiggle without affecting the hearth, so I don't actually want to cover them in thinset.

Now that I've got my mortar bed, the backer board goes in place and gets wiggled perpendicular to the lines in the thinset to collapse the grooves and get good coverage.  Then, backer board screws attach the board to the floor.  Directions say a screw every 8", keep screws 2" from the corners, and between 3/8" - 3/4" from the board edges.  Good idea to mark where the frame is so you don't put a screw into the steel frame.  

Next, plan the layout and mark my cuts.

Now, with the cuts complete I'll lay out the tiles again.  Like how I skipped the hard part?  There was too much blood, and this is a family show.

Once I got everything where I wanted it, I put painters tape over the loose tiles so that I don't have to arrange them individually into the thinset.

With everything in order and a fresh batch of thinset, it's time to start tiling.  Now, this is the do-as-I-say-not-as-I-do moment.  I back-buttered all my tile sheets thinking, "better safe than sorry."  Well, I'm sorry.  I'm really, really sorry.

Tile goes down like normal, wiggling perpendicular to the lines I made in the thinset with my 3/16" v-notch trowel.  Then I spend a long time digging the thinset out of the grout joints of every single tile and making adjustments.  I would bet that I did more damage to my adhesion wiggling the tiles around to get the grout joints clear than I gained by back-buttering in the first place.

Here's the finished product after the grout.  Once the rest of the flooring is in, I'll use caulk color-matched to the grout to make a seamless transition around the hearth.

Mach 8 Cub Mounting and Interior Install

Now that we have the interior skins in, I'm ready to complete the AC install.  If you've been following closely, you may have noticed that I've already installed and removed the interior ceiling assembly a couple of times before this point.  The AC unit works as long as the wires are plugged in, so I've been using it to heat the Airstream while I'm working on cold days. 

Before we get too far along here, let's review.  Back in January, I added some 1" square aluminum tube around the perimeter of the roof opening for the AC to flatten out the area and provide something for the mounting hardware to grab.

Remember this photo from the previous Mach 8 Cub assembly post?  This is the bottom of the rooftop AC unit.  That foam gasket compresses against the roof opening to make a water tight seal.  There is a white rectangular depth indicator at each corner to use as a reference point for the proper compression of the gasket.

Some of these links are "affiliate links."  If you decide to buy something based on our recommendation, it would be nice if you used the direct link from this page so that we can make a small commission for referring you (which doesn't cost you anything extra).

Now, here's the same view from the interior of the coach after the rooftop unit has been installed.  There is a steel frame plate included that pinches the roof to the rooftop unit using four bolts -- one at each corner.  You can just see the edge of the frame in these pictures at the head of the bolts.  To attach the rooftop unit, you just have to get it in place and tighten down each of the four bolts until the white indicator just touches the roof.  Simple.  No need for sealant, and no need to double up on gaskets (I'm looking at you, Penguin).

As with any radial bolt pattern, you want to tighten these bolts evenly, together.  So, get a little tension on one bolt, then put the same amount of tension on the bolt across from it, then do the other two before putting a little more tension on the first and repeat.  Same as when you change a tire.

Technically, the steel plate is supposed to go below the ceiling inside the coach, not inside the ceiling.  But I reinforced the opening with 1" square aluminum tube and not 1-1/2" tube to match the ceiling thickness, and I wanted to put the steel plate directly against the reinforcement for stability.  So, I put the plate inside the ceiling and added some rigid foam insulation and a layer of Reflectix below to fill out the additional space.  I'm happy with this choice because I was able to notch out the insulation to route the drain and electric through, rather than having to drill holes in the reinforcement tube.  It does mean I need longer screws to attach the ceiling assembly because the ceiling assembly is meant to attach to the metal plate.

Now that we're all caught up, here's where we're at: interior ceiling assembly installation.

Now, before we permanently attach the duct to the ceiling assembly with the 3M VHB tape, I want to test-fit the rest of the ceiling assembly.  That revealed that I need the inner part of the ceiling assembly to stand off the roof about 1/2" to accommodate the convex curve of the ceiling.  So, I got some 2" #8 SS screws and some white high density rubber foam strips from the local orange box and installed it above the ceiling assembly like so:

3m VHB tape exposed, duct adhered, excess trimmed.

Lower ceiling assembly screwed in place.  I had a heck of a time finding the correct holes.  Remember, these screws attach to the steel plate that is now about 1" deep into my ceiling, so it takes some digging to get to the screw holes.  Once the four screws are in, filters snap in, and covers snap on top.   Temperature knob goes aft, fan speed goes forward.  Make sure to use the knob that came in the heating coil box that says LOW HEAT instead of the one that came with the ceiling assembly that says LOW FAN twice.

Final result.  Not bad.

Update for 2018: Coleman has released a new version 47201B876 Mach 8 Plus Cub rooftop unit.  The Mach 8 Plus has a redesigned outdoor fan to reduce outside fan noise and improve heat transfer across the condenser coil.  Find the new Mach 8 Plus Cub rooftop unit on Amazon here. The same ceiling assembly, heat kit, and condensate pump will fit.

Airhead Composting Toilet Unboxing

We don't want a black tank in our house.  Something about carrying around a talk full of raw sewage inside our house just doesn't seem like a good idea.  We wanted a liquid diverting system, and were initially looking at the Nature's Head after watching a video from The Wynns and seeing Snowmads install the same one.

The main reason for choosing the Airhead instead is that it has a standard type toilet seat that you can lift and lower, while the Nature's Head has a seat that's molded into the base.  Nature's Head lists the molded seat as a feature: "Durable! Easy to Clean! Never needs replacement!"  I sure hope it's easy to clean if you can't lift it, 'cause you're going to be cleaning it a lot.

I also like that the liquids tank in the Airhead is opaque except for a viewing window.  I don't see any reason to put the liquids on display.

First impression is that it looks like a quality product.  Reasonably well thought-out construction, moving parts feel pretty sturdy, and it has a functional household size.  I'll have more feedback on function once it's installed and in use.

One note on composting.  My reading of the Nature's Head documentation seems to imply that solids compost in a matter of days or weeks.  Airhead's documentation is clear: it takes three months for composting to occur.  In a full-timing situation, we're not going to be hanging on to the contents of the solids tank and waiting for it to decompose so that we can use it as compost on ornamental plants.  While the solids will be much less offensive to deal with than the contents of a black tank, they're still going to need to be disposed of carefully.