Airstream Remodel

Propane Line Installation

What I was hoping would be a one weekend project turned into a three weekend grind thanks to the record-breaking heat and humidity this August.  On the bright side, I know our Coleman Mach 8 Cub AC unit can handle anything we're likely to throw at it.  If it got any hotter and we had a choice, we would be driving away somewhere cooler.

This week's -- er -- month's project is the propane lines.  Our future kitchen range, the water heater, and fridge will all run on propane.  We may also use a generator or a grill in the future that could be set up to run off our RV propane.  I want to get the gas lines installed and tested before I can build the bathroom interior because I'll have much better access to the back of the water heater before I build the shower wall behind it.

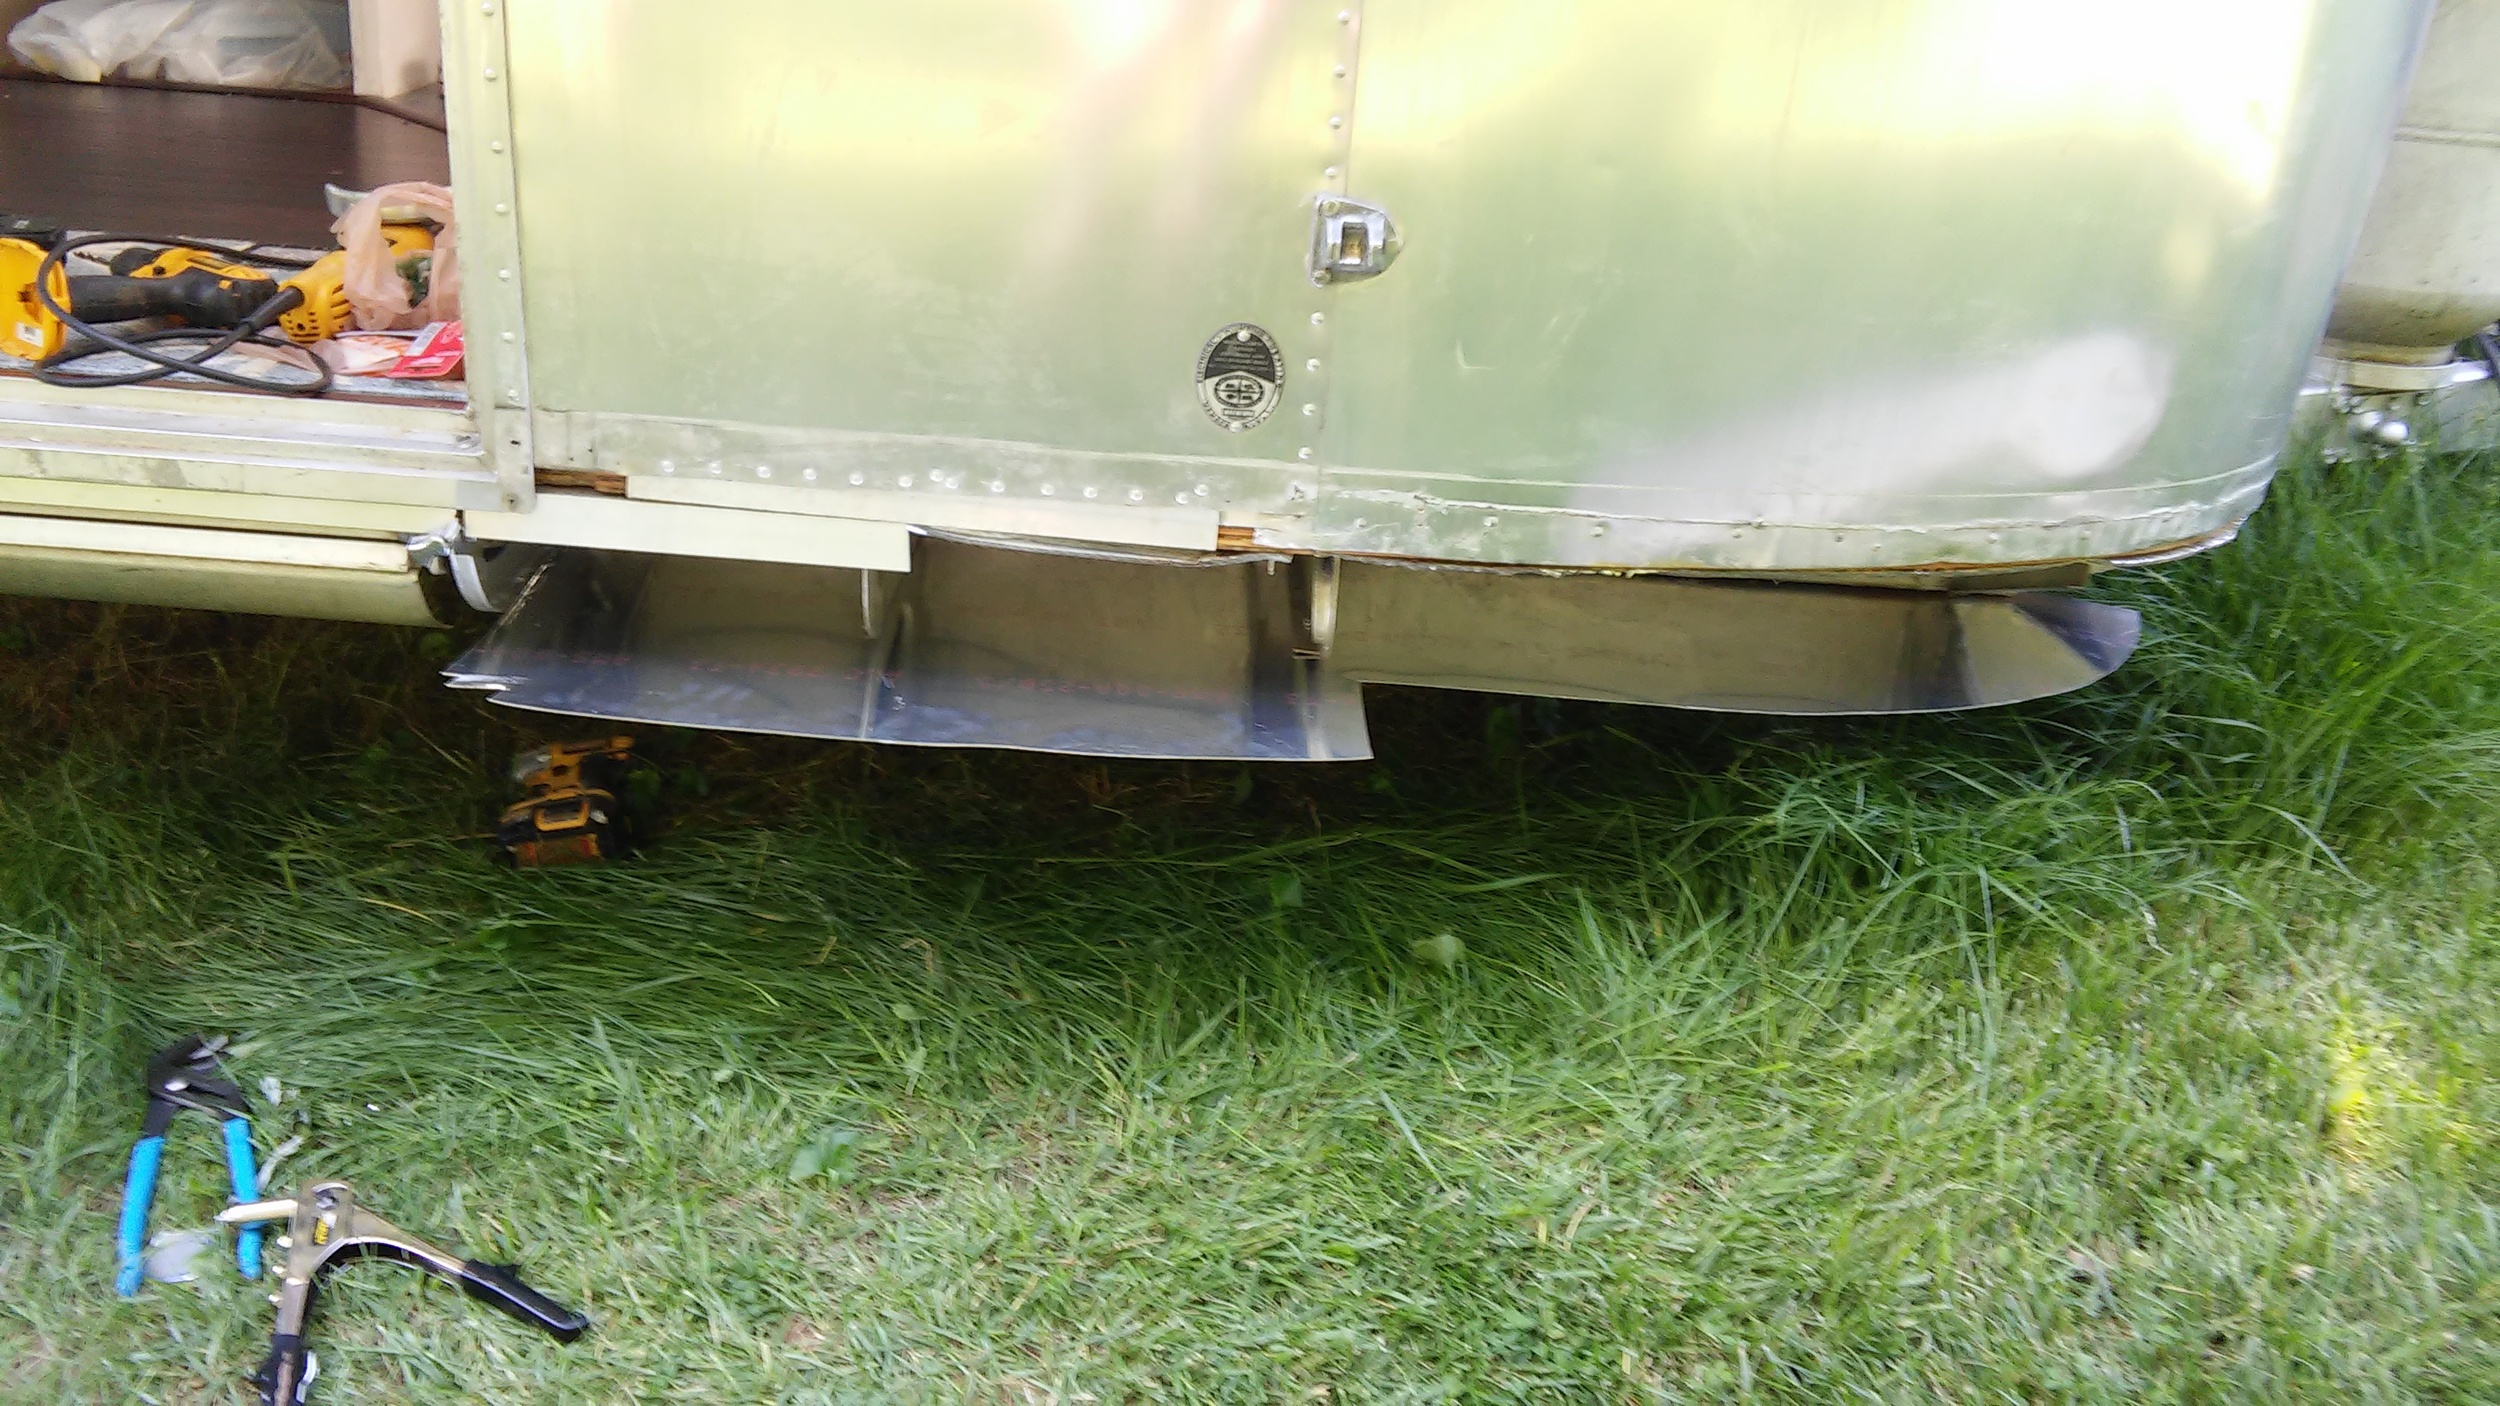
Propane lines are required to be run outside the coach.  If there were a leak, it's far safer for it to leak outside than to potentially build up in an enclosed space until it finds an ignition source.  You'd think it would be dangerous to run propane lines unprotected along the bottom of the coach.  I envision an errant rock puncturing a propane line and causing a Michael Bay style explosion on the interstate.  The truth is, if something were to cause a catastrophic leak from the propane lines outside of the coach, you'd just get a bunch of cold gas. 

The pressure the system operates under is surprisingly low.  The two-stage regulator maintains a pressure of about 11 inches water column, which is about 0.4 PSI.  You could easily stop the flow of gas from an open tube by applying pressure with a finger.  The regulator also has a fail safe to limit the flow of gas in the event of a catastrophic leak.  The real danger here is gas building up in an enclosed space.

Some of these links are "affiliate links."  If you decide to buy something based on our recommendation, it would be nice if you used the direct link from this page so that we can make a small commission for referring you (which doesn't cost you anything extra).

I used 1/2" tubing for the trunk and 3/8" tubing for the branches.  Those links direct to 50' lengths, which was enough for the entire job with a good bit left over.  25' of either would not have been enough.  The tubing I used is specifically designed for gas, encased in a protective plastic coating.  The plastic coating is nice but not required.  It is important that the tubing be rated for gas -- some of the tubing sold off the shelf is not.

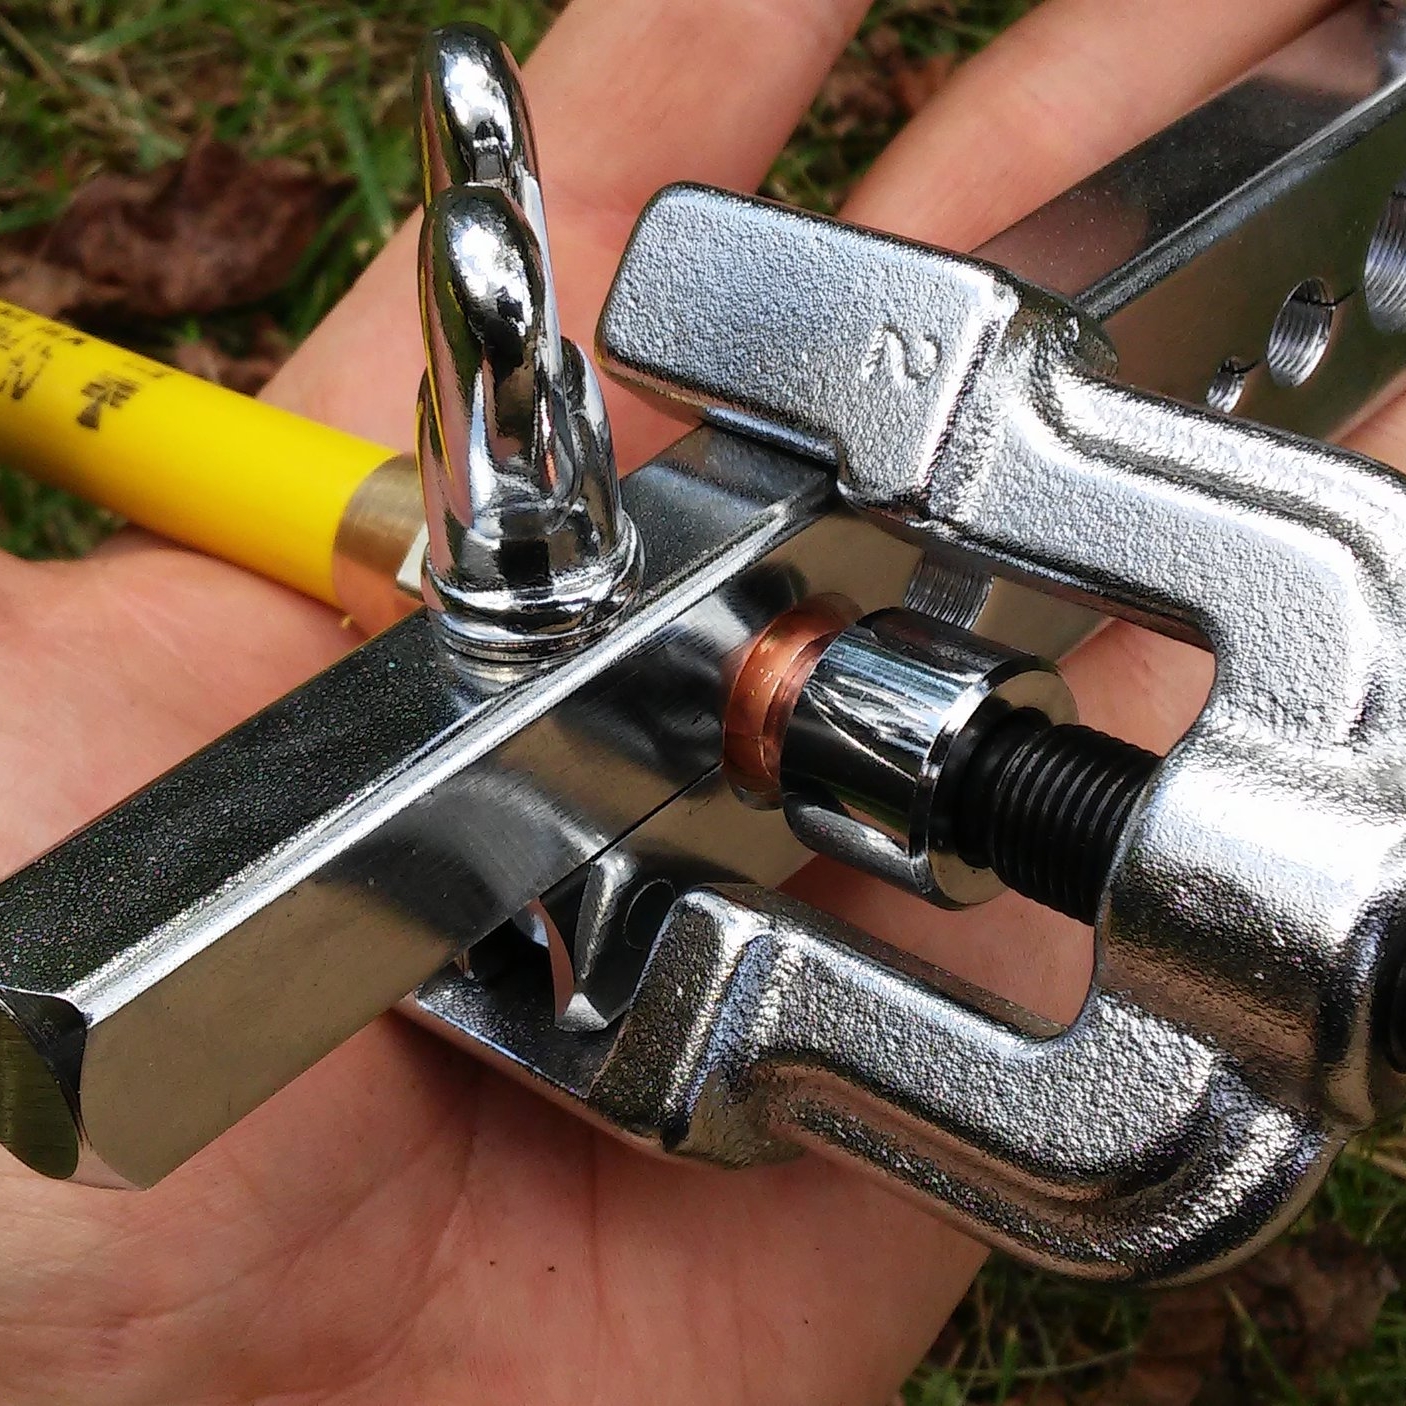
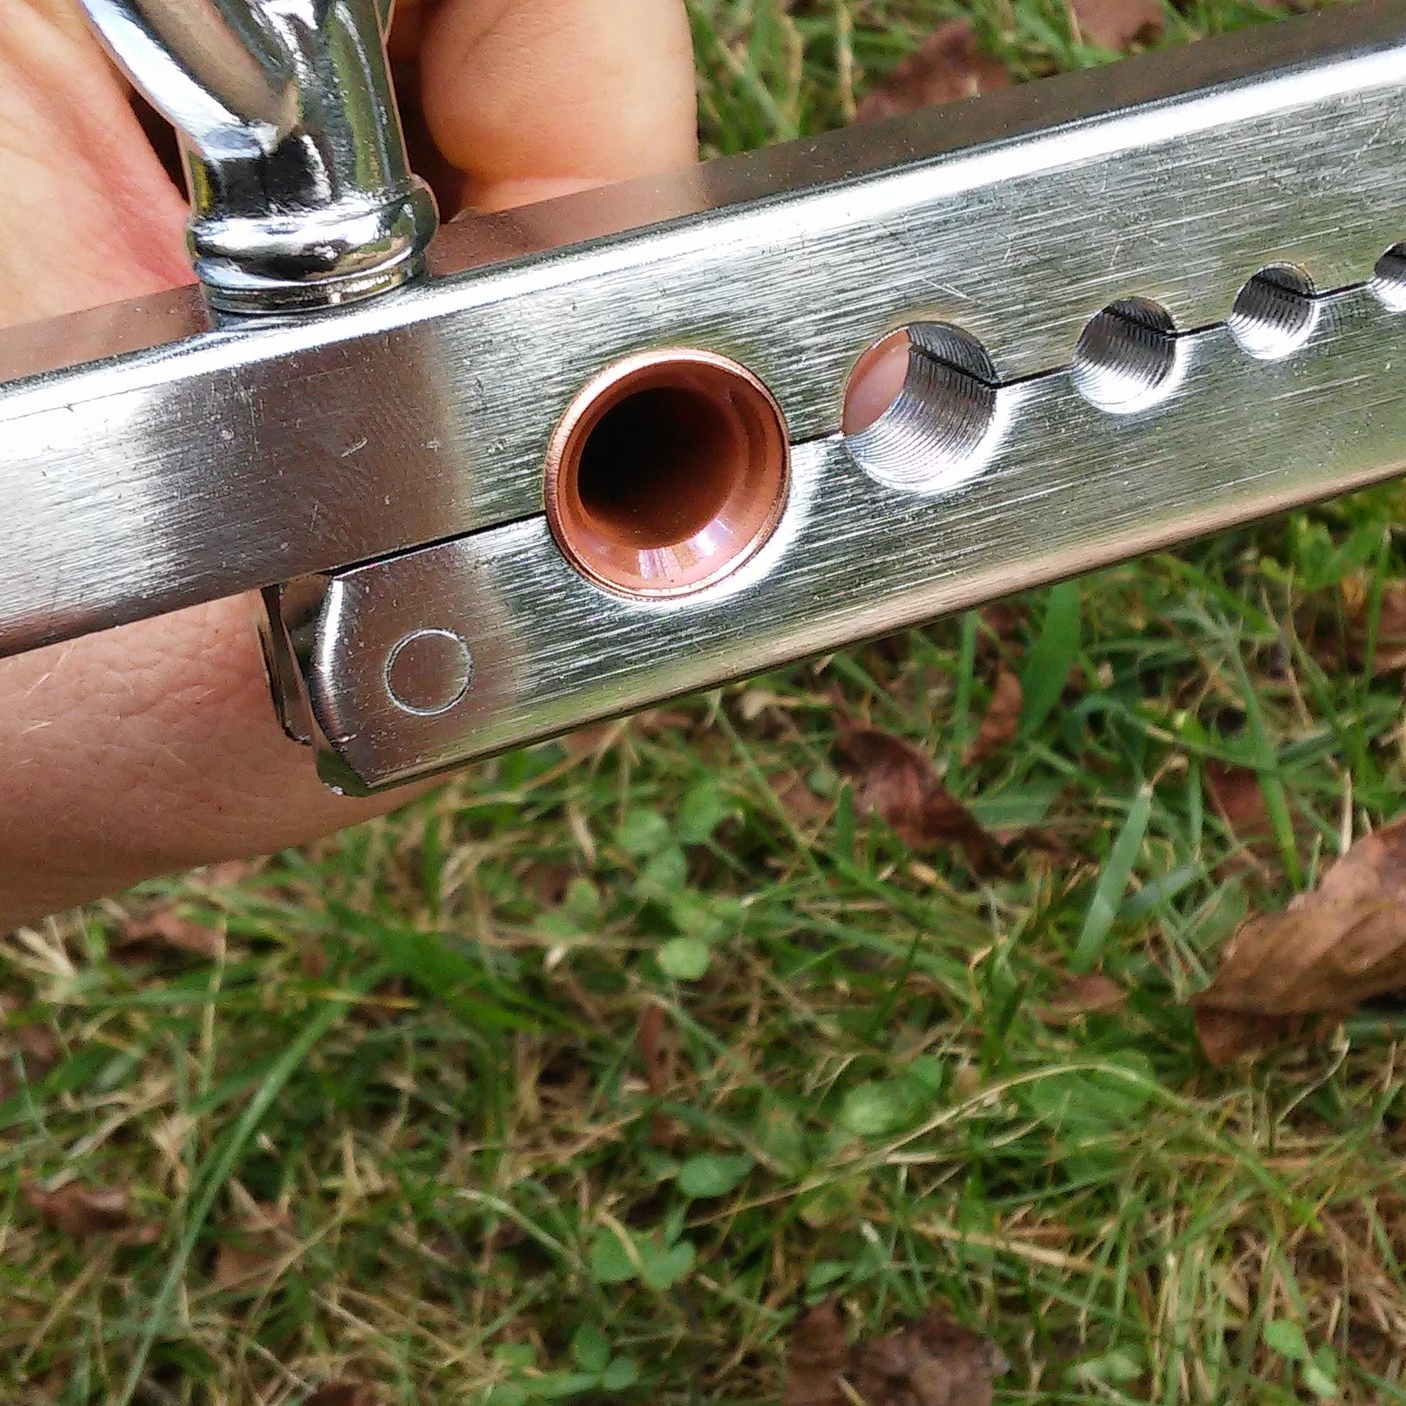
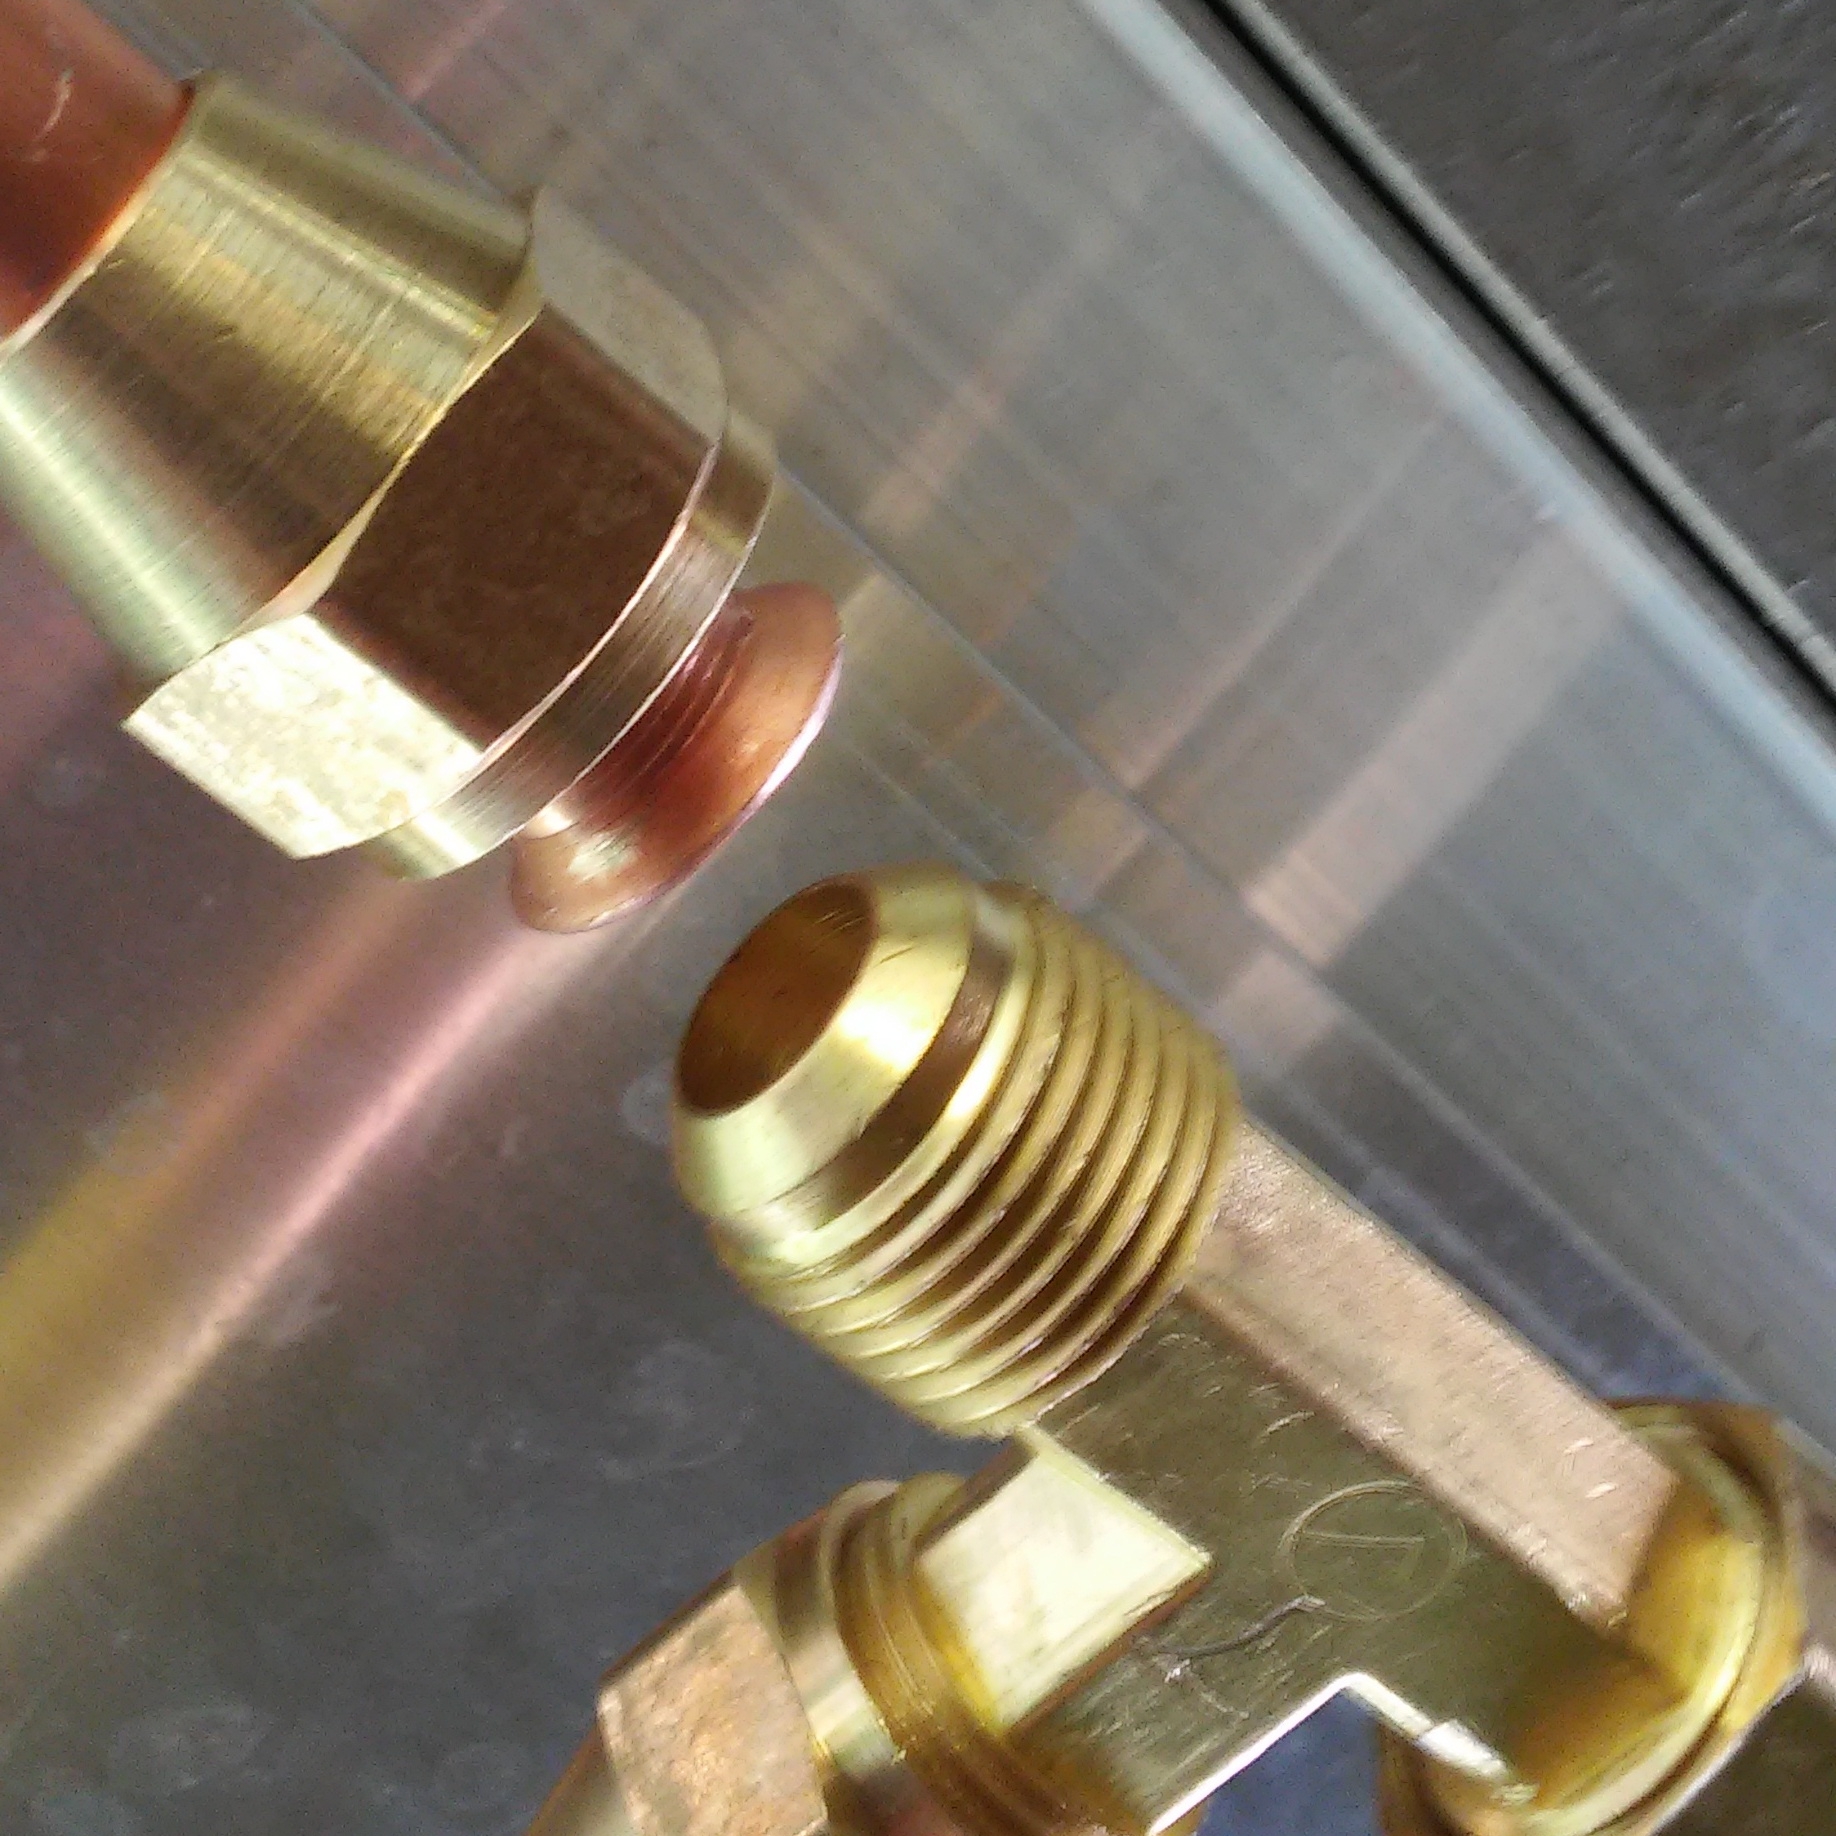
All connections were flare fittings.  The seal is made by compressing soft metals together -- either two brass fittings or a flared copper pipe sandwiched between a brass nut and another brass fitting.  No tape or pipe dope is used for these connections since the threads themselves are not what create the seal -- they just exert the pressure that holds the joint together.  It helps to apply a little 3-in-1 oil to the threads before you assemble the fitting, which helps you get the joint tight enough to seal.  It also helps to put the nut on the pipe before you flare the end.  Ask me how many times I forgot that.  

Come to think of it, don't ask me.  I don't want to talk about it.

I used the brasscraft flaring tool from Lowes.  The wingnuts on the tool started to seize up after a few fittings, but I applied a little 3-in-1 oil to the threads and cleaned them up, and it didn't give me any more trouble.  I'd recommend applying 3-in-1 oil to the threads of your tool before you start.

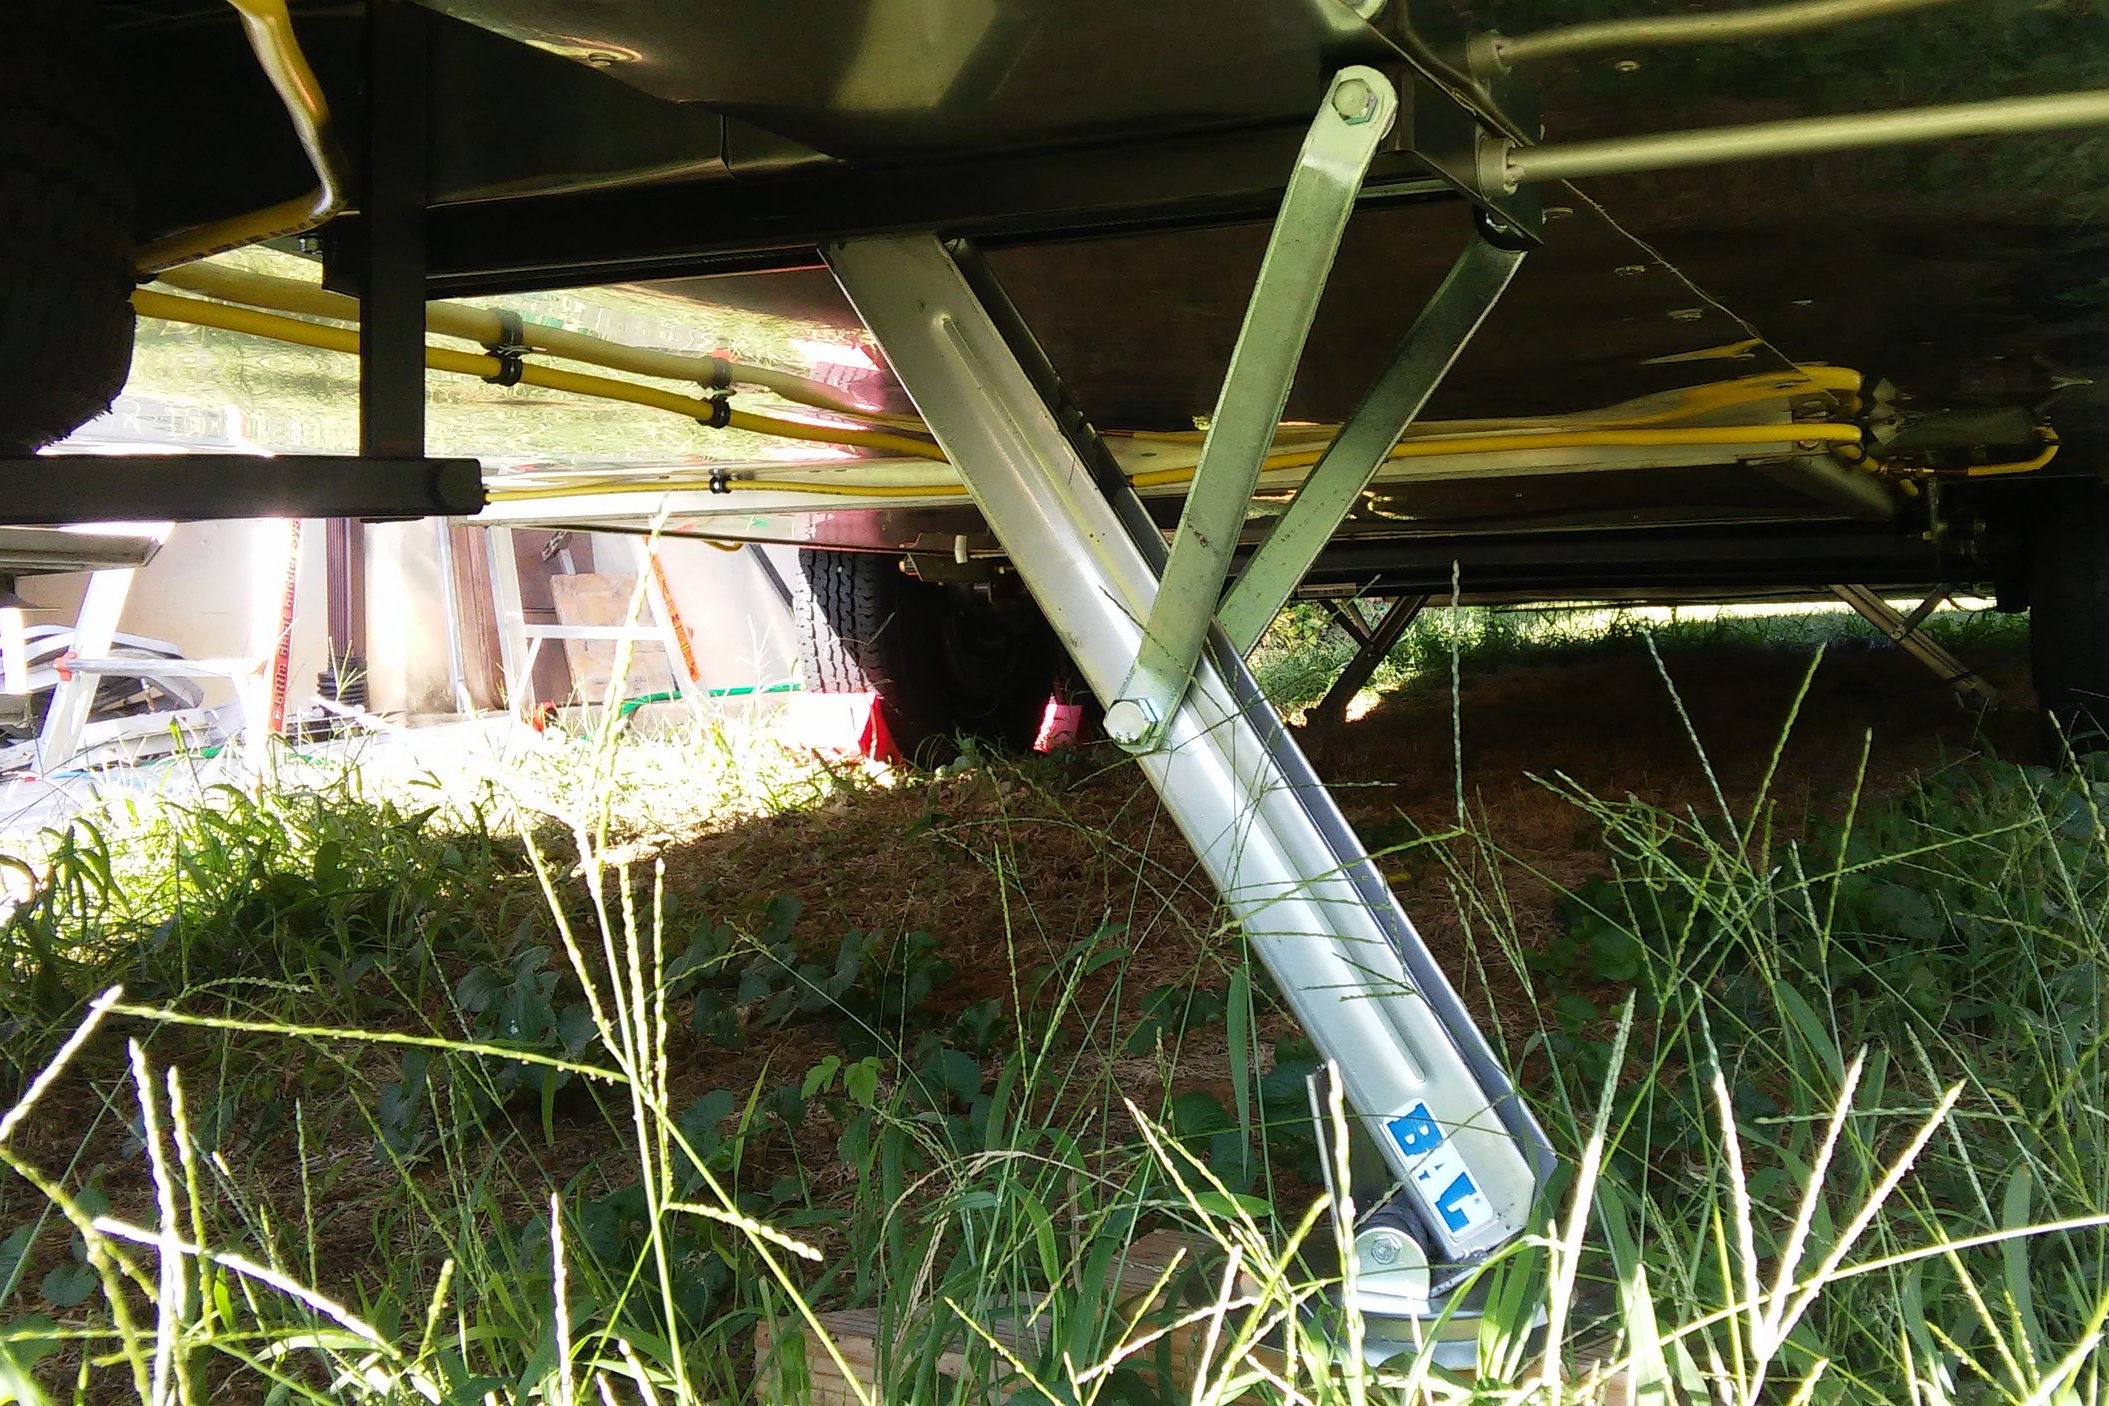
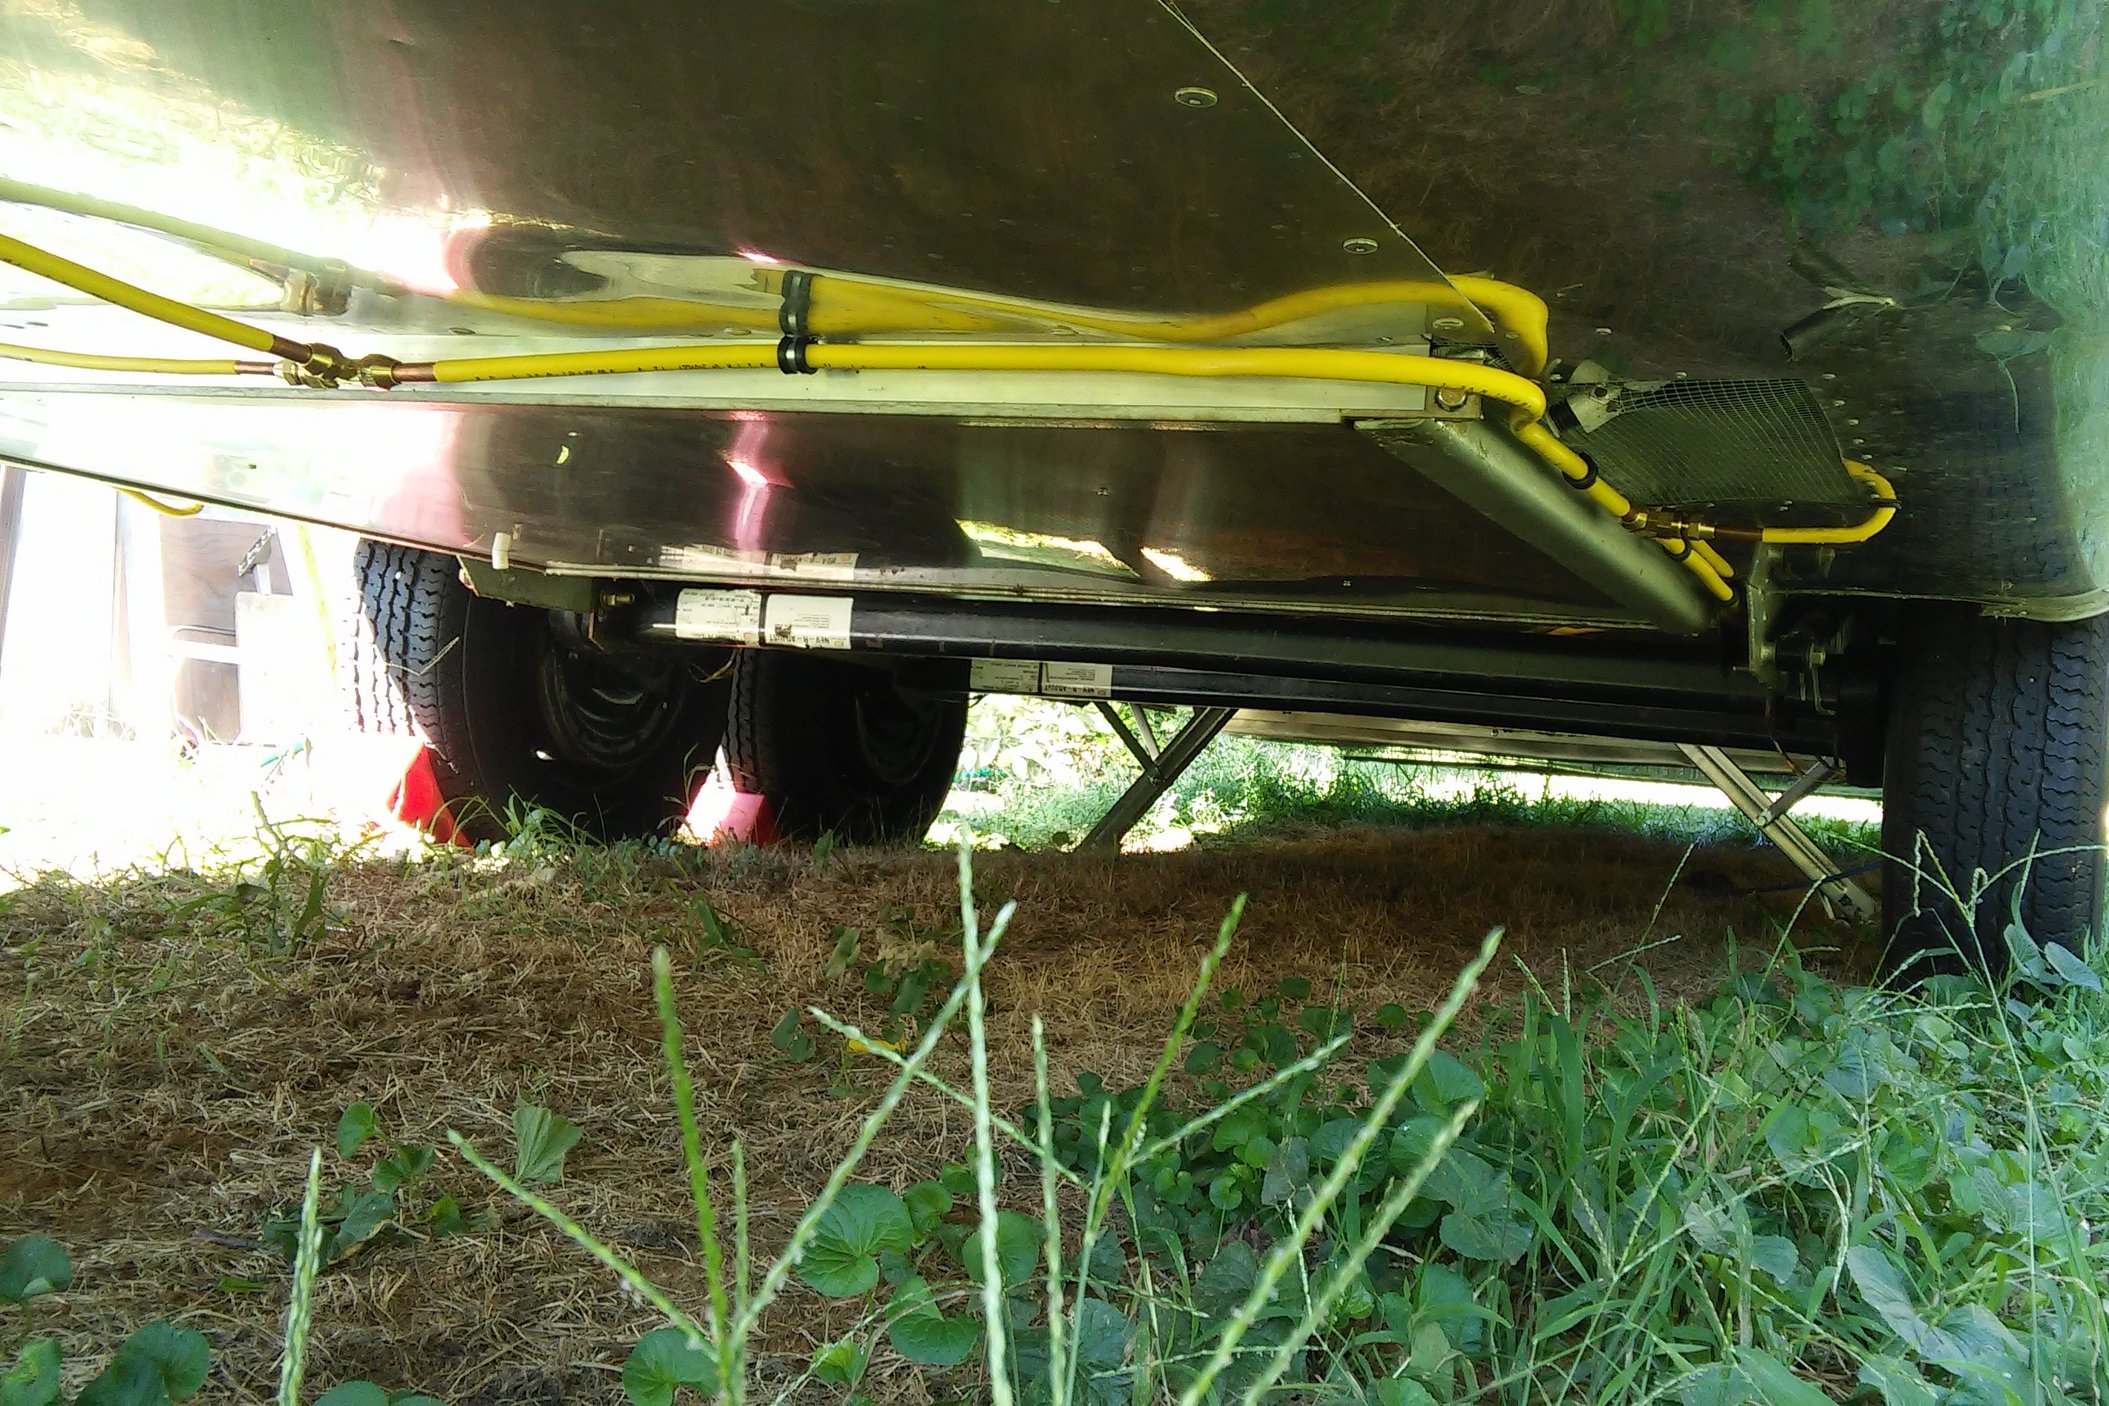
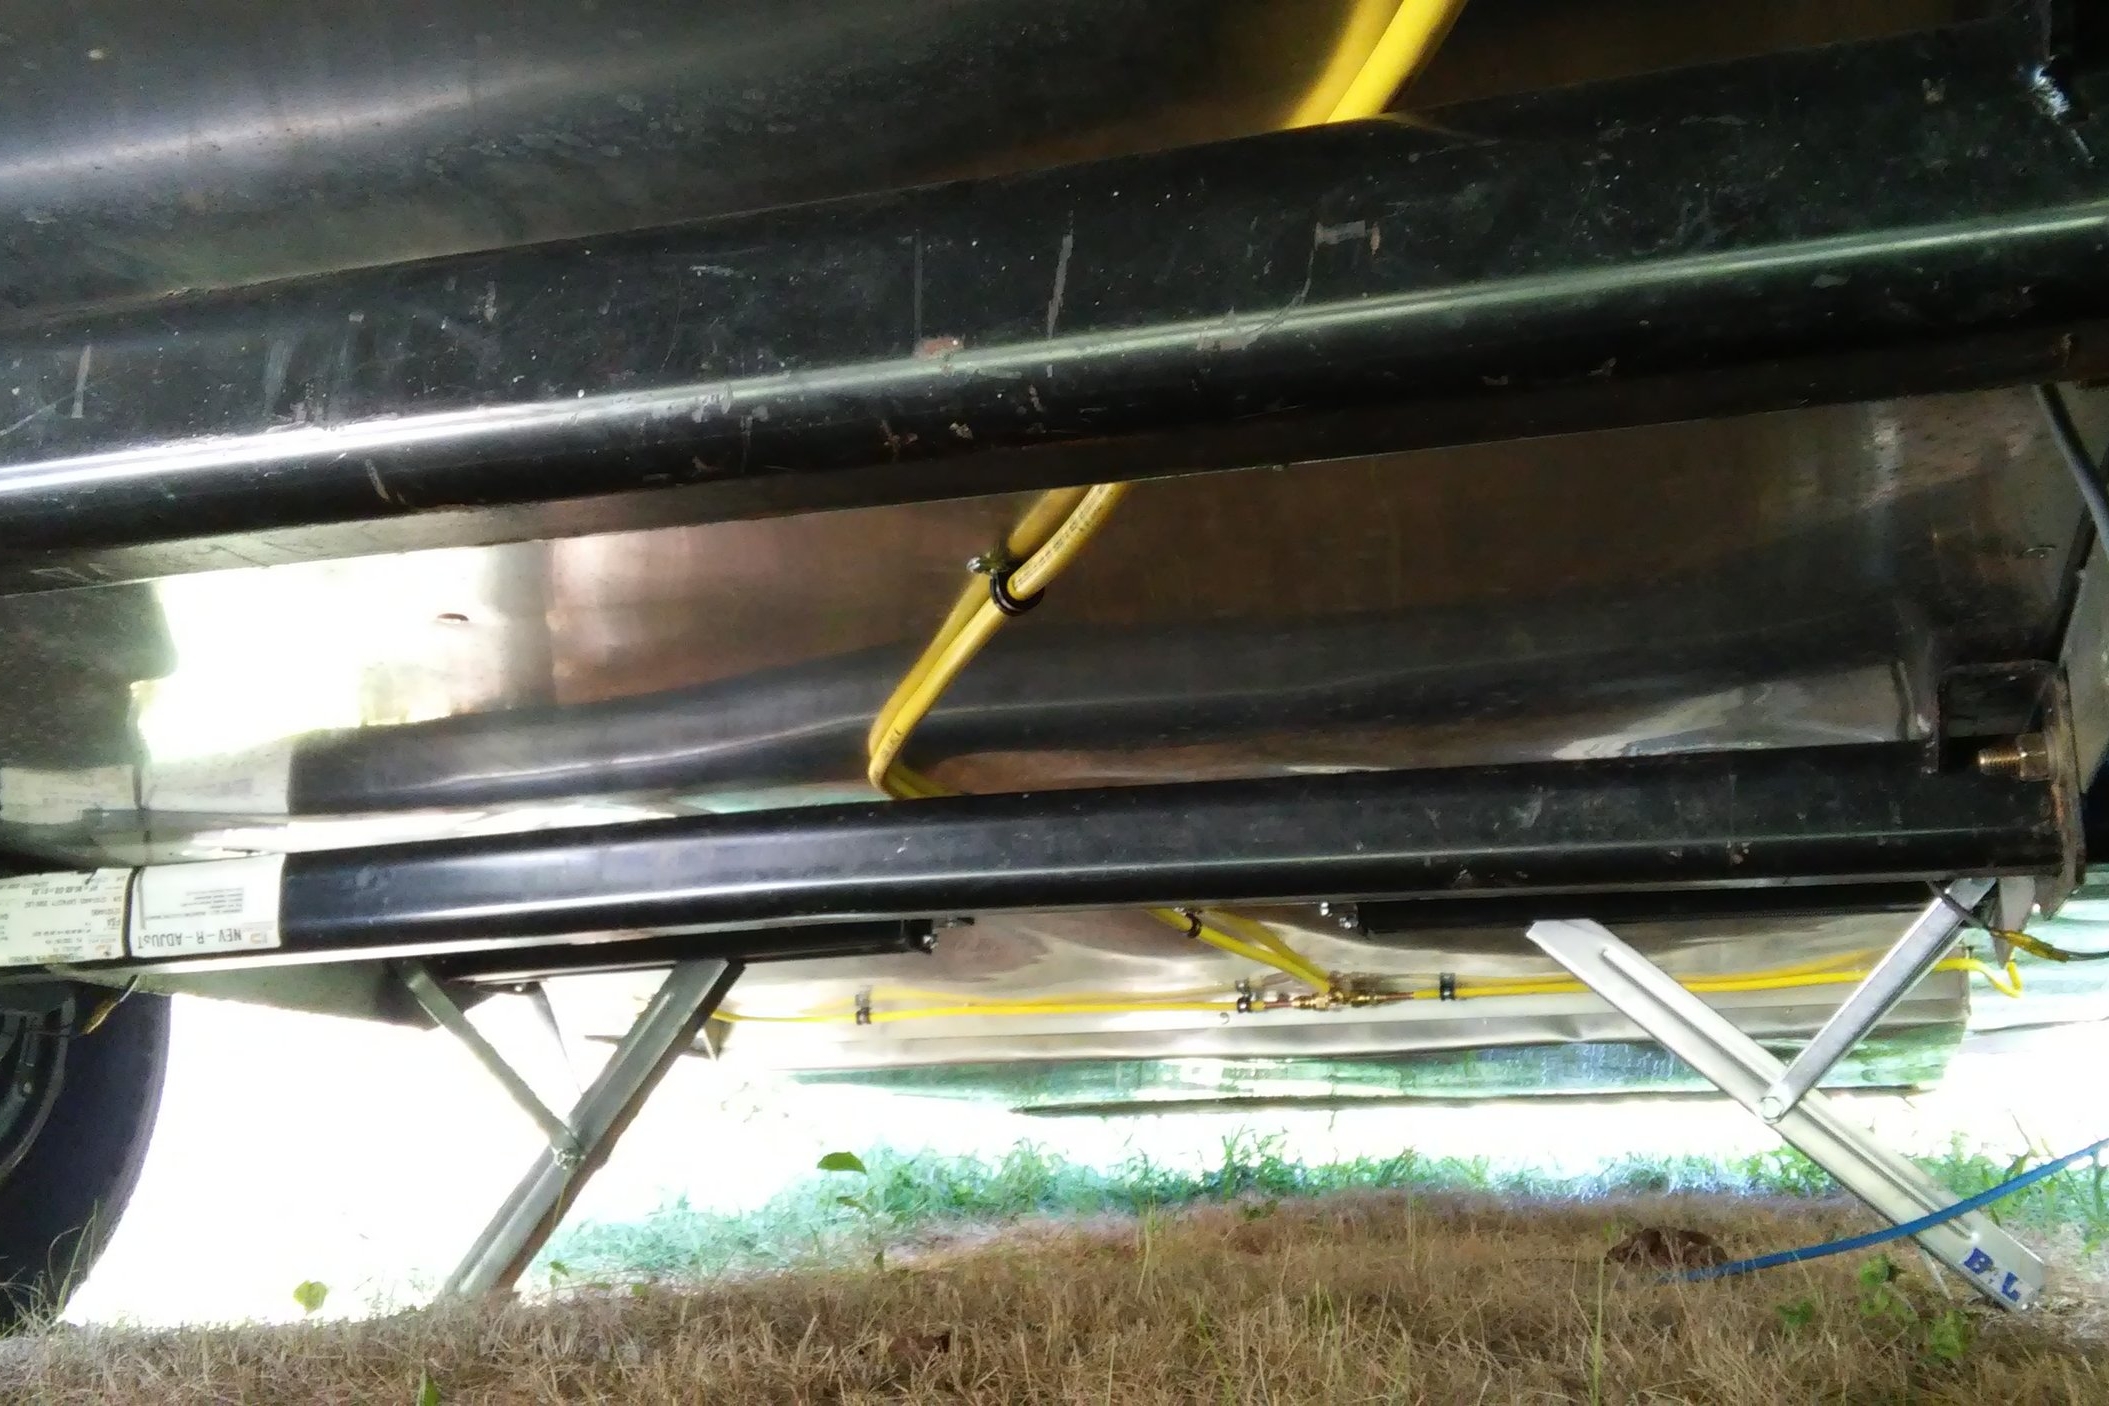
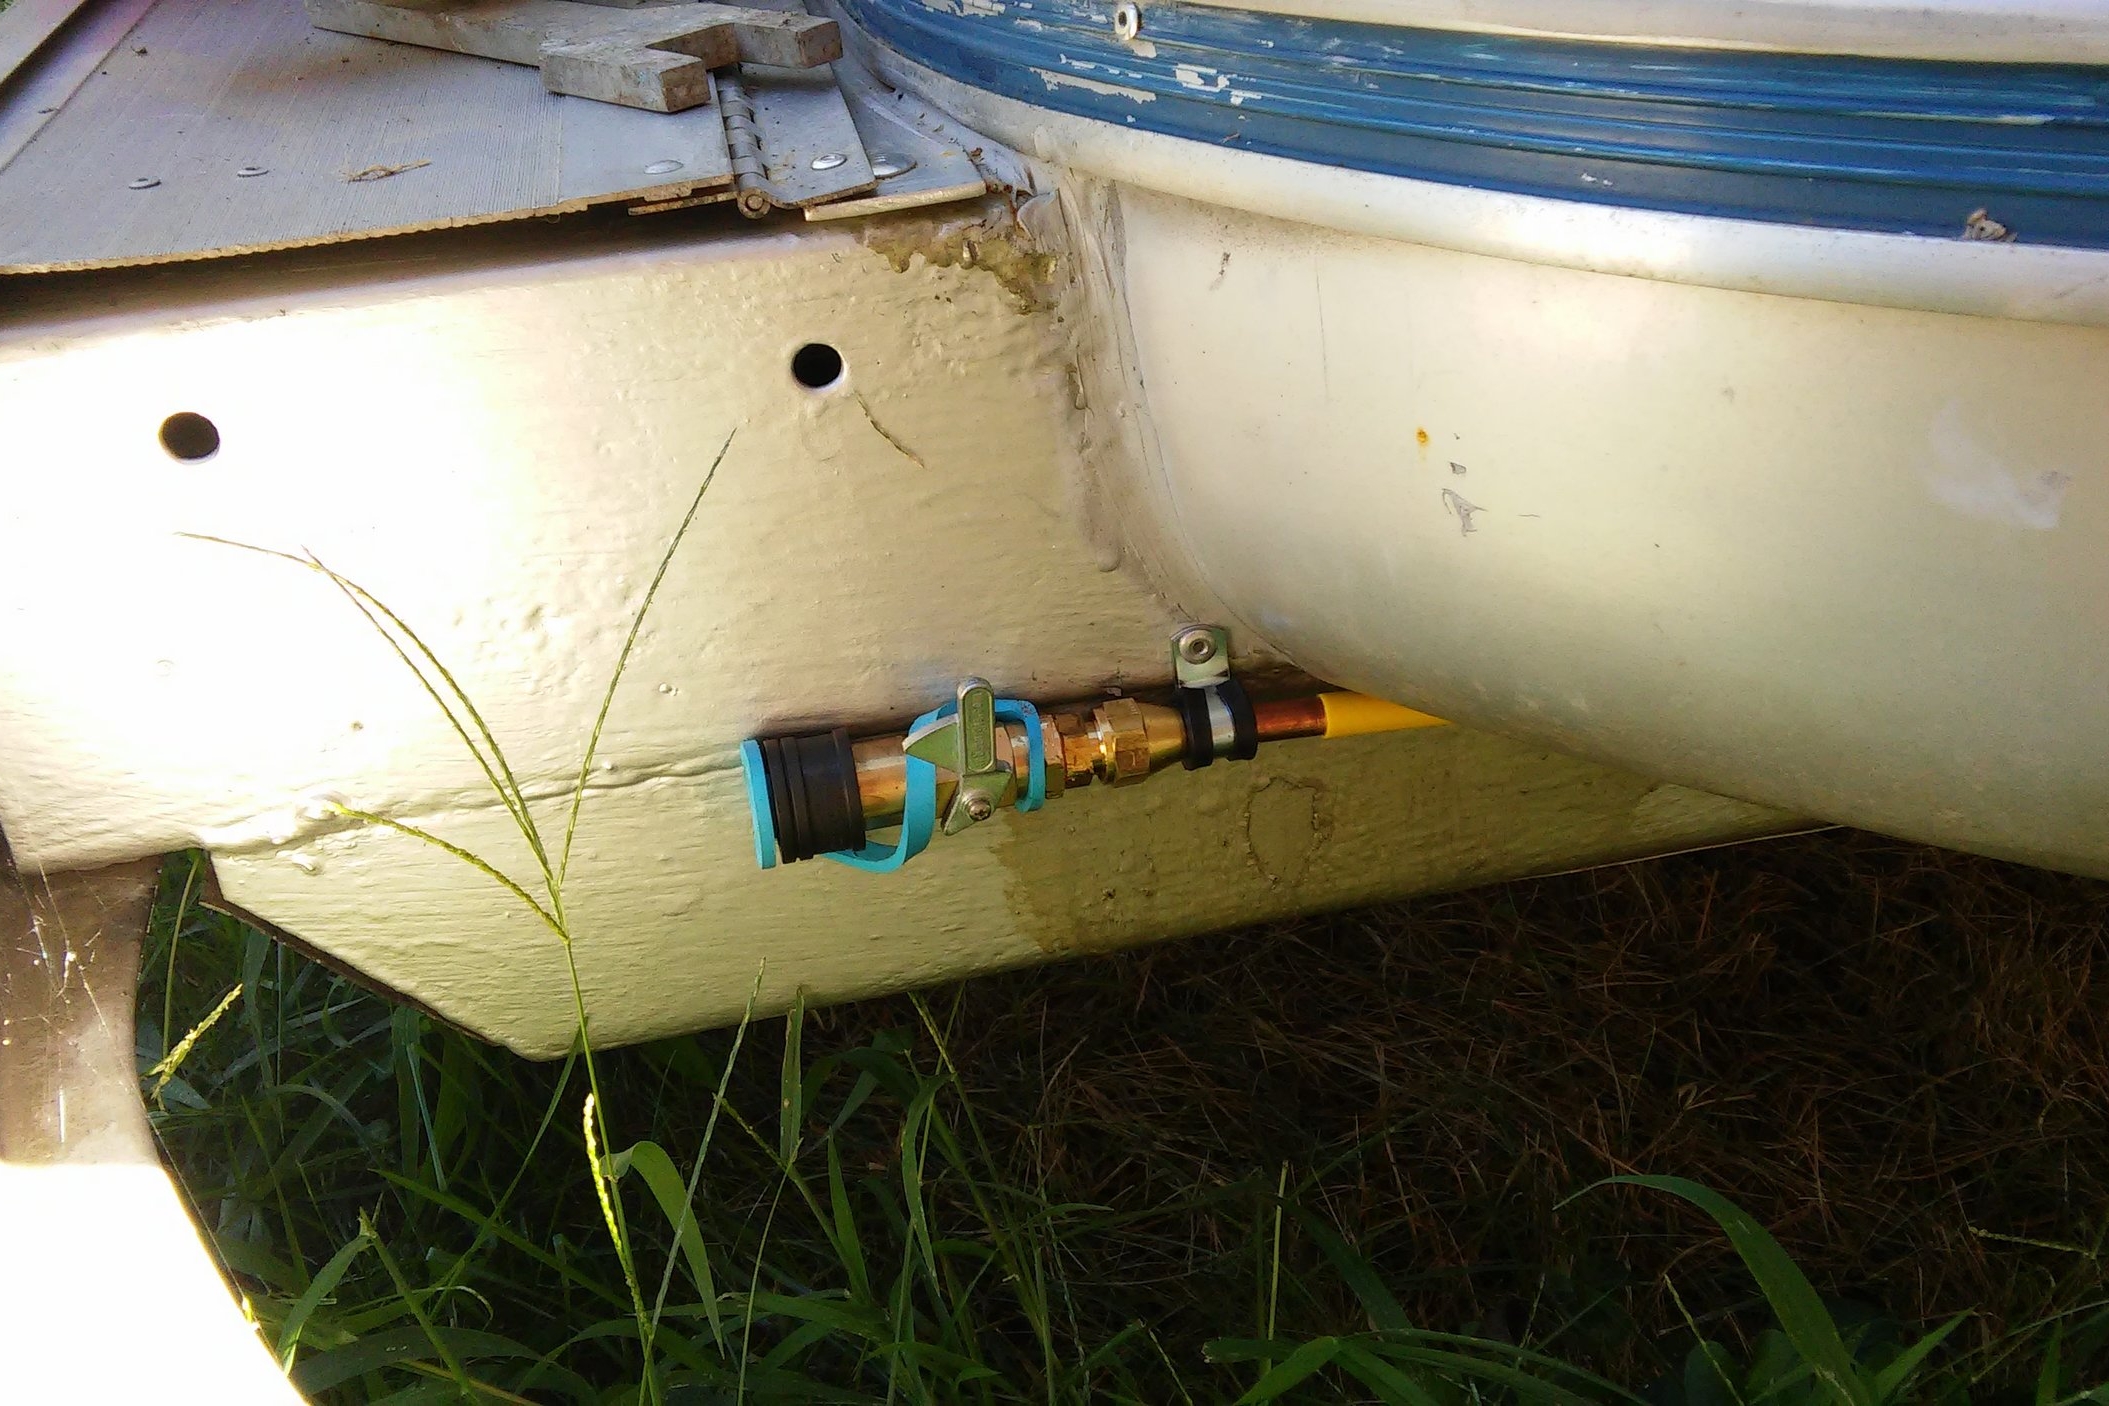
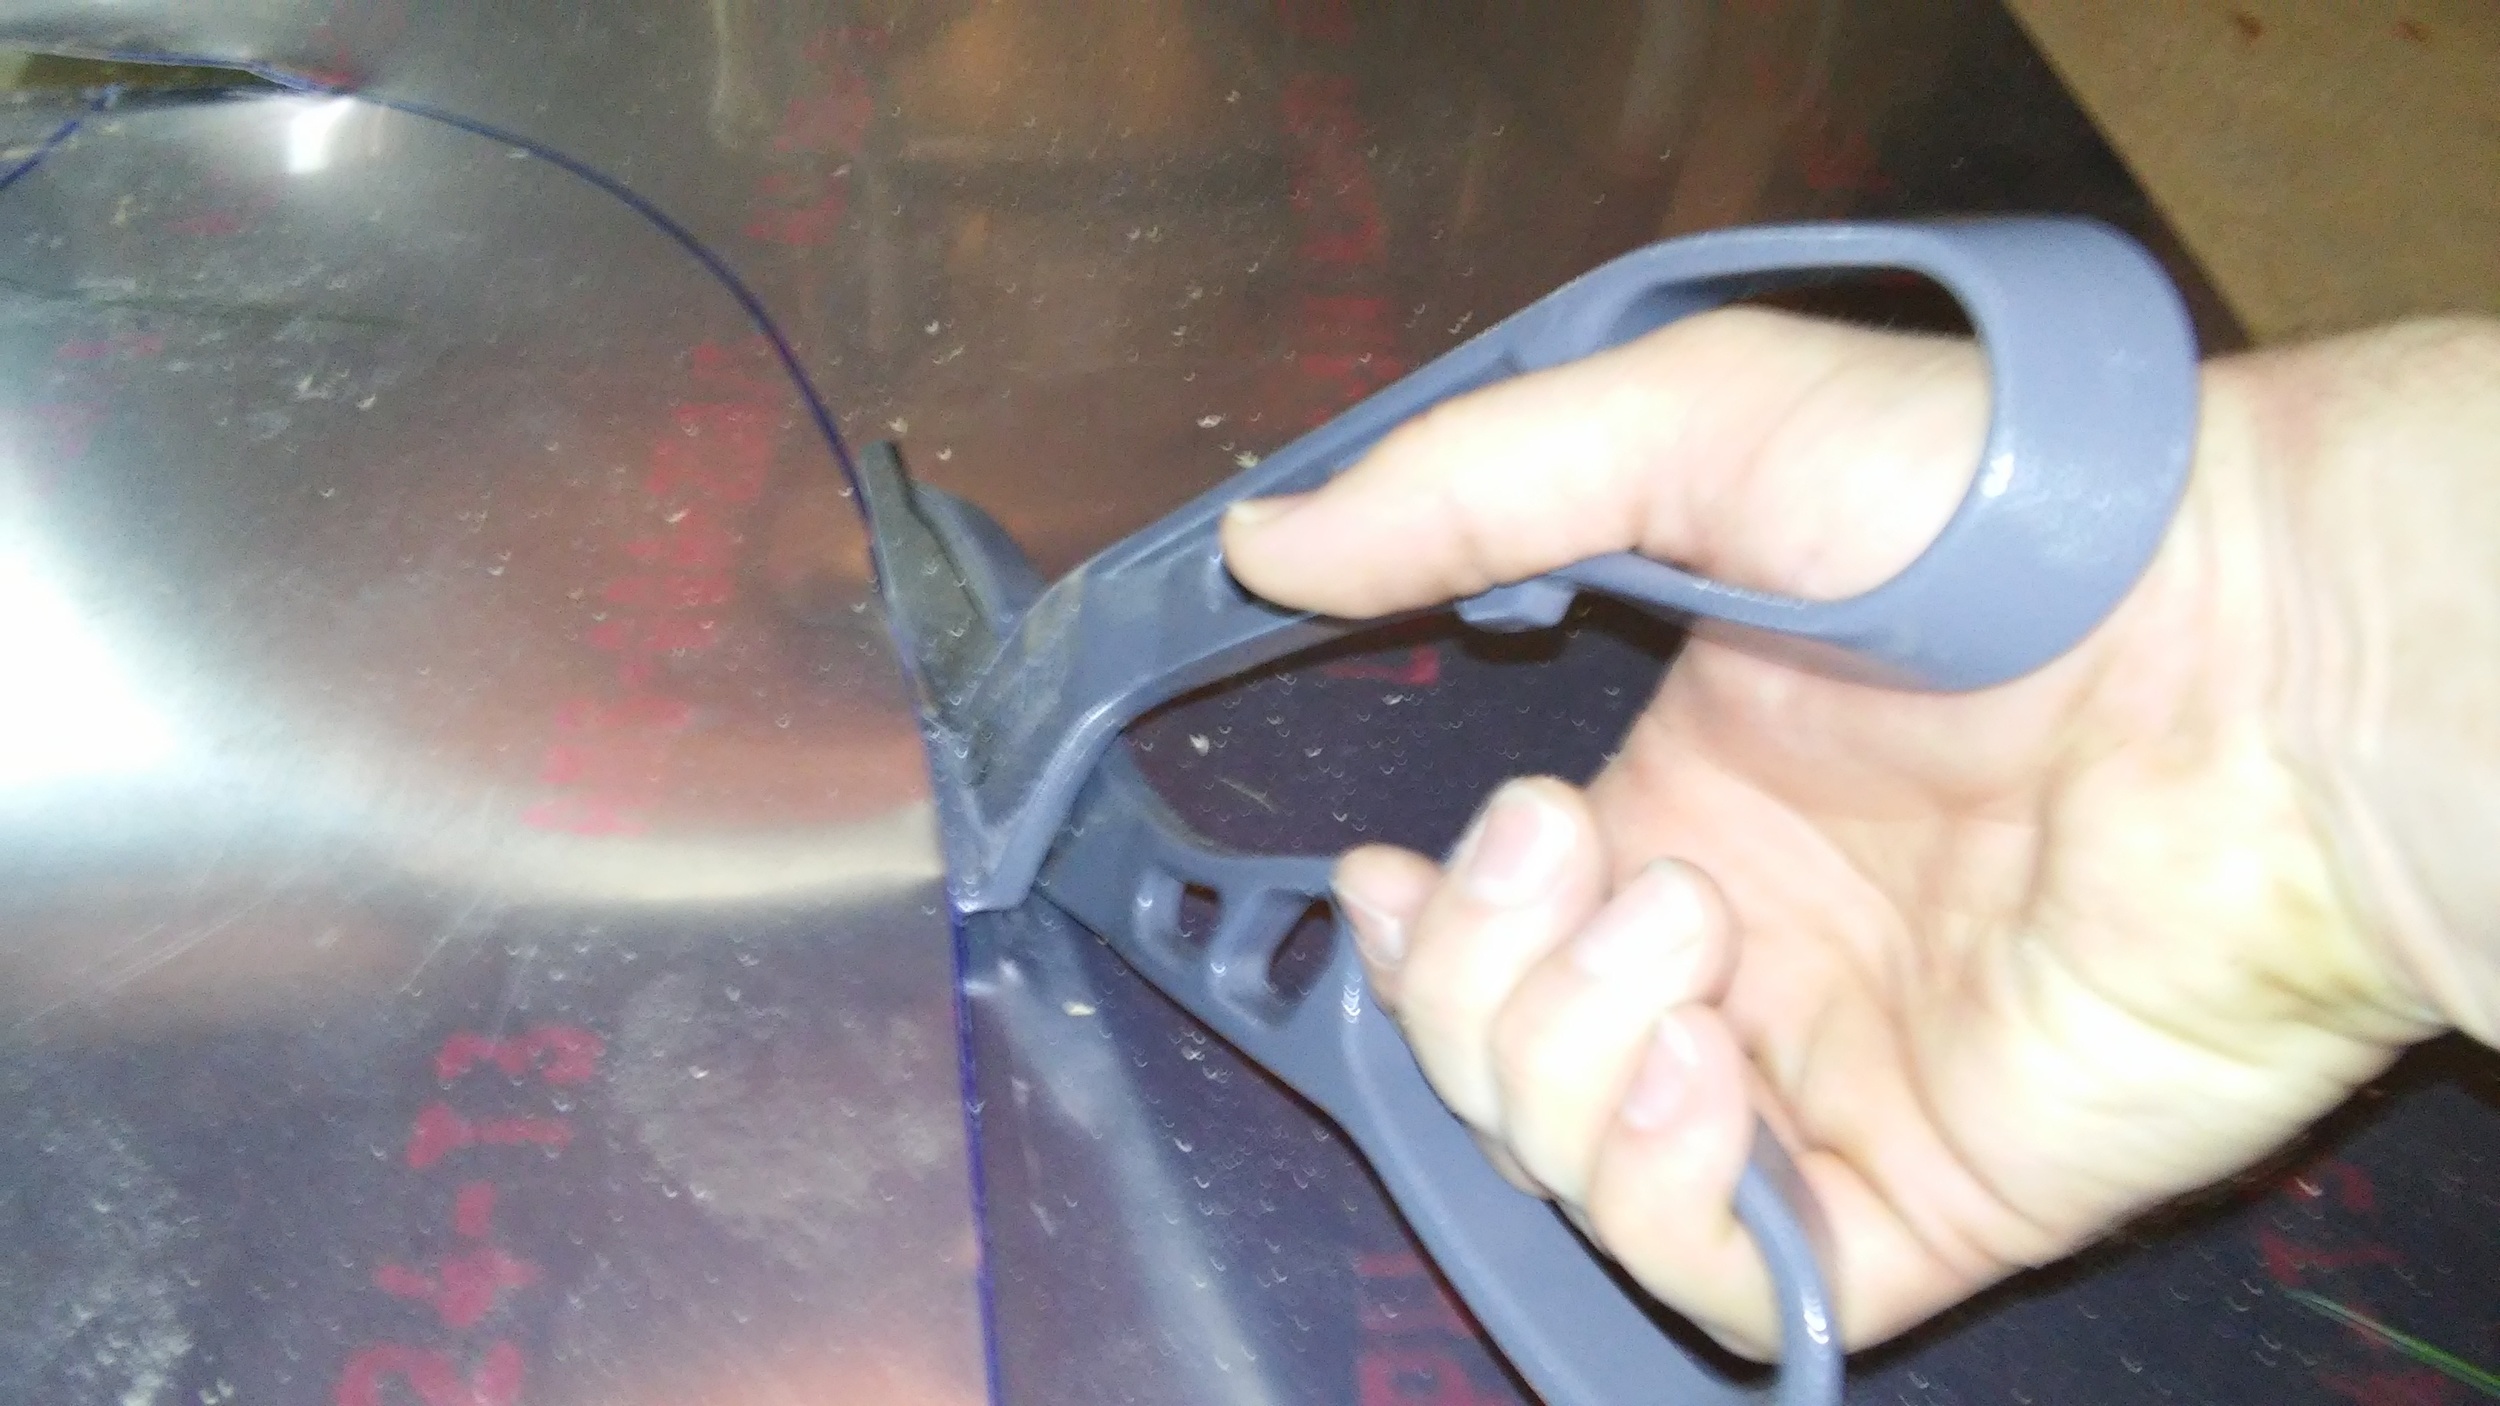
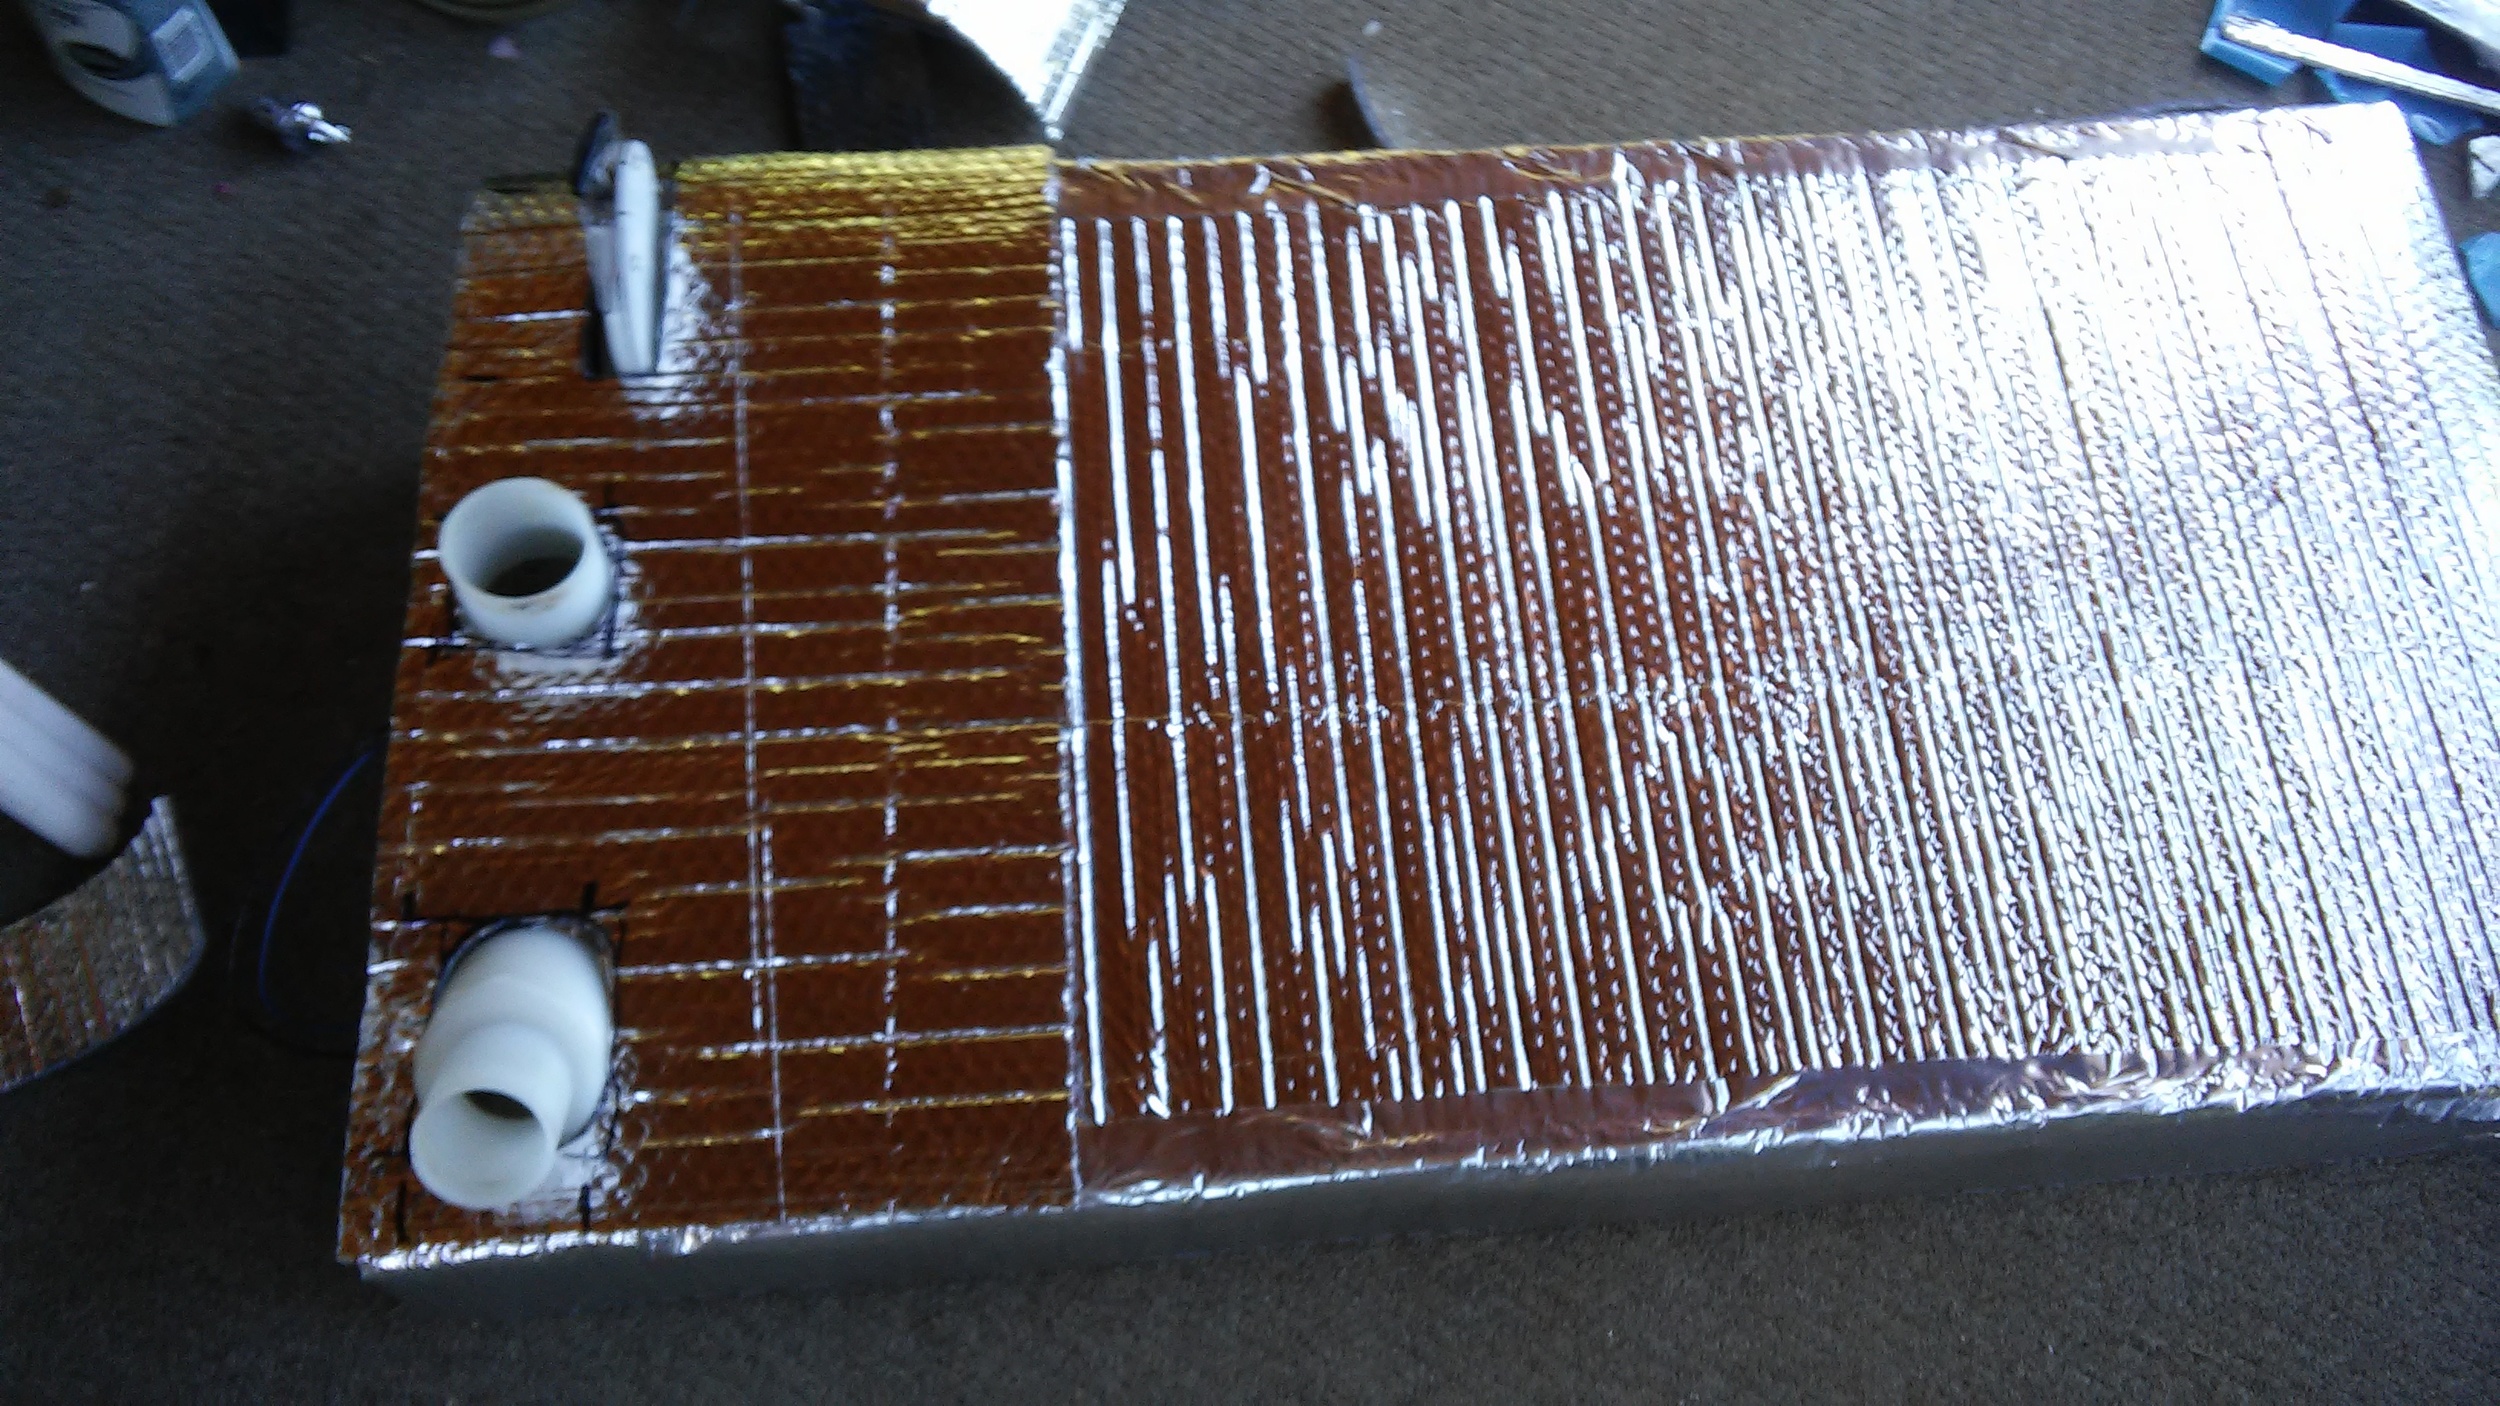
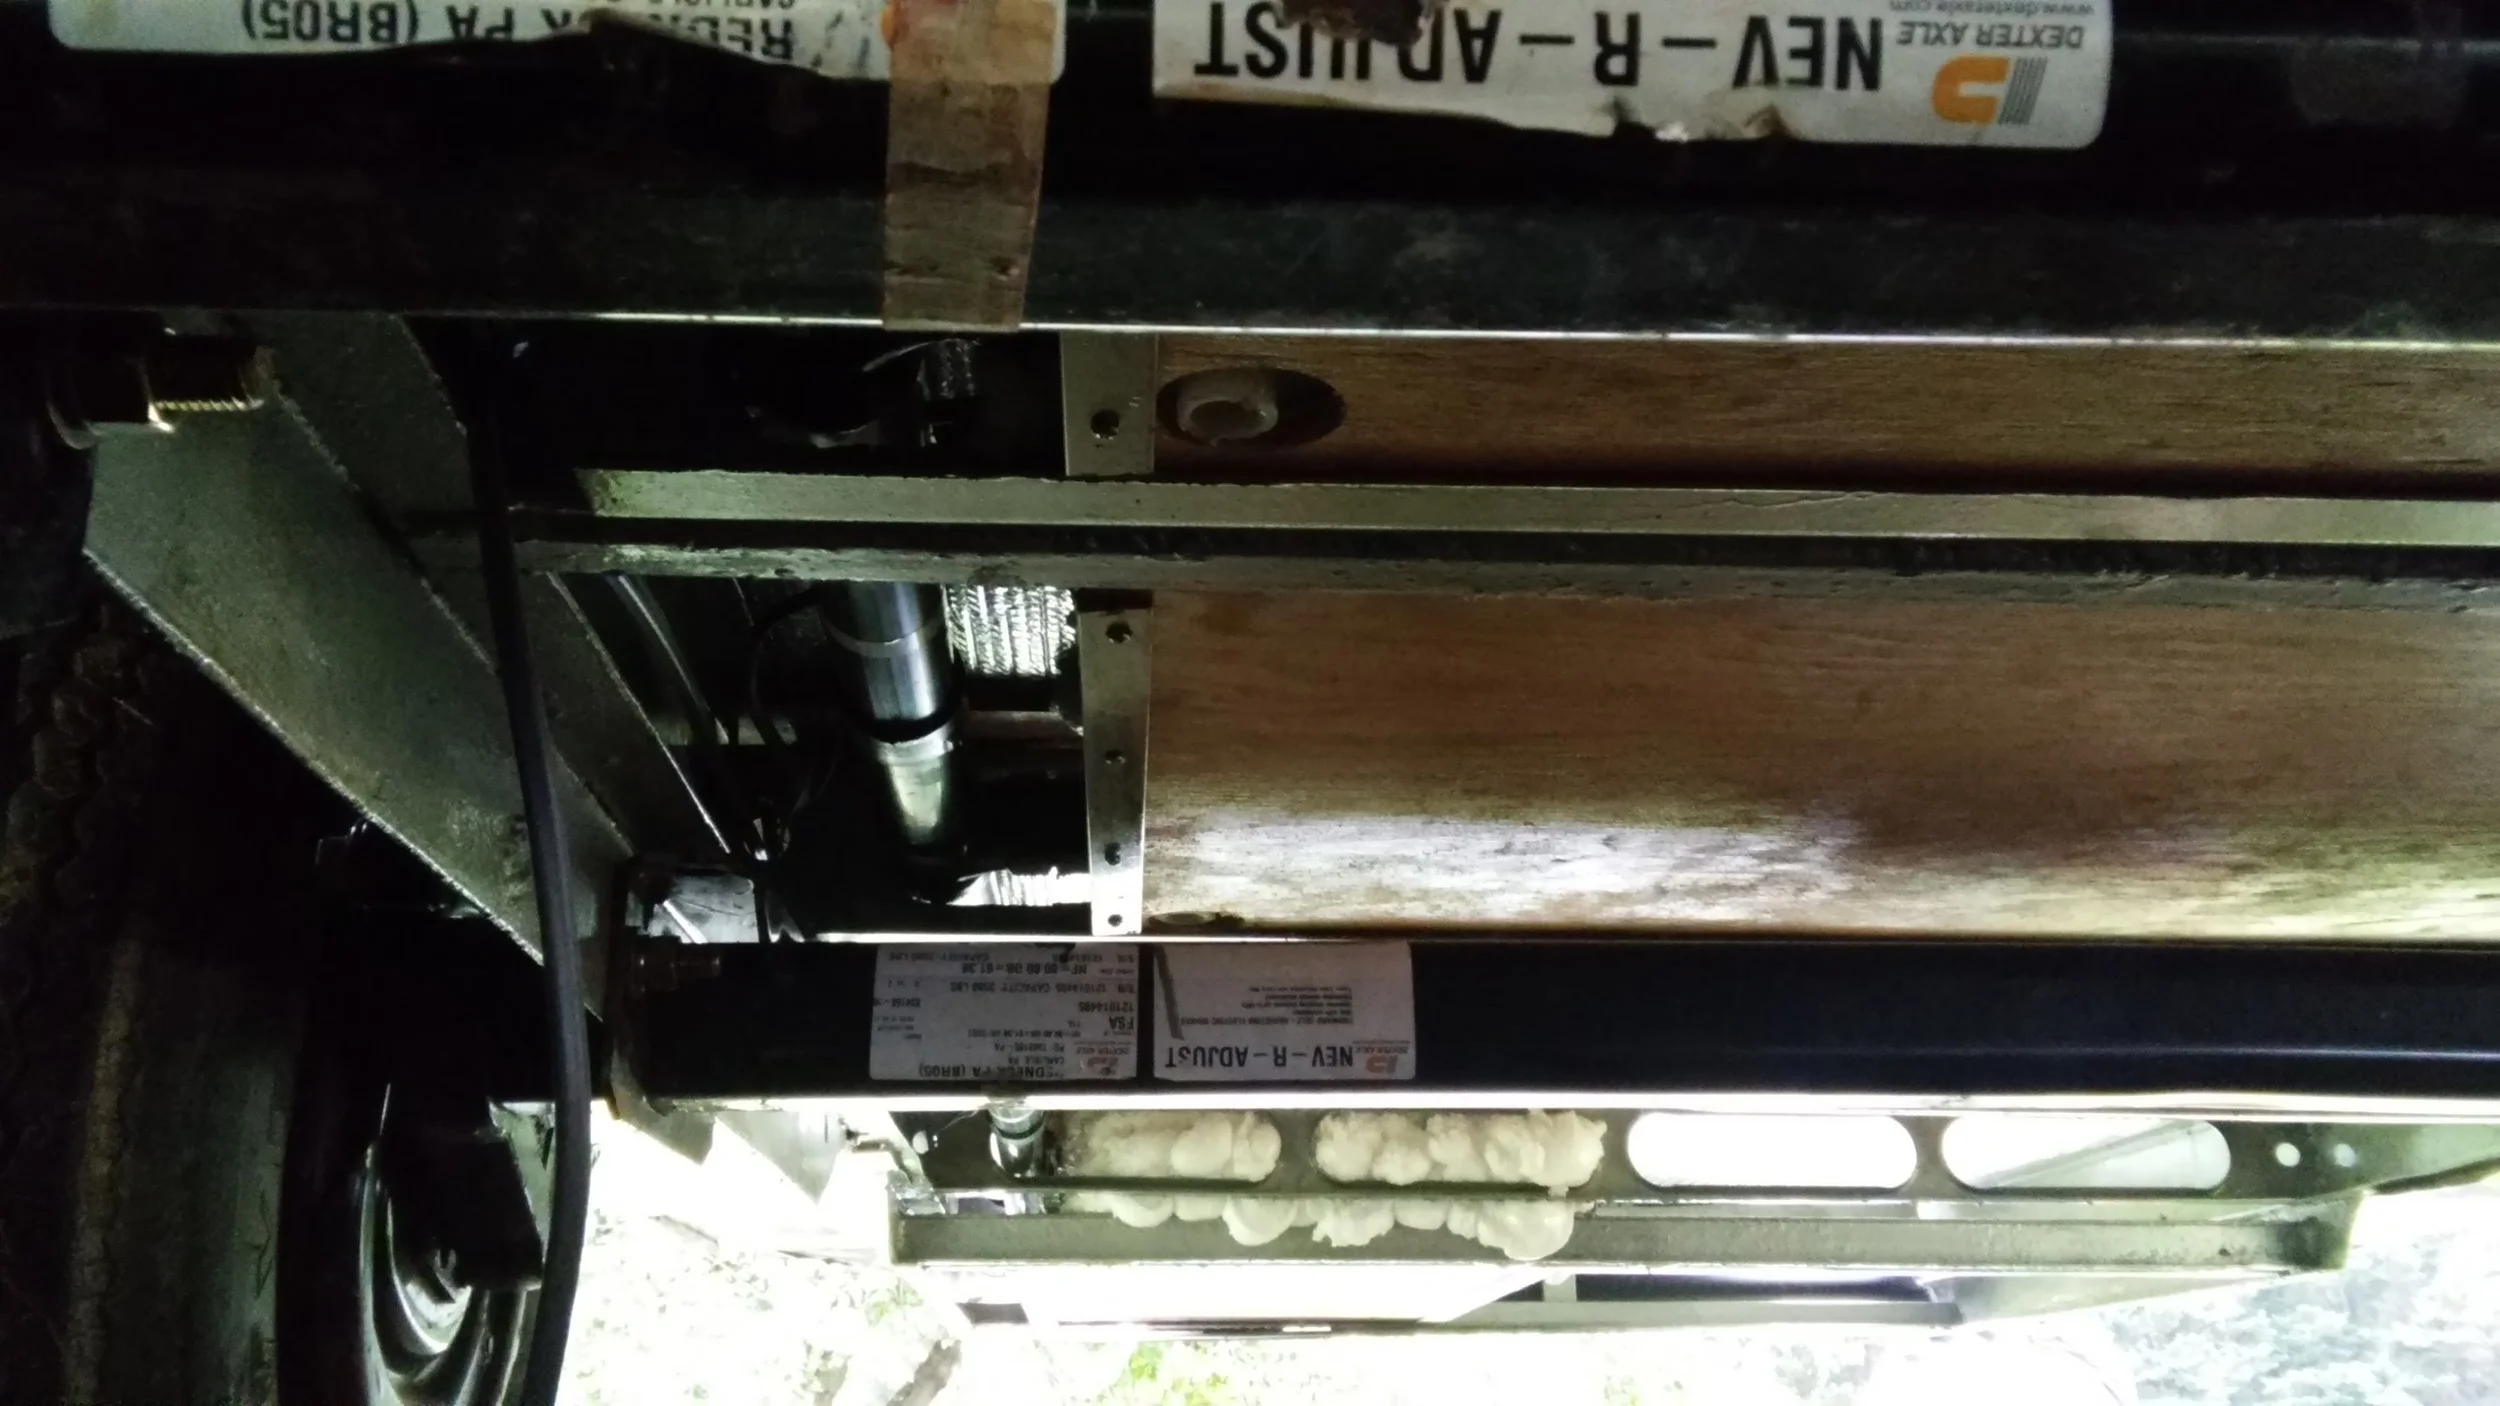
The propane lines are attached to the belly with 1/2" and 3/8" rubber insulated stainless clamps from the electrical aisle of the hardware store, and pop rivets.   I added a 1/4" Quick-Connect fitting from Vintage Trailer Supply at the curb side bumper in case we want to run a generator or propane grill in the future.

Now we just need to test the pipes, hook up the regulator, get the new OPD valves installed, tanks recertified and filled, install the LPG detector, find and purchase a propane range without it getting destroyed en route, run the fresh water plumbing, build the kitchen, build the bathroom, rebuild the range hood, finish the dresser drawers, build the pantry, build doors for the upper cabinets, and build the couch.  And build the wood stove heat shield.  And polish the exterior.  Easy peasy.

Tufted Headboard

Now that we have our sliding barn door in, we need a separate headboard to allow the door to open and close without moving the pillows out of the way.

I roughly followed this DIY tufted headboard guide.  Warning: sarcastic rant follows. Isn't it amazing that she made that tufted headboard for only $44?  Step one of making a DIY tufted headboard on the cheap -- start with any old headboard you have laying around.  Check your privilege, DIY lady.  Some of us don't have a cache of free headboards in our basement.  New career idea: start dating someone who works at a sawmill, take up woodworking, and make a mint selling furniture on Etsy built from beautiful pilfered live-edge hardwood.  OK, rant over.

My actual cost for this was around $200 in materials.  I custom built the headboard out of pine 2x2's and 1/4" plywood.  The street side had to curve very slightly to match the Airstream wall.  I used a compass to transfer the curve on to the headboard and then cut the curve with a jigsaw.

Fabric from the local craft store is 2 yards of charcoal linen, bought on sale.  I couldn't find actual egg crate mattress toppers anywhere.  The craft store had egg crate foam, but it wasn't cheap.  I ended up buying a cheap queen sized foam mattress cover from Walmart for $12, which was just enough to cover the front of the headboard three times, and put batting over the whole thing to smooth it out.

I didn't have as thick of foam or use as much excess fabric as the lady whose guide I was following, so I got a much smoother look.  Took some creative folding to avoid raw edges peeking out the sides. 

Barn Door

Leanne had installed a few vintage stained glass windows in her house that she found in a salvage shop in Baltimore.  They were pulled out of a 100 year old pub in England.  That stained glass is one of the things she misses about her house, so we wanted to incorporate it into the Airstream if possible.

We thought about putting up some stained glass window film on one of the windows, but it's not really any substitute for the real thing.  Real stained glass is far too fragile to use in an exterior window, but I thought I might be able to build a space on an interior wall that would both keep it safe and properly display it.

We stopped by the same salvage shop where Leanne had found her original stained glass windows, and sure enough, they still had some.  We snapped up our favorite one.

Some of these links are "affiliate links."  If you decide to buy something based on our recommendation, it would be nice if you used the direct link from this page so that we can make a small commission for referring you (which doesn't cost you anything extra).

I was also working on how to build a door to the bathroom.  Having a real hinged door would be nice, but the bed occupies some space in the doorway, so it would have to swing in or it would hit the bed.  Our bathroom is a good size for an RV bathroom, but there isn't quite enough room to maneuver around a hinged door.  The original door was a pocket door, but I've never met a pocket door I liked.  The mechanism is never smooth, and the latch is always fiddly.

I found this barn door hardware kit and it all came together.  Nice and smooth operation, takes up minimal space, lets light from the rear window filter through the stained glass, and the glass is still visible even when the door is open.

Curtains, and a Toasted Wall

We returned to pick up the dog from the care of my parents, and Dan decided to build the bathroom wall/headboard over the weekend while I figured out where to go next.  

Dan got some cedar boards, and gave them a toasted finish.  First, he cut the boards to fit the space.  Then, he used a blowtorch to char the surface of the wood.  To bring out the texture and character of the wood, you want to burn deep enough that you get some good blistering on the top layer.  Finally, he used a wire wheel on his drill to scrape away the soot, and we were left with a beautiful deep brown color and nice wood grain texture.  So pretty, and instead of smelling like wood stain, our house smells FANTASTIC!

We've got a curtain up for a door right now, but soon Dan will be building a real door (design pending...) You can also spot the curtains I made in this  picture, and our amazing handmade quilt that was a wedding gift from Dan's mom.

Some of these links are "affiliate links."  If you decide to buy something based on our recommendation, it would be nice if you used the direct link from this page so that we can make a small commission for referring you (which doesn't cost you anything extra).

It had been super bright in the mornings, and while I love the light during the day, I wanted a way to cover the windows at night.  There's also that issue of living 10 feet from your neighbors, or right on the street that makes curtains essential.   The curved wall of the Airstream made curtains particularly challenging.  We didn't want any hardware to stick out too much, or curtains to be so long that they would drape on our future kitchen counter top.  In the end, I got a light-blocking curtain panel from Target, cut it up, hemmed the edges, and then installed snaps on the four corners.  We bought this snap kit from Amazon, and had more than enough for the three windows.  

When we got back, we had a pile of packages, most of which were wedding gifts from our wish list (thanks everyone!) One of the first things I did was vacuum all that $%*& sand out of the house.  We are super excited to use all our new things next week with electric hook-ups, a working fridge, AC, and the dog! 

Luna says: Let's go! 

Luna says: Let's go! 


Belly Pan

I need the Airstream to be safe and legal to tow for the honeymoon, which means I need to get the bellypan on.  The brake wires penetrate the belly pan, so the belly pan should be in place before I hook up the brakes.  I've also got some tanks and plumbing to do.

I'm replacing the entire belly pan from the belt line down with new aluminum with the exception of the banana wraps which are unobtainable.  The old stuff is in pretty rough shape, has lots of extra holes, and I ripped a few pieces of belly pan in half when removing it.

First order of business is to use the old lower curved pieces as templates for new aluminum.

I started installation by lining up and riveting the lower surface of the curve to the frame.   Then I cut rockwool insulation to fill the void.  The width of a standard sheet of rockwool was a perfect fit for the width of the outriggers.  I used 1-1/3 sheet to get the proper thickness.

Used the insulation knife to trim the curve, then lift the middle of the panel and rivet into place.  A few more rivets to secure the panel, and we're good to go.

I applied a thick bead of TremPro in the gap prior to installing the belt trim.  I'll add another bead on the top of the belt trim afterward.  

Finally, set up a lawn chair to complete the 2/10 inspection.  It looked good 2 beers in and 10 feet away, so we passed inspection.

Next, we need to complete a few more items before finishing up the underside.

My, what a handsome job I've done so far.

Original gray tank gets a SeeLevel junior sender (the shorter version), a heat pad, a new dump valve, and a bunch of insulation.  

Fresh tank gets the same SeeLevel junior sender and heat pad, but not a lot of insulation since there isn't room.  I am using PEX with the stainless crimp rings for the fresh plumbing.  The lower white tubing will be my tank drain with valves accessible from inside the coach, as well as the low point drain for the hot and cold water fed from above.  I could also use this same plumbing to add hot water to the fresh tank in case I needed to heat the tank while boondocking. The top white tubing is the tank vent.  The blue tube is the fresh water suction to the water pump.

Finally, one of the auxiliary gray tanks gets the third SeeLevel junior sender.  I brought the auxiliary gray tank plumbing back to the bumper compartment.  I'll hook everything together inside the bumper compartment later -- I just need everything done inside the bellypan for now.  I didn't bother hooking up valves to my low point drains on the auxiliary gray tanks, since I can do that later from the outside.

The original belly pan was a couple of pieces of aluminum running front to back.  Pretty easy to install it that way if you have the frame upside-down and the axles off, like in the factory.  Since I'm doing this on my back and working around already installed axles, I'm using 4' wide aluminum sections running side to side.  Insulation in this area is also a standard sheet of rockwool with 1/3 of a sheet set on top of it to fill the void.

Rubber grommets around the brake wires, and shrink tube double crimp connectors to connect the electric for the brakes.  Brakes worked perfectly the first try, which is good, because I finished this Thursday morning for my Friday inspection prior to the Saturday wedding.