A Moving Sale and A Singing Dog

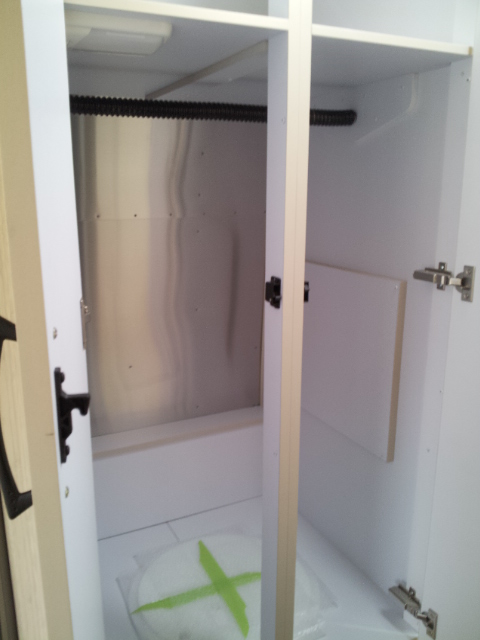
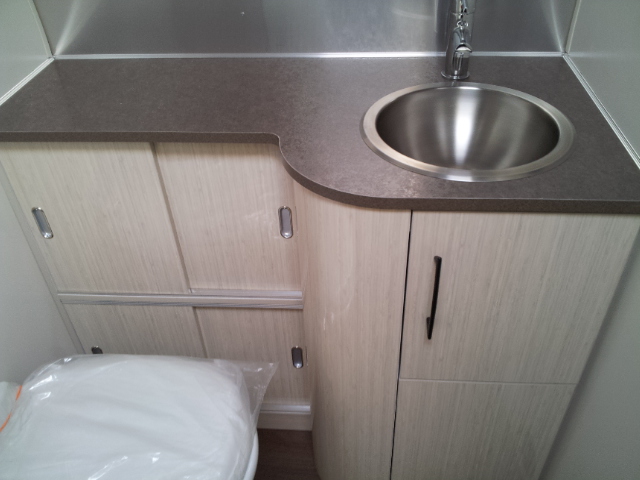
Getting the Airstream ready is only part of the prep work happening around here.  Dan and I both want to live with less stuff and have the freedom to take our home with us, should we choose to travel or move again.  Read more about that story here.  This involves sorting through everything we own, selling or giving away 95% of it, and keeping what we love and use most.  It's been anything but easy. 

I still had some furniture and things in my house for staging while my house was on the market.  With the sale of my house (hooray!), it all needed to go.  Our wonderful Baltimore friends helped us sell/give away a lot of my remaining "stuff"  before I closed on the sale this week.   It was a bittersweet goodbye. 

We filled two trucks and a car with donations to the thrift store.  It's a win-win for me :) I even got a collection of coupons for future thrifting!  These will be put to good use for my thrifted capsule wardrobe.  

Also, I got a harmonica at Christmas (thanks Dan!).  Not only is this a super fun, pocket sized instrument, it will be perfect for  our nights around the campfire.  Luna's helping me practice. 

Step by Step Coleman Mach 8 Cub Installation

We purchased the Coleman Mach 8 Cub 9200 BTU AC unit to replace the original Armstrong unit.  This is the newest version of the Coleman "Polar Cub." It has a low profile (8-1/4" tall), low power demands (should run on a Honda EU2000 generator), has an optional heating coil, and once our insulation is in, should be plenty of cooling for our purposes.

Some of these links are "affiliate links."  If you decide to buy something based on our recommendation, it would be nice if you used the direct link from this page so that we can make a small commission for referring you (which doesn't cost you anything extra).

The process of purchasing exactly what we needed was a little difficult, so I am posting lots of detail here in case it can help someone else.  I purchased 47201A876 rooftop unit, 9430D715 ceiling assembly, and 47233-4551 heat kit from CampingWorld.com for a total of $905.64.  There were lower listed prices elsewhere, but once you include shipping, Camping World was the cheapest I found at the time.  You can sometimes find the rooftop unit, ceiling assembly, and heat kit for cheaper on Amazon.

Update for 2018: Coleman has released a new version 47201B876 Mach 8 Plus Cub rooftop unit.  The Mach 8 Plus has a redesigned outdoor fan to reduce outside fan noise and improve heat transfer across the condenser coil.  Find the new Mach 8 Plus Cub rooftop unit on Amazon here. The same ceiling assembly, heat kit, and condensate pump will fit.

After placing my order, I had some additional correspondence with the manufacturer of the Coleman Mach 8, Airxcel Inc., and learned that a condensate drain system is not included on the Mach 8 Cub, even though it is standard on some of the larger units.  As designed from the factory, the condensate would run down the outside of the Airstream.  That won't do, so off I went to MarkariosRV.com (the only website other than eBay I found that had the 47203-3091 condensate pump kit) and $89.38 later, I should have everything I need.

Now, to assemble the bits.  Here's our new AC.

Remove 4 screws, shroud off...

Here's where the condensate pump is going.  Note the two small holes drilled in the bottom of the pan.  That's where the condensate would exit the pan to create an ugly streak down the side of our nice shiny house.  There are a bunch of holes drilled in the plastic pan, but these are the only two I should need to plug.

Test fitting the condensate pump.  Looks good.

The fan blade needs to come off so we can access the wirebox below it.  One screw, star bit.

Now the cover for the box.  One hex nut.

Nice view of the capacitor and terminal blocks.  Airxcel was kind enough to manufacture all these parts with spade terminals, so we don't need to splice any wires together.

Now, we need to remove the evaporator cover.  Four hex nuts.

OK, evaporator cover off.

This aluminum tape comes off to reveal a notch in the plastic ...

... which is a perfect fit for the drain insert included in the pump kit.

Probably would have been easier if I put the tubing on first.  The condensate pump is using 1/4" ID (inside diameter) tubing, and the kit includes an adapter for the 1/2" ID tubing I'll be using to run the drain through the wall of the airstream, behind the refrigerator, and onto the ground.

Now, before I close up the evaporator cover, I want to mount the heating coil.  You can do this from underneath after the unit is installed, but it'll be easier now.  Here's the heating coil kit.

Attach the mounting bracket.  2 wing nuts.

There are two threaded studs already in the return air opening for mounting this heating coil.

Two wingnuts, and it's mounted.  There's a relay inside the electrical box on this coil that rattles a little.  I'm hoping it won't be audible when the AC is on.  There are now two electrical wires hanging through the return air section, which will both plug into the ceiling assembly.

Now, back to the condensate pump installation.  Evaporator cover goes back on, 4 nuts.

Need to remove this strain relief bolt.  One nut.

There is an indentation where we need to drill a 7/32" hole for the other mounting bolt.

Drilled out.

Now I need to plug those drain holes.  TremPro, because this is for an Airstream, after all.

Not pretty, but it'll hold water.

Pump goes in.  The directions say to install the bolt downward through the hole I just drilled, but that doesn't make sense to me.  I installed upward like the opposite bolt.  There are two nearly identical nuts supplied in the kit.  Ask me how long I spent trying to thread the 8-32 nut on the 10-24 bolt.  Big nut goes on the ground wire and newly installed bolt, little nut anchors the ground wire to the blower motor.

Tubing attaches to pump standpipe.

Wires into the wirebox through the plastic entry clamp.  

Black spade to purple block, white spade to yellow block.

Wirebox cover goes back on, one nut.  One zip tie to keep the pump wires away from the sharp edge of the condenser coil bracket.

Fan blade back on.  One screw.  Check out the crazy angle that compressor is mounted at.  That's not for lack of space -- someone at Airxcel clearly doesn't want the compressor vibrating in the same plane as the blower motor.  Clever way to make it quieter, I'm guessing.

Cover back on.  4 screws.

Checking the drain holes for a good seal.  You can see the foam around the square roof opening that compresses to form a water-tight seal. This will install with just four bolts, one at each of the corners of the roof opening.  The old Armstrong AC installed with about a fifty screws and a gallon of Vulkem.  I spent most of the rest of today removing said goo from the roof.  I'll be bucking rivets into the screw holes next weekend.

Once I'm done prepping the roof, probably weekend after next, I'll install this unit.  Then, we'll have to wait until the interior skins are in before we install the ceiling assembly.  ETA on that -- March-ish.

See Part Two here.

Vents and Fans

Like the hat?

Maxxfan Deluxe vents installed -- one in the front living room area, and one in the rear bedroom area.  These vents lay relatively flat against the roof in the closed position, but keep the rain out in the open position. 

The Airstream roof curves, but the plastic vent doesn't.  This puts stress on the vent and can cause damage and leaks over time.  My solution to this is to attach the fans through two strips of aluminum angle on the inside of the skin -- one on the front and one in back --  which will take the stress of flattening out the curve instead of the plastic fan frame.  This is a pretty easy modification to do now, but it would be a lot harder if we hadn't already removed the interior skin.

This is one of the original vents that I reinstalled using a new translucent Lexan lid.  It's in the center kitchen area just ahead of the air conditioner.  I had considered removing this vent entirely and sealing up the hole, but after seeing the skylights in the newer Airstreams, we thought it would be nice to have a little more natural light.

This is the Maxxfan in the rear bedroom area.  This one is a slightly different model than the fan in the front because it operates via remote control.  We'll be able to raise/lower the fan, turn it on/off, change the thermostat setting or fan direction, all without getting out of bed.

This is where the AC goes.  The new AC attaches to the roof with four bolts.  There is a metal plate inside the coach that pinches roof to hold the AC in place.  Since the roof is .032 aluminum, I needed to build out some framing to give the plate something to grab onto.  Most people use wood for this, but I went with 1" square aluminum tube.

I also had to deal with the curved roof/flat AC issue.  The front of this opening is about 1-1/2" away from a rib, so I had to remove a couple of rivets and add some aluminum shims to flatten out the roof.

Windows

There are 13 windows in our Airstream, and all of them needed cleaning and repair.  Dan and I removed all the old weather stripping and glue from the bigger windows, and then cleaned and buffed the aluminum frames.  We got a roll of UV film to help with temperature and heat control with the added bonus of providing a slight tint to the windows.  Dan has decided he is not cut out for a career in window tinting, so we'll probably get this done professionally at some point.

Next, we measured the new weather stripping to seal the windows, and applied glue to both the window frame and the rubber stripping.  Once that was dry, we carefully pressed the rubber stripping into place around the frame, and then pressed down to ensure a good fit.  

Here are the windows reinstalled!  So much better. 

Design Research

We took a trip out to the closest (not close) Airstream dealer to look at layout, storage, and general design of the new-from-the-factory models.  One of the benefits of benefits of building our home from near scratch is that we can decide exactly what to put where, and really make it our own.  But first, we needed to see how everything could come together, and get a real feel  for moving around in 200 square feet. 

This is a wardrobe closet in one of the 2015 models.  We'll have something similar, but with more shelves or boxes for folded clothes. 

I was impressed with the amount of storage space in the tiny bathroom.  Lots of counter room! This bathroom is on the side of the trailer, and ours will be in the back. 

Here's the view from the front couch.  We really like how the fridge is raised up from the floor with a drawer underneath, our fridge is almost exactly the same model.  

Check out all the new models with floor plans, decor, and much better pictures on Airstream's website. 

We've got a basic floor plan in the making, stay tuned for details! 

Dan: I was pretty disappointed in the build quality of some of these coaches.  I saw some unfinished plywood pieces and  linoleum floors coming up around the edges.  What bothered me most, though, was that the floor plans felt so cramped.  When you're working with 200 square feet, wouldn't you want the coach to feel as big as possible?  I suppose lots of floor to ceiling walls can be good for privacy, but it just wasn't an enjoyable space.  And using every scrap of space for a bench might be good for storage and seating, but it makes the space feel so much smaller.  I'm glad we have the opportunity to design our own space with a relatively open floor plan and some space to maneuver.